
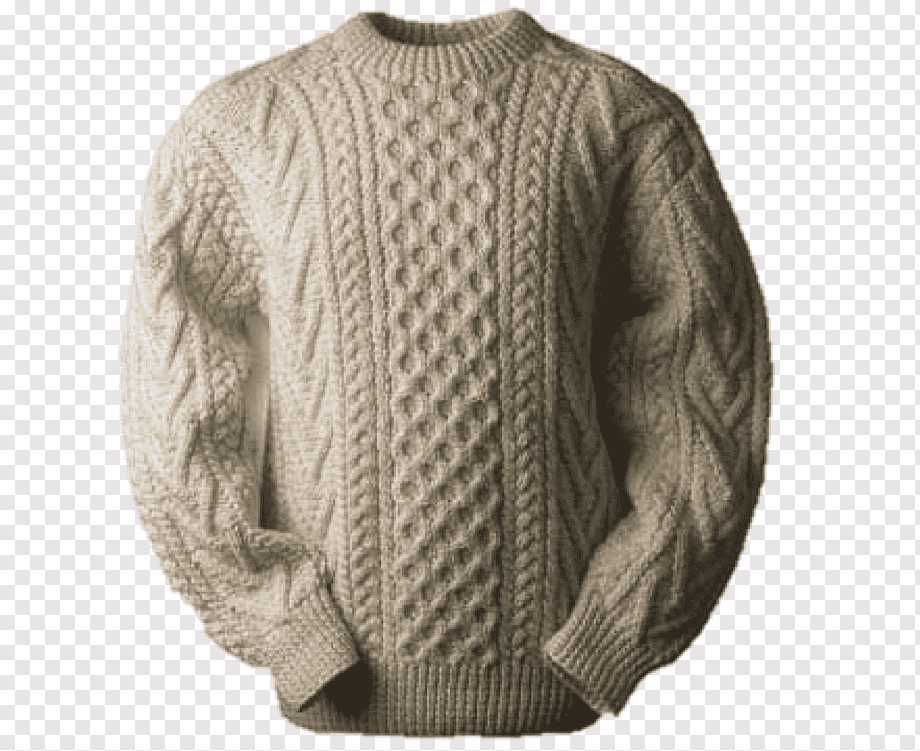
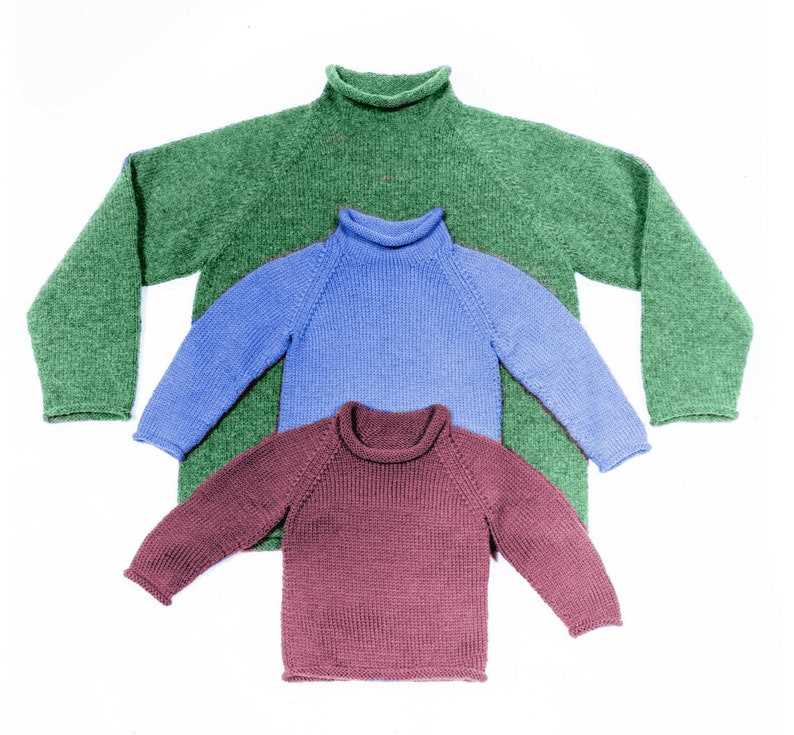
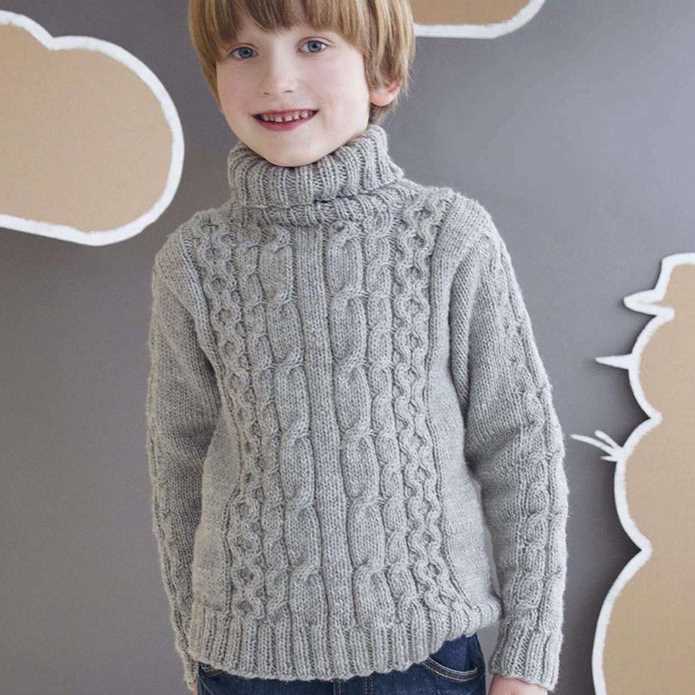
Knitting your own roll neck sweater is a rewarding and satisfying project that allows you to create a unique and cozy piece of clothing. With its classic look and versatility, a roll neck sweater is a wardrobe staple that can be worn in any season. Whether you’re a knitting enthusiast looking for your next project or a beginner wanting to try your hand at sweater knitting, this roll neck sweater pattern is perfect for you.
This knitting pattern features a timeless design, with a fitted silhouette and a ribbed roll neck for a snug and stylish finish. The pattern provides detailed instructions for each step, making it easy to follow along even if you’re new to knitting. It also includes a size chart and yarn suggestions, allowing you to customize the sweater to your preferred fit and style.
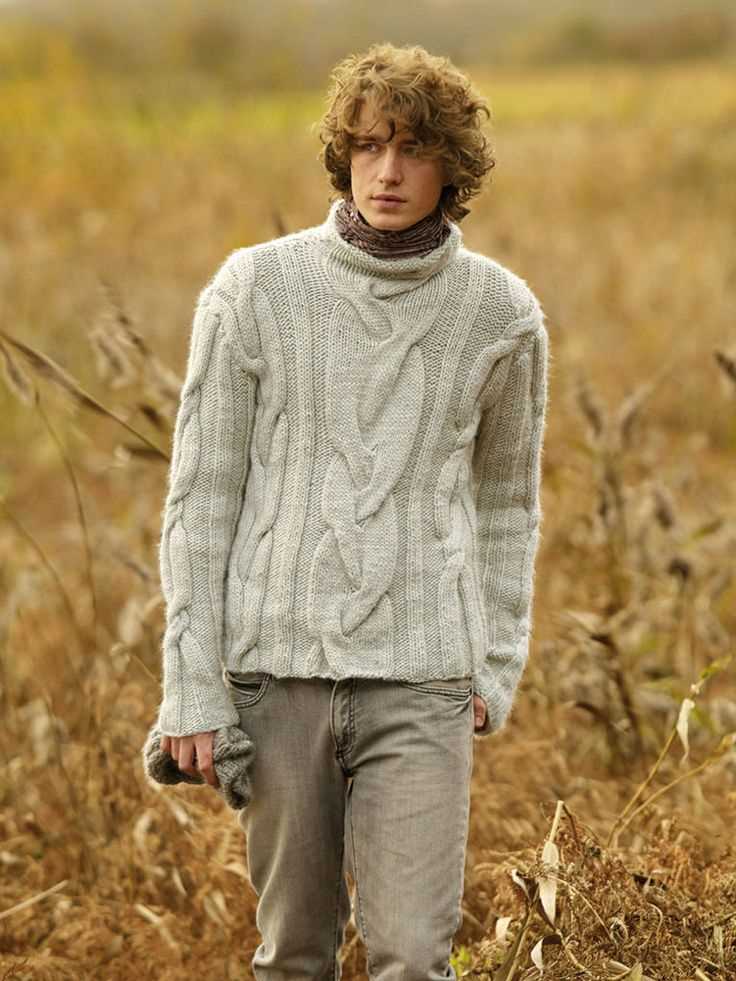
Knitting your own roll neck sweater gives you the freedom to choose your favorite yarn and color, allowing you to create a truly one-of-a-kind piece. Whether you prefer a classic neutral tone or a vibrant pop of color, this pattern can be easily adapted to match your personal style. Once completed, you’ll have a cozy and stylish roll neck sweater that you can proudly wear or gift to a loved one.
Materials
Before you start knitting your roll neck sweater, make sure you have all the necessary materials. Here is a list of the items you will need:
- Yarn: Choose a high-quality yarn that is suitable for your desired sweater. The pattern may suggest a specific type of yarn, so make sure to follow the instructions.
- Knitting needles: You will need a set of circular or straight knitting needles, depending on your preference and the pattern instructions. Make sure the needles are the correct size for your yarn.
- Stitch markers: These small, circular markers are used to mark specific stitches or sections in your knitting. They are especially helpful when working on complicated patterns or shaping the sweater.
- Tape measure: A tape measure will be useful for checking gauge and ensuring that your sweater will fit correctly. It can also be used to measure your body if you need to adjust the pattern for a custom fit.
- Scissors: A good pair of scissors is essential for cutting the yarn and trimming any excess threads.
- Darning needle: This large, blunt needle is used for sewing in loose ends and seaming the sweater together.
Once you have gathered all these materials, you will be ready to start knitting your roll neck sweater. Make sure to have a comfortable and well-lit workspace where you can focus on your knitting.
Gauge

Gauge is a crucial component when it comes to knitting. It refers to the number of stitches and rows that can be achieved in a given measurement. Accurately obtaining the gauge is essential for the final sizing and fit of the finished garment. Therefore, it is important to follow the pattern instructions regarding gauge to ensure the desired results.
To determine the gauge, it is recommended to knit a gauge swatch using the specified yarn and needles. The pattern usually indicates the number of stitches and rows that should be achieved in a certain measurement, such as 4 inches or 10 centimeters. The gauge swatch should be washed and blocked, just like the finished garment, to accurately reflect the final measurements.
How to measure gauge:
- Cast on the recommended number of stitches according to the pattern instructions.
- Knit the specified number of rows using the recommended stitch pattern.
- Measure the gauge swatch over the specified measurement, counting the number of stitches and rows.
- Adjust the needle size if necessary to obtain the correct gauge.
The gauge can vary depending on factors such as the knitter’s tension, needle size, and yarn type. It is advisable to take the time to knit a gauge swatch before starting the main project to ensure that the finished garment will have the correct measurements and fit.
Size
When knitting a roll neck sweater, it is important to choose the correct size to ensure a perfect fit. The size of the sweater can be determined by measuring the chest circumference and the desired length. This pattern provides instructions for multiple sizes, ranging from small to extra large.
To determine the size that is right for you, measure your chest circumference by wrapping a tape measure around the fullest part of your chest. Make sure to keep the tape measure parallel to the floor and snug but not too tight. Once you have your chest measurement, refer to the size chart provided in the pattern to select the corresponding size.
Size Chart
| Size | Chest Circumference (inches) | Length (inches) |
|---|---|---|
| Small | 34-36 | 25 |
| Medium | 38-40 | 26 |
| Large | 42-44 | 27 |
| Extra Large | 46-48 | 28 |
It is important to note that the measurements provided in the size chart are approximate and may vary depending on individual preferences and gauge. Always make a gauge swatch before starting your project to ensure that you are knitting to the correct tension.
Once you have selected the right size, you can confidently knit your roll neck sweater knowing that it will fit you perfectly. Follow the pattern instructions for your chosen size and make any necessary adjustments for your personal preferences along the way. Happy knitting!
Abbreviations
When following a roll neck sweater knitting pattern, it is important to understand the abbreviations used. These abbreviations are commonly used in knitting patterns to save space and make instructions easier to read. Here are some commonly used abbreviations you may come across:
- K: knit. This means to insert the right-hand needle into the front of the stitch on the left-hand needle, wrap the yarn around the right-hand needle, and pull it through the stitch.
- P: purl. This means to insert the right-hand needle into the front of the stitch on the left-hand needle from right to left, wrap the yarn around the right-hand needle, and pull it through the stitch.
- St(s): stitch(es). This refers to the individual loops on the knitting needle.
- YO: yarn over. This means to bring the yarn to the front of the work between the needles, then take it over the right-hand needle to the back of the work.
- Inc: increase. This can refer to various methods of adding stitches to your work, such as knitting into the front and back of a stitch or making a yarn over.
- Dec: decrease. This can refer to various methods of removing stitches from your work, such as knitting 2 stitches together or slipping 1 stitch, knitting the next stitch, and passing the slipped stitch over.
These are just a few of the abbreviations you may encounter in a roll neck sweater knitting pattern. It is important to refer to the pattern’s key or any provided explanations for any unfamiliar abbreviations. Familiarizing yourself with these abbreviations will make it easier to follow the pattern and create a beautiful roll neck sweater.
Pattern Instructions
In order to create the roll neck sweater, follow the pattern instructions below:
Materials:
- Yarn in your preferred color
- Knitting needles in the appropriate size
- Tapestry needles for weaving in ends
- Stitch markers
- Scissors
Size:
The pattern provides instructions for a range of sizes, including small, medium, and large. Choose the appropriate size based on your measurements.
Gauge:
It is important to achieve the correct gauge for the pattern to ensure the finished sweater has the desired fit. The gauge for this pattern is X stitches and X rows = X inch in stockinette stitch.
Instructions:
- Cast on the required number of stitches for your size.
- Work in rib stitch for the desired length of the neck, using the specified rib pattern.
- Change to stockinette stitch and knit every row until the sweater reaches the desired length.
- Begin shaping the shoulders and armholes as instructed, using decreases and bind-offs.
- Continue knitting in stockinette stitch for the body until you reach the desired length.
- Switch back to rib stitch for the hem and work for the specified number of rows.
- Bind off all stitches and weave in any loose ends.
Finishing:
Once the knitting is complete, block the sweater to give it a polished finish. Use steam or wet blocking method for best results. Finally, sew any seams needed for finishing the sweater.
Cast on
In knitting, the cast on is the process of creating the foundation row of stitches on the knitting needle. It is the starting point of any knitting project. There are different methods of casting on, and the choice of method depends on the desired edge and overall look of the finished garment. For a roll neck sweater, a neat and flexible cast on method is usually preferred to ensure a comfortable fit around the neck.
One commonly used cast on method for roll neck sweaters is the long tail cast on. To do this, you will need to estimate the amount of yarn you need for the cast on. This method creates a stretchy edge that is perfect for a fitted roll neck. Start by leaving a long tail of yarn, approximately three or four times the desired width of the cast on. Make a slip knot and place it on the needle. Then, hold the needle with the slip knot in your right hand, and use your left hand to hold the tail and working yarn. Wrap the tail over the thumb of your left hand, and the working yarn over your index finger.
- With your right hand, insert the needle through the slip knot from left to right.
- With your right hand, bring the yarn under and over the needle, creating a loop.
- Release the loop from your left thumb and tighten it slightly.
- Repeat steps 3 and 4 until you have cast on the desired number of stitches.
Once you have finished casting on, you can continue with the next steps of your roll neck sweater pattern. Remember to count your stitches to ensure you have cast on the correct number for your size. This will help you achieve the desired fit of the sweater. The cast on edge should be even and not too tight, as it needs to be comfortable around the neck. With practice, you will be able to achieve a neat and professional-looking cast on for your roll neck sweater.
Body

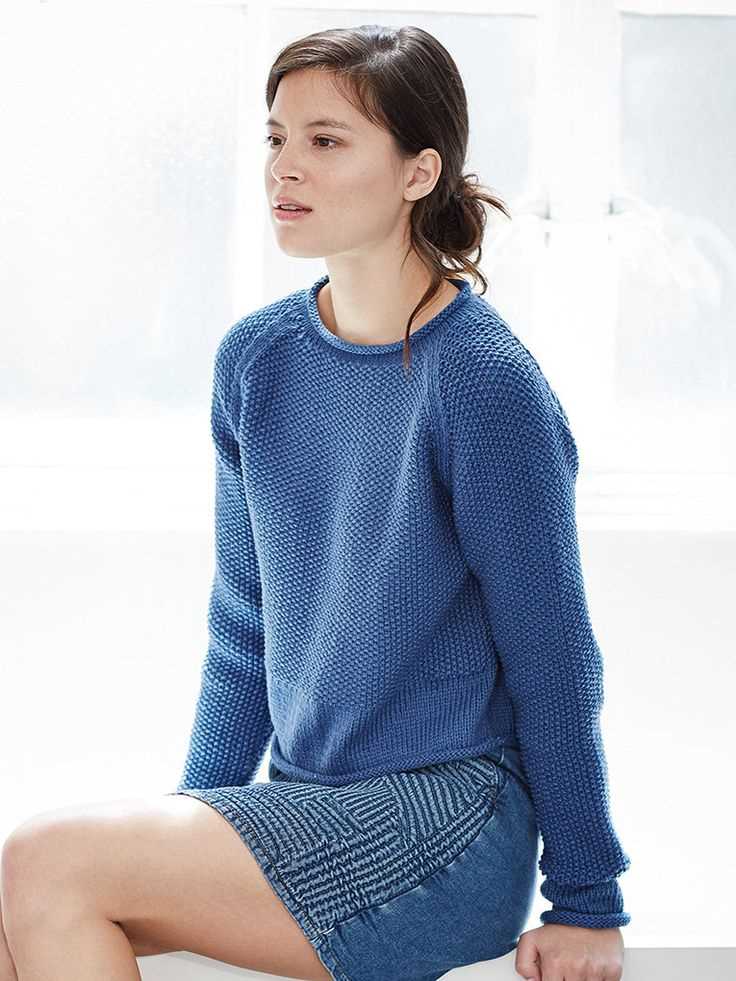
The body of the roll neck sweater is the main part of the garment, encompassing the torso and arms. It is typically knit in a stockinette stitch, which creates a smooth and even texture. The body is worked in the round from the bottom up, starting with the ribbed hem and gradually increasing stitches to create the desired width.
To add shaping and create a more fitted garment, decreases are often worked at the waist and increases at the bust or hips. These shaping techniques help to create an hourglass figure and ensure a flattering fit. The body of the roll neck sweater is typically knit to a certain length, usually ending at the natural waist or hip length.
One popular feature of the roll neck sweater is the kangaroo pocket, which is often added to the body. This pocket is knit separately and then attached to the front of the body, providing a convenient and stylish option for storing small items. The kangaroo pocket adds both functionality and visual interest to the roll neck sweater.
Overall, the body of the roll neck sweater is the foundation of the garment, providing warmth and style. Through careful knitting techniques and attention to shaping, the body can be customized to fit the wearer’s unique measurements and preferences. Whether worn on its own or layered with other garments, the body of the roll neck sweater is an essential component of this cozy and fashionable knitwear.
Neck
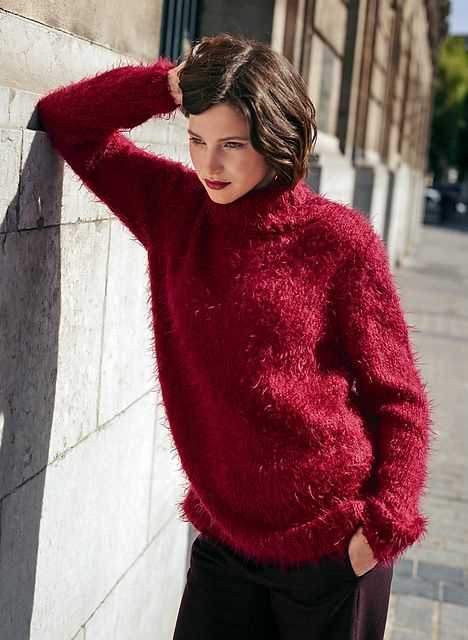
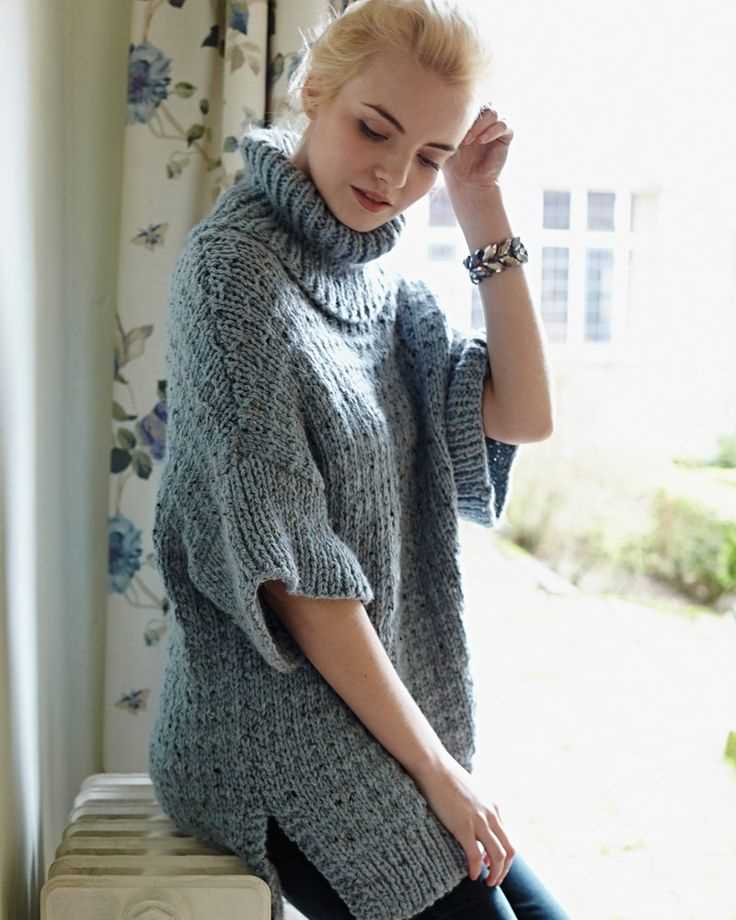
The neck is a crucial part of the roll neck sweater, as it provides warmth and comfort to the wearer. The roll neck, also known as a turtleneck, is a type of sweater that features a high collar that covers the neck completely. This design not only helps to keep the wearer warm but also adds a stylish and sophisticated touch to any outfit.
When knitting a roll neck sweater, it is important to pay careful attention to the neck area. The pattern should include instructions for shaping the neck, which can be achieved through various techniques such as decreases or short rows. These techniques help to create a more flattering and comfortable fit around the neck, ensuring that the sweater sits well on the shoulders and chest.
To achieve the desired look and fit, it is also important to choose the right yarn and needle size for the neck. A yarn that is too thick or heavy can make the neck area bulky and uncomfortable, while a yarn that is too thin may not provide enough warmth. Similarly, using the wrong needle size can result in a neck that is too loose or too tight. It is important to swatch and adjust the needle size as needed to achieve the desired tension and fit.
In addition to shaping and yarn selection, the neck of a roll neck sweater can also be embellished with various details to add visual interest. This could include ribbing, cables, or lace patterns. These details not only enhance the overall design of the sweater but also provide an opportunity for customization and personalization.
In summary, the neck is a crucial part of the roll neck sweater, providing warmth and comfort to the wearer. When knitting a roll neck sweater, it is important to pay attention to shaping, yarn selection, and needle size to achieve the desired fit. Embellishments can also be added to the neck area to enhance the overall design of the sweater.
Sleeves
The sleeves of the roll neck sweater are an important part of the overall design. They provide warmth and protection for the arms, while also adding a stylish touch to the garment. The pattern for the sleeves is simple yet elegant, making it a great project for knitters of all skill levels.
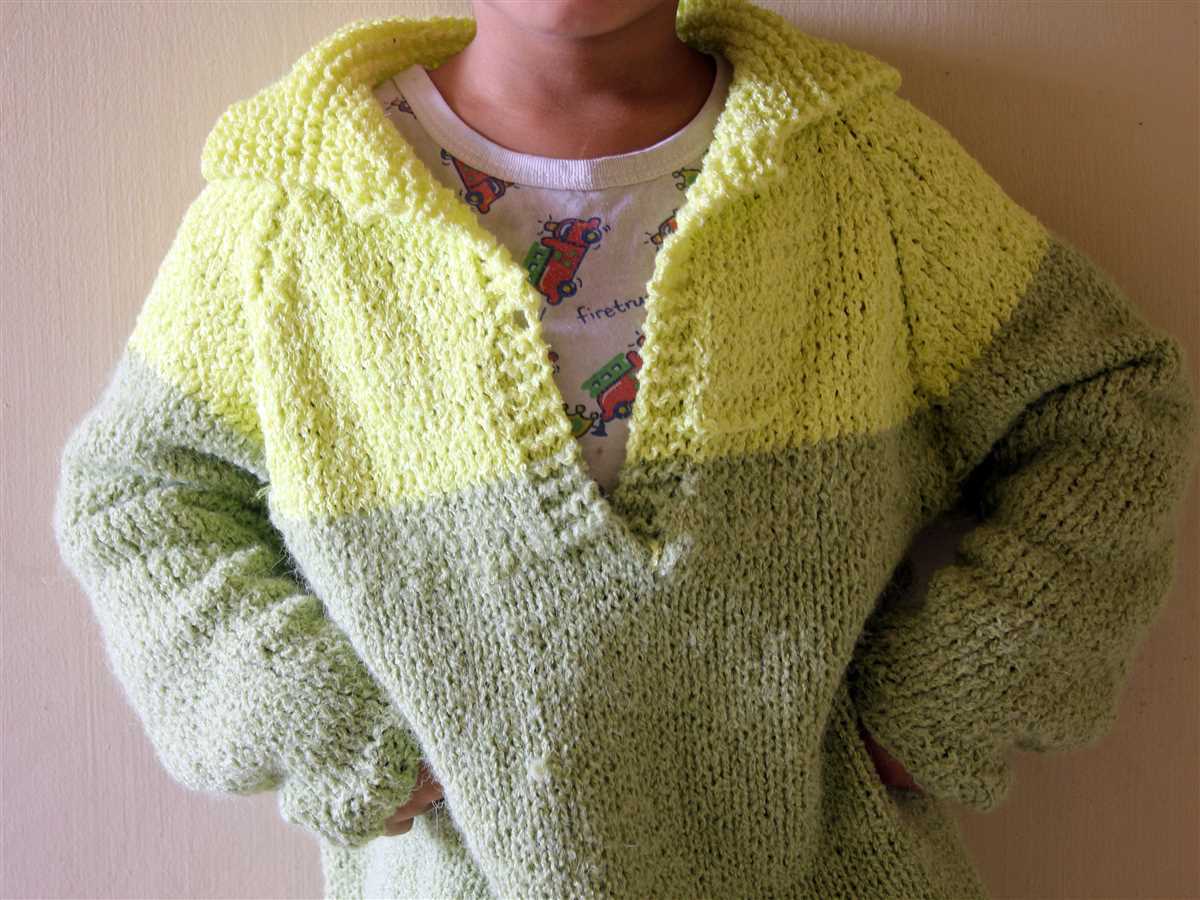
The sleeves start with a ribbed cuff, which is knit in a contrasting color to the rest of the sweater. This adds visual interest and creates a nice, snug fit around the wrist. The ribbing pattern continues for a few inches before transitioning into the main body of the sleeve, which is stockinette stitch.
- The length of the sleeves can be easily customized to suit your preferences. For a more casual look, you can knit them to end just above the wrist. If you prefer a more traditional style, you can opt for longer sleeves that reach the mid-forearm.
- To ensure a comfortable and flattering fit, it is important to carefully measure your arm circumference and the length from your wrist to your armpit. This will help you determine the number of stitches to cast on and the number of rows to knit before shaping the sleeve.
- The shaping of the sleeves is usually done through gradual decreases, which create a tapered look. This is achieved by decreasing a certain number of stitches at regular intervals along the length of the sleeve. The pattern will specify the number of decreases to make and the intervals at which to make them.
Once the sleeve is complete, it is joined to the body of the sweater by sewing or using a technique called “pick up and knit.” This creates a seamless transition between the sleeve and the body, giving the sweater a polished finish.
Overall, the sleeves of the roll neck sweater are an important element that contribute to the overall look and functionality of the garment. With the right pattern and careful attention to detail, you can create sleeves that are both stylish and comfortable to wear.
Finishing
Once you have completed knitting your roll neck sweater using the pattern, it’s time to finish it off and make it ready to wear. Here are the final steps to complete your project:
1. Weave in loose ends: Use a yarn needle to weave in any loose ends or yarn tails that are left from changing colors or adding new skeins of yarn. This will give your sweater a neat and finished look.
2. Block your sweater: Blocking is an important step in knitting that helps to shape your finished garment and ensure that it fits correctly. Fill a basin with lukewarm water and add a small amount of wool wash or mild detergent. Gently submerge your sweater in the water and let it soak for about 10 minutes. Remove the sweater from the water, squeeze out the excess moisture, and lay it flat on a clean towel. Gently reshape the sweater to its desired dimensions and let it dry completely.
3. Sew seams: If your sweater was knit in separate pieces, such as front and back panels or sleeves, you will need to sew the seams together. Use a yarn needle and the same yarn you used for knitting to sew the pieces together. Follow the pattern instructions for the specific seam stitch to use.
4. Add ribbing and finishing touches: If your pattern includes ribbing for the cuffs, hem, and neckline, you will need to pick up stitches along the edges and knit the ribbing. This will give your sweater a polished and professional finish. Additionally, you can add any desired buttons or embellishments to personalize your sweater.
By following these finishing steps, you will have a beautifully knitted roll neck sweater that is ready to be worn and enjoyed. Take pride in your work and enjoy the cozy warmth of your handmade creation!
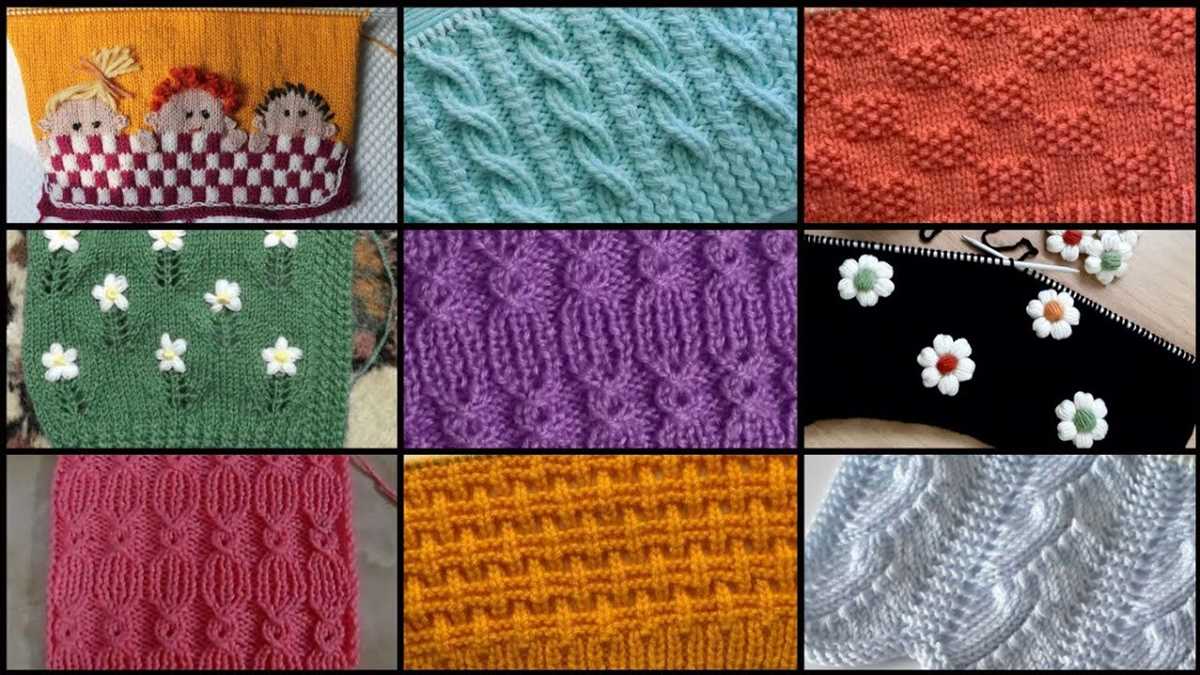
Variations

There are many ways to customize your roll neck sweater to make it unique and personal. Here are some ideas for variations:
- Stripes: Add stripes to your sweater by changing colors every few rows. You can use two or more colors to create a striped pattern.
- Cables: Incorporate cable stitches into your sweater to add texture and interest. You can add cables to the body, sleeves, or just the neckline.
- Lace panels: If you prefer a more delicate look, you can add lace panels to your sweater. Choose a lace stitch pattern and insert it into the body or sleeves.
- Embroidery: Personalize your sweater with embroidered motifs or patterns. This can be a fun way to add your own touch to the design.
- Buttoned neckline: Instead of knitting a continuous roll neck, you can add buttons or a zipper to create a buttoned or zippered neckline.
These are just a few ideas to get you started. Feel free to experiment and make the pattern your own. The most important thing is to have fun and enjoy the process of creating your roll neck sweater.
Summary
The roll neck sweater is a versatile and timeless garment that can be worn in various seasons and occasions. With this knitting pattern, you can create a cozy and stylish sweater that will keep you warm and fashionable. Whether you follow the pattern exactly or add your own variations, the end result will be a unique and personalized piece of clothing that you can cherish for years to come.
Q&A:
Is a roll neck sweater the same as a turtleneck sweater?
No, a roll neck sweater is not the same as a turtleneck sweater. A roll neck sweater has a looser or folded collar that can be rolled down or up, while a turtleneck sweater has a high, close-fitting collar that cannot be rolled.
What are the advantages of knitting a roll neck sweater?
Knitting a roll neck sweater has several advantages. Firstly, the roll neck collar provides extra warmth and protection against the cold weather. Secondly, it can add a stylish and sophisticated touch to your outfit. Lastly, knitting a roll neck sweater can be a fun and satisfying project for knitters of all skill levels.
What type of yarn is best for knitting a roll neck sweater?
When knitting a roll neck sweater, it is best to choose a yarn that is soft, warm, and comfortable to wear. Natural fibers like wool or cashmere are popular choices as they provide warmth and have good insulating properties. It is also important to choose a yarn that suits your knitting gauge and desired level of drape.
Are there any specific knitting techniques for a roll neck sweater?
There are no specific knitting techniques exclusive to a roll neck sweater. However, depending on the pattern you choose, you may encounter techniques like ribbing, cabling, or colorwork. It is always important to read and understand the instructions before starting your project and consult resources or tutorials if needed.
Can I customize the length of the roll neck collar on a sweater?
Yes, you can customize the length of the roll neck collar on a sweater. If you prefer a shorter or taller collar, you can simply adjust the number of pattern repeats or rows specified in the instructions. It is always a good idea to make a gauge swatch and test your preferred collar length before starting the actual project.