
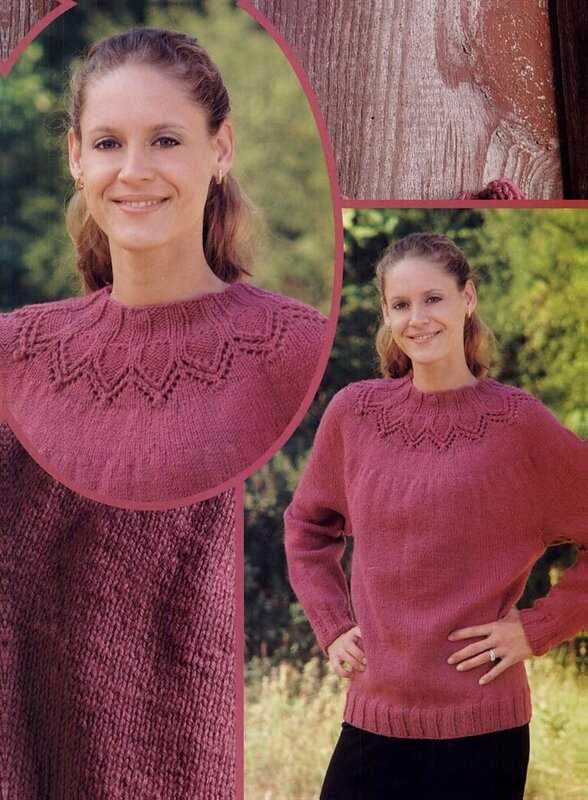
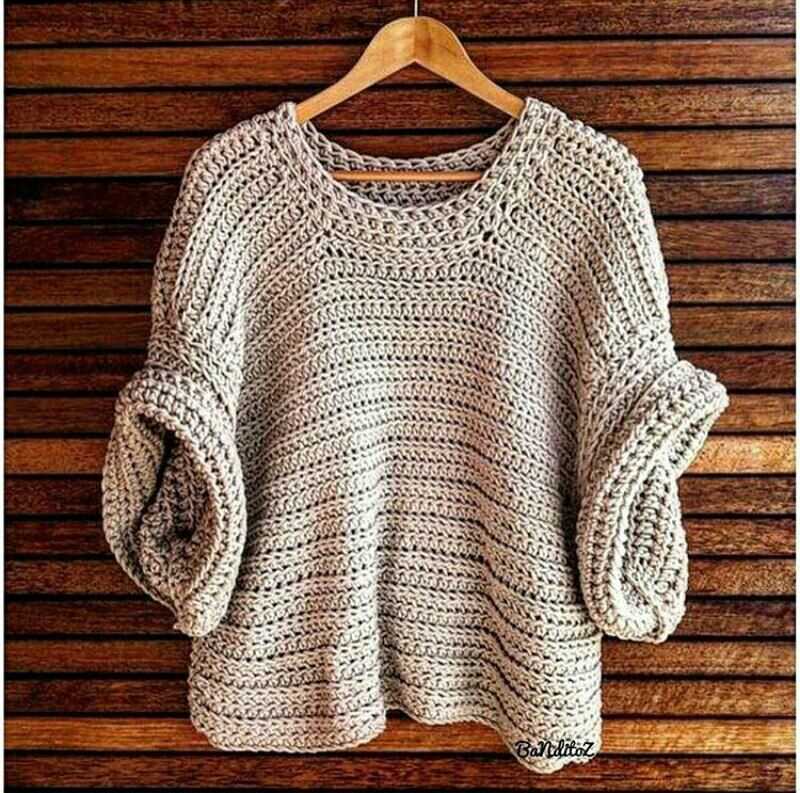
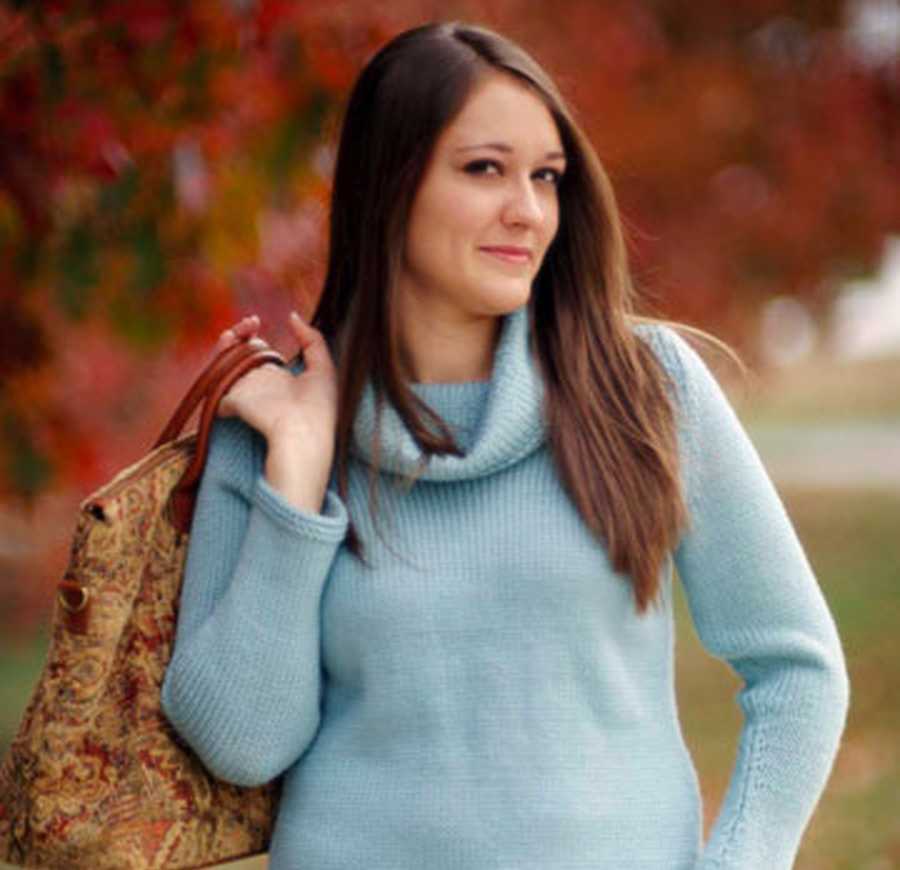
If you’re looking to create a cozy and stylish addition to your winter wardrobe, then look no further than this ladies slouchy jumper knitting pattern. This pattern is perfect for those who love to knit and want to create a relaxed and comfortable sweater that can be worn with jeans or leggings.
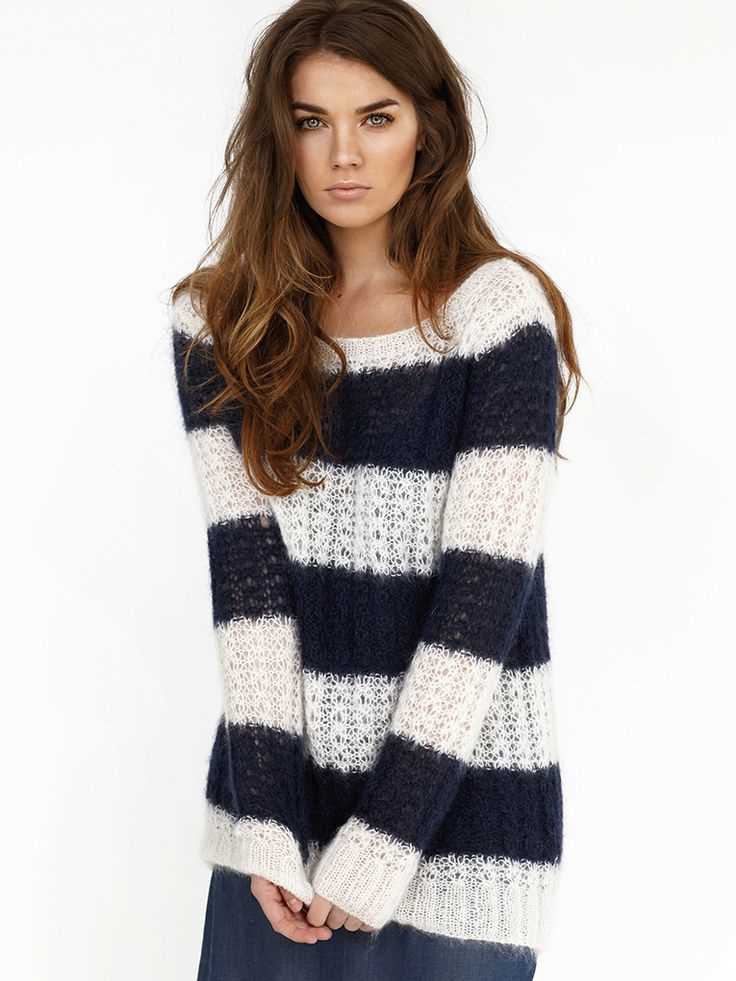
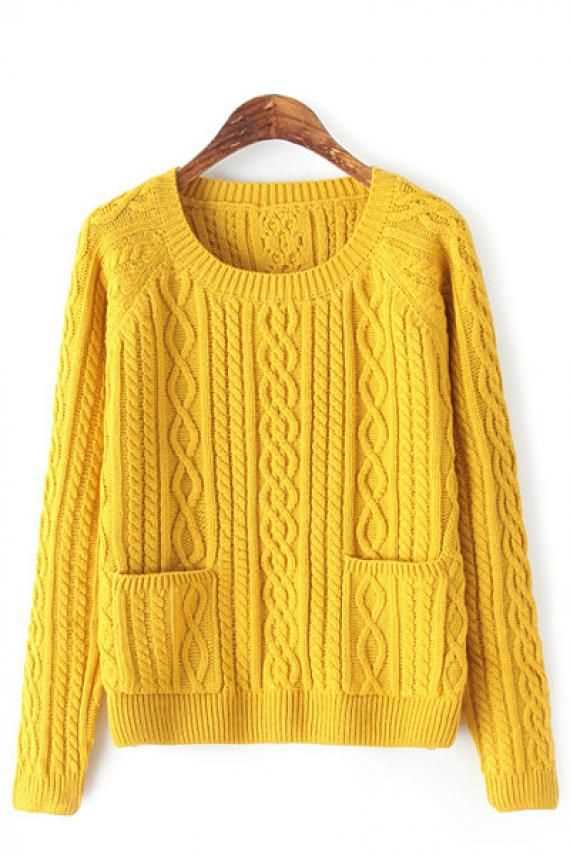
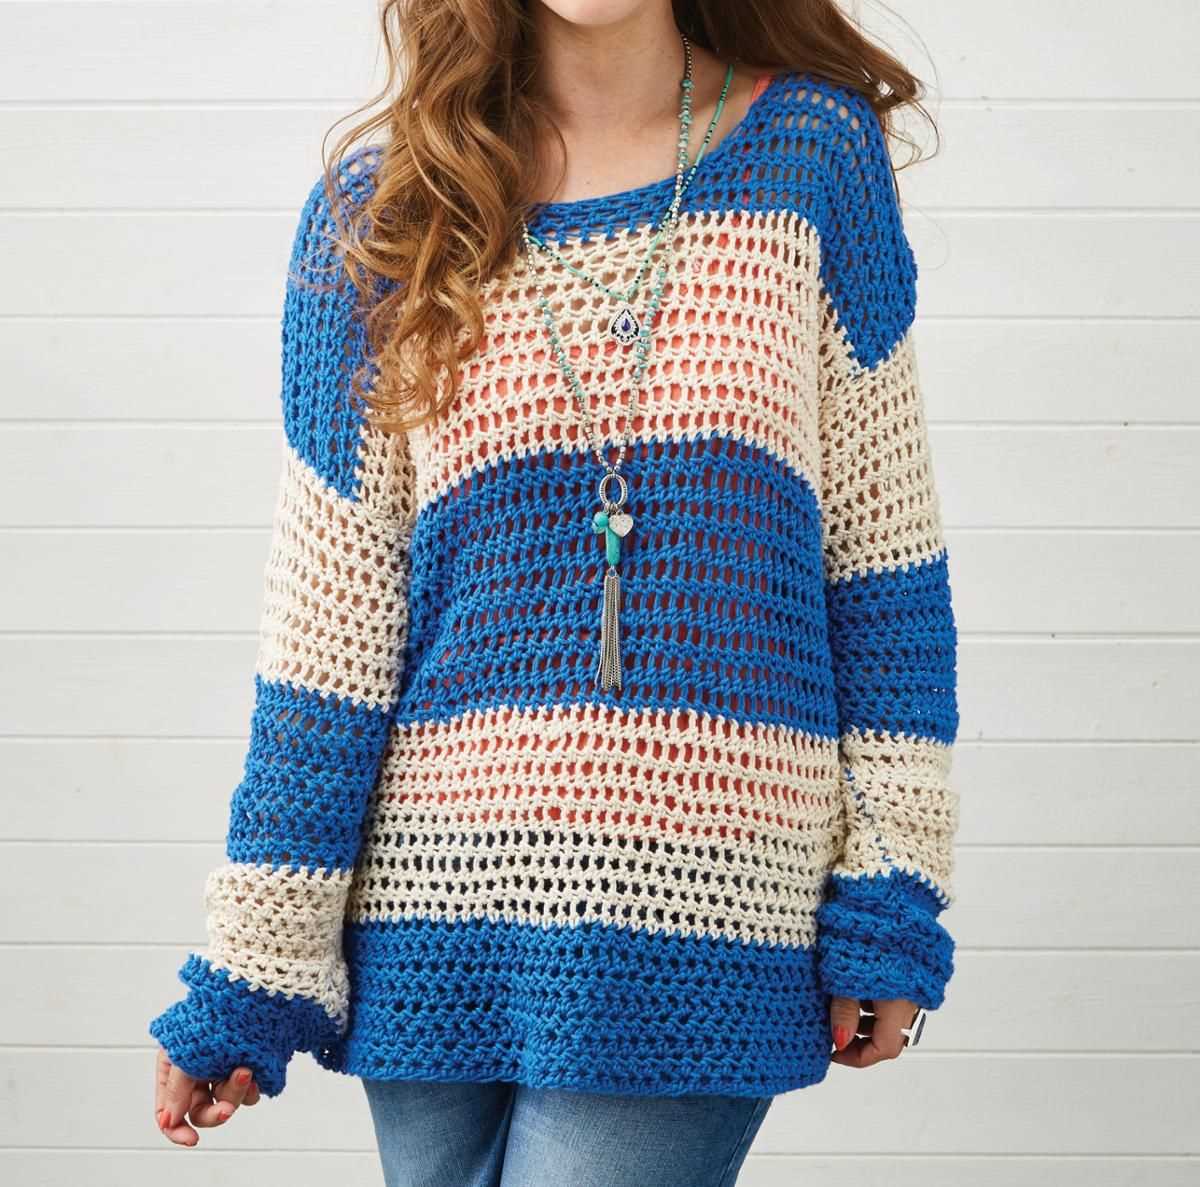
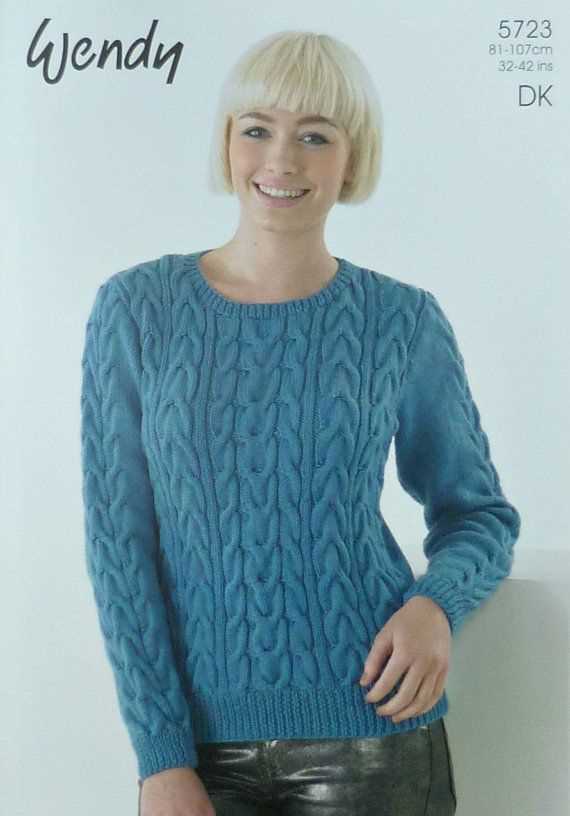
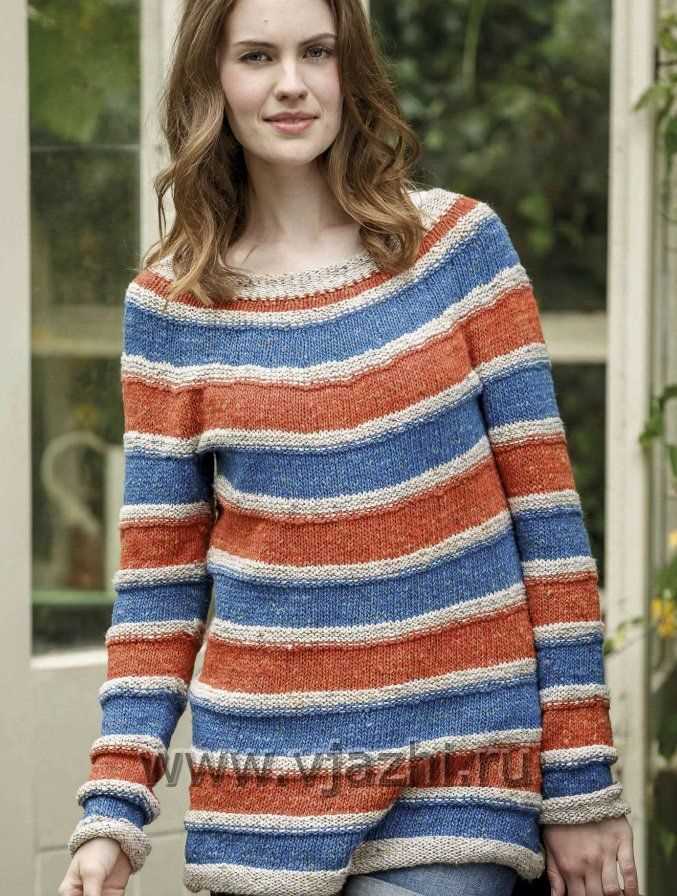
The slouchy jumper style is incredibly popular and versatile, offering a laid-back and effortless look that can be dressed up or down depending on the occasion. With this knitting pattern, you’ll be able to customize your jumper to your own personal style, whether you prefer a classic cable knit or a more modern striped design.
Not only is this pattern a fun and rewarding project for experienced knitters, but it’s also a great way for beginners to learn new techniques and hone their skills. With clear and detailed instructions, you’ll be guided through each step of the knitting process, from casting on to creating the perfect fit.
Choosing the right yarn
When it comes to knitting the perfect ladies slouchy jumper, choosing the right yarn is crucial.
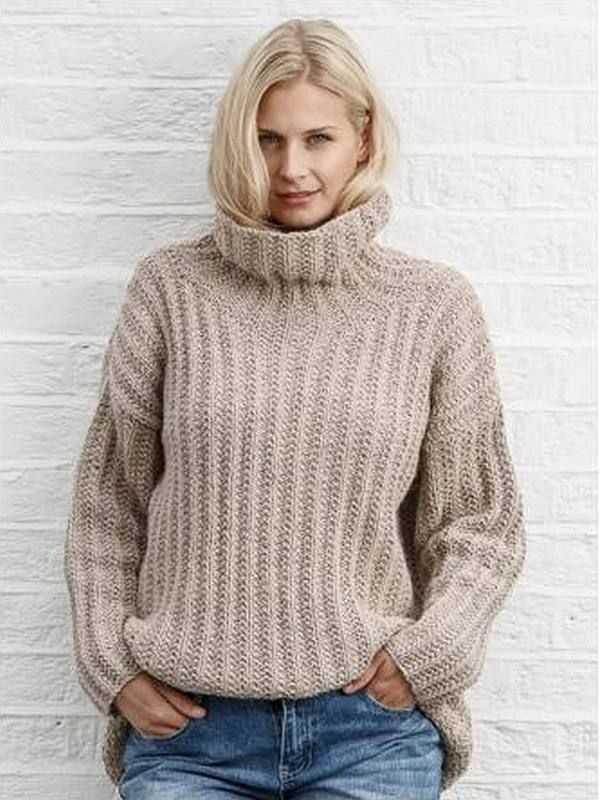
One of the most important factors to consider when selecting yarn for your project is the fiber content. The ideal yarn for a slouchy jumper should be soft, warm, and cozy. Natural fibers like wool, alpaca, and cashmere are perfect choices as they provide excellent warmth and insulation. For a more lightweight and breathable option, cotton or bamboo yarn can be used. These fibers also offer great drape, making them ideal for slouchy styles.
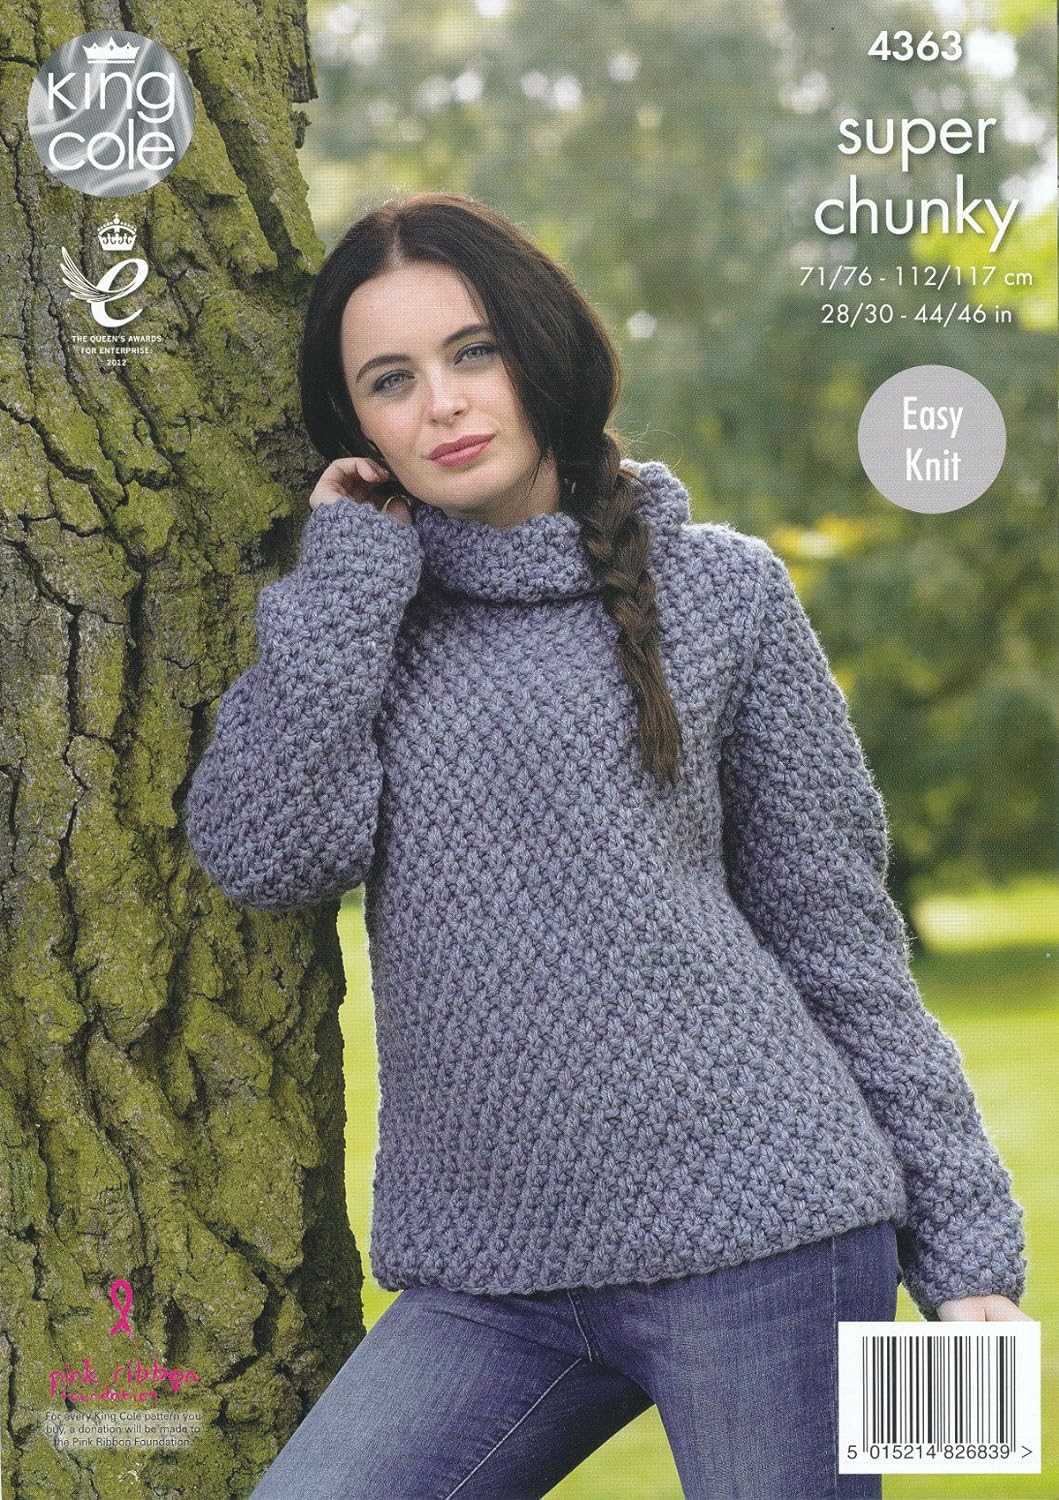
Yarn weight is another essential factor to consider. For a slouchy jumper, you’ll typically want to use a medium to bulky weight yarn. This will ensure that your finished piece has the desired amount of drape and slouch. However, you can experiment with different weights to achieve different effects. For example, a lighter weight yarn will result in a more delicate and airy jumper, while a heavier weight yarn will provide a chunkier and cozier look.
Lastly, color and texture are also important considerations when choosing yarn. The color of your yarn can greatly affect the overall look and feel of your slouchy jumper. You can opt for neutral tones for a classic and versatile look, or go bold with vibrant colors for a more statement-making piece. Additionally, considering the texture of the yarn is essential, as it can add visual interest and depth to your project.
In conclusion, when choosing yarn for your ladies slouchy jumper, prioritize the fiber content, yarn weight, color, and texture. By carefully selecting these factors, you can ensure that your finished piece turns out just as cozy and stylish as you envisioned.
Selecting the appropriate needle size
When knitting a ladies slouchy jumper, selecting the appropriate needle size is crucial for achieving the desired outcome. The needle size not only affects the overall gauge and tension of the knitting, but also determines the size and drape of the finished garment.
Before starting your project, it is important to refer to the pattern’s instructions or gauge swatch to determine the recommended needle size. The pattern usually specifies the size of the needles needed to achieve the desired gauge, which is the number of stitches and rows per inch. Following the recommended needle size will ensure that your finished jumper matches the dimensions and fit specified in the pattern.
In addition to the pattern’s instructions, it is also essential to consider the type of yarn you will be using. Different yarns have different characteristics, such as thickness, elasticity, and texture. These factors can influence the appropriate needle size. Thicker yarns generally require larger needles, while thinner yarns require smaller needles. It is important to strike a balance between the yarn’s texture and the desired drape of the finished jumper.
Ultimately, selecting the appropriate needle size requires a combination of following the pattern’s instructions, considering the yarn’s characteristics, and personal preference. It is always recommended to make a gauge swatch before starting the project to ensure that the needle size and tension are suitable for your knitting style. Taking the time to select the correct needle size will result in a well-fitting and visually appealing ladies slouchy jumper.
Casting on and beginning the project
Before you start knitting the slouchy jumper, you will need to cast on your stitches. To do this, you can use the long-tail cast on method, which provides a neat and stretchy edge. Make sure to leave a long enough tail so that you have plenty of yarn to work with throughout the project.
Once you have cast on your stitches, you can begin the project. The slouchy jumper pattern typically starts with knitting the ribbing for the neckline. This is often done in a k1, p1 rib stitch, which creates a stretchy and textured fabric. Follow the pattern instructions to determine the number of stitches you need for the ribbing and work the specified number of rows.
After completing the ribbing, you will move on to the main body of the jumper. This is where you will start working the pattern stitch, whether it’s a simple stockinette stitch or a more intricate design. Make sure to read the pattern carefully and follow any shaping or stitch pattern instructions provided.
As you continue knitting, take regular measurements to ensure that your slouchy jumper is turning out the right size. This is especially important if you are using a different yarn or gauge than specified in the pattern. Adjustments may need to be made to ensure the best fit.
Remember to take breaks and enjoy the process of knitting your slouchy jumper. It can be a relaxing and rewarding project, and with each stitch, you’ll be one step closer to having a cozy and stylish addition to your wardrobe.
Working the body of the jumper
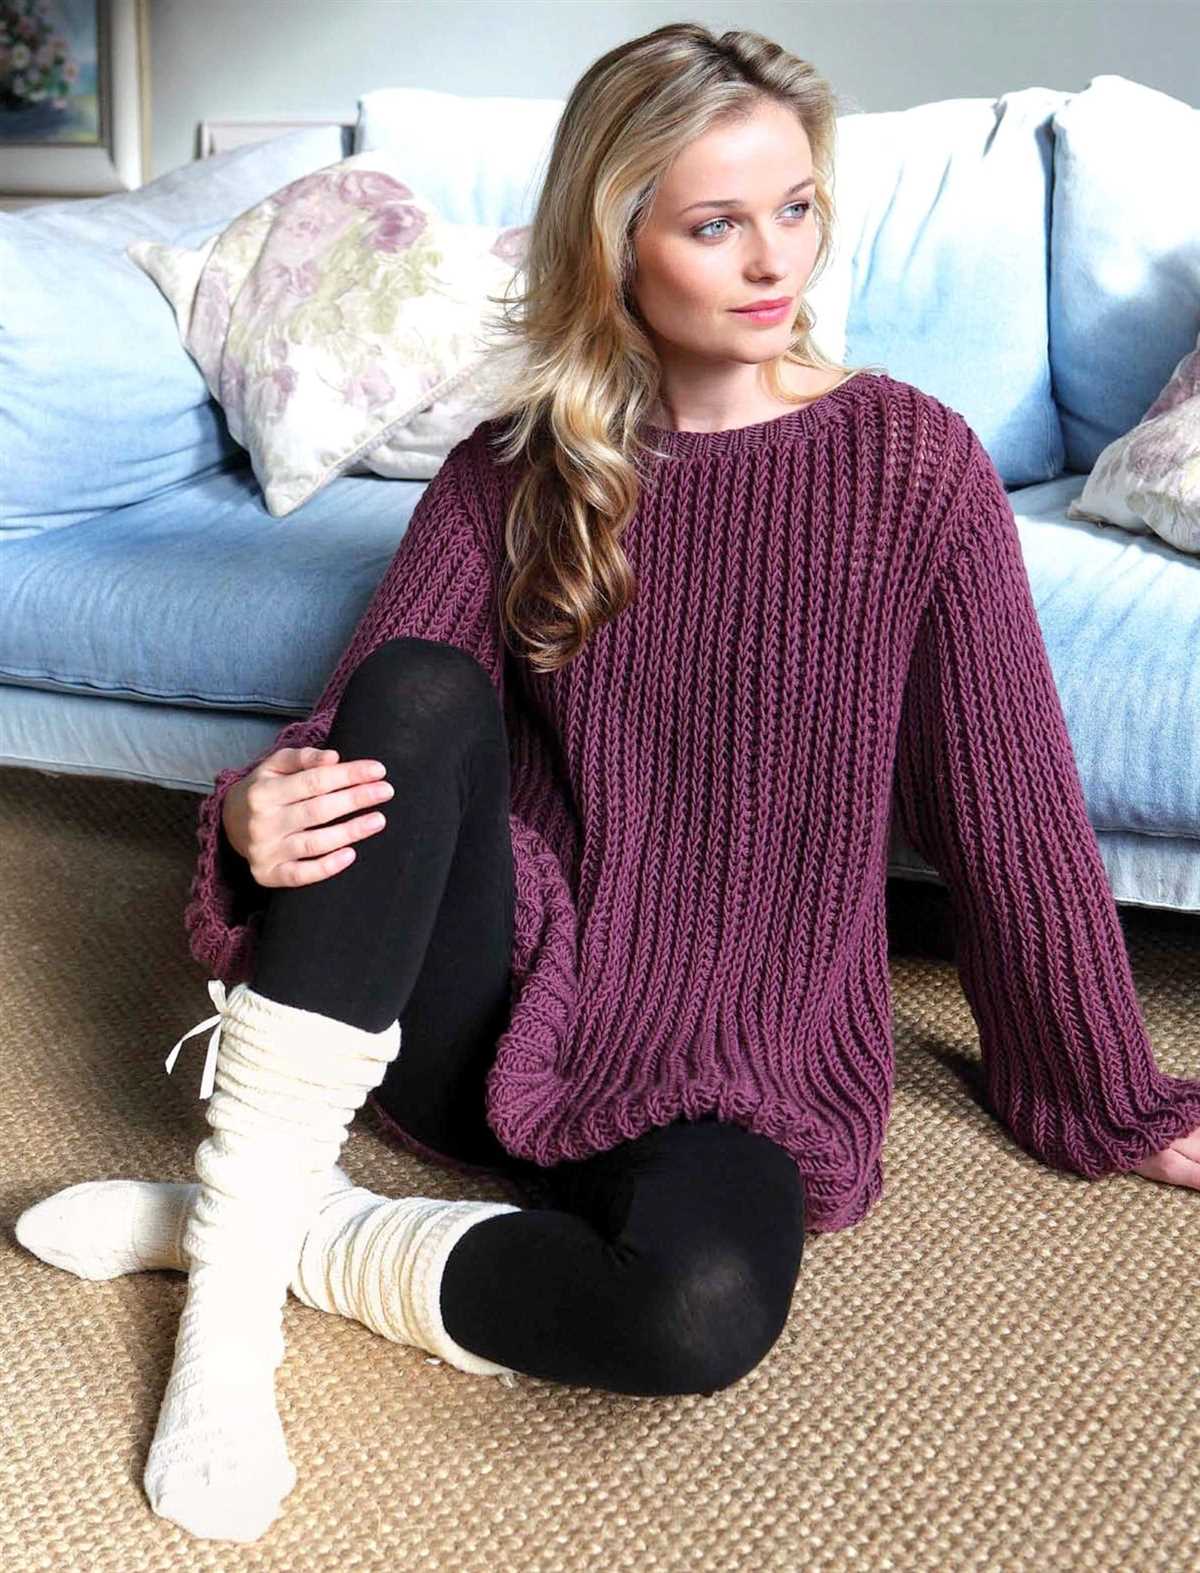
Once you have completed the ribbing for the hem and cuffs of the jumper, you will begin working on the main body. This is where the slouchy and relaxed fit of the jumper starts to take shape.
Using the specified yarn and needle size, continue knitting in the desired stitch pattern for the body of the jumper. You can choose from a variety of stitch patterns, such as stockinette stitch, rib stitch, or a combination of different stitches to add texture and interest to your design. Be sure to follow the pattern instructions carefully to create the desired look.
As you work on the body of the jumper, you will need to keep track of your stitch count and any shaping instructions. If the pattern calls for any increases or decreases, make sure to execute them at the specified intervals to achieve the correct fit. It’s also important to regularly check your gauge to ensure that the dimensions of your knitted fabric are accurate.
Tip: To add extra comfort and slouchiness to your jumper, you can choose to knit the body with a slightly larger needle size. This will create a looser and more relaxed fabric that drapes beautifully.
Continue knitting until the body of the jumper reaches the specified length or until you are satisfied with the overall look and fit. Remember that the slouchy style of this jumper allows for a more forgiving fit, so it’s okay if it’s slightly longer or shorter than the recommended length.
Once you have completed the body, you can move on to the neckline and finishing details of the jumper. Follow the pattern instructions to create the desired neckline shape, whether it’s a crew neck, boat neck, or V-neck. Then, carefully weave in any loose ends and give your jumper a gentle blocking to ensure that the stitches are even and the fabric lays flat.
Shaping the neckline and shoulders
The neckline and shoulders of a slouchy jumper play a crucial role in its overall fit and style. By shaping these areas properly, you can create a garment that sits well on the body and flatters the wearer. In this knitting pattern, the neckline and shoulders are shaped using a combination of decreases and short rows.
To start shaping the neckline, the pattern instructs you to work a series of decreases at regular intervals along the neck edge. These decreases can be done using a variety of techniques, such as knit 2 together (k2tog) or slip, slip, knit (ssk). By decreasing the number of stitches on each row, you create a gradual slope that follows the natural curve of the neck.
Once the neckline has been shaped, the pattern then guides you through the process of shaping the shoulders. This is done by using a set of short rows. Short rows are partial rows that are worked back and forth across a portion of the stitches. They are used to add extra fabric in certain areas, creating a more comfortable and natural fit.
In this pattern, the short rows are worked on either side of the center back stitches. By working a few short rows on each side, you create a gentle slope that helps the jumper sit nicely on the shoulders. These short rows can be worked using the wrap and turn technique or any other preferred method.
The combination of decreases and short rows in the neckline and shoulders shaping helps to create a comfortable and flattering fit for the slouchy jumper. Make sure to follow the pattern instructions carefully to achieve the desired results, and don’t hesitate to make adjustments if needed to fit your individual measurements and preferences.
Knitting the sleeves

After finishing the body of the slouchy jumper, it is time to move on to knitting the sleeves. The sleeves are knitted separately and then attached to the body of the jumper. Here is a step-by-step guide on how to knit the sleeves.
1. Cast on stitches
To start the sleeves, cast on the required number of stitches onto your knitting needles. The pattern will specify the number of stitches to cast on based on the size of the jumper you are making. Make sure to use the correct size of knitting needles as well.
2. Knit in the round
Once the stitches are cast on, join them in the round by knitting the first and the last stitches together. This will create a continuous loop of stitches for the sleeve. Use circular knitting needles or double-pointed needles for this step, depending on your preference.
3. Work the sleeve pattern
Continue knitting in the round, following the stitch pattern specified in the pattern. This may involve knitting plain rounds, purling rounds, or working specific stitch patterns such as cables or lace. Make sure to keep track of your progress and count your stitches to ensure accuracy.
4. Shape the sleeve
As you continue knitting, the pattern will specify when to start shaping the sleeve. This usually involves decreasing or increasing stitches at regular intervals to create the desired shape. Follow the instructions carefully to shape the sleeve according to the pattern.
5. Bind off
Once you have reached the desired length for the sleeve, it is time to bind off. Follow the pattern instructions to bind off the stitches and secure the edge of the sleeve. Cut the yarn, leaving a tail to weave in later.
Repeat these steps to knit the second sleeve. Once both sleeves are completed, they can be sewn onto the body of the slouchy jumper according to the pattern instructions. Make sure to align the sleeves with the armholes and sew them securely to ensure a neat finish.
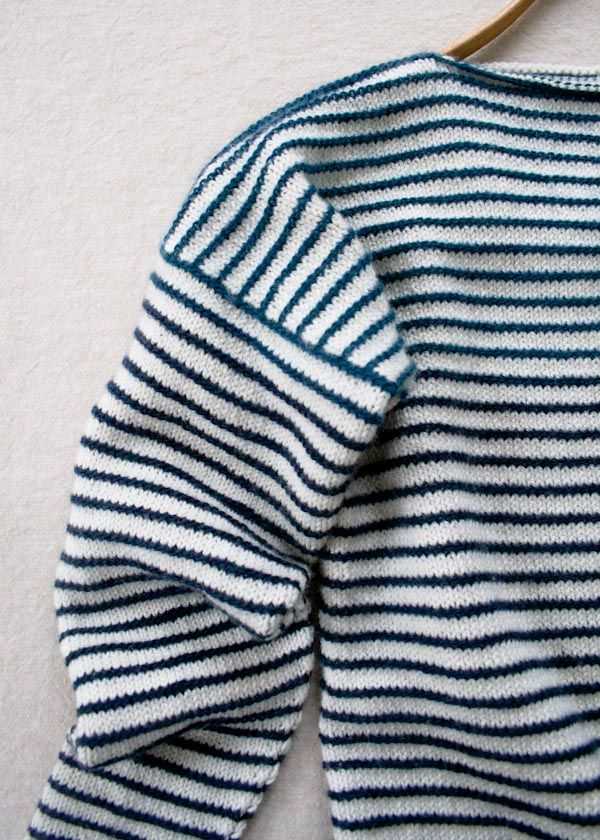
Finishing the sleeves and attaching them to the body
After completing the sleeves of your slouchy jumper, it’s time to finish them off and attach them to the body of the garment. Here are the steps to follow:
1. Blocking the sleeves:
Before attaching the sleeves, it’s a good idea to block them. Blocking helps to shape the knitted fabric and ensures that the sleeves are the correct size and shape. To block the sleeves, soak them in lukewarm water and gently squeeze out the excess moisture. Lay the sleeves flat on a towel and shape them to the desired measurements. Allow them to dry completely before continuing.
2. Attaching the sleeves to the body:
Once the sleeves are dry, it’s time to attach them to the body of the jumper. Start by placing the body piece flat on a surface, with the right side facing up. Take one sleeve and align the top edge with the armhole on one side of the body. Make sure that the seams of the sleeve and body line up. Use stitch markers or pins to hold the sleeve in place.
Next, using a tapestry needle and the same knitting yarn, sew the sleeve to the body using mattress stitch or your preferred seaming method. Be sure to sew through both layers of the fabric, making sure that the stitches are secure and neat. Repeat this process for the other sleeve, ensuring that it is aligned with the opposite armhole. Once both sleeves are attached, weave in any loose ends and give the jumper a final steam block to set the stitches.
Adding ribbing to the cuffs and hem
In the process of knitting a ladies slouchy jumper, adding ribbing to the cuffs and hem is an important step in creating a finished and polished look. Ribbing is a technique that creates a stretchy and elastic band, providing a snug fit and ensuring that the jumper stays in place.
To add ribbing to the cuffs and hem, you will need to switch to a smaller needle size. This will create a tighter and more defined texture. You can use the same stitch pattern as the main body of the jumper, or choose a different ribbing pattern such as 1×1 rib, 2×2 rib, or twisted rib. These patterns create alternating knit and purl stitches, resulting in a textured and visually appealing ribbed effect.
For the cuffs: Start by picking up stitches along the edge of the sleeve using the smaller needle size. The number of stitches you pick up will depend on the desired width of the ribbing. Once you have picked up the stitches, you can begin working in your chosen ribbing pattern. Repeat the pattern for the desired length of the cuff, and then bind off using a stretchy bind-off method to maintain the elasticity of the ribbing.
For the hem: After you have finished knitting the body of the jumper, switch to the smaller needle size and pick up stitches along the edge. Again, the number of stitches will depend on the desired width of the ribbing. Work in your chosen ribbing pattern for the desired length, and then bind off using the same stretchy bind-off method as for the cuffs.
Adding ribbing to the cuffs and hem not only adds a decorative element to the ladies slouchy jumper, but also provides functional benefits. The ribbing helps to keep the sleeves and bottom edge in place, preventing them from stretching out over time. It also gives the jumper a more finished and professional look, adding structure and definition to the overall design. With the addition of ribbing, the ladies slouchy jumper will have a stylish and tailored appearance that is both comfortable and flattering.
Blocking and Finishing Touches
Once you have finished knitting your slouchy jumper, it’s time to block and add the finishing touches to complete your project. Blocking is an important step in knitting to shape and size your garment, ensuring that it looks its best and fits correctly.
First, you’ll need to prepare your slouchy jumper for blocking. Gently wash it in lukewarm water using a mild detergent or wool wash. Avoid rubbing or wringing the garment to prevent stretching or damaging the fibers. After washing, gently squeeze out the excess water and lay your jumper flat on a towel or blocking mat.
To shape your slouchy jumper, gently stretch and pin it to the desired measurements and shape using rustproof pins. Pay attention to the neckline, sleeves, and hemline to ensure that they lay flat and have a clean finish. Leave your jumper to dry completely before removing the pins.
Once your slouchy jumper is dry, it’s time to add the finishing touches. Sew in any loose ends using a yarn needle, making sure to secure them tightly. If desired, you can also add embellishments such as buttons, patches, or embroidery to personalize your jumper.
Finally, give your slouchy jumper a final inspection and make any necessary adjustments or touch-ups. Check the fit, make sure all seams are secure, and ensure that the overall appearance of the jumper meets your expectations.
By following these blocking and finishing techniques, you can transform your knitted slouchy jumper into a polished and professional-looking garment. So, grab your knitting needles and get started on creating your very own cozy and stylish jumper!