
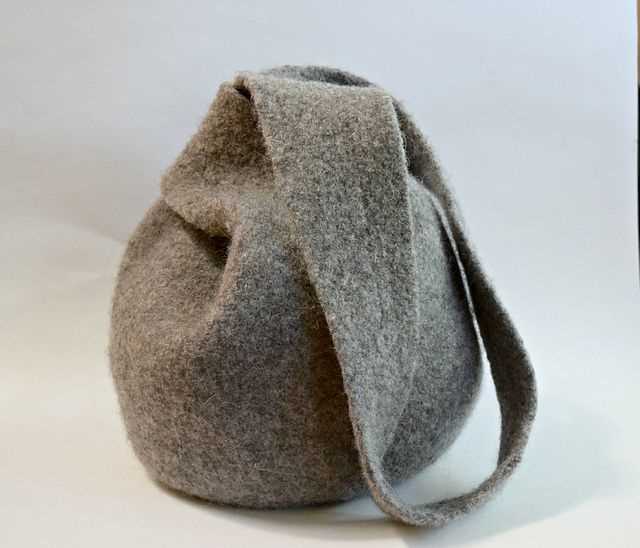
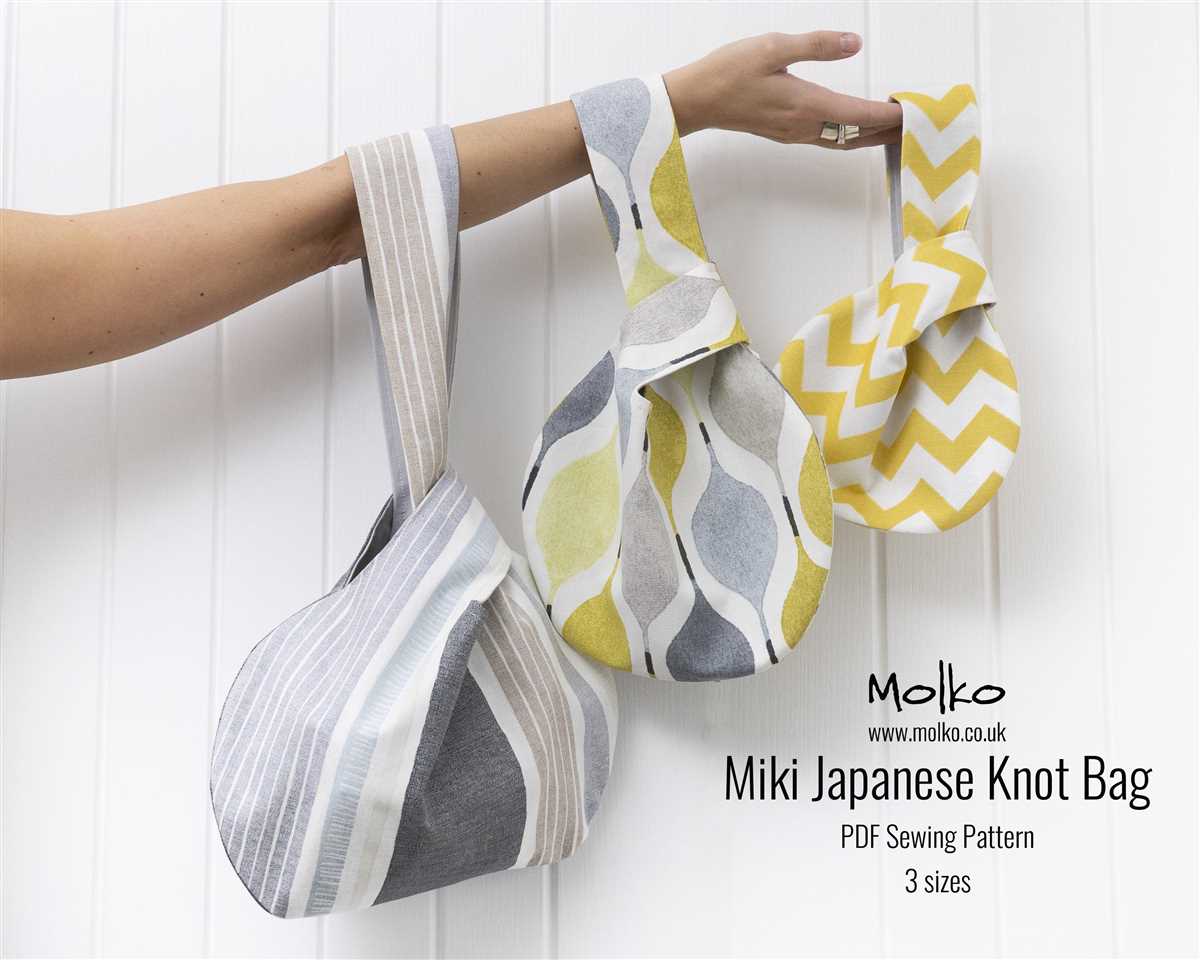
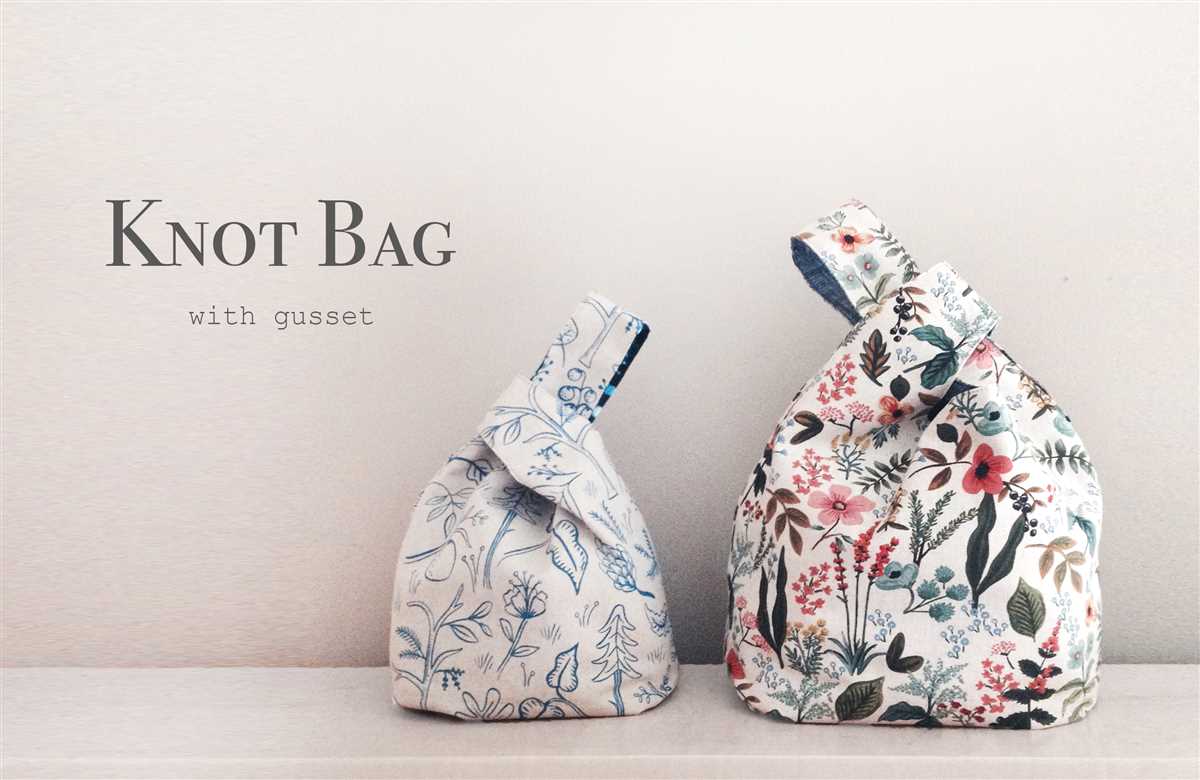
If you’re a fan of knitting and looking for a new project, why not try your hand at making a Japanese knot bag? These stylish and functional bags are perfect for carrying small items or even as a fashion statement. The unique design of the bag, with its one long handle that can be pulled through a loop to close the bag, makes it both practical and eye-catching.
This pattern is a beginner-friendly project that is suitable for knitters of all levels. Even if you’re new to knitting, you can easily master the techniques required to create this beautiful bag. The pattern is worked in the round using circular needles, giving it a seamless and professional finish.
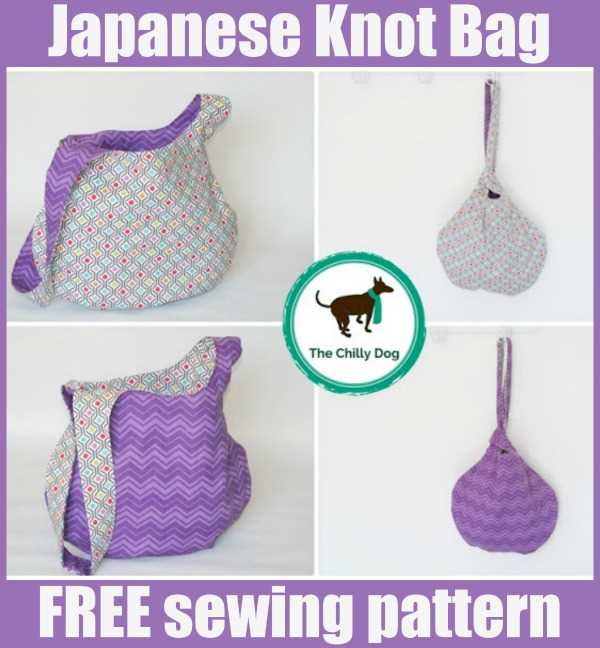
With the Japanese knot bag pattern, you can choose your favorite colors and yarn to make a bag that perfectly matches your style. The pattern can be easily customized to create a bag of any size, whether you prefer a small purse-sized bag or a larger tote. You can also experiment with different stitch patterns to create unique and personalized designs.
Knit Japanese Knot Bag Pattern
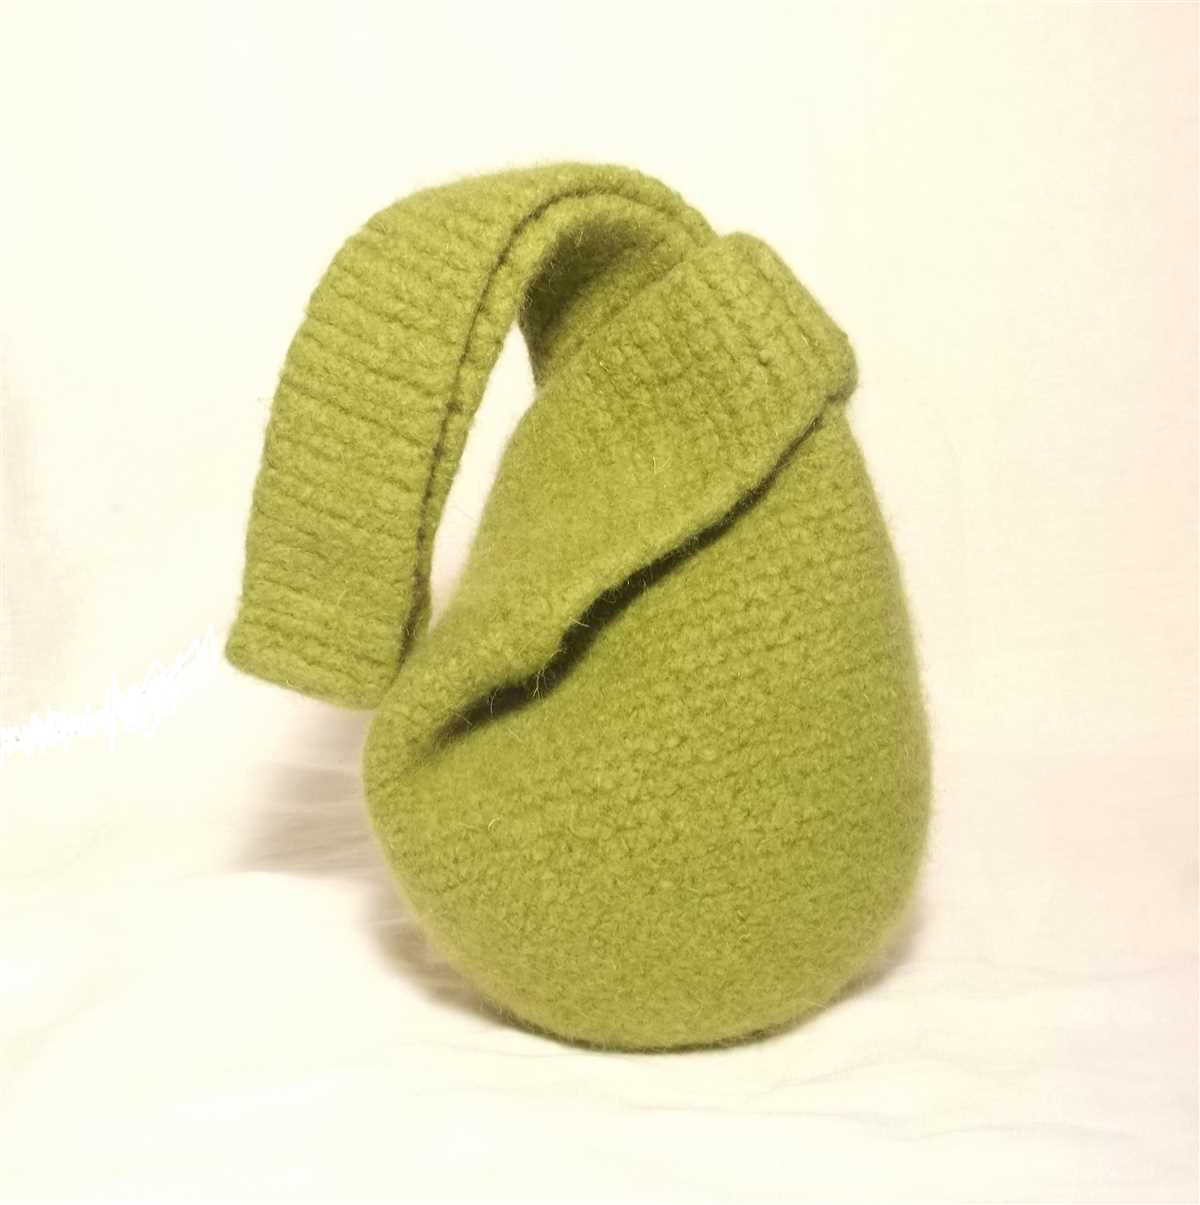
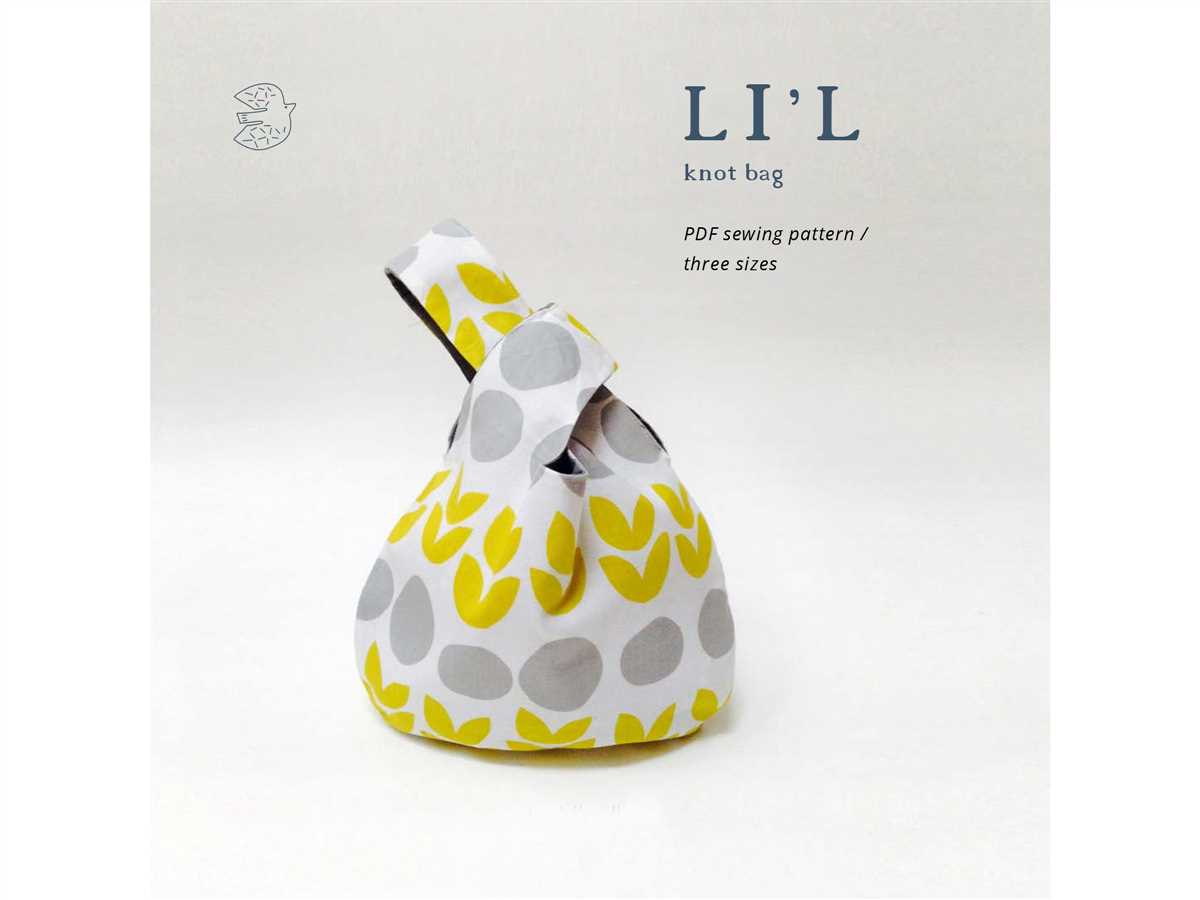
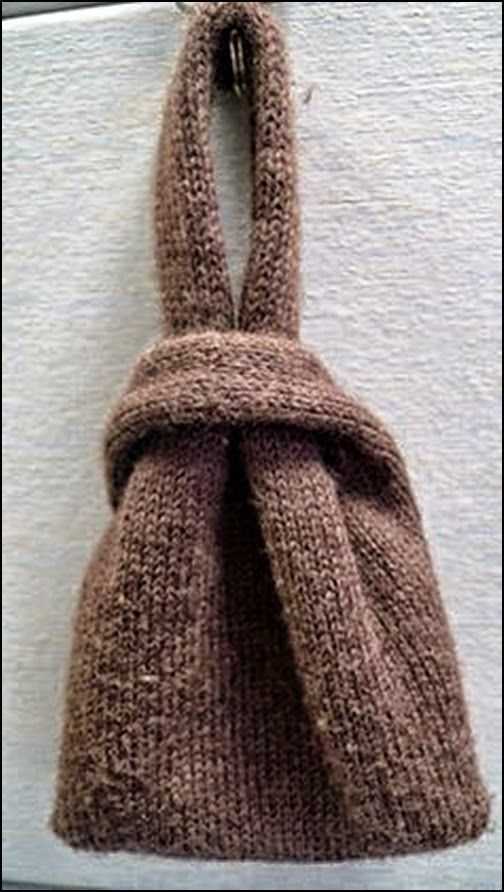
A Japanese knot bag is a stylish and functional accessory that you can knit yourself. This bag features a unique design with a knot that serves as the handle, making it easy to carry and open. It is perfect for carrying your essentials and adding a touch of Japanese-inspired elegance to your outfit. With this knit pattern, you can create your own Japanese knot bag in no time.
To knit a Japanese knot bag, you will need a set of knitting needles, yarn, and some basic knitting skills. The pattern typically involves knitting in the round to create a seamless bag with a cylindrical shape. The knot handle is created by folding the fabric and attaching it to the body of the bag. The size and shape of the bag can be customized to your preference, making it a versatile project.
Materials:
- Knitting needles (size can vary based on your preference)
- Yarn (color of your choice)
- Tapestry needle
- Scissors
Instructions:
- Cast on the desired number of stitches to create the base of the bag.
- Knit in the round, working in a continuous spiral, until the bag reaches the desired height.
- Shape the handle of the bag by folding a portion of the fabric and securing it to the body of the bag with a few stitches.
- Continue knitting to complete the remaining portion of the bag.
- Bind off the stitches and weave in any loose ends.
Optional variations:
- Add a lining to the bag for extra durability.
- Embroider or add embellishments to personalize the design.
- Create a smaller or larger bag by adjusting the number of stitches and rows.
- Experiment with different yarn textures and colors for unique effects.
With this knit Japanese knot bag pattern, you can create a stylish and practical accessory that showcases your knitting skills. Whether you use it as a statement piece or a functional bag, this Japanese knot bag is sure to catch attention and add a touch of elegance to any outfit.
Overview
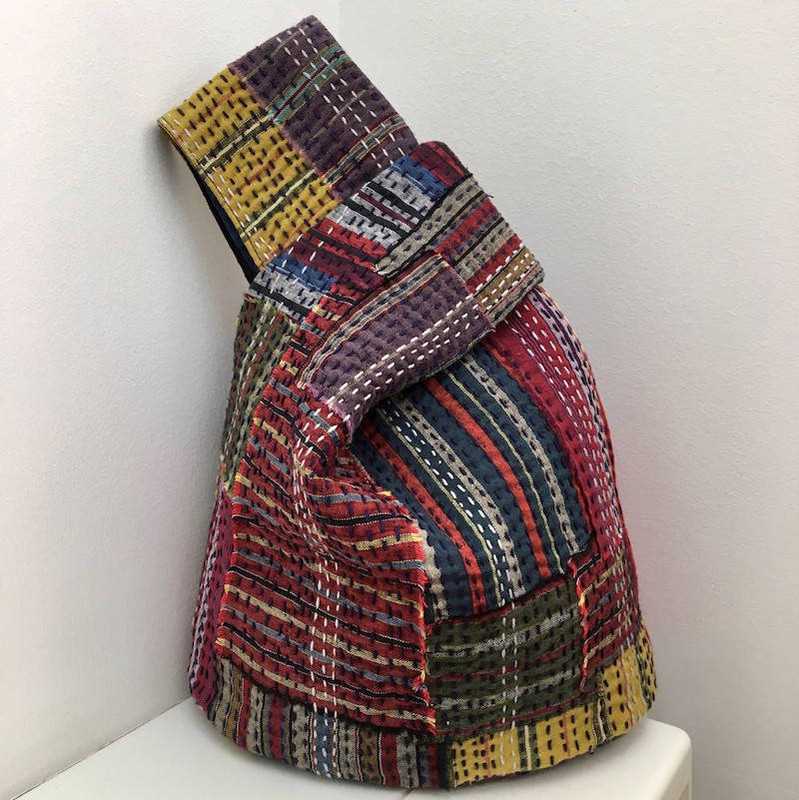
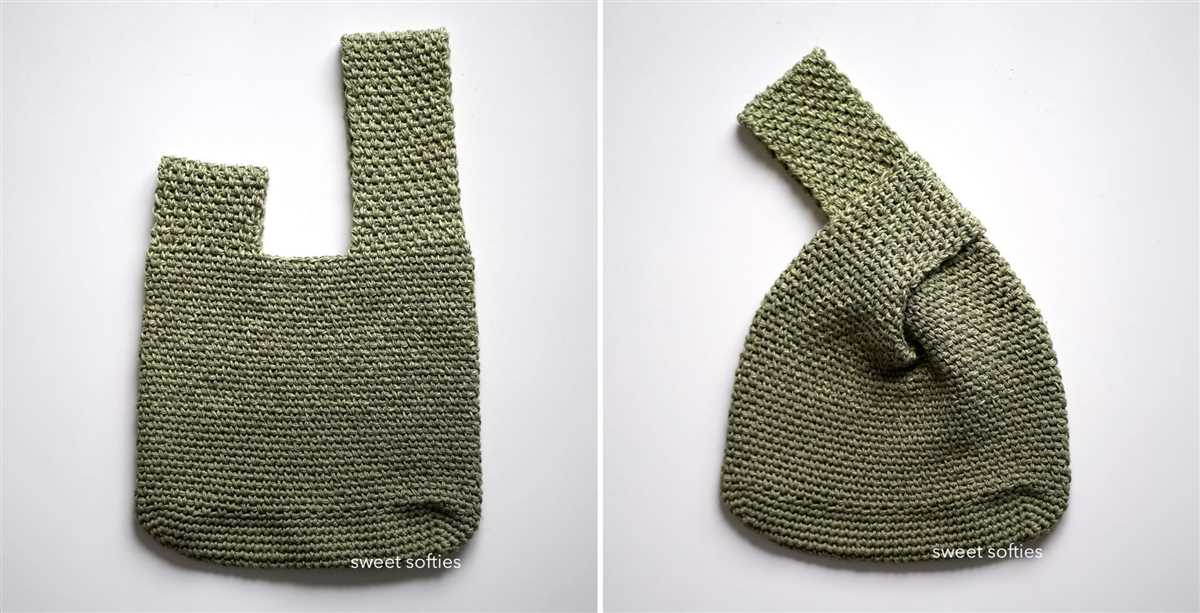
The Japanese knot bag is a unique type of handbag that originated in Japan. It is characterized by its shape and design, featuring a single handle that loops through a knot to secure the bag. This distinctive style has gained popularity worldwide for its simplicity and functionality.
This knitting pattern allows you to create your own Japanese knot bag, adding a personal and handmade touch to your accessory collection. The pattern provides step-by-step instructions on how to knit the bag using basic knitting techniques. It is suitable for knitters of all skill levels, making it a great project for beginners or experienced knitters looking for a quick and satisfying project.
The pattern includes a list of materials needed, such as yarn and knitting needles, as well as gauge recommendations to ensure that your finished bag will have the desired size and shape. It also provides detailed measurements and diagrams to guide you through the knitting process.
Once you have finished knitting the bag, you can customize it further by adding embellishments or decorations. You can choose to line the bag with fabric to give it a polished and finished look, or leave it as is for a more rustic and casual style.
Whether you want to make a Japanese knot bag for yourself or as a gift for a loved one, this knitting pattern is a great way to explore the world of knitting and create a unique and stylish accessory.
Materials Needed
A Japanese knot bag is a stylish and versatile accessory that can be used for carrying small items or as a statement piece. To make your own Japanese knot bag, you will need a few materials:
- Yarn: Choose a yarn that is suitable for your knitting project. Consider the weight and texture of the yarn to achieve the desired result. You may also select different colors to create a unique pattern.
- Knitting needles: Use knitting needles that are appropriate for the yarn you have chosen. The size of the needles will determine the gauge and overall size of your bag.
- Tape measure: A tape measure will be handy for measuring the size of your bag and checking your gauge as you knit.
- Scissors: You will need scissors to cut your yarn and also to trim any excess thread.
- Darning needle: A darning needle, also known as a tapestry needle, is essential for weaving in loose ends and seaming your bag together.
- Stitch markers: Stitch markers can be helpful for marking special stitches or sections of your pattern. They can be either removable or permanent markers.
- Optional embellishments: If you want to add a personal touch to your bag, consider adding buttons, beads, or other embellishments to decorate the finished product.
Having these materials ready will ensure that you have everything you need to start knitting your own Japanese knot bag. Once you have gathered all the necessary supplies, you can begin following a pattern or create your own design to make a beautiful and functional bag.
Step 1: Cast On
Before beginning to knit your Japanese Knot Bag, you will need to cast on your stitches. The cast on is the first step in creating the foundation row of your knitting. There are different methods for casting on, but for this project, we will be using the Long Tail Cast On method.
- Step 1: Hold the yarn in your right hand and make a slip knot. Leave a long tail of yarn, as this will be used to cast on your stitches.
- Step 2: Insert your knitting needle into the slip knot and tighten the knot around the needle.
- Step 3: With your left hand, hold the yarn coming from the ball (working yarn) and the tail of yarn (non-working yarn) separately.
- Step 4: Bring the working yarn (coming from the ball) over your thumb and the tail of yarn (non-working yarn) over your index finger.
- Step 5: With your right hand, insert the needle under the working yarn on your thumb, over the tail of yarn on your index finger, and behind your thumb.
- Step 6: With your right hand, bring the needle back up and over the working yarn on your thumb, creating a loop around the needle.
- Step 7: Drop the loop from your thumb, still keeping hold of the tail of yarn with your left index finger.
- Step 8: Repeat steps 4-7 until you have cast on the desired number of stitches for your Japanese Knot Bag.
The Long Tail Cast On method provides a neat and stretchy edge for your knitting project. Once you have finished casting on, you can move on to the next step in creating your Japanese Knot Bag.
Step 2: Knit the Base
Once you have cast on your desired number of stitches, you can begin knitting the base of the Japanese knot bag. The base is a rectangular shape that will serve as the foundation for the bag.
To knit the base, you will need to work in rows using a basic knitting stitch such as the garter stitch or stockinette stitch. This will create a sturdy and even fabric for the bag.
You can choose to knit the base using a single color or incorporate different colors for a more visually interesting design. If you want to add stripes or other patterns, you can do so by switching colors at the beginning of each row.
Continue knitting the base until it reaches your desired length. Keep in mind that the base should be wide enough to comfortably hold your belongings but not too wide that it becomes bulky when worn.
Once you have finished knitting the base, you can move on to the next step of the pattern, which is shaping the sides of the bag.
Step 3: Shape the Bag
Once you have finished knitting the main body of the bag, it’s time to shape it into the unique Japanese knot bag design. This step will transform your flat knitted piece into a functional and stylish accessory.
1. Fold the Knitted Rectangle: Lay the knitted rectangle flat on a surface with the right side facing up. Bring the two shorter edges of the rectangle together, overlapping them by about an inch. This will create the shape of the bag.
2. Create a Handle Opening: The Japanese knot bag has a single handle that passes through a unique opening. On one side of the folded rectangle, measure about 1/3 down from the top edge and make a small mark with a stitch marker or a removable marker. This is where the handle opening will be located.
3. Sew the Side Seam: With a tapestry needle and yarn in a matching color, sew the two shorter edges together from the top opening down to the handle opening mark. Use a whip stitch or a mattress stitch to create a secure seam. Leave the handle opening unsewn.
4. Attach the Handle: To create the handle, you can use a knitted i-cord or a strip of fabric. Starting at one side of the handle opening, thread the handle through the opening, passing it over the top of the bag and pulling it out from the other side of the opening. Adjust the handle length to your preference and secure it by tying a knot or sewing it in place.
5. Finishing Touches: With the bag shaped and the handle attached, take a moment to weave in any loose ends and make sure all the seams are secure. You can also add embellishments such as buttons, beads, or tassels to personalize your Japanese knot bag.
Congratulations! You have successfully shaped your knitted Japanese knot bag. Now you can enjoy the convenience and style of this versatile accessory, perfect for carrying small items, knitting projects, or as a unique gift.
Step 4: Create the Handle
Once you have finished knitting the main body of the Japanese knot bag, it’s time to create the handle. The handle is an important part of the bag as it allows you to carry it comfortably. In this step, we will guide you through the process of making the handle.
Materials Needed:
- Yarn – choose a yarn that complements the color of your bag
- Knitting needles appropriate for your yarn
- Tapestry needle
- Scissors
Here are the steps to follow:
- Cast on the desired number of stitches for the handle. This will depend on how long and wide you want your handle to be. Make sure to leave a long tail of yarn for weaving in later.
- Knit every row until the handle reaches the desired length. You can use any stitch pattern you like or simply stick to the basic knit stitch for a simple handle.
- Once the handle is the desired length, bind off all stitches. Cut the yarn, leaving a long tail for weaving in later.
- Using a tapestry needle, weave in the ends of the yarn to securely attach the handle to the bag. Make sure to weave the ends in neatly and trim any excess yarn.
That’s it! Your Japanese knot bag is now complete with a sturdy and stylish handle. Feel free to experiment with different stitch patterns or add decorative elements to customize your bag even further.
Step 5: Knit the Side Gussets
Once the main body of the Japanese knot bag is complete, it’s time to knit the side gussets. These gussets will give the bag its unique shape and functionality. Here’s how to knit them:
1. Cast on stitches: To begin, cast on the required number of stitches for the side gussets. The number of stitches will depend on the size and desired width of the gussets. Use a stitch marker to mark the beginning of the round.
2. Knit in the round: Once the stitches are cast on, join them in the round using the magic loop method or double-pointed needles. Knit every round until the gussets reach the desired length. You can use a stitch marker to keep track of the number of rounds knit.
3. Decrease for shaping: To create the tapered shape of the gussets, start decreasing stitches after a certain number of rounds. This can be done by knitting two stitches together (k2tog) at regular intervals. The frequency of decreases will depend on the desired shape and width of the gusset.
4. Bind off stitches: Once the desired shape and length of the gussets are achieved, bind off all stitches. Cut the yarn, leaving a long tail for sewing the gussets to the main body of the bag.
5. Attach gussets to the main body: Use the long tail of yarn to sew the side gussets to the main body of the bag. Position the gussets evenly on each side, ensuring that the tapered end aligns with the bag opening. Use a whipstitch or mattress stitch to join the gussets securely.
By following these steps, you can knit the side gussets of your Japanese knot bag and complete this unique and stylish accessory.
Step 6: Seam the Bag
After completing the knitting of the Japanese knot bag, it is time to seam the different parts together to create a functional and stylish bag. Here are the steps to follow:
1. Prepare the bag pieces
Before seaming, make sure you have all the necessary bag pieces ready. These typically include the main body, the strap, and any additional pockets or embellishments you may have added. Lay each piece flat and smooth out any wrinkles or creases.
2. Position the pieces
Place the main body of the bag with the right side facing up. Align the strap and any pockets or embellishments according to your preferred placement. Pin or clip them in place to secure.
3. Seam the sides
Starting from the bottom corner, use a tapestry needle or a crochet hook to seam the sides of the bag. Insert the needle or hook through both layers of fabric and loop the yarn over, pulling it through to create a secure stitch. Continue seaming along the sides until you reach the opposite bottom corner.
4. Seam the strap
If your strap is separate from the main body, seam it onto the bag by aligning the ends and using the same seaming technique as before. Ensure that the strap is securely attached and evenly positioned.
5. Finish the seams
To reinforce the seams and prevent them from unraveling, you can use a technique called slip stitching. Insert the needle or hook through both layers of fabric at the seam line, pull the yarn through, and then insert it back into the same spot. Repeat this slip stitch technique along the entire seam.
Once the seaming is complete, trim any excess yarn and weave in any loose ends to give the bag a polished finish. Your Japanese knot bag is now ready to be used or gifted to someone special!
Step 7: Final Touches
After completing the knitting portion of the Japanese knot bag, you can add some final touches to make it even more polished and functional. Here are some suggestions:
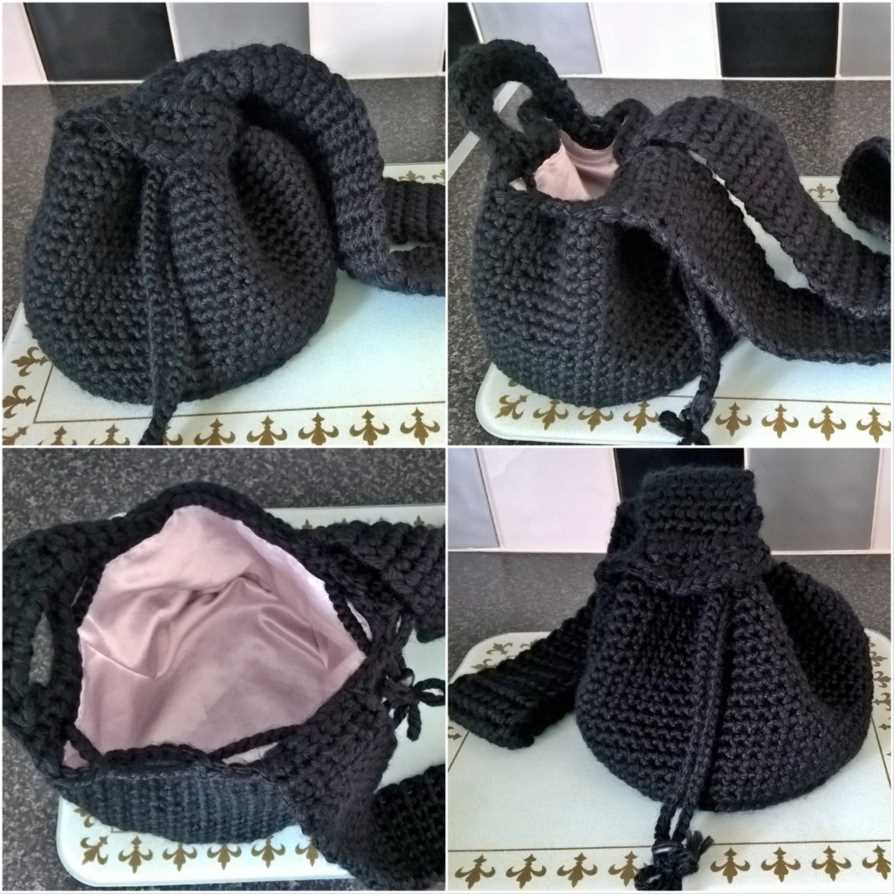
Add a lining: To give the bag a more finished look and prevent items from snagging on the stitches, you can add a fabric lining to the inside. Measure and cut a piece of fabric that matches the dimensions of the bag, then sew it into place using a sewing machine or hand stitching.
Attach a closure: Depending on your preference, you can add a closure to the bag to keep your belongings secure. This can be a magnetic snap, a button and loop, or even a zipper. Sew the closure onto the top edge of the bag following the manufacturer’s instructions.
Embroidery or appliqué: If you want to personalize your Japanese knot bag, you can add some decorative elements through embroidery or appliqué. Choose a design or pattern that speaks to you and use embroidery floss or fabric to bring it to life. This can add a unique and handmade touch to your bag.
Optional pockets: If you need more organizational options, consider adding pockets to the inside or outside of your bag. You can sew on fabric pockets or even knit them separately and sew them onto the bag using the same yarn. This will give you a convenient place to store smaller items like keys or a phone.
With these final touches, your custom Japanese knot bag will be ready to use and show off your knitting skills. Enjoy using your stylish and functional bag for everyday or special occasions!
Variations
The Japanese knot bag pattern allows for various variations to personalize your bag and make it unique to your style. Here are a few ideas to inspire you:
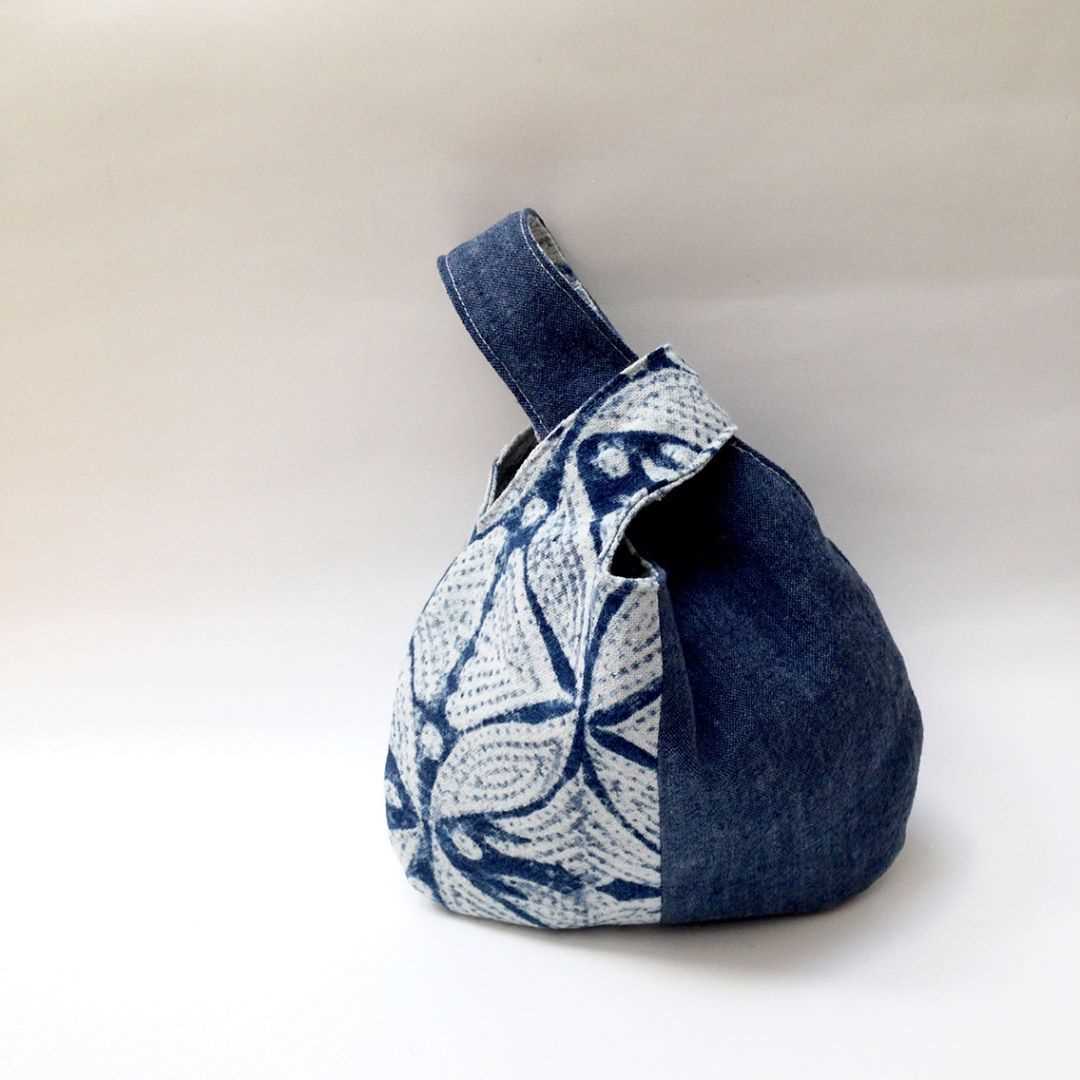
Fabric Choices
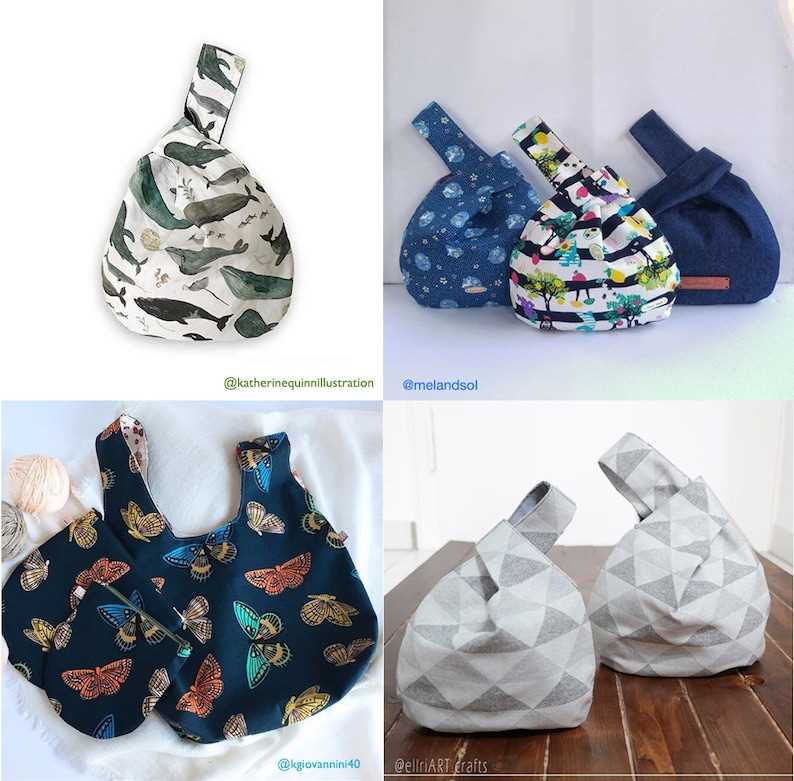
- Use different colors and prints of fabric to create a vibrant and eye-catching bag.
- Experiment with different types of fabric, such as cotton, linen, or silk, to achieve different textures and looks.
- Combine contrasting fabrics for a bold and dramatic effect.
Embellishments
Add some extra flair to your bag with embellishments such as:
- Embroidery: Stitch a decorative design or pattern onto the fabric for a personalized touch.
- Buttons: Sew on buttons of different shapes, sizes, and colors to add visual interest.
- Ribbons or trims: Attach ribbons, lace, or other trims along the edges or handles of the bag for an elegant look.
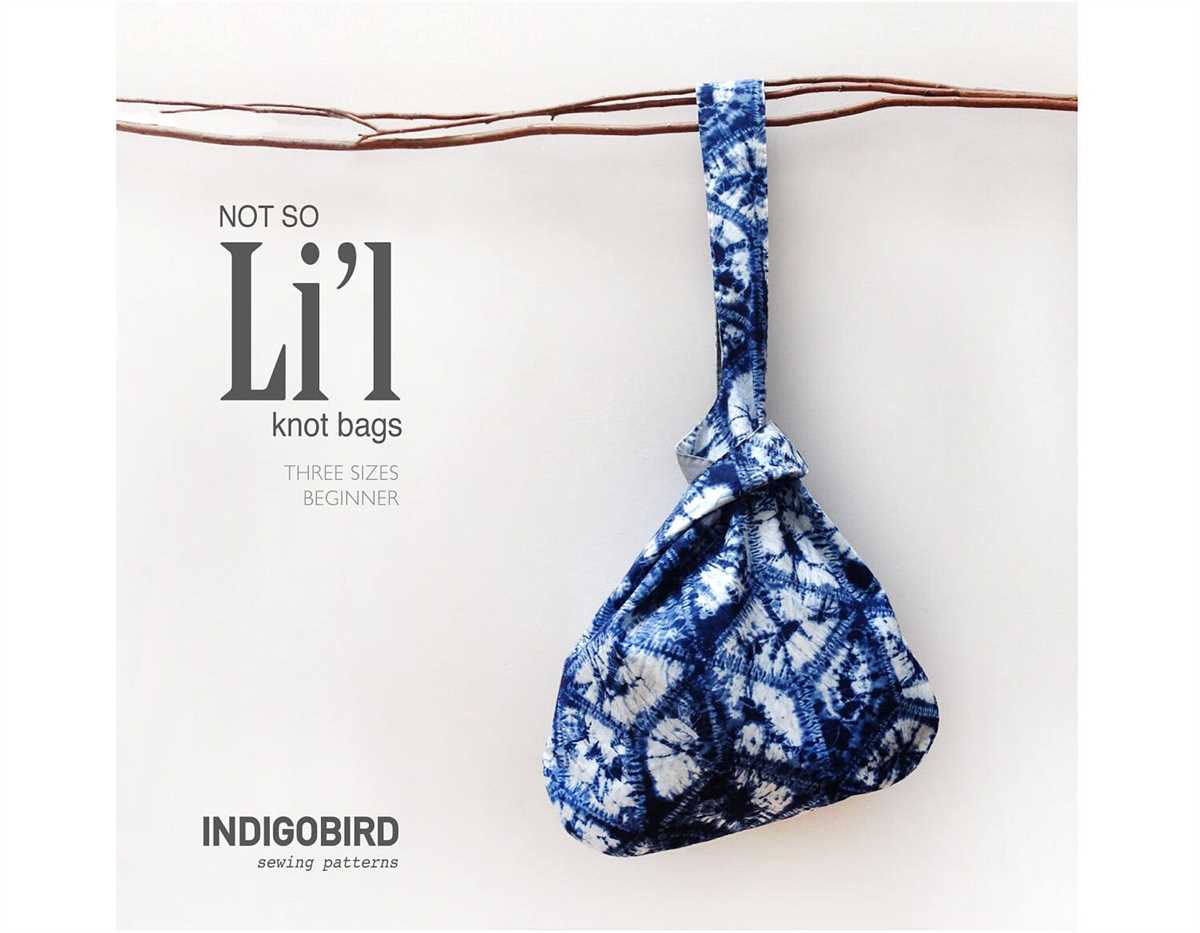
Size and Shape
While the Japanese knot bag typically has a rectangular shape, you can experiment with different sizes and shapes to suit your needs:
- Make a smaller version of the bag for a cute and compact accessory.
- Create a larger bag for carrying more items.
- Try different shapes, such as square or circular, for a unique twist on the traditional design.
With these variations, you can create a Japanese knot bag that reflects your personal style and stands out from the crowd. Get creative and have fun experimenting with different fabrics, embellishments, and sizes to make a bag that is truly one-of-a-kind.
Tips and Tricks
In order to successfully knit a Japanese knot bag, here are some helpful tips and tricks:
- Select the right yarn: Choose a yarn that is durable and can hold its shape well. A slightly thicker yarn will also provide more structure to the bag.
- Use circular needles: Circular needles are recommended for knitting the body of the bag, as they can accommodate a larger number of stitches and provide more flexibility.
- Pay attention to gauge: Make sure to measure your gauge before starting the project to ensure that the bag will turn out to be the desired size. Adjust needle size if necessary.
- Practice the knot closure: The knot closure is an important feature of the Japanese knot bag. Practice tying and untying the knot before completing the bag to ensure a smooth and secure closure.
- Consider adding a lining: While not necessary, adding a lining to the bag can provide additional stability and prevent small items from slipping through the stitches. Choose a fabric that complements the yarn color.
With these tips and tricks in mind, you’ll be well-equipped to knit your own Japanese knot bag. Enjoy the process and have fun customizing your bag with different yarns and colors!