
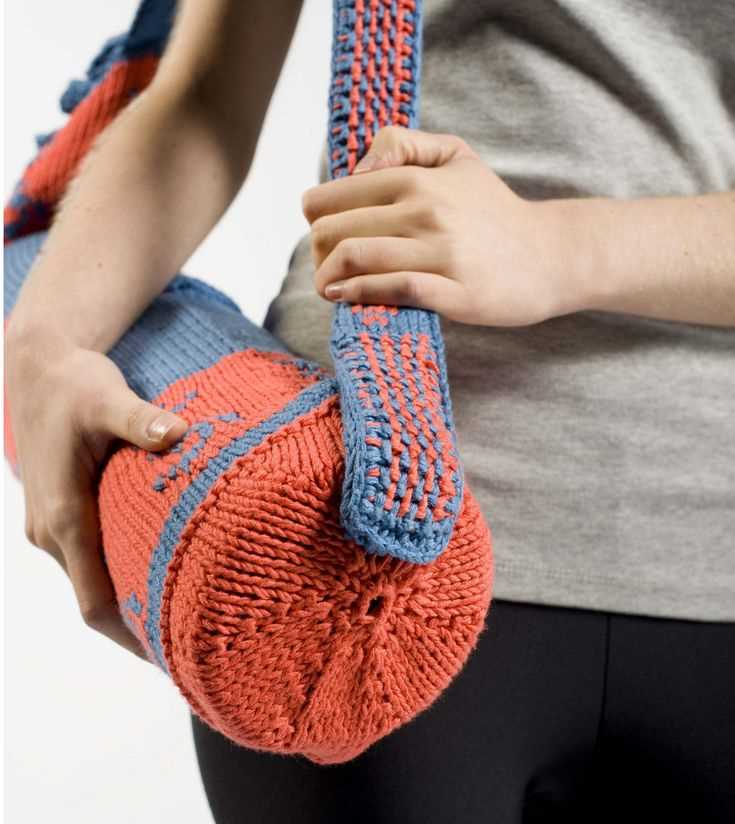
If you’re a fan of yoga and knitting, then this yoga bag knitting pattern is just what you need. This pattern is perfect for beginners and experienced knitters alike, and it’s a great way to practice your knitting skills while creating a functional and stylish bag to carry all your yoga essentials.
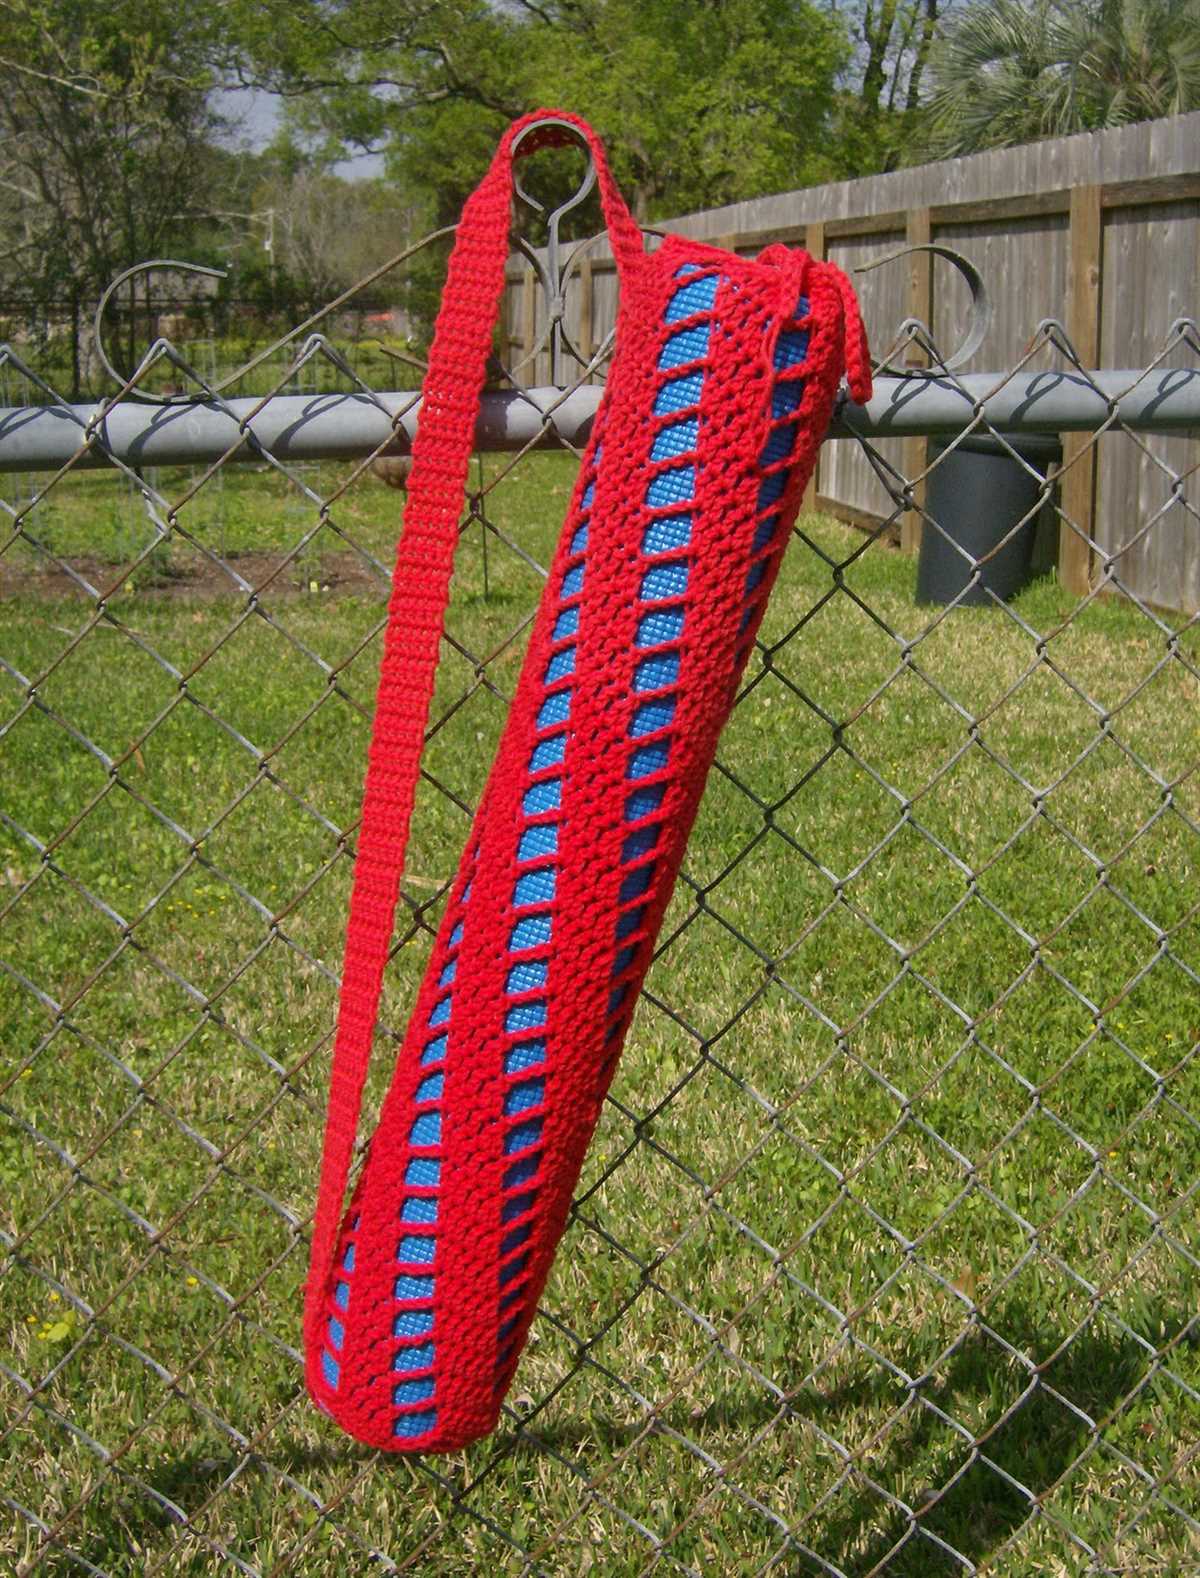
The yoga bag knitting pattern features a simple yet elegant design that is both practical and beautiful. The bag has a drawstring closure and a long strap that can be worn over the shoulder or across the body, making it easy to transport your mat and other yoga gear to and from your classes. Plus, the pattern includes instructions for customizing the size of the bag to fit your specific needs.
Not only is this yoga bag knitting pattern functional, but it’s also a fantastic way to reduce waste and create a more sustainable lifestyle. By making your own bag, you can eliminate the need to purchase single-use plastic bags or carry disposable shopping bags. Plus, you’ll have the satisfaction of knowing that your bag is handmade, making it truly one-of-a-kind.
So, grab your knitting needles and give this yoga bag knitting pattern a try. Whether you’re a seasoned knitter looking for a new project or a beginner eager to learn, this pattern is a perfect opportunity to combine your passion for knitting and yoga. With just a little time and effort, you’ll have a beautiful and functional bag that you’ll be proud to show off at your next yoga class.
Yoga Bag Knitting Pattern: Create Your Own Stylish Bag
If you love yoga and knitting, why not combine the two and create your own stylish yoga bag? With a knitting pattern and some basic knitting skills, you can design a bag that is not only functional but also reflects your personal style.
One popular knitting pattern for a yoga bag is a simple drawstring design. This pattern typically requires basic knitting stitches, such as knit and purl, and can be customized to fit your desired size and length. The drawstring closure ensures that your yoga mat stays securely in place during transportation.
Materials
- Size 8 knitting needles
- Worsted weight yarn
- Measuring tape
- Drawstring cord
- Stitch markers
- Tapestry needle
Instructions
- Start by casting on the required number of stitches, based on the size of your yoga mat.
- Follow the knitting pattern, alternating between knit and purl stitches to create a sturdy fabric.
- Continue knitting in the desired pattern until the bag reaches the desired length.
- Once the bag is the desired length, bind off all stitches to secure the knitting.
- Sew the side seams of the bag together using a tapestry needle and yarn, leaving an opening at the top for the drawstring.
- Thread the drawstring cord through the top of the bag, using stitch markers to evenly distribute the cord.
- Tie a knot at each end of the drawstring cord to secure it in place.
- Your yoga bag is now complete and ready for use!
With a little time and creativity, you can knit your own yoga bag that is both functional and stylish. Whether you prefer a vibrant colorful design or a more subtle and neutral tone, the possibilities are endless when it comes to creating your own unique yoga bag. So grab your knitting needles and start creating today!
Benefits of Knitting Your Own Yoga Bag
Knitting your own yoga bag is a rewarding and fulfilling experience that comes with many benefits. Not only does it allow you to exercise your creativity and craftmanship, but it also provides a practical solution for carrying and storing your yoga mat and other essentials. Here are some of the benefits of knitting your own yoga bag:
1. Customization
When you knit your own yoga bag, you have the freedom to choose the colors, patterns, and materials that suit your personal style and preferences. You can create a one-of-a-kind bag that reflects your individuality and adds a touch of uniqueness to your yoga practice. Whether you prefer bold and vibrant colors or subtle and soothing tones, knitting your own bag allows you to customize every detail.
2. Perfect Fit
Another advantage of knitting your own yoga bag is that you can ensure it fits your mat perfectly. You can adjust the size and dimensions of the bag to accommodate your specific mat size and thickness, ensuring a snug and secure fit. This eliminates the risk of your mat slipping or moving around during transportation, providing peace of mind and convenience.
3. Mindful Practice
Knitting is a meditative and mindful activity that can enhance your overall yoga practice. As you focus on the rhythmic movements of your hands and the texture of the yarn, you can enter a state of relaxation and tranquility. Knitting your own yoga bag allows you to combine your love for knitting and yoga, creating a harmonious and integrated experience that promotes mindfulness and self-care.
4. Sustainability
By knitting your own yoga bag, you contribute to a more sustainable and eco-friendly lifestyle. Instead of purchasing a bag made from synthetic materials that may have a negative impact on the environment, you can use natural and sustainable yarns. Knitting is also a way to reduce waste and repurpose leftover yarns, making it an environmentally conscious choice.
5. Sense of Accomplishment
Completing a knitting project, such as a yoga bag, gives you a sense of accomplishment and pride in your handmade creation. You can show off your knitting skills and share your unique bag with friends and fellow yoga enthusiasts. Knitting your own yoga bag allows you to tap into your creativity and express yourself through a practical and beautiful item.
In conclusion, knitting your own yoga bag comes with numerous benefits, from customization and perfect fit to mindfulness and sustainability. It is a creative and fulfilling endeavor that adds a personal touch to your yoga practice while promoting relaxation and environmental consciousness. Give it a try and experience the joy of knitting your own yoga bag!
Choosing the Right Yarn and Needles for Your Yoga Bag
When knitting a yoga bag, it is important to choose the right yarn and needles in order to create a durable and functional product. There are several factors to consider when making your selection.
Yarn:
- Fiber: One of the key considerations when choosing yarn for your yoga bag is the fiber. Natural fibers such as cotton or hemp are often preferred for their breathability and durability. These fibers also have moisture-wicking properties, which is beneficial for carrying sweaty yoga clothes or mats. Synthetic fibers like acrylic or nylon can also be used, but may not have the same breathability.
- Weight: The weight of the yarn is another important factor to consider. A lightweight yarn is recommended for a yoga bag to ensure that the finished product is not too heavy or bulky to carry. Look for a sport or DK weight yarn for optimal results.
- Color: While color choice is ultimately a personal preference, it is worth considering the practicality of the color for a yoga bag. Darker colors may hide dirt or stains better than lighter colors, especially if you plan to use the bag frequently.
Needles:
Choosing the right needles is equally important to ensure a successful knitting project.
- Size: The needle size will depend on the weight of the yarn you choose. Make sure to check the yarn label to determine the recommended needle size. Using the correct needle size will help achieve the desired gauge and ensure that the bag is not too loose or too tight.
- Material: The material of the needles can also impact the knitting process. Bamboo or wood needles are popular choices for their lightweight and comfortable grip. Metal needles, on the other hand, provide smooth and fast knitting experience. Consider your personal preferences and knitting style when selecting the needle material.
By taking these factors into consideration, you can select the right yarn and needles for your yoga bag project. This will result in a well-crafted bag that is both functional and aesthetically pleasing.
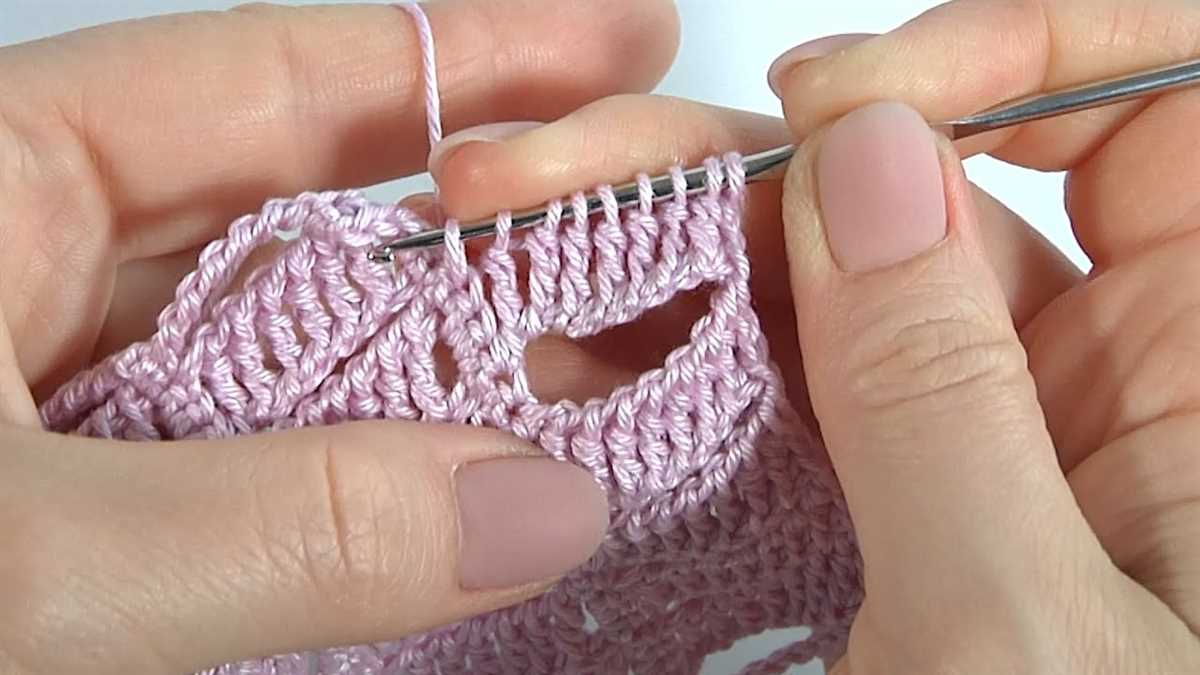
Essential Techniques for Knitting a Yoga Bag
Knitting a yoga bag can be a fun and rewarding project for any knitting enthusiast. Whether you’re a beginner or an experienced knitter, there are a few essential techniques that you’ll need to know in order to create a beautiful and functional yoga bag.
Circular Knitting:
One of the most important techniques for knitting a yoga bag is circular knitting. This technique allows you to knit in the round, creating a seamless and continuous piece of fabric. To knit in the round, you’ll need a set of circular knitting needles and a flexible, circular cable. This technique is great for creating the body of the yoga bag, as it allows you to easily knit a large, cylindrical shape.
Increases and Decreases:
When knitting a yoga bag, you’ll also need to understand how to increase and decrease stitches. Increases are used to add stitches and create a wider piece of fabric, while decreases are used to reduce stitches and create a narrower shape. These techniques are important for shaping the yoga bag and creating a tapered bottom. Common increase techniques include knitting in the front and back of a stitch or making yarn overs, while common decrease techniques include knit two together or slip, slip, knit.
Finishing Techniques:
Once you’ve finished knitting the body of the yoga bag, you’ll need to know some finishing techniques to complete the project. This may include sewing the bottom of the bag closed or adding a drawstring closure. You may also want to add straps or handles to the bag, which can be knit separately and sewn on. Finishing techniques are important for giving the yoga bag a polished and professional look.
Choosing the Right Yarn and Needles:
Lastly, choosing the right yarn and needles is crucial for knitting a yoga bag. You’ll want to choose a durable and machine-washable yarn that can withstand the weight of yoga mats and other accessories. The needle size will depend on the yarn you choose and the desired gauge for your project. It’s important to swatch and check your gauge before starting to ensure that your yoga bag turns out the correct size.
By mastering these essential techniques and choosing the right materials, you’ll be able to knit a beautiful and functional yoga bag that you can use for years to come. Happy knitting!
Step-by-Step Instructions for Knitting Your Yoga Bag
Knitting your own yoga bag can be a fun and rewarding project. Not only will you have a personalized bag to carry your yoga mat and accessories, but you will also have the satisfaction of knowing that you created it yourself. Here are step-by-step instructions to guide you through the process.
Materials Needed:
- Circular knitting needles (size 8)
- Double-pointed knitting needles (size 8)
- Worsted weight yarn (color of your choice)
- Tapestry needle
- Stitch markers
- Toggle or button for closure
Step 1: Cast On
Using the circular knitting needles, cast on 80 stitches. This will be the bottom of your yoga bag. Place a stitch marker to indicate the beginning of the round.
Step 2: Knit the Base
Join the round and knit in a spiral to create the base of the bag. Continue knitting until the base measures approximately 8 inches in diameter.
Step 3: Knit the Body
Switch to the double-pointed needles and continue knitting in rounds. You can choose to knit in a simple stockinette stitch or incorporate a pattern of your choice. Continue knitting until the body of the bag reaches your desired length, typically around 18-20 inches.
Step 4: Create the Drawstring Casing
After reaching the desired length, switch back to the circular needles. Knit in a few rounds of ribbing (knit 2, purl 2) to create a drawstring casing. This will allow you to cinch the bag closed with the toggle or button.
Step 5: Bind Off and Finish
Once the drawstring casing is complete, bind off all stitches. Weave in any loose ends with the tapestry needle. Attach the toggle or button to the front of the bag for closure. Your yoga bag is now ready to be used!
Remember, this pattern is just a guide. Feel free to customize your yoga bag by adding pockets, embellishments, or using different stitch patterns. Have fun and enjoy your knitting journey!
Options for Customizing Your Yoga Bag
If you enjoy knitting and are in need of a new yoga bag, why not consider customizing your own? Not only will you have a unique and personalized bag to carry your yoga mat and accessories, but you will also have the opportunity to showcase your knitting skills and creativity.
When it comes to customizing your yoga bag, the possibilities are endless. You can choose the yarn color and texture, the pattern stitch, and even add fun embellishments. Here are a few options to consider:
- Yarn Selection: Start by selecting the yarn for your bag. You can choose a solid color or a variegated yarn to add some visual interest. Consider the weight of the yarn, as a heavier yarn will make a sturdier bag.
- Pattern Stitch: There are countless pattern stitches to choose from when knitting your yoga bag. You can opt for a simple garter stitch for a classic look, or try a more intricate lace or cable pattern for added texture and detail. Experiment with different stitch combinations to create your own unique design.
- Embellishments: Add some personality to your yoga bag by incorporating embellishments. You can sew on a decorative button, attach a tassel or pom-pom, or even embroider your initials or a yoga symbol onto the bag. Let your imagination run wild and have fun with it!
- Size and Shape: Customize the size and shape of your yoga bag to fit your specific needs. You can make it longer or wider to accommodate larger mats, or add extra pockets for storing your water bottle, towel, or other accessories. Consider adding a drawstring closure or a zipper for added security.
- Straps: Lastly, don’t forget about the straps of your yoga bag. You can choose to have a single long strap that can be worn crossbody or over the shoulder, or opt for two shorter straps for carrying by hand. Consider adding padding or a soft lining to make the straps more comfortable.
Customizing your own yoga bag allows you to create a functional and beautiful accessory that reflects your personal style and preferences. Whether you prefer a simple and minimalist design or a bold and colorful statement piece, the choice is yours. So grab your knitting needles and get creative!
Adding Pockets to Your Yoga Bag
If you’re a yoga enthusiast, having a yoga bag that is functional and stylish is essential. One way to make your yoga bag even more useful is by adding pockets. Pockets can be a great addition to your bag, allowing you to store small items such as your phone, keys, or wallet. They can help keep your belongings organized and easily accessible, so you can focus on your practice without any distractions. Here are a few ideas on how to add pockets to your yoga bag.
1. Sew-on pockets
One of the simplest ways to add pockets to your yoga bag is by sewing them on. You can choose the size and placement of the pockets based on your needs. When sewing the pockets, make sure to use a strong thread and reinforce the stitching to ensure that the pockets can withstand the weight of your items. You can add multiple pockets on the outside or inside of the bag, depending on your preference.
2. Zippered pockets
If you want extra security for your belongings, consider adding zippered pockets to your yoga bag. Zippered pockets can help prevent items from falling out and getting lost during transportation. You can purchase zipper pockets from a craft store or sew them yourself using a strong zipper and fabric. Make sure to measure the size of the pocket carefully before cutting the fabric and sewing it in place.
3. Elasticized pockets
An alternative to sew-on or zippered pockets is elasticized pockets. Elasticized pockets are convenient for storing items that you may need quick access to, such as your phone or keys. To create an elasticized pocket, you can sew a strip of elastic onto the bag, creating a stretchable opening. This allows you to easily slide items in and out of the pocket while keeping them secure.
4. Modular pocket system
If you like to customize and change the layout of your bag, consider using a modular pocket system. These systems typically involve attaching hook-and-loop fasteners to the inside of your bag, allowing you to attach and remove pockets as needed. This gives you the flexibility to adjust the number and placement of the pockets depending on your specific needs for each yoga session.
By adding pockets to your yoga bag, you can make it more functional and convenient to use. Whether you choose sew-on, zippered, elasticized, or modular pockets, the key is to find a design that suits your needs and allows you to easily access and store your belongings during your yoga practice.
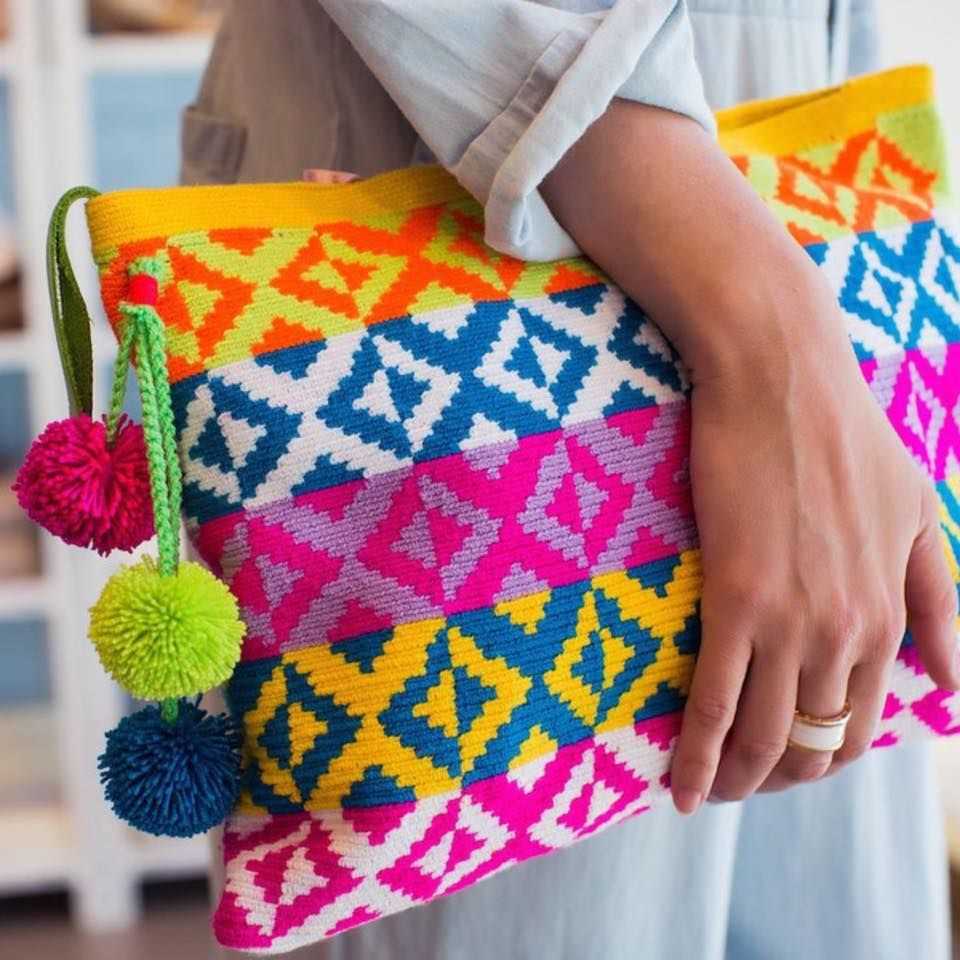
Embroidery and Embellishments for Your Yoga Bag
When it comes to creating a unique and personal yoga bag, embroidery and embellishments can add a special touch. Whether you want to showcase your favorite yoga pose or add a pop of color, there are many ways to customize your bag.
One popular option is to embroider your bag with a meaningful mantra or affirmation. This can be a powerful reminder during your yoga practice, and it adds a touch of personalization. Consider stitching words like “peace,” “balance,” or “strength” onto your bag using colorful thread. You can also incorporate symbols or images that are significant to you, such as a lotus flower or the Om symbol.
Another fun idea is to add embellishments to your yoga bag. You can choose to sew on beads, sequins, or ribbons to give your bag a little extra sparkle. Consider adding a tassel or pom-pom to the zipper for a bohemian touch. You can also experiment with different textures by attaching fabric patches or patches with embroidered designs.
If you’re feeling adventurous, you can even try your hand at fabric painting on your yoga bag. This allows you to create intricate designs or bold patterns that reflect your personal style. Use fabric paint pens or brushes to add colorful details to your bag, such as mandalas, geometric shapes, or nature-inspired motifs.
Remember, when adding embroidery or embellishments to your yoga bag, it’s important to consider the durability and functionality of the design. Choose materials that can withstand the wear and tear of being carried around, and make sure any added decorations won’t get in the way of using your bag. With a little creativity and imagination, you can create a yoga bag that is not only functional but also a reflection of your unique personality.
Tips for Properly Finishing and Seaming Your Yoga Bag
After spending time and effort knitting your yoga bag, it’s important to properly finish and seam the bag to ensure its durability and functionality. Here are some tips to help you achieve a professional-looking final product:
1. Weave in ends
Before moving on to the seaming process, make sure to weave in all loose ends of yarn. This will give your bag a neat and clean finish. Use a tapestry needle to weave the ends through the knitted stitches on the inside of the bag.
2. Block your bag
To ensure that your yoga bag has the right shape and dimensions, it’s a good idea to block it before seaming. This involves wetting the bag gently, stretching it to the desired size, and allowing it to dry flat. Blocking will help even out any uneven stitches and give your bag a more professional look.
3. Choose the right seam
There are different seaming techniques you can use for your yoga bag, depending on the type of stitch pattern you used and your personal preference. The mattress stitch is a popular choice for seaming stockinette or garter stitch. For a decorative touch, you can use a whipstitch or crochet slip stitch seam. Take the time to practice and experiment with different techniques to find the one that works best for your bag.
4. Use a matching yarn
When seaming your yoga bag, it’s important to use the same yarn you used for knitting. This will ensure that the seam blends in seamlessly with the rest of the bag. If the yarn is no longer available, try to find a color that closely matches the original yarn to achieve a cohesive look.
5. Take your time
Seaming can be a tedious process, but taking your time and being patient will result in a more professional finish. Make sure to line up your stitches evenly and use the appropriate tension to avoid puckering or stretching the fabric. It’s better to go slowly and do it right the first time, rather than rushing and having to undo and redo your work.
By following these tips, you can ensure that your yoga bag has a polished and well-finished appearance. With a little practice and attention to detail, your knitted yoga bag will be ready to carry all your essentials to your next yoga class in style!
How to Care for Your Knitted Yoga Bag
Knitted yoga bags are not only functional but also stylish and unique. To keep your yoga bag in good condition and prolong its lifespan, it’s important to care for it properly. Here are some tips to help you maintain your knitted yoga bag:
1. Hand-wash your yoga bag: Knitted items are best washed by hand to prevent stretching, snagging, or shrinking. Fill a basin or sink with lukewarm water and a mild detergent specifically designed for delicate fabrics. Gently immerse your yoga bag in the soapy water and agitate it lightly to remove any dirt or sweat. Rinse the bag thoroughly under cool running water until the water runs clear.
2. Dry the yoga bag flat: After washing, it’s important to reshape and dry your yoga bag properly. Lay a clean towel on a flat surface and place your damp bag on top. Gently press the bag with another towel to remove excess water. Then, carefully reshape the bag to its original form and leave it to air dry. Avoid wringing or hanging the bag as it may lose its shape or stretch.
3. Store it properly: To prevent any damage or deformation, store your knitted yoga bag in a cool, dry place away from direct sunlight and moisture. You can keep it folded or rolled, depending on the shape and size of the bag. It’s also a good idea to place it in a dust bag or pillowcase to protect it from dust and insects.
4. Handle with care: When using or carrying your yoga bag, be mindful of its delicate knit fabric. Avoid pulling or tugging on the bag to prevent any yarn breakage or unraveling. If the bag has any buttons or straps, handle them gently to prevent them from coming loose or getting damaged.
5. Spot cleaning: If your yoga bag gets stained, it’s best to spot clean it immediately. Dampen a soft cloth or sponge with water and a mild detergent, then gently blot the stained area. Avoid rubbing the stain vigorously as it may cause the color to fade or the fabric to pill. Once the stain is removed, rinse the area with clean water and pat dry with a towel.
By following these care tips, you can ensure your knitted yoga bag remains beautiful and functional for a long time. Remember to handle it with care, clean it gently, and store it properly to preserve its quality and appearance.
Other Uses for Your Knitted Yoga Bag Pattern
If you’ve recently completed your knitted yoga bag pattern and are wondering what else you can use it for, you’re in luck! While the bag was designed specifically for yoga mats, there are actually many other ways you can utilize this versatile accessory.
1. Beach Bag: With its roomy size and comfortable strap, your knitted yoga bag can easily double as a stylish beach bag. It’s perfect for carrying your towel, sunscreen, and all your beach essentials.
2. Picnic Bag: Pack your lunch and drinks into your knitted yoga bag and head out for a delightful picnic in the park. The bag’s sturdy construction will keep your food safe and the wide strap makes it easy to carry to your chosen picnic spot.
3. Knitting Bag: If you’re an avid knitter, you’ll appreciate the roomy interior of your knitted yoga bag for storing your current knitting projects. The bag will keep all your yarn and needles organized and easily accessible, so you can take your knitting on the go.
4. Overnight Bag: Need a small overnight bag for a quick trip? Your knitted yoga bag is the perfect size to fit your essentials. Pack your clothes, toiletries, and any other necessities, and you’re ready to hit the road.
5. Gym Bag: If you don’t practice yoga but still love the design of the knitted bag, don’t worry! You can use it as a gym bag instead. It can easily accommodate your workout clothes, shoes, and any other gym accessories you might need.
So, don’t limit yourself to just using your knitted yoga bag for yoga mats. Explore these alternative uses and get the most out of your stylish and functional accessory!
Share Your Yoga Bag Knitting Creations
Thank you for taking the time to knit your very own yoga bag using the pattern provided in this article. Now that you have completed your project, it’s time to share your beautiful creation with others! Whether you want to show off your knitting skills, inspire others to start knitting, or simply share your love for yoga, there are several ways you can showcase your yoga bag.
One of the easiest ways to share your yoga bag knitting creation is through social media. Take a photo of your finished bag and post it on platforms like Instagram or Facebook. Use hashtags such as #yogabagknitting, #knitcreation, or #handmade to reach a wider audience. You can also join knitting groups on social media and share your bag there. Many knitting communities love to see what others have created and may offer feedback or praise for your work.
If you prefer a more personal touch, consider wearing your yoga bag to your next yoga class. This way, you can show it off to your fellow yogis and answer any questions they may have about the pattern or your knitting process. Who knows, you may even inspire someone else to start knitting their own yoga bag!
Another option is to participate in local craft fairs or knitting exhibitions. These events are a great way to connect with other knitting enthusiasts and showcase your yoga bag to a wider audience. You can offer your bag for sale or simply display it as a piece of art. People often appreciate the skill and effort that goes into handmade knitting, and you may even receive requests for custom orders or commissions.
In conclusion, knitting your own yoga bag can be a rewarding and fulfilling project. By sharing your creation with others, you can inspire fellow knitters, promote the art of knitting, and showcase your skills. Whether through social media, yoga classes, or craft fairs, there are plenty of opportunities to showcase your yoga bag and potentially connect with others who share your passion for knitting.