
Are you ready to take on a new knitting project? How about trying your hand at knitting a pair of cozy mittens? If you’re an intermediate knitter looking for a fun and rewarding project, this worsted weight knit mitten pattern is perfect for you.
Worsted weight yarn is a versatile choice for knitting mittens. It’s thick enough to keep your hands warm during cold winter months, yet not too bulky to make the project overwhelming. This pattern is suitable for knitters who are comfortable with basic knitting techniques like knitting, purling, increasing, and decreasing.
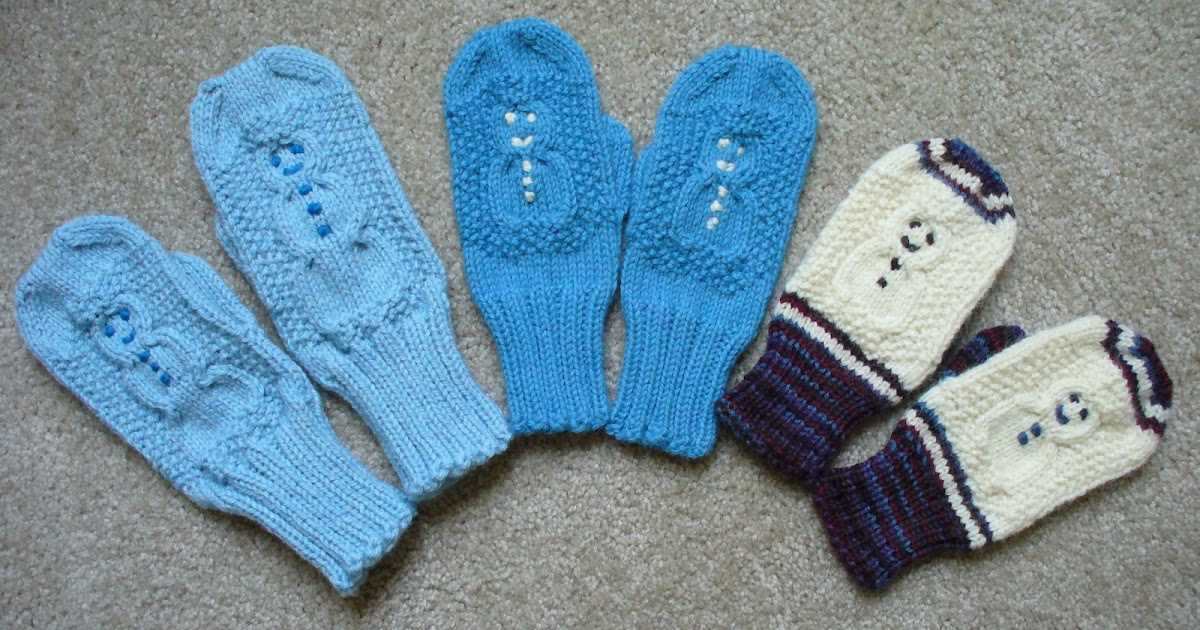
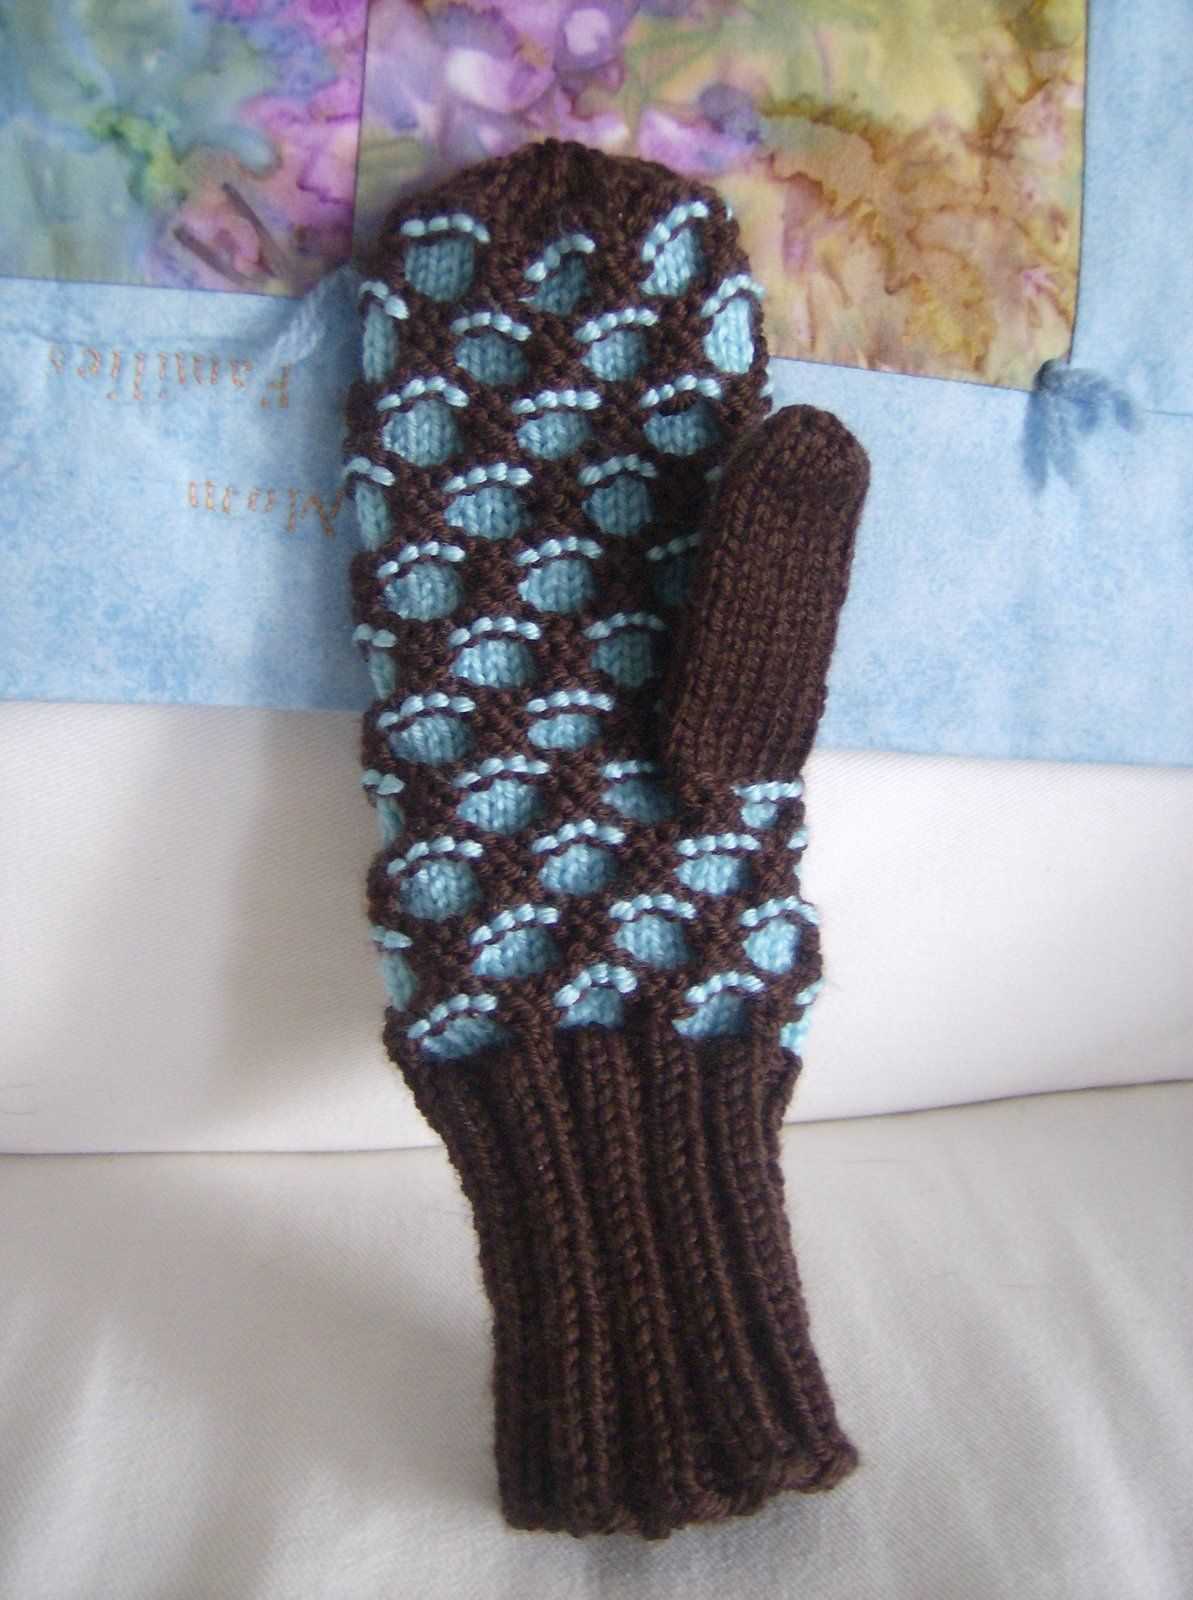
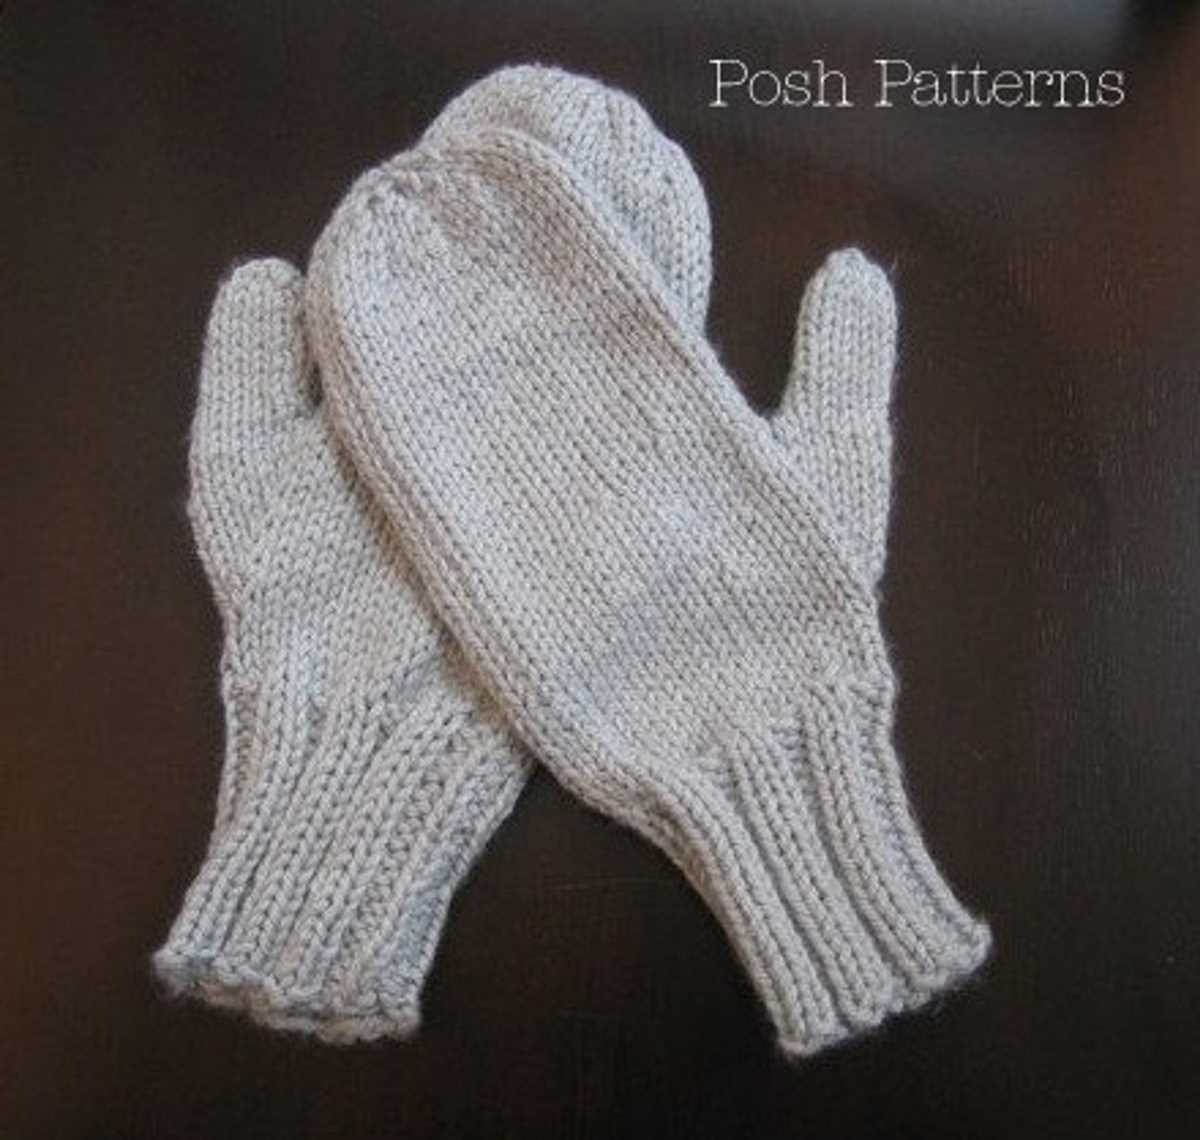
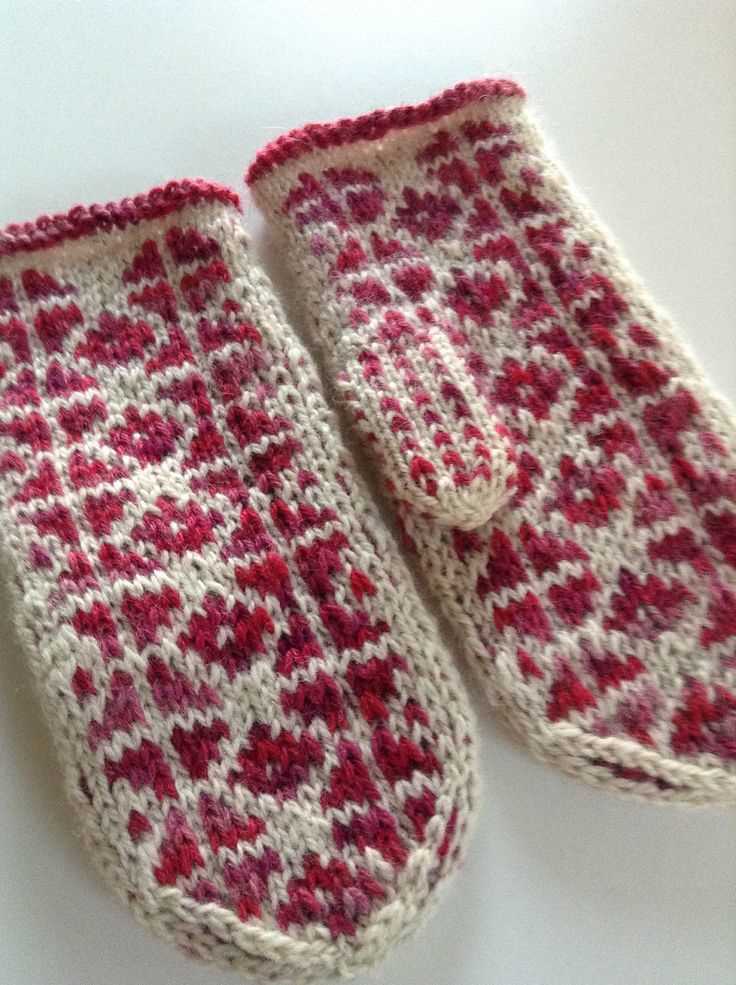
These mittens feature a classic design with a ribbed cuff and a snug fit. The pattern includes instructions for two sizes, making it suitable for both adults and children. The worsted weight yarn used in this pattern also allows for easy customization – you can choose any color that matches your style or the recipient’s taste.
So, grab your knitting needles and a skein of worsted weight yarn, and get ready to create a cozy pair of mittens that will keep your hands warm all winter long. This pattern is sure to be a hit, whether you knit them for yourself or as a thoughtful gift for a loved one!
Worsted Weight Knit Mitten Pattern: Stay Warm and Stylish this Winter
When the winter chill sets in, it’s important to keep your hands warm and cozy. With a worsted weight knit mitten pattern, you can stay both warm and stylish all season long. Worsted weight yarn is a popular choice for mittens, as it provides the perfect balance between warmth and breathability.
With a worsted weight yarn, you can create thick and durable mittens that will keep your hands protected from the cold. The pattern typically calls for a set of double-pointed knitting needles, allowing you to create a seamless and snug fit. These mittens are not only functional, but they also make a fashionable accessory for any winter outfit.
Materials:
- Worsted weight yarn in your desired color
- Size 8 double-pointed knitting needles
- Tapestry needle
- Stitch markers
Instructions:
- Using the long-tail cast-on method, cast on 32 stitches onto your knitting needles.
- Divide the stitches evenly onto 3 needles, with 12 stitches on the first needle, 8 stitches on the second needle, and 12 stitches on the third needle.
- Join the round, being careful not to twist the stitches. Place a stitch marker to mark the beginning of the round.
- Knit in a rib stitch pattern for 2 inches, alternating between knit and purl stitches.
- Continue knitting in stockinette stitch until the mitten measures 4 inches from the cast-on edge.
- Next, begin the thumb gusset. On the second needle, knit 8 stitches, place a stitch marker, then knit to the end of the needle.
- On the third needle, knit to the last 2 stitches, knit 2 together. Knit the remaining stitches.
- Repeat these two rounds until you have 16 stitches between the stitch markers.
- Knit one round without any decreases.
- Next, begin the top decreases. *Knit 1, knit 2 together; repeat from * to the end of the round.
- Repeat this decrease round every round until you have 8 stitches remaining.
- Cut the yarn, leaving a long tail. Thread the tail onto a tapestry needle, slip the remaining stitches onto the needle, and pull tight to close the top of the mitten.
- Weave in any loose ends and repeat the pattern to make the second mitten.
With this worsted weight knit mitten pattern, you can stay warm and stylish all winter long. Whether you’re hitting the slopes or simply braving the cold, these mittens will keep your hands protected while adding a pop of color to your outfit. So grab your knitting needles and start creating your own cozy pair of mittens today!
Getting Started: Materials and Tools for the Project
Before you begin knitting your worsted weight mittens, it’s important to gather all the necessary materials and tools. Assemble everything you need so that you can enjoy a smooth and uninterrupted knitting process. Here is a list of essential items:
Materials:
- Worsted weight yarn: Choose a yarn that is suitable for mittens. Worsted weight is a popular choice as it provides warmth and durability.
- Knitting needles: Select a pair of needles that are appropriate for the yarn you have chosen. The size will depend on your gauge and the pattern requirements.
- Stitch markers: These small, removable markers help you keep track of important sections and stitch counts as you work.
- Tapestry needle: This needle is used for weaving in loose ends and sewing up any seams if necessary.
Tools:
- Scissors: A good pair of sharp scissors will come in handy for cutting yarn and trimming any excess.
- Measuring tape: You will need a measuring tape to check your gauge and ensure that your mittens will fit properly.
- Stitch holder or scrap yarn: These tools are used to hold stitches when you need to temporarily set aside a portion of your work.
With these materials and tools by your side, you are ready to embark on your worsted weight mitten knitting project. Take the time to gather everything you need beforehand so that you can fully immerse yourself in the joy of knitting.
Understanding Worsted Weight Yarn: The Basics
Worsted weight yarn is one of the most popular yarn choices for knitting and crochet projects. It is a medium-weight yarn that is versatile and easy to work with, making it perfect for a wide range of projects, including mittens.
Worsted weight yarn is categorized based on its thickness, with a gauge of 16-20 stitches per 4 inches (10 cm). It is thicker than sport weight or fingering weight yarn, but lighter than bulky weight yarn. It is often used for making clothing items, accessories, and home decor items.
Worsted weight yarn is typically made from a blend of natural and synthetic fibers, such as wool, acrylic, and cotton. The blend of fibers provides the yarn with durability, softness, and warmth. It also makes the yarn easy to care for, as it can often be machine washed and dried.
When choosing a worsted weight yarn for your project, it is important to consider the fiber content, as this will determine the characteristics of the finished item. For example, a yarn made from wool will provide warmth and elasticity, while a yarn made from acrylic will be lightweight and easy to care for. If you’re looking for a yarn that is both warm and soft, a blend of wool and acrylic might be the best option.
Overall, worsted weight yarn is a versatile and practical choice for a wide range of knitting projects. It is easy to work with, provides good stitch definition, and is available in a wide variety of colors and textures. Whether you’re knitting mittens, sweaters, or blankets, worsted weight yarn is sure to meet your needs.
Knitting Gauge: Finding the Perfect Fit for Your Mittens
When it comes to knitting mittens, achieving the perfect fit is crucial. One of the key factors in determining the size and fit of your mittens is your knitting gauge. Understanding how to measure and adjust your gauge can help ensure that your mittens fit comfortably and snugly.
What is knitting gauge?
Knitting gauge refers to the number of stitches and rows per inch in your knitted fabric. It is determined by the size of your knitting needles, the thickness of your yarn, and your tension. Different knitters may have slightly different gauges, which can affect the size and fit of their finished projects.
Measuring your gauge
Before starting your mitten project, it’s important to measure your gauge to determine the appropriate needle size and yarn weight. Using the recommended needle size and yarn weight specified in the worsted weight knit mitten pattern, knit a small swatch of fabric, at least 4 inches square.
Adjusting your gauge
If your swatch doesn’t match the specified gauge in the pattern, you may need to make some adjustments. If your swatch has too few stitches per inch, you can try using smaller needles. Conversely, if your swatch has too many stitches per inch, you can try using larger needles. Remember to knit another swatch with the adjusted needle size to ensure that you have achieved the desired gauge.
Importance of gauge for mitten fit
Gauge is particularly important for mittens because it determines their size and fit. If your gauge is too tight, your mittens may turn out smaller and may not fit properly. On the other hand, if your gauge is too loose, your mittens may be larger and may not provide enough warmth. By finding the perfect knitting gauge, you can create mittens that fit snugly and comfortably, providing both style and functionality.
Final thoughts
When it comes to knitting mittens, getting the perfect fit is key. By understanding knitting gauge and how to measure and adjust it, you can ensure that your mittens are the perfect size and fit for your hands. So take the time to swatch and measure your gauge before diving into your mitten project – it will be worth it in the end!
Choosing the Right Needles: Size Matters
When knitting with worsted weight yarn, it is crucial to choose the right size needles to achieve the desired gauge and finished product. The needle size you use can dramatically impact the final appearance and fit of your knitted mittens.
Gauge: The gauge refers to the number of stitches and rows per inch in a knitted fabric. It is essential to match the gauge mentioned in the pattern to ensure that your mittens turn out the correct size. Using the wrong needle size can result in a looser or tighter gauge, ultimately affecting the fit of the mittens.
Choosing the Right Needle Size: The recommended needle size for worsted weight yarn is typically size 7 (4.5mm) or size 8 (5mm). However, this can vary depending on your personal knitting style and tension. It’s always a good idea to make a gauge swatch before starting your project to ensure that you are using the right needle size to achieve the correct gauge and fit.
Considerations: If your gauge is too loose, meaning you have fewer stitches and rows per inch than the recommended gauge, try using a smaller needle size. This will help you achieve a tighter fabric and a closer fit. On the other hand, if your gauge is too tight, meaning you have more stitches and rows per inch, try using a larger needle size to create a looser fabric and a more comfortable fit.
Knitting Tension: Keep in mind that everyone has a different knitting tension. If you tend to knit tightly, you may need to use a larger needle size to achieve the desired gauge. Conversely, if you have a looser knitting tension, you may need to use a smaller needle size. Experimenting with different needle sizes and paying attention to your gauge swatch will help you find the perfect needle size for your knitting style.
Final Thoughts: When it comes to choosing the right needle size for your worsted weight knit mittens, remember that size matters. The needle size you use can significantly affect the gauge, fit, and overall appearance of your mittens. Take the time to make a gauge swatch and adjust your needle size as needed to ensure a beautiful and well-fitting pair of mittens.
Casting On: Starting Your Mittens
When starting your mittens, the first step is to cast on. This is the process of creating the first row of stitches on your knitting needle. It is important to choose the appropriate cast on method for your project.
1. Long Tail Cast On
The long tail cast on is a popular method for starting mittens. It creates a neat, elastic edge that is perfect for the cuff of your mittens. To begin, measure a length of yarn that is approximately 3 times the width of your desired cuff. Make a slipknot and place it on your knitting needle. Hold the slipknot in your right hand and the working yarn in your left hand, with a tail of yarn over your thumb and the working yarn over your index finger. Then, using your needle, go under the yarn on your thumb, over the yarn on your index finger, and back through the loop on your thumb. Repeat this process until you have the desired number of stitches on your needle.
2. Cable Cast On
The cable cast on is another option for starting your mittens. It creates a sturdy, firm edge that is ideal for the thumb and finger sections of your mittens. To begin, make a slipknot and place it on your knitting needle. Insert your needle knitwise into the slipknot and knit a stitch. Then, instead of dropping the stitch off the left needle, take the new stitch and place it on the left needle. Repeat this process until you have the desired number of stitches on your needle.
Once you have cast on your stitches, you are ready to begin knitting your mittens. Follow the pattern instructions for the specific stitch pattern and shaping techniques required for your mittens. With the right cast on and some time and patience, you will have a beautiful pair of mittens to keep your hands warm and cozy.
Ribbing: Adding a Stylish Edge
The ribbing technique is a simple yet effective way to add a stylish edge to your knitted mittens. It creates a stretchy and textured fabric that not only looks great, but also provides a snug and comfortable fit.
To create ribbing, you will alternate between knitting and purling stitches. This creates a pattern of raised vertical columns, giving the fabric a ribbed appearance. The most common method is to knit one stitch, then purl one stitch, and repeat this pattern across the row. This creates a classic 1×1 ribbing.
Benefits of Ribbing:
- Stretch and flexibility: Ribbing is an excellent choice for cuffs, as it stretches to fit snugly around the wrist or hand, ensuring a comfortable and secure fit.
- Textured look: The raised columns of ribbing add visual interest to your mittens, making them appear more professional and stylish.
- Functional design: Ribbing provides extra insulation and warmth, as the raised stitches create small air pockets that help to trap heat.
Types of Ribbing:
While the most common ribbing pattern is the 1×1 rib, there are many variations you can experiment with to achieve different effects. Some popular options include:
- 2×2 ribbing: Knit two stitches, purl two stitches, and repeat across the row. This creates a wider and more pronounced ribbing.
- 3×1 ribbing: Knit three stitches, purl one stitch, and repeat across the row. This creates a wider ribbing with a decorative twist.
- Twisted ribbing: Knit through the back loop, rather than the front loop, on both knit and purl stitches. This creates a tighter and more defined ribbing.
Whether you choose a classic 1×1 rib or experiment with different ribbing patterns, adding ribbing to your knit mittens is a great way to elevate their style and functionality. Give it a try and see the difference it makes!
Knitting the Hand: Shaping the Main Part of the Mitten
Once you have finished knitting the cuff of your mittens, it’s time to move on to shaping the main part of the hand. This is where you will create the thumb gusset and shape the top of the mitten.
To begin shaping the hand, you will start increasing stitches for the thumb gusset. This is done by knitting a certain number of stitches, creating a marker, and then increasing one stitch before and after the marker on every other row. This will gradually create a wider section for the thumb.
To shape the top of the mitten, you will begin decreasing stitches. This is done by knitting a certain number of stitches, creating a marker, and then decreasing one stitch before and after the marker on every other row. This will create a tapered effect and shape the top of the mitten to fit the hand.
It’s important to pay attention to the pattern instructions and keep track of your stitch count as you shape the main part of the mitten. Following the instructions carefully will ensure that your mittens turn out the correct size and shape.
Once you have completed shaping the hand, you can continue knitting the main part of the mitten until you reach the desired length. Remember to try on the mitten as you go to ensure it fits comfortably. Once you have finished knitting the main part, you can move on to shaping the mitten top and finishing off your mittens.
Creating the Thumb Gusset: A Key Feature
The thumb gusset is a crucial part of any knitted mitten pattern. It is the area of the mitten where the thumb is formed, allowing for movement and flexibility when wearing the mittens. Without a well-designed and properly executed thumb gusset, the mittens may feel restrictive and uncomfortable to wear.
When creating the thumb gusset, it is important to carefully follow the pattern instructions to ensure the correct number of stitches are picked up and worked. Most patterns will instruct you to place a certain number of thumb stitches on a stitch holder or waste yarn while continuing to work the rest of the mitten. This allows for easy insertion of the thumb later on.
To create the thumb gusset, you will typically work a series of increases at the edge of the mitten where the thumb will be located. This can be achieved through various methods such as yarn overs, make one stitches, or kfb (knit front and back) stitches. The number and frequency of the increases will vary depending on the pattern, so it is essential to carefully follow the instructions to achieve the desired fit.
Once the thumb gusset has been formed and the required number of stitches have been increased, you will typically place the thumb stitches back onto the needles and continue working in the round to complete the rest of the mitten. The thumb stitches can be picked up from the stitch holder or waste yarn and divided onto multiple needles if necessary.
Creating a well-fitting and comfortable thumb gusset requires attention to detail and careful execution. Following the instructions provided in the pattern, and using the recommended stitch markers and techniques, will ensure that your thumb gusset is a key feature of your knitted mittens.
Knitting the Thumb: Making it Functional and Cozy
One of the most important parts of knitting a pair of mittens is creating a functional and cozy thumb. The thumb is not only an essential part for providing dexterity and movement, but it also plays a vital role in keeping the hand warm and protected from the cold. Therefore, it is crucial to follow a well-designed knitting pattern that ensures a comfortable and well-fitted thumb.
When knitting the thumb, it is important to pay attention to the thumb gusset. The gusset is the area where the thumb is attached to the hand, and it provides additional room and flexibility. To create a cozy thumb, it is recommended to increase the number of stitches gradually in the gusset area. This gradual increase allows for a more natural and comfortable fit, ensuring that the thumb has enough room to move without feeling constricted.
Additionally, using a worsted weight yarn can also contribute to the coziness of the thumb. Worsted weight yarn is known for its warmth and durability, making it an ideal choice for mittens. The thickness of worsted weight yarn provides an extra layer of insulation, keeping the thumb and fingers protected from the cold. It also adds a certain level of coziness and softness, making the mittens a pleasure to wear during the winter months.
When knitting the thumb, it is essential to follow the pattern instructions carefully to ensure the correct placement and shaping. This will help create a functional and well-fitted thumb that allows for easy movement and provides maximum comfort. Adding an extra touch of coziness by using a worsted weight yarn will make the mittens even more enjoyable to wear, keeping your hands warm and cozy throughout the winter season.
Shaping the Top: The Final Touch

When it comes to knitting mittens, shaping the top is the final touch that gives the mittens their classic shape and ensures a proper fit. The top of the mittens is where the hand transitions into the fingers, and it’s important to create a smooth and comfortable curve that follows the natural contours of the hand.
To shape the top of the mittens, you will need to decrease the number of stitches gradually. This can be done in several ways, depending on the pattern you are following. One common method is to divide the stitches evenly between three or four double-pointed needles and use a combination of knit two together (K2tog) and slip, slip, knit (SSK) decreases to reduce the stitch count.
Decrease Row:
- K2tog, knit to last 2 stitches on the needle, SSK.
- Repeat this decrease row every other row until the desired number of stitches is reached.
By decreasing the stitches gradually, you create a tapered effect that follows the shape of the hand. This ensures a snug fit around the fingers and prevents any excess fabric from bunching up. It’s important to try on the mittens as you go to ensure they fit comfortably and make any adjustments if needed.
Note: The number of decrease rows will depend on the size of the mittens and the pattern you are following. Make sure to refer to the instructions for your specific pattern.
Once you have completed the decrease rows and reached the desired number of stitches, you can finish off the top of the mittens. This is typically done by cutting the yarn, leaving a long tail, and threading it through the remaining stitches using a darning needle. Pull the tail tight to close the top of the mittens, and secure it with a knot.
With the shaping of the top complete, your mittens are almost finished! All that’s left to do is weave in any loose ends, block the mittens to shape, and give them a good soak to enhance the stitch definition and soften the yarn. Once dry, your mittens will be ready to keep your hands warm and cozy during those chilly winter months!
Finishing: Binding Off and Weaving in Ends
Once you have completed knitting all the rounds of your worsted weight mittens, it’s time to finish them off. This involves binding off and weaving in the ends to give your mittens a polished look and prevent them from unraveling.
Binding Off:
To bind off, knit the first two stitches on your needle. Then, using the left needle, lift the first stitch over the second stitch and off the right needle. Continue this process of knitting a stitch and lifting the previous stitch over until you have one stitch left on your right needle. Cut the yarn, leaving a 6-inch tail, and pull it through the last stitch to secure it.
Weaving in Ends:
To weave in the ends, thread the yarn tail onto a yarn needle. Starting from the wrong side of your mitten, insert the needle into the stitches at the base of the bind-off edge. Weave the needle through the stitches, going back and forth, ensuring the yarn is secure and hidden within the stitches. Repeat this process for any other yarn tails you have from changing colors or joining new yarn.
Summary:
- Finish your worsted weight mittens by binding off and weaving in the ends.
- To bind off, knit the first stitch, lift the previous stitch over the current stitch, and continue this process until one stitch remains.
- Cut the yarn, leaving a 6-inch tail, and pull it through the last stitch to secure it.
- To weave in the ends, thread the yarn tail onto a yarn needle and weave it through the stitches at the base of the bind-off edge.
- Weave the yarn back and forth, ensuring it is secure and hidden within the stitches.
- Repeat this process for any additional yarn tails.