
Are you a fan of cozy socks? Then you’ll love the Turkish bed socks! These socks are not only incredibly comfortable but also super stylish. They are perfect for keeping your feet warm during cold nights or simply lounging around the house.
The best part? You can easily make your own pair of Turkish bed socks without spending a dime! We have an amazing knitting pattern that you can download for free. Whether you’re a knitting novice or an experienced pro, this pattern is suitable for everyone.
Made with a gorgeous blend of soft yarn, the Turkish bed socks are designed to be extra warm and snuggly. The pattern features a unique and intricate stitch, adding a touch of elegance to your cozy socks. With the detailed instructions provided, you’ll be able to recreate these socks in no time.
Turkish Bed Socks Knitting Pattern Free
Looking for a cozy and stylish pair of socks to keep your feet warm during the winter? Look no further! With this Turkish bed socks knitting pattern, you can easily create your own pair of comfortable and trendy socks.
These Turkish bed socks are designed to be worn around the house and provide extra warmth and comfort. The pattern is easy to follow and suitable for all skill levels, from beginners to advanced knitters. Plus, the best part is that it’s completely free!
Materials:
- Knitting needles (size 4 mm)
- Soft and warm yarn (worsted weight)
- Tapestry needle
- Scissors
Instructions:
- Cast on 30 stitches.
- Knit 2, purl 2 for the first 5 rows to create the ribbing.
- Continue knitting in stockinette stitch (knit one row, purl one row) until the piece measures 6 inches.
- Start decreasing: knit 2 together, knit 4, repeat to the end of the row.
- Knit one row.
- Continue decreasing in this pattern until there are 10 stitches left.
- Bind off the stitches.
- Use the tapestry needle to sew the sock together, leaving a small opening for the heel.
- Weave in any loose ends and trim excess yarn.
And there you have it! Your very own pair of Turkish bed socks. These socks are not only practical but also make great gifts for friends and family. So grab your needles and start knitting today!
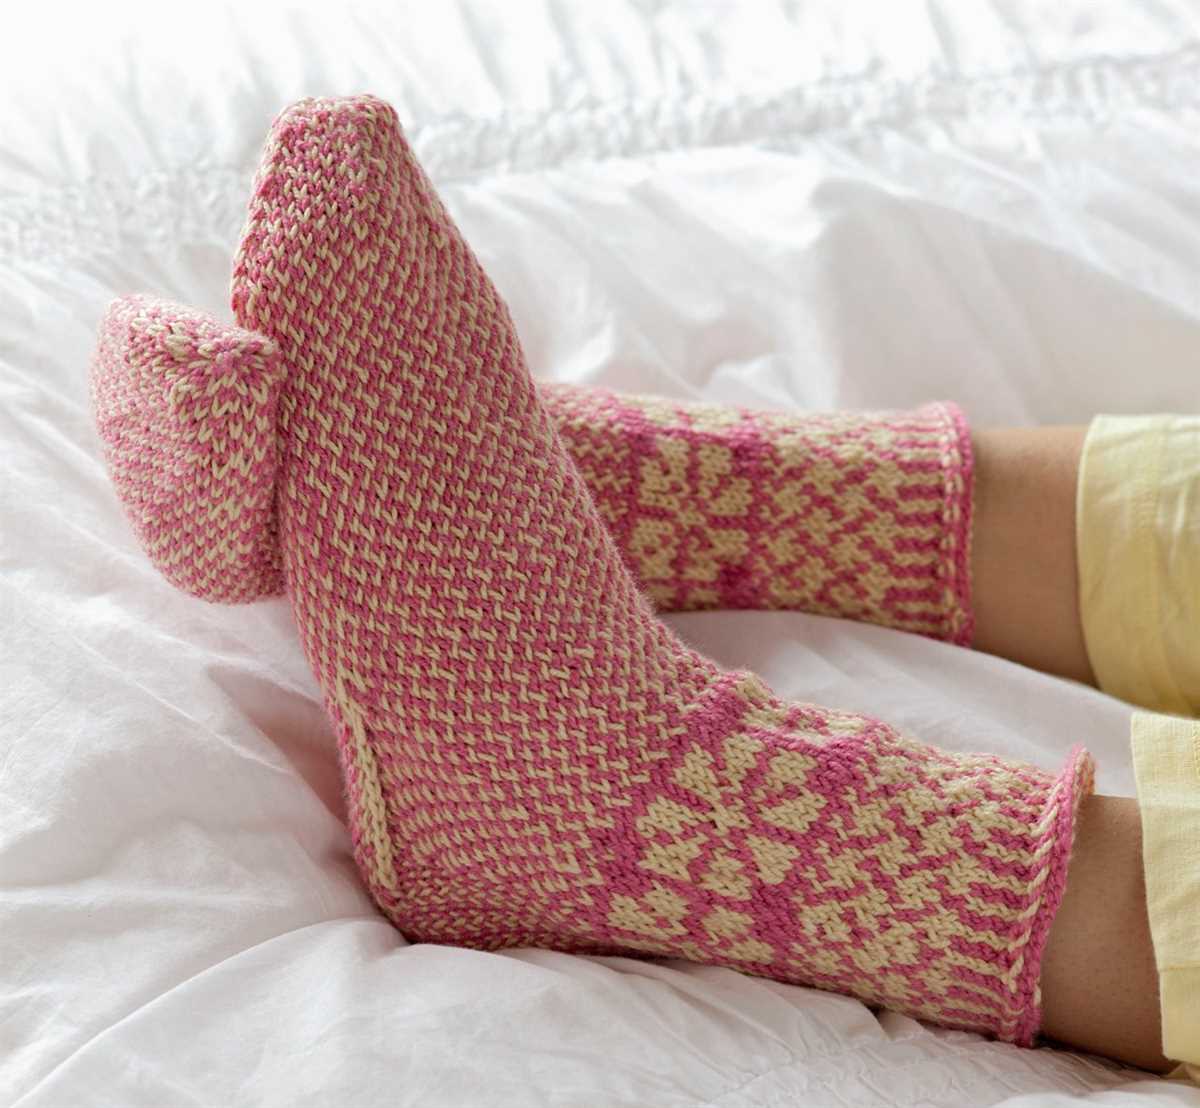
What Are Turkish Bed Socks?
Turkish bed socks are a traditional type of knitted footwear that originated in Turkey. They are cozy, soft, and perfect for keeping your feet warm while you sleep.
These socks are typically made using a simple knitting pattern that involves using a combination of knit and purl stitches. The pattern creates a dense, textured fabric that helps to trap heat and keep your feet insulated.
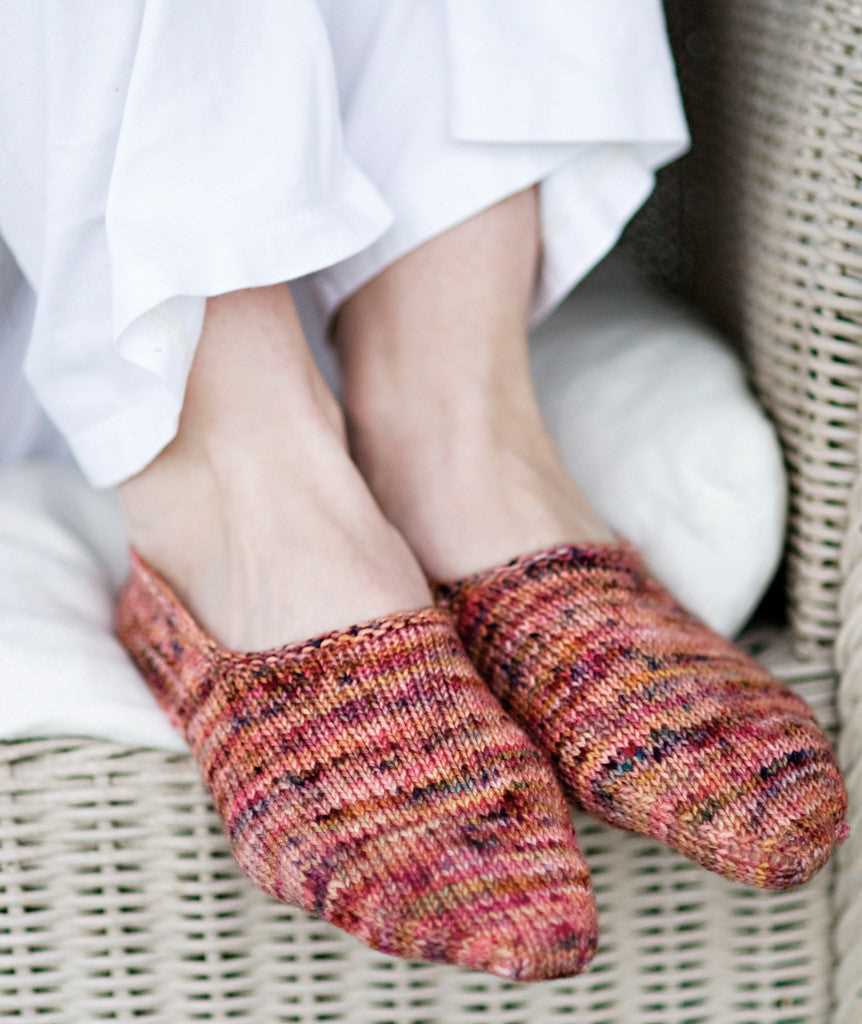
Unlike regular socks, Turkish bed socks are shorter in length and are designed to cover just the foot and ankle. They often feature a ribbed cuff to ensure a snug fit and prevent them from slipping off during the night.
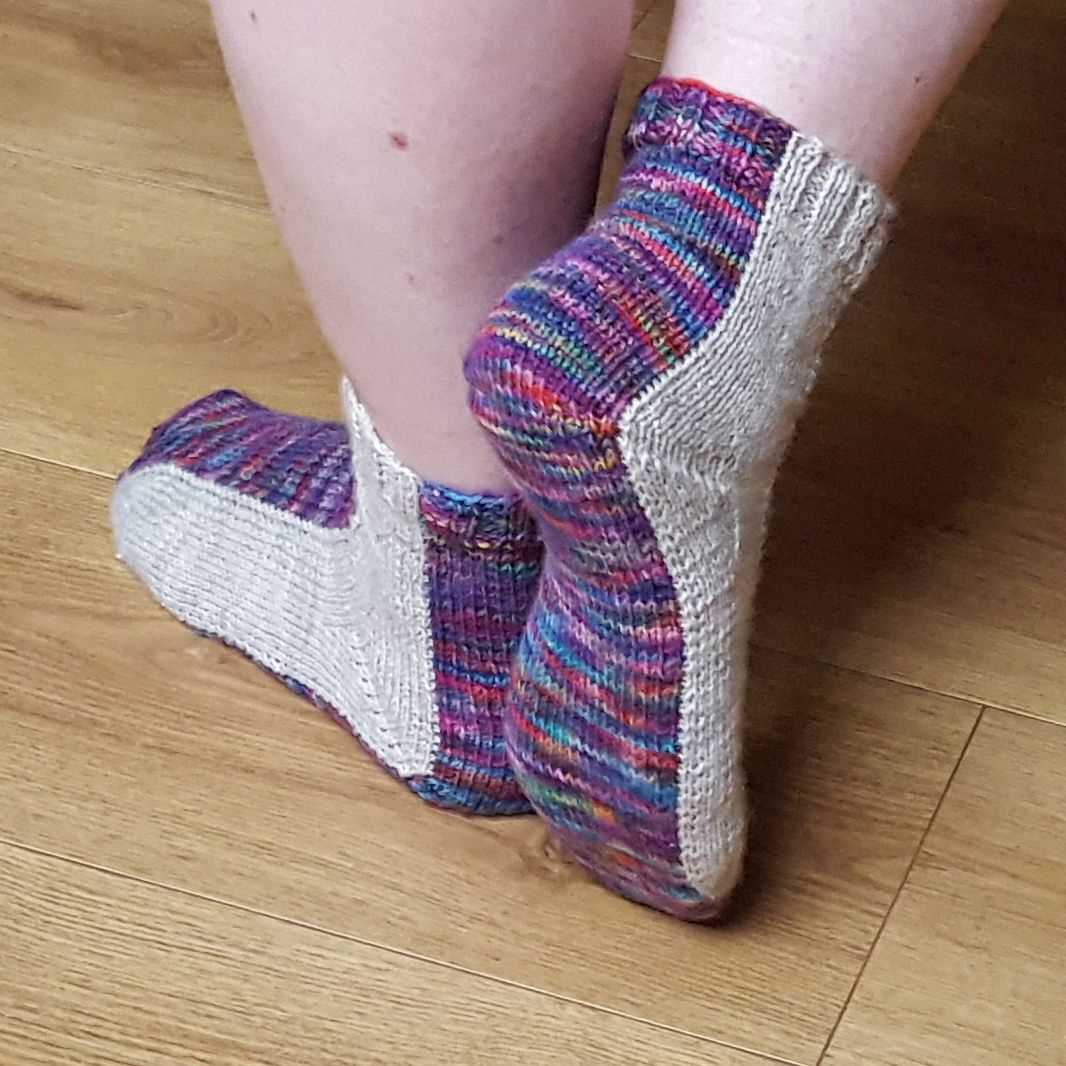
One of the key features of Turkish bed socks is their unique construction. They are knitted from the toe up, starting with a small section for the toe and gradually increasing the number of stitches to fit the foot. This method allows for a custom fit and eliminates the need for a separate heel.
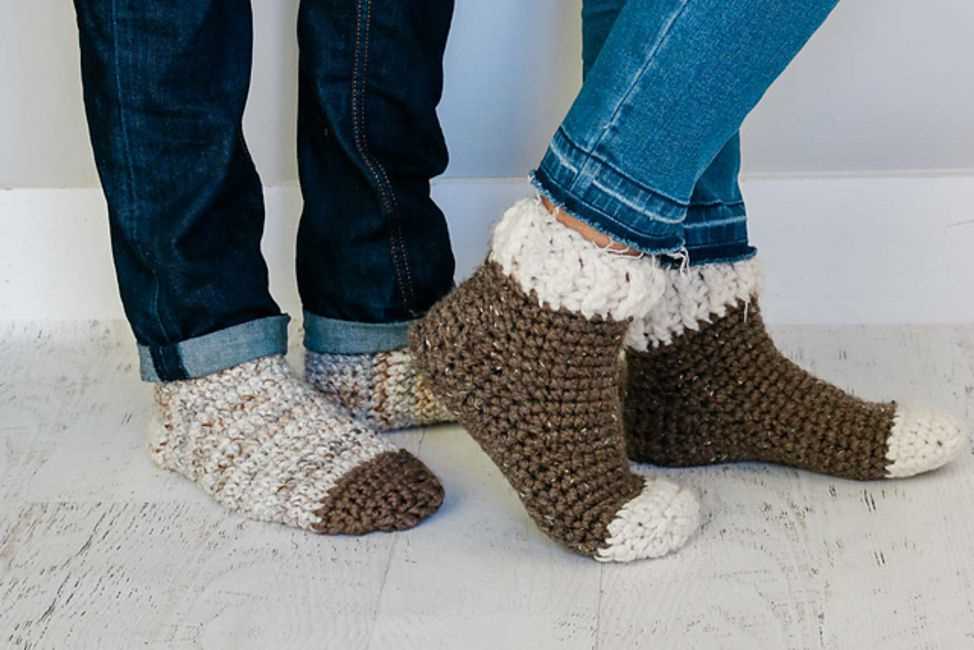
In addition to their practicality, Turkish bed socks are also known for their beautiful designs and patterns. They can be made using various colors and yarn types, allowing for endless customization options. Whether you prefer a simple, solid-colored pair or a more intricate pattern, there is a Turkish bed sock design to suit every taste.
If you enjoy knitting and want to try your hand at making Turkish bed socks, there are many free knitting patterns available online. These patterns provide step-by-step instructions and include helpful tips and tricks to ensure successful results. So, why not give Turkish bed socks a try and treat your feet to some warm and cozy comfort?
Why Knit Your Own Turkish Bed Socks?
When it comes to cozy and comfortable socks, Turkish bed socks are hard to beat. These unique socks are designed to keep your feet warm and toasty, making them perfect for keeping you snug during the colder months. While you can always buy a pair of Turkish bed socks from a store, knitting your own pair has several advantages.
Customization: Knitting your own Turkish bed socks allows you to customize the design to your liking. You can choose your favorite colors, add unique patterns or even experiment with different stitches. This level of customization ensures that your socks will be truly one-of-a-kind and a reflection of your personal style.
Quality: When you knit your own socks, you have complete control over the materials used. You can choose high-quality yarns that are soft, durable, and warm, ensuring that your socks will not only look great but also feel amazing on your feet. Additionally, knitting allows you to create a snug and comfortable fit that is tailored specifically to your feet.
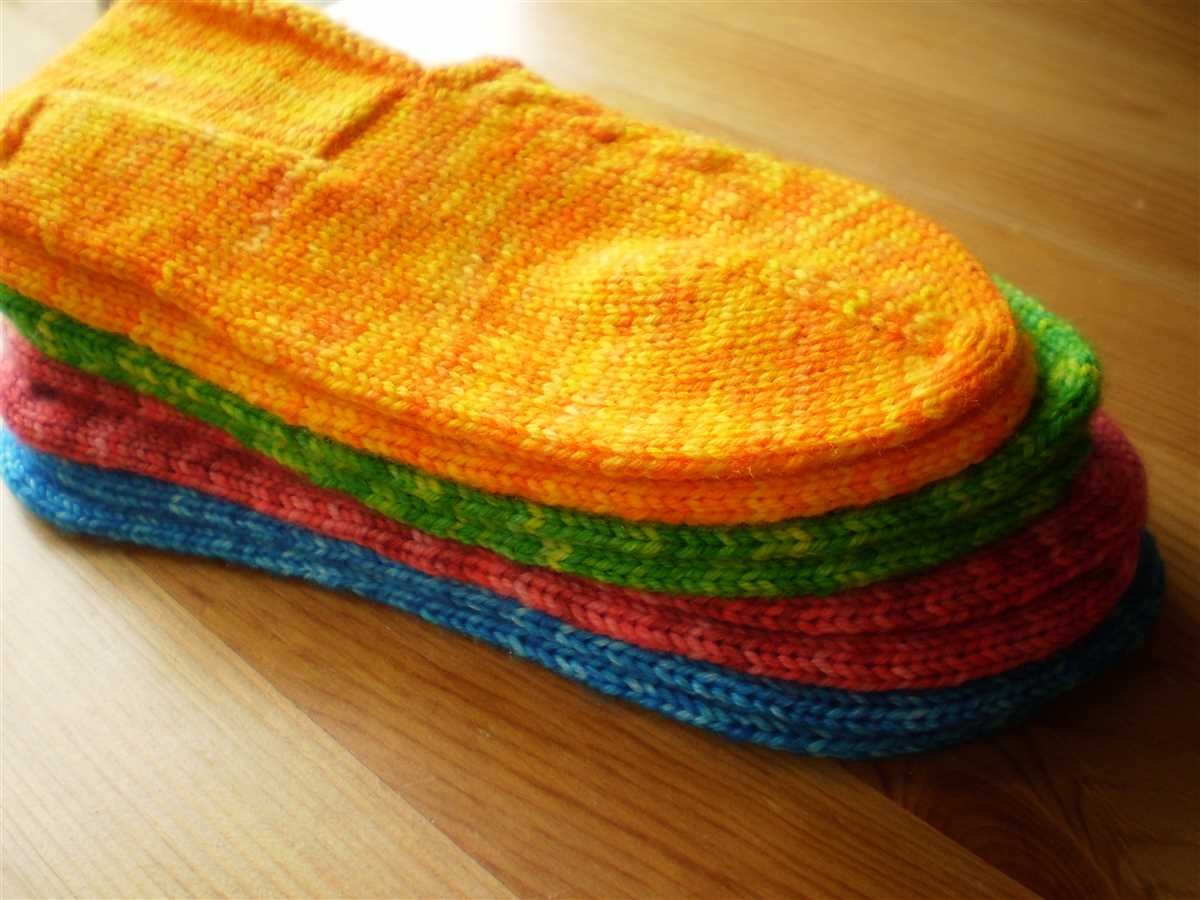
Cost-effective: Buying a pair of Turkish bed socks can be quite expensive, especially if you opt for a high-quality pair. On the other hand, knitting your own socks can be a cost-effective alternative. With just a few skeins of yarn and some basic knitting tools, you can create multiple pairs of cozy socks at a fraction of the cost. Plus, you can enjoy the process of knitting and the satisfaction of wearing something you’ve created with your own hands.
Gifting: Hand-knit Turkish bed socks make for thoughtful and heartfelt gifts. Whether you’re making them for yourself or for a loved one, these socks show that you’ve put time, effort, and love into creating something special. They are not only practical but also a reminder of the care and attention that went into making them.
In conclusion, knitting your own Turkish bed socks provides numerous benefits, from customization and quality to cost-effectiveness and the joy of gifting. So why not grab your knitting needles and get started on a cozy pair of socks that will keep your feet warm and stylish?
Choosing the Right Yarn for Your Turkish Bed Socks
When it comes to knitting Turkish bed socks, choosing the right yarn is crucial in order to achieve the perfect combination of comfort, warmth, and durability. The right yarn can make all the difference in the final result of your socks, so it’s important to consider a few key factors before making your selection.
Fiber content: One of the first things to consider when choosing yarn for Turkish bed socks is the fiber content. Turkish bed socks are typically worn indoors, so it’s important to choose a yarn that is soft and cozy against the skin. Natural fibers like merino wool, alpaca, or cashmere are excellent options as they are known for their softness and warmth. However, blends that include synthetic fibers can also be a good choice, as they often offer added durability and ease of care.
Weight and thickness:
The weight and thickness of the yarn will also play a role in the warmth and comfort of your Turkish bed socks. For colder climates or those who prefer extra warmth, a thicker, chunkier yarn would be a great choice. On the other hand, if you live in a warmer climate or prefer lightweight socks, a finer yarn would be more suitable. Consider the season and your personal preferences when selecting the weight and thickness of the yarn.
Color and aesthetic:
While the functionality of the yarn is important, don’t forget to consider the color and aesthetic of the yarn as well. Turkish bed socks can be a fun project to experiment with different colors and patterns, so choose a yarn that matches your personal style and complements your home decor. Whether you prefer subtle neutrals or vibrant, eye-catching hues, there are plenty of options available to suit your taste.
In conclusion, when choosing the right yarn for your Turkish bed socks, consider factors such as fiber content, weight and thickness, and color and aesthetic. By carefully selecting the yarn, you can ensure that your Turkish bed socks are not only comfortable and warm, but also reflect your personal style and taste.
Getting Started: Casting On and Creating the Cuff
Before you begin knitting your Turkish bed socks, you will need to cast on to create the cuff of the sock. This is the part that will go around your ankle and help to keep the sock in place. To cast on, you will need your chosen yarn and a set of double-pointed knitting needles.
To start, hold one knitting needle in your right hand and make a slipknot with the yarn. Insert the needle into the slipknot, tightening it securely. Now, you are ready to begin casting on.
Using the long-tail cast on method, create a loop with the yarn around your thumb and hold it with your other fingers. Insert the needle into the loop from left to right, making sure to catch the yarn that is coming from the ball. With your thumb, pull the loop through the stitch and slip it onto the needle. Repeat this process until you have the desired number of stitches for your cuff.
Note: If you prefer a stretchier cuff, you can cast on using a larger needle size or by using a ribbing technique such as 1×1 or 2×2 ribbing.
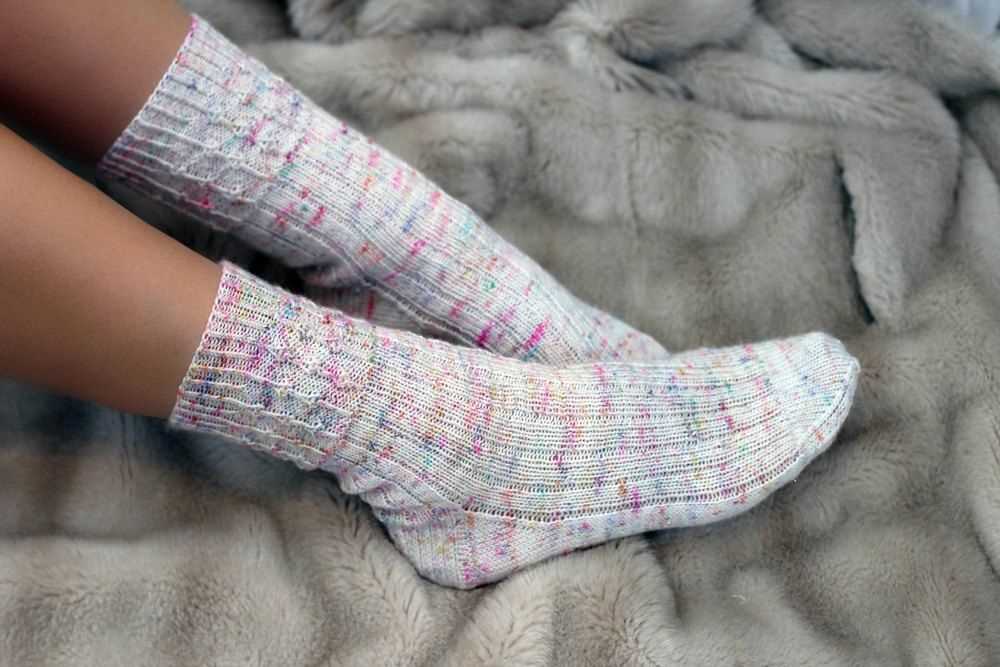
Once you have cast on your stitches, you can begin working the cuff of the Turkish bed sock. This is typically done using a ribbing pattern, such as 1×1 ribbing (alternating knit and purl stitches) or 2×2 ribbing (alternating two knit stitches and two purl stitches).
To create the ribbing pattern, simply alternate between knitting and purling stitches according to the pattern you have chosen. This will create a textured and stretchy cuff for your sock. Continue working in the ribbing pattern until you have reached the desired length for your cuff, typically around 1-2 inches.
- Insert one of your additional double-pointed needles into the first stitch on your main needle, and slip the stitch onto the additional needle.
- Hold the additional needle in your left hand, and use your right needle to knit the next stitch on the main needle.
- Continue this process until all stitches have been worked, with each stitch being moved from the main needle to the additional needle and then worked.
- Once all stitches have been worked, the cuff of your Turkish bed sock is complete, and you are ready to move on to the next section of the pattern!
Knitting the Leg and Heel Flap
The leg of the Turkish bed socks is the part that goes up the ankle and calf. This is where you can add more stitches to make the socks wider or fewer stitches to make them narrower. The leg is typically knitted in a ribbed pattern, such as 2×2 ribbing, to provide elasticity and a snug fit. The ribbing also adds texture and visual interest to the socks.
To knit the leg, you will continue working in the round with the stitches you have on your double-pointed needles. You will repeat the ribbed pattern for the desired length, usually about 6-8 inches. The number of rounds you will need to complete will depend on your chosen stitch pattern, yarn weight, and needle size.
Once you have finished knitting the leg, you will start knitting the heel flap. The heel flap is worked back and forth in rows, instead of in the round like the rest of the sock. This creates a sturdy and durable heel, as well as a comfortable fit. The heel flap is typically knitted in a slip stitch pattern, such as the classic Eye of Partridge pattern.
To begin the heel flap, you will usually divide your stitches in half, with half of the stitches on one needle and half on another. You will then knit back and forth on these stitches, working the slip stitch pattern, for a certain number of rows. The number of rows will depend on your desired sock size and foot length. The slip stitch pattern creates a thick fabric that cushions the heel and provides extra durability.
Shaping the Heel
When knitting Turkish bed socks, one of the most important parts to pay attention to is shaping the heel. The heel is what provides a comfortable and snug fit for the socks, so it’s crucial to get it right. The following steps will guide you through the process of shaping the heel:
1. Start with a traditional short-row heel:
Begin by knitting a few rows in the main stitch pattern until you reach the designated heel area. The exact number of rows will depend on your foot size and desired fit. Once you reach the heel area, you will start working the short rows to create the heel cup.
2. Wrap and turn:
To create the short rows, start by knitting to a designated stitch before the center of the heel. Then, slip the next stitch purlwise, bring the yarn to the front, slip the same stitch back to the left needle, and turn the work. This creates a “wrap” around the stitch.
- For the next row, purl up to the wrapped stitch, then purl the wrapped stitch together with its wrap.
- Continue wrapping and turning until you reach the last wrapped stitch. Purl across to that stitch, then knit the wrapped stitch together with its wrap.
3. Decrease:
After completing the wrap and turn rows, you will have created a cup for the heel. Now it’s time to decrease and shape the heel. To decrease, simply knit or purl the designated number of stitches together at each end of the row. Decrease for a few rows until the desired number of stitches remain.
4. Pick up stitches:
Once the heel is shaped, you will need to pick up stitches along the edges to continue knitting the foot of the sock. Work on picking up an equal number of stitches on both sides of the heel to ensure a symmetry. Use a crochet hook or smaller-sized knitting needle to easily pick up the stitches.
By following these steps, you can successfully shape the heel of your Turkish bed socks and create a comfortable and well-fitted pair of socks. Take your time and pay attention to details to achieve the best results.
Knitting the Foot
Once you have completed the cuff of the Turkish bed socks, it is time to start knitting the foot. The foot is the main part of the sock that will provide warmth and comfort to your feet. To begin, you will need to pick up stitches along the edge of the cuff and place them onto your knitting needles. Use a stitch marker to mark the beginning of the round.
Now that you have your stitches on the needles, you can start knitting the foot. This part of the sock is relatively simple and straightforward. You will continue knitting in the round, using the stitch pattern specified in the Turkish bed socks knitting pattern. The pattern may include a combination of knit and purl stitches, as well as any other decorative stitches you choose to add.
As you knit the foot, make sure to try on the sock occasionally to check for a proper fit. The sock should be snug but not too tight, with enough room for your toes to wiggle comfortably. If it feels too tight, you may need to adjust your needle size or switch to a larger size for the foot section.
In addition to the stitch pattern, you will also need to consider the length of the foot. The Turkish bed socks pattern should provide instructions on how many inches or centimeters to knit for the foot. Make sure to measure your foot and compare it to the given measurements to ensure the sock will fit correctly. If needed, you can adjust the length of the foot section by adding or subtracting rows.
Continue knitting until you reach the desired length for the foot. Once you are satisfied with the length, you can proceed to the next step of the pattern, which is usually knitting the toe section. But before you move on, make sure to secure your stitches by binding off or using any other finishing technique recommended in the pattern. This will ensure that your Turkish bed socks are durable and will withstand regular wear.
Creating the Toe
To begin knitting the toe of your Turkish bed socks, you will need to cast on a certain number of stitches. The exact number will depend on the size of your foot and the desired fit of the socks. Make sure to choose a comfortable and stretchy casting on method, such as the long-tail cast on, to ensure a snug but flexible toe.
Once you have cast on the required number of stitches, the next step is to divide the stitches evenly onto two knitting needles. This will make it easier to work the toe decreases later on. You can either use two separate needles or a set of double-pointed needles, whichever you find most comfortable for knitting in the round.
Now it’s time to start shaping the toe. You will be working a series of decreases to create a tapered shape. The exact decrease pattern will depend on the specific knitting pattern you are following. However, a common toe decrease pattern is to knit two stitches together at the beginning and end of each needle for a few rows, until you have reached the desired width for the toe.
Keep in mind that the toe section of the sock should have a slightly pointed shape, but it should still be wide enough to accommodate your toes comfortably. You don’t want the sock to be too tight or constricting. As you get closer to the end of the toe decreases, make sure to try the sock on occasionally to check the fit and make any necessary adjustments.
- Cast on the required number of stitches using a stretchy method.
- Divide the stitches evenly onto two needles.
- Start shaping the toe by working a series of decreases.
- Continue decreasing until you have reached the desired width for the toe.
- Try the sock on occasionally to check the fit and make adjustments.
Finishing Touches: Binding Off and Weaving in Ends
Once you have finished knitting your Turkish bed socks, it’s time to give them the finishing touches. This includes binding off the stitches and weaving in any loose ends to ensure a clean and polished final product.
To bind off the stitches, you will need a tapestry needle and a pair of scissors. Start by knitting two stitches onto the right needle. Then, using the left needle, lift the first stitch over the second stitch and off the needle. Knit one more stitch onto the right needle, and repeat the process of lifting the previous stitch over the new stitch. Continue in this manner until you have bound off all stitches.
Next, it’s time to weave in any loose ends. Take your tapestry needle and thread it with the loose end of yarn. Insert the needle into the back of the nearest stitch and weave it in and out of the fabric, being careful to avoid pulling too tightly or leaving any visible loops. Once the end is securely woven in, trim any excess yarn with the scissors.
Repeat this process for any remaining loose ends, making sure to weave them in discreetly and securely. Once all ends are woven in and trimmed, your Turkish bed socks are ready to be worn or gifted. Enjoy the cozy warmth and handmade charm of your finished creation!
Tips for a Perfect Pair of Turkish Bed Socks
Are you looking to knit a cozy pair of Turkish bed socks? These warm and comfortable socks are perfect for keeping your feet toasty during those chilly nights. Here are some tips to help you create a perfect pair:
1. Choose the right yarn
When selecting yarn for your Turkish bed socks, opt for a soft and warm option like merino wool or alpaca. These fibers will provide the necessary insulation and comfort for your feet while you sleep.
2. Adjust the size
It is important to adjust the size of the socks to fit your feet perfectly. Measure the circumference and length of your foot and adjust the number of stitches accordingly. You can also modify the length of the cuff and toe to suit your personal preference.
3. Use a stretchy cast-on method
To ensure a snug fit around the ankle, use a stretchy cast-on method such as the long-tail cast-on or the twisted German cast-on. This will allow the socks to stretch comfortably and stay in place while you sleep.
4. Add non-slip soles

To prevent slipping on smooth surfaces, consider adding non-slip soles to your Turkish bed socks. You can use small pieces of suede or silicone grip pads and attach them to the bottom of the socks using fabric glue or by sewing them on.
5. Don’t forget the finishing touches
The finishing touches can make a big difference in the overall look and functionality of your Turkish bed socks. Consider adding decorative details like ribbing, colorwork, or buttons to enhance the aesthetic appeal. You can also add a loop or button closure to keep the socks together when not in use.
With these tips in mind, you will be able to knit a perfect pair of Turkish bed socks that will keep your feet warm and cozy all night long!
Pattern Variation Ideas for Your Turkish Bed Socks
Once you have mastered the basic Turkish bed sock knitting pattern, you may want to try some variations to add a personal touch to your socks. Here are some ideas to inspire you:
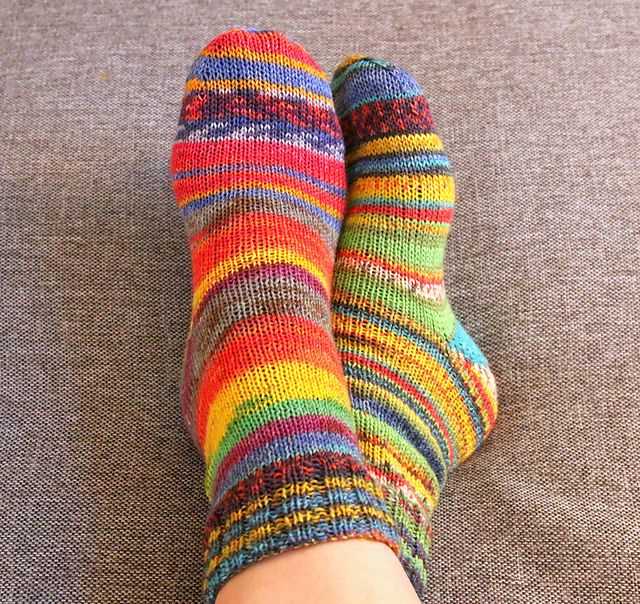
1. Color Variation
Change up the colors: Instead of using a single color for the entire sock, try using multiple colors to create stripes or other patterns. You can use contrasting colors for a bold look or complementary colors for a more subtle effect.
2. Lace Panel
Add a lace panel: If you want to make your socks a bit more delicate and feminine, consider adding a lace panel to the front of the sock. This can be a simple lace pattern, such as a leaf or flower motif, or a more intricate lace design.
3. Cable Detail
Include a cable detail: Cables are a great way to add texture and interest to your socks. You can incorporate a small cable pattern into the body of the sock, or create a large cable panel along the front or back.
4. Fair Isle Technique
Try the Fair Isle technique: Fair Isle knitting involves using multiple colors in a single row to create intricate patterns. This technique can be used to add a colorful and detailed design to your Turkish bed socks.
5. Embroidery or Appliqué
Embroider or appliqué: If you enjoy adding embellishments to your knitting projects, consider adding some embroidery or appliqué to your Turkish bed socks. You can use embroidery thread or yarn to stitch on small motifs or shapes, or attach fabric or felt appliqués for a fun and unique look.
With these pattern variation ideas, you can make your Turkish bed socks truly unique and personalized. Experiment with different techniques and colors to create socks that reflect your own personal style. Happy knitting!