
Looking for a quick and easy knitting project that also serves a practical purpose? Look no further than this textured knit dishcloth pattern! Whether you’re new to knitting or a seasoned pro, this pattern is perfect for all skill levels. Plus, the finished dishcloth makes for a lovely addition to any kitchen or a thoughtful handmade gift for a loved one.
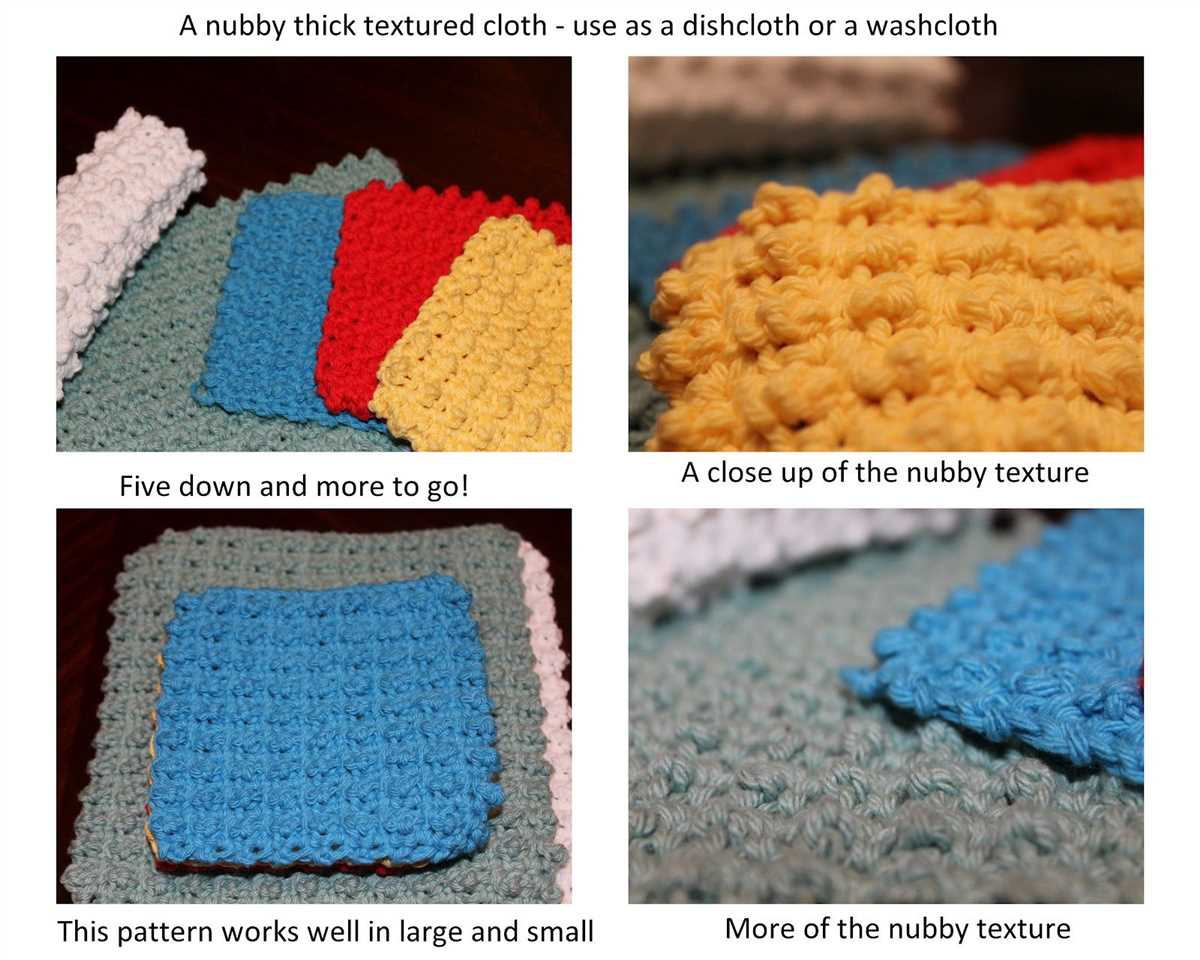
Not only is this dishcloth pattern satisfying to knit, but the finished product is also incredibly functional. The textured design adds a nice grip for washing dishes, cleaning countertops, or wiping up spills. Additionally, the use of a textured stitch pattern helps to ensure that the dishcloth is absorbent and durable, making it a reliable choice for all your kitchen needs.
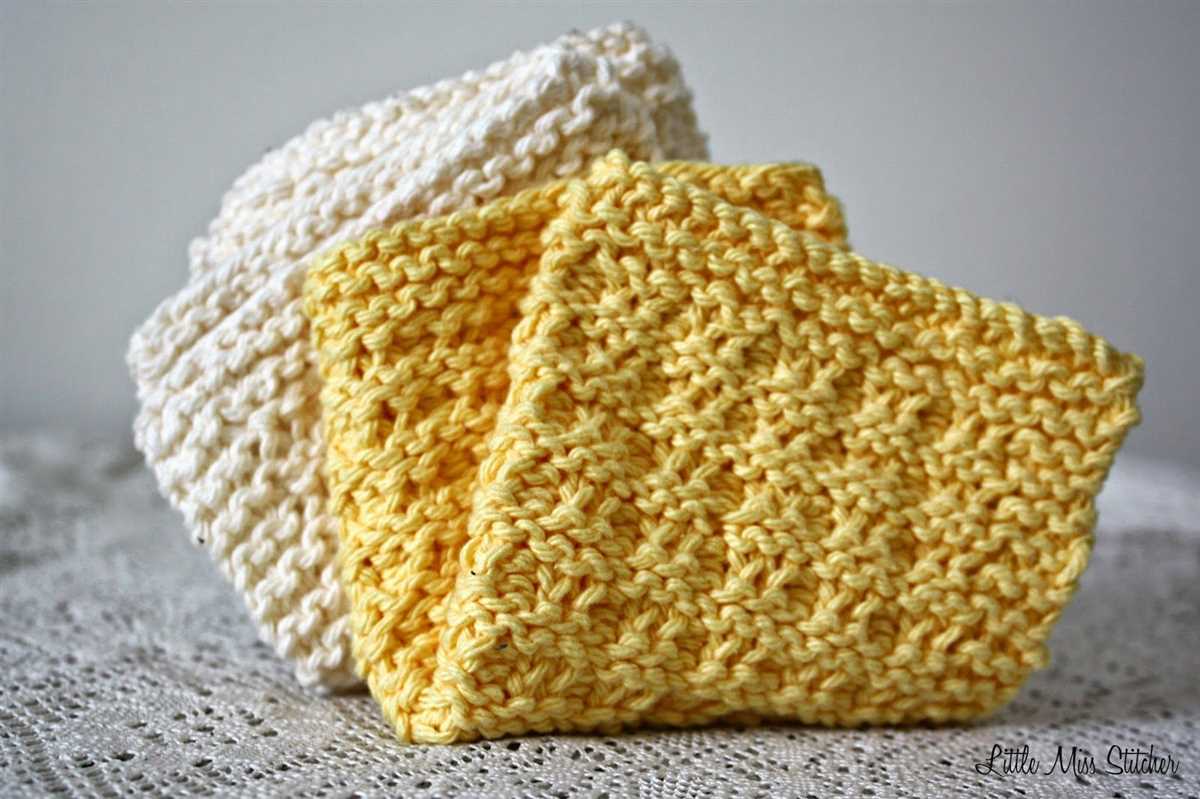
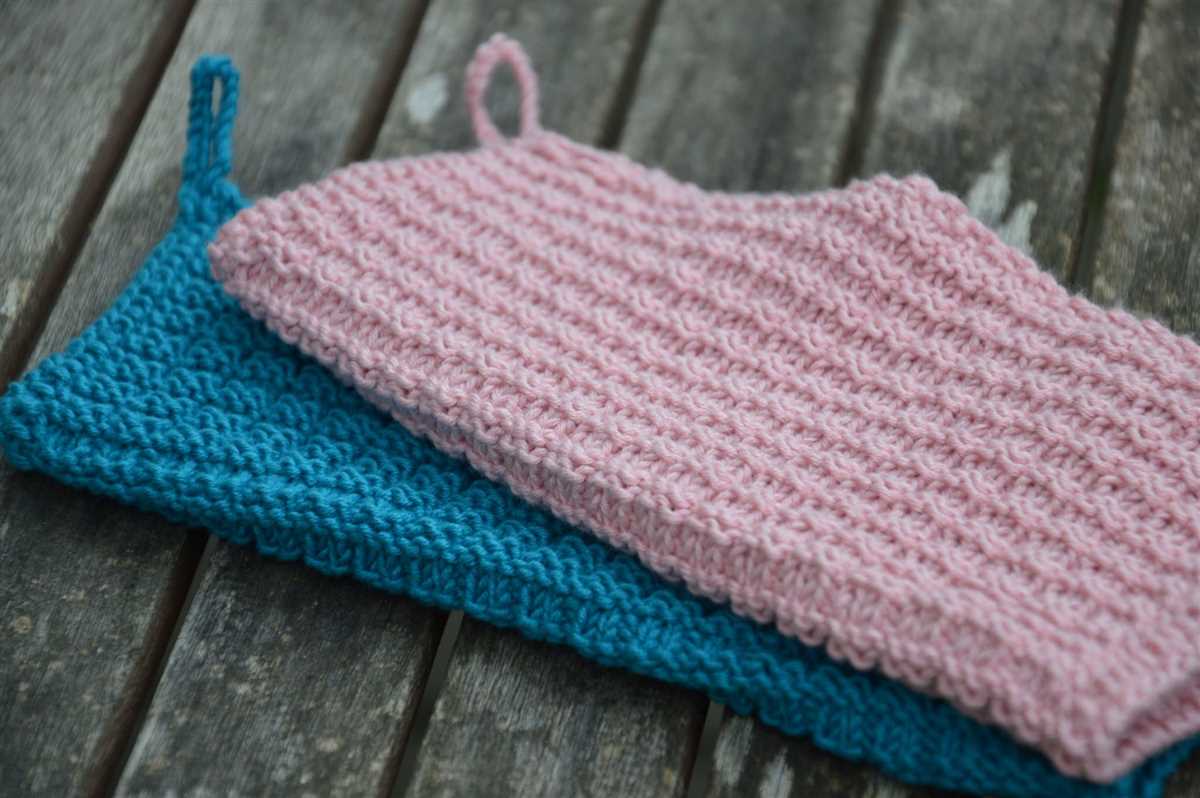
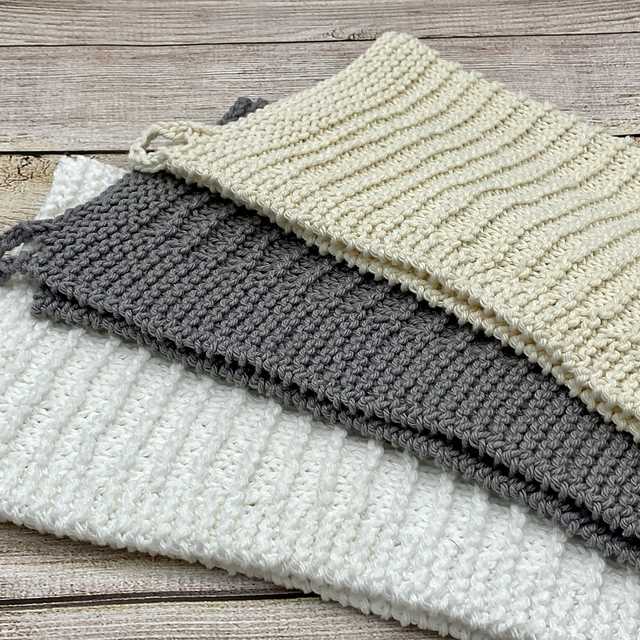
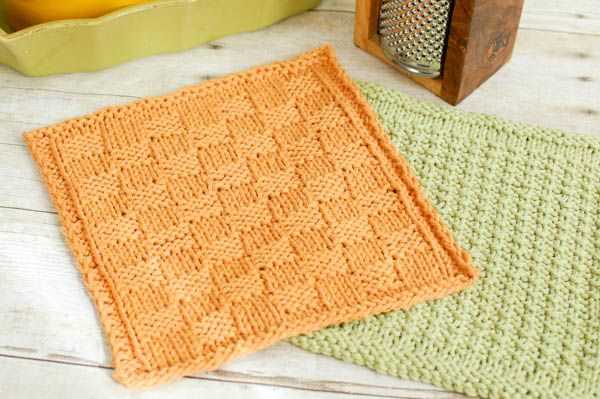
The best part about this textured knit dishcloth pattern is its versatility. You can customize it to match any kitchen decor or personal style by choosing the perfect yarn color. Experiment with different fiber blends and textures to create a dishcloth that suits your preferences. Not only will you end up with a practical kitchen accessory, but you’ll also have a unique and eye-catching piece that will impress your family and friends.
Textured Knit Dishcloth Pattern
If you’re looking for a knitting project that is quick, functional, and adds a touch of texture to your kitchen, then this textured knit dishcloth pattern is perfect for you. The pattern uses basic knit and purl stitches to create a simple yet intricate-looking design.
Materials:
- Size 8 knitting needles
- Worsted weight cotton yarn
Instructions:
- Cast on 40 stitches.
- Row 1: Knit all stitches.
- Row 2: Purl all stitches.
- Row 3: Knit all stitches.
- Row 4: Purl all stitches.
- Repeat rows 1-4 until your dishcloth reaches the desired length, usually about 8 inches.
- Bind off all stitches.
- Weave in any loose ends.
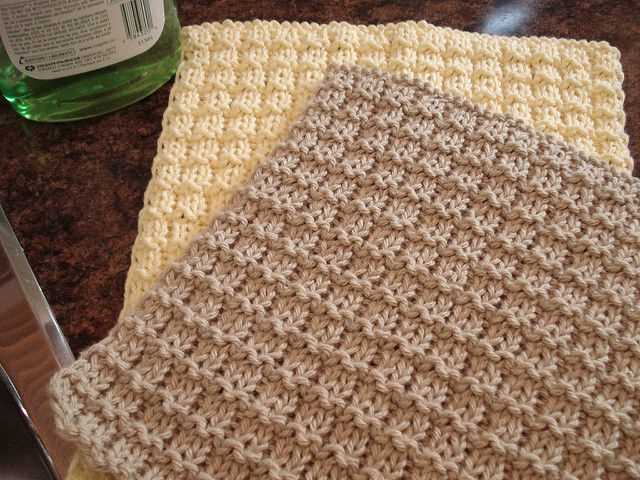
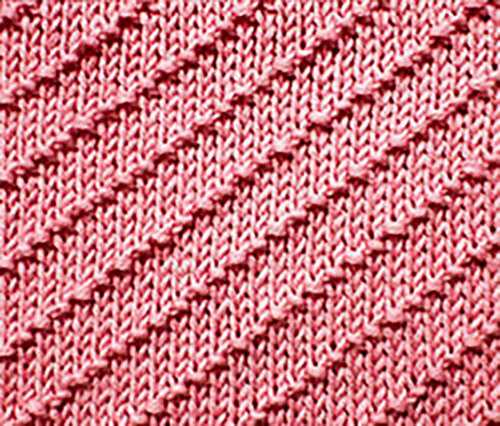
This pattern creates a textured knit dishcloth with alternating knit and purl rows. The result is a dishcloth that is both visually appealing and functional. The cotton yarn used in this pattern is great for absorbing water and is durable enough to withstand frequent use and washing.
Once you’ve finished knitting your dishcloth, you can use it for a variety of tasks in the kitchen, such as washing dishes, wiping countertops, or even as a trivet for hot pots and pans. Its textured design adds a nice touch to any kitchen decor and makes for a great handmade gift as well.
Materials Needed
In order to make the textured knit dishcloth, you will need the following materials:
- Yarn: Choose a cotton yarn in your preferred color. This dishcloth pattern requires approximately 100 yards of yarn.
- Knitting Needles: You will need a set of size 7 (4.5mm) knitting needles. If you prefer a tighter or looser stitch, you can adjust the needle size accordingly.
- Tapestry Needle: A tapestry needle is necessary for weaving in the ends of the yarn after completing the dishcloth.
- Scissors: You will need a pair of scissors to cut the yarn at various points throughout the knitting process.
With these materials prepared, you will be ready to start knitting the textured knit dishcloth. Make sure to choose a soft cotton yarn for optimal absorbency and durability. Follow the pattern instructions closely for best results, and enjoy the process of creating a practical and stylish dishcloth for your home.
Gauge
When it comes to knitting, gauge is an important factor to consider. It refers to the number of stitches and rows per inch or centimeter that you achieve with a particular yarn and needle size combination. It determines the size and fit of your finished project.
To determine the gauge for the textured knit dishcloth pattern, you will need to create a swatch. Start by casting on a few inches of stitches using the recommended needle size. Knit a few rows in the stitch pattern specified in the pattern instructions. Then, measure the stitches and rows within a specific area using a ruler or a gauge tool.
To achieve the correct gauge, it is essential to use the recommended yarn and needle size mentioned in the pattern. If your gauge is too loose, you will need to switch to smaller needles. On the other hand, if your gauge is too tight, you will need to switch to larger needles. Adjusting the needle size can help you achieve the desired stitch and row count.
Cast On
The cast on is the first step in starting any knitting project. It is the method used to create the initial stitches on the needle and provides the foundation for the rest of the project.
For the textured knit dishcloth pattern, there are several options for casting on. One popular method is the long-tail cast on, which creates a neat and sturdy edge. To perform the long-tail cast on, you will need a long tail of yarn and one knitting needle. Hold the tail and the working yarn in your right hand, with the tail over your thumb and the working yarn over your index finger. Insert the needle between your thumb and index finger, and wrap the working yarn around the needle from front to back. Pull the needle through the loop on your thumb, creating a new stitch. Repeat this process until you have cast on the required number of stitches.
Another casting on method that can be used for this pattern is the cable cast on. This method creates a flexible edge that is perfect for items that need a bit of stretch. To perform the cable cast on, start with a slip knot on one needle. Insert the second needle into the slip knot from front to back, and knit into the slip knot. Slip this stitch onto the left needle, and repeat the process until you have cast on the desired number of stitches.
Once you have cast on the required number of stitches, you are ready to begin knitting the textured dishcloth pattern. Follow the pattern instructions and enjoy the process of creating a beautiful and functional dishcloth.
Knit Rows
In this pattern for a textured knit dishcloth, the main component is the knit stitch. To begin, cast on the desired number of stitches using a pair of knitting needles.
The first row is a right side (RS) row, and it begins by knitting one stitch. Continue to knit the remaining stitches across the row until you reach the end.
For the second row, which is a wrong side (WS) row, start by purling the first stitch. Purling involves inserting the right-hand needle into the stitch from right to left and pulling the yarn through the stitch, creating a new loop on the right-hand needle. Repeat this process for each stitch until you reach the end of the row.
Repeat these two rows, alternating between knitting on the RS and purling on the WS, until the desired length of the dishcloth is achieved.
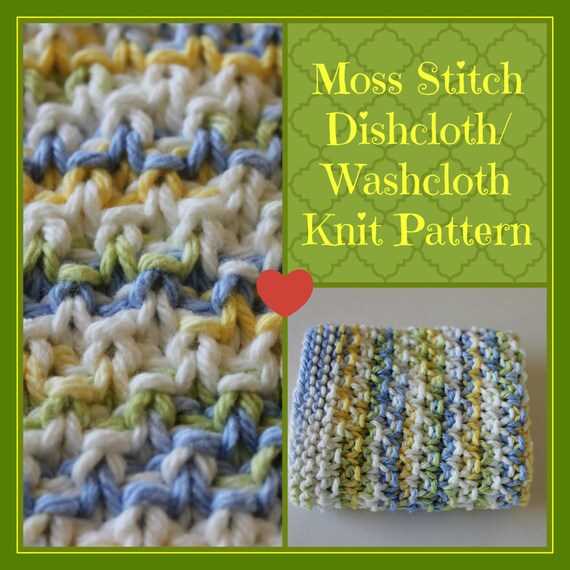
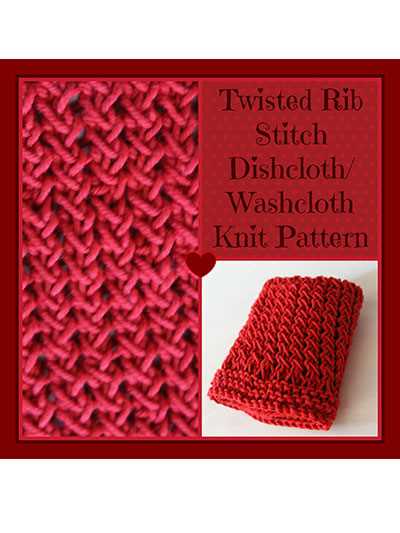
To add texture to the knit dishcloth, you can incorporate various stitch patterns. For example, you can alternate between knit and purl stitches on each row to create a traditional garter stitch pattern. Alternatively, you can experiment with different stitch combinations, such as seed stitch or ribbing, to achieve a more unique texture.
After completing the last row, bind off the stitches to secure the edges of the dishcloth. This is done by knitting two stitches, then using the left-hand needle to lift the first stitch over the second stitch and off the right-hand needle. Repeat this process until only one stitch remains, then cut the yarn and pull it through the last stitch to secure it.
This simple pattern for a textured knit dishcloth is perfect for beginner knitters looking to practice their basic knitting skills and create functional and beautiful items for their home.
Purl Rows
After completing the cast on and knitting the first row, it is time to introduce the purl stitch. Purling is the reverse of knitting and creates a different texture on the fabric. In this dishcloth pattern, the purl stitch is used in alternating rows to give the cloth a textured look.
To create the purl stitch, simply insert the right-hand needle from right to left into the front of the stitch on the left-hand needle. Then, wrap the yarn around the right-hand needle counterclockwise and pull it through the stitch, sliding the original stitch off the left-hand needle. This creates a new purl stitch on the right-hand needle.
The pattern instructions will indicate when to switch from knitting to purling and vice versa. For example, it may say “Row 2: Purl all stitches” or “Row 4: Knit all stitches.” Following these instructions will create the desired textured effect on the dishcloth.
Tips for Purling
- Hold the yarn in your left hand, and keep it tensioned as you work the purl stitch.
- Make sure to insert the needle into the front of the stitch, as this is what creates the purl texture.
- Practice maintaining an even tension in your purl stitches to ensure an even fabric.
- If you find that your purl stitches are too loose or too tight, experiment with adjusting the tension of your yarn.
By incorporating purl rows into your dishcloth pattern, you can create a visually interesting and textured piece. Don’t be afraid to experiment with different stitch patterns and combinations to further customize your knitted dishcloths.
Bind Off
Once you have completed all of your rows of the textured knit dishcloth pattern, it’s time to bind off. Binding off is the final step in finishing your knitting project and securing the stitches so that they don’t unravel. To bind off, you will need to have one stitch on your right needle.
To begin the bind off, knit the first two stitches as usual, then insert your left needle into the first stitch on your right needle. Lift this stitch over the second stitch and off the right needle. This completes the first bound off stitch. Repeat this process for the remaining stitches, knitting the next stitch and lifting the previous stitch over it and off the needle.
Continue binding off until you have one stitch remaining. To finish, cut your yarn, leaving a tail that is about 6 inches long. Thread the tail through the remaining stitch and pull tight to secure. Weave in any loose ends to complete your textured knit dishcloth.
Finishing Touches
When you’ve finished knitting your textured knit dishcloth, it’s time to add some finishing touches to give it that extra special look. Here are a few ideas to inspire you:
1. Blocking
Blocking is the process of shaping and resizing your finished knit item by wetting it and then pinning it into the desired shape. This can help even out any uneven stitches and give your dishcloth a polished look. To block your dishcloth, simply soak it in lukewarm water for about 15 minutes, gently squeeze out the excess water, and then lay it flat on a towel. Use rustproof pins to pin it into the desired shape and let it dry completely.
2. Edging
Add a decorative edging to your dishcloth to give it a touch of elegance. You can choose to crochet an edging using a contrasting color yarn or simply use a slip stitch to create a neat finished edge. Experiment with different stitches and patterns to find the perfect edging that complements your dishcloth design.
3. Embellishments

Add some personal flair to your dishcloth by attaching small embellishments such as buttons, beads, or ribbon. You can sew them on using a needle and thread or use hot glue for a quick and easy attachment. Just be sure to choose embellishments that can withstand frequent use and washing.
4. Labeling
Show off your handcrafted dishcloth by attaching a small label or tag with your name or initials. This adds a personalized touch and also makes it clear that your dishcloth is handmade with love. Use a small piece of fabric or a purchased label and sew or glue it onto the corner of your dishcloth.
With these finishing touches, your textured knit dishcloth will not only be practical but also a beautiful handmade item that you can be proud to display in your kitchen or give as a thoughtful gift.
Blocking
Blocking is an essential step in the finishing process of knitted or crocheted projects. It involves manipulating the fabric while it is damp to reshape and smooth out any imperfections. This process helps to set the stitches, even out the tension, and enhance the overall appearance of the finished item.
There are several methods for blocking, but the most common technique is wet blocking. To wet block, you will need to fill a basin or sink with lukewarm water and add a small amount of gentle detergent. Gently submerge the item in the water and let it soak for about 15 minutes. Carefully remove the item from the water and gently squeeze out the excess moisture.
Next, lay the item flat on a clean towel, shaping it to the desired dimensions. Use rustproof pins to secure the item, stretching it slightly if necessary. Make sure to measure and adjust the dimensions as needed, following the pattern instructions.
Allow the item to dry completely before removing the pins. This may take anywhere from a few hours to a couple of days, depending on the fiber content and density of the fabric. Once dry, the item should be beautifully blocked and ready to be used or gifted.
Care Instructions
In order to keep your textured knit dishcloth in the best possible condition, it is important to follow the care instructions listed below:
- Hand wash: We recommend hand washing your dishcloth in warm water with mild detergent. Gently squeeze out excess water and lay flat to dry.
- Machine wash: If you prefer to machine wash your dishcloth, use the gentle cycle with cold water. Place the dishcloth in a mesh laundry bag or pillowcase to protect it and prevent snags. It is also recommended to use a detergent that is gentle on delicate fabrics.
- Avoid bleach: Bleaching can cause the colors of the dishcloth to fade and weaken the fibers. It is best to avoid using bleach or any harsh chemicals when washing your dishcloth.
- Do not wring or twist: When squeezing out excess water, avoid wringing or twisting the dishcloth. This can cause the fabric to lose its shape and become misshapen.
- Store properly: After washing and drying your dishcloth, store it in a clean and dry place. Avoid storing it in a damp environment as this can lead to mold or mildew growth.
Following these care instructions will help to extend the lifespan of your dishcloth and keep it looking and feeling its best.
Enjoy using your textured knit dishcloth and happy cleaning!