
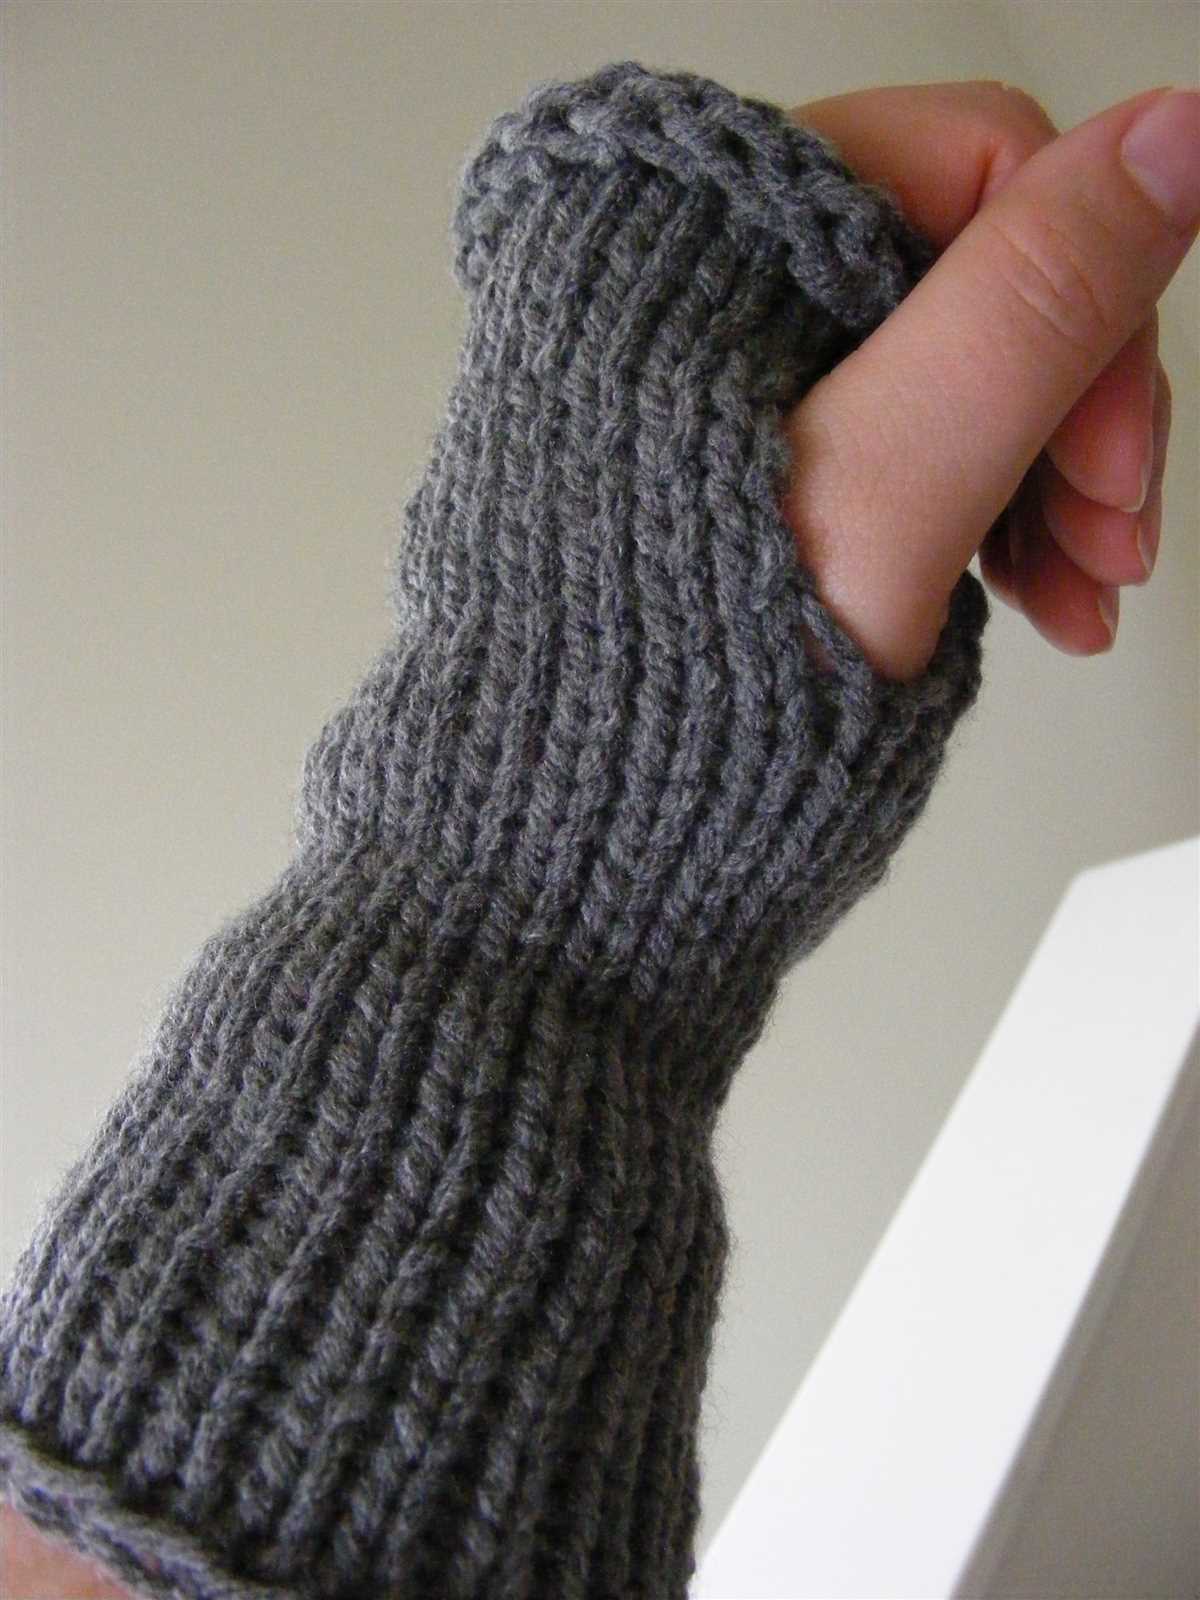
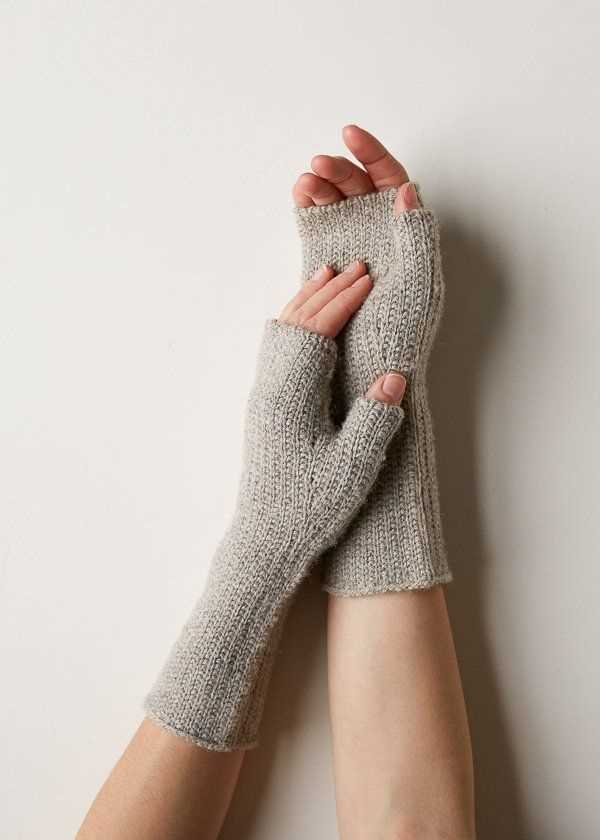
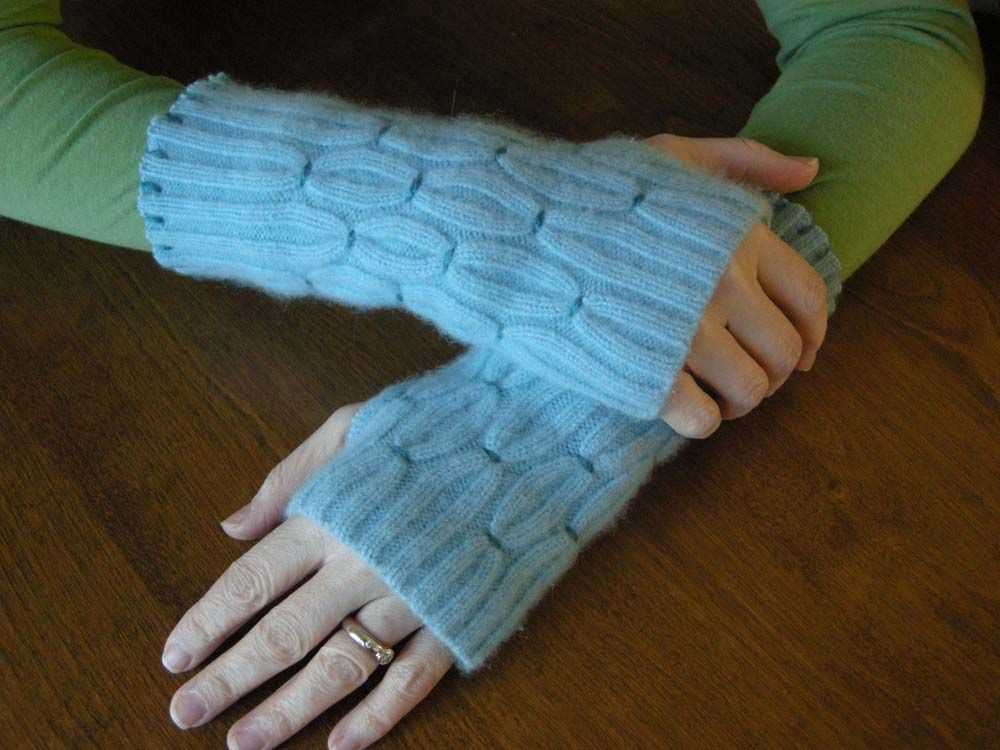
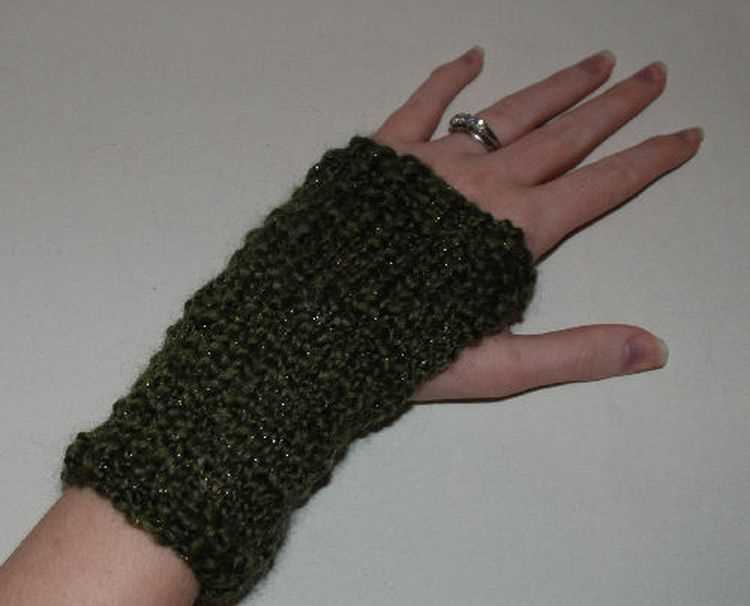
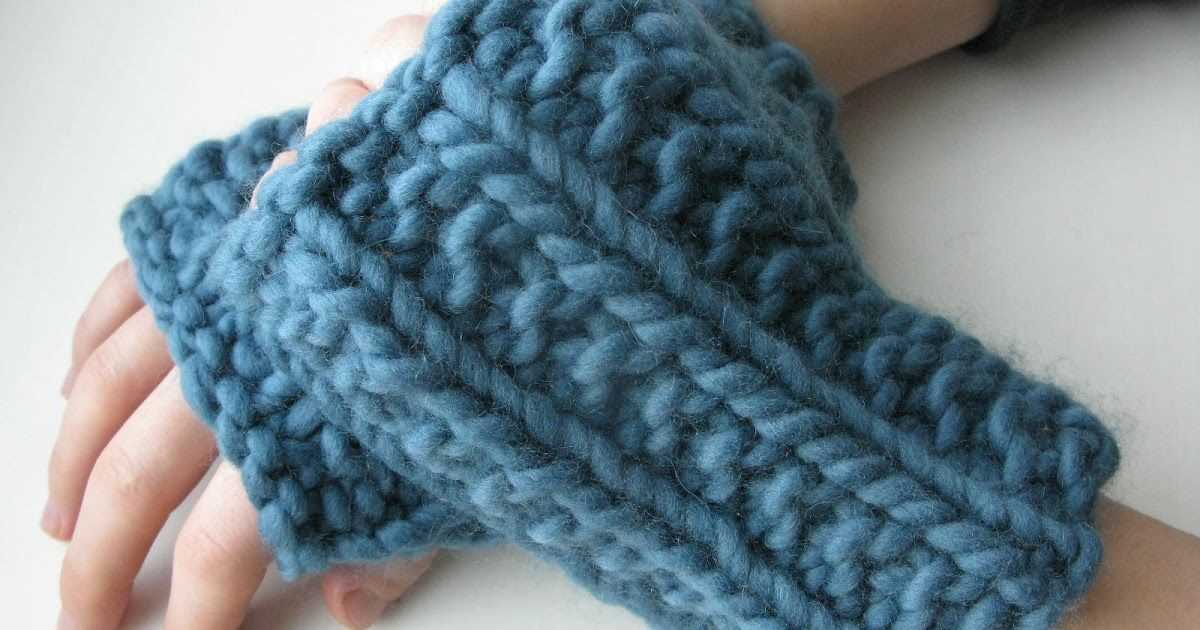
In colder weather, it’s important to keep your hands warm and cozy. One great way to do that is by knitting your own hand warmers. Hand warmers are small, fingerless gloves that cover the wrist and palm of the hand, leaving the fingers free to move. They are perfect for keeping your hands warm while still allowing you to use your fingers freely.
Knitting your own hand warmers is not only a practical way to keep your hands warm, but it’s also a great way to showcase your knitting skills and create personalized accessories. Plus, they make excellent gifts for friends and loved ones. With this easy knit hand warmer pattern, you’ll have a stylish and functional pair of hand warmers in no time.
This pattern is perfect for beginners who are just learning how to knit. It uses basic knitting stitches and simple techniques to create a cozy pair of hand warmers. Plus, the pattern can be easily customized to fit any hand size and desired length. So whether you’re a beginner or an experienced knitter, this easy knit hand warmer pattern is a great project for you.
Easy Knit Hand Warmer Pattern
Are you looking for a simple and quick knitting project? Look no further than this easy knit hand warmer pattern. Hand warmers are a great accessory for keeping your hands cozy and warm during colder months, and they make a fantastic gift idea too!
To create these hand warmers, you’ll need a few basic knitting supplies, including yarn and knitting needles. The pattern uses a simple rib stitch, which creates a nice stretchy fabric that will fit comfortably on your hands. You can choose any color of yarn you like to make these hand warmers, making them a fun and customizable project.
Materials:
- Worsted weight yarn
- Size US 8 (5mm) knitting needles
- Yarn needle for weaving in ends
Instructions:
- Cast on 30 stitches.
- Work in a 2×2 rib stitch pattern (knit 2, purl 2) for the length you desire.
- Bind off all stitches.
- Fold the hand warmer in half and use the yarn needle to sew up the side seam, leaving a small opening for your thumb.
- Weave in any loose ends.
That’s it! You now have a pair of cozy hand warmers to keep your hands warm and toasty. Feel free to experiment with different yarn colors and stitch patterns to add your personal touch to this easy knit hand warmer pattern.
Materials Needed for Easy Knit Hand Warmer Pattern
If you’re looking to make a pair of cozy hand warmers, here’s a list of all the materials you’ll need for this easy knit pattern. With these supplies, you’ll be able to create a stylish and functional accessory to keep your hands warm during the colder months.
- Yarn: To create these hand warmers, you’ll need a medium-weight yarn. Choose a color that matches your style and personal preference.
- Knitting Needles: You’ll need a pair of knitting needles in the appropriate size for your chosen yarn. Check the yarn label for the recommended needle size.
- Stitch Markers: These will help you keep track of your progress and mark any important points in the pattern.
- Tapestry Needle: This needle is used for weaving in ends and finishing touches.
- Scissors: A pair of scissors will come in handy for cutting the yarn and trimming any excess.
- Measuring Tape: You’ll need a measuring tape to ensure that your hand warmers fit properly. It’ll help you determine the length and width of your work as you go along.
Once you have all these materials ready, you’ll be well-equipped to start knitting your hand warmers. With a few simple stitches and some patience, you’ll have a pair of cozy hand warmers to keep you warm and stylish throughout the colder months.
Choosing the Right Yarn for Easy Knit Hand Warmers
When it comes to knitting hand warmers, choosing the right yarn is essential for creating a cozy and comfortable accessory. The yarn you select will greatly impact the warmth, durability, and overall look of your hand warmers. Here are some factors to consider when choosing the perfect yarn for your easy knit hand warmers.
Fiber Content: The fiber content of the yarn determines its overall characteristics, such as warmth, softness, and breathability. Common fiber options for hand warmers include wool, alpaca, acrylic, and blends. Wool and alpaca are excellent choices for warmth and insulation, while acrylic is known for its affordability and ease of care. Consider your personal preferences and the needs of the recipient when selecting the fiber content.
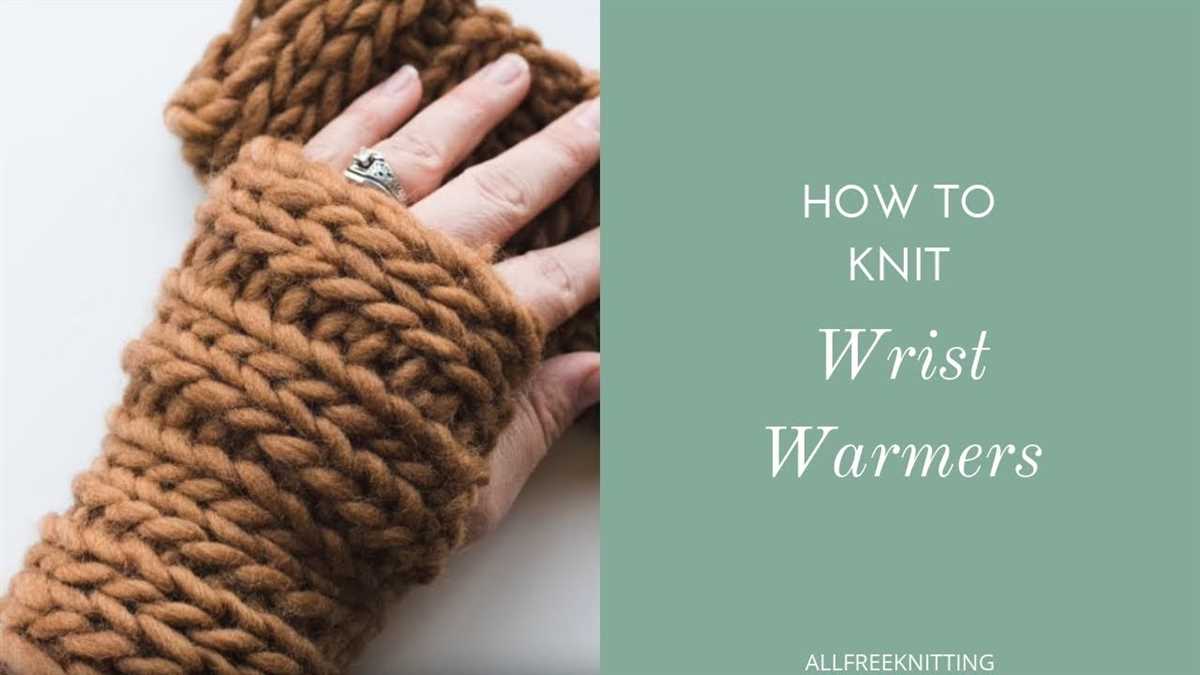
Weight: The weight of the yarn refers to its thickness, and it can greatly affect the drape and warmth of the hand warmers. For a lightweight and breathable option, choose a fingering or sport weight yarn. If you want a chunkier and more substantial look, opt for a worsted or bulky weight yarn. Keep in mind that the pattern you are using may specify a certain yarn weight, so be sure to check the instructions before making a selection.
Color: The color of the yarn can add personality and style to your hand warmers. Consider the recipient’s preferences and the intended use of the hand warmers when selecting a color. Neutral colors like black, gray, and cream can be versatile and match various outfits, while bright and vibrant colors can add a fun pop to winter ensembles.
Care Instructions: Lastly, consider the care instructions for the yarn. Some yarns may require handwashing, while others can be machine-washed. If you want low-maintenance hand warmers, opt for yarn that can be easily cared for. Additionally, consider if the yarn is prone to pilling or fading over time, as this may affect the longevity of your hand warmers.
By considering the fiber content, weight, color, and care instructions, you can choose the perfect yarn for your easy knit hand warmers. Remember to swatch and gauge your yarn before starting the project to ensure the desired fit and finish. With the right yarn, your hand warmers will not only keep your hands toasty but also showcase your knitting skills.
Selecting the Appropriate Knitting Needles for Easy Knit Hand Warmers
Knitting hand warmers is a fun and rewarding project that allows you to create cozy accessories to keep your hands warm during the colder months. When it comes to selecting the appropriate knitting needles for easy knit hand warmers, there are a few key factors to consider.
1. Needle Size: The needle size you choose will determine the overall size and tension of your hand warmers. For easy knit hand warmers, it is recommended to use a medium to large needle size, such as US size 8 (5mm) or US size 9 (5.5 mm). These sizes will create a looser, more comfortable fit for your hand warmers.
2. Needle Material: The material of your knitting needles can also impact the outcome of your hand warmers. Metal and bamboo knitting needles are popular choices for their smoothness and durability. Metal needles are great for speedy knitting, while bamboo needles are lightweight and have a natural grip that can prevent stitches from slipping off.
3. Circular or Straight: Another consideration is whether to use circular or straight knitting needles. Circular needles are a versatile option as they allow you to easily knit in the round, eliminating the need for seams. However, if you prefer knitting flat and sewing the seams afterwards, straight needles may be the better choice.
4. Length: The length of your knitting needles will depend on the method you choose to knit your hand warmers. For circular needles, a 16-inch length is commonly used, while for straight needles, an 8 or 10-inch length is often sufficient. It is important to ensure that your knitting needles are long enough to hold all the stitches comfortably.
By considering these factors and experimenting with different needle sizes and materials, you can find the perfect knitting needles for your easy knit hand warmers project. Remember to also check the pattern instructions for any specific needle size recommendations, and enjoy the process of creating cozy hand warmers to keep your hands toasty warm.
Understanding the Basic Knitting Stitches for Easy Knit Hand Warmer Pattern
When starting a knitting project, it is important to understand the basic stitches that will be used. This is especially true when making an easy knit hand warmer pattern. The hand warmer pattern typically involves using a combination of knit and purl stitches to create a ribbed or textured design. It’s essential to be familiar with these stitches to successfully complete the project.
One of the most fundamental stitches in knitting is the knit stitch. This stitch is created by inserting the right-hand needle into the front of the stitch on the left-hand needle, wrapping the yarn around the right-hand needle, and pulling the new loop through the old stitch. The knit stitch creates a smooth and V-shaped pattern on the right side of the fabric.
The purl stitch is another essential stitch used in knitting hand warmers. To create a purl stitch, the process is similar to the knit stitch, but the needle is inserted into the back of the stitch instead of the front. The yarn is then wrapped around the right-hand needle in the opposite direction. The purl stitch creates a raised and bumpy pattern on the right side of the fabric.
When using these basic stitches in an easy knit hand warmer pattern, it is common to create a ribbed design. This involves alternating between knit and purl stitches in a specific pattern. For example, a common ribbing pattern is K2, P2, which means knitting two stitches, then purling two stitches, and repeating this sequence until the desired length is achieved. The ribbed pattern adds elasticity and texture to the hand warmers.
By understanding and practicing these basic stitches, knitters can confidently tackle an easy knit hand warmer pattern. With the right technique, patience, and attention to detail, a cozy and stylish pair of hand warmers can be created for personal use or as a thoughtful gift.
Step-by-Step Instructions for Casting On
When beginning a knitting project, the first step is to cast on, which means creating the initial row of stitches on your needle. There are several methods for casting on, but we will focus on the long-tail cast on method for this pattern.
Materials needed:
- Knitting needles
- Yarn
- Scissors
Step 1: Measure yarn
Start by measuring out a length of yarn for your cast on. A general rule of thumb is to measure out about four times the width of your project. This may vary depending on the size of your project, so adjust accordingly.
Step 2: Make a slipknot
To begin the long-tail cast on, make a slipknot at one end of your yarn. This will create a loop that can be easily adjusted.
Step 3: Hold the slipknot
Hold the slipknot in your right hand, with the tail end of the yarn (the end that is not attached to the ball of yarn) hanging down.
Step 4: Position the needle
With your left hand, hold your knitting needle so that it is parallel to your right needle, with the slipknot looped around the left needle.
Step 5: Make an anchor stitch
Using your right hand, use the needle to go under the slipknot loop from bottom to top. Then, grab the long end of the yarn with your right hand and pull it through the slipknot loop to make a new stitch on the right needle. This stitch acts as an anchor for the rest of the cast on.
Step 6: Continue casting on
Repeat Steps 3-5 until you have cast on the desired number of stitches. The length of yarn between each stitch determines the width of your project.
Step 7: Cut yarn
Once you have cast on all your stitches, cut the yarn, leaving a long enough tail to weave in later. Be sure to leave enough yarn so that your stitches do not unravel.
With these step-by-step instructions, you can easily cast on and begin your knitting project. Once you have mastered the long-tail cast on, you can explore other casting on methods to suit different knitting patterns.
Knitting the Body of the Hand Warmer
Once you have finished casting on and ribbing the cuff of your hand warmer, it’s time to start knitting the body. This is the part that will keep your hands warm and cozy, so it’s important to choose a soft and warm yarn for this section.
To begin, you will knit the body in rounds using the stockinette stitch. This means that you will knit every stitch in the first round, and then purl every stitch in the second round, repeating these two rounds until you reach the desired length for your hand warmer. This simple stitch pattern creates a smooth and neat fabric that stretches nicely and provides a comfortable fit.
As you knit each round, make sure to keep track of your stitch count. You can do this by placing a stitch marker at the beginning of each round, which will help you keep your place and prevent any mistakes. It’s also important to check your gauge and make adjustments if necessary, as this will ensure that your hand warmer fits properly.
Depending on your personal preference and the size of your hand, you can adjust the length of the body accordingly. Some people prefer shorter hand warmers that cover just the wrists, while others like longer ones that reach partway up the forearm. Measure your hand or try on the hand warmer as you go to determine the perfect length for you.
Continue knitting the body until you reach the desired length, making sure to end on a round where you have purled every stitch. This will create a neat edge for the top of your hand warmer. Once you’ve finished knitting the body, you can move on to the final section of the pattern, which is knitting the thumb opening.
Creating the Thumb Opening

Once you have completed knitting the main portion of the hand warmer, it’s time to create the thumb opening. This is an essential step in making the hand warmer more comfortable and functional. Here are a few simple steps to follow:
Step 1: Begin by identifying the center stitch of your work. This will be the stitch that sits directly in the middle of the hand warmer. You can count your stitches from one side to find the center stitch.
Step 2: Using a stitch marker or a small piece of contrasting yarn, mark the center stitch. This will help you keep track of where the thumb opening will be.
Step 3: On the next row, when you reach the marked stitch, start working in a new color or simply skip the stitch. This will create the gap for the thumb. Continue knitting or purling the remaining stitches on that row as usual.
Step 4: On the following row, when you come to the gap, begin working the stitches in the new color or pick up the skipped stitch, depending on the method you chose. Be sure to maintain the correct stitch pattern as you continue knitting the rest of the row.
Step 5: Continue knitting in the main color for a few more rows, maintaining the established stitch pattern. This will help create a smooth and seamless transition between the thumb opening and the rest of the hand warmer.
Step 6: Finally, carefully weave in any loose ends and trim them. Your thumb opening is now complete, and you can try on your hand warmer to ensure the fit is comfortable.
By following these steps, you’ll be able to create a thumb opening in your hand warmer that adds both style and functionality to your knitting project.
Finishing the Hand Warmer
After completing the knitting portion of your hand warmer, it’s time to finish off your project. This involves a few simple steps to ensure that your hand warmer is ready to be worn and enjoyed.
To begin, you will need to weave in any loose ends or yarn tails that were created during the knitting process. This can be done with a yarn needle, by carefully threading the ends through the stitches on the wrong side of the hand warmer. Make sure to weave the ends in securely so they do not come undone with wear.
Next, you will want to block your hand warmer to give it a finished look and help it hold its shape. To do this, soak the hand warmer in lukewarm water with a gentle wool wash or mild detergent. Gently squeeze out the excess water without wringing or twisting the fabric. Lay the hand warmer flat on a towel, reshaping it if necessary, and leave it to dry completely.
Once your hand warmer is dry, you can add any desired embellishments, such as buttons, ribbons, or embroidery. These can be sewn onto the hand warmer using a needle and thread, or attached using fabric glue or adhesive. Be sure to position the embellishment where it will be most comfortable and practical to wear.
Finally, give your hand warmer a final inspection to make sure there are no loose threads or any other imperfections. Trim any excess yarn or threads, and make any necessary repairs. Your hand warmer is now ready to be worn and enjoyed, and will provide warmth and style during the chilly months.
Tips and Tricks for Making Easy Knit Hand Warmers
Knitting hand warmers can be a fun and rewarding project, especially when using an easy knit pattern. Here are some tips and tricks to help you make the perfect pair of hand warmers:
Choose the right yarn
When selecting yarn for your hand warmers, consider the weight and fiber content. A thinner yarn will create a more lightweight and breathable fabric, while a thicker yarn will result in a warmer and cozier pair of hand warmers. You can also experiment with different fibers, such as wool for extra warmth or cotton for a lighter feel.
Gauge matters
It’s important to check your gauge before starting your project, especially if you’re using a specific pattern. Knitting with a larger or smaller gauge can significantly alter the size and fit of your hand warmers. Take the time to knit a swatch and measure it to ensure that you’re using the correct needle size and tension.
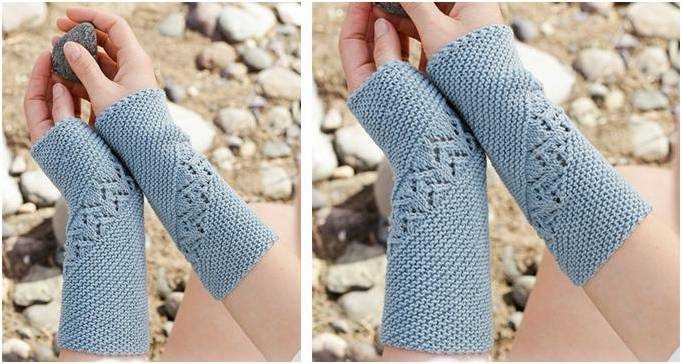
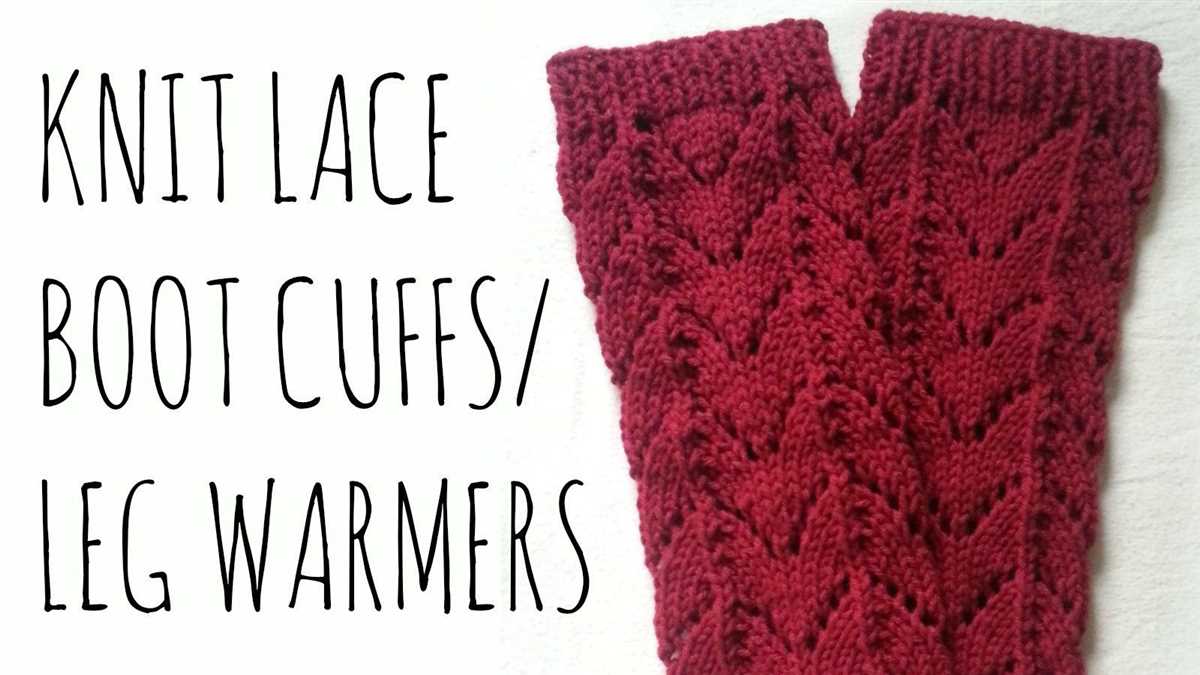
Add some texture
If you want to make your hand warmers more interesting, consider incorporating different stitch patterns or textures. You could try using ribbing for a snug fit, or experiment with cables or lace for a more intricate design. Adding texture can not only enhance the visual appeal of your hand warmers but also provide extra insulation.
Consider customization
Hand warmers can be easily customized to fit your personal preferences. You can adjust the length or width to ensure a perfect fit or add embellishments like buttons or embroidery for a personal touch. Don’t be afraid to get creative and make your hand warmers unique to you.
Keep track of your progress
Knitting hand warmers often involves working in the round, which can sometimes be challenging to keep track of. To avoid making mistakes or losing count, use stitch markers to mark the beginning of each round or use a row counter to keep track of your progress. This will help you stay organized and ensure that your hand warmers turn out just right.
With these tips and tricks in mind, you’ll be well on your way to creating a pair of easy knit hand warmers that are not only practical but also stylish and comfortable. Happy knitting!
Ideas for Customizing Your Hand Warmers
Once you have mastered the basic hand warmer pattern, you can have fun customizing them to suit your style and preferences. Here are some ideas to get you started:
1. Color combinations
Experiment with different color combinations to create unique and eye-catching hand warmers. You can use contrasting colors for a bold look or choose a monochromatic scheme for a more subtle effect. The possibilities are endless!
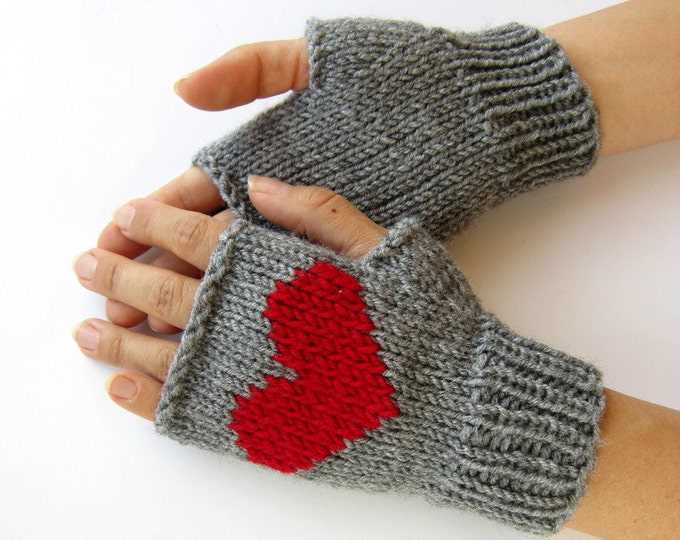
2. Embellishments
Add some flair to your hand warmers by incorporating embellishments such as buttons, beads, or embroidery. You can sew on a row of small buttons along the cuff or embroider a delicate design on the back of the hand warmers. Let your creativity run wild!
3. Texture play
Play with different stitch patterns and yarn textures to add visual interest to your hand warmers. You can use ribbing, cables, or lace patterns to create a unique and textured look. Choose a yarn with a slight sheen or fuzziness to add extra dimension to your hand warmers.
4. Personalized tags
Customize your hand warmers by attaching personalized tags or labels. You can sew a small fabric tag with your initials or even create a custom label with your name or logo. This small detail will make your hand warmers truly one-of-a-kind.
With these customization ideas, you can make your hand warmers a true reflection of your style and personality. Whether you prefer bold and colorful designs or subtle and elegant patterns, there are endless possibilities to make your hand warmers unique.