
Are you a fan of the Teenage Mutant Ninja Turtles and love to knit? If so, we have a perfect project for you! In this article, we will be sharing a fun and easy knitting pattern to create your very own TMNT doll. Whether you want to make it as a gift for a fellow turtle fan or just want to add it to your collection, this pattern is sure to bring a smile to your face.
This knitting pattern features the four main characters: Leonardo, Donatello, Michelangelo, and Raphael. Each doll is knitted separately and then sewn together. The pattern includes detailed instructions on how to knit the body, arms, legs, and shell, as well as how to embroider the facial features and add any additional details, such as weapons or accessories.
Not only is this pattern a great way to show off your knitting skills, but it also allows you to customize each doll to fit your own style. You can choose your favorite colors for each turtle and even experiment with different textures and yarn weights to give them a unique look. The possibilities are endless!
Teenage Mutant Ninja Turtle Knitting Pattern
Are you a fan of Teenage Mutant Ninja Turtles? Do you love to knit? If so, we have the perfect pattern for you! With this Teenage Mutant Ninja Turtle knitting pattern, you can create your very own adorable turtle plushies that will bring back all the nostalgic memories of watching the animated series.
Materials Needed:
- Size 4 knitting needles
- Green yarn (approximately 100g)
- Small amounts of yarn in red, blue, orange, and purple
- Yarn needle
- Scissors
Instructions:
- Begin by knitting the body of the turtle. Cast on 30 stitches using green yarn and knit in stockinette stitch for 8 inches.
- Next, shape the head by decreasing 1 stitch at each end of the row for 4 rows. Then, decrease 1 stitch at just one end of the row for 4 more rows.
- Using the yarn needle, sew up the sides of the body and head, leaving a small opening at the bottom for stuffing.
- Stuff the turtle with polyester filling and sew up the opening.
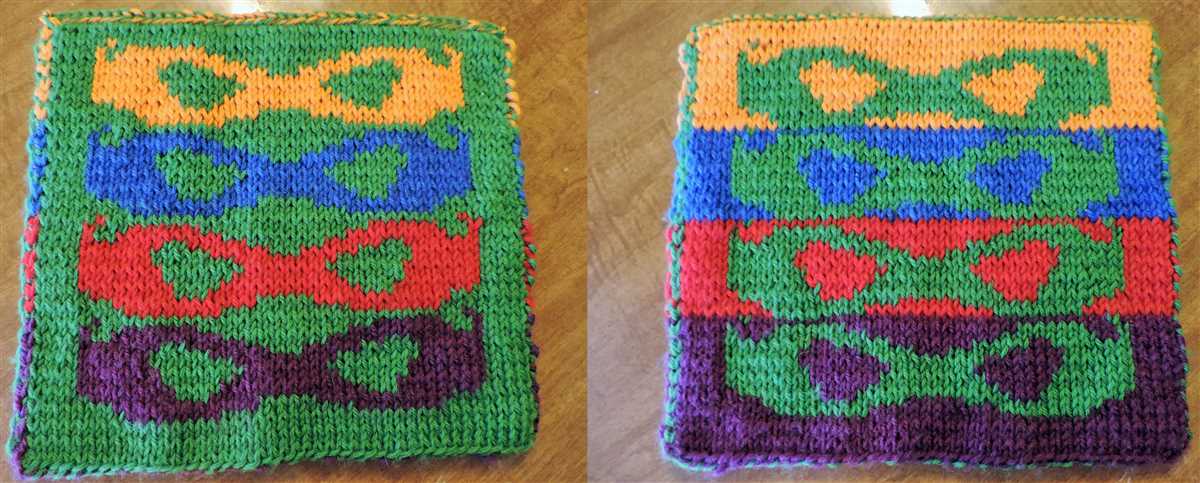
- To create the shell, knit a square using red, blue, orange, and purple yarn. Each color should be approximately 2 inches wide and 2 inches tall.
- Sew the squares together to form a shell pattern and sew the shell onto the turtle’s back.
You can also add additional details to your Teenage Mutant Ninja Turtle plushie, such as eyes, a mouth, and accessories like a mask or weapons. Get creative and make each turtle unique!
Choose Your Ninja Turtle
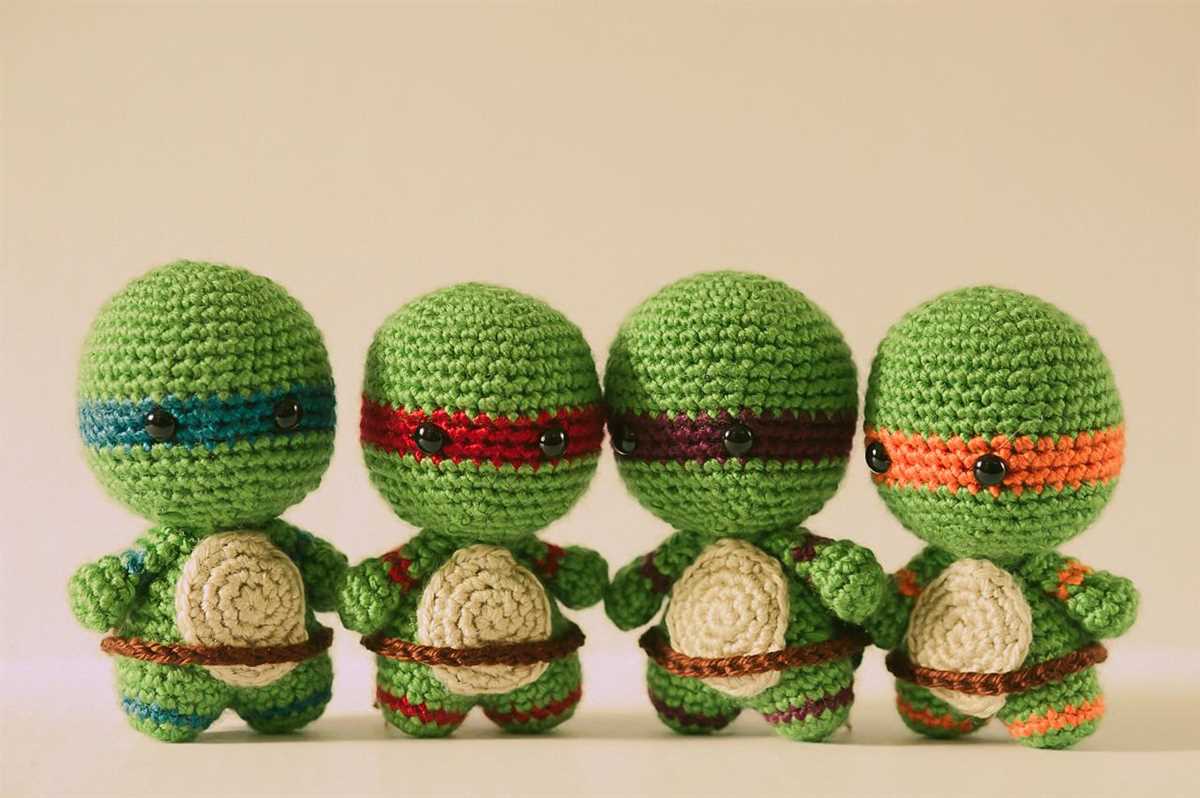
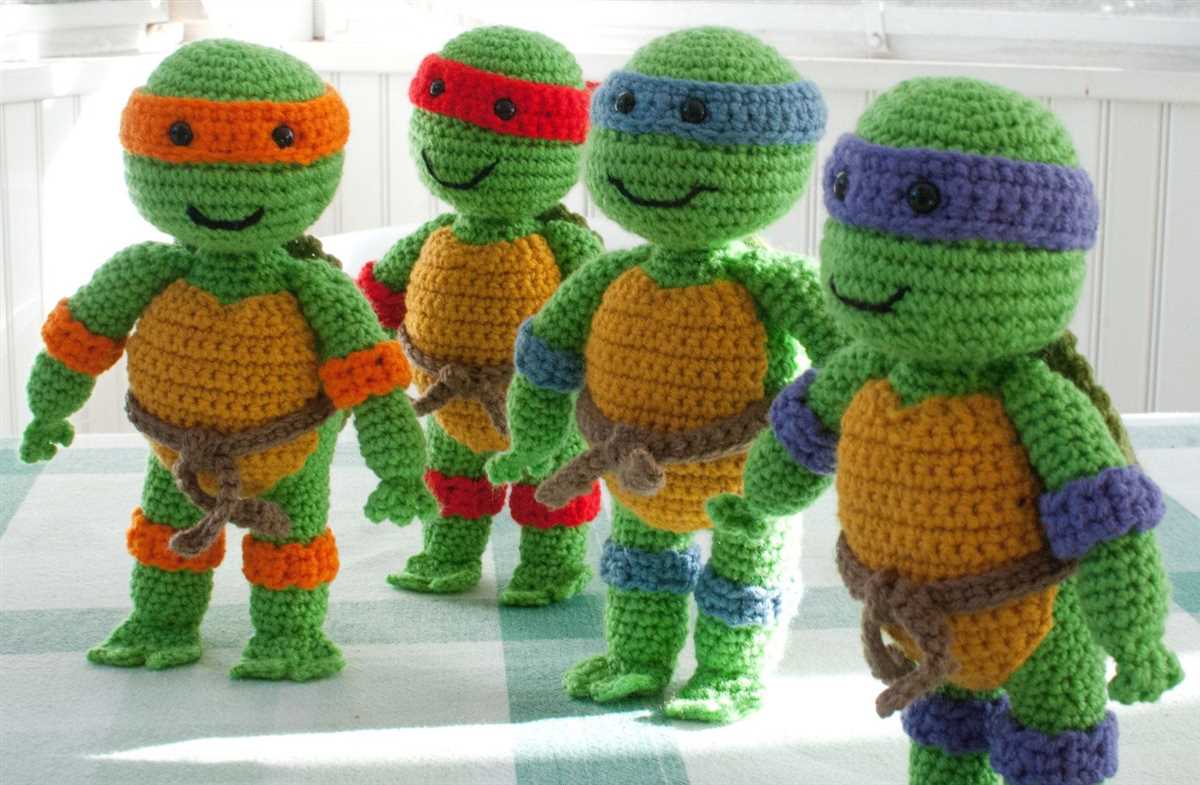
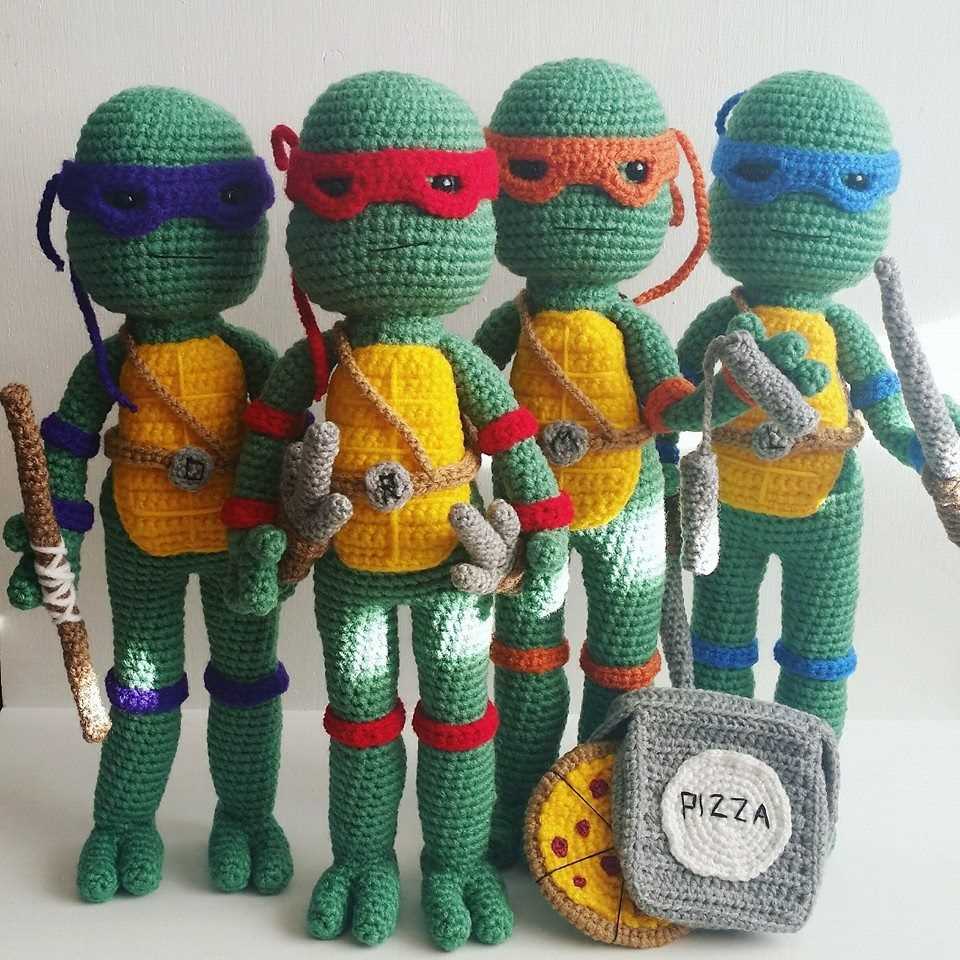
Get ready to unleash your inner ninja with these fantastic Teenage Mutant Ninja Turtle knitting patterns! Whether you’re a fan of Leonardo, Michelangelo, Donatello, or Raphael, there’s a pattern here for you. These adorable and huggable turtle toys make the perfect gift for any TMNT enthusiast, or a fun project to satisfy your own turtle-loving cravings. So grab your knitting needles and choose your favorite turtle to bring to life!
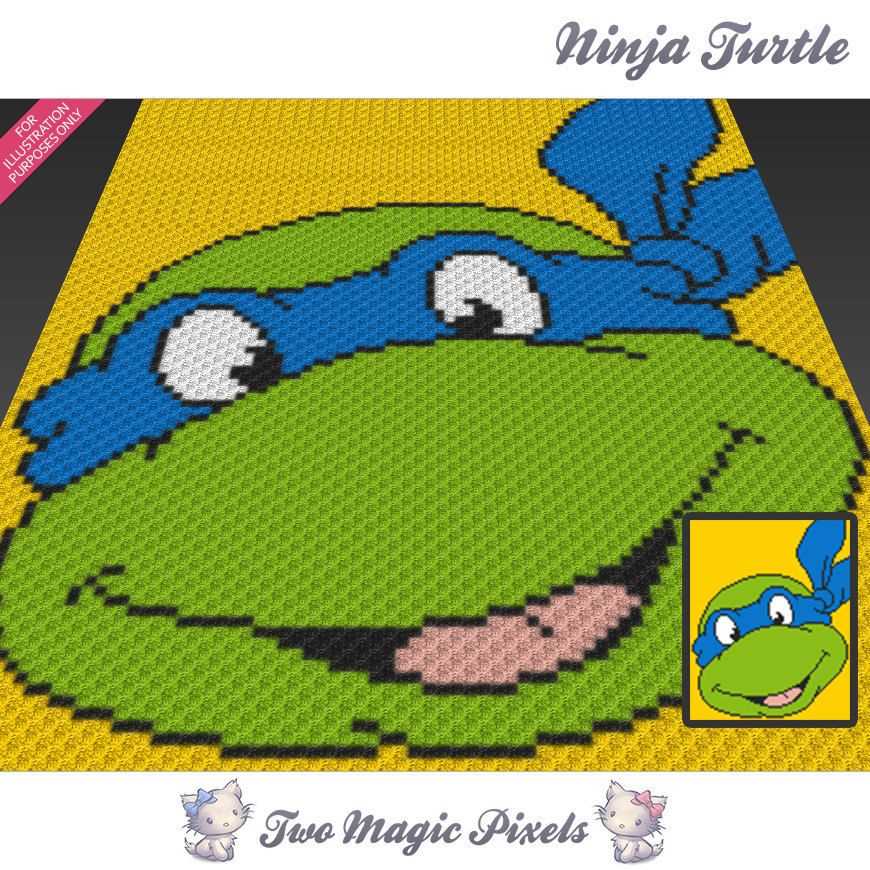
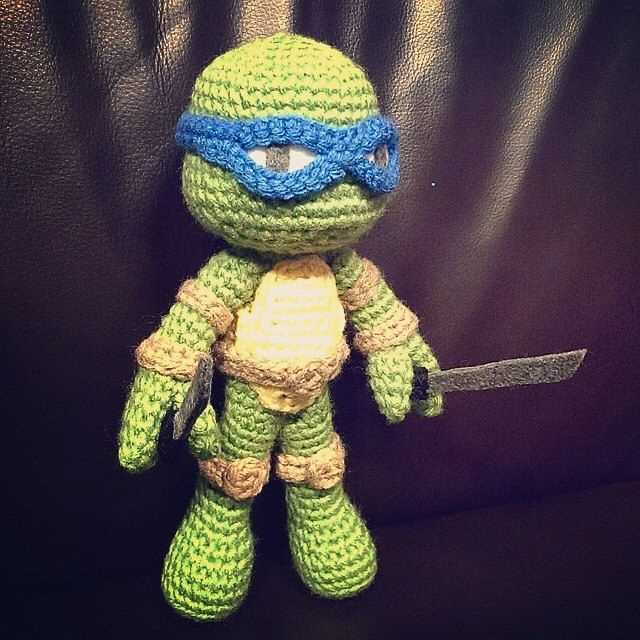
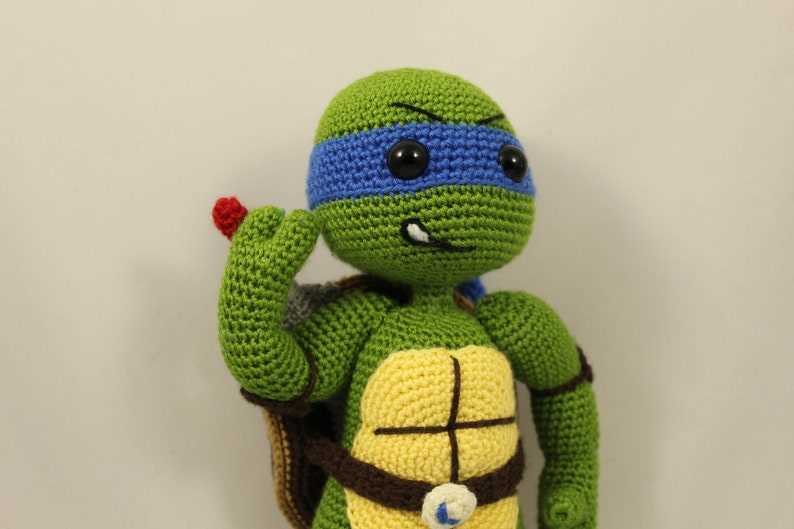
1. Leonardo: As the leader of the pack, Leonardo is known for his courage, loyalty, and sense of justice. With his blue bandana and twin katana swords, he’s always ready for action. Knit up a Leonardo turtle toy and let his bravery inspire you on your own adventures.
2. Michelangelo: If you’re looking for a turtle with a fun-loving and easygoing personality, Michelangelo is the one for you. With his orange bandana and nunchaku, he’s the life of the party and always ready to crack a joke or two. Knit up a Michelangelo toy and let his sense of humor brighten your day.
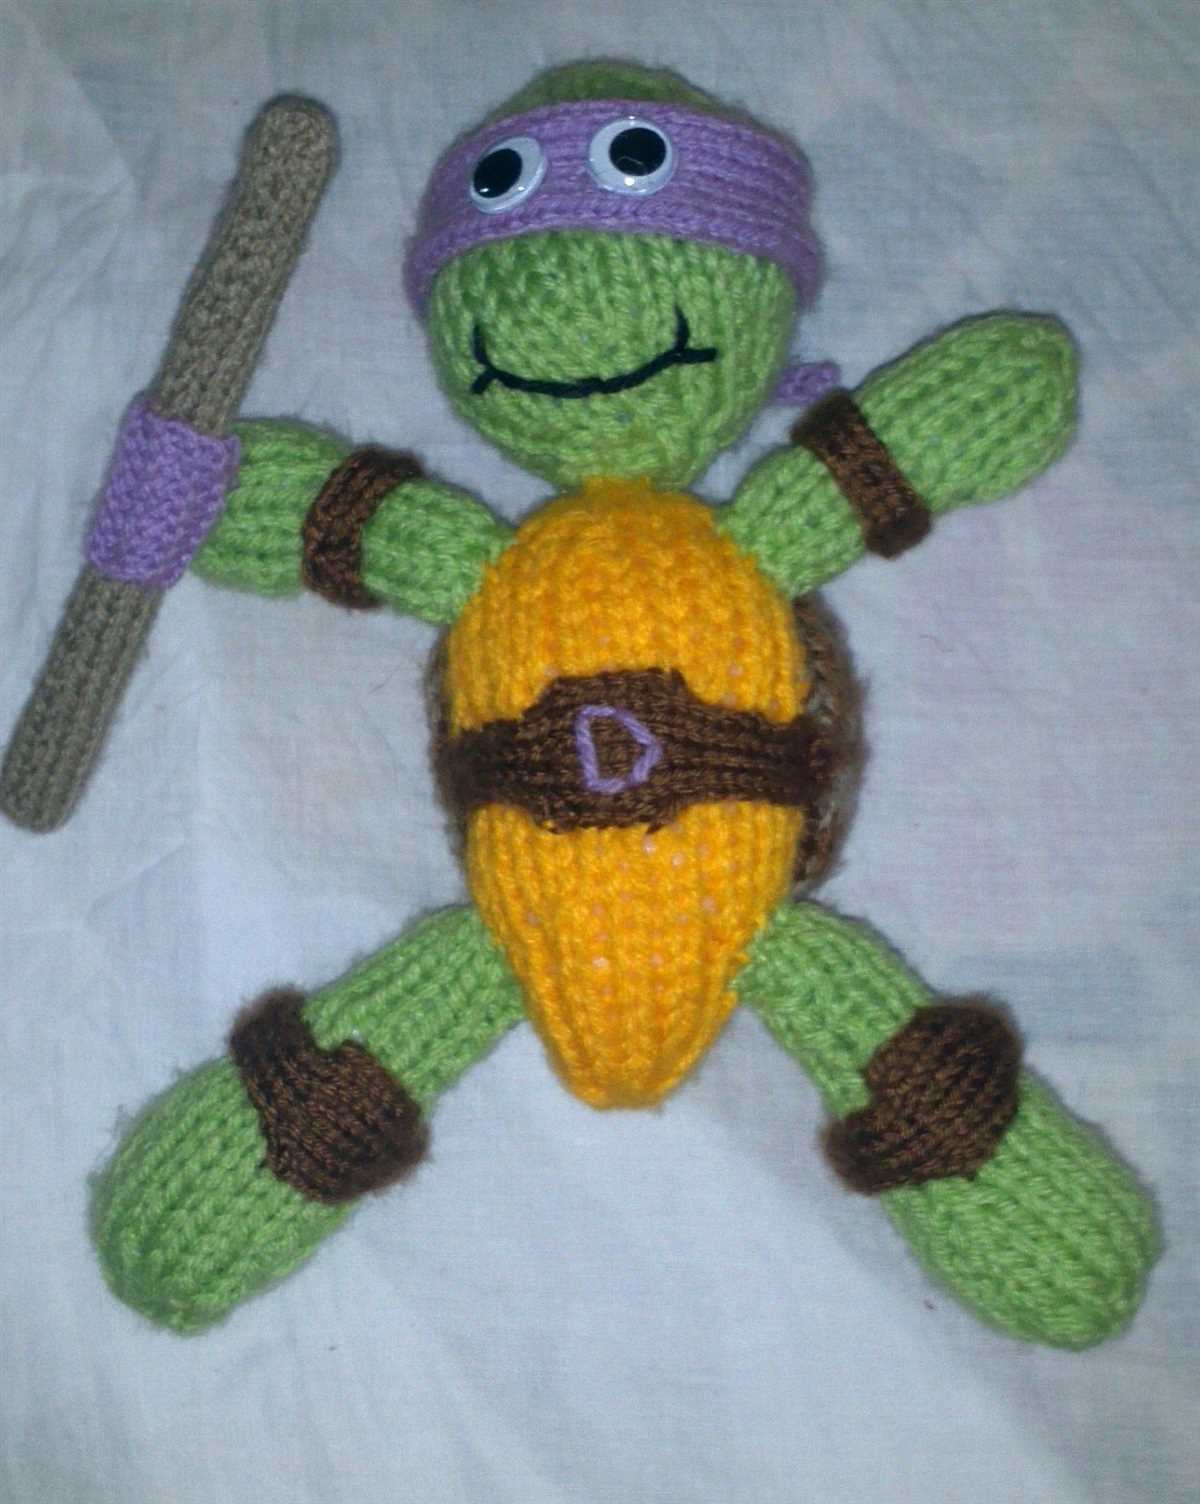
- 3. Donatello: Donatello is the genius of the group, known for his expertise in technology and engineering. With his purple bandana and trusty bo staff, he’s always ready to solve problems and come up with innovative solutions. Knit up a Donatello toy and let his intelligence inspire your own creativity.
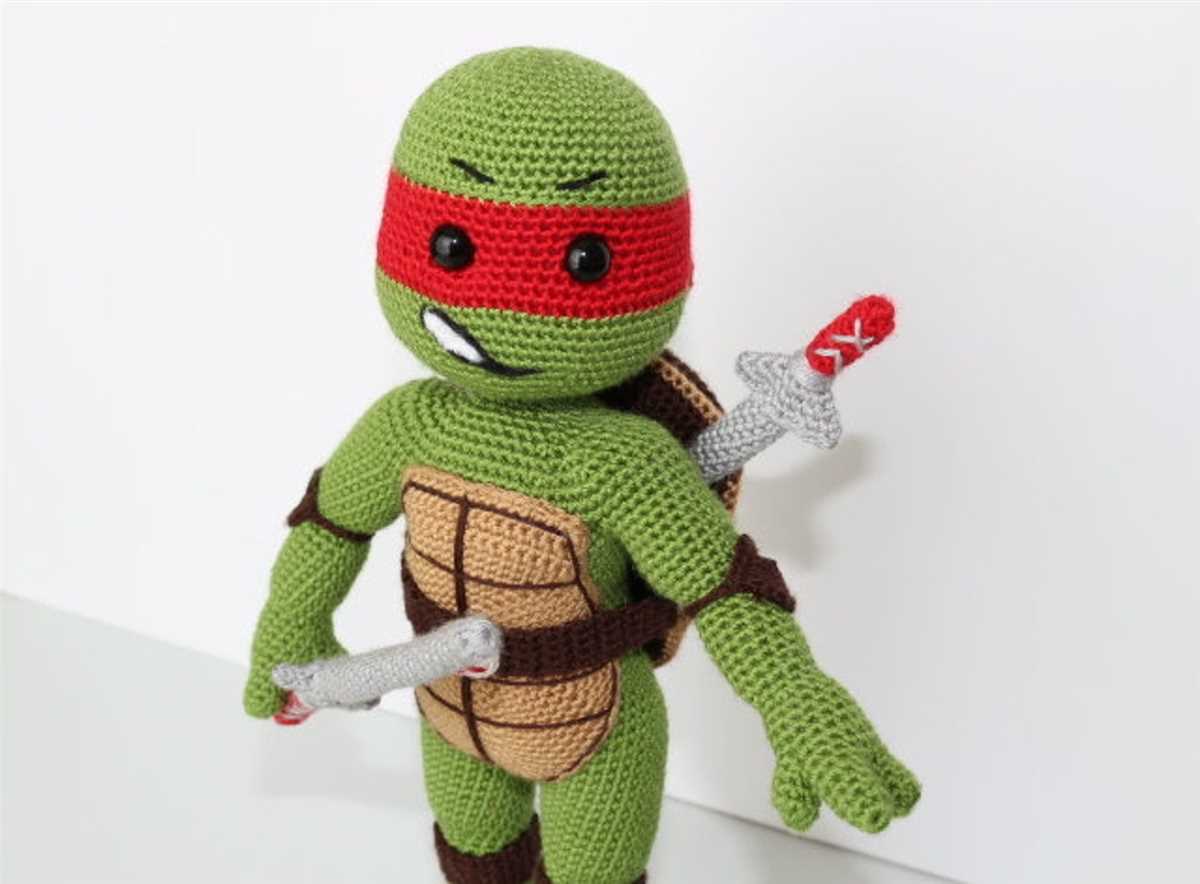
- 4. Raphael: If you’re looking for a little bit of attitude and a whole lot of toughness, choose Raphael. With his red bandana and sais, he’s the hot-headed rebel of the group. Knit up a Raphael toy and let his determination and resilience motivate you to tackle any challenge that comes your way.
Whether you’re a fan of the calm and collected Leonardo, the fun-loving Michelangelo, the smart and inventive Donatello, or the tough and resilient Raphael, these Teenage Mutant Ninja Turtle knitting patterns will bring a smile to your face and a sense of adventure to your knitting. So grab your favorite turtle’s pattern and get ready to start your turtle-powered knitting journey!
Gather Your Materials
Before you begin knitting your Teenage Mutant Ninja Turtle, make sure you have all the necessary materials at hand. Here is a list of items you will need to complete the project:
- Yarn: Choose yarn in the colors of the turtle you want to make – green for Leonardo, blue for Michelangelo, red for Raphael, or purple for Donatello. Make sure you have enough yarn to complete the entire project.
- Knitting Needles: Use knitting needles suitable for the yarn you have chosen. Check the yarn label for the recommended needle size.
- Tapestry Needle: You will need a tapestry needle to sew up the seams and weave in any loose ends.
- Stuffing: To give your turtle a plush and three-dimensional shape, you will need stuffing material. Fiberfill or polyester stuffing is commonly used for toy projects.
- Stitch Markers: Stitch markers will help you keep track of your knitting and ensure that you don’t lose your place.
- Scissors: A pair of scissors will be needed to cut the yarn and trim any excess.
- Optional: If you want to add any extra details to your turtle, such as a mask or weapons, you may need additional materials like felt, embroidery floss, or small buttons.
Once you have gathered all these materials, you are ready to start knitting your very own Teenage Mutant Ninja Turtle!
Understanding the Knitting Pattern
When it comes to knitting, understanding the pattern is essential in order to create the Teenage Mutant Ninja Turtle design. The pattern provides a step-by-step guide on how to create each component of the turtle, such as the body, shell, and limbs. It includes details on the type of yarn to use, the size of knitting needles, and the specific stitches required.
A key aspect of understanding the knitting pattern is familiarizing yourself with the abbreviations and terminology commonly used in knitting. For example, the pattern may use abbreviations such as K (knit), P (purl), inc (increase), and dec (decrease) to indicate different types of stitches or actions. By referring to a knitting abbreviation guide, you can easily decode these instructions and follow along with the pattern.
As you work through the pattern, it’s important to pay attention to any specific instructions or notes provided by the designer. These may include tips on how to achieve certain stitch patterns or details on shaping the components correctly. By following these instructions, you can ensure that your finished Teenage Mutant Ninja Turtle reflects the intended design.
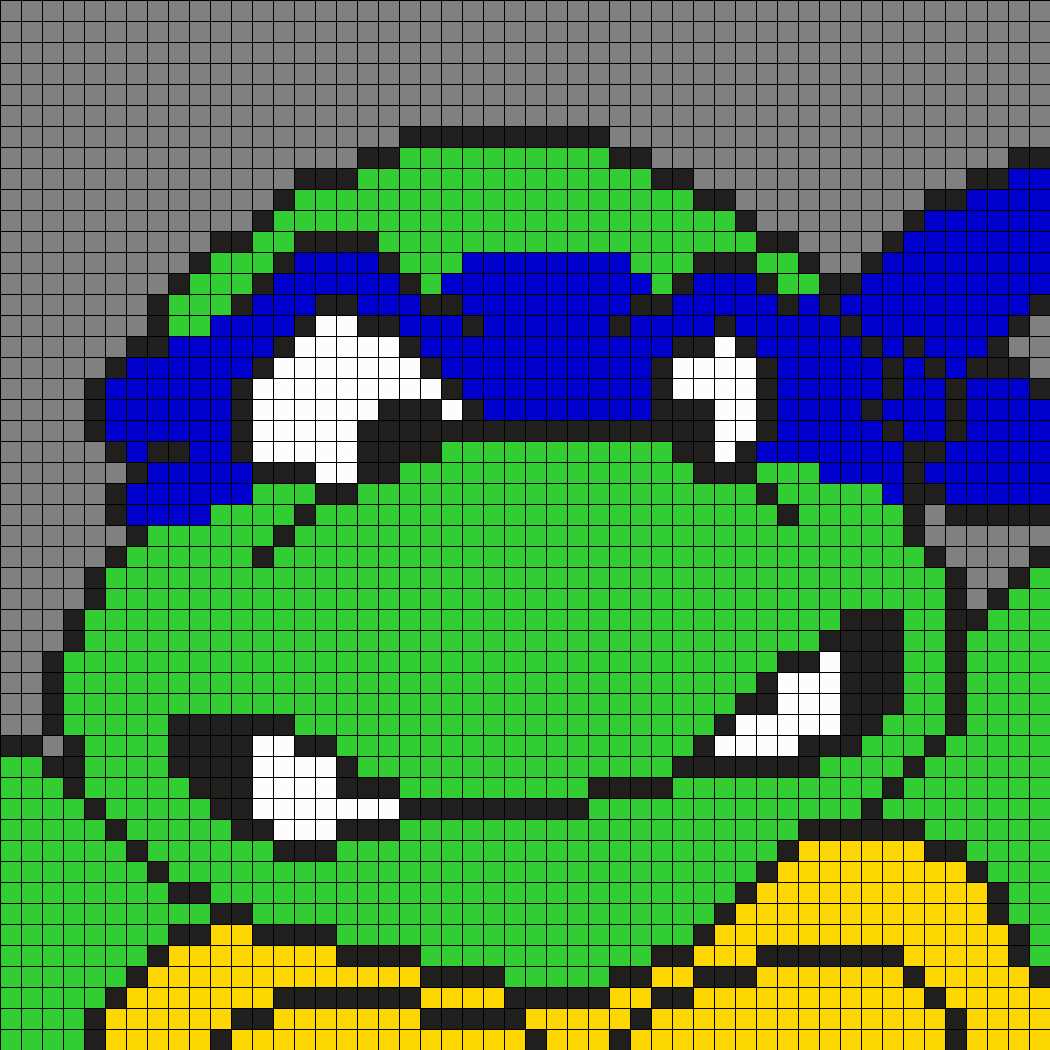
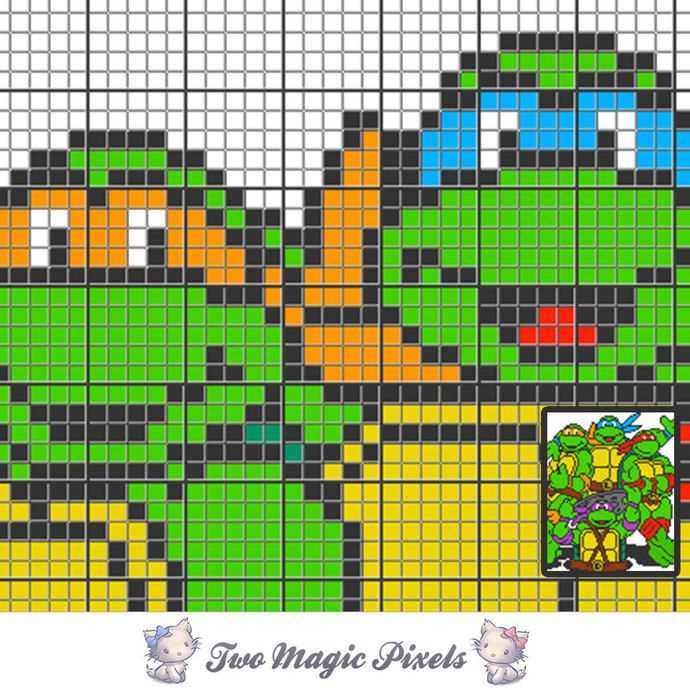
To make the knitting process even more manageable, the pattern may also include a chart or diagram. This visual representation can help you visualize the finished turtle and understand how different sections fit together. It’s essential to refer to the chart while reading the pattern to ensure you’re creating each component correctly and in the right order.
In summary, understanding the knitting pattern is crucial to successfully recreate the Teenage Mutant Ninja Turtle design. By familiarizing yourself with the abbreviations and terminology, following specific instructions, and referring to any charts or diagrams provided, you can confidently knit each component and create a fun and unique toy for yourself or a loved one.
Start with the Legs
When knitting a Teenage Mutant Ninja Turtle, it’s important to start with the legs. The legs of the turtle are what give it its unique shape and make it recognizable as a ninja turtle. To begin, you will need to gather your materials, including your knitting needles, yarn in the appropriate colors (usually green and brown), and a tapestry needle for sewing.
The pattern for the legs typically involves starting with a small number of stitches and gradually increasing the number of stitches to create a tapered effect. This will give the legs a more realistic shape and allow them to fit snugly against the body of the turtle. You can use either straight or circular knitting needles, depending on your preference.
To create the legs, you will need to follow a specific knitting pattern. This pattern will usually involve knitting a certain number of rows in one color, then switching to another color and knitting for a few more rows. This will create the striped effect that is characteristic of a turtle’s legs. You can use a combination of knit and purl stitches to create different textures and patterns within the legs.
Once you have completed knitting the legs, you will need to sew them together using a tapestry needle and matching yarn. This will ensure that the legs are securely attached to the body of the turtle and will not come undone with wear. You can use a whip stitch or a mattress stitch to sew the legs together, depending on your preference and the desired finished look.
In summary, starting with the legs is an essential step when knitting a Teenage Mutant Ninja Turtle. By following a specific knitting pattern and sewing the legs securely to the body, you can create a realistic and recognizable turtle toy. So grab your knitting needles and get started on those legs!
Continue with the Body
Now that you have completed the head of your Teenage Mutant Ninja Turtle knitting project, it’s time to move on to the body! The body is a slightly larger portion of the turtle and will add more depth to your finished toy.
Step 1: Knit the Body
Start by casting on the required number of stitches for the body, as indicated in the pattern. Use the specific yarn and knitting needles recommended to achieve the correct size and shape. Once you have cast on, continue knitting in the specified pattern until the body reaches the desired length. Make sure to follow any shaping instructions given in the pattern to create a realistic turtle body.
Step 2: Incorporate the Shell
Next, you will need to incorporate the turtle’s shell into the body. This can be done by following the instructions in the pattern to add colorwork or texture that resembles a turtle shell. Whether you choose to use different colored yarn or add stitch patterns, make sure to carefully follow the pattern’s guidelines to achieve an authentic and recognizable turtle shell appearance.
Continue knitting the body and incorporating the shell until you reach the desired length. Make sure to keep track of your stitches and rows to ensure symmetry and proper shaping throughout the project.
- You can use stitch markers to help keep track of important sections, such as the start and end points of the shell pattern.
- Remember to check your gauge periodically to ensure that your project is turning out the right size. Adjust your tension or needle size if necessary.
- Always refer to the pattern for any specific instructions or variations in the body section. Different patterns may have different techniques and details for creating the body of the Teenage Mutant Ninja Turtle.
Knitting the body of your Teenage Mutant Ninja Turtle is an exciting step towards completing your project. Take your time, follow the pattern, and enjoy the process of bringing your turtle to life!
Knit the Arms
Now that you have completed knitting the body of your Teenage Mutant Ninja Turtle, it’s time to move on to the arms. The arms are an important feature of any turtle, as they help the turtle to move and interact with its environment. Follow these instructions to knit the arms for your Teenage Mutant Ninja Turtle.
Gather your materials
Before you begin knitting the arms, make sure you have all the necessary materials. You will need a set of double-pointed knitting needles in the appropriate size for your yarn, as well as a skein of yarn in the desired color for the turtle’s arms. It’s best to use a yarn that is similar in weight and texture to the yarn you used for the body to ensure a consistent look.
Cast on and knit the arms
To start, cast on the required number of stitches for the size of arms you want. This will vary depending on the size of your turtle and the gauge of your yarn. Once you have cast on, begin knitting in the round using the double-pointed needles. Knit each round until the arm reaches the desired length, making sure to keep track of your stitches.
If you want to add some texture or embellishments to the arms, now is the time to do it. You can use simple stitch patterns like ribbing or seed stitch to add interest to the arms. You can also add stripes or other colorwork techniques to create a unique design.
Finish off the arms
When you have reached the desired length for your arms, it’s time to finish them off. Cut the yarn, leaving a long tail. Thread the tail through a yarn needle and carefully slide the stitches off the knitting needles onto the yarn needle. Pull the yarn tight to close up the top of the arm and secure it in place. Weave in any loose ends to tidy up the arm and make it ready to attach to the body of your Teenage Mutant Ninja Turtle.
Repeat these steps to knit the second arm, and you’re done! With the arms completed, your Teenage Mutant Ninja Turtle is starting to take shape. Next, you can move on to knitting the legs and head to complete your pattern.
Create the Head
In order to create the head of your Teenage Mutant Ninja Turtle, you will need to follow a knitting pattern specifically designed for this project. This pattern will outline the steps and stitches required to create the head shape and features.
Start by selecting your desired color of yarn for the head. You can choose to use the iconic green color typically associated with the Teenage Mutant Ninja Turtles, or you can get creative and choose a different color for a unique twist.
Once you have chosen your yarn, you will need to cast on the required number of stitches specified in the pattern. This number will depend on the size of the turtle head you want to create. It is important to follow the pattern instructions carefully to ensure the correct stitch count.
After casting on, you will then begin knitting in the round to create the head shape. This means that you will continue knitting in a continuous loop, without turning your work. The pattern will provide specific instructions for the type of stitches and techniques to use.
While knitting in the round, you will gradually increase stitches to shape the head. This is typically done by making yarn overs or using increase stitches like knit front and back (kfb). These increases will create the rounded shape of the head.
The pattern may also include instructions for shaping the facial features of the turtle, such as the eyes, nose, and mouth. This could involve knitting different sections separately and then sewing them onto the head once they are completed.
As you work through the pattern, make sure to follow the directions carefully and take your time to ensure accuracy and precision. Pay attention to any specific stitch counts or measurements provided to achieve the desired result.
Add the Shell
Once you have completed knitting the body of your Teenage Mutant Ninja Turtle, it’s time to add the shell. The shell is an iconic and distinguishing feature of the turtles, so it’s important to get it right.
To create the shell, you will need a different shade of green yarn. Choose a color that complements the body of your turtle. You will also need to have a circular knitting needle, preferably in a size that matches the gauge of your project. This will ensure that the shell fits perfectly on your turtle.
Step 1: Start by casting on the required number of stitches on your circular needle. The number of stitches will depend on the size of your turtle and the desired size of the shell. It’s a good idea to refer to your knitting pattern for guidance.
Step 2: Once you have cast on the stitches, join them in the round and begin knitting in the round. This will create a seamless shell without any visible seams. You can use the knit stitch or any other stitch pattern that you prefer.
Step 3: Continue knitting in the round until the shell reaches the desired length. The length of the shell will depend on your personal preference and the proportion you want for your turtle. Keep in mind that the longer the shell, the more bulky it may appear on the turtle’s back.
Step 4: To add texture and depth to the shell, you can incorporate various stitch patterns or techniques. For example, you could use a combination of knit and purl stitches to create a ribbed pattern or use cables to create a more intricate design. Have fun experimenting and personalizing your turtle’s shell.
Step 5: Once you are satisfied with the length and design of your shell, bind off the stitches. Cut the yarn, leaving a long tail for sewing. Carefully sew the shell onto the turtle’s back, making sure it is centered and secure. Use a whip stitch or any other sewing technique that you are comfortable with.
With the shell added, your Teenage Mutant Ninja Turtle is starting to take shape. Soon, you will be able to add the finishing touches, such as the eyes, mouth, and any other details that will bring your turtle to life. Keep following your knitting pattern and enjoy the process of creating your very own turtle.
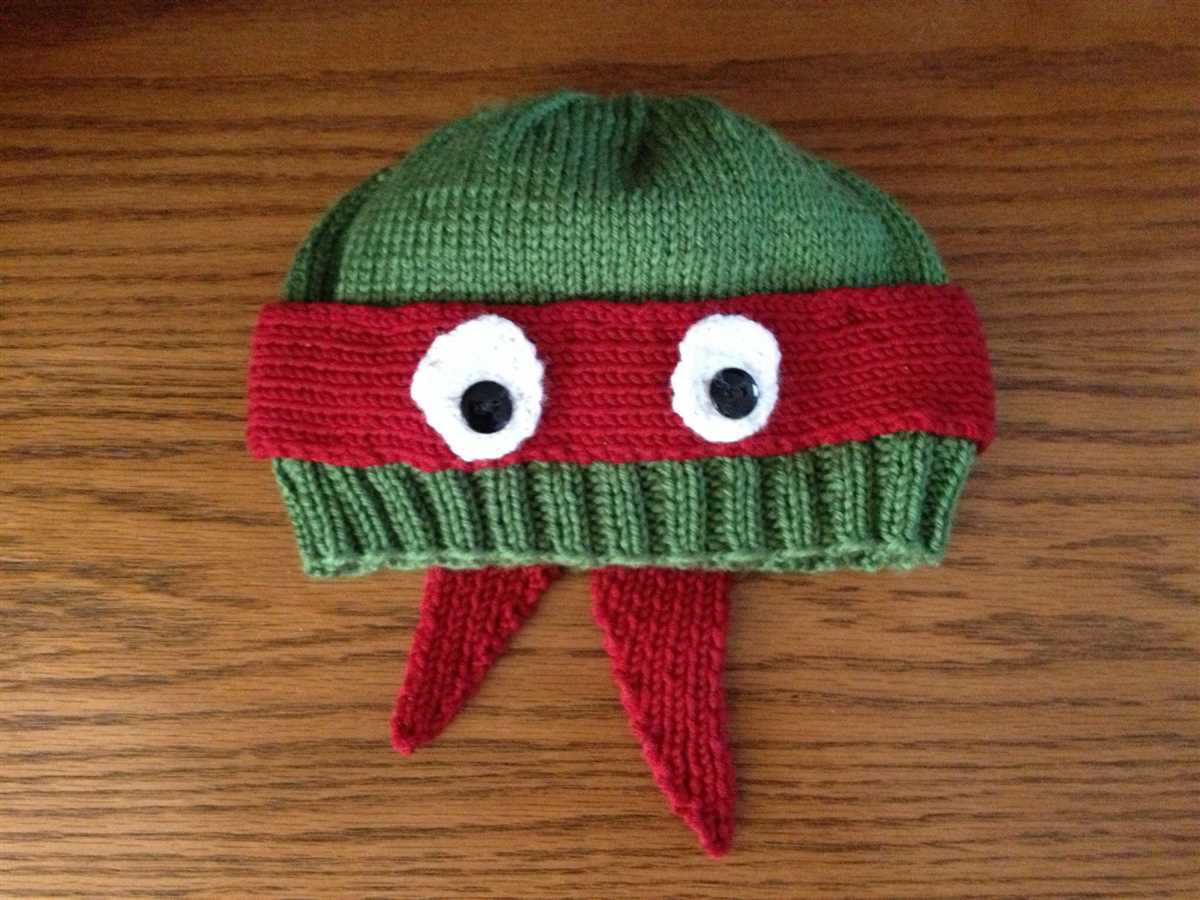
Knit the Mask and Belt
One of the most iconic features of the Teenage Mutant Ninja Turtles is their distinctive masks and belts. Knitting these accessories can be a fun and creative way to bring your favorite turtle to life.
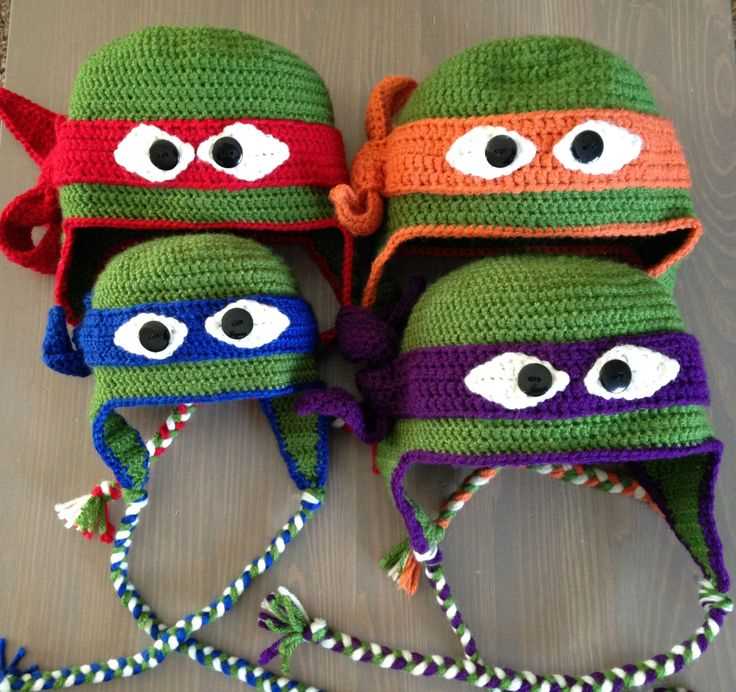
The Mask:
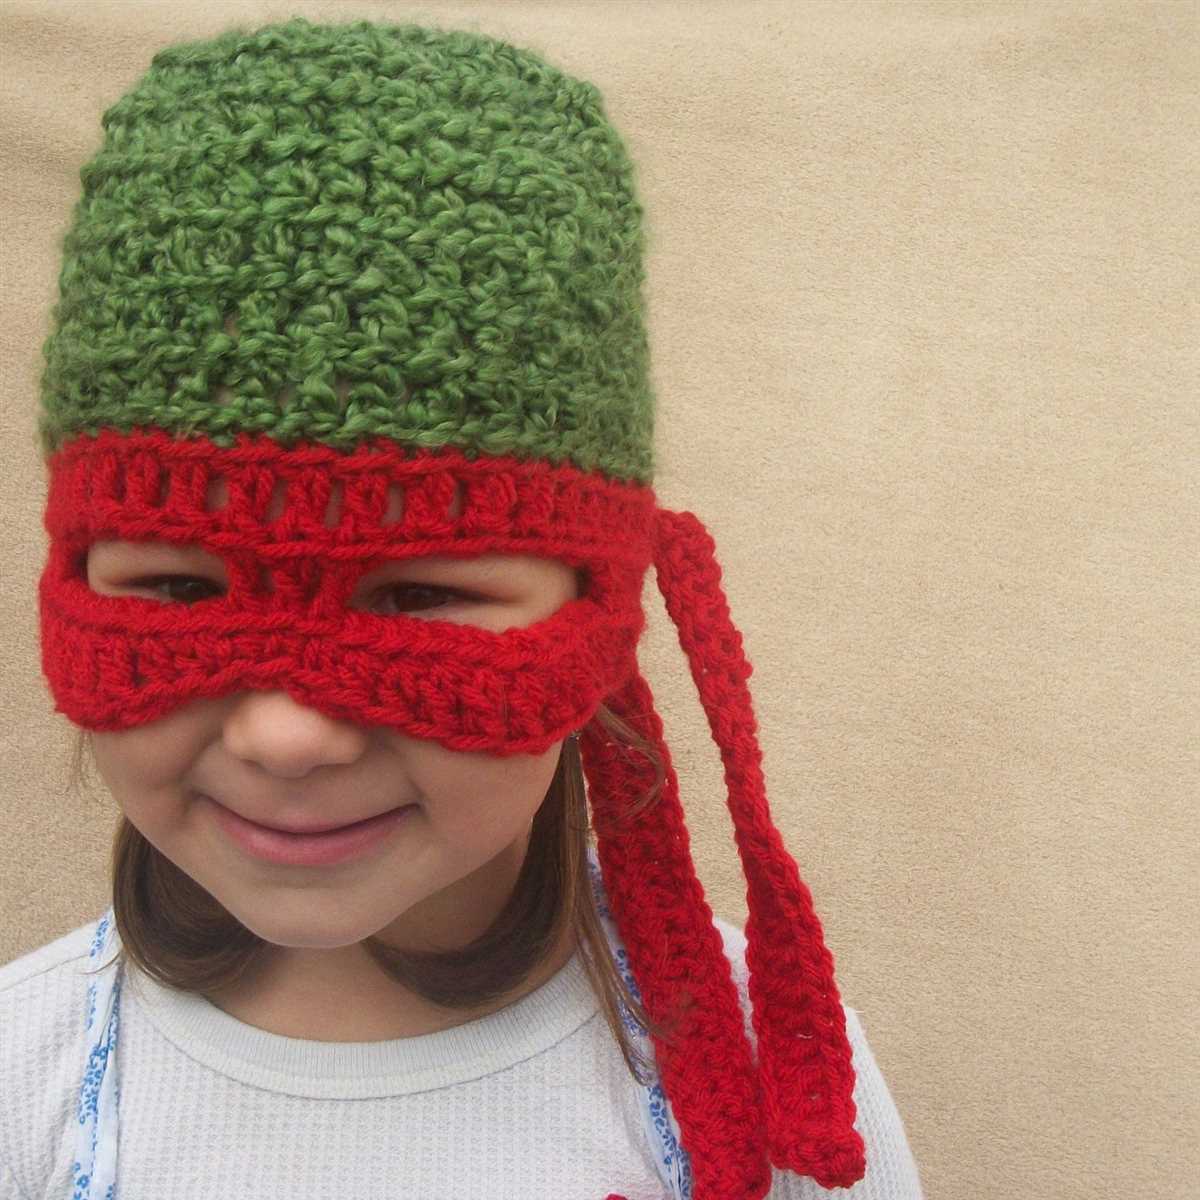
The mask is an essential part of each turtle’s identity. It is typically a different color for each turtle, with Leonardo’s mask being blue, Donatello’s mask being purple, Michelangelo’s mask being orange, and Raphael’s mask being red. To knit the mask, you can start with a basic rectangular shape that is long enough to wrap around your head. Then, you can use the specific color for each turtle to create the distinctive mask shape by knitting or crocheting stitches to create diagonal lines. This will give the mask its unique look and allow you to easily recognize which turtle it represents.
The Belt:
The belt is another important accessory that sets the Teenage Mutant Ninja Turtles apart. The belt is typically a different color than the mask and is worn around the turtle’s waist. To knit the belt, you can start with a long rectangular piece that is wide enough to wrap around the turtle’s waist. You can use a contrasting color to create stripes or other patterns on the belt, or you can keep it simple with a solid color. It’s up to you to get creative and make the belt unique to your turtle.
Once you have knitted the mask and belt, you can attach them to your knitted turtle using a yarn needle and some sewing techniques. This will secure the accessories and give your turtle its final touch. Knitting the mask and belt is a great way to personalize your Teenage Mutant Ninja Turtle project and make it truly one-of-a-kind.
Finishing Touches: Eyes and Weapons
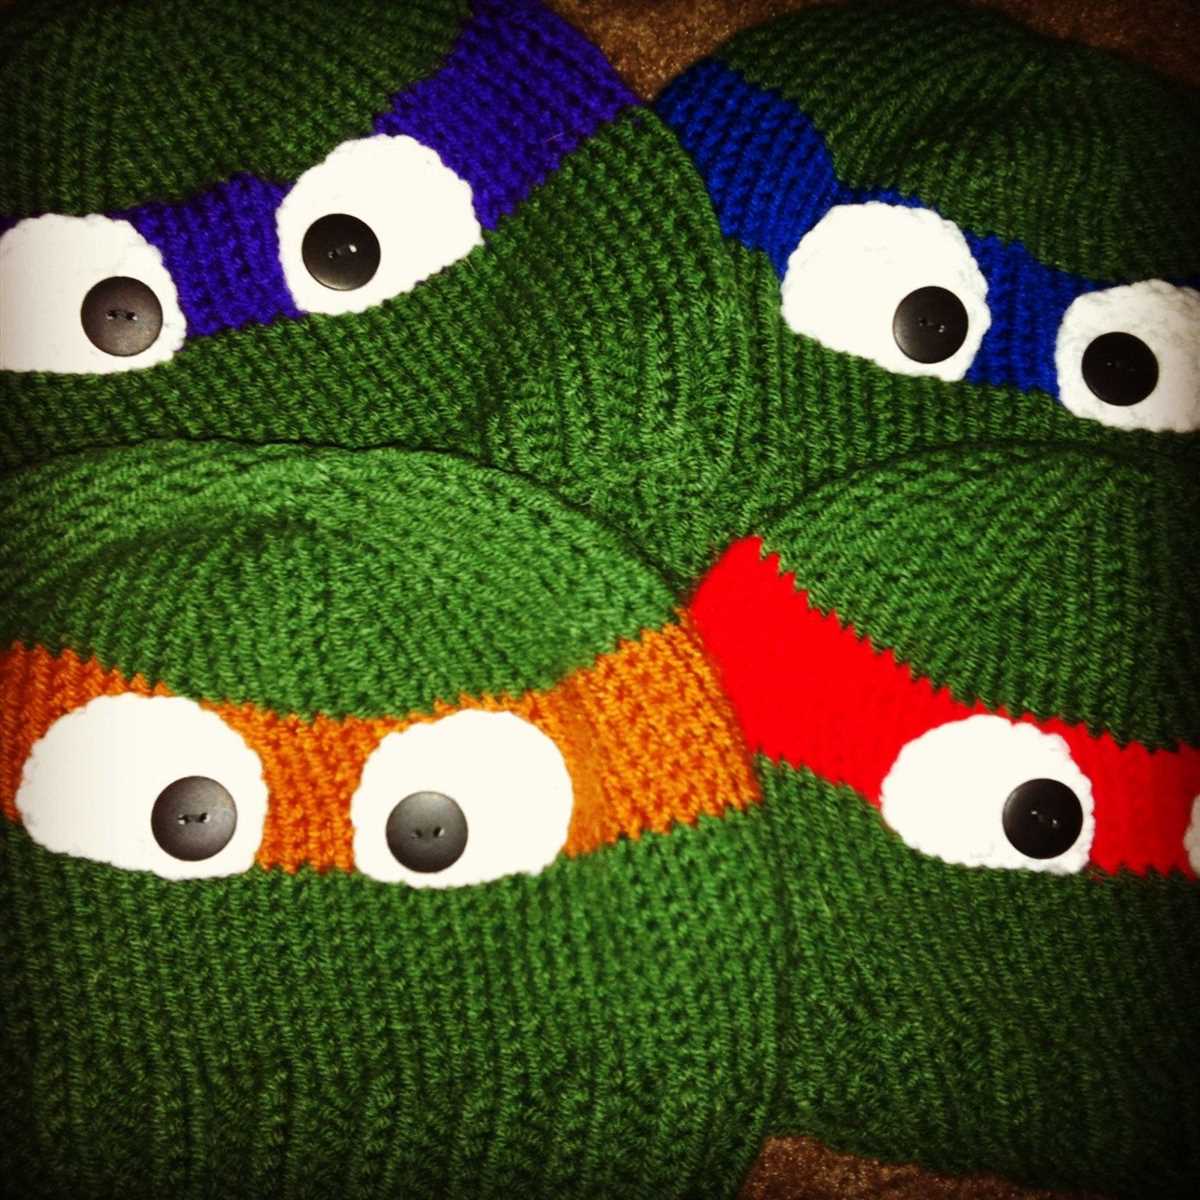
When it comes to creating a Teenage Mutant Ninja Turtle knitting pattern, adding the finishing touches is crucial to bring the characters to life. One important detail is the eyes of the turtles. Whether you are knitting Leonardo, Donatello, Raphael, or Michelangelo, the eyes are what give each turtle their distinct personality. Using a contrasting color yarn, you can create the signature eye masks of each turtle. For example, Leonardo has blue eye masks, while Donatello has purple. You can use different knitting techniques like embroidery or duplicate stitch to make the eyes stand out. Adding these vibrant eye masks will truly capture the essence of the Ninja Turtles.
Another key aspect of the Teenage Mutant Ninja Turtles is their weapons. Each turtle has their own unique weapon, and including them in your knitting pattern will make the turtles look complete. For Leonardo, his weapon is the twin katana swords. These can be knitted separately and attached to the turtle’s hands. Donatello wields a bo staff, which can be made by knitting a long, thin piece and adding some details to mimic the wooden texture. Raphael’s weapon of choice is a pair of sai, which can be knitted with wire or pipe cleaners inserted to create a sturdy shape. Michelangelo has nunchucks, which can be made by knitting two long pieces and attaching them together with a chain or string. Incorporating these weapons into your knitting pattern will make the Teenage Mutant Ninja Turtles instantly recognizable.
Adding the final details
After completing the eyes and weapons, don’t forget to add some additional details to make the turtles truly shine. You can use embroidery or duplicate stitch to add the facial expressions of the turtles, such as their smiles or grimaces. Pay attention to other smaller details like the turtles’ shells, which can be knitted separately and attached to their backs. You can also knit their belts, knee pads, and elbow pads to give them a more authentic look. Overall, putting in the effort to add these finishing touches will result in Teenage Mutant Ninja Turtle knitted toys that fans of all ages will adore.
Assembling Your Ninja Turtle
Once you have completed knitting all the pieces of your Teenage Mutant Ninja Turtle, it’s time to assemble them into the final toy. Follow these step-by-step instructions to bring your turtle to life!
Step 1: Sewing the Shell
Begin by folding the shell in half with the right sides facing each other. Using a tapestry needle and the yarn color that matches the shell, sew along the edges, leaving a small opening at the bottom. This opening will be used to stuff the shell later. Once the edges are sewn together, turn the shell right side out.
Step 2: Attaching the Limbs
Take the four limb pieces and sew them onto the body of the turtle. Use the yarn color that matches the body to ensure a seamless look. Position the limbs evenly around the body and sew them securely in place. Make sure the limbs are attached tightly to prevent them from coming loose during playtime.
Step 3: Stuffing the Shell
To give your ninja turtle a plush and cuddly feel, stuff the shell with fiberfill or your preferred toy stuffing material. Use small amounts of stuffing at a time to ensure an even distribution. Pay attention to the edges and corners, making sure they are well-filled. Once the shell is adequately stuffed, sew the opening closed.
Step 4: Sewing the Head
Take the head piece and sew it onto the body, aligning it with the neck area. Use the same yarn color as the body for a seamless look. Sew the head securely in place, ensuring it is centered and sitting upright. Take care to match the facial features of the head with the front of the body, making sure the eyes and mouth are facing forward.
Step 5: Finishing Touches
Lastly, sew the mask onto the head, using a yarn color that matches the mask. Position it over the eyes, leaving a small gap for the nose. Sew it securely in place, making sure it sits comfortably on the turtle’s face. You can also add additional details, such as a belt or weapons, to personalize your ninja turtle.
With these steps completed, your Teenage Mutant Ninja Turtle is now fully assembled and ready for action. Enjoy your handmade toy and let your imagination run wild as you recreate your favorite ninja turtle adventures!
Show Off Your Ninja Turtle
Now that you have completed your Teenage Mutant Ninja Turtle knitting pattern, it’s time to show off your masterpiece! Whether you’re a TMNT superfan or just love unique and fun knitting projects, your Ninja Turtle creation deserves to be displayed and admired. Here are a few ideas on how to showcase your finished turtle:
1. Display it on a shelf: Find a prominent spot in your home where your Ninja Turtle can be prominently displayed. Arrange it on a shelf along with other collectibles or decorate a small corner dedicated to your TMNT fandom.
2. Gift it to a fellow TMNT fan: If you know someone who is a fan of the Teenage Mutant Ninja Turtles, consider gifting your knitted turtle to them. It will make for a unique and thoughtful present that they will cherish.
There are endless ways to show off your Ninja Turtle, so feel free to get creative with your display ideas. You can also take it a step further and create a themed scene or background to really bring your Ninja Turtle to life.
- Host a TMNT-themed party: Invite your friends and family over for a fun TMNT-themed party and use your knitted turtle as a centerpiece for the event. Decorate the venue with turtle-themed decorations and serve pizza, just like the turtles’ favorite food!
- Enter it into a knitting contest: If you’re proud of your knitting skills, consider entering your Ninja Turtle into a knitting contest. You never know, you might win a prize for your creativity and craftsmanship!
- Share it on social media: Take pictures of your knitted turtle and share them on social media platforms like Instagram or Facebook. Use hashtags like #TMNTknitting or #HandmadeTurtle to connect with fellow TMNT fans and inspire others with your creation.
Remember, the most important thing is to be proud of your creation and enjoy the process of knitting your very own Teenage Mutant Ninja Turtle. Whether you keep it for yourself or share it with the world, your knitted turtle is a testament to your skills and creativity. Cowabunga!