
Knitting is a beautiful craft that allows us to create unique and cozy items. One popular item that many knitters are currently working on is the mermaid blanket. This whimsical and enchanting blanket pattern is inspired by the mythical creatures of the sea and is perfect for mermaid lovers of all ages.
Whether you are an experienced knitter or a beginner looking for a new project, this mermaid blanket pattern will surely keep you entertained and inspired. The pattern includes detailed instructions and helpful tips to ensure that even novice knitters can create a stunning and cozy mermaid tail blanket.
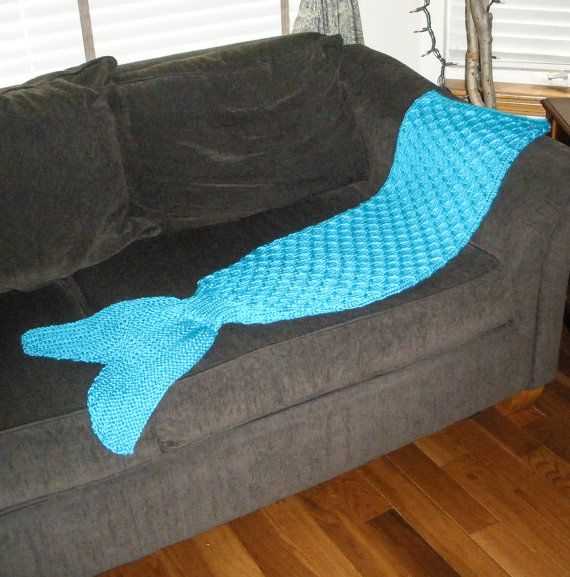
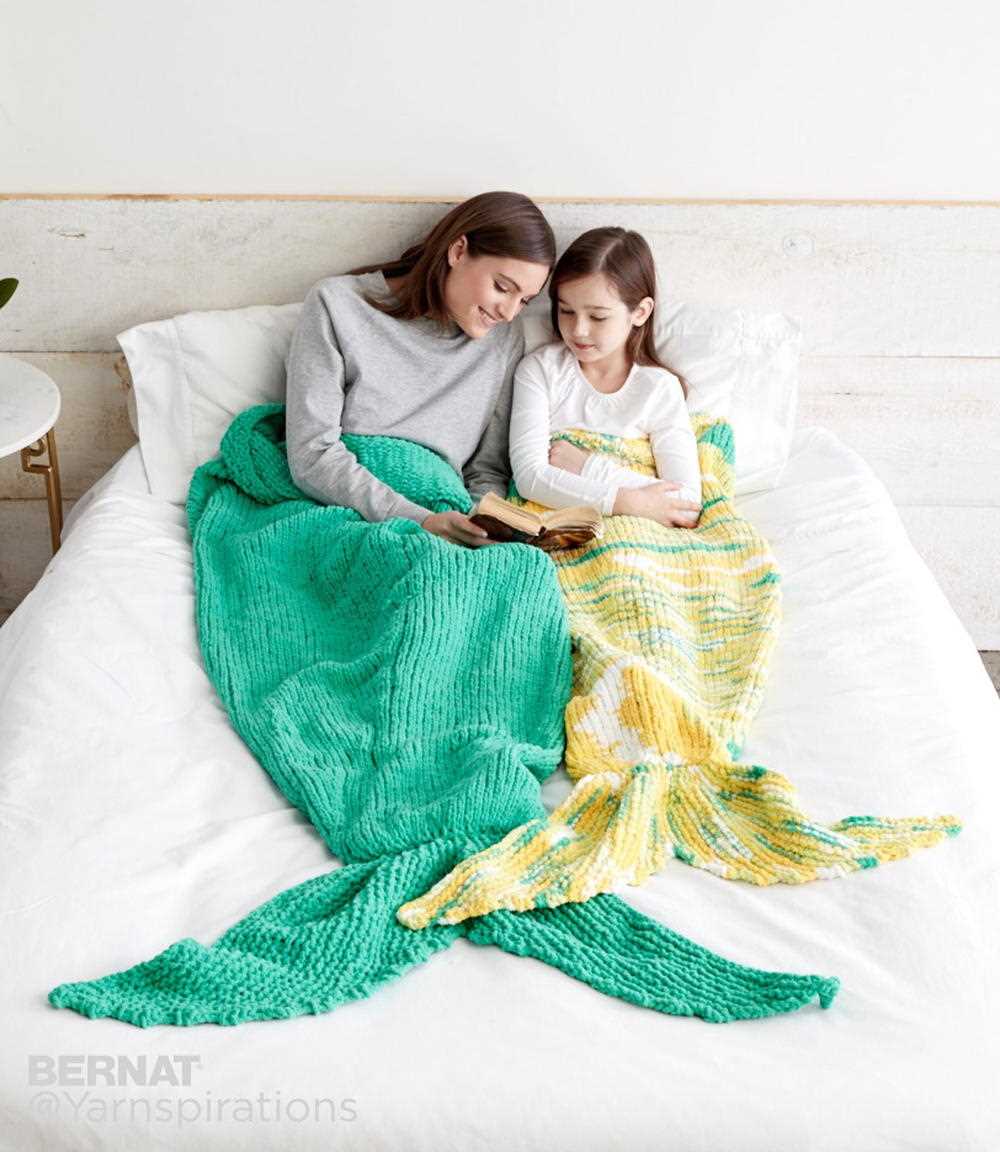
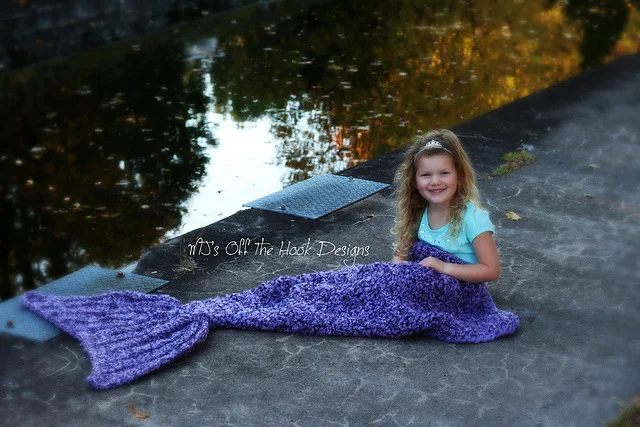
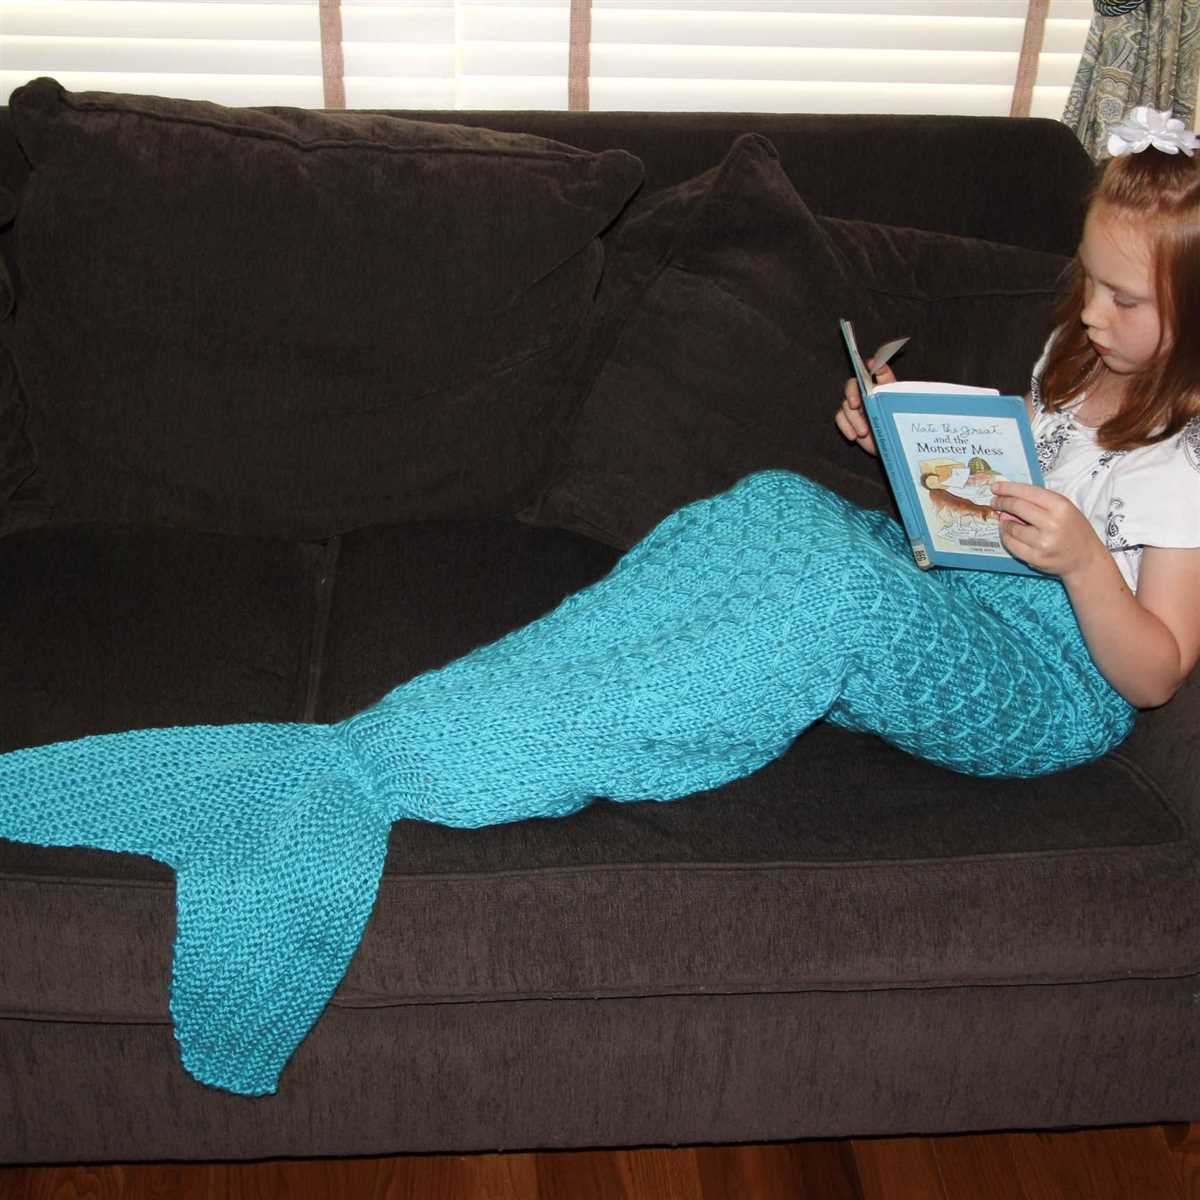
Knitting a mermaid blanket is not only a fun and creative project, but it also results in a functional and comfortable item. The blanket is designed to keep your legs and feet warm, while the mermaid tail adds an extra touch of whimsy and charm. It can be used as a cozy throw blanket for lounging on the couch, or as a sleep sack for those who dream of living under the sea.
So grab your knitting needles and get ready to dive into the magical world of mermaids with this beautiful mermaid blanket knitting pattern!
How to Choose the Right Yarn for Your Mermaid Blanket Knitting Project
When starting a mermaid blanket knitting project, one of the most important decisions you will make is choosing the right yarn. The yarn you choose will determine the overall look and feel of your blanket, as well as its durability and ease of care. With so many options available, it can be overwhelming to know where to start. Here are some tips to help you choose the perfect yarn for your mermaid blanket.
Consider the Fiber Content
One of the first things to consider when choosing yarn for your mermaid blanket is the fiber content. Different fibers have different qualities that can affect the final result of your knitting project. For a cozy and warm blanket, consider using yarns made from natural fibers like wool or alpaca. These fibers have excellent insulation properties and will keep you warm even on the coldest nights. If you prefer a lighter and more breathable blanket, opt for plant-based fibers like cotton or bamboo. These fibers are also hypoallergenic, making them a great choice for those with sensitive skin.
Choose the Right Weight
The weight of the yarn you choose will also impact the final look and feel of your mermaid blanket. Yarn weight is determined by its thickness and is usually indicated on the yarn label. For a chunky and cozy blanket, go for a bulky or super bulky weight yarn. These yarns will knit up quickly and create a thick and warm blanket. If you prefer a lighter and more delicate blanket, opt for a sport or fingering weight yarn. These yarns are perfect for creating intricate stitch patterns and will result in a lighter and more breathable blanket.
Consider the Color and Texture
Finally, consider the color and texture of the yarn. The color you choose will depend on your personal preference and the overall aesthetic you want to achieve. Do you want a vibrant and eye-catching blanket? Opt for bold and bright colors. Prefer a more subtle and calming look? Go for pastel or neutral shades. Additionally, consider the texture of the yarn. Do you want a smooth and sleek blanket, or do you prefer a more textured and cozy feel? The texture of the yarn will determine how the finished blanket looks and feels.
By considering the fiber content, weight, color, and texture of the yarn, you can choose the perfect yarn for your mermaid blanket knitting project. Remember to also check the yarn label for washing instructions and gauge information to ensure your blanket turns out exactly how you envision it. Happy knitting!
Essential knitting techniques for creating a mermaid blanket
Knitting a mermaid blanket can be a fun and rewarding project for any knitting enthusiast. Whether you are a beginner or an experienced knitter, there are a few essential techniques that you should be familiar with in order to create a beautiful and functional mermaid blanket.
Casting on: Before you can start knitting your mermaid blanket, you need to cast on. There are several casting on methods to choose from, but the long-tail cast on is commonly used for blankets. This method creates a neat and flexible edge that is perfect for the body of the mermaid blanket. Make sure to leave enough yarn for your desired blanket length before casting on.
- Knit stitch: The knit stitch is the basic stitch in knitting. It creates a smooth, V-shaped fabric. To knit, insert the right needle into the first stitch on the left needle from left to right, then wrap the yarn around the right needle counterclockwise. Slip the right needle through the stitch, bring the yarn through, and slide the stitch off the left needle. Repeat this process for each stitch until you reach the end of the row.
- Purl stitch: The purl stitch is the reverse of the knit stitch and creates a bumpy fabric. It is commonly used in knitting patterns to create texture. To purl, insert the right needle into the first stitch on the left needle from right to left, then wrap the yarn counterclockwise. Slip the right needle through the stitch, bring the yarn through, and slide the stitch off the left needle. Repeat this process for each stitch until you reach the end of the row.
- Increasing: In order to shape the mermaid tail, you will need to increase the number of stitches. The most common increase method is the knit front and back (KFB) increase. To do this, knit into the front of the stitch as usual, but instead of sliding it off the needle, knit into the back of the same stitch. This creates an extra stitch.
- Decreasing: Decreasing is used to shape the mermaid tail or any other part of the blanket that needs tapering. The knit two together (K2tog) decrease is commonly used and creates a right-leaning decrease. To do this, insert the right needle into the next two stitches on the left needle as if to knit, then knit them together as one stitch.
By familiarizing yourself with these essential knitting techniques, you’ll be well-equipped to take on the challenge of creating a beautiful mermaid blanket. Remember to practice and take your time, and soon you’ll have a cozy and enchanting blanket to snuggle up in.
Tips for reading and following a mermaid blanket knitting pattern
Knitting a mermaid blanket can be a fun and rewarding project, but it’s important to read and follow the pattern correctly in order to achieve the desired results. Here are some tips to help you navigate through a mermaid blanket knitting pattern:
1. Read the pattern from start to finish
Before you begin knitting, it’s essential to read the entire pattern from start to finish. This will give you an overview of the steps involved and help you understand the sequence of stitches and techniques required. Familiarize yourself with any abbreviations or special instructions mentioned in the pattern.
2. Take note of the materials and gauge
Make sure you have all the necessary materials mentioned in the pattern, such as specific yarn, knitting needles, and other tools. Additionally, pay attention to the suggested gauge or tension specified in the pattern. This will ensure that your finished blanket will have the right size and proportions.
3. Understand the stitch patterns
Mermaid blanket patterns often include various stitch patterns to create the unique texture and design. Take the time to understand each stitch pattern and practice them before starting the project. This will help you avoid mistakes and achieve consistent results throughout.
4. Use markers and highlight important instructions
To keep track of your progress and mark important sections in the pattern, consider using stitch markers or highlighters. This is especially useful when working on more complex stitch patterns or when repeating certain sections multiple times.
5. Double-check your measurements and progress
As you work on your mermaid blanket, regularly measure your progress to ensure it matches the dimensions specified in the pattern. This will help you catch any mistakes early on and make necessary adjustments to achieve the desired size.
With these tips in mind, you’ll be able to confidently read and follow a mermaid blanket knitting pattern. Happy knitting!
Adding beautiful stitches to your mermaid blanket
If you’re looking to add some extra flair to your mermaid blanket, incorporating beautiful stitches can be a great way to achieve this. There are numerous stitches you can use to enhance the overall design of your blanket and make it truly unique. Whether you’re a knitting beginner or an experienced crafter, experimenting with different stitches can be a fun and rewarding process.
Lace stitches: Lace stitches can add an elegant and delicate touch to your mermaid blanket. Consider using stitches like the feather and fan or the diamond lace stitch to create intricate patterns that resemble the scales of a mermaid’s tail. These stitches are relatively simple to knit, but they produce stunning results.
Cable stitches: If you’re looking for a more textured and robust appearance, incorporating cable stitches into your mermaid blanket can be a great option. Cable stitches create twists and braids that add depth and interest to your knitting. You can experiment with different cable patterns, such as the simple cable or the horseshoe cable, to create a unique and visually appealing design.
Colorwork stitches: Another way to add beauty to your mermaid blanket is by incorporating colorwork stitches. These stitches involve knitting with multiple colors to create patterns and motifs. You can use techniques like fair isle or intarsia to add pops of color or intricate designs to your blanket. Consider incorporating shades of blues and greens to mimic the colors of the ocean and give your blanket a true mermaid-inspired look.
Ribbing stitches: Ribbing stitches are not only functional but can also add visual interest to your mermaid blanket. You can use simple knit and purl stitches to create ribbing that adds texture and depth to your blanket. This can be particularly useful for areas like the tail where you may want more structure. Experiment with different ribbing patterns, such as 1×1 or 2×2 ribbing, to find the one that best suits your design.
By incorporating these beautiful stitches into your mermaid blanket, you can take your knitting skills to the next level and create a truly stunning and unique piece. Whether you choose lace, cable, colorwork, or ribbing stitches, the possibilities are endless. Have fun experimenting and let your creativity soar as you bring your mermaid blanket to life!
Creating different sizes and lengths for your mermaid blanket
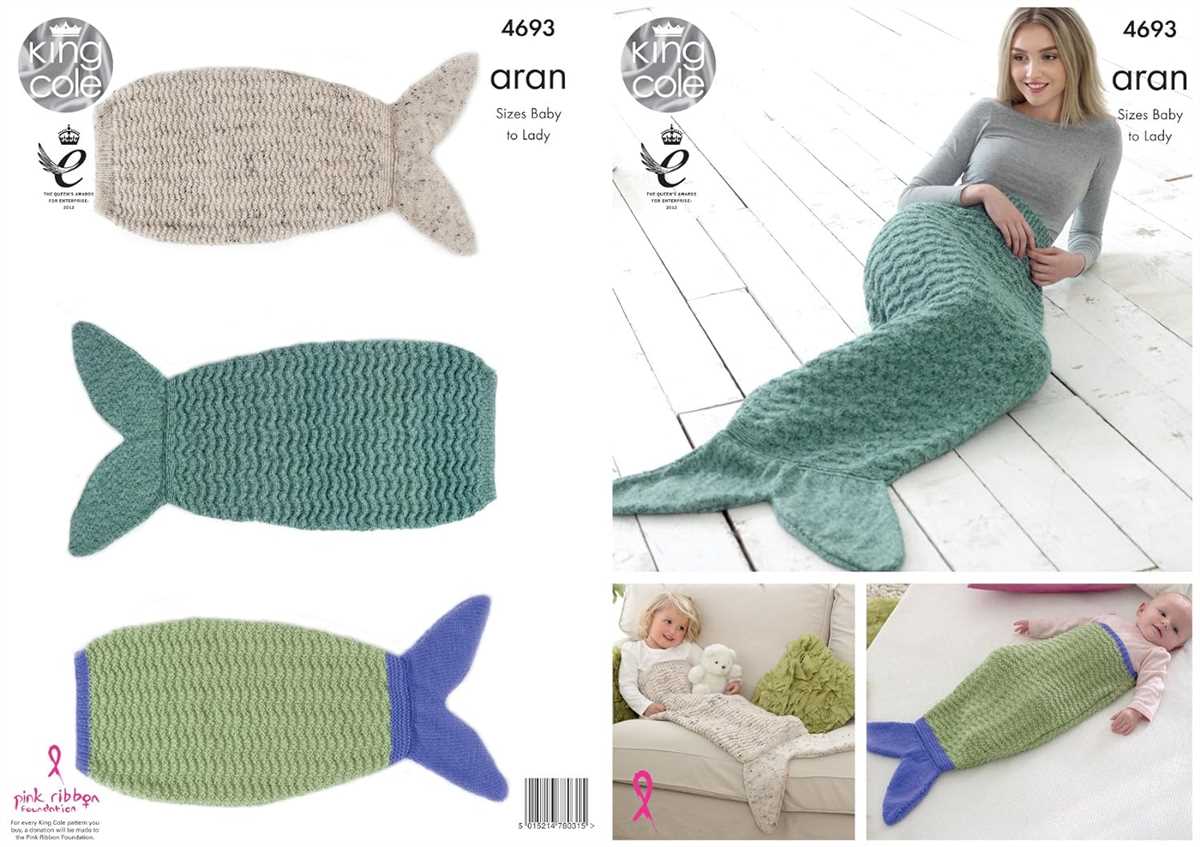
When it comes to knitting a mermaid blanket, one of the key factors to consider is the size and length of the blanket. Depending on who the blanket is intended for, you may need to create different sizes to ensure a perfect fit. Additionally, varying the length of the blanket can also add a unique touch to the design. Here are a few tips for creating different sizes and lengths for your mermaid blanket.
1. Choosing the right yarn and needle size
Before you begin knitting your mermaid blanket, it’s important to choose the right yarn and needle size for the desired size and length. Thicker yarn and larger needles will create a larger and more loosely knit blanket, while thinner yarn and smaller needles will create a smaller and denser blanket. Consider the recipient’s measurements and the desired finished dimensions to determine the appropriate yarn and needle size.
2. Adjusting the stitch counts
To create different sizes for your mermaid blanket, you will need to adjust the stitch counts. This can be done by either adding or subtracting stitches from the initial cast on. The number of stitches you add or subtract will depend on the desired width of the blanket and the gauge of your knitting.
If you want to increase the size of the blanket, you can add stitches by evenly distributing them across the row. This will create a wider blanket. Similarly, if you want to decrease the size, you can remove stitches by evenly decreasing them across the row. This will create a narrower blanket. Keep in mind that adjusting the stitch counts may also affect the length of the blanket, so make sure to consider this when planning your modifications.
3. Customizing the length
In addition to adjusting the size, you can also customize the length of your mermaid blanket. If you want a longer blanket, you can simply continue knitting until you reach the desired length. If you want a shorter blanket, you can knit fewer rows or use a different stitch pattern to create a decorative edge or border that can shorten the overall length.
Keep in mind that the length of the blanket may also depend on the size and shape of the individual. For example, a child’s mermaid blanket may be shorter in length compared to an adult’s blanket. Consider the intended user and their proportions when determining the appropriate length for the blanket.
By considering the size and length of your mermaid blanket, you can create a custom piece that fits perfectly and is tailored to the recipient’s preferences. Whether you’re knitting for a child or an adult, experimenting with different sizes and lengths can add variety and personalization to your knitting projects.
Choosing the Right Needles for Knitting a Mermaid Blanket
When it comes to knitting a mermaid blanket, choosing the right needles is an important step in ensuring the success of your project. There are a few factors to consider when selecting the perfect needles for this type of knitting pattern.
1. Needle Size: The size of the needles you choose will depend on the weight of the yarn you plan to use for your mermaid blanket. Typically, larger needles are used for thicker yarns, while smaller needles are used for finer yarns. It is important to match your needle size to your yarn weight to achieve the desired tension and gauge for your project.
2. Needle Length: The length of the needles will also play a role in your knitting experience. For a mermaid blanket, longer needles are commonly used to accommodate the large number of stitches required. Circular needles are often the preferred choice as they allow for easier handling and prevent the stitches from slipping off the needles.
3. Needle Material: The material of the needles can also affect your knitting experience. Metal needles, such as stainless steel or aluminum, are known for their durability and smoothness, making them ideal for knitting projects that require a lot of sliding stitches. Bamboo or wooden needles, on the other hand, provide a warmer and softer feel, which can be more comfortable for longer knitting sessions.
4. Specialized Needles: In addition to the traditional straight or circular needles, there are also specialized needles available for specific knitting techniques. For example, double-pointed needles are commonly used for knitting in the round, while cable needles are used for creating intricate cable patterns. Depending on the complexity of your mermaid blanket pattern, you may need to consider using these specialized needles.
In conclusion, choosing the right needles for knitting a mermaid blanket involves considering the size, length, material, and any specialized needles required for the pattern. By selecting the appropriate needles, you can ensure a more enjoyable knitting experience and an end result that matches your vision.
How to Seam and Finish Your Mermaid Blanket
Once you’ve finished knitting your mermaid blanket, it’s time to seam and finish it off. This final step is important to ensure that your blanket looks polished and professional. Here are some tips on how to seam and finish your mermaid blanket:
1. Joining the Tail
To start, fold your blanket in half lengthwise so that the wrong sides are facing each other. Line up the stitches along the tail and use a tapestry needle to join them together. Make sure to weave in the loose ends as you go to keep your blanket neat and tidy.
2. Sewing the Body
Next, unfold the blanket and lay it flat on a surface. Align the stitches along the body and use a tapestry needle to sew them together. Take your time to match the stitches and ensure that the seam is even.
3. Blocking
Once you’ve finished seaming the blanket, it’s a good idea to block it to give it a more polished look. Blocking involves wetting the blanket and gently reshaping it to the desired dimensions. Lay the blanket flat and pin it into place, then allow it to dry completely before removing the pins.
4. Adding Finishing Touches
Lastly, you can add some finishing touches to your mermaid blanket to make it truly unique. You can sew on buttons or beads to create a decorative effect, or add a border along the edges for a more finished look. Get creative and have fun with it!
By following these steps, you’ll be able to seam and finish your mermaid blanket with ease. The end result will be a beautiful and cozy blanket that you can enjoy for years to come.
Adding decorative elements to your mermaid blanket
When it comes to knitting a mermaid blanket, there are many ways to add decorative elements that will make your blanket truly unique. Whether you want to create an intricate pattern or add some fun embellishments, there are plenty of options to choose from.
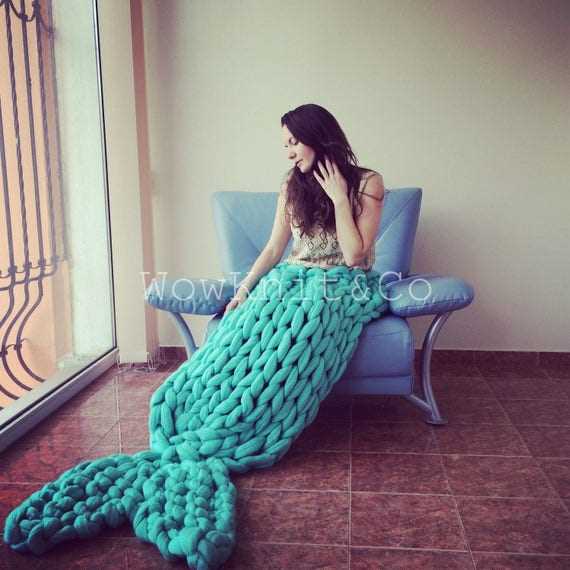
Choose the right yarn: The first step in adding decorative elements to your mermaid blanket is choosing the right yarn. Consider using a yarn with a bit of sparkle or a variegated color pattern to add visual interest to your blanket. You can also experiment with different textures, such as using a bulky yarn for a cozy, chunky look.
Create an interesting stitch pattern: One of the easiest ways to add decorative elements to your mermaid blanket is by using a unique stitch pattern. Consider using a textured stitch pattern, like cables or bobbles, to create a visually appealing design. You can also experiment with lace stitches to add an elegant touch to your blanket.
- Add decorative edging: Another way to enhance the look of your mermaid blanket is by adding decorative edging. You can use a contrasting color yarn to create a border or experiment with different stitch patterns to create an eye-catching edging design.
- Include embellishments: If you want to take your mermaid blanket to the next level, consider adding embellishments such as buttons, beads, or sequins. These small details can add a touch of glamour and make your blanket truly unique.
- Personalize with embroidery: Adding embroidery to your mermaid blanket is a great way to personalize it. You can embroider your name, a favorite quote, or a special design onto your blanket to make it truly one-of-a-kind.
Remember, the key to adding decorative elements to your mermaid blanket is to have fun and get creative. Don’t be afraid to experiment with different techniques and materials to create a blanket that reflects your own personal style.
Exploring different color combinations for your mermaid blanket
If you’re a knitting enthusiast and you enjoy making mermaid blankets, one of the most exciting parts of the process is choosing the colors for your project. With so many yarn options available, there are countless possibilities for creating unique and eye-catching mermaid blankets.
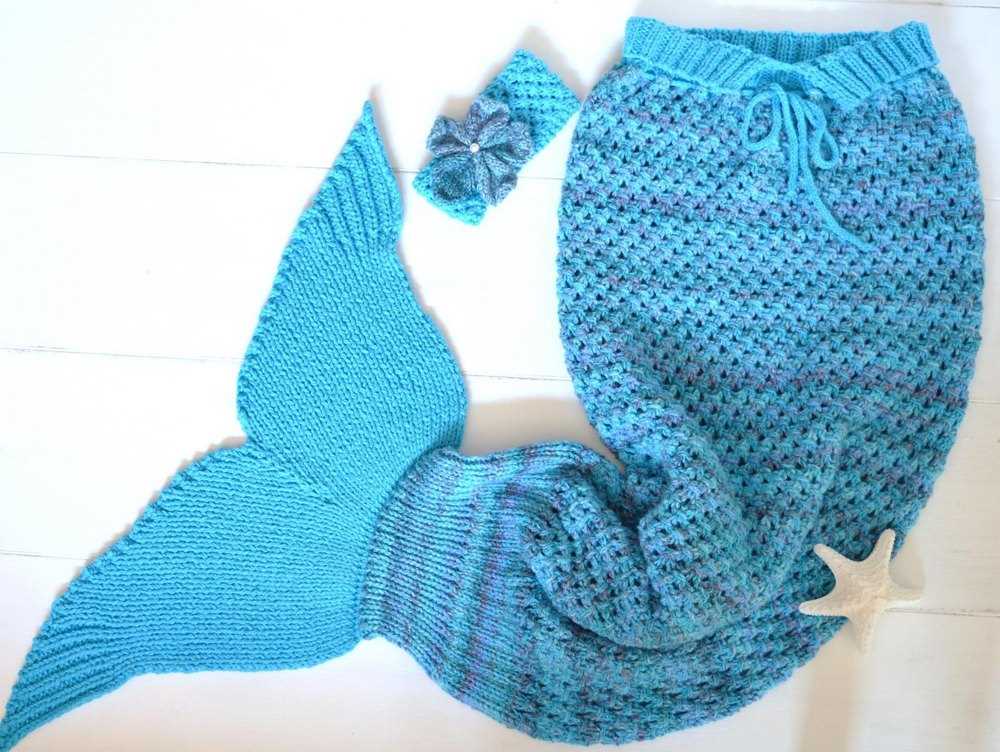
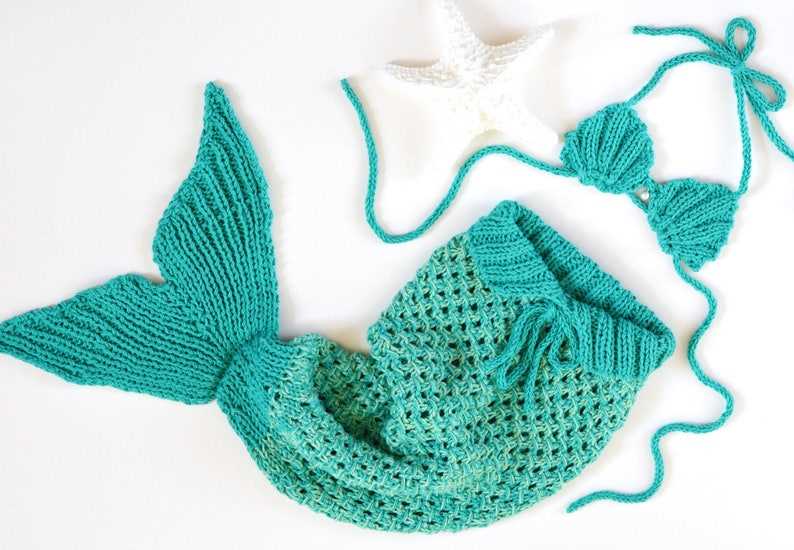
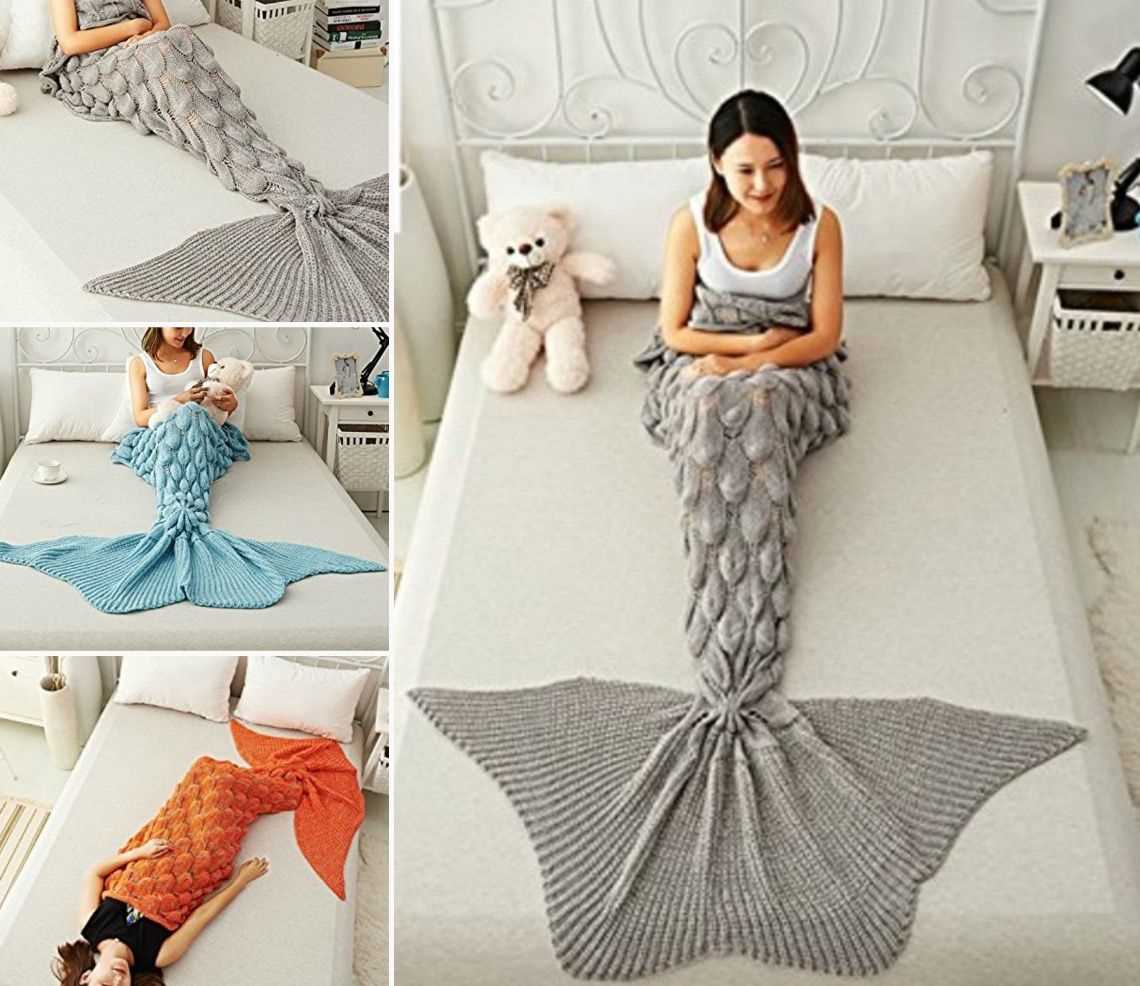
1. Ocean-inspired palette: For a classic mermaid look, opt for shades of blue, green, and turquoise. This color combination will evoke the feeling of being under the sea and create a serene and calming vibe. Consider using different shades of these colors to add depth and dimension to your mermaid blanket.
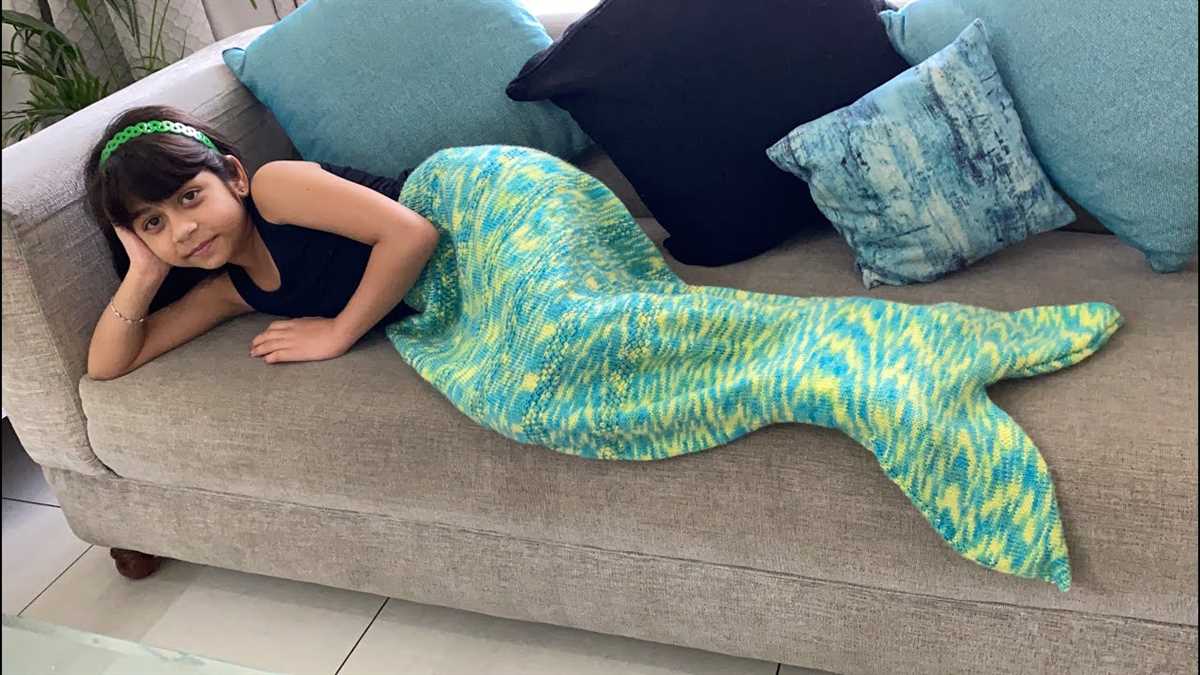
2. Mermaid scales: Another fun approach is to create a mermaid scale pattern on your blanket. To achieve this, choose three or more colors and alternate them in a repetitive pattern. You can use shades of the same color or experiment with complementary colors for a bold and striking effect.
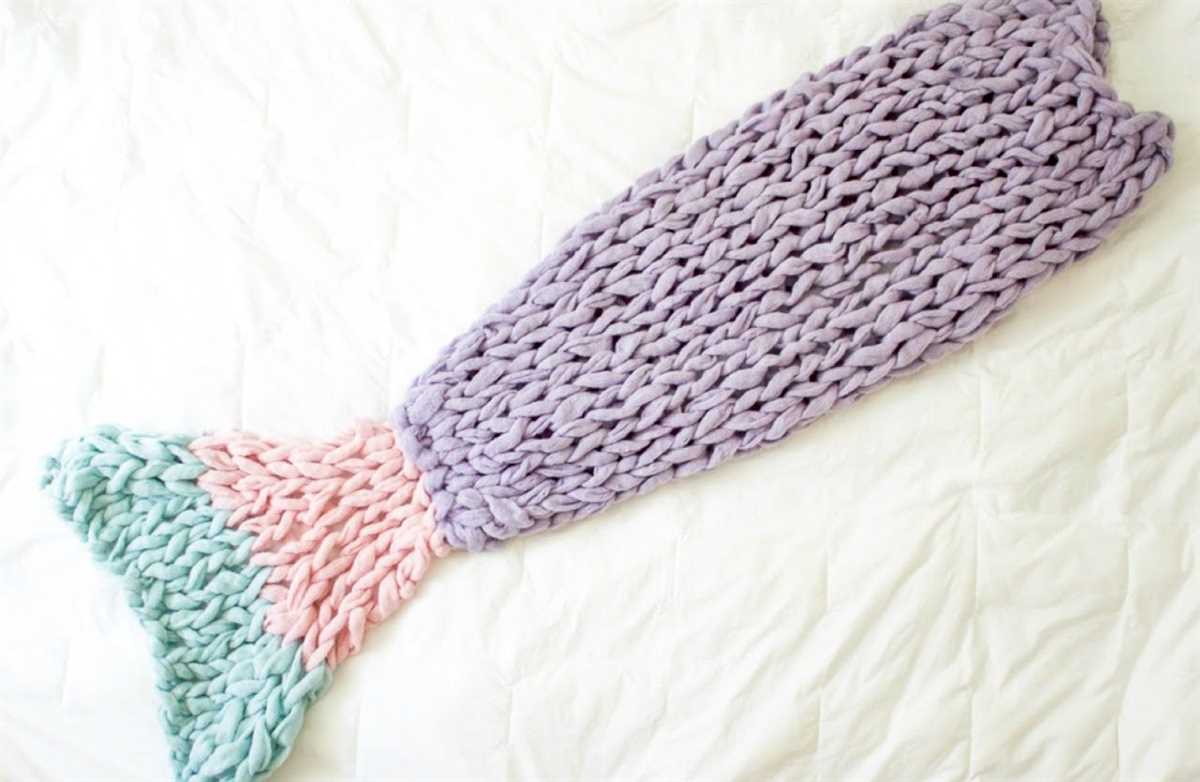
3. Pastel dream: If you prefer a softer and more whimsical look, opt for pastel hues. Light pinks, purples, blues, and greens can be combined to create a dreamy and magical mermaid blanket. This color combination is perfect for those who love a more delicate and feminine aesthetic.
4. Earthy tones: For a unique twist on the traditional mermaid color palette, consider using earthy tones. Deep browns, greens, and burnt oranges can create a mermaid blanket that is inspired by the natural world. This color combination is perfect for those who want a more rustic and earthy feel to their knitting project.
5. Rainbow delight: If you can’t decide on just one color combination, why not create a rainbow mermaid blanket? Use different colors of yarn, starting with red and working your way through the rainbow. This vibrant and colorful blanket is sure to make a statement and bring joy to anyone who uses it.
Remember, the beauty of knitting is that you have the freedom to experiment and play with different color combinations. Don’t be afraid to mix and match colors to create a mermaid blanket that reflects your personal style and taste.
Popular mermaid blanket knitting patterns to try
If you are interested in knitting a mermaid blanket, there are many popular patterns available to guide you through the process. Whether you are a beginner or an experienced knitter, there is a pattern that suits your skill level and style preferences. Here are some popular mermaid blanket knitting patterns to try:
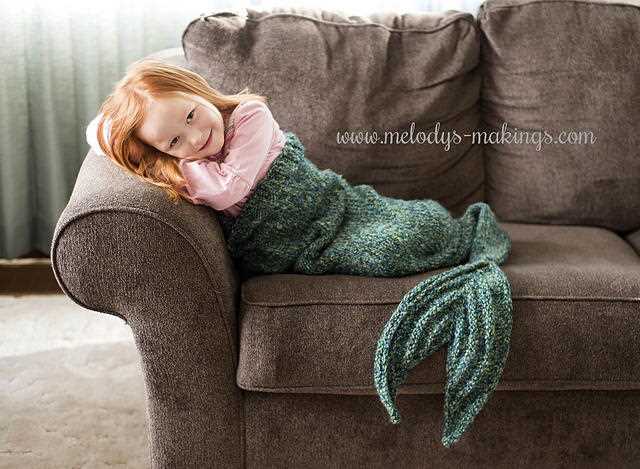
1. Classic Mermaid Tail Blanket
This pattern is perfect for beginners who are looking to create a simple and timeless mermaid tail blanket. It typically involves basic stitches such as knit and purl, and requires minimal shaping. The result is a cozy and versatile blanket that will keep you warm and stylish.
2. Lace Mermaid Tail Blanket
If you want to add a touch of elegance and femininity to your mermaid blanket, consider a lace pattern. This pattern often incorporates intricate lace stitches that create a delicate and sophisticated look. It can be a bit more challenging than the classic pattern, but the end result is worth the effort.
3. Cable Mermaid Tail Blanket
For those who enjoy working with cable stitches, this pattern is perfect. Cable stitches create beautiful textured patterns that resemble ropes or braids, adding a unique and visually appealing element to your mermaid blanket. This pattern requires intermediate knitting skills, but the end result is a cozy and stunning blanket.
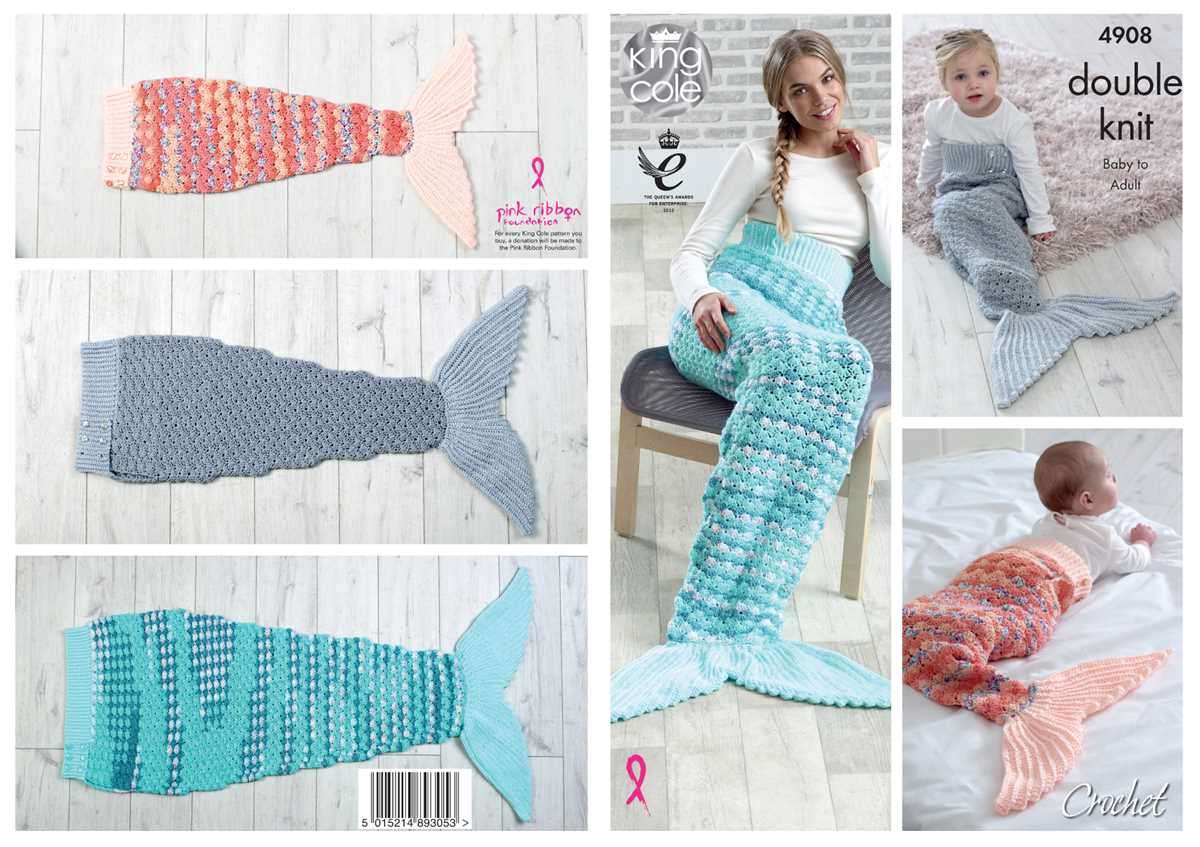
4. Colorful Mermaid Tail Blanket
If you prefer a more vibrant and playful mermaid blanket, consider using multiple colors or gradients. This pattern allows you to experiment with different color combinations and create a blanket that reflects your personality. It can be as simple or complex as you like, depending on the number of colors and patterns you choose.
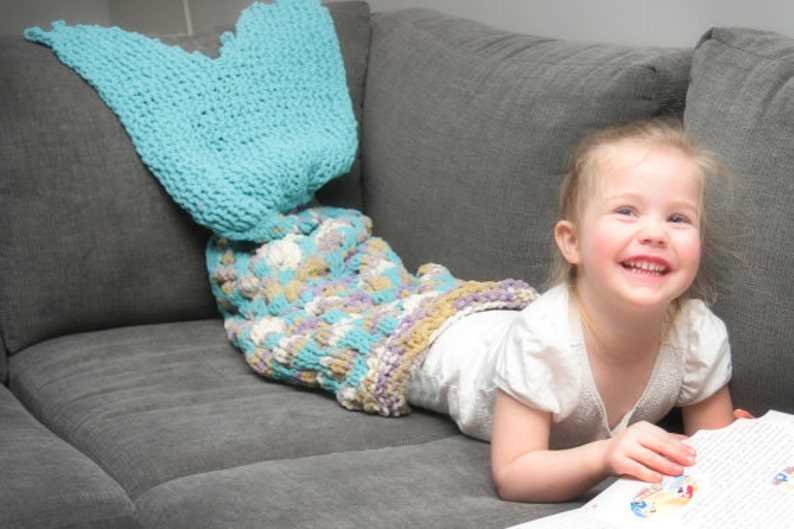
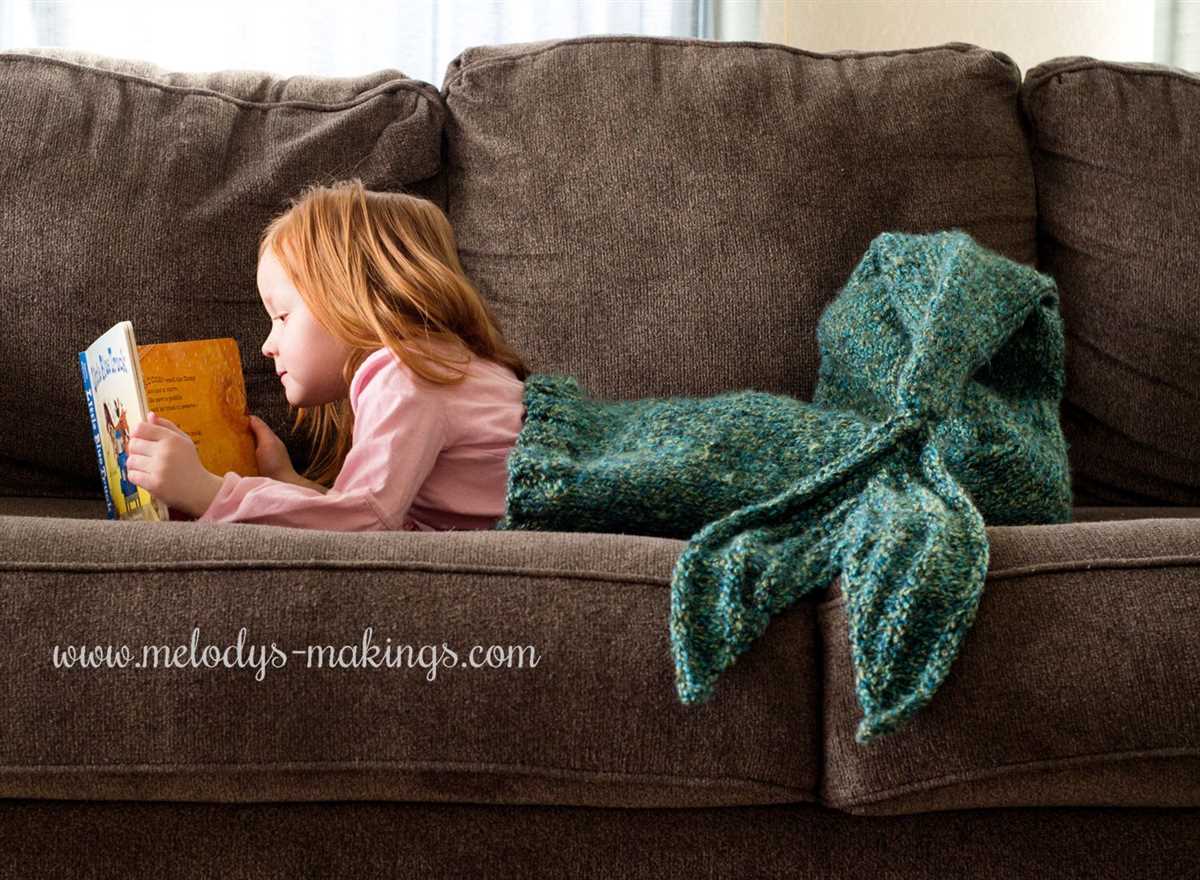
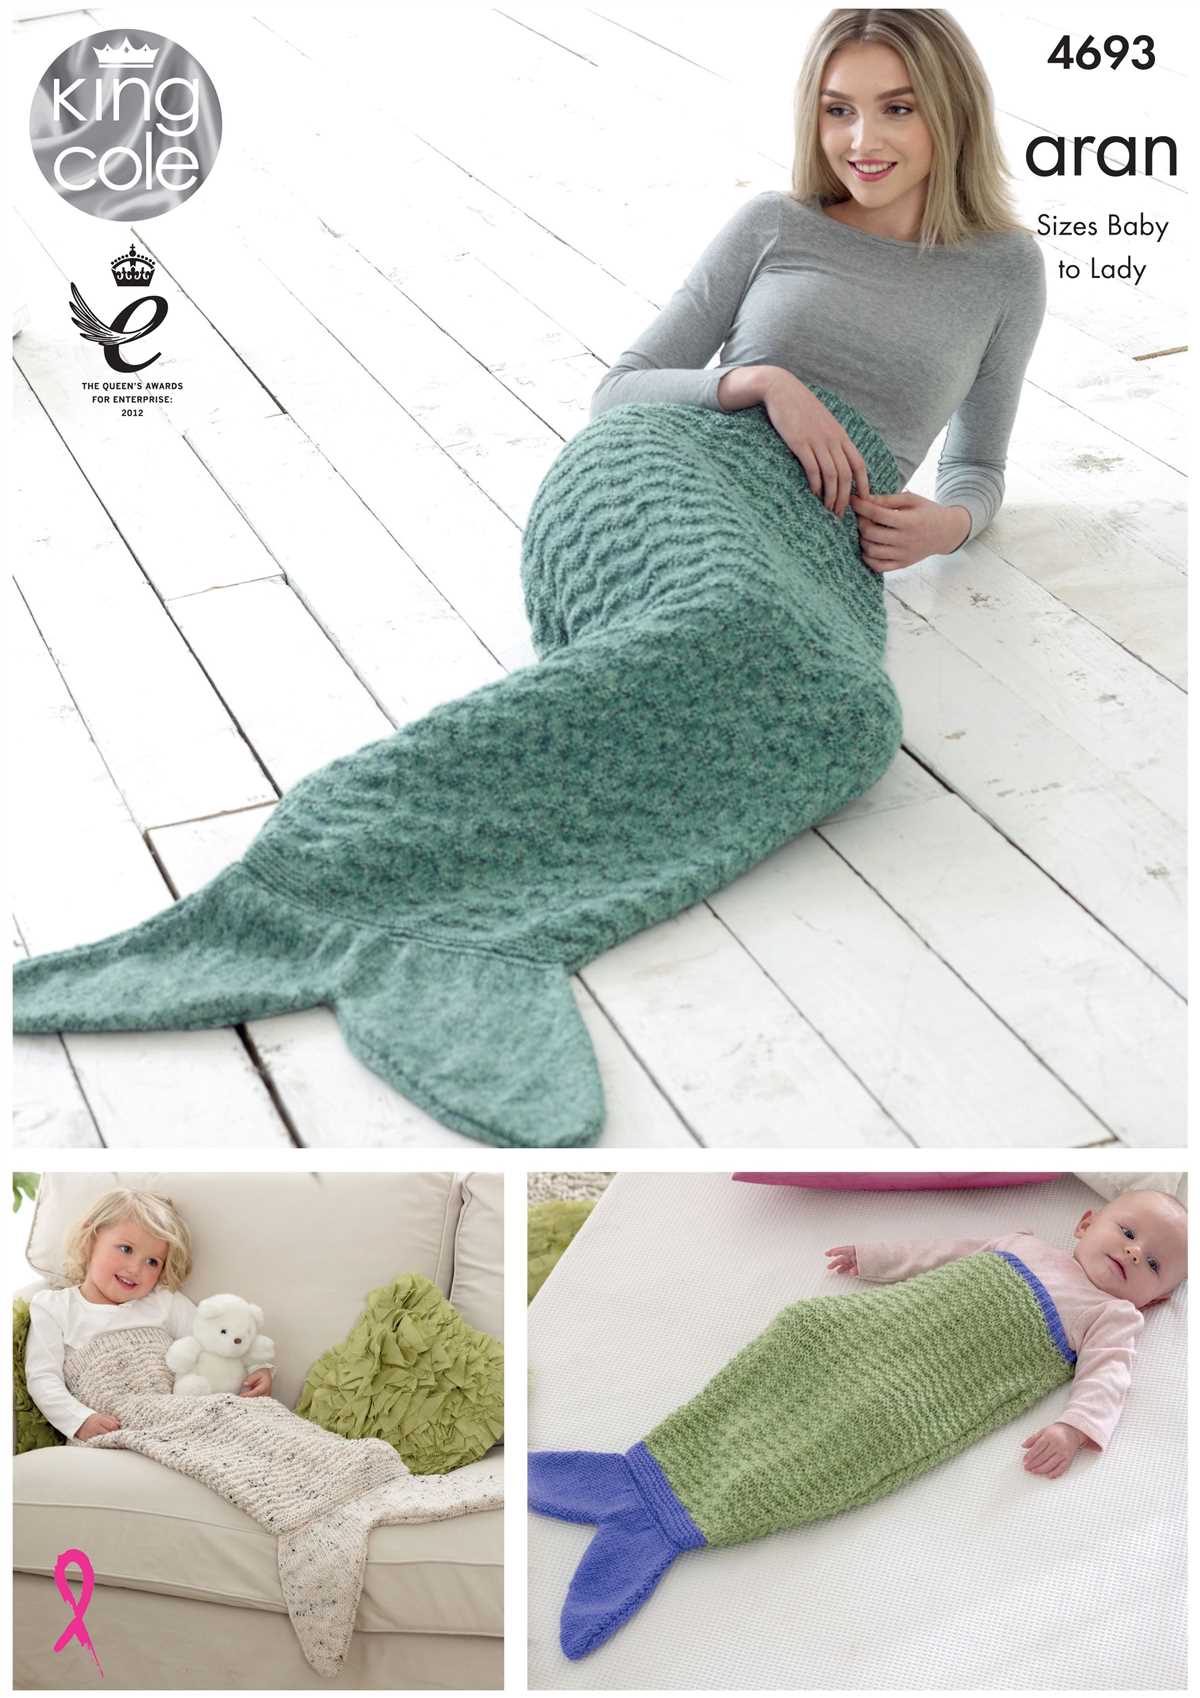
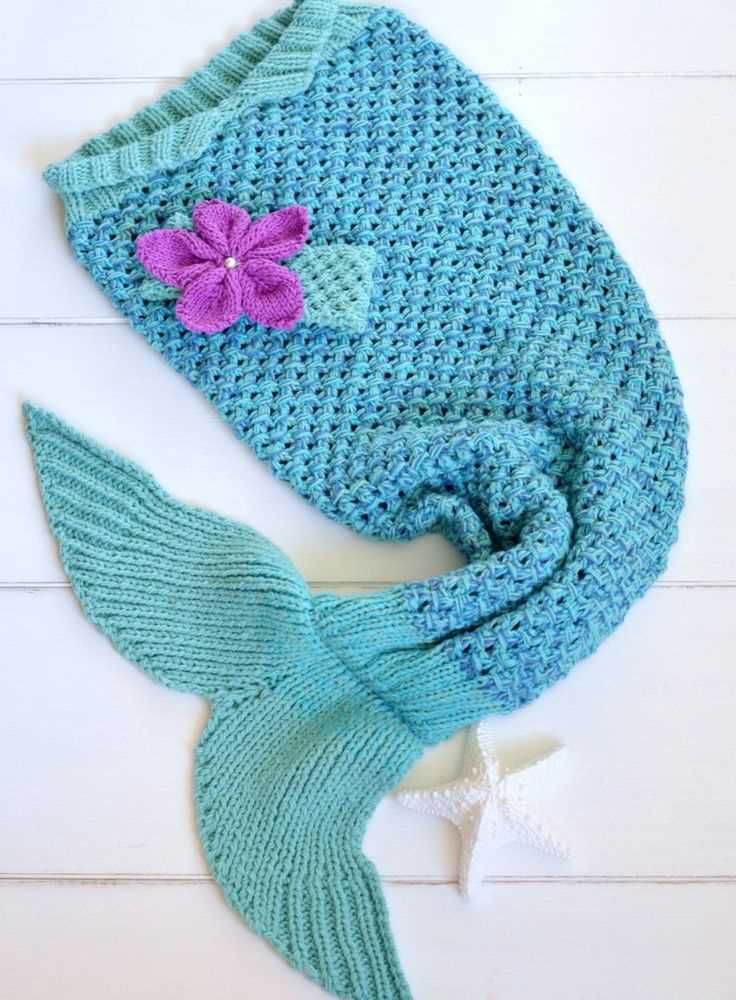
5. Mermaid Snuggle Sack
If you are knitting for children, a mermaid snuggle sack pattern is a great choice. This pattern typically involves creating a cozy sleeping bag-like blanket that allows little ones to slip their legs into a mermaid tail. It is a fun and imaginative design that kids will love.
No matter which pattern you choose, knitting a mermaid blanket can be a rewarding and enjoyable project. It allows you to unleash your creativity and create a unique and cozy blanket that you can cherish for years to come.