
Knitting is a popular hobby that allows people to create unique and personalized garments. Making your own clothes can be a rewarding experience, and one of the most versatile and essential pieces that you can knit is a T-shirt. Knitting a T-shirt gives you the freedom to choose your own yarn, color, and design, allowing you to create a truly one-of-a-kind item.
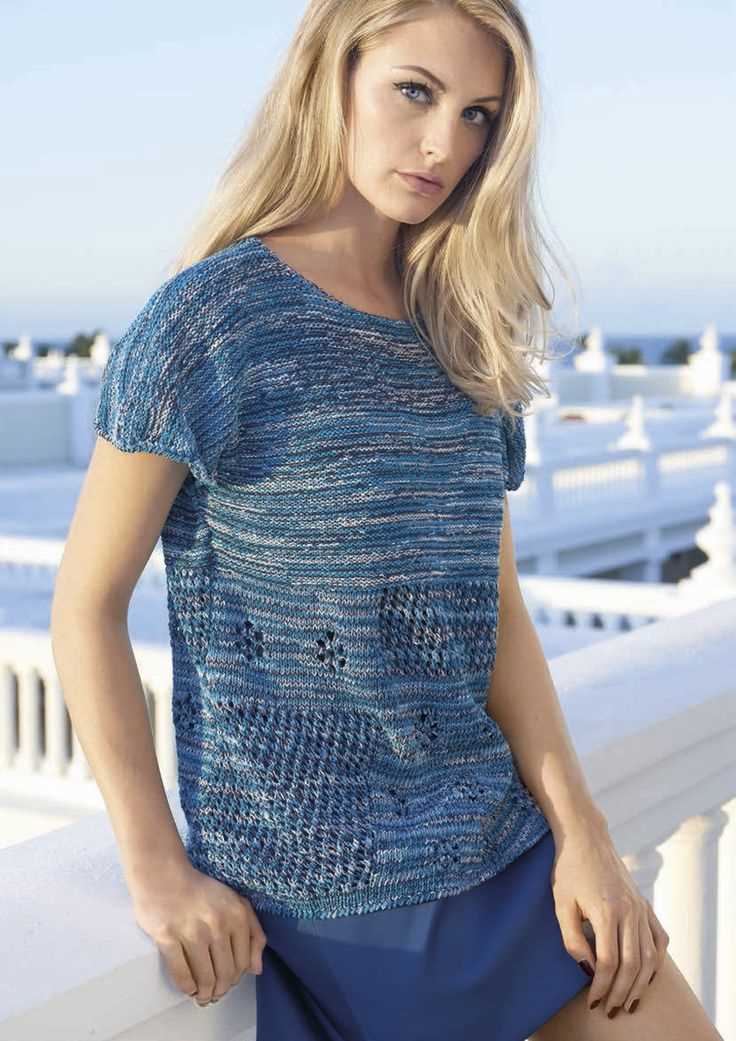
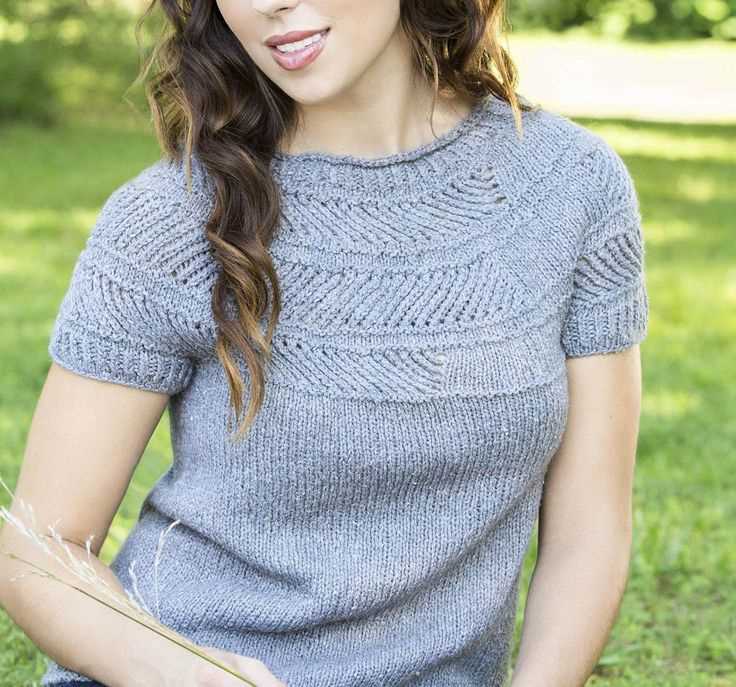
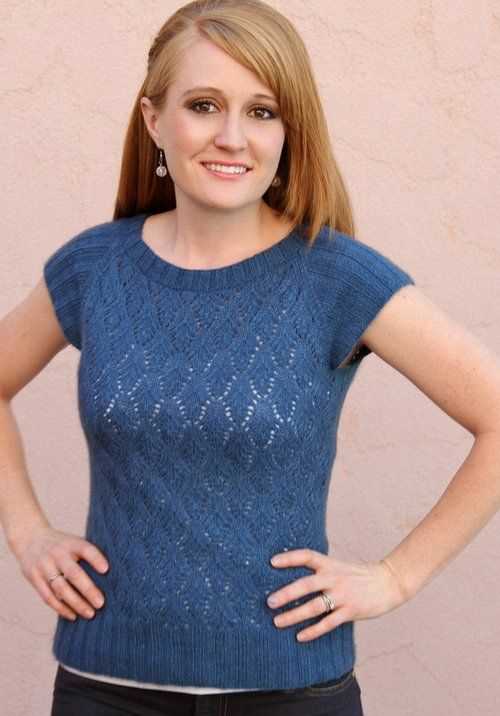
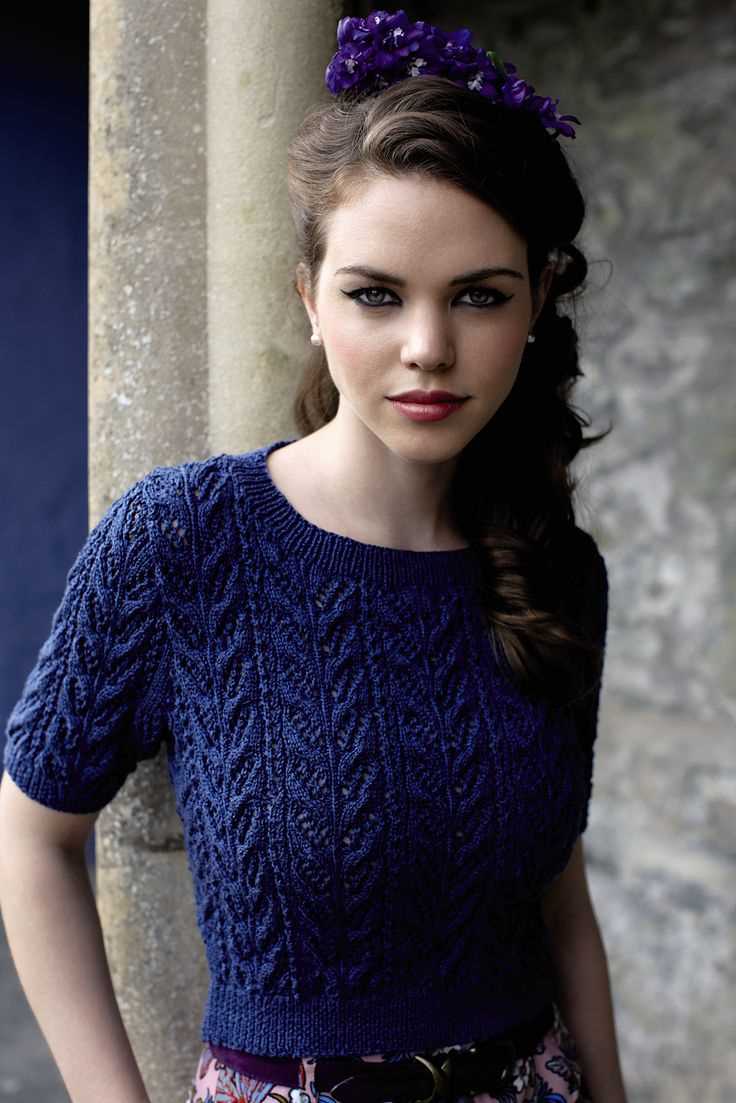
When it comes to knitting a T-shirt, the possibilities are endless. You can choose from a variety of stitches and patterns to create a garment that suits your style and preferences. Whether you prefer a classic stockinette stitch or a more intricate lace pattern, there is a T-shirt knitting pattern out there that will inspire you.
Knitting a T-shirt can be a challenging project, especially if you are new to knitting or if you are used to working with thicker yarns. However, with a little practice and patience, you can create a T-shirt that fits perfectly and looks great. With the right knitting pattern and some basic knitting skills, you can knit a T-shirt that will rival anything you can find in a store.
In this article, we will explore different T-shirt knitting patterns, from simple and beginner-friendly designs to more advanced and intricate options. We will also provide some tips and tricks to help you get started on your T-shirt knitting journey. So grab your knitting needles and get ready to create your very own T-shirt masterpiece!
Choosing the right yarn
When knitting a T-shirt, choosing the right yarn is crucial for achieving the desired results. The yarn you select will greatly impact the drape, fit, and overall feel of the finished garment. Here are some key factors to consider when choosing yarn for your T-shirt knitting project.
1. Fiber Content
The first thing to consider is the fiber content of the yarn. Different fibers have different properties and characteristics, which will affect how the T-shirt looks and feels. Natural fibers like cotton and linen are popular choices for T-shirts as they are breathable and have a comfortable drape. Synthetic fibers like acrylic and nylon can add durability and stretch to the fabric, making it more suitable for everyday wear.
It’s also important to think about the season and climate in which you’ll be wearing the T-shirt. For hotter weather, consider using a yarn with a higher percentage of cotton or bamboo to help keep you cool and comfortable. On the other hand, if you’re knitting a T-shirt for colder weather, you may opt for a blend that includes wool or alpaca for added warmth.
2. Weight and Gauge
- Consider the weight of the yarn, which refers to its thickness. T-shirt patterns typically call for yarn in the light to medium weight category, such as sport or DK weight. Using the recommended weight will help ensure that your T-shirt has the right balance of structure and drape.
- In addition to weight, pay attention to the recommended gauge or tension. This is the number of stitches and rows that should be achieved over a specific measurement, usually given in a 4×4 inch (10×10 cm) swatch. Matching the gauge is crucial for obtaining the correct sizing and fit of the T-shirt. If you’re not achieving the right gauge, you may need to change to a smaller or larger needle size.
3. Color and Texture
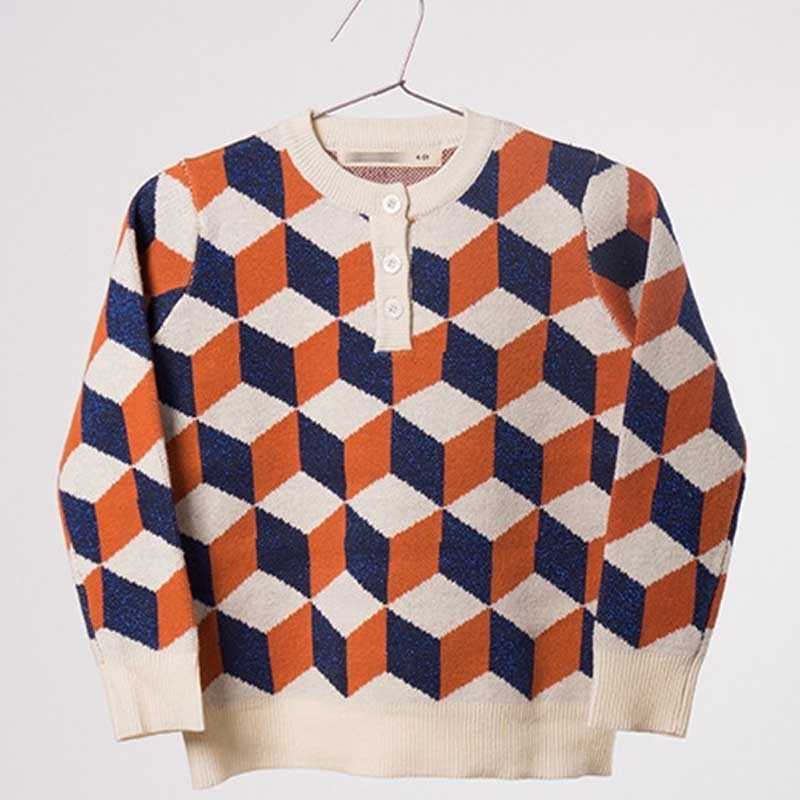
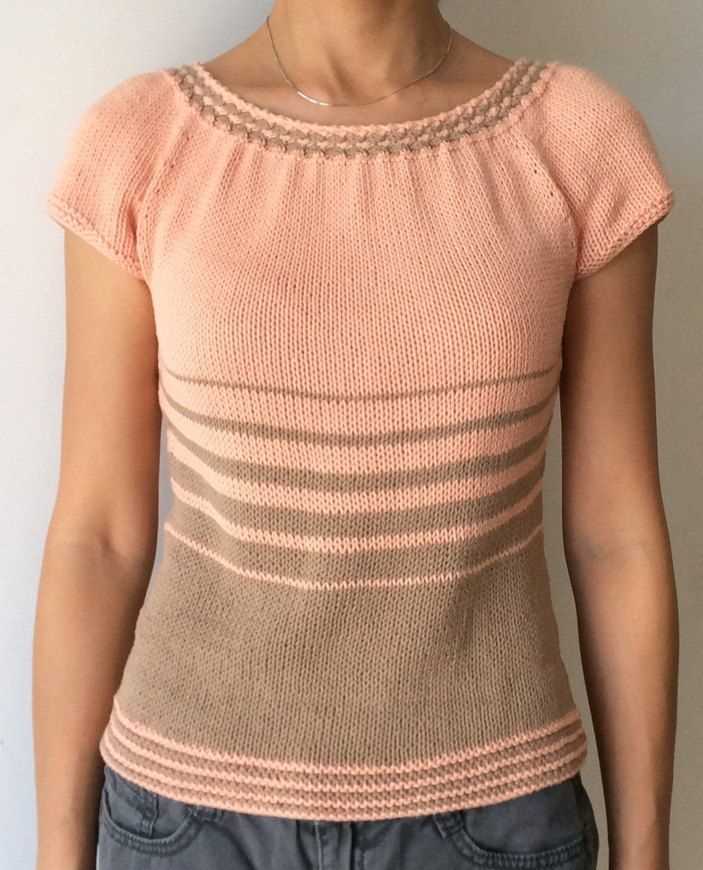
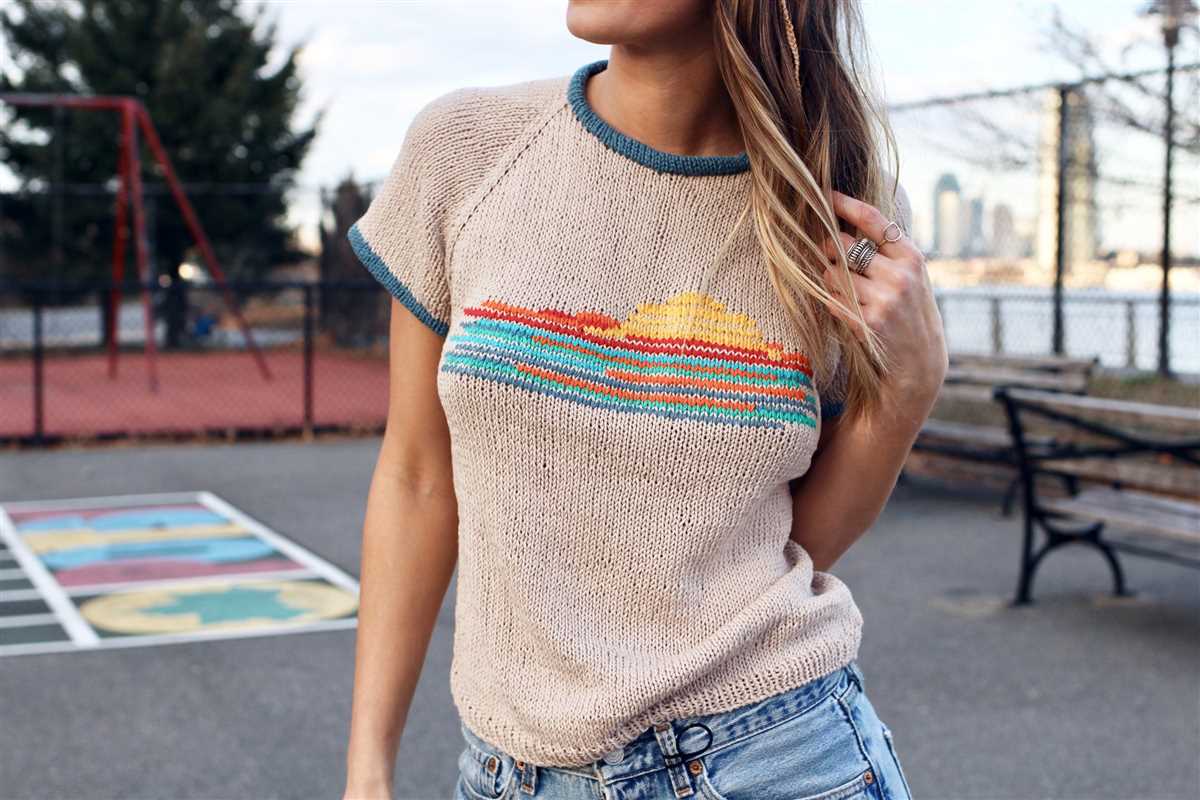
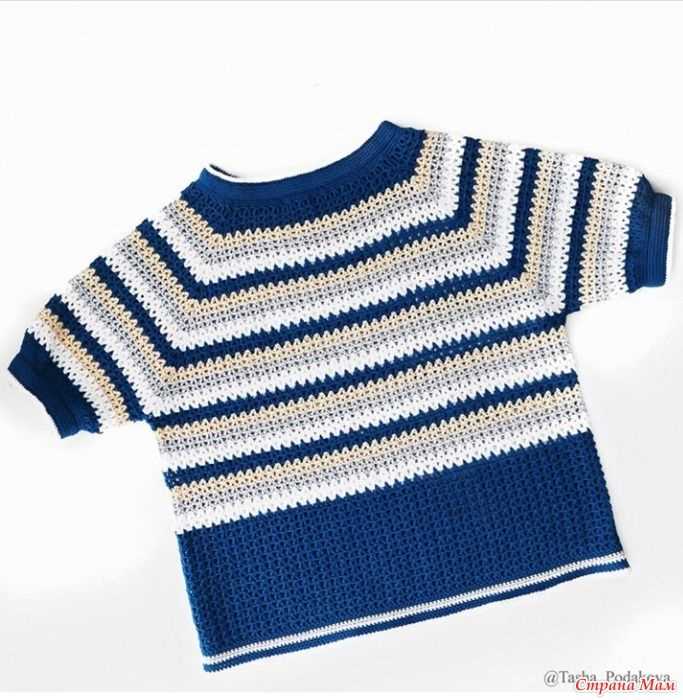
Consider the color and texture of the yarn, as they can greatly enhance the overall look of your T-shirt. Solid, neutral colors are versatile and can easily be paired with different outfits. However, if you’re feeling adventurous, you can opt for variegated or self-striping yarns to add interest and dimension to your design.
The texture of the yarn can also contribute to the overall aesthetic of the T-shirt. Smooth, tightly spun yarns will give a sleek and polished finish, while yarns with a halo or slight fuzziness can add a cozy and casual vibe. Consider the stitch pattern you’ll be using and how it will interact with the chosen yarn’s texture.
By considering these factors – fiber content, weight and gauge, and color and texture – you can choose the perfect yarn for your T-shirt knitting project, ensuring a garment that fits well, looks stylish, and feels comfortable to wear.
Selecting the proper needles
When starting a T-shirt knitting project, one of the most important considerations is selecting the proper needles. The choice of needles will ultimately determine the size, gauge, and tension of the final product. It’s essential to select the right size and type of needles to ensure the desired fit and drape of the T-shirt.
Needle size: The size of the needles will affect the overall size of the stitches and, consequently, the gauge of the knitting. Most T-shirt patterns will specify a recommended needle size to achieve the desired results. It’s crucial to follow these guidelines to ensure the correct size of the T-shirt.
Types of needles:
Straight needles: Straight needles are the most common type used for knitting T-shirts. They come in various lengths and materials, such as bamboo, metal, or plastic. Straight needles are suitable for knitting flat pieces, like the front and back of the T-shirt. They are also ideal for beginners due to their simplicity and ease of use.
Circular needles: Circular needles consist of two needle tips connected by a flexible cable. They are an excellent choice for seamless T-shirt knitting projects, as they allow for continuous knitting in the round. Circular needles are also useful for larger T-shirt sizes, as they can accommodate a larger number of stitches. They provide more versatility and can also be used for knitting flat pieces, similar to straight needles.
Double-pointed needles: Double-pointed needles are shorter, pointed needles used for small circumference knitting, such as T-shirt sleeves or necklines. They come in sets of four or five and allow for knitting in the round without the need for a circular needle. Double-pointed needles are ideal for intricate or detailed T-shirt designs that require precise stitch placement.
Overall, the right selection of needles is crucial for a successful and comfortable T-shirt knitting project. By considering factors such as needle size, type, and construction, knitters can ensure they achieve the desired fit and finish for their T-shirt.
Understanding the Gauge
When it comes to knitting a T-shirt, understanding the gauge is crucial. The gauge refers to the number of stitches and rows per inch in a knitted fabric. It is an important measurement that determines the size and fit of the final garment.
Before starting your T-shirt knitting project, it is essential to check your gauge. To do this, you will need to knit a swatch using the recommended yarn and needle size stated in your knitting pattern. Knit a square that is at least 4×4 inches in size.
Why is the gauge important?
The gauge ensures that your T-shirt has the correct dimensions and fits properly. If your gauge is too loose, your T-shirt may turn out too big and baggy. On the other hand, if your gauge is too tight, the T-shirt may be too small and uncomfortable to wear. Therefore, it is crucial to match the gauge stated in the pattern to achieve the desired fit.
How to measure the gauge?
To measure the gauge, lay the knitted swatch on a flat surface and count the number of stitches and rows within a 1-inch section. This will give you the stitch gauge and row gauge. Compare these measurements to the gauge specified in the pattern. If your gauge is different, you may need to adjust your needle size to achieve the correct gauge.
Tips for achieving the correct gauge:
- Use the recommended yarn and needle size stated in the pattern.
- When knitting the swatch, follow the pattern instructions exactly.
- Block the swatch by wetting it, laying it flat, and letting it dry before measuring the gauge.
- If your gauge is off, try changing your needle size and knit another swatch.
- Keep in mind that everyone’s tension is different, so don’t be discouraged if you need to make adjustments.
By understanding and achieving the correct gauge, you can ensure that your T-shirt knitting project turns out exactly as desired, with the perfect fit and dimensions.
Taking accurate body measurements

When knitting a t-shirt, it is crucial to take accurate body measurements in order to ensure a proper fit. In order to achieve this, there are several key measurements that you will need to take.
Bust measurement: To determine the bust measurement, wrap a measuring tape around the fullest part of your bust and ensure that it is parallel to the ground.
Waist measurement: To measure your waist, locate the narrowest part of your torso and wrap the measuring tape around it. Make sure to keep the measuring tape snug but not too tight.
Hip measurement: To determine your hip measurement, wrap the measuring tape around the widest part of your hips. Make sure that the tape is parallel to the ground and not too tight.
Armhole depth measurement: The armhole depth measurement is important as it will help you determine the appropriate length for the sleeves. To measure the armhole depth, start from the top of your shoulder and measure down to the point where you want the armhole to end.
Torso length measurement: To measure your torso length, start from the top of your shoulder and measure down to the desired length of the t-shirt. This measurement will help you determine where the t-shirt should end on your body.
Shoulder width measurement: The shoulder width measurement is important for ensuring that the t-shirt fits properly across the shoulders. To measure your shoulder width, start at the edge of one shoulder and measure across to the edge of the other shoulder.
- Ensure that you have a flexible measuring tape for accurate measurements.
- Take measurements while wearing a well-fitting bra and underwear.
- Stand up straight and breathe normally while taking measurements.
- If possible, have someone assist you in taking measurements for more accuracy.
Calculating the stitch count

When it comes to knitting a T-shirt, one of the most important steps is calculating the stitch count. This will determine the size and fit of the final garment. To calculate the stitch count, you need to consider the gauge of your knitting and the measurements of the person who will be wearing the T-shirt.
The gauge refers to the number of stitches per inch or centimeter, and it can vary depending on the type of yarn and needles you are using. To determine the gauge, you can make a swatch by knitting a small sample and measuring the number of stitches and rows within a set measurement. Once you have the gauge, you can calculate the stitch count by multiplying the desired measurements of the T-shirt by the gauge.
For example:
- If your gauge is 4 stitches per inch and you want the T-shirt to have a finished width of 20 inches, the stitch count would be 4 stitches x 20 inches = 80 stitches.
- If your gauge is 5 stitches per inch and you want the T-shirt to have a finished bust circumference of 40 inches, the stitch count would be 5 stitches x 40 inches = 200 stitches.
Keep in mind that these calculations are approximate and may need to be adjusted based on personal preferences and knitting techniques. It’s also important to take into consideration any pattern repeats or stitch patterns that are used in the T-shirt design. By accurately calculating the stitch count, you can ensure a well-fitting and comfortable T-shirt that is tailored to your measurements.
Creating the front and back panels
When knitting a T-shirt, one of the first steps is to create the front and back panels. These panels will be the main body of the T-shirt, where the sleeves will later be attached. To begin, you will need to cast on the desired number of stitches for your size.
You can use either circular knitting needles or straight needles for this part of the project, depending on your preference. If using circular needles, you will simply knit in a continuous round until the desired length is reached. If using straight needles, you will knit back and forth in rows, turning your work at the end of each row.
Instructions for knitting the front and back panels:
- Cast on the required number of stitches for your size using the method of your choice.
- Begin knitting in the stitch pattern specified in the T-shirt knitting pattern. This could be stockinette stitch, garter stitch, or any other stitch pattern you prefer.
- Continue knitting until the front and back panels reach the desired length as indicated in the pattern. Remember to take into account any ribbing or hemming instructions.
- Once the desired length is reached, bind off all stitches to secure the edges of the panels.
- Repeat these steps to create both the front and back panels.
Shaping the armholes and neckline
The process of shaping the armholes and neckline in a T-shirt knitting pattern is an important step that adds both style and functionality to the finished garment. It involves strategically decreasing stitches to create openings for the arms and neck, while maintaining the overall shape and structure of the T-shirt.
Armhole shaping: To shape the armholes, the pattern will instruct you to decrease a certain number of stitches at the sides of the body. This is typically achieved by working decrease stitches at the beginning and end of specific rows. The number of stitches to decrease will depend on the desired size and fit of the T-shirt.
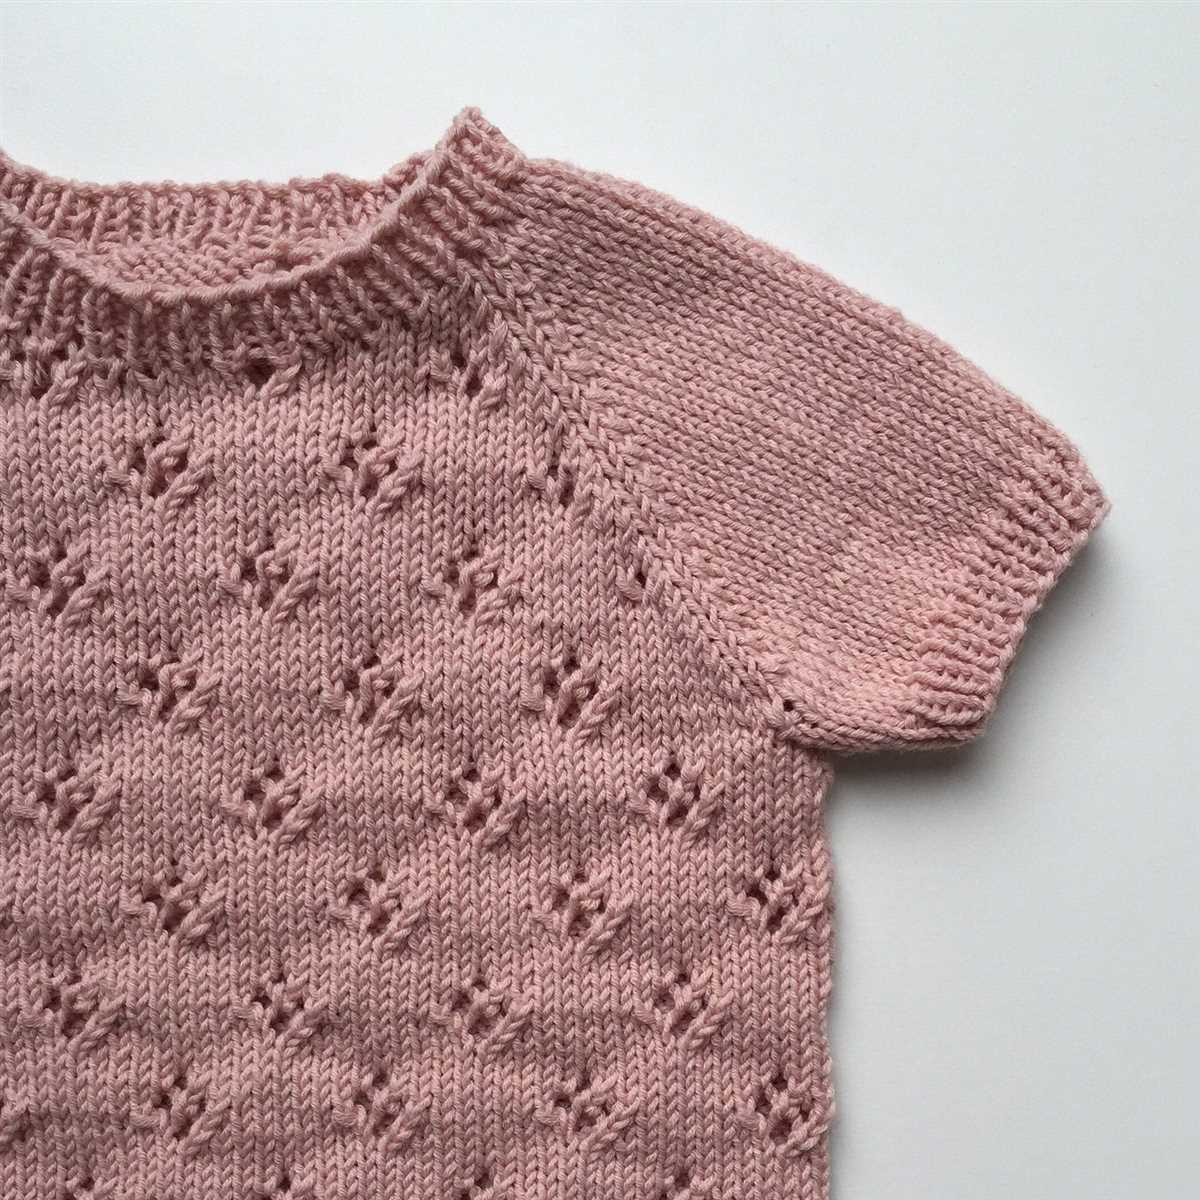
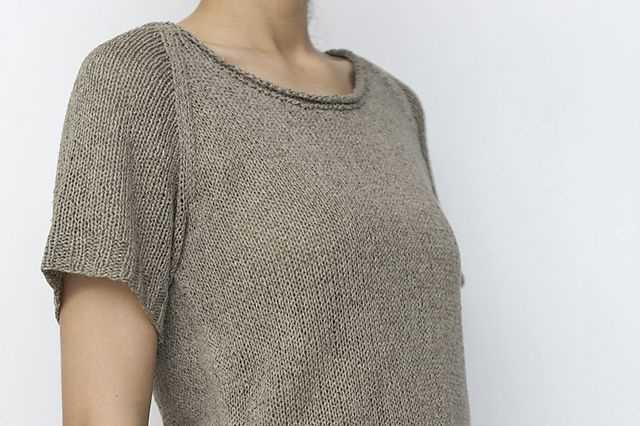
Neckline shaping: Shaping the neckline involves creating a flattering and comfortable opening for the wearer’s neck. This can be done in various ways, such as working short rows to create a curved or V-shaped neckline, or by incorporating decreases at the center of the front and back of the T-shirt. The pattern will provide instructions on the specific techniques to use for the desired neckline shape.
- Common neckline shapes include:
- – Crew neck: A classic round neckline that sits close to the base of the neck.
- – Scoop neck: A wider neckline that creates a gentle curve at the front and back.
- – V-neck: A neckline that forms a V shape in the front, often with a ribbed or garter stitch border.
By following the shaping instructions in the T-shirt knitting pattern, you can ensure that the armholes and neckline of your T-shirt are crafted to perfection, resulting in a comfortable and stylish garment that fits beautifully.
Sewing the panels together
Once you have finished knitting all the panels for your T-shirt, it’s time to sew them together to create the finished garment. Start by laying out the panels in the correct order and orientation, making sure that the right sides are facing each other.
Using a tapestry needle and the same yarn that you used for knitting the panels, begin sewing the panels together using a mattress stitch. This technique creates an invisible seam, giving your T-shirt a professional finish. Work from the bottom up, inserting the needle through the corresponding stitches on each panel, and pull the yarn through. Repeat this process until the seam is fully stitched.
If you prefer a more visible seam, you can opt for a whipstitch or overcast stitch. These methods will create a decorative seam that adds a different look to your T-shirt. Simply align the edges of the panels and use the tapestry needle to sew a straight line along the edge, securing each stitch in place.
Once all the panels are sewn together, you can finish the neckline, sleeves, and hem using your preferred method. This may involve knitting additional ribbing or using a different type of stitch to create a clean edge. Remember to try on your T-shirt as you go to ensure the fit and make any necessary adjustments.
In conclusion, sewing the panels together is the final step in knitting a T-shirt. Whether you choose to use a mattress stitch or a more decorative stitch, carefully sewing the panels will result in a well-finished garment that you can be proud of.
Adding the Sleeves
Once you have completed the body of the t-shirt, it’s time to add the sleeves. The sleeves will be worked separately and then attached to the body.
Step 1: Start by casting on the required number of stitches for the sleeves. Refer to the knitting pattern for the exact number of stitches needed.
Step 2: Work the sleeves in the desired stitch pattern, following the instructions provided in the knitting pattern. This may involve increases or decreases to shape the sleeve.
Step 3: Once the sleeves are complete, it’s time to attach them to the body. Lay the t-shirt flat, with the right side facing up.
Step 4: Align the center of the sleeve with the shoulder seam of the t-shirt. With a tapestry needle, sew the top part of the sleeve to the shoulder, making sure to secure it tightly.
Step 5: Continue sewing down the sides of the sleeve, attaching it to the sides of the t-shirt. Repeat this process for the other sleeve.
Step 6: Once the sleeves are securely attached, weave in any loose ends and give the t-shirt a final blocking if necessary.
Step 7: Your t-shirt is now complete, ready to be worn and enjoyed!
Finishing Touches and Styling
Once you have completed knitting your t-shirt, it’s important to give it the finishing touches to make it look polished and ready to wear. Here are some ways you can add those final details:
1. Blocking: Blocking is the process of shaping and stretching your knitted fabric to its intended measurements. This can be done by wetting your t-shirt and then gently stretching it, or by using pins and a blocking board. Blocking will help to even out the stitches and give your t-shirt a more professional look.
2. Seaming: In order to assemble your t-shirt, you will need to sew or seam the different pieces together. There are several techniques you can use, such as mattress stitch or whip stitch, depending on the type of seam you want to create. Take your time and make sure the seams are neat and secure.
3. Neckline and hem: The neckline and hem of your t-shirt can often be the focal point of the design. You can add ribbing, a folded hem, or even a decorative trim to give your t-shirt a unique look. Experiment with different techniques and find the one that suits your style.
4. Embellishments: If you’re feeling creative, you can add embellishments to your t-shirt to give it a personal touch. This could be anything from embroidery or applique to beading or fabric paint. Just make sure to choose embellishments that are durable and won’t easily come off during washing.
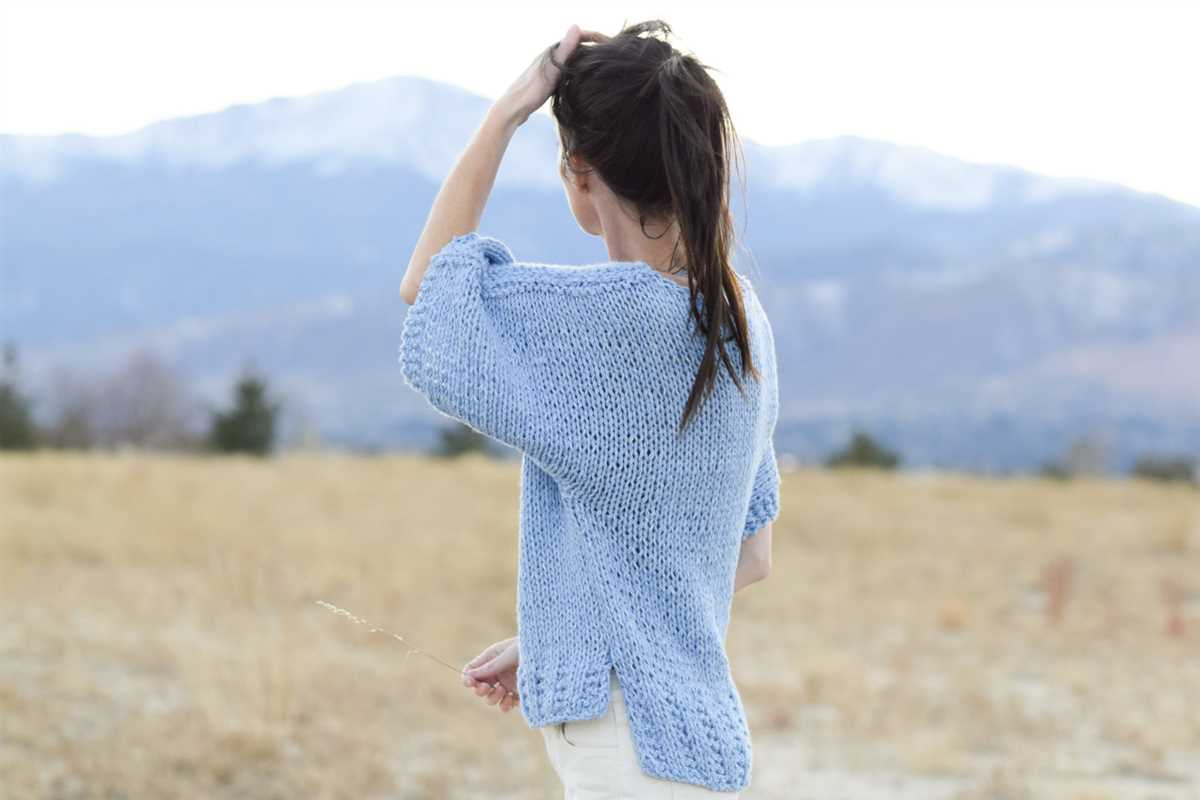
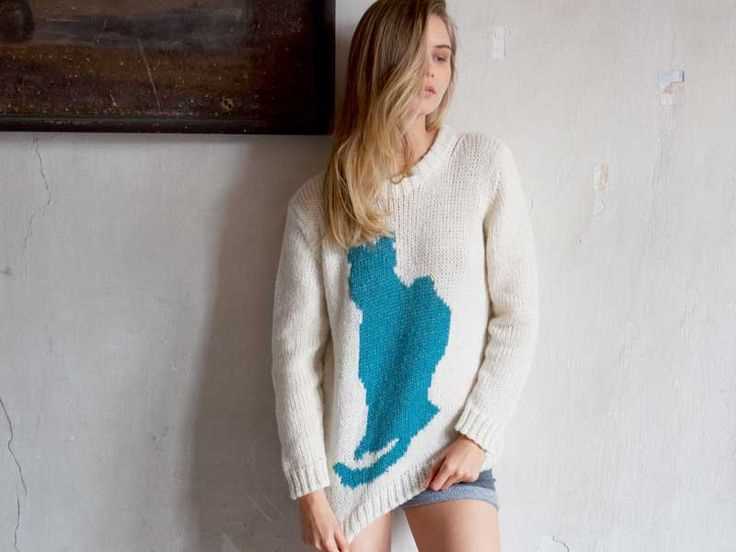
Once your t-shirt is finished, you can style it in many different ways. Pair it with jeans for a casual look, or dress it up with a skirt and heels for a more formal occasion. The possibilities are endless, so have fun experimenting with different outfits and accessories.
To summarize, finishing touches and styling are essential steps in completing your knitted t-shirt project. By blocking, seaming, adding finishing details, and experimenting with different styling options, you can create a t-shirt that is not only comfortable to wear but also reflects your personal style and creativity. Enjoy the process and wear your finished t-shirt with pride!