
Knitting a cozy oversized sweater is a wonderful project for any avid knitter. Whether you are a beginner or an experienced knitter, this pattern will guide you through the process of creating a stylish and comfortable sweater that you can wear all winter long.
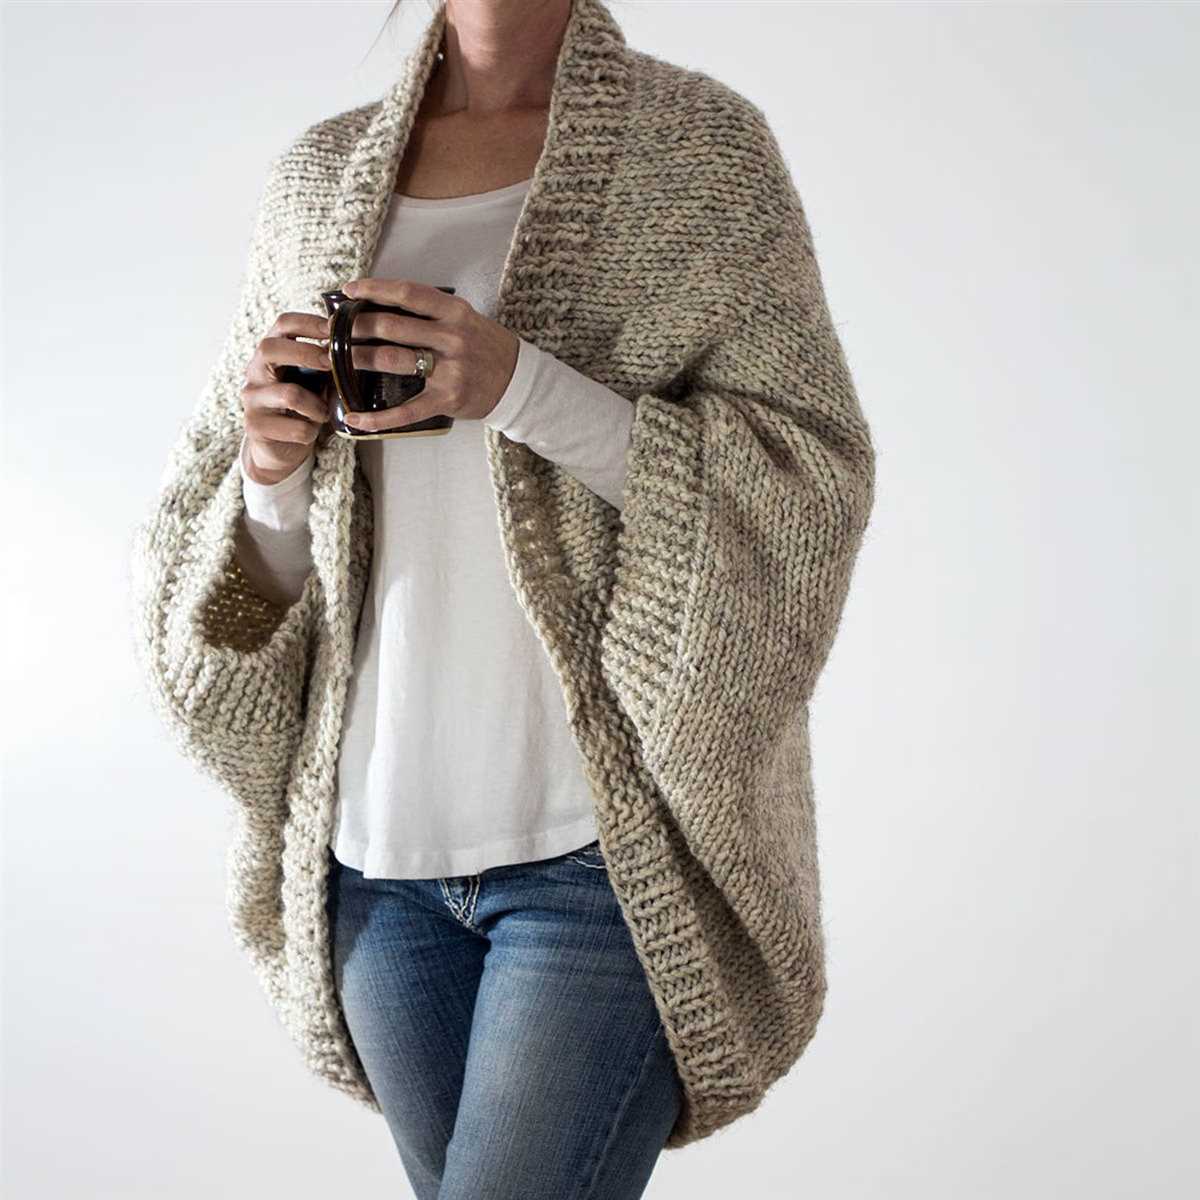
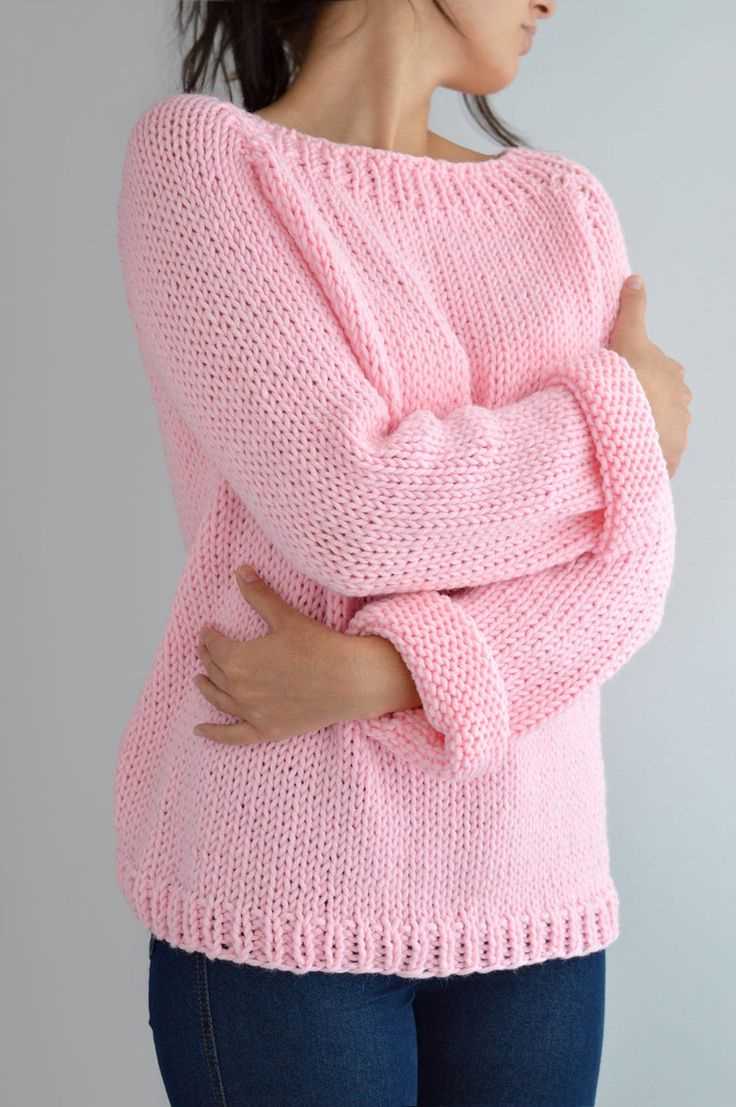
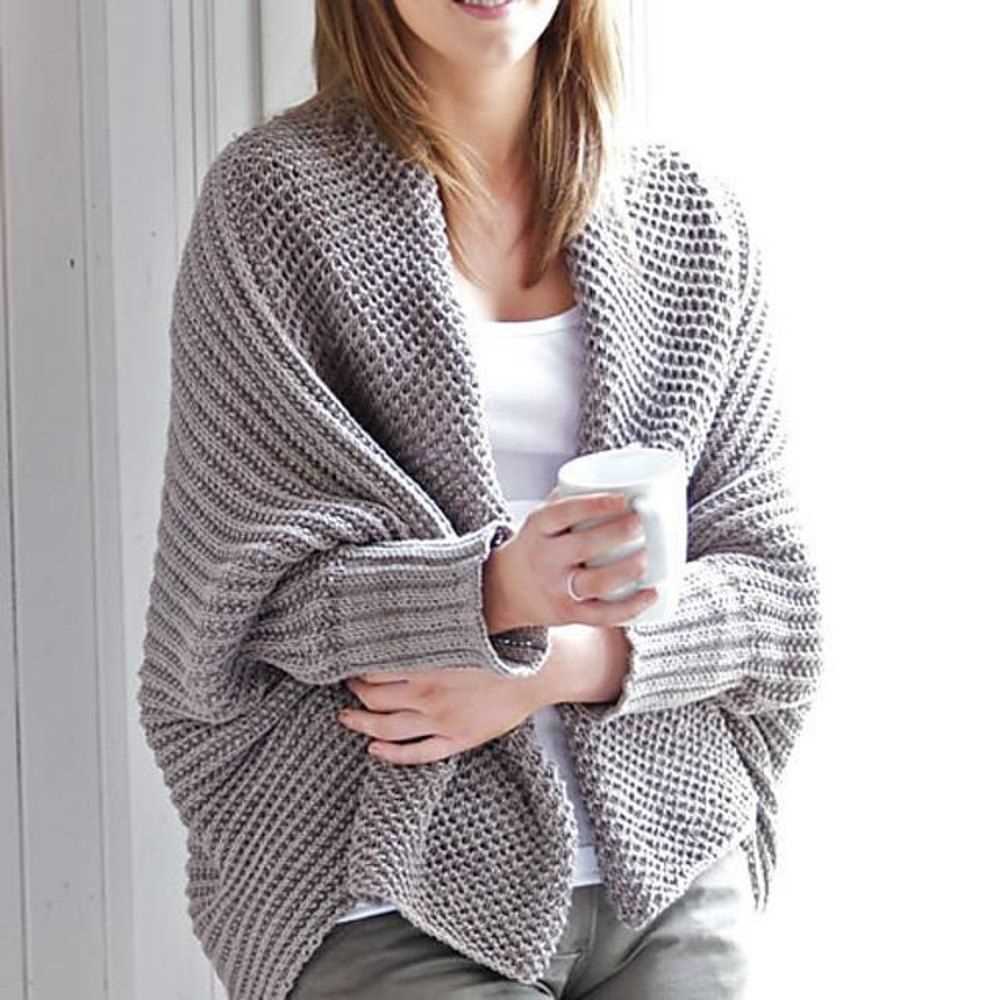
This knitting pattern is designed for those who love the relaxed and stylish look of oversized sweaters. With its loose fit and comfortable feel, this sweater is perfect for lounging around at home or pairing with your favorite jeans for a casual day out.
To create this oversized sweater, you will need a chunky yarn and large needles. The pattern includes instructions for different sizes, so you can easily adjust it to fit your measurements. The simple stitch pattern used in this pattern makes it perfect for beginners, while more experienced knitters can add their own personal touches with different stitch patterns or colorwork.
When knitting an oversized sweater, it’s important to pay attention to the fit and drape of the fabric. The pattern provides guidance on how to measure the length of the sweater and adjust it to your desired length. Additionally, the oversized design means that you can easily customize the collar, sleeves, and hem to suit your style.
With this oversized sweater knitting pattern, you can create a warm and trendy piece for your wardrobe. Whether you’re knitting for yourself or as a gift for a loved one, this pattern is sure to become a favorite for cozy winter days.
Oversized Sweater Knitting Pattern
Knitting an oversized sweater can be a fun and rewarding project for any knitter. The generous size and cozy fit make it perfect for chilly days and comfortable lounging. Whether you’re an experienced knitter or just starting out, this pattern is accessible and can be customized to your preferences.
Materials Needed:
- Bulky weight yarn in your chosen color
- Knitting needles in the appropriate size
- Stitch markers
- Tape measure
- Yarn needle
Step 1: Cast On
Using the long-tail cast on method, cast on the desired number of stitches. This will depend on your chosen yarn and the size of the sweater you want to knit. Be sure to leave a long tail for later use.
Step 2: Knit Ribbing
Work in a knit 1, purl 1 ribbing pattern for the desired length, usually around 2-3 inches. This will create a stretchy and flexible band at the bottom of the sweater.
Step 3: Knit Body
Continue knitting in stockinette stitch, or your preferred stitch pattern, until the body of the sweater reaches the desired length. Use stitch markers to keep track of any increases or decreases.
Step 4: Shape Sleeves
To create the oversized sleeves, divide the stitches for the body into front and back sections. Knit the back section first, then work the front section, adding extra stitches as needed for the width of the sleeves. Continue knitting in stockinette stitch until the sleeves reach the desired length.
Step 5: Finish Neckline
To finish the neckline, place the stitches that were left on hold onto your knitting needles. Knit in ribbing for the desired length, usually around 1-2 inches. Bind off the stitches and weave in any loose ends.
With this oversized sweater knitting pattern, you can create a cozy and stylish garment that will keep you warm all winter long. Experiment with different yarns and stitch patterns to make it your own. Happy knitting!
Choosing the Right Yarn
When it comes to knitting an oversized sweater, one of the most important considerations is choosing the right yarn. The type of yarn you select will affect the overall look and feel of the finished garment. It’s essential to choose a yarn that is suitable for the project and will provide the desired level of warmth and comfort.
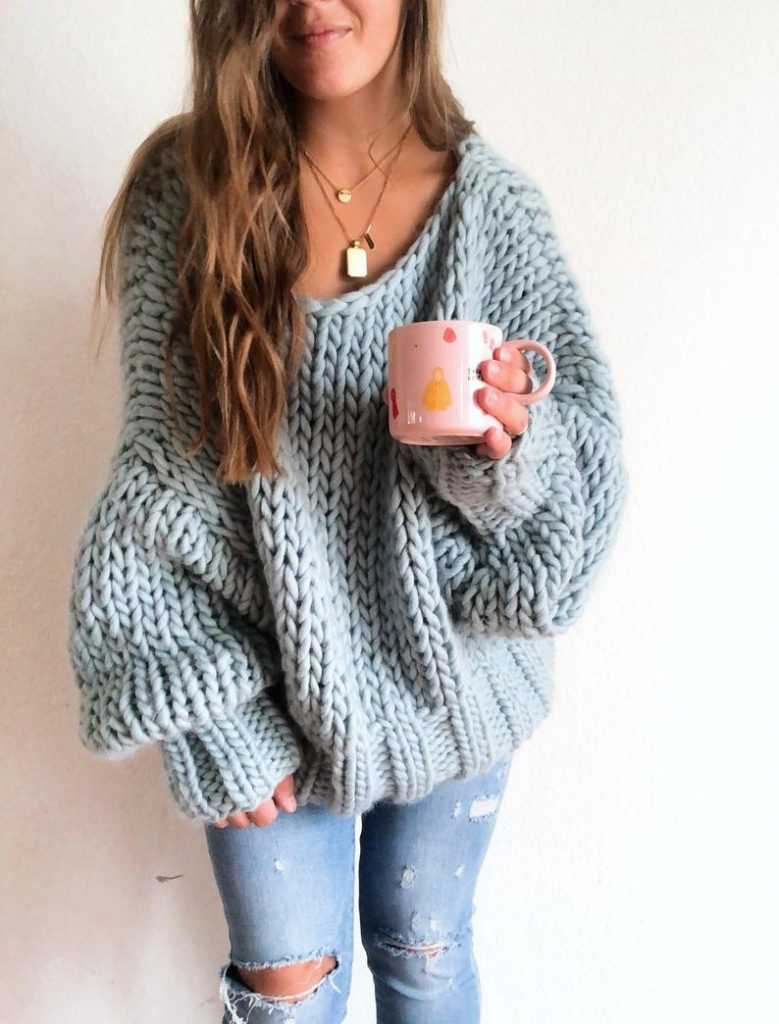
Weight: The weight of the yarn refers to its thickness. For an oversized sweater, you’ll want to choose a yarn that is bulky or super bulky to create a cozy and warm garment. These thicker yarns also knit up more quickly, making them perfect for larger projects.
Fiber:

- Wool: Wool is a popular choice for oversized sweaters as it is warm, lightweight, and breathable. It has natural insulation properties, making it perfect for colder weather.
- Cotton: Cotton yarn is another option for oversized sweaters. It is soft, lightweight, and breathable, making it suitable for both cool and warmer climates.
- Acrylic: Acrylic yarn is a synthetic option that is affordable and easy to care for. It is available in a wide range of colors and is often used for oversized sweaters.
Texture:
The texture of the yarn can also significantly impact the final look of the oversized sweater. Some commonly used textured yarns include:
- Boucle: Boucle yarn has loops that create a bumpy texture, adding visual interest to the sweater.
- Chenille: Chenille yarn has a velvety texture, providing a luxurious feel to the finished sweater.
- Tweed: Tweed yarn contains flecks of different colors or fibers, giving the sweater a rustic and textured appearance.
Overall, when choosing the right yarn for an oversized sweater, consider the weight, fiber, and texture. Make sure to select a yarn that will provide the desired warmth, comfort, and aesthetic appeal to create the perfect cozy garment.
Selecting the Perfect Needles
When it comes to knitting an oversized sweater, choosing the right needles is essential. The size and type of needles can greatly affect the outcome of your project, so it’s important to take your time in selecting the perfect ones. Here are a few factors to consider:
1. Size
The size of your needles is crucial in achieving the desired gauge and tension for your oversized sweater. Depending on the pattern and yarn you’re using, you may need to go up a few sizes to create the loose, flowing drape that is characteristic of this style. Be sure to check the pattern’s gauge and adjust accordingly.
2. Material
The material of your needles can also impact your knitting experience. Many knitters prefer bamboo or wooden needles for their warmth and flexibility, while others find metal or plastic needles to be more comfortable. Consider your personal preference and how the material feels in your hands as you work.
3. Length
The length of your needles can make a difference, especially when working on large projects like an oversized sweater. Longer needles can accommodate more stitches and make it easier to evenly distribute the weight of your work. However, if you find longer needles cumbersome or difficult to handle, shorter ones may be a better option for you.
By taking these factors into consideration, you can select the perfect needles for your oversized sweater project. Remember to experiment and find what works best for you, as everyone’s knitting style and preferences may vary.
Understanding Gauge and Measurements
When it comes to knitting an oversized sweater, understanding gauge and measurements is crucial to ensure the final product fits properly. Gauge refers to the number of stitches and rows per inch in a knitted fabric. It is essential to match the gauge specified in the pattern, as it determines the size of the finished garment.
Before starting a knitting project, it is important to create a gauge swatch. This is a small sample of knitting using the same yarn and needles as the pattern. By knitting a swatch and measuring it, you can determine if your knitting tension matches the pattern’s gauge. If your gauge is too tight, you will need to switch to larger needles to achieve the correct measurements. If your gauge is too loose, you will need to switch to smaller needles.
Measurements
When knitting an oversized sweater, accurate body measurements are essential to ensure the proper fit. The pattern will typically provide a size chart with measurements for each size. To measure yourself or the intended recipient, you will need a flexible measuring tape. Take measurements around the fullest part of the bust, the natural waistline, and the hips. Additionally, measure the length from the shoulder to the desired hemline.
It is important to note that different knitting stitches and techniques can affect the measurements and stretch of the fabric. For example, ribbing stitches tend to be stretchier than stockinette stitch. Be sure to follow the pattern instructions for any special techniques used in the sweater to achieve the desired fit.
Useful Tools
In addition to a measuring tape, other useful tools for measuring and adjusting gauge include stitch markers, row counters, and a needle gauge. Stitch markers can help mark specific sections or increases/decreases in the pattern, while a row counter can help keep track of rows. A needle gauge provides a way to measure the size of knitting needles accurately, which is important when matching gauge or substituting needles.
Overall, understanding gauge and measurements is crucial for knitting an oversized sweater that fits properly. Taking the time to create a gauge swatch and accurately measure body dimensions will ensure a successful and comfortable finished garment.
Casting On and Starting the Sweater
If you’re ready to start knitting an oversized sweater, the first step is to cast on your stitches. The number of stitches you’ll need will depend on the size of the sweater, so be sure to reference your pattern for the correct amount. Before casting on, it’s a good idea to make a gauge swatch to ensure that your tension is correct.
Once you have determined the number of stitches to cast on, you can begin. There are several different methods for casting on, but the most common method is the long-tail cast on. To do this, start by making a slipknot and placing it on one of your knitting needles. Then, hold the working yarn in your right hand and the tail in your left hand. Using both strands, create a loop around your thumb and index finger. Insert the needle through the loop and catch the working yarn with the needle, pulling it through the loop to create a new stitch. Repeat this process until you have cast on the desired number of stitches.
Once you have cast on your stitches, it’s time to start knitting the body of the sweater. Follow your pattern instructions for the specific stitch pattern and shaping details. For an oversized sweater, you may be using a combination of knit and purl stitches, as well as increases and decreases to shape the garment. It’s important to read and understand the pattern before you begin, so you know what to expect as you work through the project.
As you start knitting, it’s a good idea to place stitch markers at the beginning and end of each repeat, especially if you’re working with a complex stitch pattern. This will help you keep track of where you are in the pattern and make any necessary adjustments if you make a mistake. It’s also helpful to use a row counter to keep track of the number of rows you’ve knit.
Creating the Ribbing
To start knitting the oversized sweater, you will first need to create the ribbing. The ribbing is an essential part of the sweater as it provides structure and elasticity. It also gives the sweater a neat and polished look. To create the ribbing, you will need a set of double-pointed needles and the specified yarn weight and needle size.
Begin by casting on the required number of stitches using the long-tail cast-on method. Make sure to leave a long tail for weaving in later. Once you have cast on all the stitches, distribute them evenly onto three double-pointed needles. This will allow you to work in the round.
Working the Ribbing Stitch
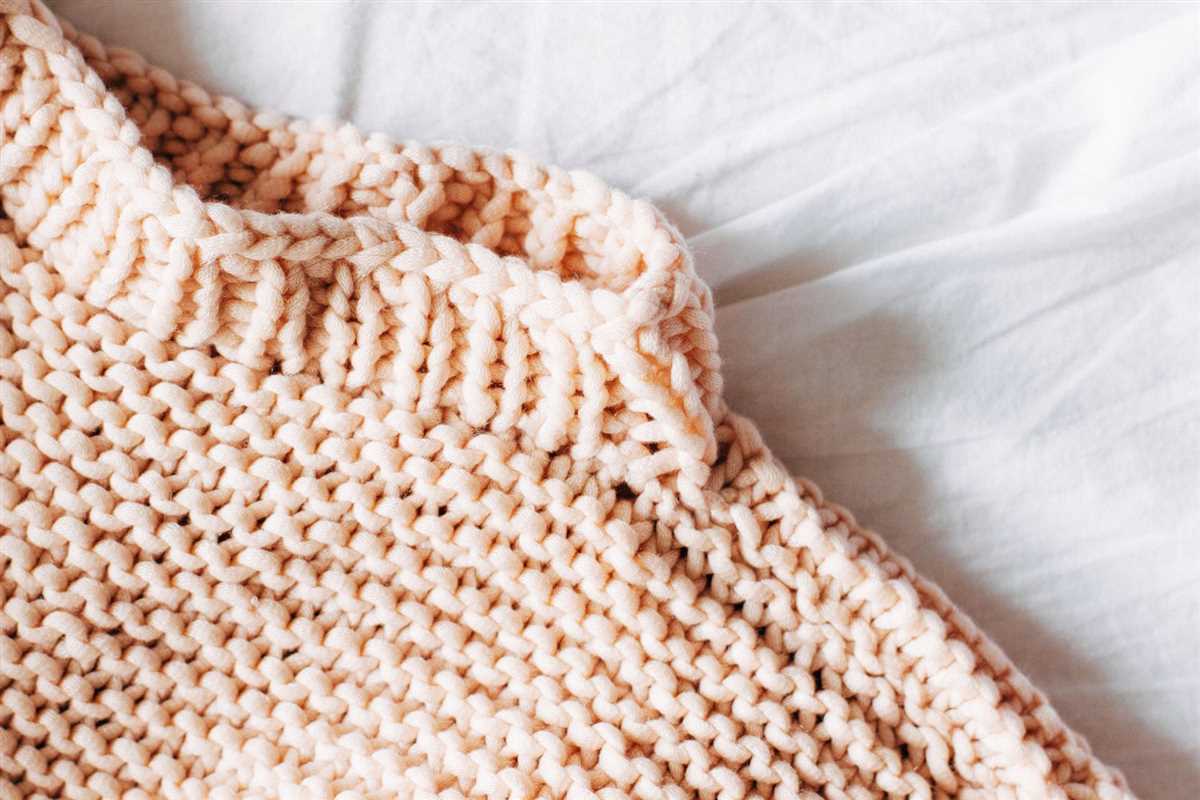
For the ribbing, you will be working a combination of knit and purl stitches. The most common ribbing pattern is the 1×1 rib, where you alternate between knitting and purling each stitch. This creates a stretchy and textured ribbing.
Start by knitting the first stitch, then bring the yarn to the front of the work and purl the next stitch. Repeat this pattern of knitting and purling until you reach the end of the round. Make sure to maintain tension in your stitches to create an even and consistent ribbing.
Continue working the ribbing pattern for the specified number of rows or until the desired length is achieved. Remember to always end on a completed row of the pattern to maintain the continuity of the ribbing. Once the ribbing is complete, you can proceed with the main body of the oversized sweater pattern.
Knitting the Body
When knitting an oversized sweater, one of the most crucial parts to knit is the body. This is where the main bulk of the sweater comes together, creating a cozy and comfortable fit. To start knitting the body, you will first need to cast on the required number of stitches, which will depend on your chosen pattern and desired size.
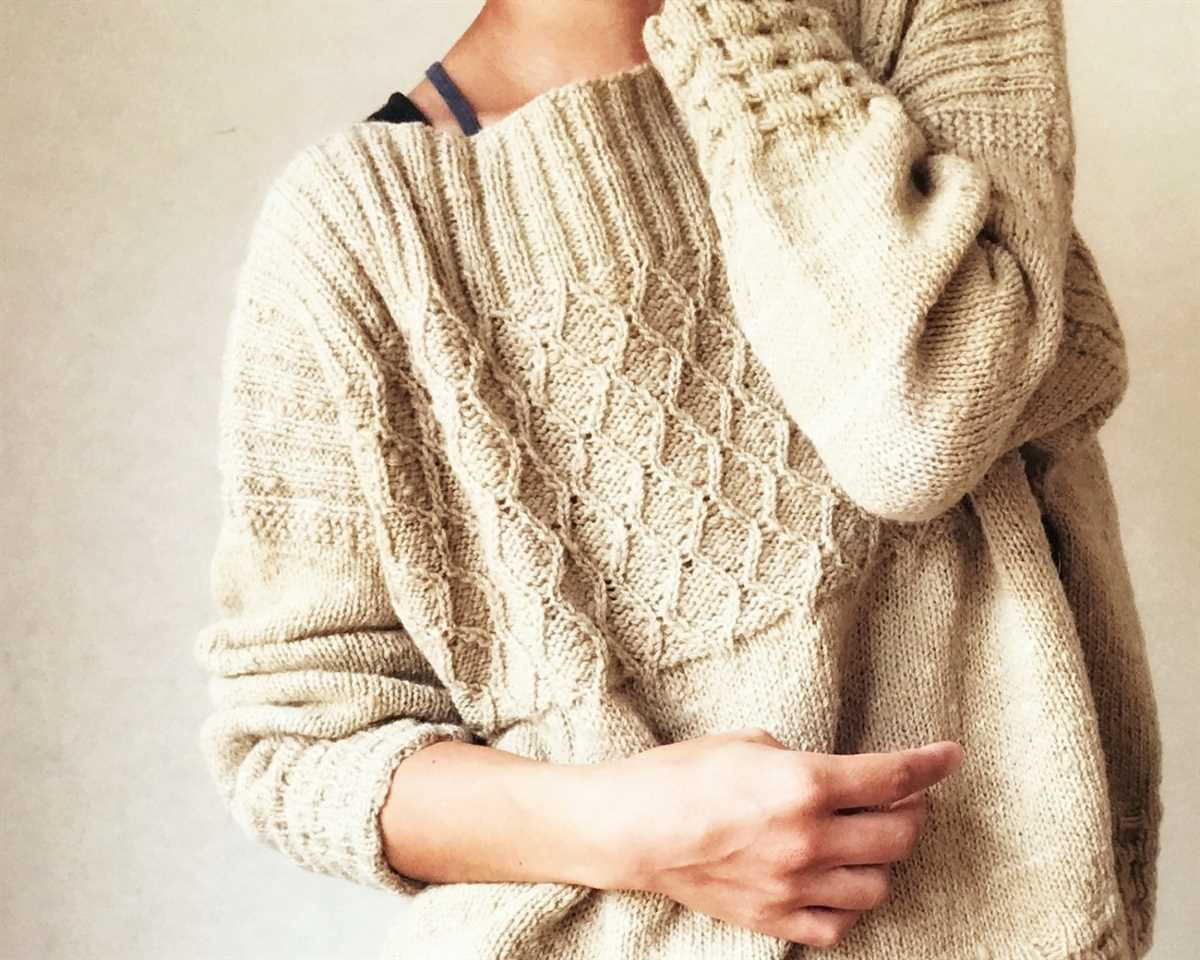
Once you have cast on the stitches, you can begin working in your chosen stitch pattern. Whether it’s a simple stockinette stitch or a more intricate cable design, the body of the sweater sets the tone for the overall look and feel of the finished garment. It’s important to follow the instructions and repeat the stitch pattern consistently to ensure a uniform appearance.
As you work on the body of the sweater, you may need to incorporate shaping techniques such as increasing or decreasing the number of stitches. This is usually done to create a more flattering fit, ensuring that the sweater flares out at the hips or tapers in at the waist, depending on the desired silhouette. The instructions will guide you on where and how to make these shaping adjustments.
Tracking Progress and Trying On

As you continue knitting the body, it’s a good idea to periodically try on the sweater to check the fit. This will allow you to make any necessary adjustments while you’re still knitting, rather than discovering issues after the sweater is complete. Trying on the sweater also helps you gauge the length, ensuring it falls at the desired spot on your torso.
Throughout the process of knitting the body, it’s essential to keep track of your progress. This can be done by using stitch markers at regular intervals or keeping a tally of the rows completed. Not only does tracking progress help you stay organized, but it also allows you to replicate the same measurements and fit when making multiple versions of the sweater.
In summary, knitting the body of an oversized sweater involves casting on the appropriate number of stitches, working the chosen stitch pattern consistently, incorporating shaping techniques, periodically trying on the sweater for fit, and tracking progress. By following these steps, you will be well on your way to creating a beautiful and comfortable oversized sweater.
Shaping the Shoulders
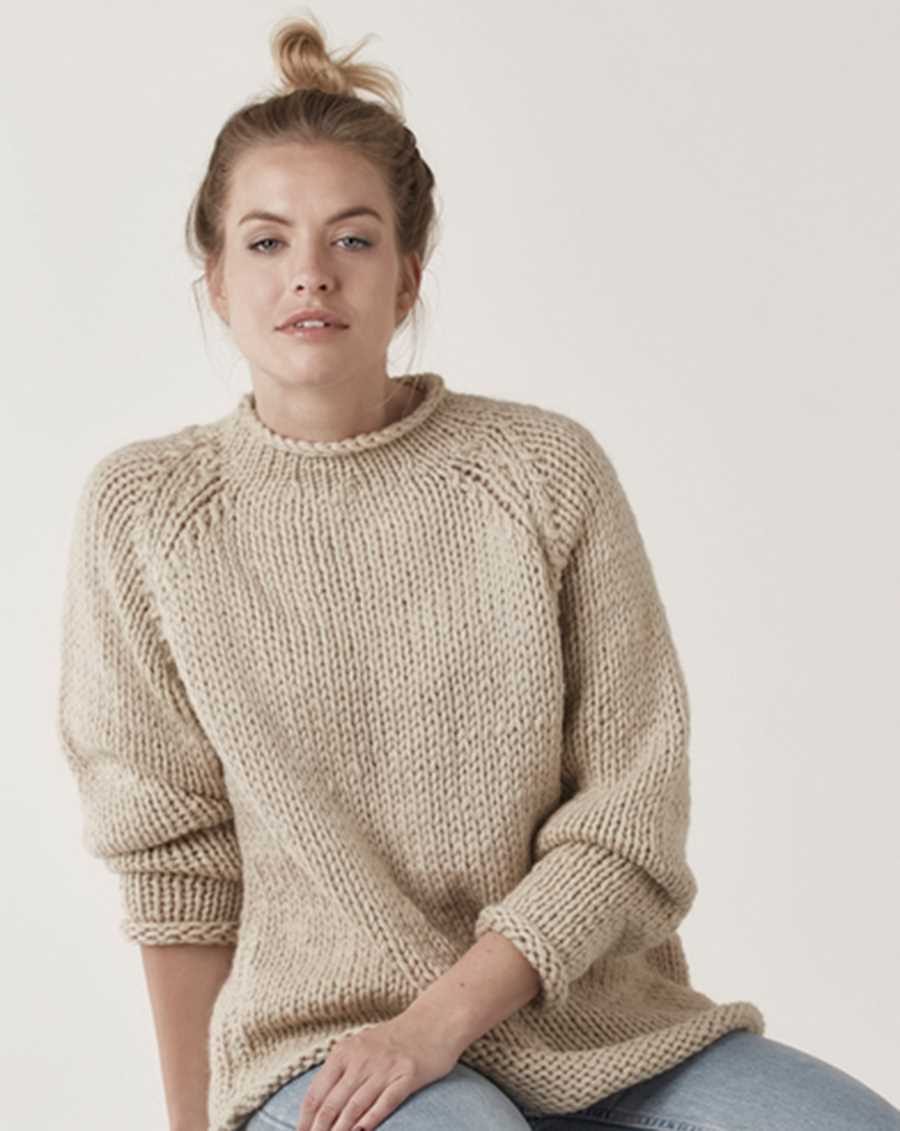
Shaping the shoulders in an oversized sweater is an important step to achieve the desired fit and drape. By adjusting the number of stitches and rows in this area, you can create a seamless transition from the body of the sweater to the sleeves, creating a comfortable and flattering silhouette.
When shaping the shoulders, it is essential to include decreases in the knitting pattern. This can be done through various techniques, such as using knit two together (k2tog) or slip, slip, knit (ssk) stitches. These decrease stitches are typically placed on either side of a center stitch or between raglan lines to create a gradual slope in the fabric.
To begin shaping the shoulders, you can start by knitting a certain number of rows without any decreases. This allows the fabric to be built up evenly before beginning the shaping process. Once you have reached the desired height, you can then start incorporating decrease stitches.
When working with oversized sweaters, it is common to decrease on both the front and back sections of the sweater. This helps create a balanced shape and distributes the decreases evenly across the shoulders. By following the knitting pattern and incorporating decreases as instructed, you can achieve a smooth and seamless transition from the body to the shoulders.
Techniques for shaping the shoulders:
- Knit two together (k2tog): Insert the right needle through the next two stitches on the left needle, from left to right, and knit them together.
- Slip, slip, knit (ssk): Slip the next two stitches individually from the left needle to the right needle, then insert the left needle into the front loops of the slipped stitches, from left to right, and knit them together.
- Centered double decrease: Slip two stitches individually as if to knit, knit the next stitch, then pass the two slipped stitches over the knit stitch.
When shaping the shoulders, it is important to keep track of the stitch counts and follow the instructions in the knitting pattern carefully. By using these techniques and paying attention to the shaping details, you can create a well-fitting and stylish oversized sweater.
Knitting the Sleeves
When it comes to knitting an oversized sweater, the sleeves play a crucial role in achieving the desired look and fit. The length and width of the sleeves can greatly contribute to the overall comfort and style of the garment.
Before starting to knit the sleeves, it is important to take accurate measurements of your arm circumference and desired sleeve length. This will ensure that the sleeves fit you perfectly and that you don’t run out of yarn before completing them.
Choosing the Right Stitch Pattern
When choosing a stitch pattern for the sleeves, it is important to consider the overall design of the sweater. You may want to use the same stitch pattern as the body of the sweater or opt for a complementary pattern for added visual interest.
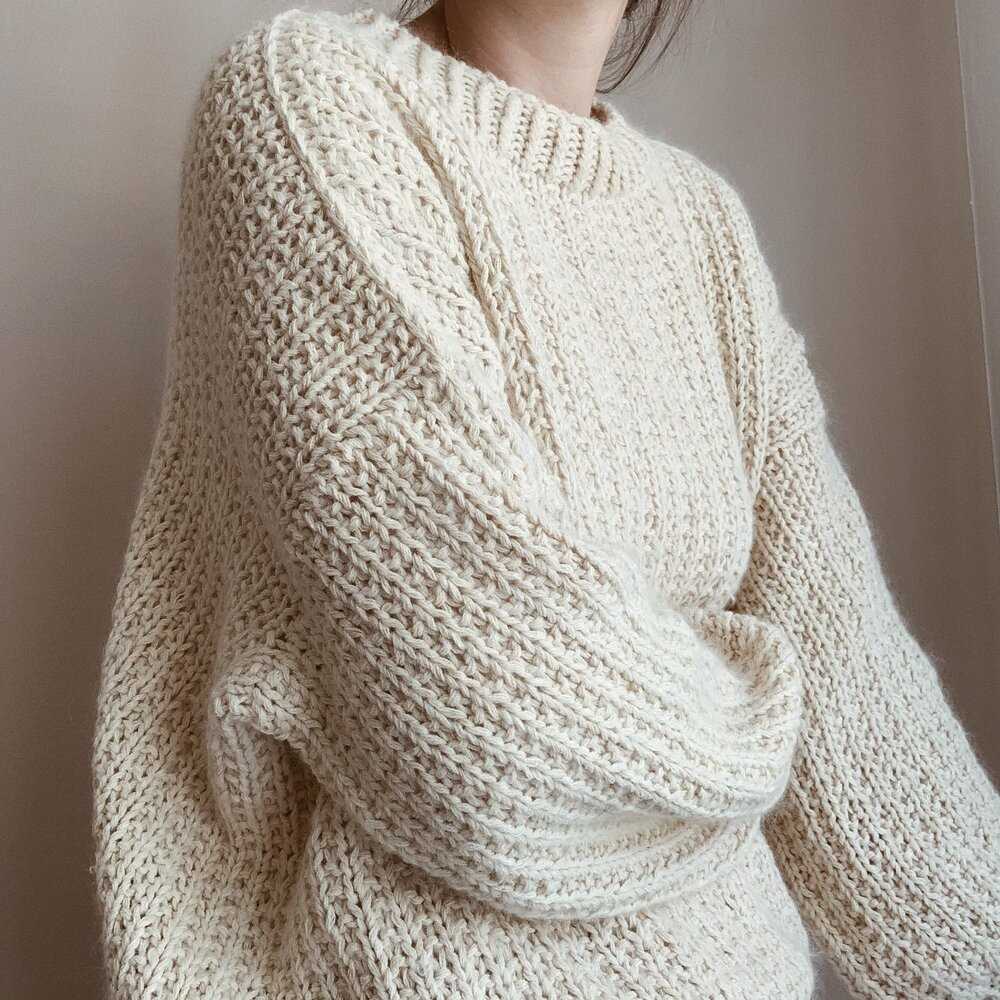
Some popular stitch patterns for oversized sweater sleeves include ribbing, cables, and simple stockinette stitch. Ribbing is great for creating a snug and stretchy cuff, while cables can add texture and dimension to the sleeves. Stockinette stitch, on the other hand, provides a smooth and clean look.
Knitting in the Round
To knit the sleeves, it is recommended to use circular needles or double-pointed needles, depending on your preferred knitting method. Knitting in the round will allow you to seamlessly work the sleeves from the cuff to the armhole without having to sew any seams.
When knitting in the round, it is important to carefully follow the pattern instructions for shaping the sleeves. This may involve increasing or decreasing stitches at certain intervals to achieve the desired sleeve width and shape. Paying attention to these details will result in a well-fitting and visually appealing oversized sweater.
Finishing Touches
Once the sleeves are knitted to the desired length, you can finish them off with a cuff or a ribbed border. This will help to keep the sleeves in place and prevent them from rolling up. Additionally, you may choose to add any desired embellishments, such as buttons or decorative stitches, to personalize your oversized sweater.
Finally, make sure to weave in any loose ends and block the completed sleeves to ensure they maintain their shape and drape nicely. With the sleeves completed, you are one step closer to finishing your cozy and stylish oversized sweater.
Finishing the Neckline
The neckline is an important part of any oversized sweater, as it frames the face and adds a touch of style to the overall look. There are several ways to finish the neckline, depending on the desired final result.
One option is to use a ribbing pattern for the neckline. This can be done by knitting a few rows of ribbing stitches, such as knit 1, purl 1, and then continuing with the main stitch pattern of the sweater. The ribbing helps to give the neckline a more structured and polished appearance.
Another option is to create a rolled edge neckline. This is achieved by simply knitting the neckline stitches without any additional ribbing or edging. The result is a more relaxed and casual neckline that is perfect for a cozy oversized sweater.
If you prefer a more decorative neckline, you can add a picot edge. This involves creating a row of small loops along the neckline by knitting stitches together with yarn overs, and then binding off these loops to create a delicate decorative edge.
For a more feminine and delicate look, you can also consider adding a lace or cable pattern to the neckline. This can be done by incorporating lace or cable stitches into the neckline design, either by knitting them directly into the sweater or by picking up stitches and knitting a separate lace or cable edging.
Overall, the finishing touches on the neckline of an oversized sweater can greatly enhance its overall appearance and style. Experiment with different techniques and patterns to find the perfect finishing touch for your own sweater creation.
Adding Embellishments
When it comes to knitting an oversized sweater, adding embellishments can be a fun and creative way to personalize your garment. Whether you’re looking to add a touch of charm or make a bold statement, there are many options to choose from.
Embroidery: One popular way to embellish an oversized sweater is through embroidery. You can add intricate designs, words, or even simple stitches to create a unique and eye-catching piece. Embroidery can be done by hand or by using a machine, depending on your skill level and preference.
Pom-poms: If you’re looking to add a touch of playfulness to your sweater, pom-poms are a great option. You can create pom-poms using yarn in coordinating or contrasting colors and attach them to the cuffs, collar, or hem of your sweater. They add a fun and whimsical element to your garment.
Buttons: Another way to embellish your oversized sweater is by adding buttons. You can choose buttons in various shapes, sizes, and colors to create a unique look. You can attach them to the front of your sweater or use them to create a buttoned-up collar.
Contrasting yarn: If you want to add visual interest to your sweater without using additional embellishments, you can try using contrasting yarn. You can experiment with different colors, patterns, or textures to create stripes, color blocks, or other designs. This can add depth and dimension to your finished garment.
- Sequins or beads:
If you want to add some sparkle and glamour to your oversized sweater, sequins or beads can be a great choice. You can sew them onto your sweater in a pattern or scatter them randomly for a more playful look. Just make sure to choose sequins or beads that are sewable and won’t snag on your knitting.
Lace inserts: To add a touch of elegance to your oversized sweater, you can incorporate lace inserts. You can knit or crochet lace panels and sew them into your sweater’s design. This adds a delicate and feminine element to your garment.
- Embroidered patches:
If you want to add a bit of personality and character to your oversized sweater, consider using embroidered patches. You can find patches with various designs, from cute animals to edgy symbols, and sew them onto your sweater. This adds a unique and personalized touch.
Blocking and Finishing
Once you have completed knitting your oversized sweater, the next step is blocking and finishing. Blocking is an important process that helps to shape and give your sweater a professional look. It involves wetting the knitted fabric and then stretching and shaping it to the desired dimensions. This process can help to even out any uneven stitches and enhance the drape of the garment.
To block your sweater, start by filling a basin or sink with lukewarm water. Add a small amount of mild detergent and gently stir to mix. Place the sweater in the water and soak it for about 10 minutes. Carefully remove the sweater from the water and gently squeeze out any excess moisture. Do not wring or twist the fabric, as this can damage the fibers.
Next, lay the sweater flat on a clean towel and gently roll up the towel to remove more moisture. Then, lay the sweater on a blocking board or on a clean surface that is large enough to accommodate the dimensions of the sweater. Use rust-proof blocking pins to secure the edges of the sweater to the desired measurements.
Once the sweater is pinned in place, leave it to dry completely. This can take anywhere from a few hours to a day or two, depending on the thickness of the yarn and the humidity levels in your area. Avoid moving or disturbing the sweater while it is drying to maintain the shape.
After the sweater is completely dry, remove the blocking pins and gently steam the fabric to set the shape. You can use a handheld steamer or an iron on a low heat setting with a press cloth to avoid direct contact with the fabric. Be careful not to over-steam or apply too much heat, as this can damage delicate fibers.
Finally, it’s time for finishing touches. Weave in any loose ends of yarn using a tapestry needle and trim any excess. If desired, you can also add buttons, pockets, or other embellishments to personalize your sweater. Give your finished sweater a final inspection to make sure everything looks perfect, and then it’s ready to wear and enjoy!
Care and Maintenance
After spending time and effort to knit your oversized sweater, it’s important to take proper care of it to ensure it stays in great condition. Here are some tips for caring and maintaining your sweater:
1. Washing: Follow the washing instructions provided in the pattern or on the yarn label. Most oversized sweaters can be hand washed or machine washed on a gentle cycle. Use a mild detergent and cold water to avoid shrinking or damaging the fibers. Avoid wringing or twisting the sweater and instead gently press out the excess water.
2. Drying: Lay the sweater flat on a clean, absorbent towel or sweater drying rack to dry. Avoid hanging it, as the weight of the wet sweater can cause stretching. Reshape the sweater if necessary by gently pulling it back into its original shape.
3. Storage: When not wearing your oversized sweater, store it folded in a clean, dry place. Avoid hanging it as the weight of the sweater can cause it to stretch and lose its shape over time. Consider using moth repellents or storing the sweater in a sealed container to protect it from pests.
4. Pilling: Over time, your sweater may develop small balls of fuzz known as pills. To remove them, gently rub the surface of the sweater with a fabric shaver or a pumice stone. Be careful not to apply too much pressure or you may damage the fibers.
5. Repairs: If your sweater gets damaged, such as a snag or a hole, you can repair it using a matching yarn and a darning needle. Weave the yarn through the stitches around the damaged area to secure it. If the damage is extensive, consider bringing it to a professional knitter or tailor for repair.
Conclusion: Taking proper care of your oversized sweater will help it stay in great condition for years to come. Follow the washing instructions, dry it flat, store it folded, remove pills as needed, and repair any damage promptly. With the right care, your handmade sweater will continue to keep you warm and stylish. Enjoy your cozy and oversized creation!
Q&A:
What materials are needed to knit an oversized sweater?
To knit an oversized sweater, you will need bulky or super bulky yarn, knitting needles in the appropriate size, stitch markers, a tapestry needle for weaving in ends, and optional buttons or other closures.
Are there any specific knitting techniques required for an oversized sweater?
While knitting an oversized sweater may require different gauge and stitch count than a regular-sized sweater, there are no specific knitting techniques that are necessary. However, it is recommended to be familiar with basic knitting techniques such as casting on, knitting, purling, and decreasing stitches.
Where can I find patterns for oversized sweaters?
You can find patterns for oversized sweaters on various online platforms such as knitting pattern websites, Etsy, and Ravelry. There are also many knitting books and magazines that offer patterns for oversized sweaters.
What are some popular designs for oversized sweaters?
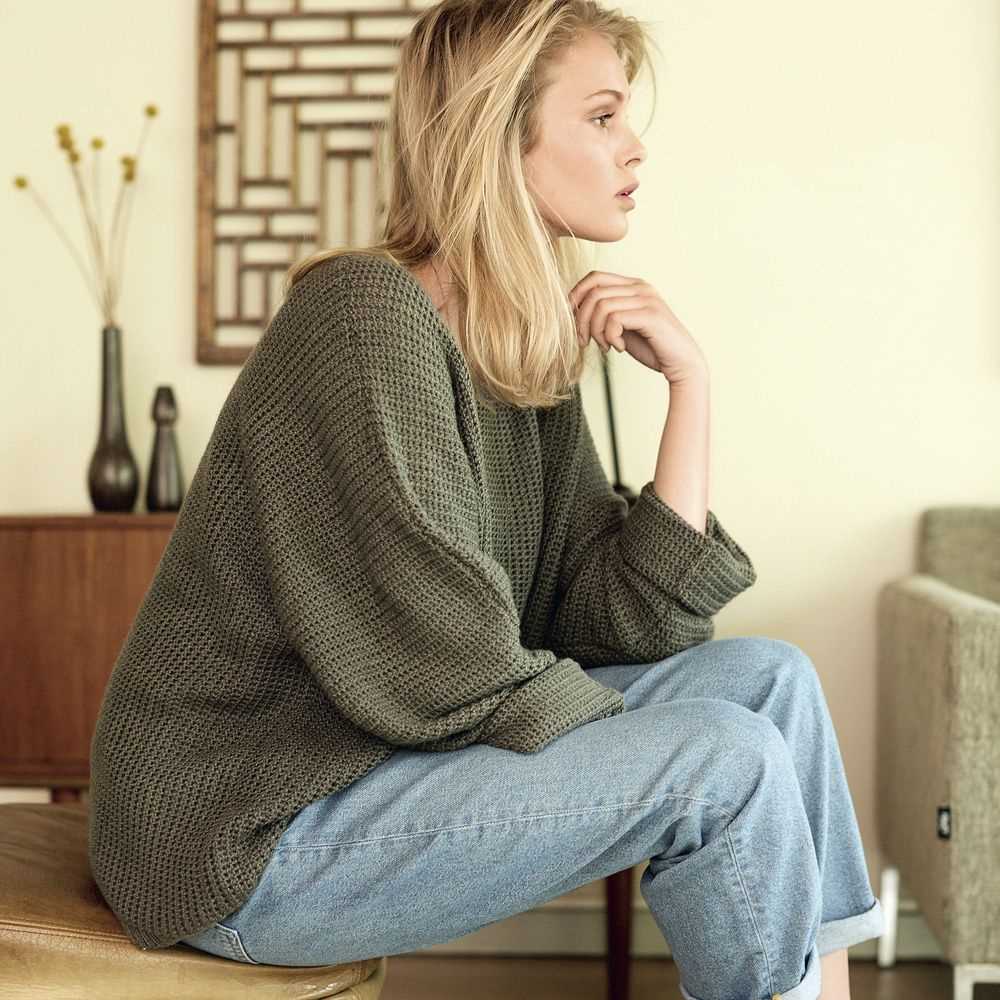
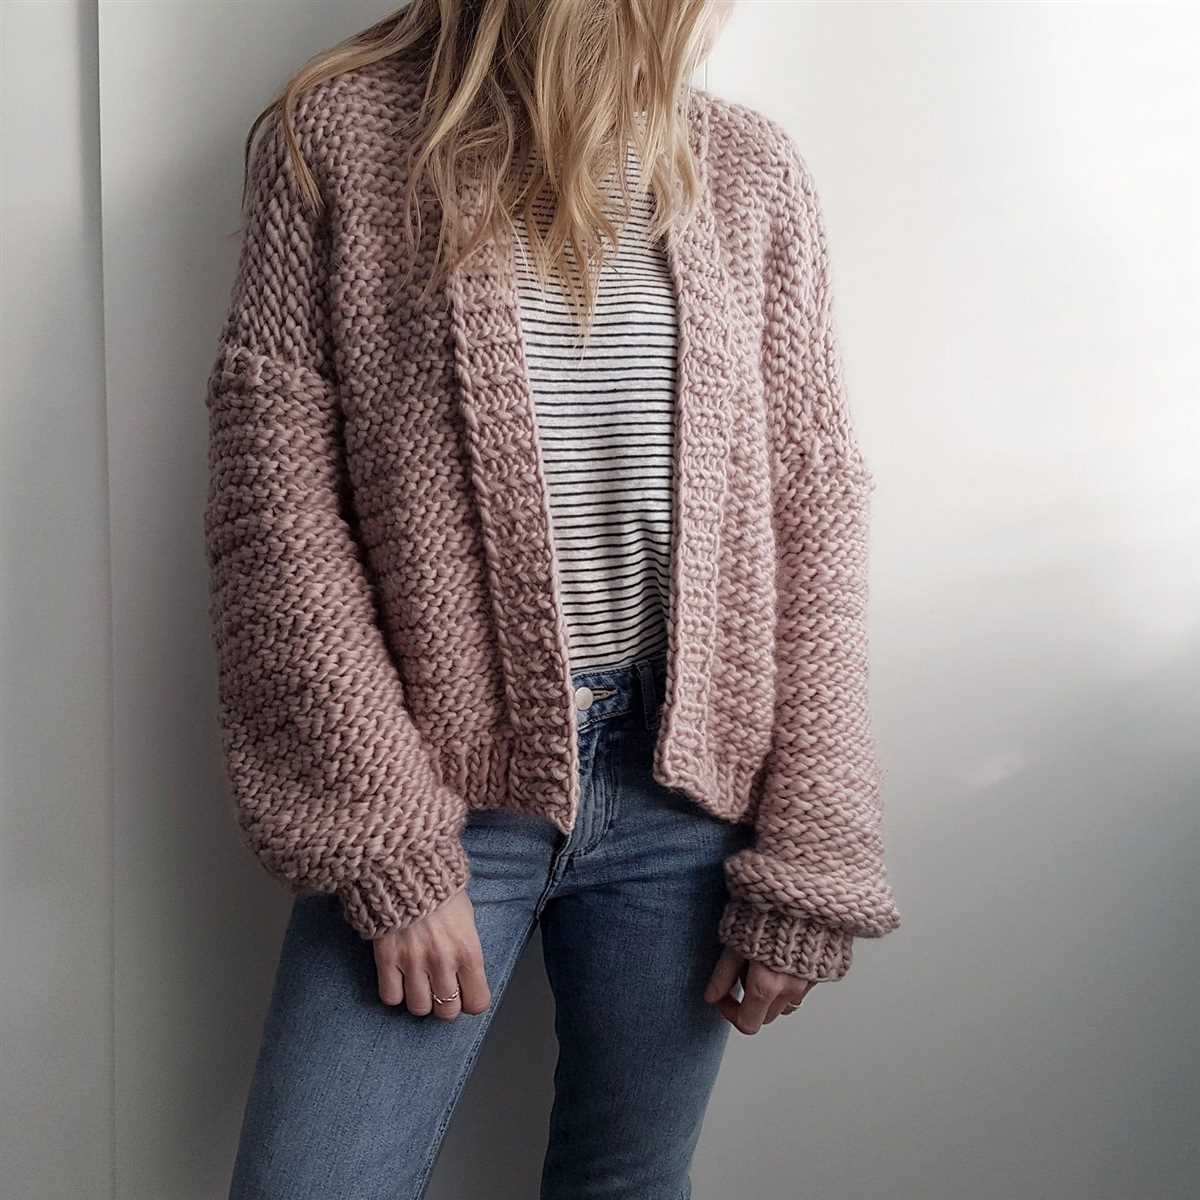
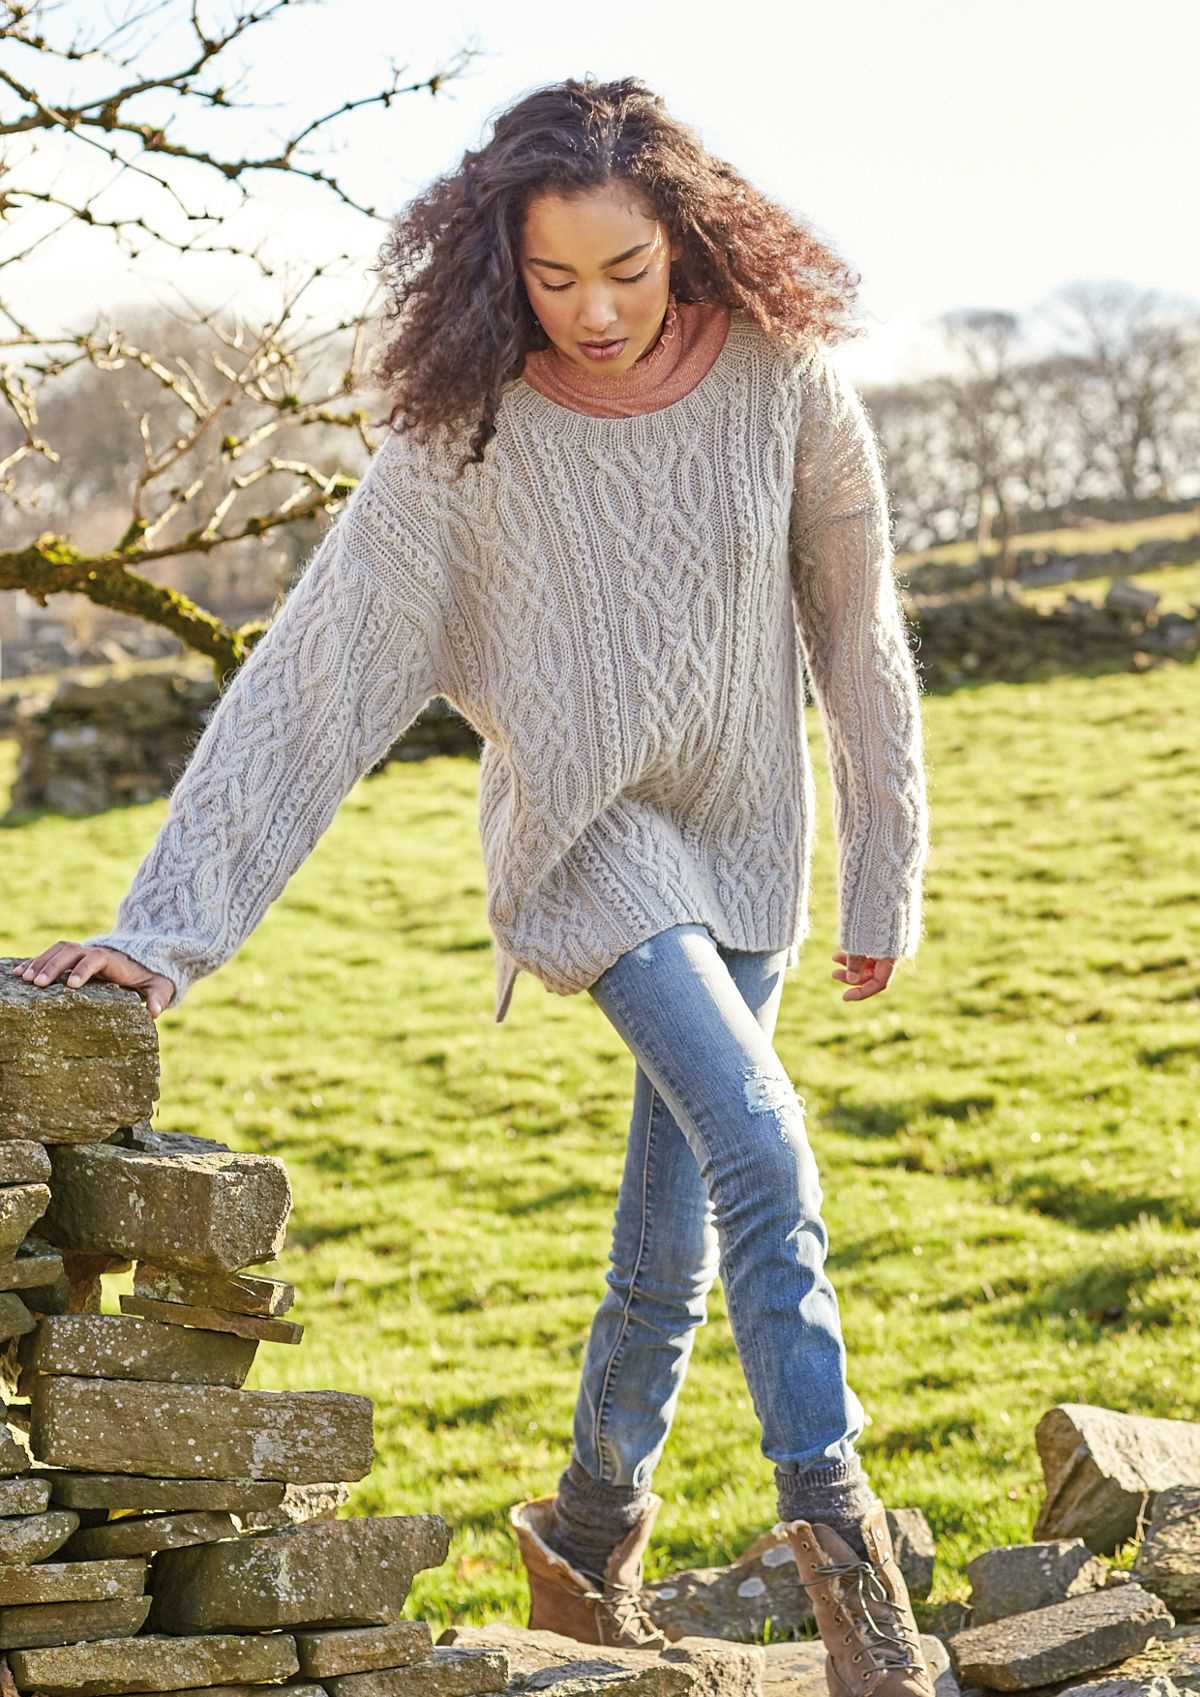
Some popular designs for oversized sweaters include chunky cable knits, drop-shoulder sweaters, and oversized turtleneck sweaters. You can also find patterns for oversized sweaters with unique stitch patterns or colorwork.
Can I customize the size of an oversized sweater?
Yes, you can customize the size of an oversized sweater to fit your specific measurements. You can easily adjust the stitch count and gauge to make the sweater larger or smaller. It is recommended to make a gauge swatch before starting the project to ensure the sweater will fit correctly.