
If you’re a fan of Super Mario and love to knit, we have the perfect project for you! In this article, we will be sharing a free knitting pattern inspired by the iconic Super Mario video game. Whether you are a beginner or an experienced knitter, this pattern is sure to bring a smile to your face and add a touch of nostalgia to your knitting projects.
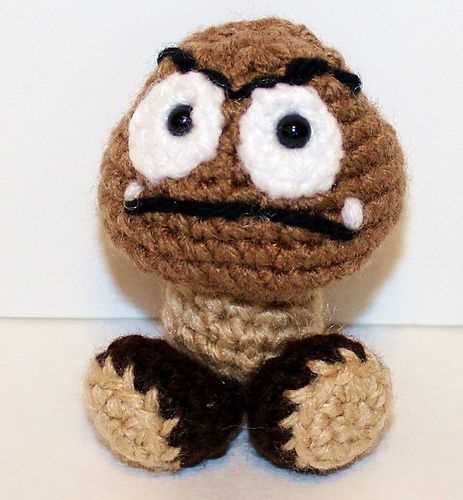
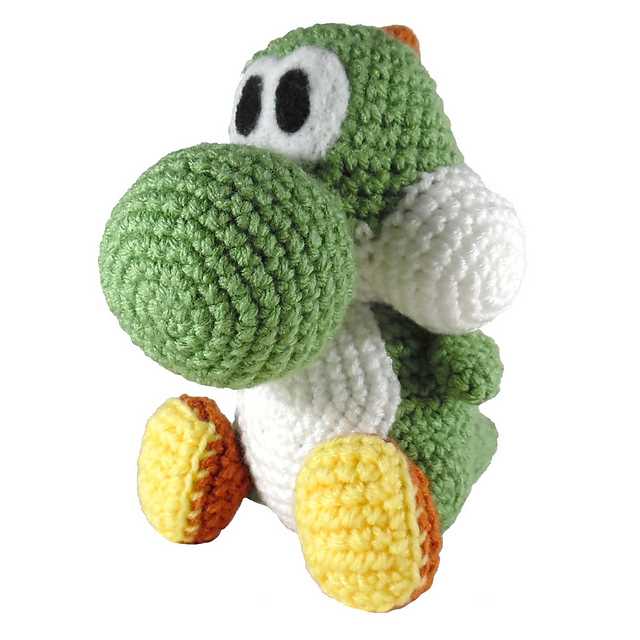
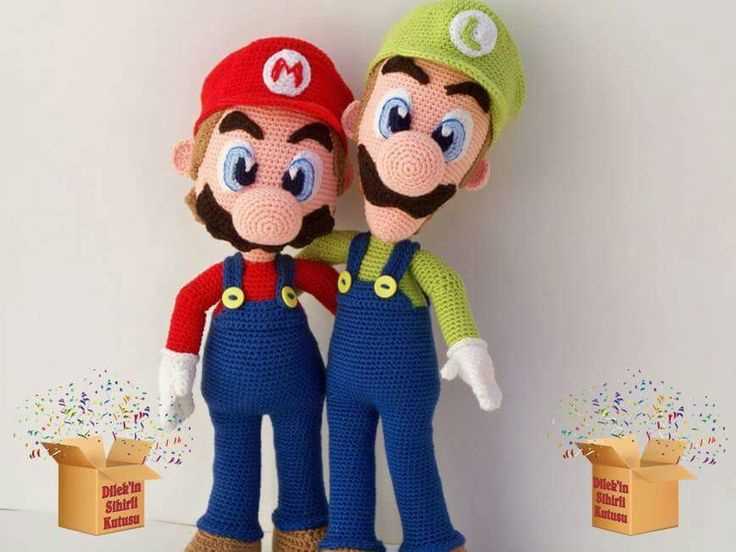
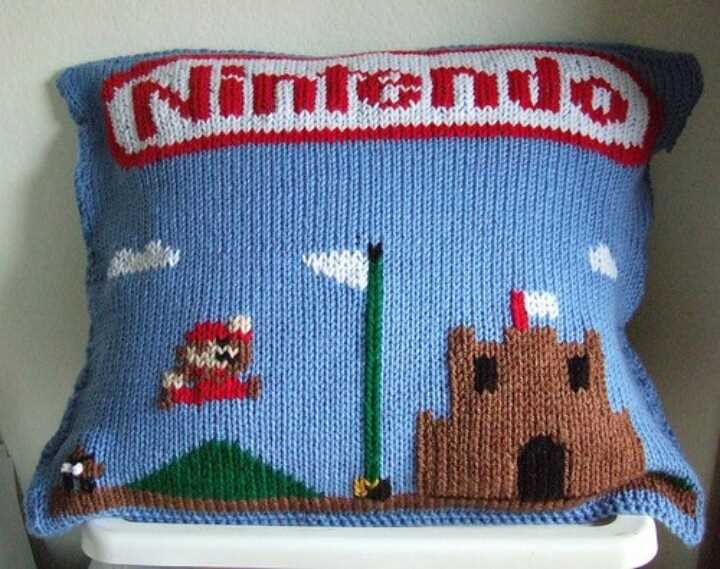
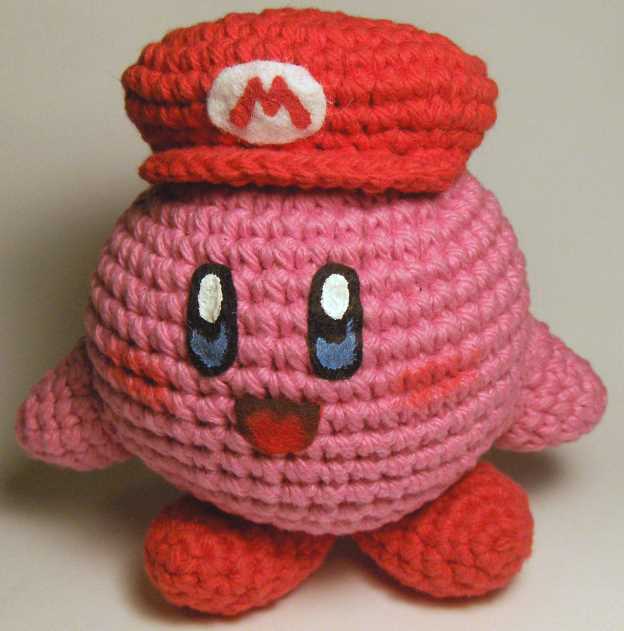
The Super Mario knitting pattern features all your favorite characters from the game, including Mario, Princess Peach, Yoshi, and the infamous Goomba. With this pattern, you can create adorable stuffed toys or even incorporate the characters into other knitting projects such as hats, scarves, or blankets. The possibilities are endless!
Don’t worry if you’re new to knitting. This pattern is beginner-friendly and includes detailed instructions, as well as step-by-step photos to guide you through the process. It’s a great way to learn new knitting techniques and create something fun and unique at the same time.
Beginner’s Guide to Knitting Super Mario Patterns
Knitting is a wonderful hobby that allows you to create beautiful and unique items with just a few simple tools. If you’re a fan of Super Mario and have a basic knowledge of knitting, why not try your hand at knitting Super Mario patterns? With a little bit of practice and patience, you can create your own Super Mario themed knitted items that will delight both children and adults alike.
To get started with knitting Super Mario patterns, the first thing you’ll need is a knitting pattern. Luckily, there are many free Super Mario knitting patterns available online that you can download and use. These patterns will provide you with step-by-step instructions on how to create different characters and objects from the Super Mario universe.
Choose your pattern and gather your materials
Once you’ve found a Super Mario knitting pattern that you like, it’s time to gather your materials. You’ll need a pair of knitting needles in the appropriate size for your chosen pattern, as well as a ball of yarn in the colors specified in the pattern. Additionally, you may need other materials such as stuffing, safety eyes, or embroidery thread for adding details to your knitted items. Make sure to read the pattern carefully to determine exactly what materials you’ll need.
Follow the instructions carefully
Now that you have your pattern and materials ready, it’s time to start knitting! Follow the instructions in the pattern carefully, making sure to pay attention to things like stitch counts, gauge, and any special techniques or stitches specified. If you’re a beginner, it may be helpful to have a knitting reference book or website on hand to help you with any unfamiliar terms or techniques.
Have fun and get creative
As you work on your Super Mario knitting project, don’t be afraid to get creative and add your own personal touches. You can experiment with different colors, stitches, and embellishments to make your knitted items truly unique. And remember, knitting is supposed to be fun and relaxing, so enjoy the process and don’t worry too much about making everything perfect. With practice, your knitting skills will improve, and you’ll be able to tackle even more intricate Super Mario patterns in no time.
- Gather your materials: knitting needles, yarn, and any additional materials specified in the pattern.
- Follow the instructions carefully, paying attention to stitch counts, gauge, and special techniques.
- Get creative and add your own personal touches to make your knitted items unique.
- Enjoy the process and have fun with your Super Mario knitting project!
| Materials | Instructions |
|---|---|
| Pair of knitting needles | Choose a Super Mario knitting pattern |
| Ball of yarn | Gather your materials |
| Stuffing, safety eyes, or embroidery thread | Follow the instructions carefully |
Choosing the Right Yarn and Needles
When it comes to knitting Super Mario patterns, choosing the right yarn and needles is crucial to ensure a successful outcome. The yarn you select will determine the final look and feel of your project, while the needles will affect the size and tension of your stitches.
Yarn: In order to create a Super Mario-themed project that truly captures the iconic character’s colors and overall aesthetic, it’s important to choose yarn that closely matches the original Mario color palette. Opt for bright red, blue, green, and yellow yarns to represent Mario, Luigi, Yoshi, and the rest of the characters. Consider using a medium weight, acrylic yarn for ease of knitting and durability.
Needles: The size of the needles you choose will depend on the thickness of the yarn and the desired stitch tension. If you’re using a medium weight yarn, try using US size 7 or 8 knitting needles. These sizes will provide a good balance between stitch definition and overall project size. However, always refer to the yarn label for recommended needle sizes and gauge information to ensure the best results.
It’s also important to consider the type of needle you prefer when knitting Super Mario patterns. For beginners, straight knitting needles are often the easiest to handle. However, circular needles can be useful for larger projects or those that require knitting in the round. Ultimately, choose the needle type and size that feel most comfortable for you and allow for smooth and easy knitting.
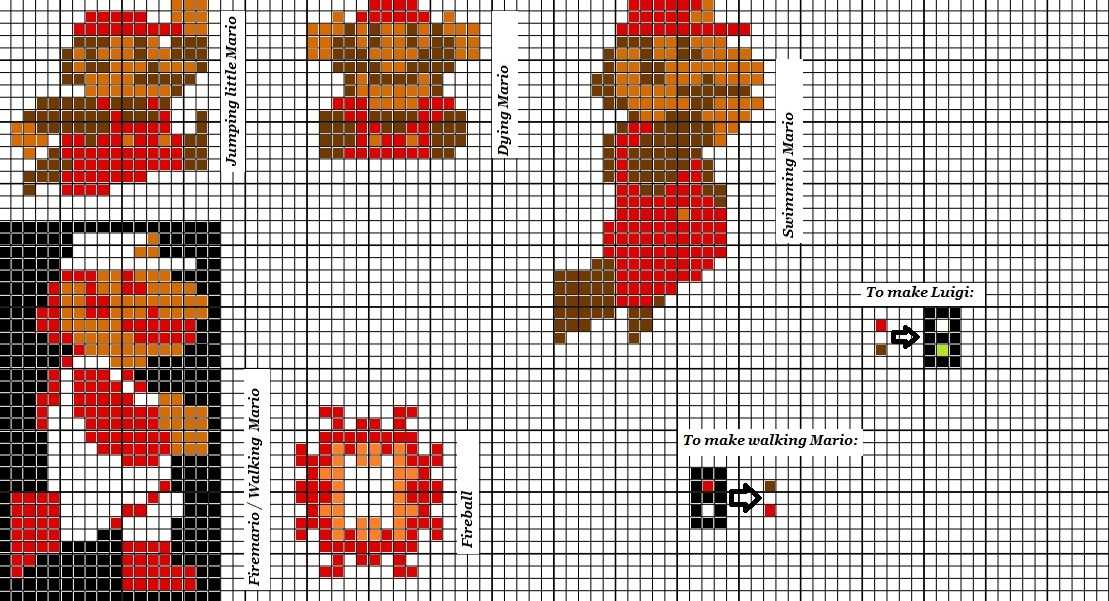
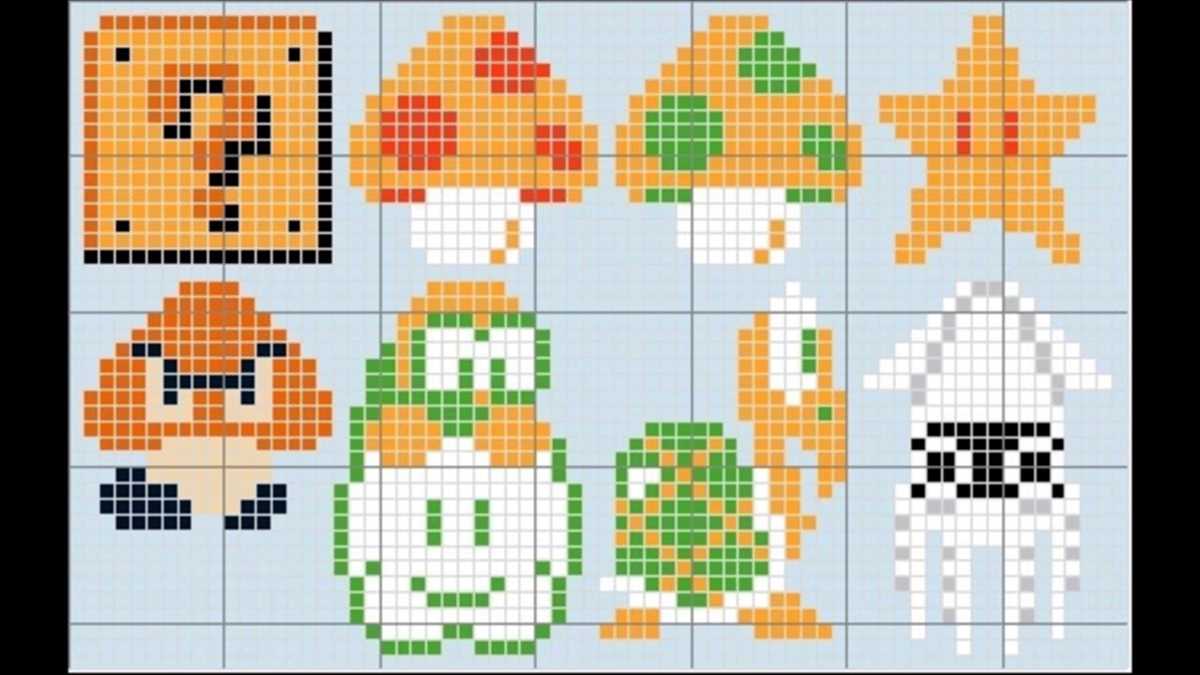
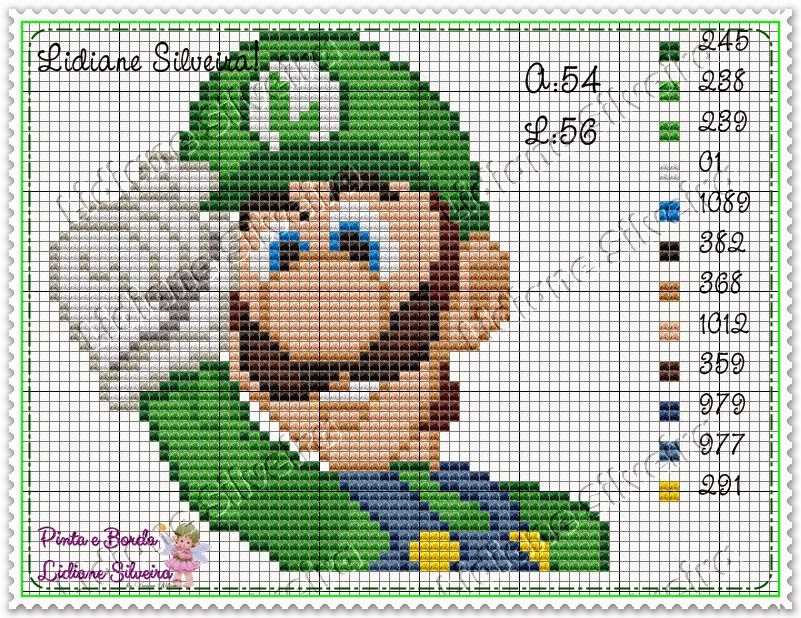
Understanding the Super Mario Knitting Chart
In the world of knitting, there are countless patterns to choose from. One popular pattern that has captured the hearts of many is the Super Mario knitting chart. This chart allows knitters to create their very own Super Mario-themed designs, from pixelated Mario and his friends to iconic items like mushrooms and stars.
The Super Mario knitting chart provides a visual representation of each stitch and color needed to recreate a specific design. Each square on the chart corresponds to a single stitch, and the different colors indicate which color of yarn to use. By following the chart row by row, knitters can create intricate and detailed Super Mario designs.
How to read the chart:
- Symbols: Each symbol in the chart represents a different stitch or color. For example, an “X” may represent a knit stitch in one color, while a dot may indicate a purl stitch in another color.
- Rows: The rows of the chart indicate the order in which the stitches should be worked. Knitters typically start at the bottom right corner of the chart and work their way across each row, from right to left.
- Colors: The different colors on the chart correspond to the different colors of yarn that should be used. Knitters can refer to a color key provided with the chart to determine which color to use for each square.
- Repeats: Some designs may include repeated sections or motifs. These sections are often denoted by brackets or a repeat symbol. Knitters will need to repeat the specified stitches or rows as indicated.
The Super Mario knitting chart is a valuable tool for knitters who want to add a touch of nostalgia to their projects. Whether you’re a beginner or an experienced knitter, this chart can help you bring the magic of Super Mario to life in your own creations.
Getting Started: Casting On and Knitting Basics
When it comes to knitting your own Super Mario-inspired creations, it’s important to start with the basics. Whether you’re new to knitting or just need a refresher, learning how to cast on and the basics of knitting will set the foundation for your project. This guide will walk you through the steps to get started.
Casting On:
The first step in knitting is casting on, which is the process of creating the first row of stitches on your needle. There are different methods for casting on, but one simple option is the long-tail cast on. To do this, start by creating a slipknot at the end of your yarn and place it on your needle. Hold the tail of the yarn in your right hand and the working yarn in your left hand. Using your thumb and index finger, create a “V” shape with the yarn. Insert your right needle through the “V” from left to right and catch the working yarn with the needle. Drop the slipknot from your left hand needle and bring the right needle through the loop, creating a new stitch. Repeat this process until you have the desired number of stitches on your needle.
Knitting Basics:
Once you have cast on your stitches, you’re ready to start knitting. The basic stitch in knitting is the knit stitch, often abbreviated as “k” in knitting patterns. To knit a stitch, insert your right needle through the front of the first stitch on your left needle, from left to right. Wrap the working yarn around your right needle, bringing it from the back to the front. Use your right needle to pull the working yarn through the stitch, letting the old stitch slip off the left needle. Repeat this process for each stitch on your needle.
As you become more comfortable with knitting, you can experiment with different stitch patterns and techniques to create unique designs for your Super Mario-inspired projects. Remember to take your time and practice regularly to improve your knitting skills.
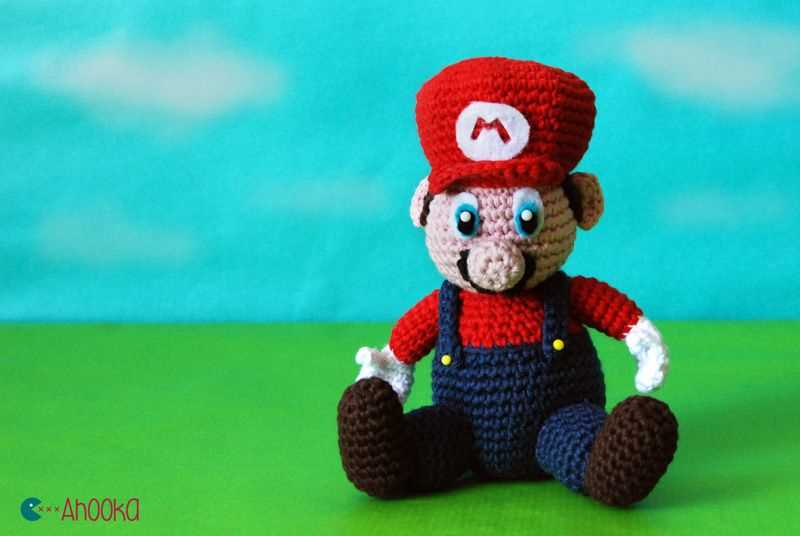
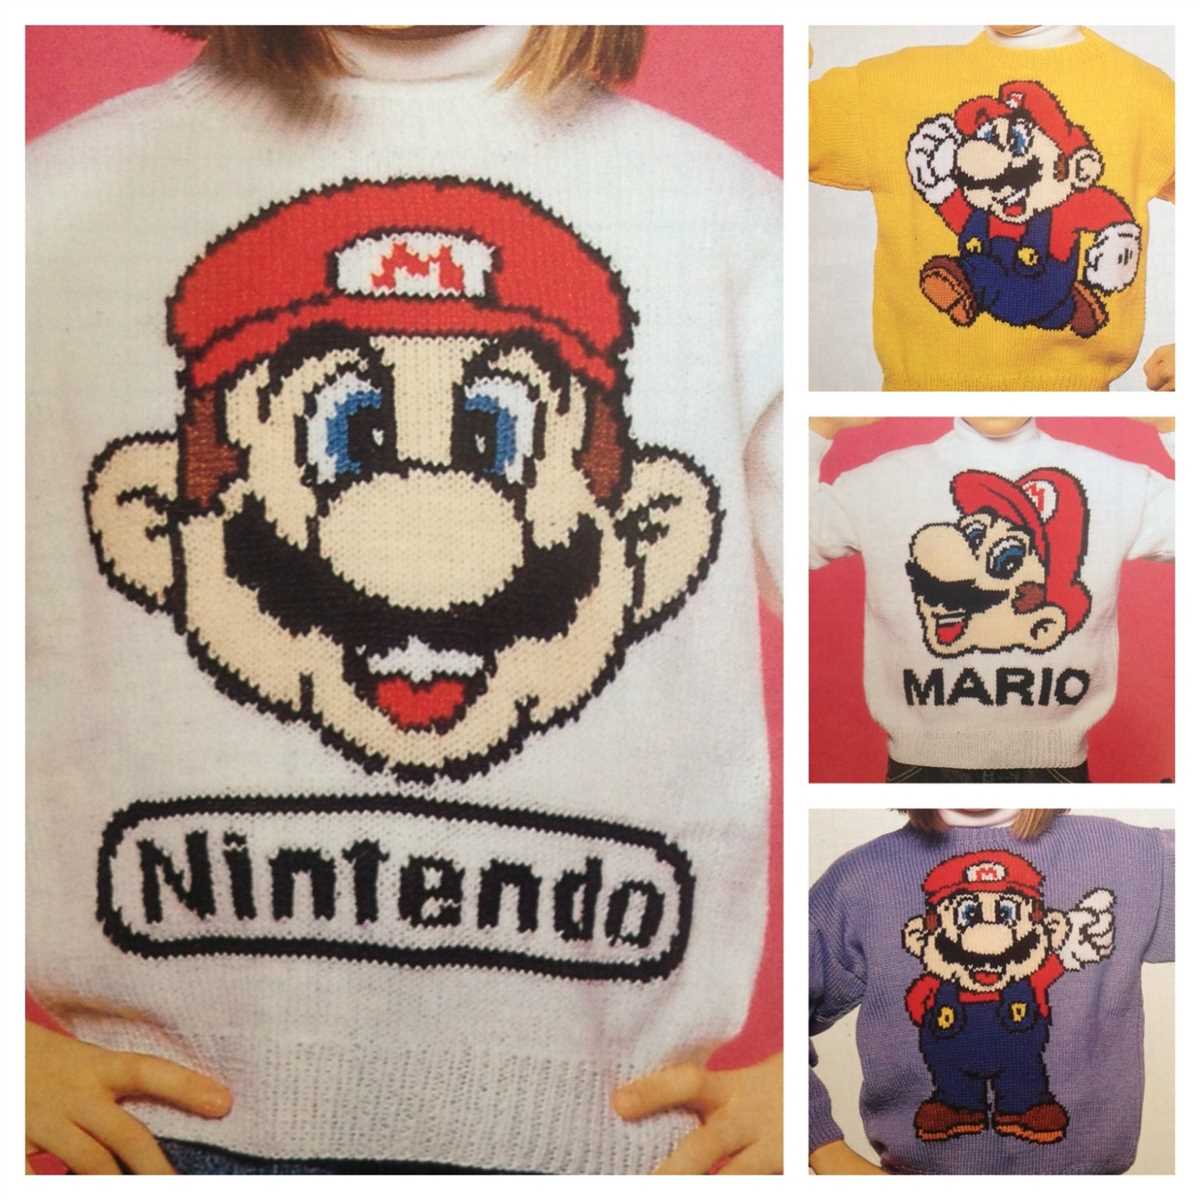
Knitting Mario’s Face: Step-by-Step Instructions
Knitting a Super Mario face can be a fun and creative project for fans of the iconic video game character. By following these step-by-step instructions, you’ll be able to create a unique piece of Mario-themed knitwear.
Materials:
- Red, white, black, and peach-colored yarn
- Knitting needles
- Yarn needle
- Scissors
Step 1: Cast on and knit the base:
- Start by casting on the desired number of stitches using the red yarn. This will form the base of Mario’s face.
- Continue knitting in stockinette stitch until you reach the desired length for the face.
- Bind off and cut the yarn, leaving a tail for weaving in later.
Step 2: Create Mario’s eyes:
- Using the white yarn, cast on a small number of stitches to form a rectangle for each eye.
- Knit back and forth in garter stitch until the rectangle is square in shape.
- Bind off and cut the yarn, leaving a tail for weaving in later.
Step 3: Add details to the eyes:
- With the black yarn, embroider a small circle in the center of each white eye piece to represent the pupil.
Step 4: Knit Mario’s mustache:
- Using the black yarn, cast on a small number of stitches to form a wide rectangle for the mustache.
- Knit back and forth in garter stitch until the mustache is the desired length.
- Bind off and cut the yarn, leaving a tail for weaving in later.
Step 5: Attach the eyes and mustache:
- Using the yarn needle, sew the eyes and mustache onto the red base, following a reference image of Mario’s face for placement.
- Weave in all loose ends using the yarn needle.
Congratulations! You’ve successfully knitted Mario’s face. You can now incorporate it into various knitting projects such as blankets, hats, or even framed wall art. Enjoy showing off your love for Super Mario with this unique and handmade creation!
Knitting Mario’s Hat: Tips and Tricks
When it comes to knitting Mario’s hat, there are a few key tips and tricks to keep in mind. Whether you’re a beginner or an experienced knitter, these tips will help you create a hat that captures the essence of the iconic Super Mario character.
1. Choose the Right Yarn: To achieve the best results, it’s important to select the right yarn for your Mario hat. Look for a yarn that is soft, durable, and easy to work with. A worsted weight yarn in red, white, and green is the traditional choice for Mario’s hat.
2. Practice Colorwork: Mario’s hat features a simple colorwork pattern with red and white stripes. If you’re new to colorwork, it’s a good idea to practice this technique on a smaller project before diving into the hat. This will help you become familiar with working with multiple yarns and keeping tension even.
3. Use Circular Needles: Knitting Mario’s hat in the round is much easier with circular needles. They allow you to smoothly transition from one row to the next without having to constantly turn your work. Additionally, circular needles provide ample space for the stitches and prevent them from slipping off.
4. Pay Attention to Gauge: Gauge is crucial when knitting Mario’s hat to ensure it fits properly. Make sure to check your gauge before starting the project and adjust your needle size if necessary. Following the pattern’s recommended gauge will help you achieve the correct sizing for the hat.
5. Add Details with Embroidery: Once you’ve finished knitting the hat, you can add details to make it look more like Mario’s hat. Use embroidery techniques to sew on his iconic “M” symbol or any other desired embellishments. This will give your hat an extra touch of authenticity.
By following these tips and tricks, you’ll be able to create a Super Mario hat that’s sure to impress. Whether you’re knitting it for yourself or as a gift, the end result will be a fun and fashionable accessory that celebrates the beloved video game character.
Adding Details: Knitting Mario’s Moustache and Eyes
Once you have completed knitting the main body of your Super Mario doll, it’s time to add some character to his face by knitting his moustache and eyes. These details will really bring him to life and make him instantly recognizable as everyone’s favorite Italian plumber.
To start, you will need some black yarn for Mario’s moustache. Using double-pointed needles or a small circular needle, cast on 10 stitches. Knit in stockinette stitch for about 2 inches to create the length of the moustache. Then, fold the strip in half and sew it onto the doll’s face, right below the nose. Make sure to secure it firmly so that it doesn’t come loose during play or display.
For the eyes, you will need some white and black yarn. Start by knitting two small circles with white yarn using double-pointed needles. You can use the magic loop method or any other preferred method for knitting in the round. Once you have the circles, use black yarn to embroider a small black circle in the center of each eye to create the pupils. Alternatively, you can use black safety eyes or buttons if you prefer a more detailed look.
After you have finished knitting the eyes, sew them onto the doll’s face, aligning them with the moustache. Make sure to sew them securely in place so that they don’t come off easily. Position the eyes slightly above the moustache to create Mario’s signature look. Once the moustache and eyes are in place, you can add some additional embroidered details, such as eyebrows or a smile, to further personalize your Super Mario doll and give him even more expression.
With the moustache and eyes added, your Super Mario doll is now complete! You can now continue with any additional details and accessories to make him truly unique. Whether you’re a fan of the video game or simply looking for a fun and creative knitting project, this Super Mario doll pattern is sure to bring joy to both kids and adults alike.
Knitting Mario’s Body: Creating the Base
When it comes to knitting Mario’s body, creating a solid base is essential. A well-constructed base will serve as the foundation for the rest of the project and ensure that your finished Mario looks true to the beloved character. To begin, gather the necessary materials, including the appropriate yarn and knitting needles.
To create the base, start by knitting a rectangle that will serve as Mario’s torso. Choose a color that matches the iconic red and blue combo of Mario’s outfit. You can use a basic knitting stitch, such as garter stitch or stockinette stitch, to create the rectangle.
Materials Needed:
- Red and blue yarn (or colors of your choice)
- Knitting needles in the appropriate size for your yarn
- Tapestry needle for sewing
- Scissors
Instructions:
- Using the red yarn, cast on the desired number of stitches for the width of the torso. This will depend on the size of your Mario doll.
- Continue knitting in your chosen stitch pattern until the piece reaches the desired height for the torso. This will vary depending on the proportions of your Mario doll.
- Switch to the blue yarn, and continue knitting in the same stitch pattern until the piece reaches the desired length for the torso. This will be the height of Mario’s body.
- Bind off all stitches to secure the edges of the base.
- Use a tapestry needle to sew any open seams together, creating a closed rectangle for the body of Mario.
Once you have completed the base of Mario’s body, you can move on to shaping the other parts, such as the head, arms, and legs. By following a knitting pattern or using your own creativity, you can bring Super Mario to life in knitted form.
Knitting Mario’s Arms and Legs: Adding Dimension
When knitting a Super Mario character, such as Mario himself, it is important to pay attention to the details that will bring the toy to life. One crucial aspect of this is adding dimension to the character’s arms and legs. By carefully knitting and shaping these parts, you can create a more realistic and dynamic appearance.
To knit Mario’s arms and legs:
- Choose the right yarn: Select a yarn that is suitable for the project, such as a medium weight acrylic yarn. Consider using colors that match Mario’s iconic red and blue outfit.
- Create a basic shape: Start by knitting a basic tube shape for the arms and legs. Use double-pointed needles or a circular needle to avoid seams. Be sure to cast on the appropriate number of stitches for the size and thickness you desire.
- Add shaping: To create a more realistic shape, you can add decreases and increases to the knitting. For example, you can gradually decrease the number of stitches as you knit towards the hand or foot, and then increase them to create a fuller shape for the hand or foot itself.
- Use embroidery techniques: Once you have finished knitting the arms and legs, you can use embroidery techniques to add additional details. For example, you can use a contrasting color yarn to create the appearance of fingers or toes. You can also use embroidery stitches to add decorative features, such as the white gloves Mario wears.
By following these steps and paying attention to the details, you can create arms and legs for your Super Mario knitting project that add dimension and bring the character to life.
Finishing Touches: Sewing and Assembling the Pieces
Now that you have completed knitting all the individual pieces of your Super Mario project, it’s time to bring them together and add the finishing touches. Sewing and assembling the pieces is an important step in creating a polished and professional-looking final product.
Sewing:
Start by gathering all the necessary tools for sewing, including a yarn needle and matching yarn color. Take your time to find the right position for each piece before sewing. This will ensure that the different parts of your Super Mario project fit together seamlessly.
Using a whip stitch or a mattress stitch, begin sewing the pieces together. Make sure to secure the yarn tightly and neatly on the wrong side of the work, so it doesn’t show on the front. Take care to match the stitches and maintain an even tension throughout the sewing process.
Assembling:
Once all the pieces have been sewn together, it’s time to assemble your Super Mario project. This may involve attaching additional elements such as buttons or eyes. Use your creativity to bring your project to life.
If your pattern includes specific instructions for assembling certain parts, make sure to follow them carefully. This will ensure that your Super Mario project looks and functions exactly as intended.
Finally, give your project a thorough inspection. Check for any loose stitches or areas that may need reinforcement. Make any necessary adjustments before finalizing the assembly.
Conclusion
In conclusion, there are many websites and online communities that offer free Super Mario knitting patterns. These patterns allow fans of the game to create their own unique and personalized Mario-themed items, such as hats, sweaters, and plush toys. Whether you are a beginner or an experienced knitter, you can find a pattern that suits your skill level and style. The internet has made it easy to access these patterns and connect with other knitting enthusiasts who share the same passion for Super Mario. So grab your yarn and knitting needles, and start creating your very own Super Mario masterpiece!
Remember to always credit the original pattern designer and respect their work. Happy knitting!
Q&A:
Where can I find a free Super Mario knitting pattern?
You can find free Super Mario knitting patterns on various websites and online forums. Some popular websites to find free Super Mario knitting patterns include Ravelry, Pinterest, and LoveCrafts.
Are there any video tutorials available to help with knitting Super Mario patterns?
Yes, there are several video tutorials available on YouTube that can help you with knitting Super Mario patterns. Simply search for “Super Mario knitting tutorial” on YouTube and you will find a variety of helpful videos.
What materials do I need to knit a Super Mario pattern?
To knit a Super Mario pattern, you will need a set of knitting needles, yarn in the colors required for the pattern, a yarn needle for sewing pieces together, and stuffing for stuffing the finished project if necessary.
Are there any beginner-friendly Super Mario knitting patterns available?
Yes, there are beginner-friendly Super Mario knitting patterns available. These patterns are often simpler in design and use basic knitting stitches, making them perfect for knitters who are just starting out.
Can I sell the Super Mario items I knit from a free pattern?
The copyright of a Super Mario knitting pattern belongs to the original pattern designer. It is important to respect their rights and follow any terms or restrictions specified in the pattern. Some pattern designers may allow you to sell the items you knit from their pattern, while others may restrict it for personal use only. Always check the pattern’s terms of use before selling any knitted items.
Where can I find a free Super Mario knitting pattern?
You can find free Super Mario knitting patterns on various websites such as Ravelry, LoveCrafts, and Pinterest. Just search for “Super Mario knitting pattern” and you will find several options to choose from.
What materials will I need to knit a Super Mario character?
The materials needed to knit a Super Mario character may vary depending on the pattern you choose, but generally you will need yarn in the appropriate colors, knitting needles in the recommended size, stuffing for the toy’s body, embroidery thread for facial features, and a tapestry needle for sewing and finishing.