
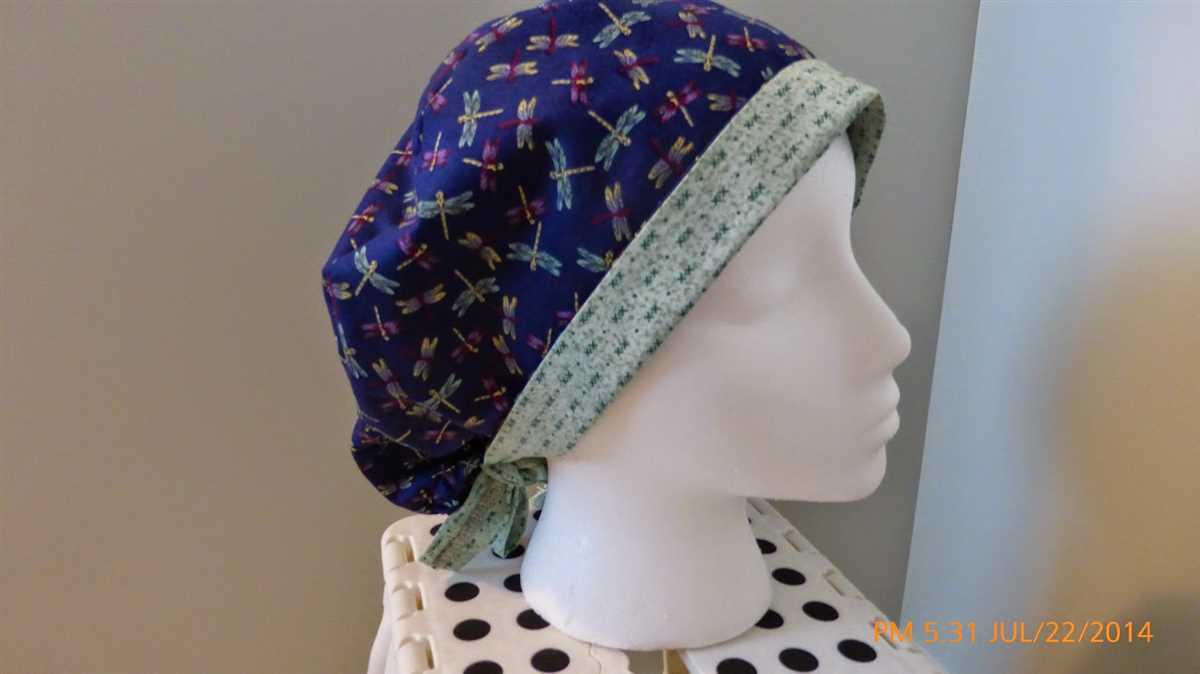
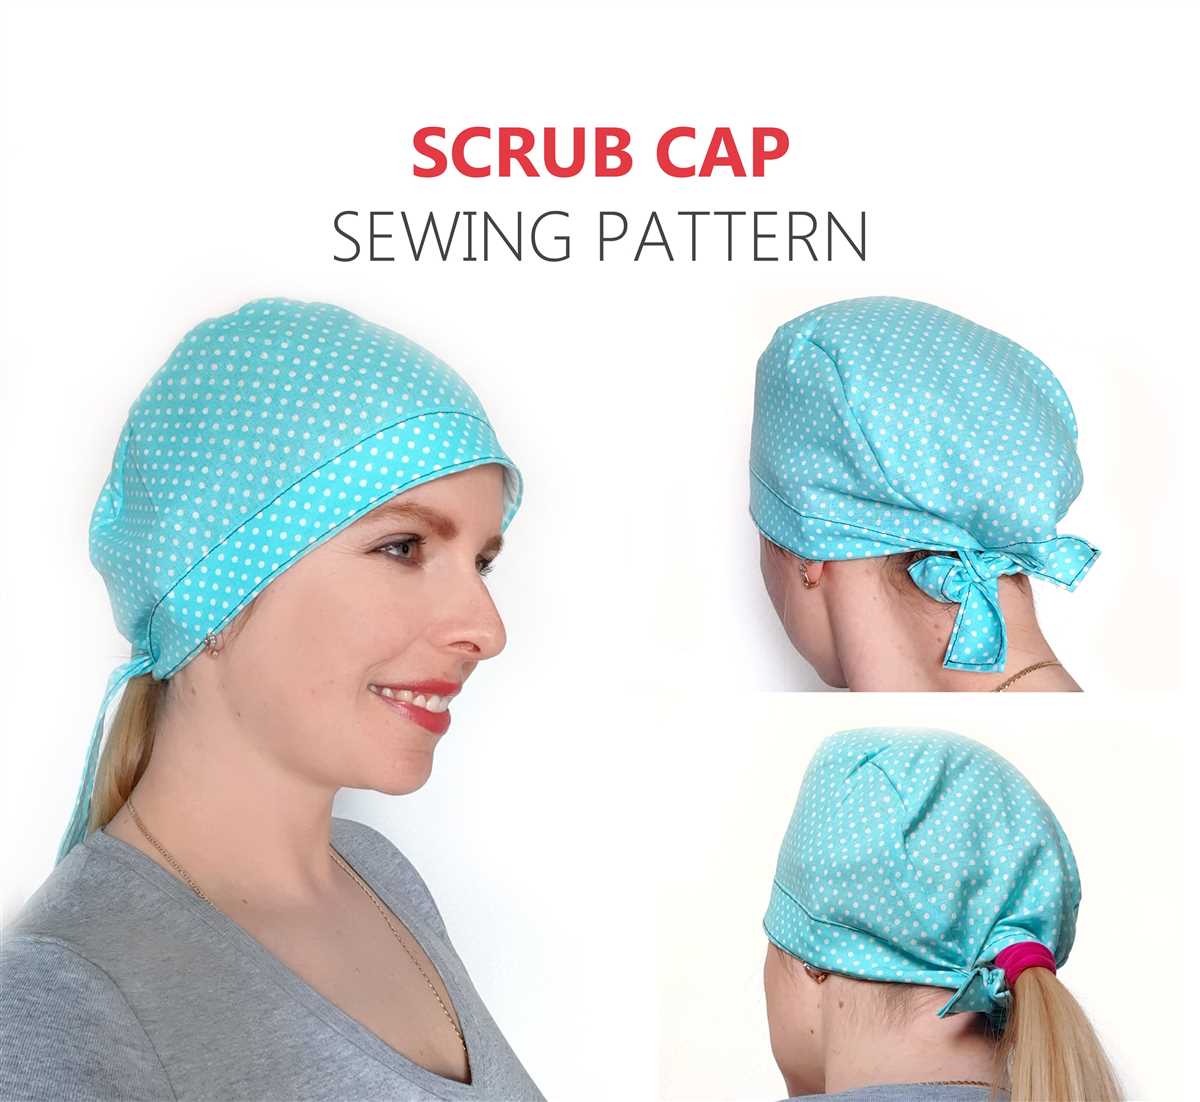
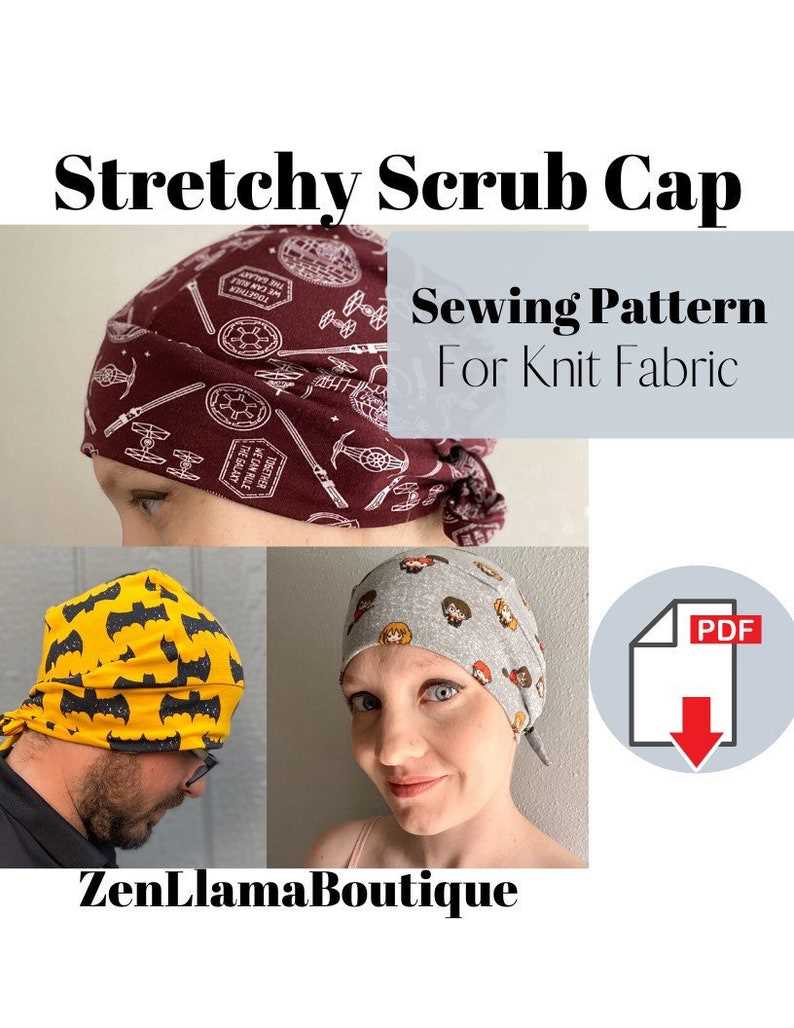
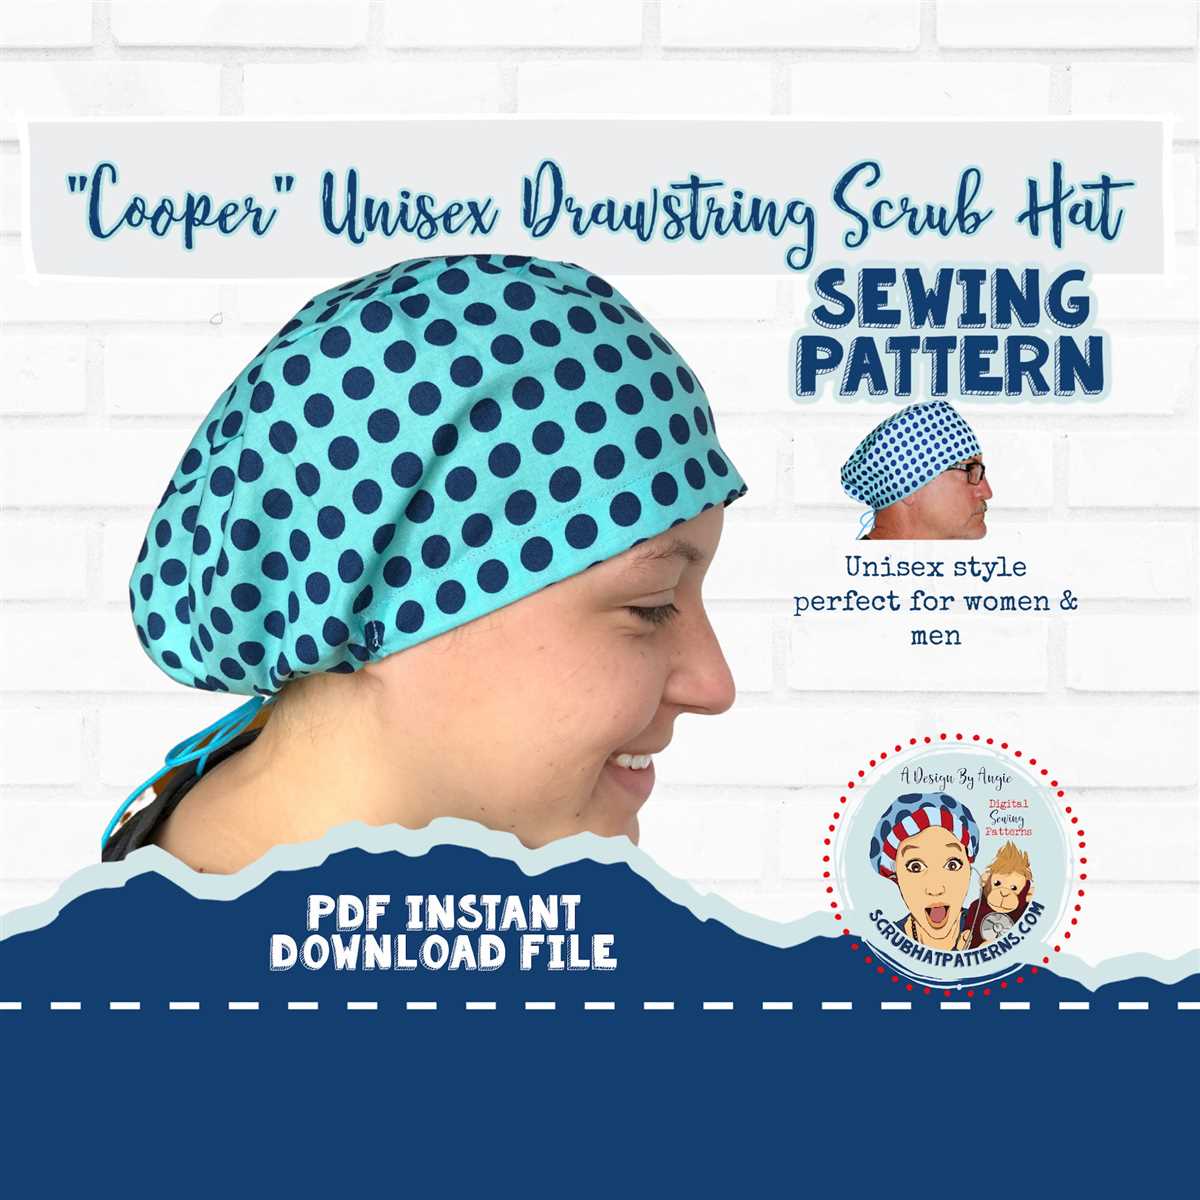
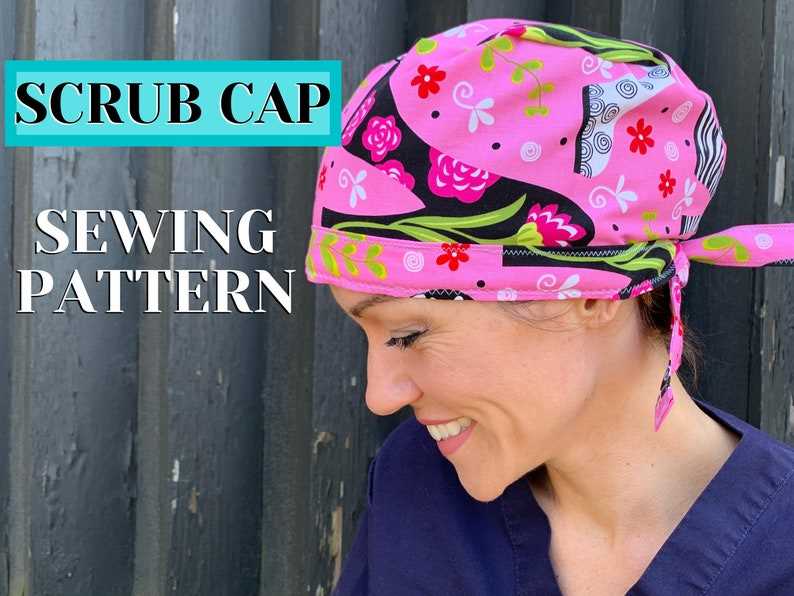
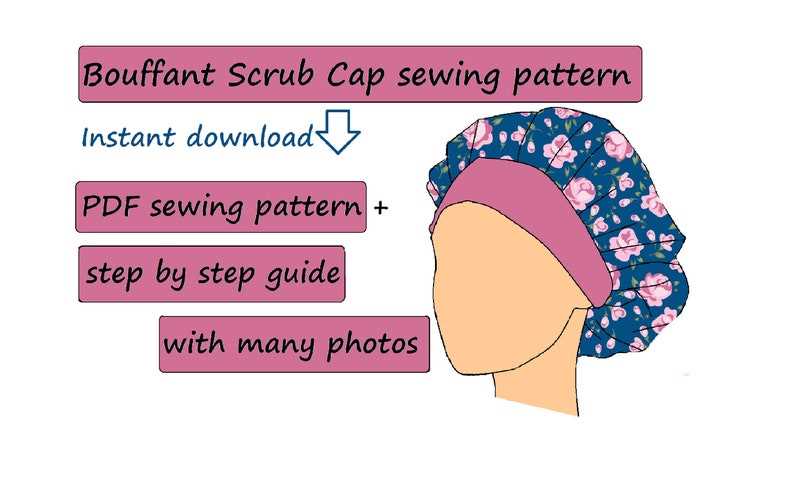
A knit scrub cap is a practical and fashionable accessory for medical professionals. Whether you are a doctor, nurse, or dentist, having a comfortable and stylish scrub cap can make your day at work more enjoyable. With this knit scrub cap pattern, you can create your own personalized cap that fits your style and personality.
This pattern is suitable for knitters of all skill levels, from beginners to advanced. It uses basic knitting techniques and requires only a few simple stitches. The pattern includes instructions for sizing the cap to fit different head sizes, so you can make one for yourself or as a thoughtful gift for a colleague.
One of the great things about knitting your own scrub cap is that you can choose any color or yarn type you like. You can match it to your uniform or go for a fun and colorful design. The cap is designed to be stretchy and comfortable, so it will stay in place throughout your busy day at work.
Materials needed for the knit scrub cap pattern
When starting a new knitting project, it is important to gather all the necessary materials before beginning. This ensures a smooth and efficient knitting process. For the knit scrub cap pattern, you will need the following materials:
- Yarn: Choose a soft and breathable yarn that is suitable for creating a comfortable scrub cap. Cotton yarn is a popular choice as it is breathable and gentle on the skin.
- Knitting needles: Select knitting needles that are appropriate for the thickness of the yarn you have chosen. The pattern may indicate a specific needle size, so be sure to check the instructions.
- Tapestry needle: This needle is used for weaving in loose ends and sewing seams together. It should have a large eye to accommodate the yarn and a blunt tip to prevent snagging.
- Stitch markers: Stitch markers are helpful for keeping track of specific stitches or sections of your pattern. They can be as simple as safety pins or specialized stitch markers.
- Scissors: A good pair of scissors is essential for cutting yarn and trimming loose ends. Choose a pair that is sharp and comfortable to hold.
- Measuring tape: Accurate measurements are crucial for creating a well-fitted knit scrub cap. A flexible measuring tape is ideal for measuring the circumference of the head and other dimensions of the cap.
By having these materials on hand, you will be well-prepared to begin knitting the scrub cap pattern. Remember to read through the pattern instructions thoroughly before starting to ensure you understand the techniques and stitches involved. Happy knitting!
How to choose the right yarn for your knit scrub cap
When it comes to knitting a scrub cap, choosing the right yarn is essential. The yarn you select will determine the comfort, durability, and functionality of the cap. Here are a few key factors to consider when choosing yarn for your knit scrub cap:
1. Fiber content:
Start by considering the fiber content of the yarn. For a scrub cap, it is important to choose a yarn that is easy to wash and sanitize. Cotton is a popular choice as it is breathable, soft, and can withstand frequent washing. It is also hypoallergenic, making it suitable for those with sensitive skin. Alternatively, you can opt for a blend of cotton and synthetic fibers for added durability and stretch.
2. Weight:

The weight of the yarn will determine the thickness and warmth of the scrub cap. For a comfortable and lightweight cap, choose a fine or sport weight yarn. If you prefer a thicker and warmer cap, opt for a worsted weight or bulky yarn. Keep in mind that a heavier yarn may be less breathable, so consider the working environment when making your decision.
3. Color and pattern:
Consider the color and pattern of the yarn when selecting for a scrub cap. Solid colors are versatile and can easily match different uniforms or personal preferences. If you prefer a more decorative cap, choose a yarn with a subtle or bold pattern. However, keep in mind that intricate patterns may be more challenging to work with.
4. Care instructions:
Make sure to check the care instructions for the yarn before making your final decision. Since the scrub cap will be regularly washed and sanitized, it is important to choose a yarn that can withstand machine washing and drying. Look for yarns that are labeled as machine washable and dryable for easy care.
By considering these factors, you can select the perfect yarn for your knit scrub cap that not only looks great but also provides comfort and durability in a working environment.
Gauge and tension for the knit scrub cap pattern
When knitting the scrub cap pattern, it is important to achieve the correct gauge and tension in order to ensure the finished cap fits properly. The pattern will specify the recommended gauge, which is usually given in terms of stitches and rows per inch. Achieving the correct gauge is crucial to ensure that the size and fit of the cap will be accurate.
A gauge swatch should always be made before starting the scrub cap pattern. This involves knitting a small square using the recommended yarn and needle size. The swatch should be knit in the desired stitch pattern, usually stockinette stitch. After the swatch is completed, it should be measured to determine if the gauge matches the pattern’s specifications.
Step-by-step instructions for knitting the scrub cap
In this tutorial, we will guide you through the process of knitting a scrub cap. Whether you’re a beginner or an experienced knitter, this pattern is easy to follow and will result in a comfortable and functional cap for healthcare professionals. Let’s get started!
Materials needed:
- Medium weight yarn (approximately 200-250 yards)
- Size 8 knitting needles
- Tapestry needle
- Scissors
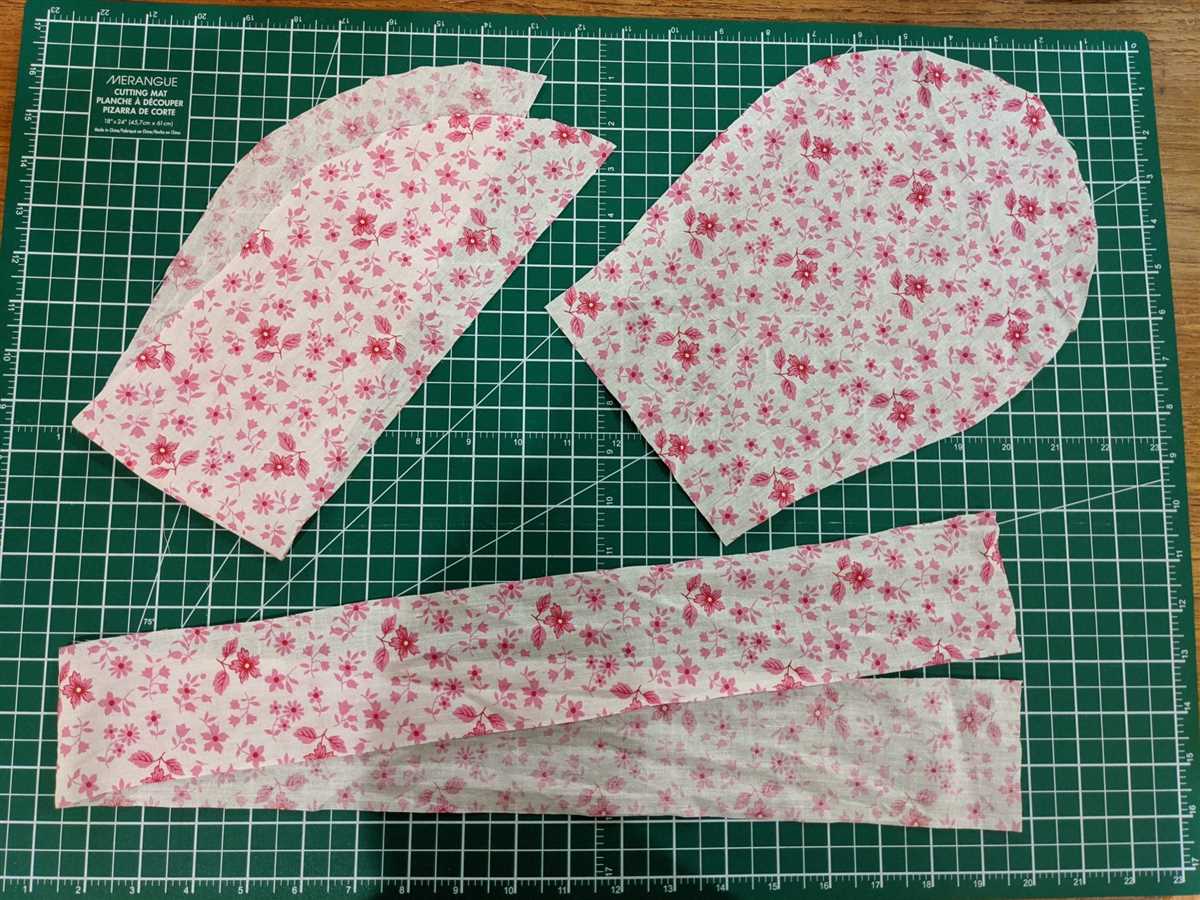
Step 1: Cast on
Using your size 8 knitting needles, cast on 100 stitches. Make sure to leave a long tail for weaving in later. This will be the brim of your scrub cap.
Step 2: Ribbing
Work in a rib stitch pattern (k1, p1) for the first 2 inches to create a stretchy brim. Repeat this pattern until you reach the desired length for the brim.
Step 3: Main body
Switch to stockinette stitch (knit one row, purl one row) for the main body of the scrub cap. Continue working in stockinette stitch until the cap measures approximately 5 inches from the brim.
Step 4: Decrease
To shape the top of the scrub cap, begin decreasing stitches. On the knit rows, knit 2 stitches together across the row. On the purl rows, purl 2 stitches together across the row. Repeat this decrease pattern for a few inches until you have approximately 20 stitches remaining.
Step 5: Finishing
After completing the decrease section, cut your yarn, leaving a long tail for sewing. Thread the tail through a tapestry needle and slip the remaining stitches onto the needle. Pull tight to close the top of the scrub cap. Sew the seam of the cap using a whip stitch or any preferred sewing method. Weave in any loose ends and trim excess yarn.
And there you have it – your very own handmade scrub cap! This pattern can be easily customized by changing the yarn color or adding embellishments. These caps make great gifts for healthcare workers or can be donated to hospitals or clinics in need. Happy knitting!
How to customize your knit scrub cap
Knitting your own scrub cap allows you to add personal touches and customization to your workwear. Whether you want to match your cap to your favorite outfit or show off your unique style in the workplace, here are some tips on how to customize your knit scrub cap.
Choose the right yarn
The first step in customizing your knit scrub cap is choosing the right yarn. Consider the color, texture, and weight of the yarn to achieve the desired look and feel. You can opt for a solid color, a variegated yarn, or even a sparkly thread for a touch of glamour. Additionally, selecting a soft and breathable yarn will ensure comfort during long shifts.
Add embellishments
To make your scrub cap truly unique, you can add embellishments such as buttons, ribbons, or bows. You can sew a row of colorful buttons along the band of the cap or attach a decorative ribbon bow to the side. These small details can instantly transform a simple scrub cap into a stylish and personalized accessory.
Experiment with patterns and stitches
Another way to customize your knit scrub cap is by experimenting with different patterns and stitches. You can incorporate a cable knit design, a lace pattern, or even a Fair Isle motif for a more intricate look. Additionally, you can play with different stitch combinations like ribbing or seed stitch to add texture and visual interest.
Consider adding a name tag
If you want to personalize your scrub cap even further, consider adding a name tag. You can either embroider your name on a patch of fabric and sew it onto the cap or use iron-on letters for a quick and easy customization. This not only adds a personal touch but also helps to identify your cap among others in a busy workplace.
Size it perfectly
Lastly, to ensure the perfect fit and comfort, make sure to customize the size of your knit scrub cap. Measure your head circumference accurately and adjust the stitch count accordingly. A well-fitting scrub cap will not only look better but also stay in place throughout your shift.
By following these tips, you can customize your knit scrub cap to reflect your personal style and make a bold statement in the workplace. Whether you want to add small embellishments or experiment with different patterns, the possibilities for customization are endless when knitting your own scrub cap.
Tips for a perfect fit of the scrub cap

When knitting a scrub cap, it’s important to ensure a perfect fit so that it stays securely on your head throughout your day at work. Here are some tips to help you achieve the right size and fit:
- Measure your head: Start by measuring the circumference of your head. Use a flexible measuring tape to get an accurate measurement, ensuring that the tape is snug but not too tight. This measurement will help you determine the size of the scrub cap you need to knit.
- Choose the right size: Once you have your head measurement, refer to the scrub cap pattern to find the appropriate size. Most patterns will include multiple sizes, so choose the one that matches your measurement the closest.
- Check your gauge: Before starting to knit, it’s important to check your gauge. Knit a small swatch using the recommended yarn and needles, and measure the number of stitches and rows per inch. Compare it to the gauge specified in the pattern. Adjust your needle size if necessary to ensure your gauge matches the pattern’s gauge. This will help you achieve the correct size for your scrub cap.
- Consider your hair length: If you have long hair, consider how you want to wear it with the scrub cap. Some patterns may include options for a ponytail or bun opening, which can accommodate longer hair styles. Make sure to choose a pattern that suits your hair length and desired style.
- Try it on as you go: While knitting your scrub cap, try it on periodically to check the fit. This will allow you to make any necessary adjustments along the way, ensuring a perfect fit. It’s easier to fix any fit issues as you’re knitting rather than after the cap is complete.
- Adjust the band: If the scrub cap feels too loose or too tight around your head, you can adjust the size of the band. Add or remove a few stitches to either increase or decrease the circumference. Just make sure to distribute the changes evenly around the band to maintain the pattern’s design.
- Consider the fabric stretch: Different yarns have different degrees of stretch, so keep this in mind when selecting your yarn for the scrub cap. Yarns with more stretch may result in a more forgiving fit, while less stretchy yarns may require more precise measurements and adjustments.
Care Instructions for the Knit Scrub Cap
When it comes to taking care of your knit scrub cap, it’s important to follow the care instructions to ensure its longevity and maintain its shape. Here are some recommendations to help you properly care for your knit scrub cap:
Hand Wash
We recommend hand washing your knit scrub cap to avoid damaging the delicate fibers. Fill a basin or sink with lukewarm water and add a mild detergent specifically designed for delicate fabrics. Gently agitate the water to create suds. Immerse your scrub cap into the soapy water and swirl it around, making sure to pay extra attention to any stained areas. Let it soak for a few minutes to allow the detergent to penetrate the fibers.
Rinse and Dry
After soaking, drain the soapy water and refill the basin with clean, lukewarm water. Gently swirl the scrub cap in the water to rinse off any remaining detergent. Repeat this process until the water runs clear. Avoid wringing or twisting the cap, as it can cause deformation. Instead, gently press out excess water using your hands.
Once the excess water is removed, lay the scrub cap flat on a clean, dry towel. Reshape the cap to its original size and pat it gently to remove any remaining moisture. Avoid hanging or stretching the cap, as it can lose its shape.
Storage
When not in use, store your knit scrub cap in a dry, clean place to avoid any moisture or potential damage. You can also place it in a cloth bag or container to protect it from dust and dirt. Avoid storing it near any sharp objects or items that could snag or pull at the delicate knit fabric.
Following these care instructions will help ensure that your knit scrub cap stays in excellent condition for repeated use. Remember, proper care and attention will prolong the life of your knit scrub cap, keeping you comfortable and stylish throughout your shifts.
Variations of the knit scrub cap pattern
The knit scrub cap pattern is a popular choice among healthcare professionals who want to add a personal touch to their work attire. There are several variations of this pattern available, allowing knitters to create unique and stylish scrub caps. Here are a few examples:
1. Colorful Stripe Scrub Cap
Create a vibrant and eye-catching scrub cap by incorporating colorful stripes into the pattern. Knit each stripe with a different color of yarn to add variety and make the cap stand out. This variation allows for endless combinations and customizations, ensuring that each cap is truly one-of-a-kind.
2. Cable Knit Scrub Cap
Add a touch of elegance to the traditional scrub cap pattern by incorporating cable knitting. The intricate cable stitches create a beautiful texture and add a refined look to the cap. This variation is perfect for knitters who want to showcase their advanced knitting skills and create a unique and sophisticated scrub cap.
3. Buttoned Scrub Cap
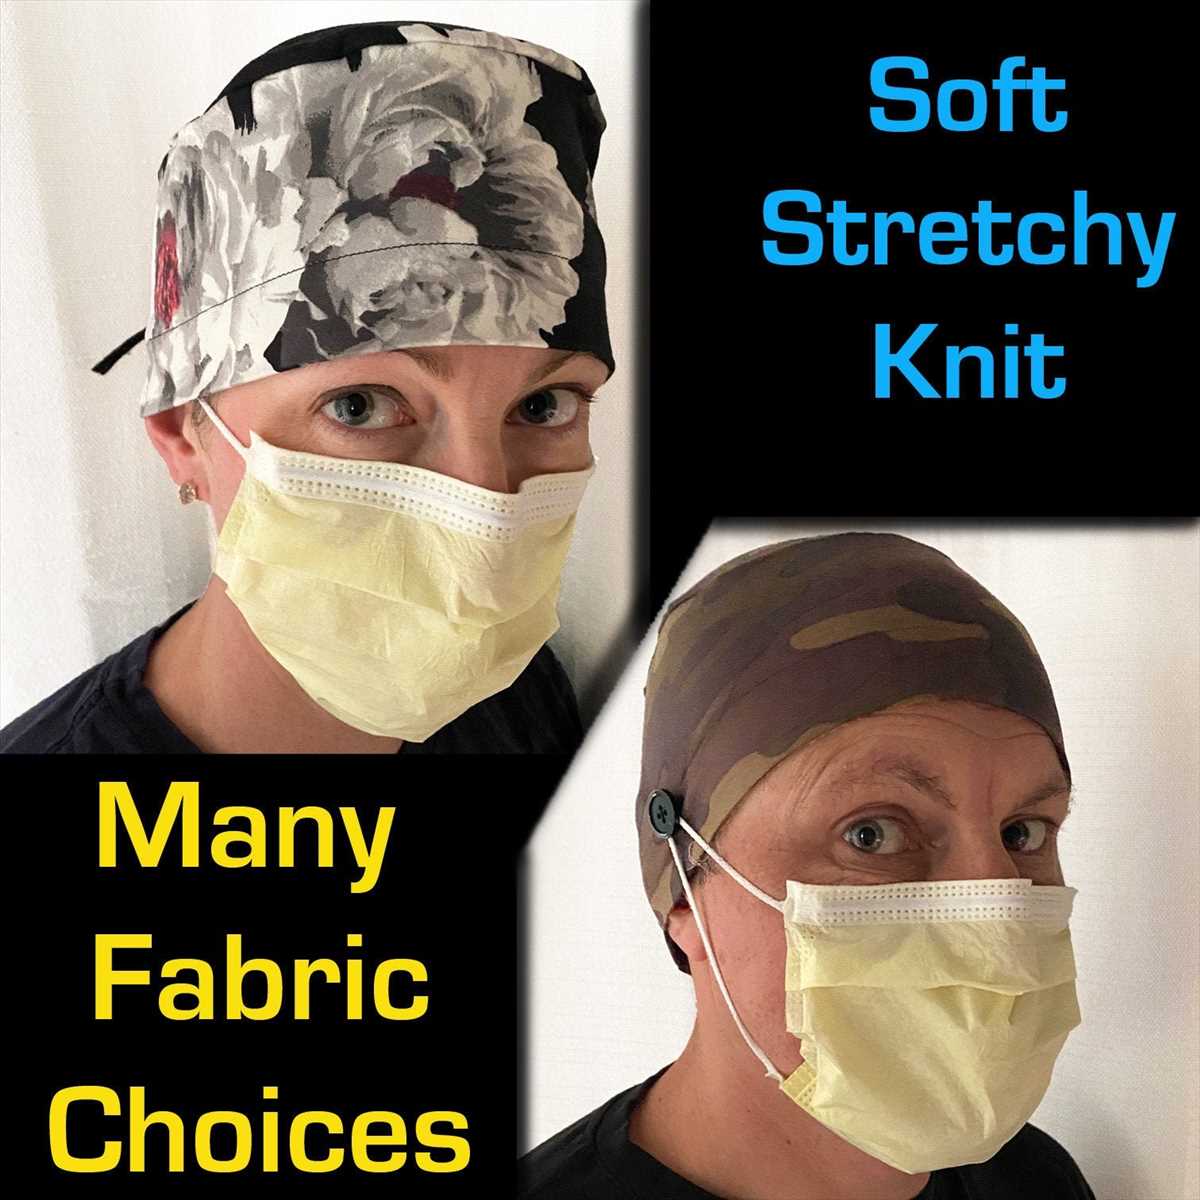
Add a functional and decorative element to the scrub cap by incorporating buttons into the design. Sew buttons along the sides or at the back of the cap, allowing for adjustable sizing and a personalized touch. This variation not only adds visual interest but also makes it easier to secure the cap in place.
4. Lace Trimmed Scrub Cap
Add a delicate and feminine touch to the scrub cap by incorporating lace trim. Attach lace along the edges of the cap, creating a soft and elegant look. This variation is ideal for those who want to add a subtle and dainty detail to their scrub cap, making it both practical and stylish.
With these variations of the knit scrub cap pattern, healthcare professionals can showcase their personal style while maintaining a professional appearance. Whether it’s through bold colors, intricate cable knitting, functional buttons, or delicate lace trim, these variations allow for endless creativity and customization.
Resources for further knitting inspiration

After creating your scrub cap, you might find yourself looking for more knitting patterns and projects to work on. Fortunately, there are numerous resources available to help you find inspiration and continue honing your knitting skills.
Here are some great resources to check out:
-
Ravelry: Ravelry is a popular online community for knitters and crocheters. It offers a vast collection of knitting patterns, forums, and project ideas. You can search for specific patterns or browse through various categories and themes to find your next knitting project.
-
Pinterest: Pinterest is a visual discovery platform where you can find and save ideas for knitting patterns, tutorials, and inspiration. You can create boards to organize your favorite patterns and follow other knitters to see what they’re working on.
-
Knitting magazines: Many knitting magazines, both in print and online, feature a wide range of knitting patterns, tips, and techniques. Subscribing to a knitting magazine can provide you with a regular source of knitting inspiration and keep you up to date with the latest trends in the knitting world.
-
Knit-alongs (KALs): Joining a knit-along is a fun way to work on a knitting project alongside other knitters. KALs often revolve around a particular pattern or theme, and participants can share their progress, ask for help, and show off their finished projects. Many knitting communities and websites organize KALs, so keep an eye out for ones that pique your interest.
Remember, knitting is a versatile craft with endless possibilities. Explore different patterns, techniques, and yarns to find what excites you the most. Happy knitting!