
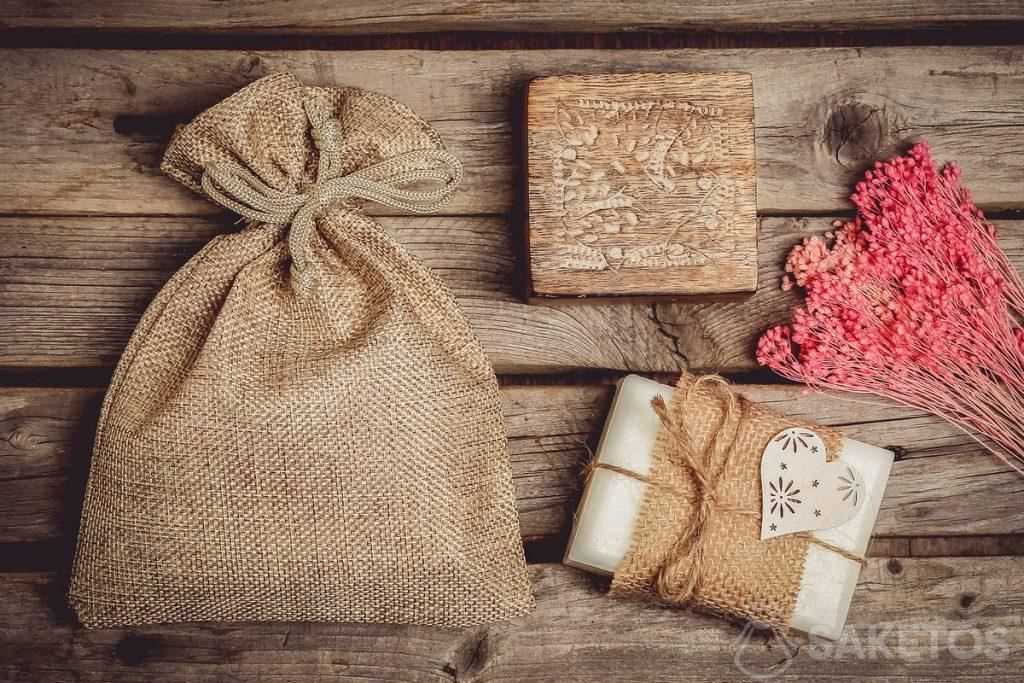
Are you looking for a fun and useful knitting project? Why not try knitting a soap bag? A soap bag is a small pouch made of yarn that is used to hold a bar of soap. It not only helps to extend the life of your soap, but it also creates a convenient and hygienic way to use it in the shower or bath.
In this article, we will provide you with a simple knitting pattern for a soap bag. This pattern is perfect for beginners who are just learning to knit or more experienced knitters who are looking for a quick and easy project.
To create your soap bag, you will need some basic knitting supplies, such as knitting needles and yarn. You can choose any type of yarn you like, but a cotton or linen blend is recommended for durability and ease of washing.
Soap Bag Knitting Pattern
If you’re looking for a fun and useful knitting project, a soap bag is a great option. A soap bag is a small pouch that you can put a bar of soap in, and it’s perfect for exfoliating your skin while you shower. Plus, it’s a great way to use up leftover yarn from other projects. In this article, we’ll provide you with a simple soap bag knitting pattern that you can easily follow.
Materials:
- 1 skein of worsted weight cotton yarn
- Size 8 (5mm) knitting needles
- Yarn needle
Instructions:
- Cast on 34 stitches.
- Knit every row until the bag measures 8 inches.
- Bind off all stitches.
- Fold the knitted piece in half, with the right sides facing each other.
- Using the yarn needle, sew the sides of the bag together, leaving the top open.
Finishing:
To give your soap bag a nice finished look, you can add a drawstring closure. To do this, thread a piece of yarn through the top row of stitches and tie it in a bow.
Now your soap bag is complete and ready to use! Simply insert a bar of soap into the bag, wet it, and use it to scrub your skin. When you’re done, hang the bag up to dry until your next shower. Happy knitting!
Materials Needed for Knitting a Soap Bag
When it comes to knitting a soap bag, you’ll need a few materials to get started. Here is a list of key items you’ll need:
- Yarn: You’ll need a durable and absorbent yarn to knit your soap bag. Cotton yarn is a popular choice for this project, as it is soft and gentle on the skin. Look for yarn that is suitable for knitting with needles of size 4-5mm.
- Knitting Needles: Choose a pair of knitting needles that are suitable for the yarn you’ve chosen. The size of the needles will depend on the thickness of your yarn. Typically, needles of size 4-5mm are used for this project.
- Tapestry Needle: A tapestry needle will come in handy for weaving in loose ends and sewing up any seams.
- Scissors: You’ll need a pair of sharp scissors for cutting the yarn.
- Stitch Markers: Stitch markers can be useful for keeping track of your stitches, especially if you’re working on a pattern that requires shaping or counting.
These are the essential materials you’ll need for knitting a soap bag. Once you have gathered everything you need, you’ll be ready to start your project and create a useful and practical item for your bathroom or as a gift for someone special.
Choosing the Right Yarn for Your Soap Bag
Making your own soap bag is not only a fun DIY project, but it also allows you to personalize the design and choose the perfect yarn for your needs. When selecting a yarn for your soap bag, there are a few factors to consider to ensure a successful and durable finished product.
Fiber content: The type of fiber used in the yarn will greatly influence the functionality and feel of your soap bag. Generally, natural fibers such as cotton or linen are recommended for soap bags as they are sturdy, absorbent, and can withstand frequent use and washing. These fibers also have good grip, which is important for holding onto the soap.
Weight: The weight or thickness of the yarn is another important consideration. A medium weight yarn, also known as worsted weight or #4 weight yarn, is commonly used for soap bags as it provides a good balance between strength and flexibility. However, you can also experiment with lighter or heavier weights to achieve different textures and patterns.
Texture and stitch definition: Consider the texture and stitch definition you want for your soap bag. Smooth yarns will create a clean and polished look, while textured yarns can add interest and dimension. Additionally, yarns with good stitch definition will showcase intricate patterns and designs.
Color: The color of the yarn is a personal preference and can be chosen to match your bathroom decor, complement the soap colors, or simply reflect your own style. Keep in mind that lighter colors may show dirt or stains more easily, so you might want to opt for darker shades if you anticipate heavy use.
Care instructions: Finally, check the care instructions for the yarn you choose. Make sure it can withstand machine washing or hand washing, as soap bags can get dirty over time. It’s also important to consider whether the yarn is colorfast, especially if you plan to use it with brightly colored soaps that may bleed.
By considering these factors and taking the time to choose the right yarn, you can create a soap bag that is not only functional but also reflects your personal style and preferences.
Understanding Basic Knitting Stitches

Learning to knit can be a fun and rewarding experience, but it can also be a bit overwhelming for beginners. One of the first things you’ll need to understand are the basic knitting stitches. These stitches are the building blocks of knitting and will form the foundation for any project you undertake.
The most basic stitch in knitting is the knit stitch. This stitch is created by inserting the right needle into the first stitch on the left needle from front to back, then wrapping the yarn around the right needle and pulling it through the stitch. The resulting loop is then slipped onto the right needle, and the process is repeated for each stitch until the row is complete.
Another important stitch to learn is the purl stitch. The purl stitch is the reverse of the knit stitch and is created by inserting the right needle into the first stitch on the left needle from back to front, then wrapping the yarn around the right needle and pulling it through the stitch. The resulting loop is then slipped onto the right needle, and the process is repeated for each stitch until the row is complete.
Once you have mastered the knit and purl stitches, you can begin to experiment with different combinations and patterns to create a wide variety of textures and designs. You can also learn additional stitches, such as the cable stitch or the seed stitch, to further expand your knitting skills.
Understanding and practicing these basic knitting stitches is essential for any knitter, whether you are a beginner or an experienced crafter. With time and patience, you can develop your skills and create beautiful and unique knitted items.
Starting Your Soap Bag with a Cast-On Stitch

When starting to knit a soap bag, the first step is to create a cast-on stitch. This is the foundation of your project and will determine the size and shape of your bag. There are different methods of casting on, but one popular technique is the long-tail cast on. To do this, you will need both your working yarn and a tail, which should be about three times the length of your desired project.
To begin the long-tail cast on, make a slipknot with your yarn and place it on the left-hand needle. Hold both the working yarn and the tail in your right hand, with the tail resting over your thumb and the working yarn over your index finger. Insert the right-hand needle into the slipknot from left to right, then wrap the working yarn clockwise around the needle.
Next, bring the needle back through the slipknot, pulling the working yarn through to create a new loop on the right-hand needle. As you do this, make sure to keep the tail yarn taut with your thumb to form a solid foundation for your cast-on stitches. Repeat these steps until you have cast on the desired number of stitches for your soap bag.
Once you have completed the cast-on stitches, you can begin knitting the body of your soap bag. The cast-on stitches will serve as the first row of your project, and you can follow the soap bag knitting pattern to continue working in the desired stitch pattern. Remember to adjust your tension as needed and to keep track of your stitch count to ensure that your soap bag turns out as planned. Happy knitting!
Knitting the Body of Your Soap Bag
Once you have finished knitting the base of your soap bag, it’s time to start working on the body. To do this, you will continue knitting with your chosen yarn and needle size, following the pattern instructions.
Start by knitting a row of stitches, then continue with the pattern stitch until you reach the desired length for your soap bag. You can choose to knit it as tall or as short as you like, depending on how much soap you want it to hold.
Pattern Stitch:
- Knit 2 stitches, purl 2 stitches. Repeat this pattern across the row until the end.
- On the next row, purl 2 stitches, knit 2 stitches. Repeat this pattern across the row until the end.
- Repeat these 2 rows for the pattern stitch.
As you knit the body of your soap bag, make sure to keep an eye on your tension. You want your stitches to be even and not too tight or too loose. Adjust your needle size if needed to achieve the correct tension.
Once you reach the desired length, it’s time to start shaping the top of the soap bag. Consult the pattern for specific instructions on how to do this, as it may vary depending on the pattern you are using.
Continue following the pattern instructions until you have completed the body of your soap bag. Remember to always check your gauge and adjust your needle size as needed to ensure a well-fitting and functional soap bag.
Adding Texture and Design Elements
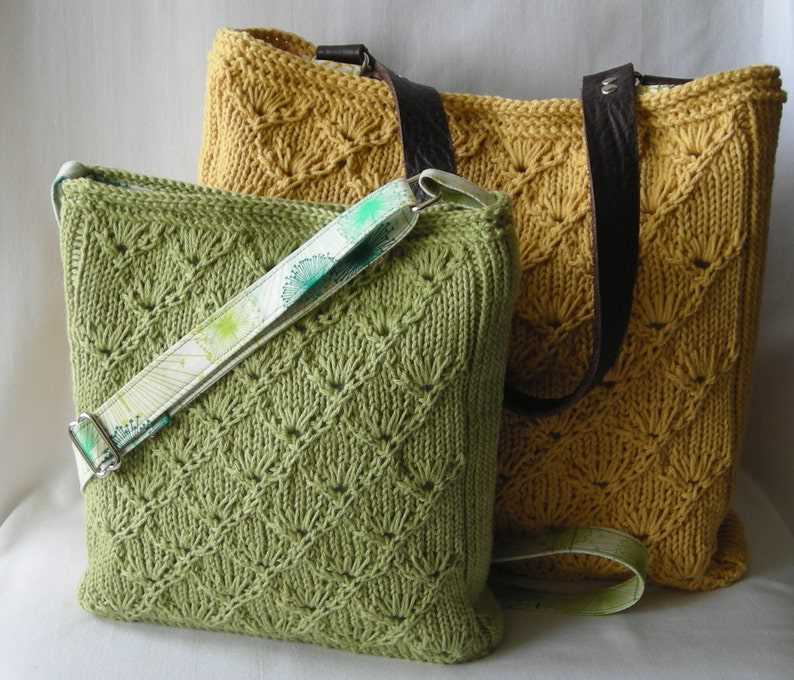
When knitting a soap bag, there are many ways to add texture and design elements to make it more interesting and visually appealing. One popular technique is using different stitch patterns to create texture. For example, you can use seed stitch, ribbing, or cable patterns to add depth and visual interest to your soap bag. These patterns can be easily incorporated into the body of the bag or used as decorative borders.
Another way to add texture and design elements is by incorporating different colors into your soap bag. You can use variegated yarn, color blocking, or stripes to create visual interest and make your soap bag stand out. Experiment with different color combinations to find the perfect combination that suits your style.
Stitch Patterns for Texture
There are numerous stitch patterns that can be used to create texture in your soap bag. One popular stitch is seed stitch, which creates a bumpy texture that is both visually appealing and functional for scrubbing. Knitting ribbing will add stretch and structure to your soap bag, perfect for holding the soap securely. Cables are another popular choice, as they create intricate designs that add a touch of elegance to your soap bag.
Color Techniques for Design
Adding different colors to your soap bag can completely transform its appearance. Variegated yarns are a great way to introduce multiple colors without having to switch between different yarns. Color blocking involves using two or more solid colors to create contrasting sections in your soap bag. Stripes are a classic design choice and can be incorporated in various ways, such as horizontal or vertical stripes. Experiment with different color techniques to create a unique and eye-catching soap bag.
Combining Texture and Design
The beauty of knitting a soap bag is that you can combine different stitch patterns and colors to create a truly unique and personalized design. For example, you can use a cable stitch pattern on the body of the bag and add a color blocking section with contrasting colors to create a visually stunning and interesting soap bag. Combining different elements allows you to showcase your creativity and make a soap bag that is not only functional but also visually appealing.
Shaping the Bottom and Sides of Your Soap Bag
When knitting a soap bag, it is important to shape the bottom and sides correctly to ensure that the bag securely holds the soap and allows for proper drainage. To do this, you will need to follow a specific knitting pattern that creates the desired shape. Here are some steps to help you shape the bottom and sides of your soap bag.
1. Cast on stitches: Start by casting on the required number of stitches specified in your knitting pattern. This will determine the width of your soap bag.
2. Knit the base: Begin knitting the base of your soap bag by working in rows or rounds, depending on the pattern. Follow the pattern instructions to achieve the desired shape and size for the bottom of the bag. This may involve knitting a certain number of rows or rounds in a specific stitch pattern.
Note: Some patterns may require you to knit the base separately and then join it to the sides later on.
3. Shape the sides: Once you have completed the base, you will need to shape the sides of your soap bag. This is usually done by increasing or decreasing stitches at specified intervals. Again, refer to the knitting pattern for instructions on how to shape the sides.
Note: If you want a tapered shape for your soap bag, you may need to increase or decrease evenly on both sides of each row or round.
4. Continue knitting: After shaping the sides, continue knitting the body of the bag until you reach the desired height. This may involve knitting a certain number of additional rows or rounds in the main stitch pattern specified in the pattern.
5. Bind off: Once you have reached the desired height, bind off all stitches to secure the top of the soap bag. Cut the yarn, leaving a long tail for seaming or attaching a drawstring, if desired.
Following these steps will help you shape the bottom and sides of your soap bag and achieve the desired outcome. Remember to always refer to your knitting pattern for specific instructions and stitch counts to ensure a successful project.
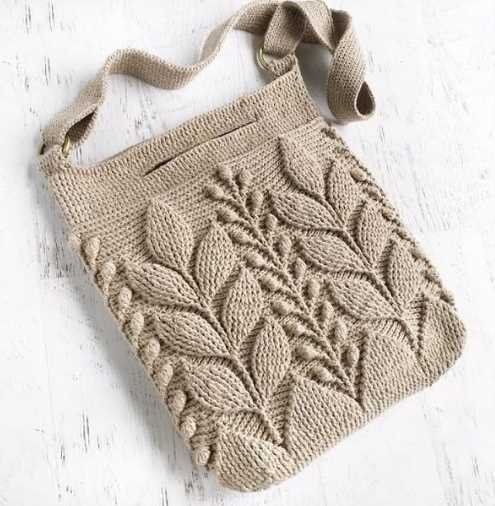
Creating the Strap or Handle for Your Soap Bag

When knitting a soap bag, one of the important steps is creating the strap or handle that will allow you to easily hang your soap bag in the shower or bath. The strap will also make it convenient for you to carry your soap bag if you are using it for travel or on-the-go purposes.
To create the strap for your soap bag, you can use a variety of knitting techniques and patterns. One option is to knit a simple garter stitch strap, which involves knitting every row. This creates a sturdy and textured strap that will securely hold your soap bag. Another option is to use a rib stitch, which involves alternating knit and purl stitches. The rib stitch creates a stretchy and flexible strap that can easily be adjusted to fit your desired length.
- Garter stitch strap: To create a garter stitch strap, cast on the desired number of stitches and knit every row until your strap reaches the desired length. You can choose to knit the strap in the same color as your soap bag or use a contrasting color for added visual interest.
- Rib stitch strap: To create a rib stitch strap, cast on an even number of stitches. Begin by knitting the first row, then purl the next row. Repeat these two rows until your strap reaches the desired length. You can also experiment with different rib stitch patterns, such as a 2×2 rib or a 1×1 rib, to create different textures.
Once you have finished knitting the strap for your soap bag, you can attach it to the main body of the bag. This can be done by sewing the ends of the strap to the sides of the bag or by knitting the strap directly onto the bag while you are still working on the main body. Whichever method you choose, make sure to securely attach the strap so that it can comfortably hold the weight of the soap and will not easily come undone.
Remember to take into consideration the desired length of your strap when creating it. If you plan to hang your soap bag, make sure the strap is long enough to accommodate the height of your shower or bath. If you plan to carry your soap bag, consider the length that will be most comfortable for you to hold or hang over your wrist or shoulder.
Finishing Touches and Finalizing Your Soap Bag
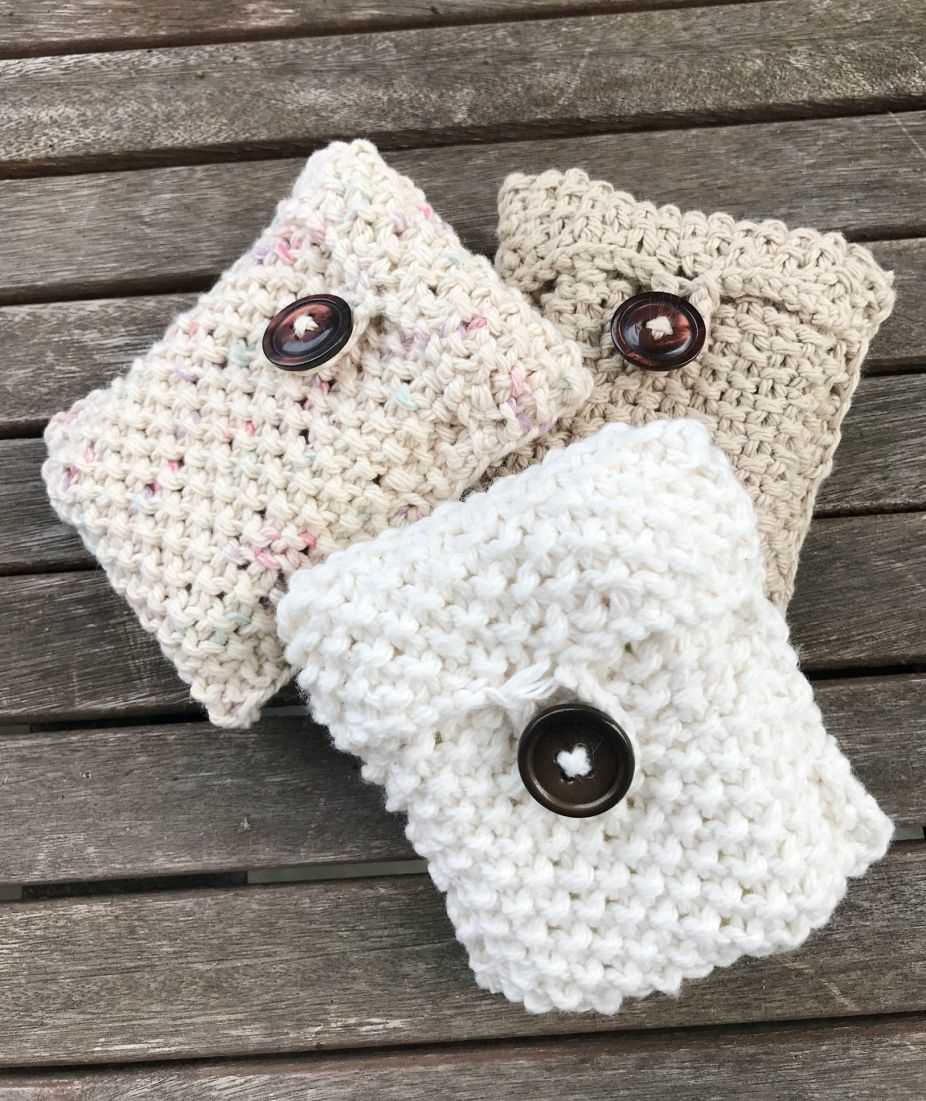
Once you have completed knitting your soap bag, there are a few finishing touches you can add to make it even more special. One option is to add a drawstring closure to the top of the bag. You can make this by knitting a separate cord and threading it through the stitches at the top, or by using a ribbon or cord that matches your yarn color. This will not only add a decorative element to your soap bag, but also help to keep the soap secure inside.
Another option for finishing your soap bag is to add embellishments such as buttons, beads, or embroidery. You can sew these onto the front of the bag to create a unique design or pattern. This is a great way to personalize your soap bag and make it stand out.
Materials Needed:
- Yarn in your desired color
- Knitting needles in the appropriate size
- Darning needle
- Ribbon or cord (optional)
- Buttons, beads, or embroidery thread (optional)
Instructions:
- Finish off your knitting by cutting the yarn, leaving a long tail.
- Using a darning needle, weave in any loose ends to secure them.
- If desired, attach a drawstring closure to the top of the soap bag. This can be done by threading a yarn cord, ribbon, or cord through the stitches at the top, and tying it in a bow.
- Add any embellishments, such as buttons, beads, or embroidery, to personalize your soap bag.
- Once you are satisfied with the final look of your soap bag, give it a gentle steam blocking to ensure the stitches are even and the bag holds its shape.
- Your soap bag is now ready to be used or gifted!
By adding these finishing touches and finalizing your soap bag, you can create a beautiful and functional accessory for your bathroom or a thoughtful handmade gift for a friend or loved one.
Tips for Caring for and Using Your Knitted Soap Bag
Now that you have your own knitted soap bag, it’s important to know how to take care of it and make the most out of its functionality. Here are some tips to help you do just that:
Clean and Care for Your Soap Bag
1. After each use, rinse the soap bag thoroughly to remove any residual soap. Squeeze out any excess water gently.
2. Allow the soap bag to air dry completely before using it again. Hanging it up by the drawstring in a well-ventilated area is a good idea.
3. To clean your soap bag, hand wash it with mild soap and lukewarm water. Gently scrub any stains or dirt using your fingertips.
4. Avoid using harsh chemicals, bleach, or hot water, as these can damage the fibers and affect the integrity of your soap bag.
Using Your Soap Bag

1. Insert your favorite soap bar into the soap bag, making sure it fits snugly. Pull the drawstring tightly to secure the soap inside.
2. Wet the soap bag with water to create a lather. The knitted texture of the soap bag will help create a rich and luxurious foam.
3. Gently massage your body with the soap bag, allowing the soap to cleanse and exfoliate your skin.
4. After use, hang your soap bag to dry using the drawstring. This will prevent the soap from sitting in water, prolonging its lifespan.
Additional Tips
1. To prolong the life of your soap bag, alternate between using different soap bars. This will prevent the same area of the bag from wearing out quickly.
2. If your soap bag starts to lose its shape, gently hand wash and reshape it while damp. Allow it to dry completely.
3. Consider making multiple soap bags in different colors to easily differentiate between different soap bars.
- Remember to regularly clean your soap bag to prevent bacteria buildup.
- Enjoy the convenience and eco-friendliness of using a knitted soap bag in your daily shower routine!