
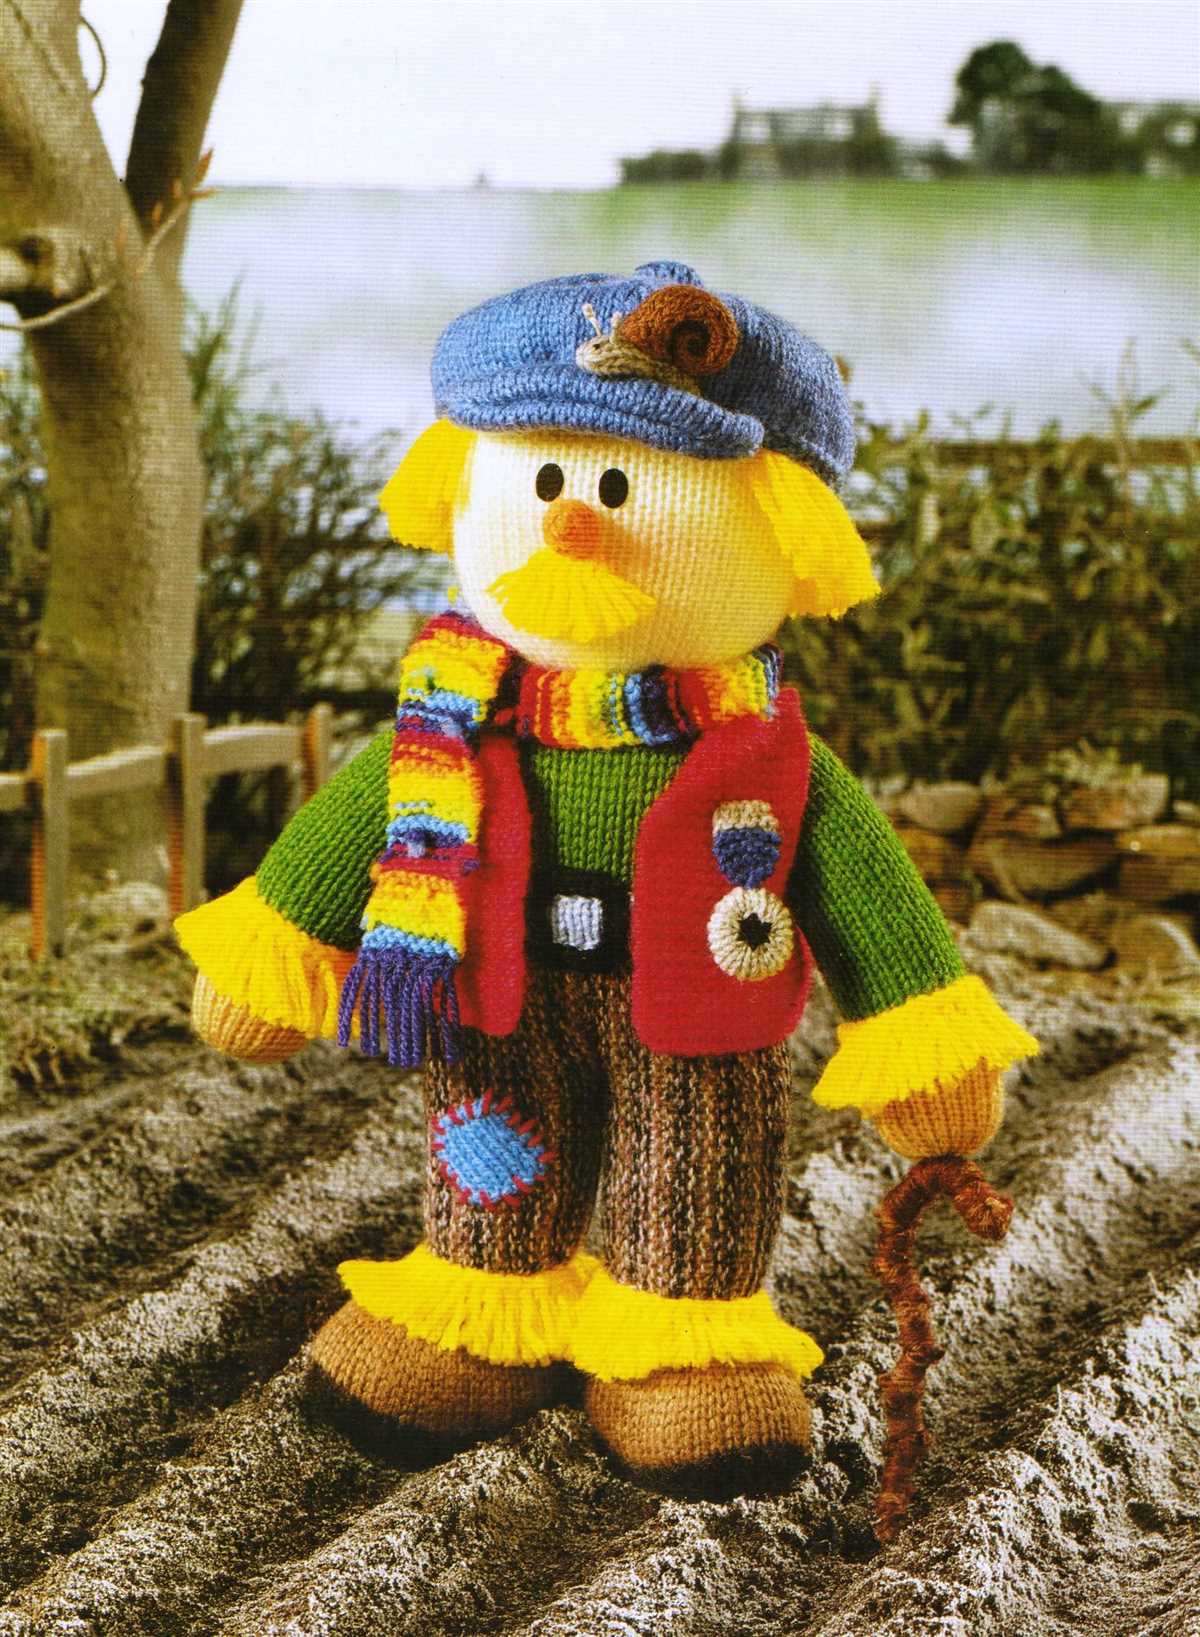
Are you looking to add a touch of autumn to your home decorations? Why not try knitting your very own scarecrow? With this free scarecrow knitting pattern printable, you can create an adorable and festive scarecrow to bring some seasonal charm to any room.
Knitting a scarecrow is a fun and creative project that is perfect for knitters of all skill levels. Whether you’re a beginner or an experienced knitter, this pattern is easy to follow and yields delightful results. Plus, by using a printable pattern, you can easily refer to the instructions as you work on your project.
This scarecrow knitting pattern is not only great for home decor, but also makes a lovely gift. You can knit a scarecrow for a friend or family member who loves autumn or wants to add some festive spirit to their own home. Handmade gifts are always special, and this scarecrow is sure to be cherished for years to come.
So why wait? Download your free scarecrow knitting pattern printable today and get started on this delightful autumn project. With just a few skeins of yarn and some basic knitting supplies, you’ll have your very own scarecrow to display before you know it. Happy knitting!
Materials you will need for this project
In order to complete this scarecrow knitting project, you will need the following materials:
- Knitting needles: You will need a pair of knitting needles, preferably in a size suitable for the yarn you are using. The pattern usually specifies the recommended needle size.
- Yarn: Choose a yarn that is appropriate for knitting a scarecrow. The pattern might suggest a specific type of yarn, such as acrylic or cotton. Make sure you have enough yarn to complete the entire project.
- Tapestry needle: A tapestry needle will be used for sewing the different parts of the scarecrow together. It should have a large enough eye to accommodate the yarn.
- Stuffing: To give your scarecrow a three-dimensional shape, you will need stuffing material. This can be polyester fiberfill or any other stuffing material of your choice.
- Scissors: Scissors are essential for cutting the yarn and trimming any excess material from the finished scarecrow.
- Markers: Markers can be helpful for keeping track of your progress while knitting, especially if the pattern includes different sections or stitch counts.
Having these materials ready and organized before starting the project will ensure a smooth and enjoyable knitting experience. Make sure to read the pattern carefully to determine if there are any additional materials or tools required.
Step-by-step instructions to knit the scarecrow
Knitting your own scarecrow can be a fun and creative project to add a festive touch to your home or garden. With this step-by-step guide, you will learn how to knit a scarecrow using the free pattern provided.
Materials you will need:
- Scarecrow knitting pattern (printable)
- Knitting needles (size depending on your preference)
- Yarn in various colors, like brown, orange, and green
- Fiberfill or stuffing
- Embroidery floss or yarn in black and white
- Scissors
- Tapestry needle
Step 1: Gather your materials

Before you start knitting, make sure you have all the necessary materials on hand. Download and print the scarecrow knitting pattern, and gather the yarn and tools mentioned in the materials list. Having everything together will make the knitting process easier and more enjoyable.
Step 2: Start knitting the body
Begin by casting on the required number of stitches using the brown yarn. Follow the instructions on the pattern to knit the body of the scarecrow, working in the specified stitch pattern. Remember to leave a long tail at the end for sewing up the body later.
Step 3: Knit the head and arms
Using the orange yarn, follow the pattern’s instructions to knit the head and arms separately. These parts will require shaping and decreasing stitches to achieve the desired shape. Pay close attention to the pattern’s instructions and take your time to create smooth and even stitches.
Step 4: Stuff and assemble
Once you have finished knitting all the parts, stuff the body, head, and arms with the fiberfill or stuffing of your choice. Make sure to evenly distribute the stuffing to create a well-rounded scarecrow. Use the long tail left from the body to sew up any openings.
Step 5: Add face and details
Using the embroidery floss or yarn in black and white, embroider the scarecrow’s face onto the head. You can use a tapestry needle to create the eyes, mouth, and nose. Get creative and add any additional details, like a hat or any accessories mentioned in the pattern.
With these step-by-step instructions, you can create your own knitted scarecrow and add a touch of autumn charm to your home. Enjoy the process and have fun making your scarecrow come to life!
Tips for choosing the right yarn for your scarecrow
When it comes to knitting a scarecrow, the choice of yarn plays a crucial role in achieving the desired look and durability of the final product. Here are some tips to help you select the perfect yarn for your scarecrow project:
Consider the season
If you are planning to display your scarecrow outdoors, it is important to choose a yarn that can withstand the elements. Look for yarns that are weather-resistant and can handle exposure to sunlight, rain, and wind. Acrylic and polyester blends are often a good choice as they are durable and can retain their shape even in harsh conditions.
Think about the texture
The texture of your yarn can greatly impact the overall appearance of your scarecrow. If you want a fluffy and soft scarecrow, opt for yarns with a high percentage of natural fibers, such as wool or alpaca. These yarns will give your scarecrow a cozy and inviting look. On the other hand, if you prefer a sleek and polished scarecrow, consider using yarns with a smooth and shiny texture, such as cotton or silk.
Choose the right color
The color of the yarn is another important factor to consider. Think about the surroundings where your scarecrow will be displayed and choose a color that will complement or stand out from the environment. Earth tones like brown, beige, and green can blend in well with a natural setting, while bright colors like orange, yellow, or red can make your scarecrow eye-catching and vibrant.
Add some novelty
If you want to make your scarecrow extra special, consider using novelty yarns or adding embellishments. Yarns with sequins, metallic threads, or furry textures can give your scarecrow a unique and whimsical touch. You can also incorporate ribbons, buttons, or other decorative elements to make your scarecrow stand out.
By considering these tips, you can choose the perfect yarn for your scarecrow knitting project and create a unique and impressive piece of art that will bring joy and charm to any space.
How to assemble and stuff the scarecrow
To create your scarecrow, you will first need to gather all the necessary materials mentioned in the knitting pattern. Once you have all the pieces knitted and ready, it’s time to assemble and stuff your scarecrow.
Step 1: Assembling the body
- Start by attaching the arms to the body. Take one arm piece and sew it onto the side of the body, making sure to secure it tightly. Repeat the process for the other arm.
- Next, attach the head to the body. Place the head piece on top of the body, aligning the edges, and sew them together. Make sure the head is centered and secure.
Step 2: Stuffing the scarecrow
- Begin by stuffing the body. Take handfuls of polyester fiberfill and gently push them into the body through the open bottom. Continue adding fiberfill until the body is firmly stuffed, making sure to distribute the stuffing evenly.
- Next, stuff the arms and head. Use smaller amounts of fiberfill to fill these pieces, ensuring they are plump but not overly stuffed. This will give the scarecrow a more realistic shape.
Step 3: Finishing touches
- Once all the pieces are stuffed, sew up the bottom opening of the body to close it off. Make sure the stitches are secure and won’t come undone.
- If desired, you can add extra details to your scarecrow to make it even more unique. This could include adding buttons for eyes, a patch on the shirt, or a straw hat.
Note: It’s important to follow the instructions provided in the knitting pattern for the specific details on assembly and stuffing. The above steps are general guidelines that can be adapted to most scarecrow knitting patterns. Enjoy creating your own adorable scarecrow!
Adding the finishing touches: Embellishments and details
Once you have finished knitting your scarecrow, it’s time to add the finishing touches to bring it to life. Embellishments and details can make all the difference in creating a truly unique and charming scarecrow.
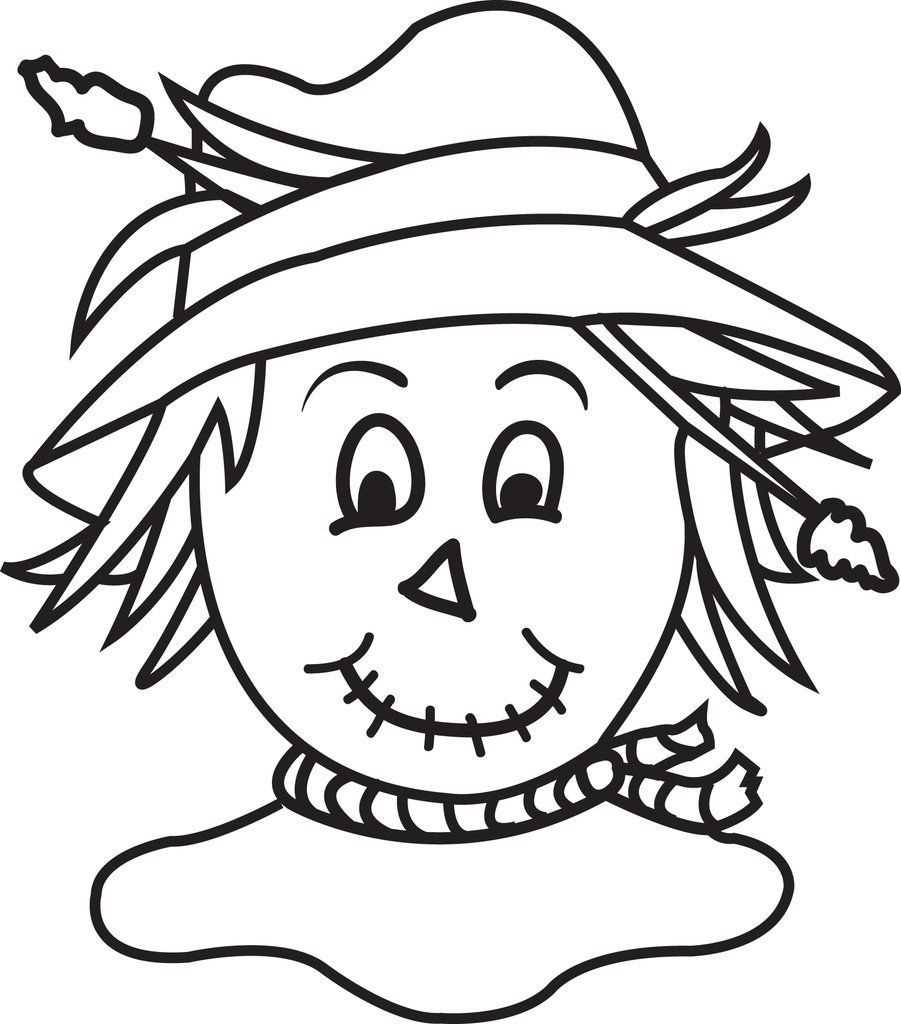
1. Face: The face of your scarecrow is the focal point and can be customized to your liking. You can use buttons or beads for the eyes, embroidery floss or yarn for the eyebrows and mouth, and a small triangle of fabric or felt for the nose. Experiment with different colors and shapes to create a friendly or mischievous expression.
2. Clothing: To give your scarecrow personality, dress it up in some adorable clothes. You can knit a tiny hat or bonnet, a cozy scarf, or even a miniature sweater and pants. Use different colors and patterns to create a whimsical outfit that matches the character you envision for your scarecrow.
3. Accessorize: Don’t forget the little details that can make your scarecrow stand out. Buttons, ribbons, and bows can be added to the clothing for extra flair. You can also attach patches, patches, or even a small pocket to hold a tiny object. These small touches can add a touch of personality and make your scarecrow even more charming.
4. Hair: Give your scarecrow some hair to complete its look. You can use yarn or embroidery floss to create a full head of hair, braided pigtails, or a simple cap. You can also experiment with different hairstyles like a messy bun or a topknot.
5. Display: Once you have finished adding all the embellishments and details, find a special place to display your scarecrow. It can be on your porch, in your garden, or even indoors. The scarecrow will bring a touch of whimsy and charm to any space and is sure to put a smile on everyone’s face.
Ideas for customizing your scarecrow’s accessories
Creating a scarecrow can be a fun and creative project, and customizing its accessories can add a unique touch to your scarecrow’s personality. Here are some ideas for customizing your scarecrow’s accessories:
Hat:
- Choose a hat that matches the theme or style of your scarecrow. A straw hat can give a traditional and rustic look, while a top hat can add a touch of elegance.
- Add embellishments to the hat, such as ribbons, flowers, or feathers, to give it a decorative touch.
- Consider using a themed hat, such as a witch’s hat for a Halloween scarecrow or a Santa hat for a Christmas scarecrow.
Clothing:
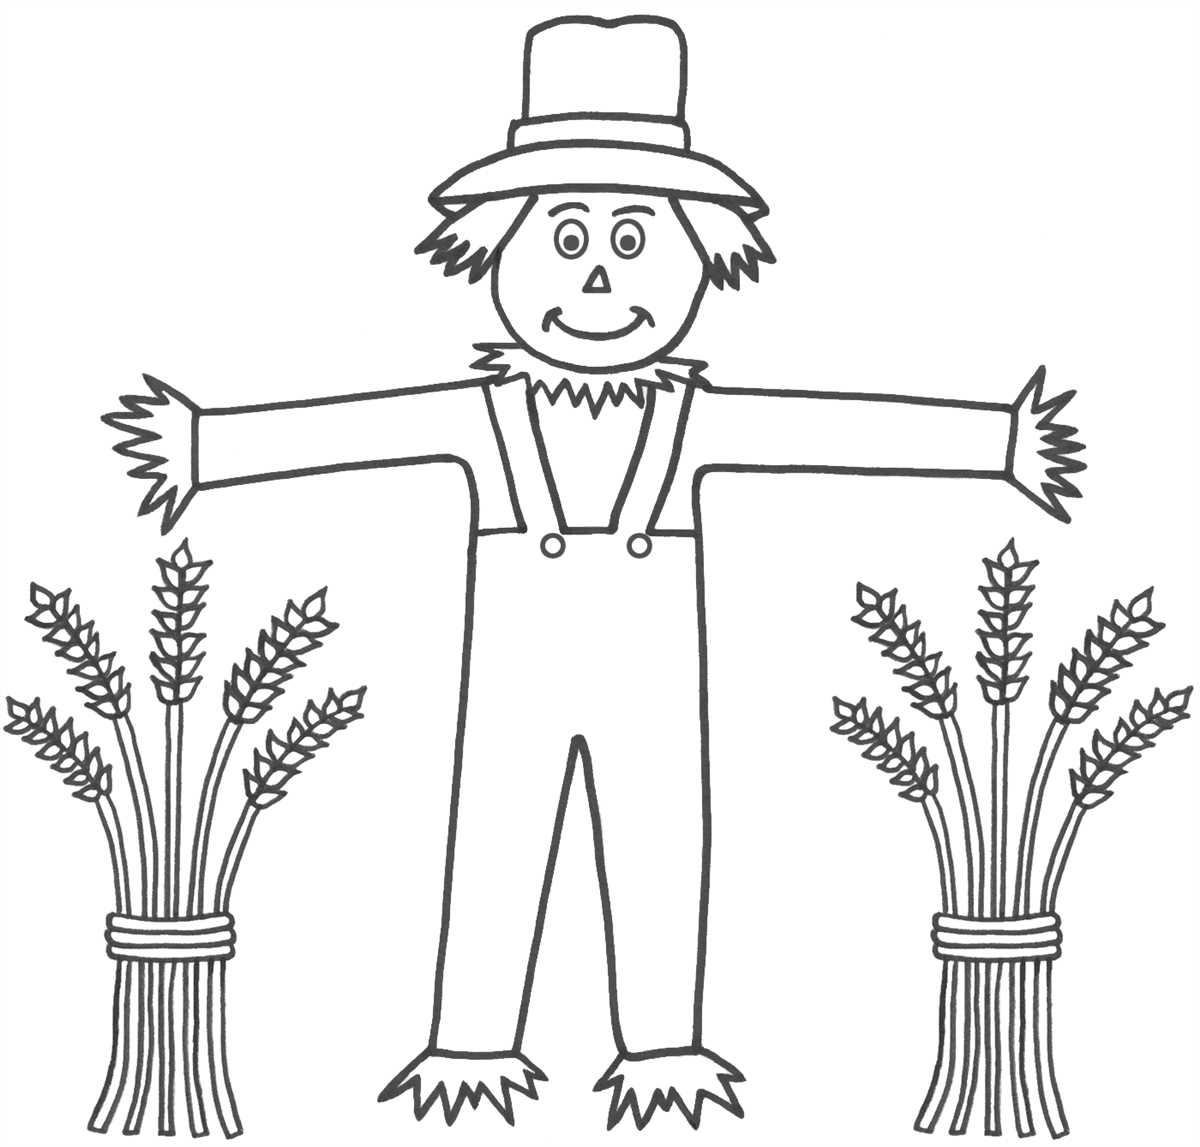
- Select clothing that reflects the personality or character you want your scarecrow to portray. For example, dress your scarecrow in overalls and a plaid shirt for a farmer look, or use a fancy dress for a more whimsical scarecrow.
- Accessorize the clothing with items like belts, scarves, or suspenders to add extra detail and personality.
- Consider using fabrics with different patterns or textures for a more unique and visually interesting scarecrow.
Face:
- Create a face for your scarecrow using materials like felt, buttons, or painted features. Consider using different colors and shapes to give your scarecrow a distinct personality.
- Add accessories to the face, such as glasses, a hat, or a mask, to further customize its appearance.
- If you want to go for a more spooky look, use black paint or markers to draw on scary features like stitched-up mouths or glowing eyes.
Remember, the key to customizing your scarecrow’s accessories is to have fun and let your creativity shine. Whether you’re going for a traditional or unique look, the possibilities are endless when it comes to customizing your scarecrow’s accessories!
Scarecrow Safety Tips: Making Sure Your Creation Is Child-Friendly
Creating a scarecrow can be a fun and engaging activity for the whole family, but it’s important to ensure that your creation is child-friendly. Here are some important safety tips to consider when making your scarecrow:
1. Choose child-safe materials:
When selecting materials for your scarecrow, opt for child-safe options. Avoid using sharp objects or anything that could cause injury. Instead, use soft fabrics, non-toxic paints, and child-friendly accessories.
2. Secure all components:
Make sure that all the components of your scarecrow are securely attached. Use strong adhesive or stitches to ensure that nothing will come loose and potentially pose a choking hazard for children.
3. Avoid small parts:
Avoid using small parts or accessories that can be easily detached. Small objects can be a choking hazard for young children, so it’s best to stick to larger, more secure attachments.
4. Consider height and placement:
Think about the height and placement of your scarecrow. If it will be displayed in an area where children will be playing, make sure it is not at a height where they could accidentally bump into it or pull on it, causing it to fall.
5. Supervise children:
Always supervise children when they are interacting with the scarecrow. Teach them not to climb on it or pull on any parts. Encourage them to admire it from a safe distance to avoid any accidents.
By following these scarecrow safety tips, you can ensure that your creation is not only a delightful addition to your fall decor, but also safe for children to enjoy.
Fun Ways to Display Your Scarecrow in Your Home or Garden
If you’ve recently made your own scarecrow using the free knitting pattern available, you might be wondering how to display it in a fun and creative way. Luckily, there are plenty of options to choose from that will add a charming touch to your home or garden.
1. Garden Peeking Scarecrow: Place your scarecrow strategically in your garden so that it appears to be peering out from behind a bush or flower bed. This will create a whimsical and unexpected surprise for anyone walking by.
2. Front Porch Greeter: Position your scarecrow near your front door so that it welcomes guests as they arrive. You can prop it up against a wall or use a scarecrow stake to securely attach it to the ground.
3. Window Display: If you have a large window facing the street, consider placing your scarecrow inside as a focal point. You can dress it up with accessories like hats, scarves, or even sunglasses to give it some extra personality.
4. Hanging Scarecrow: For a unique twist, hang your scarecrow from a tree branch or porch ceiling using ropes or strings. This will create a dynamic and eye-catching display that will surely attract attention.
5. Table Centerpiece: If you’re hosting a fall-themed dinner or gathering, why not use your scarecrow as a centerpiece for the table? Surround it with autumnal decorations like pumpkins, leaves, and candles for a festive touch.
6. Scarecrow Parade: Get creative and make multiple scarecrows to create a whimsical scarecrow parade in your garden. Line them up along a path or arrange them in a group to add a playful and lively atmosphere to your outdoor space.
7. Scarecrow Tree: If you have a bare tree in your garden, transform it into a scarecrow tree by attaching multiple scarecrows to its branches. This will create a visually interesting and vibrant display that will be a focal point in your yard.
8. Scarecrow Scavenger Hunt: Hide your scarecrow in different spots around your garden and invite children or guests to find them. This interactive display will add an element of fun and excitement to your outdoor space.
9. Scarecrow Family: Create a family of scarecrows by making multiple scarecrows in different sizes and styles. Arrange them together in a group to create a charming and heartwarming display that represents the spirit of fall.
Whether you choose to decorate your garden, porch, or home, there are plenty of fun and creative ways to display your scarecrow. Have fun experimenting with different ideas and let your imagination run wild!
Share your scarecrow creations: Connecting with the knitting community
Knitting is not just a solitary activity; it’s a way to connect with a community of like-minded individuals who share a passion for this craft. When you create a scarecrow using the free knitting pattern provided, you become part of this community and have the opportunity to share your creations with others.
Once you have finished knitting your scarecrow, it’s time to show it off! One way to connect with the knitting community is to take pictures of your scarecrow and share them on social media platforms like Instagram or Facebook. You can use hashtags like #knittersofinstagram or #knittingcommunity to reach a wider audience and connect with other knitters who have also made scarecrows.
Why should you share your scarecrow creations?
Sharing your scarecrow creations not only allows you to showcase your knitting skills, but it also inspires and motivates others to get involved in knitting. By sharing your creations, you are helping to keep the knitting community vibrant and active.
How can you connect with the knitting community?
There are several ways to connect with the knitting community and engage with other creators:
- Join knitting groups: Look for local knitting groups in your area or join online communities dedicated to knitting. These groups often have platforms where you can share your scarecrow creations and receive feedback and advice from other knitters.
- Participate in knitting challenges: Many online platforms and knitting communities host knitting challenges or contests. Participating in these events is a great way to get your scarecrow creations noticed and connect with fellow knitters.
- Attend knitting events and workshops: Keep an eye out for knitting events, workshops, and conventions in your area. These events offer the opportunity to meet other knitters, learn new techniques, and showcase your scarecrow creations.
A community of creativity and support
By sharing your scarecrow creations, you become part of a community of creative individuals who appreciate the time and effort that goes into knitting. This community offers support, inspiration, and a space to showcase your talent. So don’t hesitate to share your scarecrow creations and connect with the knitting community!