
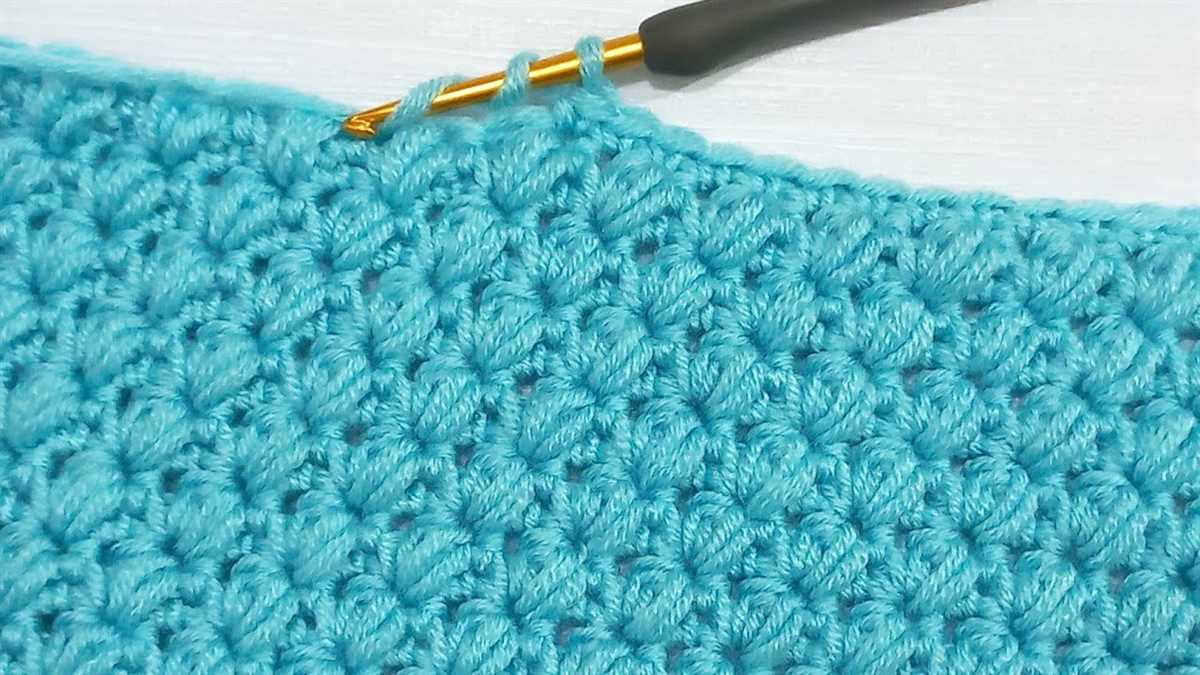
Knitting is a wonderfully versatile craft that allows you to create beautiful and functional items. One way to add a professional touch to your knitted projects is by adding an edging. Edgings can enhance the beauty of a piece, add structure, or even serve a functional purpose, such as a button band or a lace border.
Simple knitted edging patterns are perfect for beginners or those looking for a quick and easy project. These patterns can be worked in a variety of stitches and techniques, allowing you to customize your edging to suit your project and personal style.
There are endless possibilities when it comes to simple knitted edging patterns. You can choose from basic ribbing, seed stitch, garter stitch, or even add a delicate lace border. These patterns can be used on a variety of projects, such as scarves, blankets, hats, or even garments.
Whether you’re looking to add a finishing touch to a baby blanket or give your favorite sweater a professional look, simple knitted edging patterns are a great way to elevate your knitting projects. In this article, we will explore some easy and versatile edging patterns that you can use to enhance your knitting skills and create beautiful finished pieces.
Simple Knitted Edging Patterns
If you’re looking to add a decorative touch to your knitting projects, simple knitted edging patterns can be the perfect solution. These patterns are easy to master and can be used to embellish a variety of items, from blankets and scarves to baby clothes and home decor. Whether you’re a beginner or an experienced knitter, you’ll find that these patterns are a great way to add a touch of style and elegance to your creations.
One popular choice for a simple knitted edging pattern is the garter stitch border. This classic pattern is created by knitting every row, creating a textured and sturdy edge. The garter stitch border is versatile and can be used to finish off a variety of projects, from simple dishcloths to sophisticated sweaters. It’s a great option for beginners, as it’s easy to learn and creates a timeless and polished look.
Another simple knitted edging pattern that you can try is the seed stitch border. This pattern is created by alternating knit and purl stitches in a specific pattern, creating a rich and textured border. The seed stitch border is perfect for adding a decorative touch to your knitting projects and can be used to add interest to plain garments or accessories. It’s a great option for more advanced knitters who are looking for a challenge, but it can also be mastered by beginners with a little practice.
If you’re looking for something a little more intricate, you might want to try the lace edging pattern. Lace edging is created using a combination of yarn-overs, knit stitches, and decreases, resulting in a delicate and airy border. This pattern is perfect for adding a touch of elegance to your projects and can be used to create beautiful shawls, scarves, or even lacy socks. While lace edging can be a bit more challenging than the garter stitch or seed stitch borders, the end result is well worth the effort.
When it comes to choosing a simple knitted edging pattern, the possibilities are endless. Whether you prefer a classic garter stitch, a textural seed stitch, or a delicate lace pattern, there’s a pattern out there that’s perfect for your next knitting project. So grab your needles and yarn, and get ready to add a stylish finishing touch to your creations!
Basic Knitted Edging
When it comes to adding a finishing touch to your knitted projects, a basic knitted edging can be a simple and effective way to achieve a polished look. Whether you’re adding an edging to a blanket, scarf, or sweater, there are several easy patterns to choose from that can enhance the overall design of your project.
Garter Stitch Edging: One of the simplest and most versatile knitted edging patterns is the garter stitch edging. This pattern involves knitting every row, creating a textured border that lies flat and prevents curling. To create a garter stitch edging, simply knit a few rows at the beginning and end of your project, or along the sides to add a decorative touch.
Ribbed Edging: Another popular option for a basic knitted edging is the ribbed pattern. This pattern creates a stretchy and flexible border that can be easily customized to suit the size and shape of your project. To create a ribbed edging, alternate knitting and purling stitches in a repeating pattern. This technique not only adds visual interest but also helps to prevent curling.
- Seed Stitch Edging: The seed stitch edging adds a delicate and textured border to your knitted projects. This pattern involves alternating knit and purl stitches in a specific sequence, creating a bumpy and visually appealing surface. The seed stitch edging is a great choice for adding a touch of sophistication to your finished piece.
- Scallop Edging: The scallop edging is a decorative pattern that adds a feminine and elegant touch to your knitted projects. This pattern involves creating a series of increases and decreases to create a scalloped edge. The number of stitches and rows can be easily modified to achieve your desired size and shape.
- Lace Edging: For a more intricate and delicate look, a lace edging can be a stunning choice. Lace patterns often involve creating eyelets and intricate designs using yarn overs and decreases. Lace edgings are commonly used on shawls, scarves, and other lightweight accessories.
When choosing a basic knitted edging for your project, consider the overall style and aesthetic you want to achieve. Whether you prefer a simple and minimalistic look or a more intricate and detailed design, there are endless possibilities to customize your knitted edging to suit your preferences.
Garter Stitch Edging
Garter Stitch is one of the basic knitting stitches that creates a textured pattern of ridges that resemble the fabric of a bath towel. Garter Stitch edging is commonly used to add a simple and clean finish to knitted projects. It is perfect for adding a border to blankets, scarves, or even garments like cardigans.
To create a Garter Stitch edging, you will need to work in a continuous pattern of knit stitches on every row. This means that you will knit all the stitches, whether you are on the right side or wrong side of the work. This simplicity makes Garter Stitch edging a great option for beginners as it eliminates the need to keep track of different stitch patterns.
One advantage of using Garter Stitch for edging is that it creates a flat and stable border that prevents curling. This is especially useful when adding an edging to a project that has stockinette stitch as the main fabric, as stockinette tends to curl at the edges. The Garter Stitch edging acts as a stabilizing force, ensuring that the edges of your project lie flat and neat.
When planning your Garter Stitch edging, you can customize the width by working more or fewer rows of garter stitches. You can also experiment with different yarn colors or stitch combinations to create more intricate edging patterns. The versatility of Garter Stitch makes it a popular choice among knitters for adding a professional-looking finish to their projects.
Ribbed Edging
Ribbed edging is a versatile knitting pattern that can add a touch of class and texture to any project. Whether you’re knitting a baby blanket, a sweater, or a scarf, ribbed edging can provide a clean and finished look. This pattern is characterized by alternating knit and purl stitches to create a stretchy and textured fabric.
To create ribbed edging, you will need to know how to knit and purl stitches. Start by casting on the desired number of stitches, usually a multiple of two or four. The most common ribbing pattern is the 1×1 rib, where you alternate between one knit stitch and one purl stitch. This creates a stretchy fabric that lays flat and is perfect for cuffs, collars, or hems.
The 2×2 rib is another popular pattern, where you alternate between two knit stitches and two purl stitches. This creates a wider rib and is often used for sweater cuffs or waistbands. The 2×2 rib provides additional stretch and elasticity, making it perfect for garments that need to fit snugly.
Ribbed edging can also be used as a decorative border for blankets, pillowcases, or even dishcloths. By adding a ribbed edging, you can elevate the overall look of your project and give it a polished finish. Consider using a contrasting color for the ribbed edging to make it stand out even more.
Overall, ribbed edging is a simple yet effective way to add texture and style to your knitting projects. Whether you’re a beginner or an experienced knitter, this pattern is easy to master and can be used in a variety of projects. So why not give it a try and see how ribbed edging can elevate your knitting game?
Seed Stitch Edging
The seed stitch edging is a simple and versatile knitting pattern that can add a beautiful texture and finished look to your knitting projects. It is commonly used to create borders and edges on garments, blankets, scarves, and other accessories. The seed stitch is made up of alternating knit and purl stitches, creating a bumpy surface that resembles scattered seeds.
To create a seed stitch edging, you will need to have basic knitting skills, including the ability to knit and purl stitches. The pattern is worked over an odd number of stitches, with each row alternating between knit and purl stitches. This creates a balanced pattern that lays flat and is reversible, making it ideal for edgings that will be seen from both sides.
One of the advantages of the seed stitch edging is its versatility. It can be used on any type of project, from simple dishcloths to intricate lace shawls. The pattern can be easily modified to fit any size or shape by adjusting the number of stitches and rows. The seed stitch edging can also be combined with other stitch patterns to create unique and personalized designs.
To knit a seed stitch edging, you can follow these steps:
- Cast on an odd number of stitches, depending on the desired width of the edging.
- Row 1: *K1, p1*, repeat from * to * across the row.
- Row 2: *P1, k1*, repeat from * to * across the row.
- Repeat rows 1 and 2 until the edging reaches the desired length.
- Bind off in pattern.
The seed stitch edging can be a great addition to any knitting project, giving it a polished and finished look. Whether you are a beginner or an experienced knitter, the seed stitch edging is a versatile and easy-to-learn pattern that can enhance the beauty of your creations.
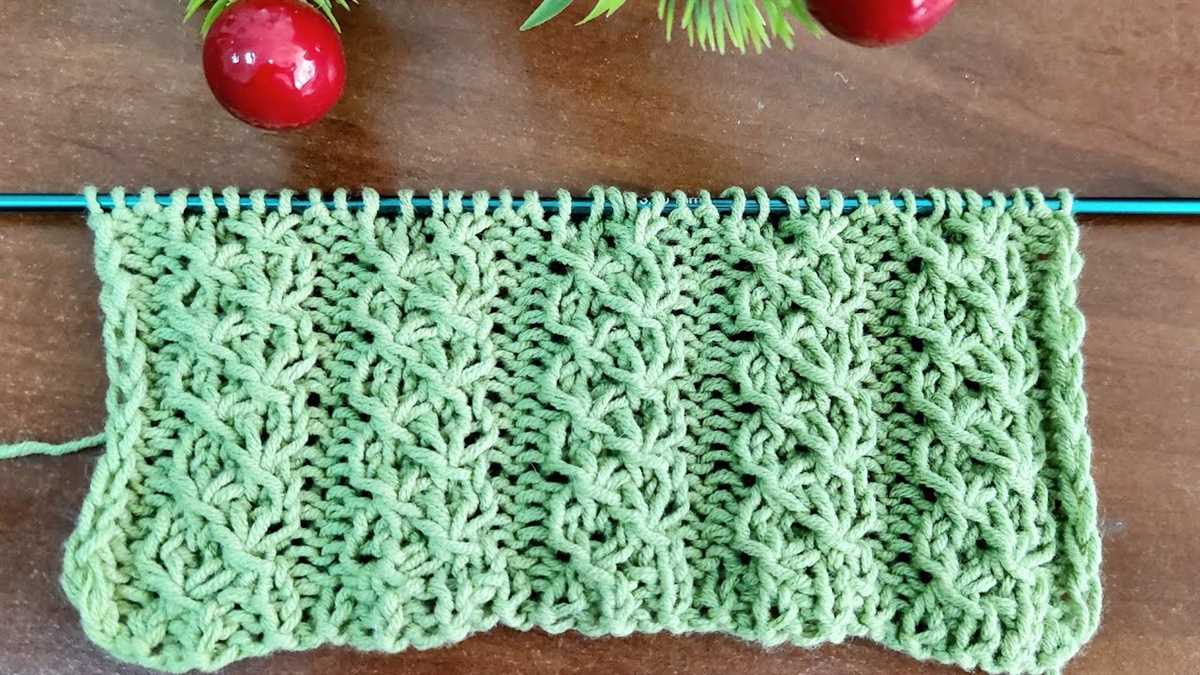
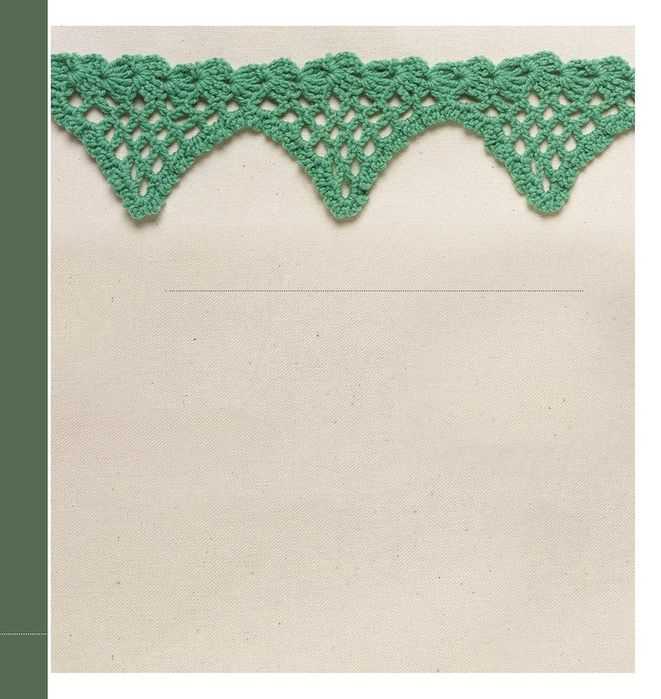
Lace Edging
If you want to add an elegant and delicate touch to your knitted project, lace edging is the perfect choice. Lace edging is characterized by its intricate and intricate patterns, which create a beautiful and ethereal look. It can be used to finish the edges of blankets, shawls, scarves, and even clothing items like cardigans or sweaters.
One popular lace edging pattern is the “Feather and Fan” stitch. This stitch pattern creates a scalloped edge with a wave-like design, resembling the shape of feathers. It is an intermediate-level pattern that requires basic knitting skills and involves the repetition of a series of increases and decreases to create the desired lace effect.
Another lovely lace edging pattern is the “Diamond Brocade” stitch. This stitch pattern features a diamond-shaped pattern with a textured background, giving it a timeless and classic appeal. The Diamond Brocade stitch is suitable for more advanced knitters due to its intricate pattern and requires careful attention to detail.
When adding lace edging to your project, it’s important to choose the right yarn and needle size to achieve the desired drape and effect. Lighter weight yarns such as lace or fingering weight are commonly used for lace edging to create a delicate and airy look. Pairing the yarn with appropriate needle size can also help to enhance the stitch definition and ensure that the lace pattern shines through.
Overall, lace edging is a beautiful and versatile technique that can elevate any knitted project. Whether you’re adding it to a blanket, shawl, or garment, lace edging adds an element of sophistication and elegance. With a variety of stitch patterns to choose from, you can find the perfect lace edging to complement your project and showcase your knitting skills.
Cable Edging
Cable edging is a decorative pattern that adds texture and interest to knitted projects. It is characterized by the use of cable stitches, which create twists and crosses in the fabric. The cables can be intricate and complex, or simple and subtle, depending on the desired effect. Cable edging is often used to finish the edges of sweaters, cardigans, scarves, and blankets.
To create cable edging, you will need to know how to work basic cable stitches, such as C4F (cable 4 front) and C4B (cable 4 back). These stitches involve crossing a certain number of stitches over one another, either to the left or to the right. The cables are typically worked over a set number of rows, and may be combined with other stitch patterns, such as ribbing or seed stitch, for added interest.
One popular cable edging pattern is the Celtic Cable. This pattern features a series of intertwined cables that resemble Celtic knotwork. The cables are worked over a background of stockinette stitch, creating a stunning contrast in textures. Another option is the Rope Cable edging, which mimics the appearance of twisted ropes. This pattern is often used on the borders of blankets or scarves, and can add a nautical or rustic touch to a project.
Cable edging can be challenging for beginners, as it requires working with multiple cable stitches at once. However, with practice and patience, it can become a rewarding technique that adds a professional touch to your knitting projects. Whether you choose a bold and intricate pattern or a subtle and delicate design, cable edging is sure to elevate your knitted creations to the next level.
Eyelet Edging
Eyelet edging is a beautiful and intricate pattern that can add a delicate touch to any knitted project. It’s a versatile technique that can be used on a variety of items, such as shawls, scarves, or even baby blankets. Eyelet edging is created by knitting a series of yarn overs and decreases, resulting in a pattern of small holes or “eyelets” along the edge of the fabric.
To create eyelet edging, you’ll need to follow a specific stitch pattern. One common method is to knit two stitches together, followed by a yarn over. This creates a decrease and an eyelet in the fabric. You’ll repeat this pattern across the row, creating a row of eyelets. On the next row, you’ll simply knit the yarn overs and work the decreases as they appear. This creates a pattern of eyelets that is consistent and visually appealing.
Eyelet edging can be a bit tricky for beginners, as it requires patience and precision. However, with practice, it can become a beautiful addition to your knitting repertoire. The best way to master the technique is to start with a small project, such as a washcloth or dishcloth, and practice the stitch pattern until you feel comfortable. Once you’ve mastered the basics, you can incorporate eyelet edging into larger projects.
- To add a touch of elegance to a shawl, try knitting eyelet edging along the border. This will give the shawl a delicate and feminine look.
- If you’re knitting a baby blanket, consider adding eyelet edging to one or more sides. The eyelets will add a decorative touch and make the blanket even more special.
- For a lightweight and airy scarf, try knitting eyelet edging along the length of the scarf. This will create a beautiful and intricate border that is sure to stand out.
In summary, eyelet edging is a versatile and beautiful pattern that can elevate any knitted project. Whether you’re a beginner or an experienced knitter, it’s a technique worth exploring. With practice, you’ll be able to create stunning eyelet edgings that add a touch of elegance to your knitting.
Ruffle Edging
If you want to add a feminine touch to your knitted project, then ruffle edging is the perfect choice. This decorative edging creates a frilly, layered effect that adds a touch of elegance to any garment or accessory.
To create a ruffle edging, you can use different techniques such as gathering, pleating, or knitting extra stitches in each row. Here are a few ideas to get you started:
- Gathered Ruffle: Knit a few rows of stockinette stitch, then on the next row, increase the number of stitches by knitting into the front and back of each stitch. Continue to increase the number of stitches in each row until you reach the desired length. Finally, bind off all stitches. This will create a gathered ruffle effect.
- Pleated Ruffle: Knit a few rows of garter stitch, then on the next row, fold the fabric in half and knit the two layers together. Continue to knit the double-layered fabric until you reach the desired length. Finally, bind off all stitches. This will create a pleated ruffle effect.
- Eyelet Ruffle: Knit a few rows of stockinette stitch, then on the next row, yarn over after every stitch. Continue to yarn over in each row until you reach the desired length. Finally, bind off all stitches. This will create an eyelet ruffle effect.
Ruffle edging can be added to the bottom of a skirt, the cuffs of a sweater, or the edges of a shawl. The choice is yours! Play around with different stitch patterns, yarn types, and edging widths to create a unique ruffle edging that suits your style.
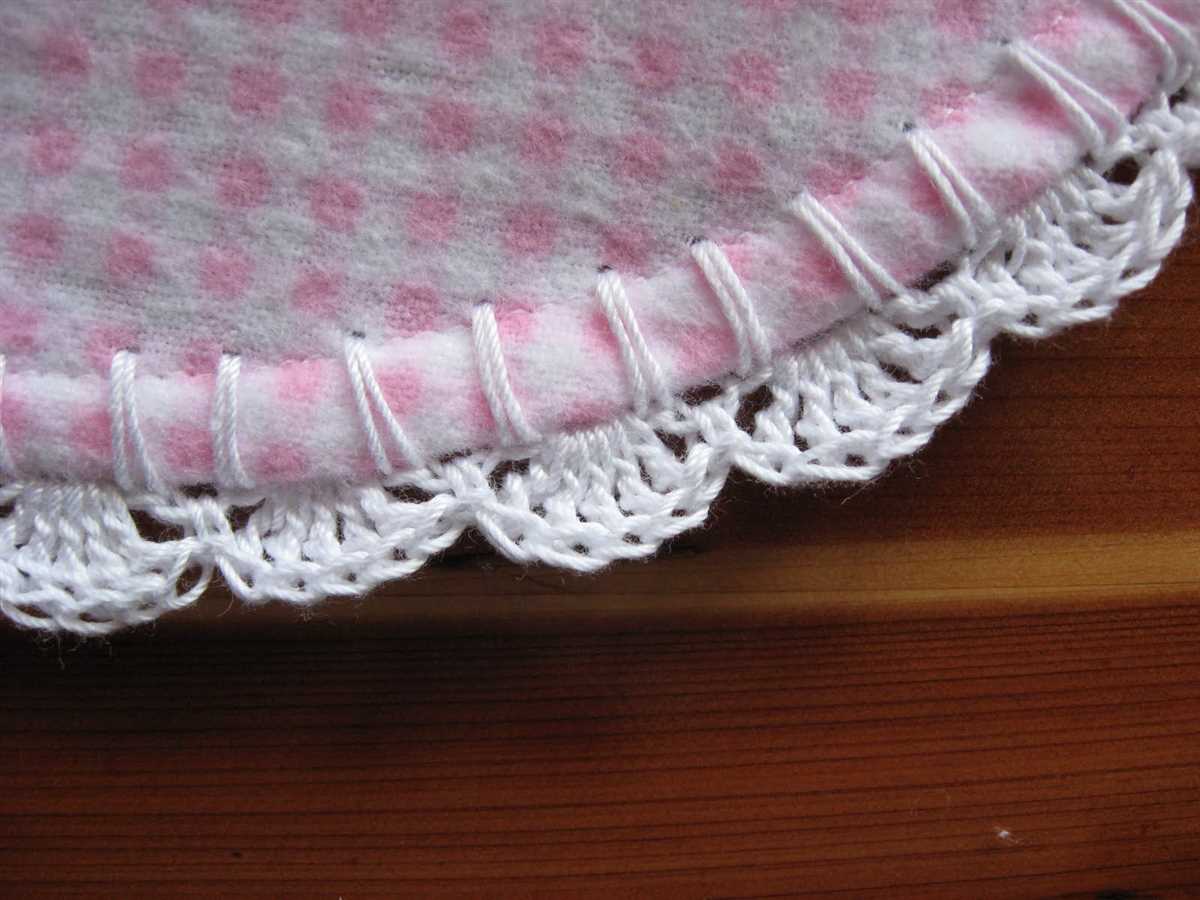
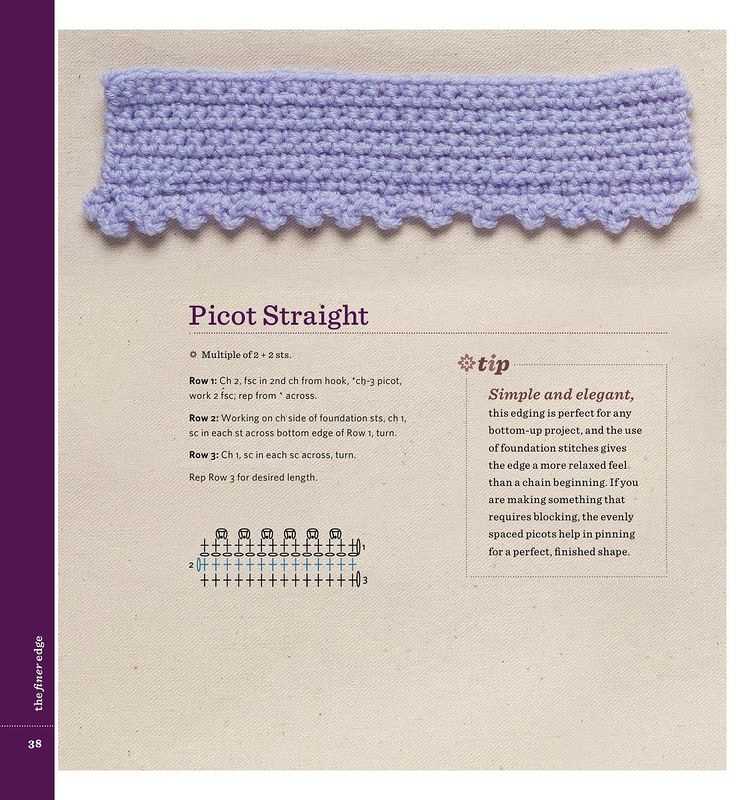
Picot Edging
Adding a picot edging to your knitted project is a simple and elegant way to finish it off. The picot edging creates a decorative border with small loops that can be used for attaching buttons or adding a delicate touch. It’s a great technique to add a polished look to a variety of knitting projects, such as blankets, scarves, or even baby clothes.
To create a picot edging, you will need to work a series of small loops along the edge of your project. These loops can be created by binding off a few stitches, then casting on the same number of stitches. The resulting loops resemble small picots, hence the name of the technique.
To get started, you will need a set of knitting needles and yarn in the color of your choice. Begin by casting on the desired number of stitches for your project. Once you have completed the main body of your knitting, you can start working the picot edging.
To begin the picot edging, work a few rows of knitting in the pattern you have been using for your project. Then, on the next row, knit the desired number of stitches for your picot loop. For example, if you want a picot loop every 5 stitches, knit the first 4 stitches as usual, then knit the 5th stitch and leave it on the left-hand needle.
Next, slip the first 4 stitches over the 5th stitch and off the left-hand needle. This creates a small picot loop. Repeat this process across the entire row, until you have created a picot loop for each desired stitch.
Continue working the picot edging for a few rows, repeating the process of knitting the desired number of stitches for the picot loop and slipping the extra stitches over it. Once you have completed the desired number of rows, you can bind off your knitting and secure the picot loops as desired.
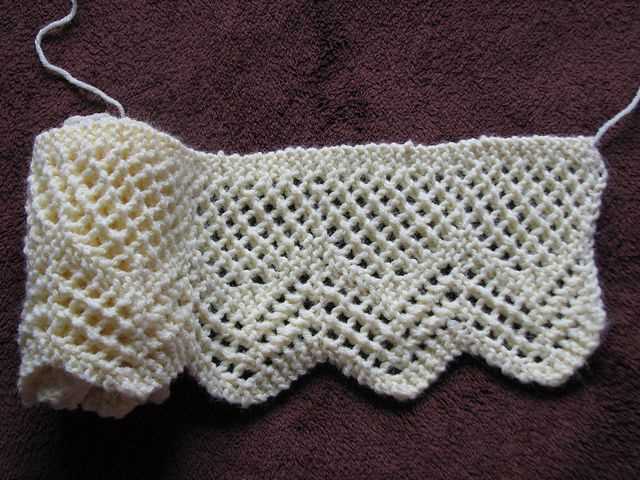
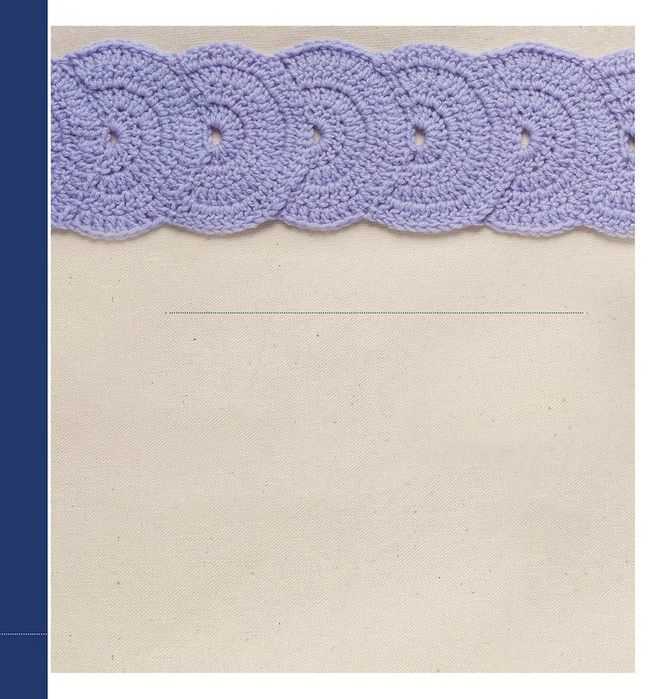
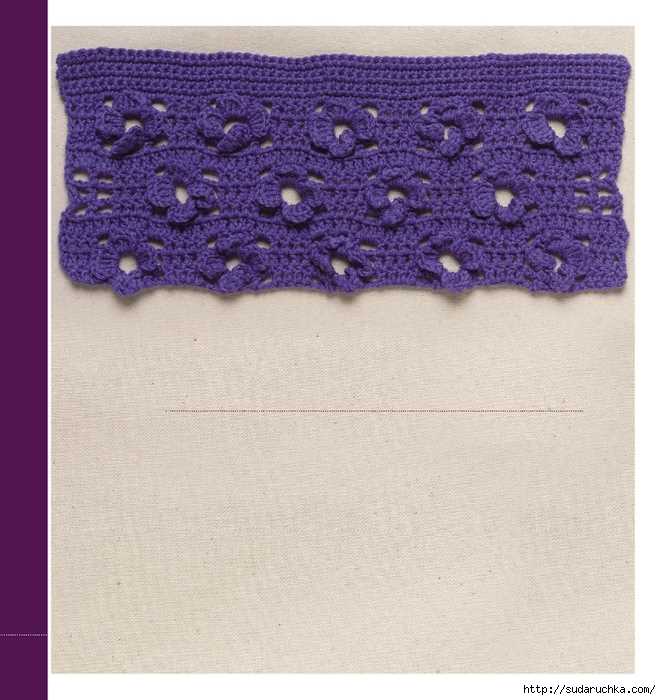
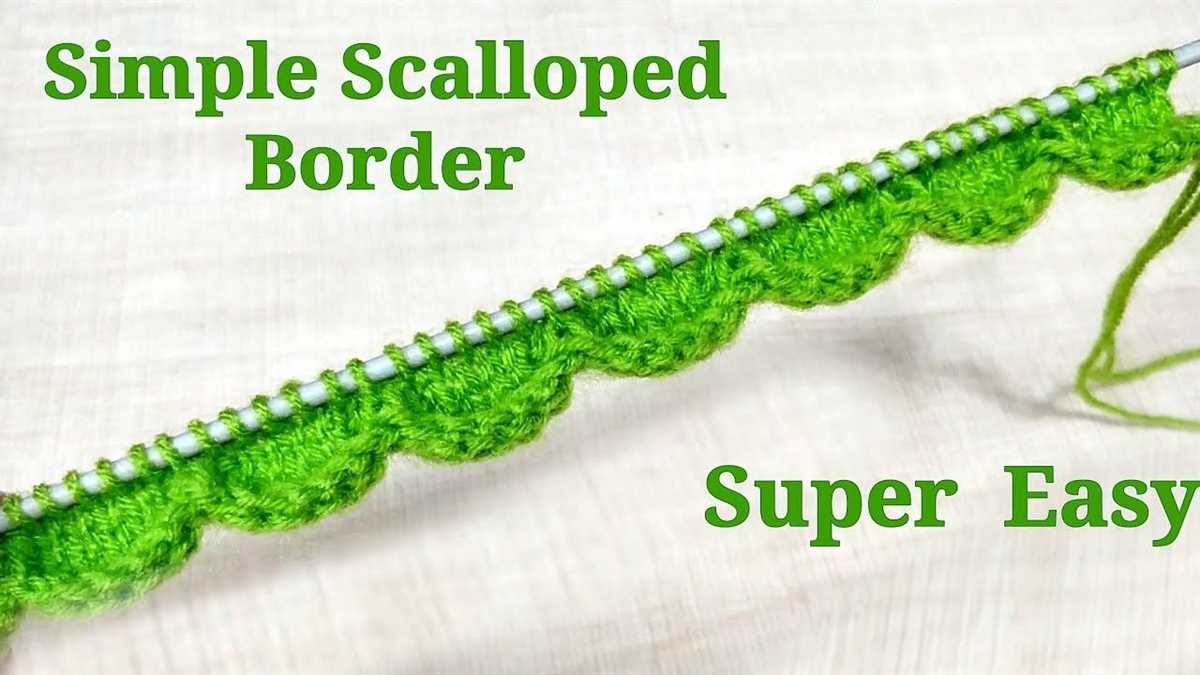
Scallop Edging
The scallop edging is a popular and versatile knitting pattern that adds a feminine touch to any project. It features small, rounded shapes that resemble scallop shells, creating a delicate and decorative border. This edging pattern is perfect for adding a finishing touch to blankets, scarves, shawls, and even clothing items like cardigans and sweaters.
To create the scallop edging, you will need basic knitting skills, including casting on, knitting, purling, and binding off. The pattern typically involves knitting a set number of stitches, followed by creating increases and decreases to form the scallop shape. These increases and decreases can be created using different techniques, such as yarn overs, knit two together (K2tog), and slip slip knit (SSK).
The scallop edging can be customized based on personal preference. You can adjust the size of the scallops by changing the number of stitches between each increase and decrease. Additionally, you can experiment with different yarn weights and needle sizes to create different effects. Thicker yarn and larger needles will result in larger, more pronounced scallops, while thinner yarn and smaller needles will create smaller, more delicate scallops.
Overall, the scallop edging is a beautiful and versatile pattern that adds a touch of elegance to any knitting project. With its feminine and delicate design, it’s a great choice for those looking to add a decorative border to their creations. Whether you’re a beginner or an experienced knitter, the scallop edging is a pattern that you’ll enjoy creating and using in your knitting projects.