
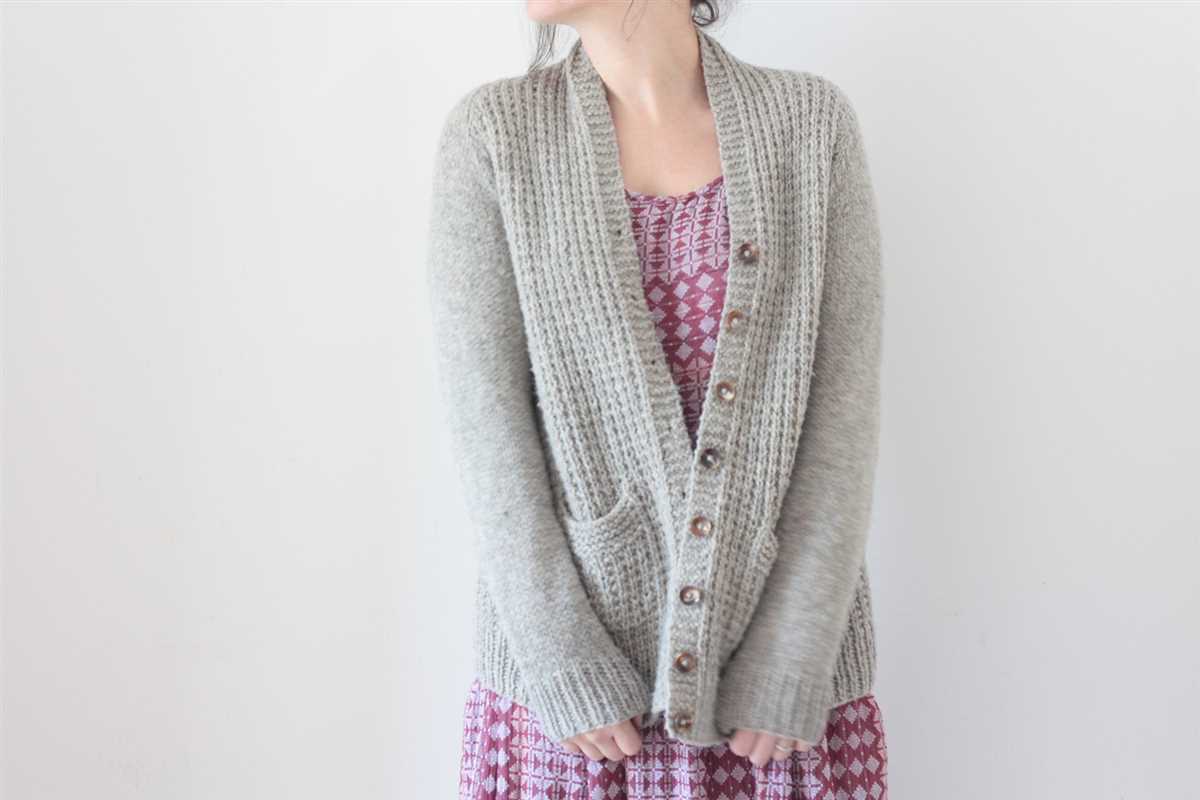
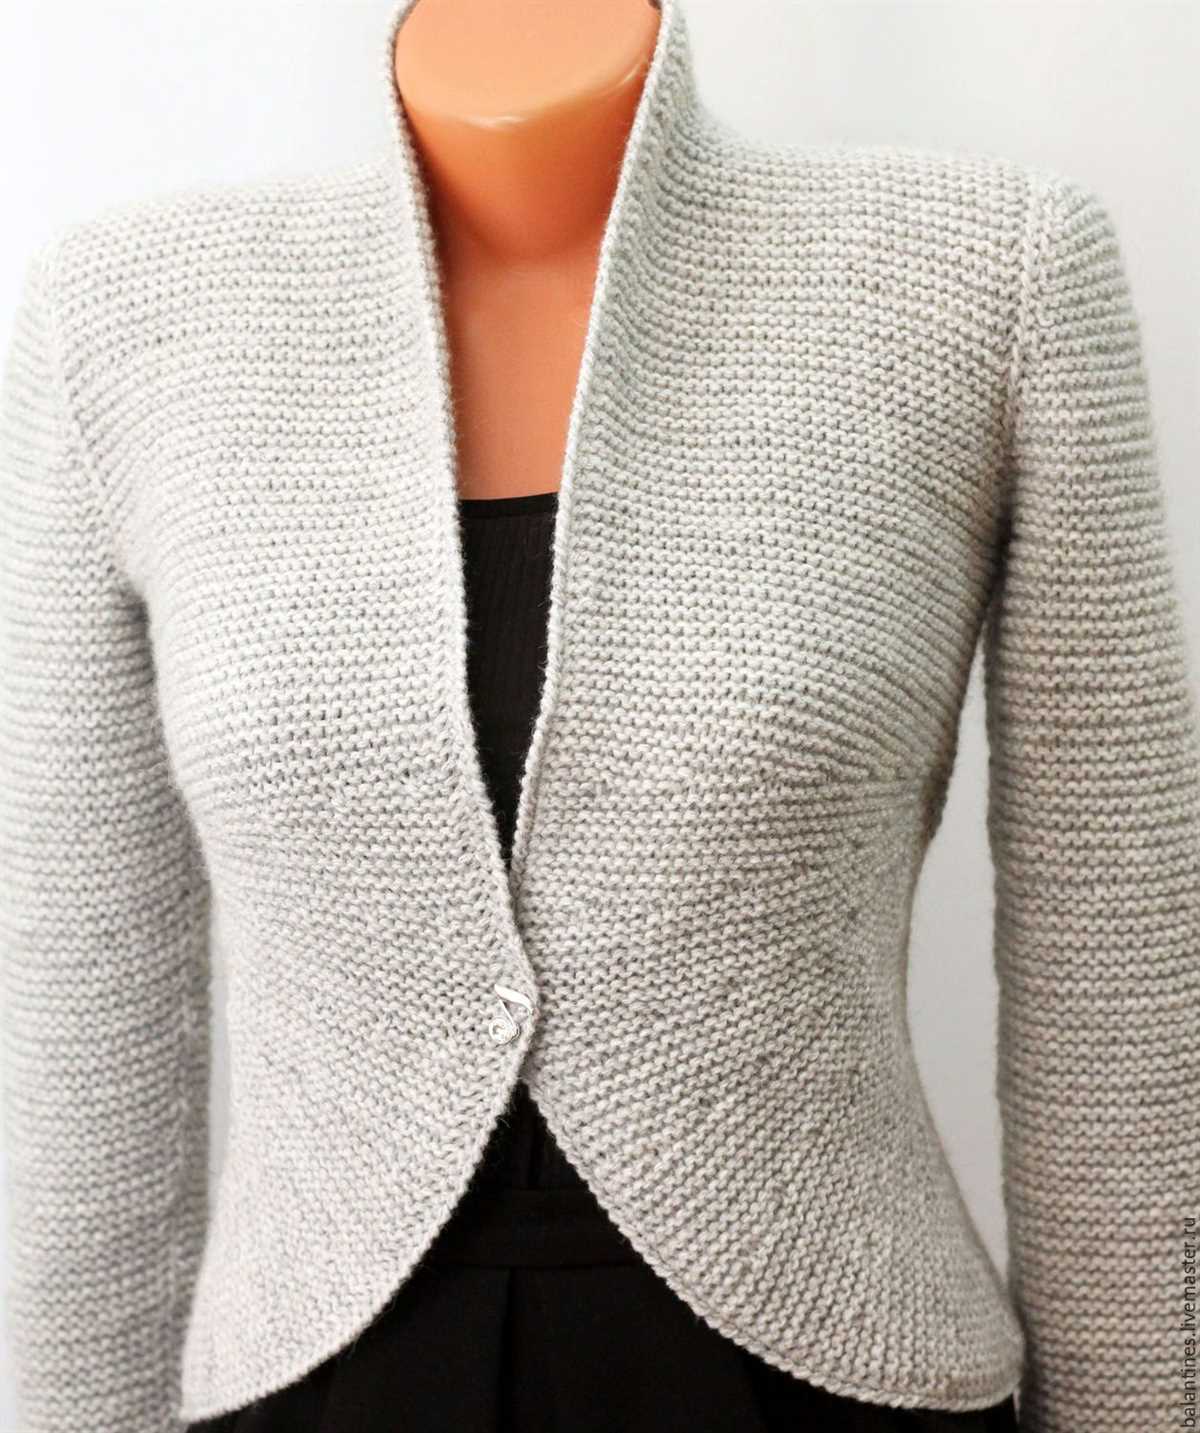
If you’re looking to knit a classic and versatile cardigan, then this simple cardigan knit pattern is perfect for you. Whether you’re a beginner or an experienced knitter, this pattern is easy to follow and produces stunning results. The cardigan is designed to be worn open, and can be dressed up or down depending on the occasion.
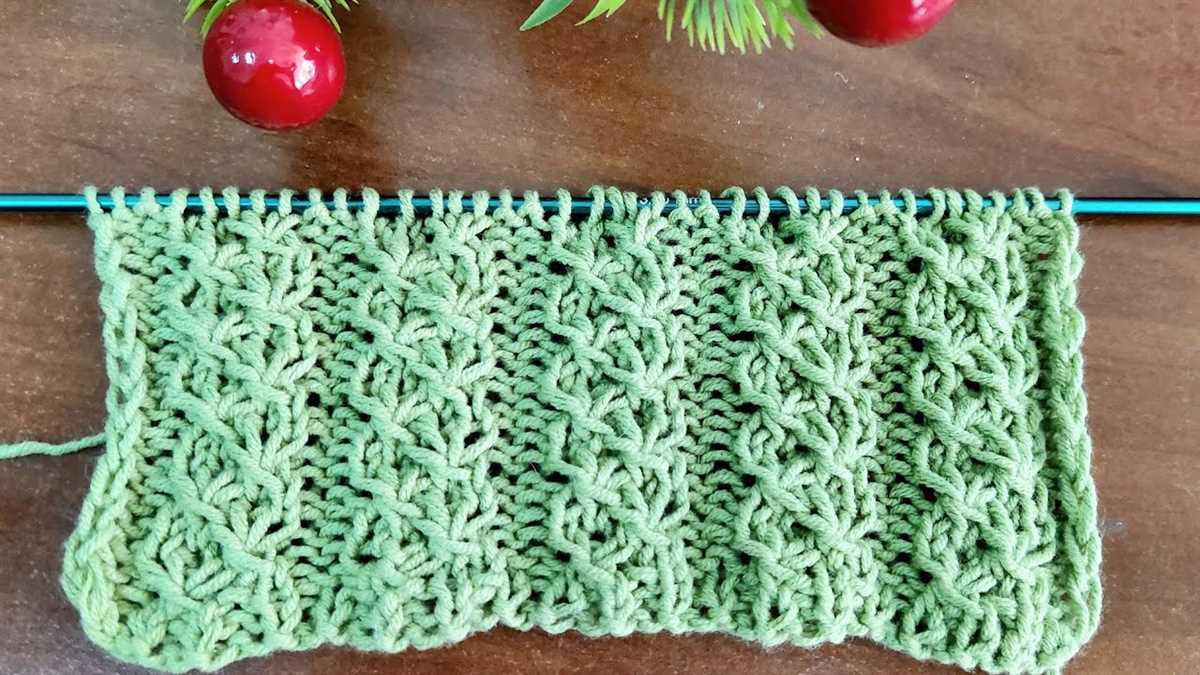
This pattern calls for worsted weight yarn and size 8 knitting needles, so it’s great for using up any extra yarn you may have lying around. The pattern itself is a basic stockinette stitch, making it a great option for beginners who are looking to expand their skills. The cardigan is knit in four separate pieces: the back panel, two front panels, and the sleeves. Once all the pieces are complete, they are sewn together, and the collar and button bands are knit on.
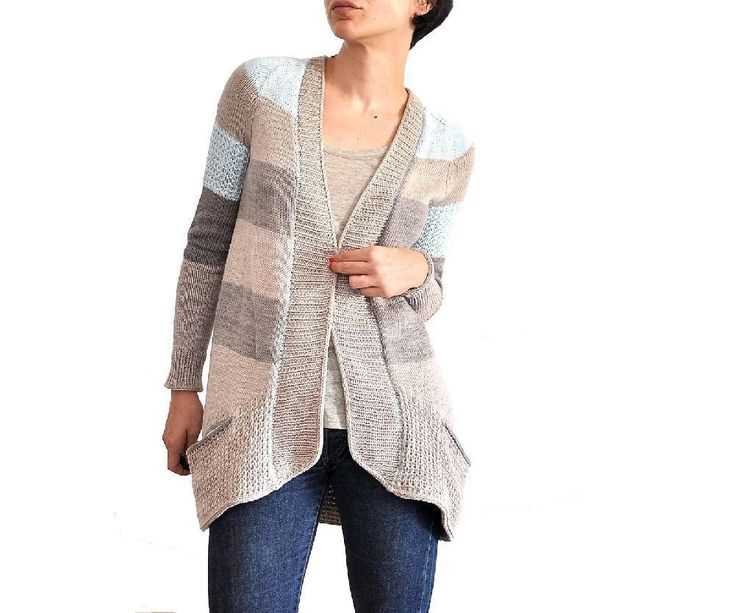
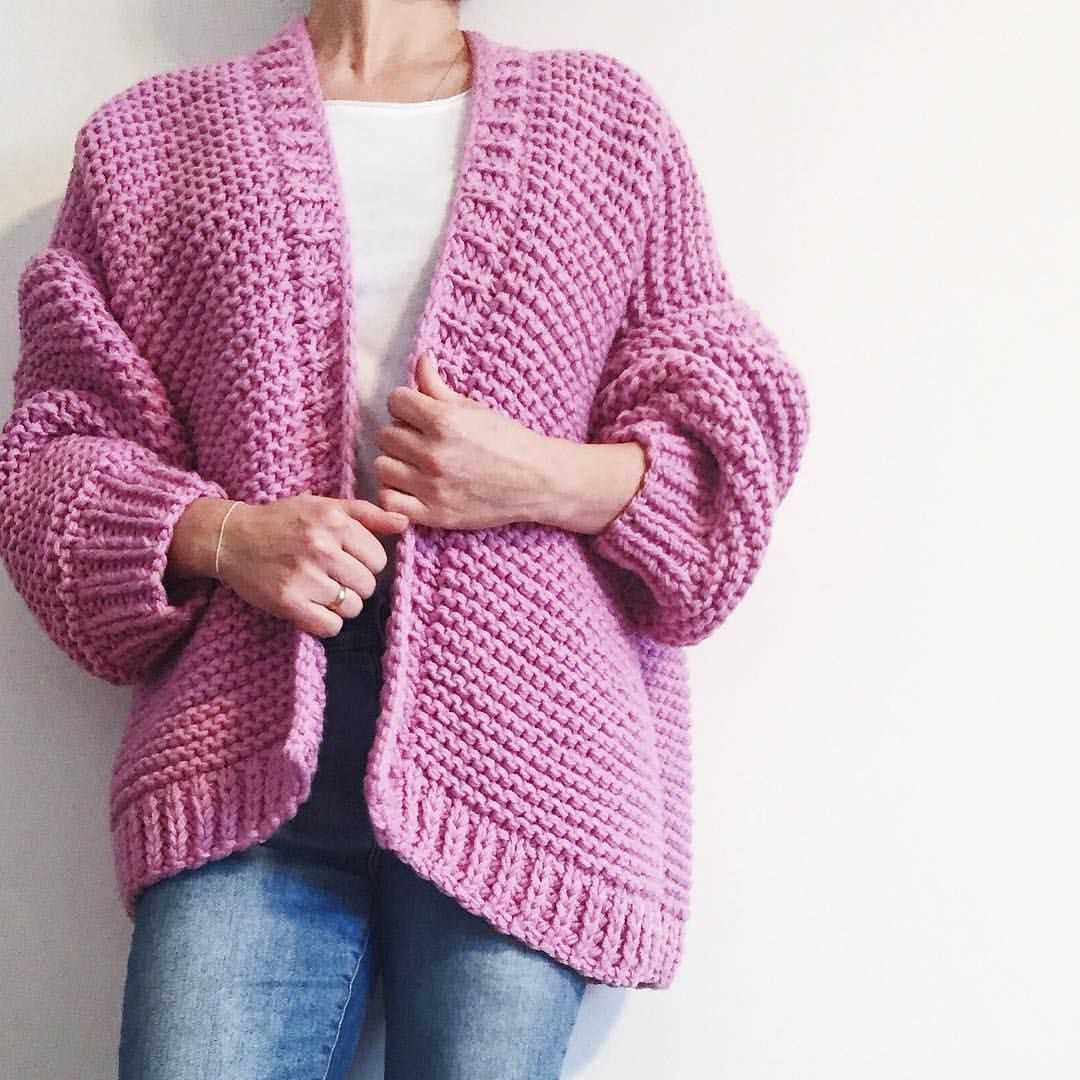
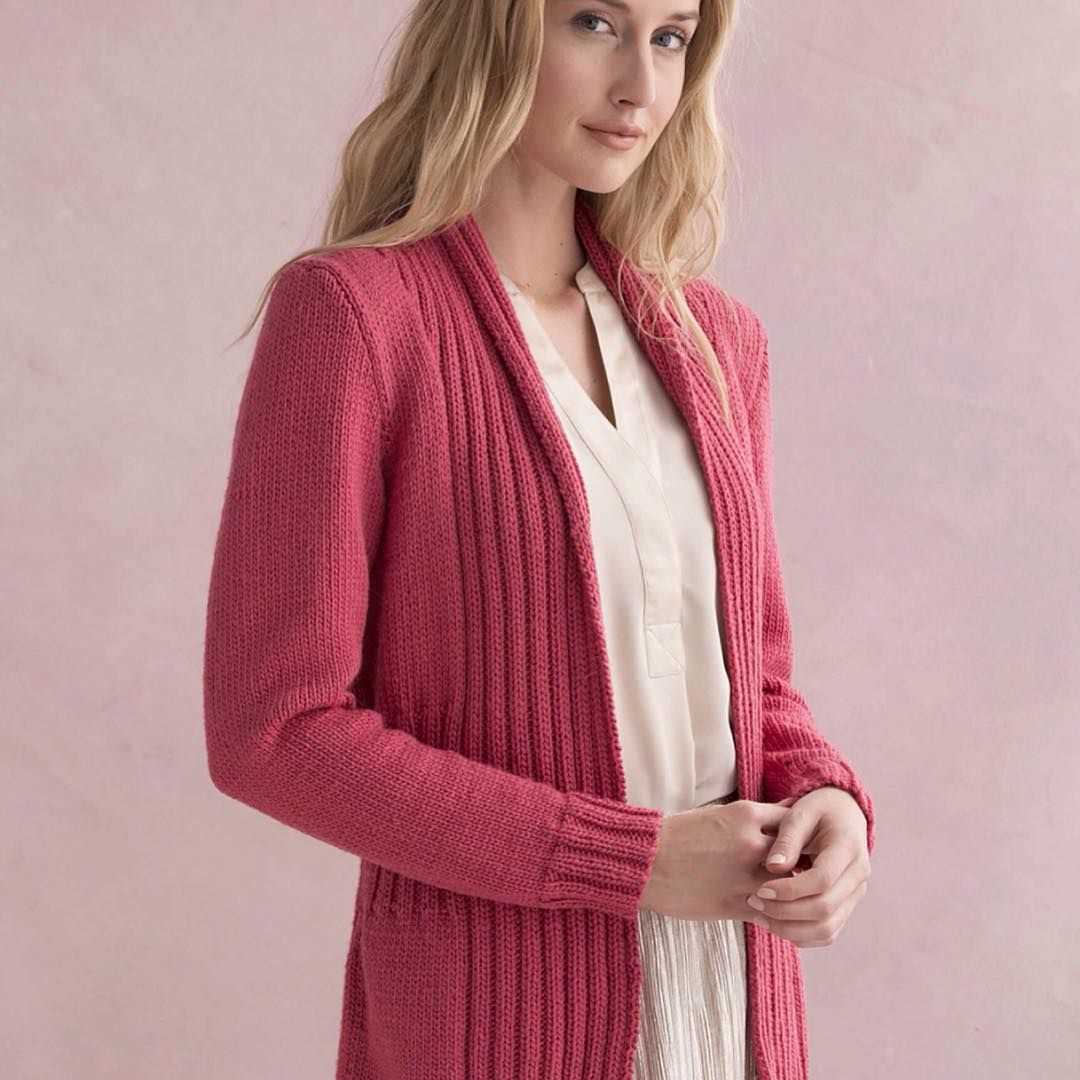
The finished cardigan has a timeless look that will never go out of style. It’s the perfect addition to any wardrobe and can be worn with jeans and a t-shirt for a casual look, or dressed up with a blouse and skirt for a more formal occasion. With its simple design and clean lines, this cardigan will become a staple in your closet that you’ll reach for again and again.
Why knit your own cardigan
There are several reasons why knitting your own cardigan can be a rewarding and satisfying experience. First and foremost, knitting allows you to create a truly unique and personalized garment. When you knit your own cardigan, you have complete control over the colors, patterns, and style, ensuring that the finished piece reflects your individual taste and personality.
Knitting also allows you to express your creativity and craftsmanship. The process of knitting requires focus, concentration, and patience, and each stitch is a testament to your skill and dedication. It is a mindful and meditative activity that can help reduce stress and promote relaxation. Plus, the feeling of accomplishment when you finish knitting a cardigan is unmatched.
By knitting your own cardigan, you also have the opportunity to choose the materials you use. Whether it’s a luxurious cashmere yarn or a more affordable acrylic blend, you can select the perfect yarn that suits your needs and preferences. Additionally, knitting your own cardigan allows you to support local yarn shops and independent yarn dyers, contributing to a more sustainable and ethical fashion industry.
Furthermore, knitting your own cardigan can be a cost-effective option. While quality knitwear can be expensive to purchase, knitting your own allows you to create high-quality garments at a fraction of the cost. Investing in a set of knitting needles, a few skeins of yarn, and a pattern can save you money in the long run, especially if you enjoy knitting and plan on making more garments in the future.
In conclusion, knitting your own cardigan offers numerous benefits including the ability to create one-of-a-kind pieces, express your creativity, choose your own materials, and save money. So why not pick up those knitting needles and start working on your own cozy and stylish cardigan today?
Choosing the right yarn and needles
When it comes to knitting a simple cardigan, choosing the right yarn and needles is crucial for achieving the desired result. The type and weight of the yarn will determine the final look and feel of the cardigan, while the size of the needles will affect the gauge and overall fit.
One key aspect to consider when selecting yarn for a cardigan is its composition. Natural fibers like wool or cotton provide warmth and breathability, making them ideal for cozy cardigans. Alternatively, synthetic fibers like acrylic or nylon offer durability and easy care, making them suitable for everyday wear. The choice of yarn will also depend on personal preferences and the intended use of the cardigan.
Another important factor to consider is the yarn weight. The pattern will usually recommend a specific weight, such as DK (double knitting) or worsted weight. This indicates the thickness of the yarn and determines the size of the stitches. It is crucial to choose a yarn that matches the recommended weight to ensure the cardigan turns out as intended.
Equally important is selecting the right knitting needles for the project. The size of the needles will determine the gauge, or the number of stitches and rows per inch. It is important to check the pattern for the recommended needle size and adjust accordingly. Using smaller needles will create tighter stitches and a denser fabric, while larger needles will result in looser stitches and a more open fabric.
Overall, choosing the right yarn and needles for a simple cardigan knit pattern is essential for achieving the desired fit and look. Considering the composition and weight of the yarn, as well as the recommended needle size, will help ensure a successful and enjoyable knitting experience.
Getting started with the pattern
Before you start knitting your simple cardigan, it’s important to gather all the necessary materials and familiarize yourself with the pattern. This will ensure a smooth and enjoyable knitting experience.
Materials:
- Size 8 knitting needles
- Worsted weight yarn
- Tape measure
- Scissors
- Darning needle
Pattern:
- Using the size 8 knitting needles, cast on 120 stitches.
- Work in a 2×2 rib stitch pattern for 2 inches.
- Switch to stockinette stitch and knit every row until the piece measures 12 inches from the cast-on edge.
- Next, divide the work into three sections: one button band, one back section, and one button band. This will create the front opening of the cardigan.
- Continue knitting each section separately:
- Button band 1: Knit in stockinette stitch for 4 inches.
- Back section: Knit in stockinette stitch until the piece measures 24 inches from the cast-on edge.
- Button band 2: Knit in stockinette stitch for 4 inches.
With these instructions, you’re now ready to start knitting your simple cardigan. Happy knitting!
Knitting the Back
Once you have finished knitting the front of the cardigan and have reached the desired length, it’s time to start working on the back. To begin, you will need to transfer the stitches from the stitch holder back onto your knitting needles. Make sure to count the stitches to ensure that you have the correct number for your size.
With the stitches back on your needles, you will now start knitting the back of the cardigan. You will follow the same stitch pattern that you used for the front, unless otherwise specified in the pattern. If there are any adjustments or changes to the stitch pattern for the back, make sure to follow the instructions provided.
If the back of the cardigan is worked in one piece, you will continue knitting in the established stitch pattern until you have reached the desired length. Make sure to measure your work as you go to ensure that you are on track. Remember to check the pattern for any shaping or decreases that may need to be worked along the way.
Once you have completed knitting the back of the cardigan, you can move on to the next steps in the pattern, such as shaping the armholes or adding any additional details. Make sure to keep track of your progress and check the pattern frequently to ensure that you are following the instructions correctly.
- Transfer the stitches from the stitch holder back onto your needles.
- Follow the same stitch pattern as the front, unless otherwise specified.
- Continue knitting in the established stitch pattern until desired length.
- Check the pattern for any shaping or decreases along the way.
- Once completed, move on to the next steps in the pattern.
Knitting the front panels
Once you have finished knitting the back panel of your cardigan, it’s time to move on to the front panels. The front panels will be knit separately in two pieces, one for each side of the cardigan.
To begin, you will need to cast on the required number of stitches for your size. The pattern will specify the exact number of stitches to cast on. Make sure to double-check this before you start.
Once you have cast on, you can begin knitting the front panels. The pattern may instruct you to start with a certain stitch pattern or to continue with the same stitch pattern used for the back panel. Follow the instructions carefully to ensure that your front panels match the back panel in terms of stitch pattern and gauge.
You will need to work the front panels in the same way as the back panel, using the specified needle size and following any shaping instructions provided in the pattern. This may involve decreasing or increasing stitches to achieve the desired shape of the cardigan.
Continue knitting the front panels until you reach the desired length, as indicated in the pattern. Once you have reached this length, you can proceed to the next step, which may involve binding off or shaping the neckline. Follow the pattern instructions closely to ensure that your front panels are completed correctly and match the overall design of the cardigan.
Remember to take your time and be patient as you knit the front panels. Pay attention to the pattern instructions and consult any abbreviations or stitch explanations provided. With practice and a bit of patience, you will be able to successfully knit the front panels of your cardigan.
Adding the sleeves
Once you have completed the body of your cardigan, it is time to add the sleeves. You will be knitting these separately and then attaching them to the body. Follow these steps to complete the sleeves:
1. Cast on stitches: Using the same needles and yarn as you used for the body of the cardigan, cast on the required number of stitches for the sleeves. This number will vary depending on the size of your cardigan and the desired fit. You can refer to the pattern for the exact number of stitches to cast on.
2. Knit in the desired pattern: Follow the same stitch pattern that you used for the body of the cardigan to knit the sleeves. This may be a simple stockinette stitch, a ribbed pattern, or any other stitch pattern you prefer. Make sure to keep track of your rows to maintain consistency with the body of the cardigan.
3. Shape the sleeves: As you knit the sleeves, you may need to shape them to fit the arm properly. This can be done by decreasing or increasing stitches at certain intervals. Consult the pattern for specific instructions on how to shape the sleeves for your desired size.
4. Bind off: Once you have reached the desired length for your sleeves, bind off the stitches. Make sure to weave in any loose ends to tidy up your work.
5. Attach the sleeves: With the body of the cardigan inside out, align the top of the sleeve with the armhole and use a tapestry needle to sew the sleeve to the body. Make sure to sew it securely and evenly to ensure a neat finish. Repeat this step for the second sleeve.
6. Finishing touches: Once the sleeves are attached, give your cardigan a final inspection to ensure everything is in place. Look for any loose ends that need to be woven in, and make any necessary adjustments to ensure the sleeves are properly aligned. Your cardigan is now ready to be worn!
Joining the pieces
Once you have completed knitting all the separate pieces of the cardigan, it’s time to join them together. This process is crucial in creating a cohesive and finished look for your cardigan.
The first step is to lay out all the pieces on a flat surface and align them according to the pattern instructions. Make sure that the front and back pieces are facing the right way and that the sleeves are properly positioned on the armholes. It can be helpful to use stitch markers or pins to secure the pieces in place.
1. Shoulder and side seams: Begin by joining the shoulder seams. Use a yarn needle or crochet hook to stitch the front and back shoulder pieces together using a slip stitch or mattress stitch. Once the shoulders are joined, move on to sew the side seams of the cardigan. Align the front and back side edges, ensuring that the pattern matches up, and stitch them together in the same manner as the shoulder seams.
2. Sleeves: Next, it’s time to attach the sleeves to the body of the cardigan. Start by matching up the armhole edge of the sleeve with the corresponding armhole on the body. Again, use stitch markers or pins to secure the pieces in place. Then, stitch around the armhole, joining the sleeve to the body using the same technique as before.
3. Collar or neckline: If your cardigan has a collar or neckline, follow the pattern instructions to join it to the garment. This may involve picking up stitches along the edge and knitting or crocheting the collar directly onto the cardigan. Take your time and ensure that the collar is evenly attached and matches the desired shape.
4. Finishing touches: Once all the pieces are joined, take the time to neatly weave in any loose ends and trim any excess yarn. Give the cardigan a final blocking or steaming if needed to help shape and smooth out the finished garment. Now your cardigan is ready to be worn and enjoyed!
Joining the pieces summary:

- Lay out the pieces and align them properly
- Join the shoulder and side seams using slip stitch or mattress stitch
- Attach the sleeves to the body by stitching around the armholes
- Follow pattern instructions to join the collar or neckline
- Weave in loose ends and block or steam the cardigan for a finished look
Adding ribbing for the cuffs and hem
One of the final steps in knitting a simple cardigan is adding ribbing to the cuffs and hem. Ribbing adds a nice finish to the edges of the cardigan, as well as providing a bit of stretch and structure.
To add ribbing, begin by picking up stitches along the edge of the cardigan. This can be done by inserting the needle through the fabric at even intervals and pulling a loop of yarn through to create a new stitch. It’s typically best to pick up stitches with a slightly smaller needle than used for the rest of the cardigan to ensure a snug fit.
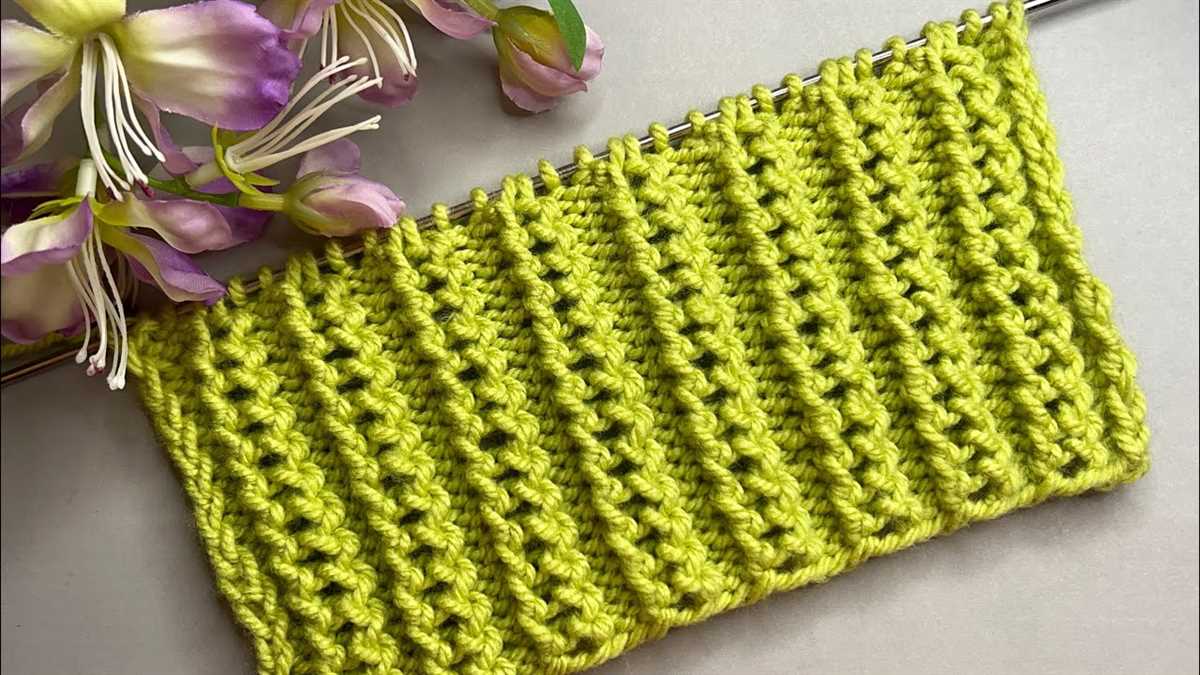
Once the stitches have been picked up, the ribbing pattern can be worked. Common ribbing patterns include knitting two stitches, then purling two stitches, or knitting one stitch, then purling one stitch. This creates a stretchy ribbed texture that is both visually appealing and functional.
The ribbing pattern is typically worked for a certain number of rows, depending on the desired length. A common measurement for ribbing is 1-2 inches. This can vary depending on personal preference, so it’s a good idea to try the cardigan on as you go to ensure the cuffs and hem are the desired length.
Once the ribbing is complete, it’s important to bind off the stitches to secure the edge. This can be done by knitting two stitches together, then passing the first stitch over the second, and repeating across the row. Finally, weave in any loose ends and your simple cardigan is complete!
Finishing touches: button bands and collar
Completing a cardigan not only involves knitting the body and sleeves but also adding the finishing touches to make it functional and stylish. One important detail to consider is the button bands. Button bands are essentially the strips of knitting that run along the front edges of the cardigan, where the buttons will be attached. They provide structure to the edges and prevent them from stretching out.
To create button bands, you can pick up stitches along the front edge of the cardigan using a smaller needle size than what you used for the main body. This helps to ensure a snug and neat fit. Alternatively, you can also knit the button bands separately and sew them onto the cardigan. This gives you more flexibility in terms of choosing a different stitch pattern or color for the button bands.
Once you have the button bands in place, you can start working on the collar. The collar frames the neckline of the cardigan and adds a polished look to the overall design. There are various collar styles you can choose from, such as a simple ribbed collar, a shawl collar, or a rolled collar. Consider the style of the cardigan and the desired level of warmth and comfort when selecting a collar style.
When knitting the collar, you can either pick up stitches around the neckline or knit it separately and sew it on. Picking up stitches allows for a seamless construction, while knitting it separately gives you more control over the shape and size. It’s important to follow the instructions in the pattern or experiment with different collar options to achieve the desired look for your cardigan.
Finishing touches like button bands and collars can elevate a simple cardigan and make it stand out. These details not only add functionality but also showcase your knitting skills and personal style. By carefully considering the options and techniques available, you can create a cardigan that is both comfortable to wear and visually appealing.
Blocking and Seaming
Blocking is an essential step in knitting a cardigan to ensure that the finished garment has a professional look and fits properly. Blocking involves washing and shaping the knitted pieces to the correct dimensions and allowing them to dry flat. This process smooths out any uneven stitches and evens out the tension, ensuring that your cardigan will look its best.
To block your cardigan, start by filling a sink or basin with lukewarm water and a mild detergent. Gently submerge your knitted pieces in the water, making sure they are fully saturated. Let them soak for about 10 minutes, then carefully remove them from the water and gently squeeze out the excess water. Lay each piece flat on a clean towel and shape it to the correct measurements. Pin the edges of the piece to hold it in shape, and let it dry completely.
Once your cardigan pieces are blocked and dry, it’s time to seam them together. Depending on the pattern, you may either use a mattress stitch or a whip stitch to seam the pieces. A mattress stitch creates a nearly invisible seam, while a whip stitch is quicker but more visible. Follow the pattern instructions to determine which method to use.
To seam the pieces using the mattress stitch, lay the pieces right sides together and thread a tapestry needle with the same yarn used for knitting. Insert the needle under the first pair of bars along the edge of one piece, then under the corresponding pair of bars on the other piece. Continue in this manner, pulling the yarn tight but not too tight, until you reach the end of the seam. Finish off by weaving in the yarn end securely.
If using a whip stitch, align the edges of the pieces and thread a yarn needle. Insert the needle through both edges from back to front, then move it diagonally across to the opposite edge, bringing the needle back through from front to back. Repeat this motion along the entire edge, making sure to keep the stitching neat and consistent. Secure the yarn end at the end of the seam by weaving it in or tying a knot.
Blocking and seaming are important final steps in completing your cardigan. Taking the time to block your knitted pieces will give your cardigan a polished look, while careful seaming will ensure that the garment holds together securely. With these finishing touches, your cardigan will be ready to wear and enjoy!
How to care for your hand-knit cardigan
Hand-knit cardigans require special care to ensure their longevity and to keep them looking their best. Follow these tips to properly care for your cardigan:
1. Hand wash with care
It is recommended to hand wash your hand-knit cardigan to prevent any damage that may occur in a washing machine. Fill a basin or sink with cool to lukewarm water and add a gentle wool detergent. Gently immerse the cardigan in the water, making sure it is fully submerged. Gently agitate the water to loosen any dirt or residue. Do not wring or twist the cardigan, as this can cause it to lose its shape. Rinse the cardigan thoroughly with cool water and gently squeeze out the excess water.
2. Dry flat
After washing, lay the cardigan flat on a clean towel or drying rack to dry. Avoid hanging it, as this can cause the cardigan to stretch out of shape. If you need to reshape the cardigan, gently stretch it back into its original shape while it is still damp. Allow the cardigan to air dry completely before storing or wearing.
3. Store properly

When storing your hand-knit cardigan, make sure it is clean and completely dry. Fold it neatly and place it in a drawer or on a shelf where it will be protected from moths and other pests. You can also use lavender sachets or cedar balls to deter pests. Avoid storing the cardigan in direct sunlight, as this can fade its color over time.
4. Handle with care
Avoid wearing your hand-knit cardigan in situations where it can easily snag or catch on sharp objects. Be cautious when wearing jewelry or accessories that might catch on the yarn. When not wearing the cardigan, store it in a safe place where it won’t be accidentally damaged or pulled on.
By following these care tips, you can ensure that your hand-knit cardigan stays in excellent condition for years to come. Hand-knit garments require a little extra attention, but the effort is well worth it to preserve their beauty and functionality.
Showcasing your new cardigan
Congratulations on completing your handmade cardigan! Now it’s time to show off your new creation and style it in different ways. Here are some ideas on how to rock your cardigan:
1. Layer it up: Wear your cardigan over a simple t-shirt or blouse and pair it with jeans or trousers for a casual and chic look. You can also add a belt at the waist to create more definition and structure.
2. Dress it up: Transition your cardigan from day to night by layering it over a dress. Choose a dress with a similar color palette or pattern that complements your cardigan for a coordinated and polished outfit.
3. Keep it cozy: For a cozy and comfortable ensemble, wear your cardigan over a soft and cozy sweater or hoodie. Pair it with leggings or joggers for a relaxed and laid-back vibe.
- 4. Accessorize it:
- 5. Experiment with different colors:
Add some accessories to elevate your cardigan look. A statement necklace or a pair of dangly earrings can instantly transform a simple cardigan into a stylish and eye-catching ensemble.
Try knitting the cardigan in different colors to match your personal style and preferences. From neutral tones to vibrant shades, the options are endless. Have fun experimenting with different yarns and colors to create unique and customized cardigans.
Remember to take photos of yourself wearing your cardigan and share them on social media using the hashtag #HandmadeCardigan. Show off your knitting skills and inspire others to try their hand at knitting their own cozy cardigans!
So, get ready to step out in style with your new cardigan. Whether you wear it casually or dress it up, your handmade cardigan is sure to become a staple in your wardrobe for years to come.