
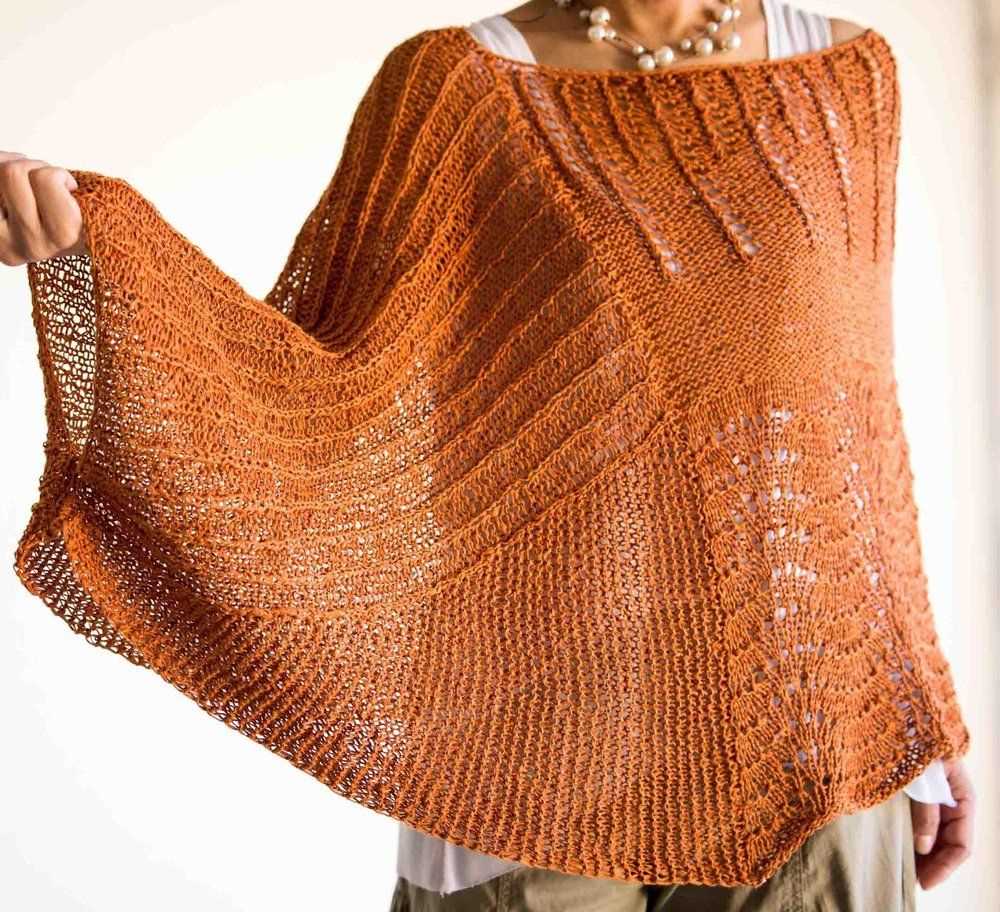
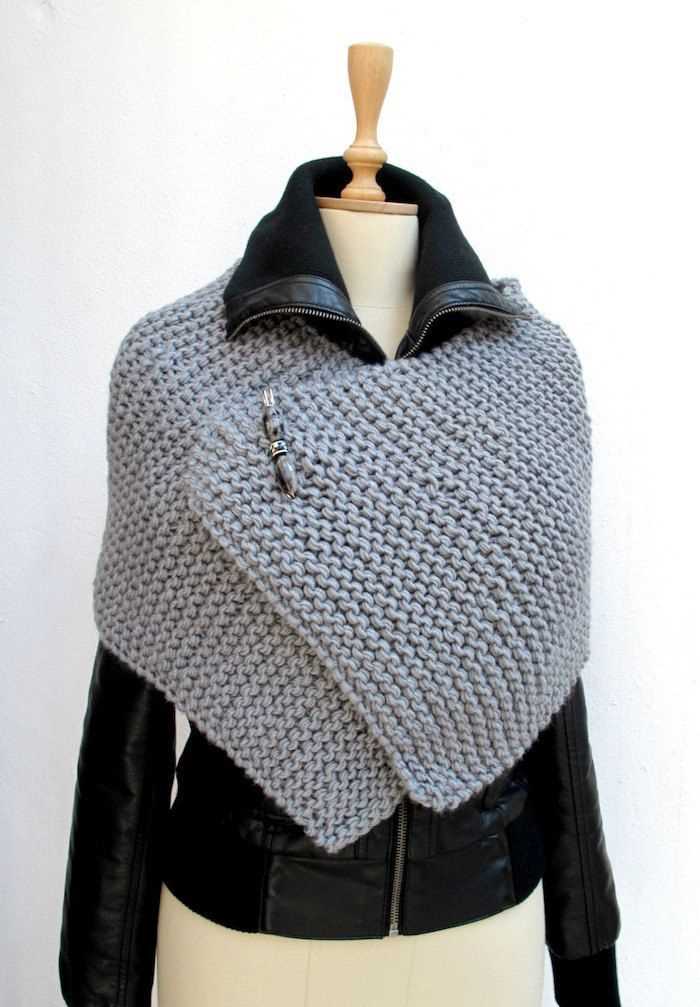
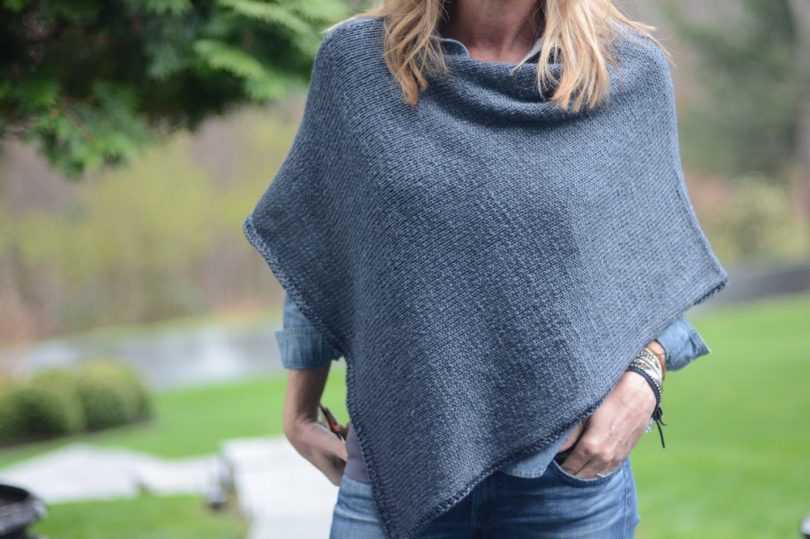
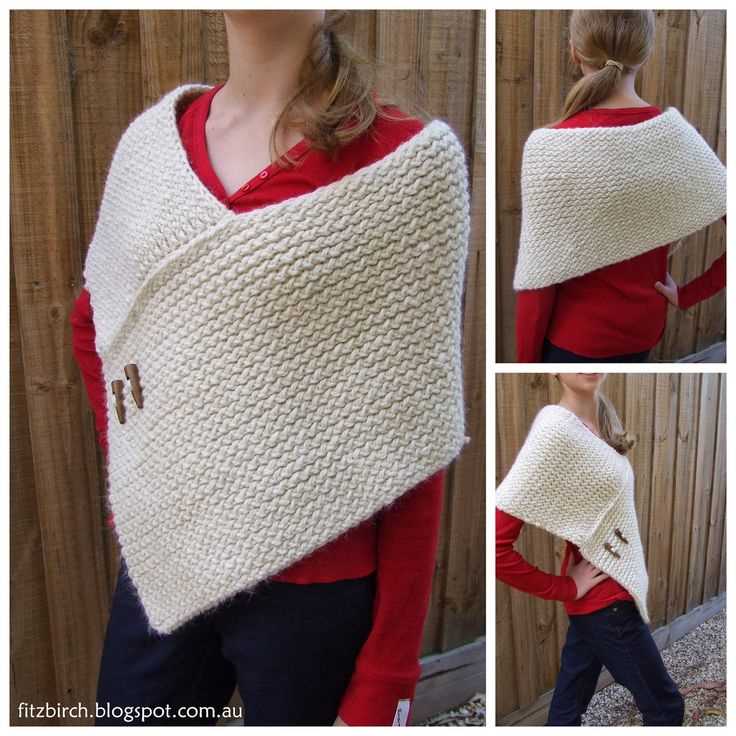
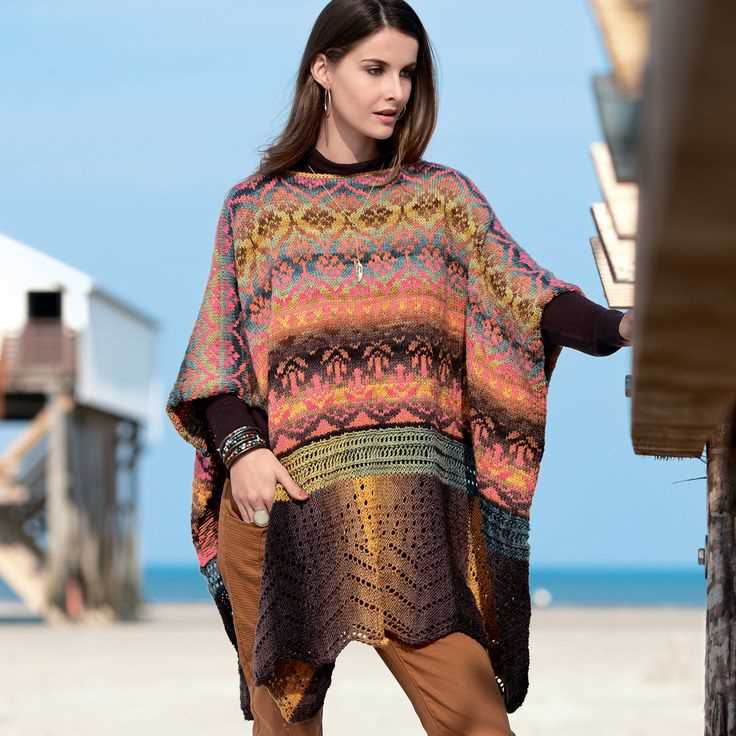
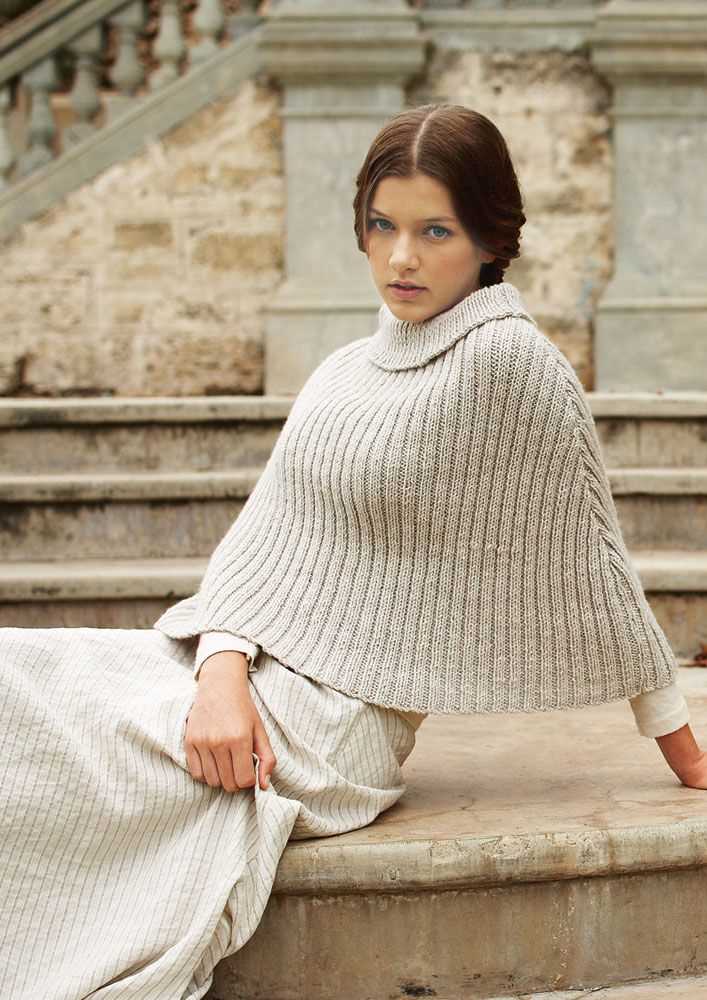
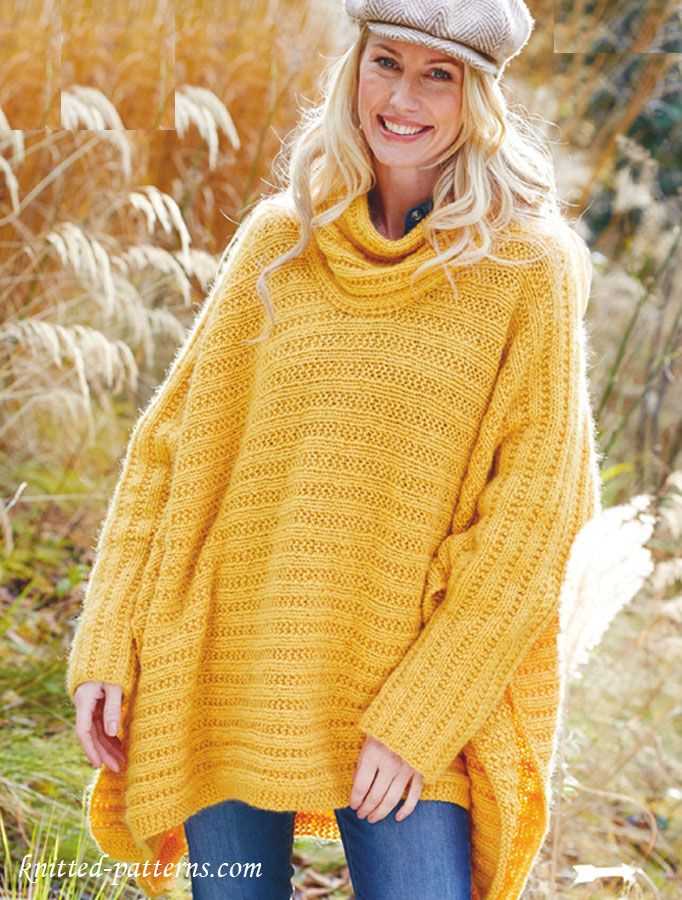
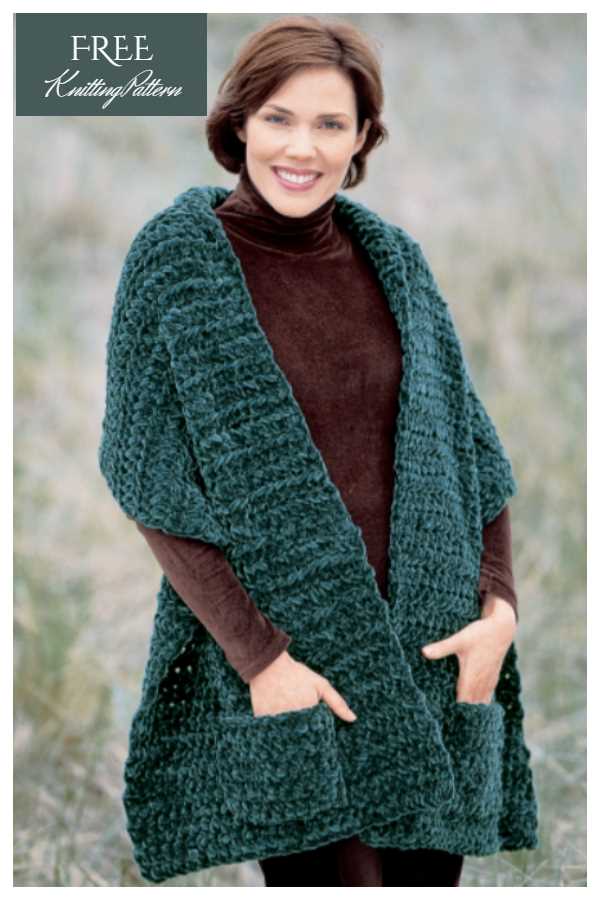
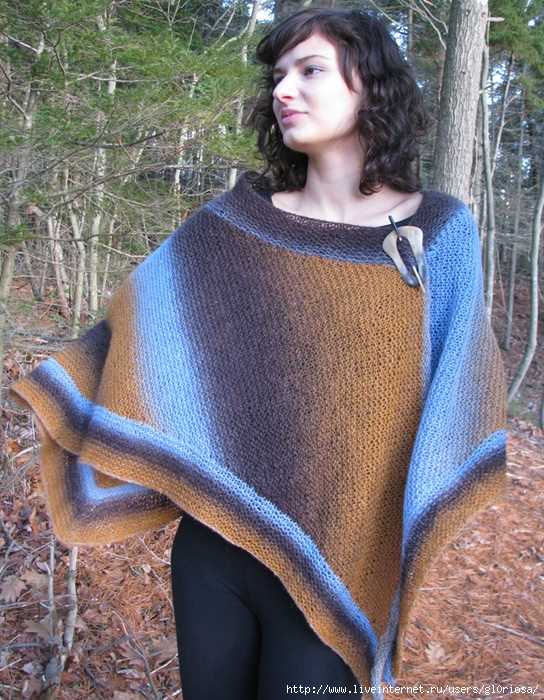
If you’re looking for a versatile, stylish, and comfortable addition to your wardrobe, a poncho wrap is a perfect choice. With its loose-fitting design, it can be worn as a cozy layer during cool weather or as a lightweight accessory during warmer months. Knitting your own poncho wrap allows you to customize the colors, textures, and patterns to suit your personal style.
One of the great things about knitting a poncho wrap is that it’s a relatively simple project that even beginners can tackle. With just a few basic stitches, such as knit and purl, you can create a beautiful and functional garment. You can choose from a variety of knitting patterns, such as openwork lace, cables, or simple garter stitch, to create a poncho wrap that matches your skill level and desired outcome.
With a poncho wrap, you have endless possibilities for styling and wearing it. You can drape it over your shoulders for a classic look, or wrap it around your neck for added warmth. You can even wear it as a skirt by pulling it up over your hips and securing it with a belt. The versatility of a poncho wrap makes it a must-have item in any wardrobe.
So whether you’re a seasoned knitter or a beginner looking to take on a new project, knitting a poncho wrap is a fun and rewarding endeavor. With its simplicity in design and endless possibilities for customization, a poncho wrap is sure to become a staple in your wardrobe.
Choose your yarn and needles
When it comes to knitting a poncho wrap, one of the first decisions you’ll need to make is choosing the right yarn. With so many options out there, it’s important to consider factors such as the fiber content, weight, and color. The fiber content will determine the overall feel and drape of the poncho, so think about whether you want something soft and cozy like merino wool or a more lightweight and breathable option like cotton or linen.
Another key consideration is the weight of the yarn. A bulky or chunky yarn will create a warmer and more substantial poncho, while a lighter weight yarn will result in a more delicate and airy finished piece. Take into account the climate and season you plan to wear the poncho in when making this decision.
Once you’ve settled on a yarn, it’s time to think about the needles you’ll use. The needle size will depend on the yarn weight and the desired gauge. If you’re using a bulky yarn, you’ll likely want to use larger needles to create a looser fabric. Conversely, if you’re working with a finer yarn, you’ll want to use smaller needles for a tighter, denser fabric.
If you’re unsure about which size needles to use, it’s always a good idea to swatch before starting the project. This involves knitting a small sample square using your chosen yarn and needles, and then measuring it to ensure you’re achieving the correct gauge. Swatching allows you to make any necessary adjustments to your needle size or tension before committing to the full project.
Ultimately, the choice of yarn and needles will have a significant impact on the final look and feel of your poncho wrap. By considering the fiber content, weight, and needle size, you’ll be able to select the perfect materials to bring your knitting project to life.
Cast on and create the base
Before you begin knitting the poncho wrap, you’ll need to cast on the required number of stitches to create the base. The number of stitches you cast on will depend on the size of the poncho you want to make and the desired width of the base.
To cast on, you can use the long tail cast-on method or any other cast-on method of your choice. Make sure to leave a long tail, as you’ll need it for later steps. Once you have cast on the desired number of stitches, you’re ready to start creating the base of the poncho wrap.
Row 1: Knit across all stitches
Row 2: Purl across all stitches
Repeat rows 1 and 2 for the desired length of the base. Keep in mind that the length of the base will determine the overall length of the poncho wrap. You can choose to make the base shorter for a cropped poncho or longer for a more full-length wrap.
As you continue knitting the base, make sure to keep track of your stitch count and double-check your work for any mistakes. Once you have achieved the desired length, you can proceed to the next steps in the poncho wrap knitting pattern.
Knit the body of the poncho
Once you have cast on the required number of stitches for your poncho, it’s time to start knitting the body. Follow the pattern instructions carefully to ensure that you create the correct stitch pattern and achieve the desired size and shape.
Begin by working the first row according to the pattern, following any specific stitch or color changes indicated. Pay attention to the pattern repeats, if any, and make sure to maintain the correct stitch count as you progress.
Continue knitting the body of the poncho according to the pattern, working each row as instructed. Be mindful of any shaping, such as increases or decreases, that may be required to achieve the desired fit. This may involve changing the stitch count or working specific stitches together.
You may also need to change colors, if the pattern calls for it. This can add visual interest and create a unique design for your poncho. Follow the pattern instructions for changing colors and weaving in loose ends to ensure a neat and professional finish.
As you work through each row, take breaks to measure your progress and check that your stitch count and gauge are on track. This will help prevent any surprises later on and allow you to make any necessary adjustments as you go.
Knitting the body of the poncho may require several hours or days of work, depending on the complexity of the pattern and your knitting speed. Be patient and enjoy the process, knowing that each stitch brings you closer to completing your beautiful poncho wrap.
Create the armholes
Once you have completed the main body of the poncho wrap, it is time to create the armholes. This step is crucial in ensuring that the poncho wrap fits comfortably and allows for ease of movement.
1. Determine the placement of the armholes: Before you start, decide where you want the armholes to be located on your poncho wrap. These are typically positioned towards the top corners of the wrap, but you can adjust them to your preference.
2. Mark the armhole placement: Using stitch markers or contrasting yarn, mark the desired positions for the armholes on both sides of the wrap. Make sure the markings are clearly visible.
3. Knit or bind off the armhole stitches: In order to create the armholes, you will need to either knit or bind off a certain number of stitches at each marked position. The number of stitches will depend on the size of your arms and the desired width of the armholes. Follow the instructions provided in the pattern to determine the number of stitches to be knit or bound off.
4. Continue knitting the remaining stitches: After knitting or binding off the armhole stitches, continue working on the remaining stitches to complete the poncho wrap. You may need to adjust the pattern slightly to accommodate the armholes.
5. Finishing touches: Once you have finished knitting the entire poncho wrap, make sure to weave in any loose ends and block the finished piece to give it a polished look. Try on the wrap to ensure that the armholes fit comfortably and make any necessary adjustments.
By following these steps, you will be able to successfully create the armholes in your poncho wrap and have a stylish and functional garment to wear. Enjoy the process of knitting and wearing your handmade poncho wrap!
Knit the neckline
To knit the neckline of the poncho wrap, you will start by picking up stitches along the edge of the front and back pieces. Using a circular needle, begin at the left shoulder seam and work clockwise around the neckline. Take care to evenly distribute the stitches, ensuring they are spaced out along the curve of the neckline.
Step 1: With the right side facing, insert the needle into the first stitch along the front edge and pull the yarn through to create a new stitch. Repeat this process along the entire front edge, picking up approximately 2 stitches for every 3 rows.
Step 2: Once you have picked up all the stitches along the front edge, continue picking up stitches along the back edge in the same manner. Make sure to maintain the same stitch ratio as on the front edge.
Note: If the pattern specifies a different stitch ratio for the neckline, be sure to follow those instructions instead.
Step 3: After picking up all the stitches along both edges, you will now work in a specified stitch pattern to create the neckline. This could include ribbing, garter stitch, or any other pattern specified in the pattern instructions. Follow the instructions carefully, knitting each row according to the stitch pattern until the neckline reaches the desired length.
Tip: If you’re unsure about the length of the neckline, you can try on the poncho wrap and adjust it to your liking before binding off.
Finish the edge
When you have finished knitting the main body of your poncho wrap, it’s time to finish the edge. There are several options for adding a finished edge to your poncho, depending on the look you want to achieve.
I-cord edging
One option for finishing the edge of your poncho is to add an I-cord edging. This technique creates a neat and rounded edge that adds a polished finish to your project. To add an I-cord edging, you will need to pick up stitches along the edge of your poncho and then work a few rows of I-cord. This edging can be worked in a contrasting color or the same color as your main body.
Ribbed edging
If you prefer a more textured look, you can add a ribbed edging to your poncho. This involves working a section of ribbing along the edge of your poncho, which creates a stretchy and flexible border. To add a ribbed edging, you will need to pick up stitches along the edge and then work a few rows of ribbing, such as knit 2, purl 2. This edging can be worked in a contrasting color or the same color as your main body.
Picot edging
Another option for finishing the edge of your poncho is to add a picot edging. This creates a delicate and decorative border that adds a feminine touch to your project. To add a picot edging, you will need to work a few rows of garter stitch along the edge of your poncho and then create small picot loops by knitting or purling stitches together with yarn overs. This edging can be worked in a contrasting color or the same color as your main body.
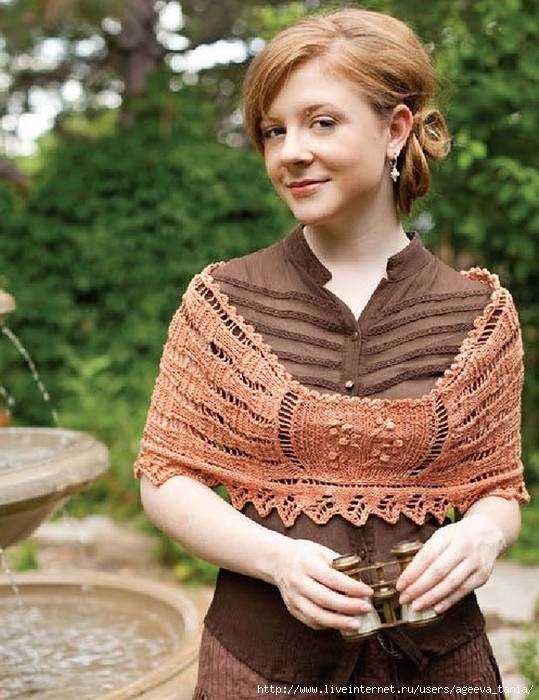
Add decorative details

Once you have completed the basic poncho wrap using the knitting pattern, it’s time to add some decorative details to enhance its overall design. There are several options you can consider to give your poncho wrap a unique and personalized touch.
1. Fringe: Adding fringe to the bottom edge of the poncho wrap can give it a playful and bohemian look. You can use the same yarn as the main body or opt for a contrasting color for a pop of color.
2. Embroidery: If you have more advanced knitting skills, you can embellish your poncho wrap with embroidery. You can create beautiful floral designs, geometric patterns, or even personal monograms using colorful yarn and different stitches.
3. Buttons: Sewing buttons along the front opening of the poncho wrap can add a stylish and functional element. You can choose buttons that match the color scheme or opt for bold and unique designs to make a fashion statement.
4. Lace trim: Adding a delicate lace trim to the edges of your poncho wrap can give it an elegant and feminine touch. You can either knit the lace trim separately and sew it on or incorporate it into the knitting pattern itself.
5. Tassels: Similar to fringe, tassels can be attached to the corners or along the edges of the poncho wrap for a fun and playful detail. You can use contrasting yarn colors or even include beads or charms to make them more eye-catching.
Remember, the decorative details you choose should complement your personal style and the intended purpose of the poncho wrap. Have fun experimenting with different techniques and make your poncho wrap truly one-of-a-kind!
Poncho wrap knitting pattern: Block and shape the poncho
After completing all the knitting, it is important to block and shape the poncho to give it a polished and professional finish. Blocking helps even out the stitches, relax the yarn, and ensure that the poncho has the desired shape and dimensions.
To begin, fill a basin or sink with lukewarm water and add a small amount of wool wash or mild detergent. Gently submerge the knitted poncho in the water, making sure it is fully saturated. Let it soak for about 15 minutes, allowing the fibers to absorb the water.
Remove the poncho from the water and gently squeeze out the excess moisture. Avoid wringing or twisting the garment, as this can distort the shape and stretch the stitches. Lay a clean, dry towel on a flat surface and place the poncho on top of it. Roll up the towel, pressing down gently to absorb more moisture.
Once the excess water has been removed, you can begin shaping the poncho. Lay it flat on a blocking mat or another clean, flat surface. Use rustproof T-pins to secure the edges and corners of the poncho, ensuring that it maintains the desired shape and measurements. Stretch the fabric slightly if necessary to achieve an even shape.
Allow the poncho to dry completely in this position, which may take anywhere from 24 to 48 hours, depending on the yarn and ambient humidity. Once dry, carefully remove the T-pins and admire your beautifully blocked and shaped poncho! It is now ready to be worn or gifted to someone special.
Try on and make any necessary adjustments
Once you have finished knitting your poncho wrap, it’s time to try it on and make any necessary adjustments. This step is important to ensure that the wrap fits you perfectly and sits comfortably on your shoulders.
Start by draping the poncho wrap over your shoulders and fastening it in the front. Take a moment to assess how it looks and feels on your body. Pay attention to the length, width, and overall fit.
If you find that the poncho wrap is too long or too short, you can easily adjust the length by adding or removing rows from the bottom. Similarly, if the wrap feels too loose or too tight, you can adjust the width by adding or removing stitches along the sides.
Remember to keep track of any changes you make, such as the number of rows or stitches added or removed, so that you can replicate them if needed.
Lastly, try moving around and raising your arms while wearing the poncho wrap. This will help you determine if any further adjustments are needed to ensure that the wrap allows for free and comfortable movement.
By taking the time to try on and make any necessary adjustments to your poncho wrap, you can ensure that it fits you perfectly and becomes a cozy and stylish addition to your wardrobe.
Care Instructions for Your Finished Poncho

After you have completed knitting your poncho, it’s important to take proper care of it to ensure its longevity and to keep it looking its best. Here are some care instructions to follow:
Washing:
Hand wash only: Due to the delicate nature of the yarn and the intricate stitchwork, it is recommended to hand wash your poncho. Fill a sink or basin with lukewarm water and add a mild detergent specially formulated for wool or delicate fabrics. Gently agitate the water to create suds.
Soak and rinse: Place your poncho in the sink or basin and submerge it in the soapy water. Gently press the fabric to ensure it is fully saturated. Let it soak for about 10-15 minutes to allow the detergent to penetrate the fibers. Drain the soapy water and refill the sink or basin with clean lukewarm water. Rinse the poncho thoroughly, pressing out any excess water.
Drying:
Flat dry: Lay your poncho flat on a clean, dry towel or a mesh drying rack. Gently reshape the poncho to its original size and dimensions. Avoid hanging it to dry as this can cause stretching or misshaping.
Avoid direct sunlight: When drying your poncho, avoid placing it in direct sunlight as this can cause fading or discoloration of the yarn.
Storage:
Fold and store: Once your poncho is dry, fold it neatly and store it in a clean, dry place. Avoid hanging it as this can cause stretching or deformities.
Avoid moth and pest damage: To protect your poncho from moth and pest damage, consider using mothballs or cedar blocks in the storage area. Additionally, regularly inspect your poncho for any signs of infestation and take appropriate measures if necessary.
By following these care instructions, you can ensure that your knitted poncho remains in excellent condition for years to come. Enjoy wearing your cozy and stylish poncho!
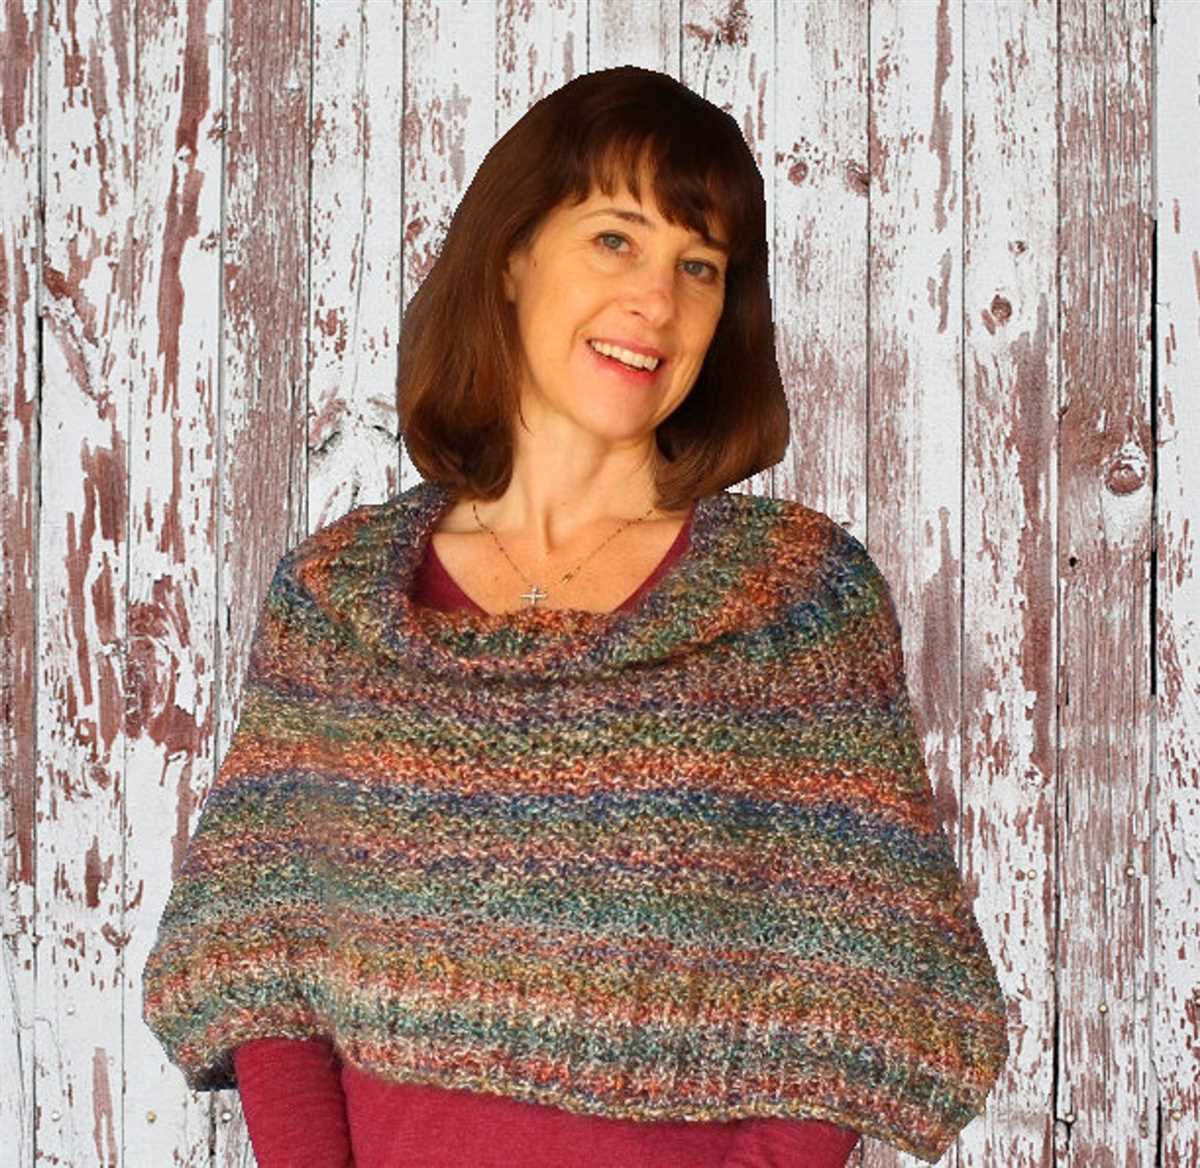
Styling options for your new poncho
Now that you have finished knitting your beautiful poncho, it’s time to explore the different styling options you have. Whether you prefer a casual or dressy look, a poncho can be a versatile addition to your wardrobe.
Here are some ideas to help you style your new poncho:
1. Layering

One of the great things about a poncho is its ability to be layered over different outfits. Pair it with a long-sleeve top, jeans, and boots for a cozy and casual look. For a more stylish ensemble, layer it over a dress or a blouse with a skirt. Experiment with different combinations to create your own unique style.
2. Belt it
If you want to give your poncho a more defined silhouette, try belting it at the waist. This will add structure to the loose, flowing shape of the poncho and create a flattering look. Choose a wide, statement belt for a bold and fashionable statement, or opt for a thin, simple belt for a more understated elegance.
3. Accessorize
Add some flair to your poncho by accessorizing it with statement jewelry, such as chunky necklaces or oversized earrings. You can also use a colorful scarf or a patterned shawl to complement the poncho and add an extra layer of warmth. Don’t forget to choose a stylish handbag or tote to complete your outfit.
4. Play with textures
Get creative with your poncho by mixing different textures in your outfit. For example, pair a chunky-knit poncho with a silky blouse or a leather skirt for an interesting contrast. Mixing textures adds depth and visual interest to your overall look.
5. Wear it off the shoulder
For a more bohemian or relaxed vibe, wear your poncho off the shoulder. This style gives a casual, effortless look and allows you to show off more of your outfit underneath. You can also layer a long-sleeve top or a turtleneck underneath and let the poncho drape gracefully off the shoulder.
With these styling options, you can make your new poncho a versatile and fashionable staple in your wardrobe. Mix and match different pieces to create your own unique look and have fun experimenting with different styles!