
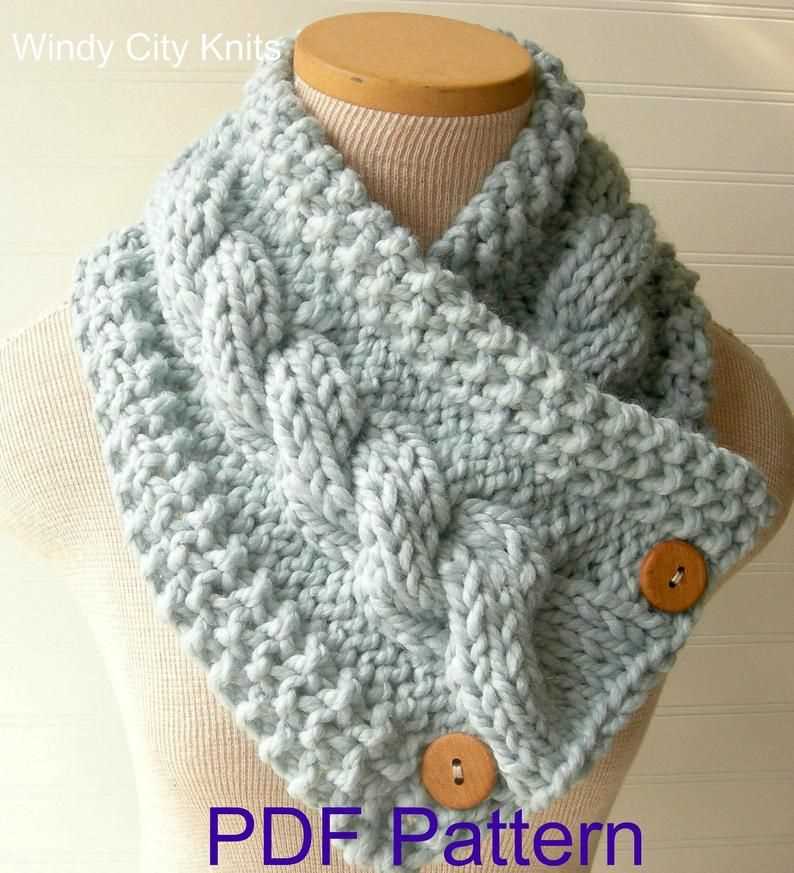
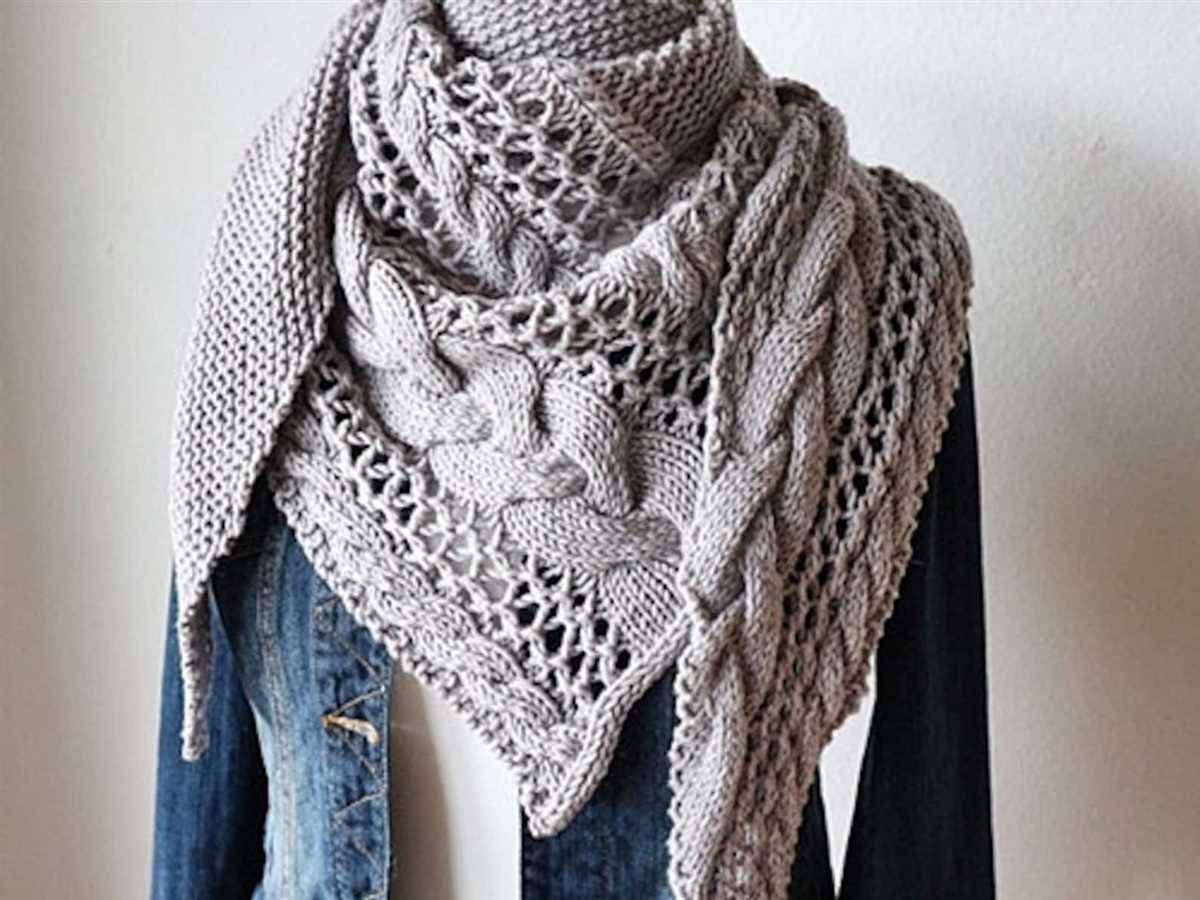
Knitting is a popular pastime for many, and one of the most popular projects to knit is a cozy scarf. Whether you’re a beginner or an experienced knitter, a scarf is a great way to practice new techniques and create a beautiful and functional accessory.
There are countless knit patterns available for scarves, each offering its own unique design and level of difficulty. In this article, we will explore a simple and versatile knit pattern that is perfect for beginners and can be easily customized to suit your style.
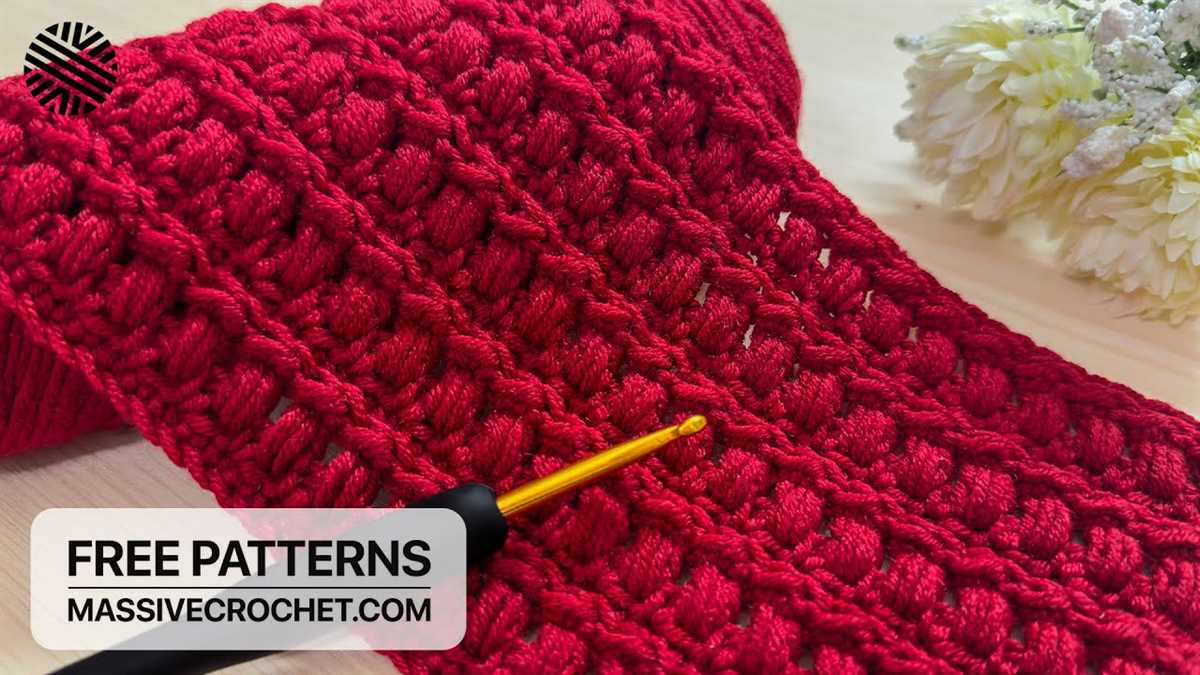
The basic knit pattern for a scarf is the garter stitch, which creates a dense and textured fabric. To knit a scarf using the garter stitch, you will need a pair of knitting needles and your choice of yarn. It’s important to choose a yarn that is soft and warm, as scarves are typically worn close to the skin.
How to Knit a Scarf: Step-by-Step Guide

Knitting a scarf can be a rewarding and fun project for both beginners and experienced knitters. Whether you are looking to create a cozy winter accessory or a stylish fashion statement, knitting your own scarf allows you to customize the design and choose your favorite yarn colors. Follow these step-by-step instructions to start knitting your very own scarf!
Materials and Tools: Before you begin, gather the necessary materials and tools. You will need knitting needles, typically size 8 or 9 for a standard scarf, and a skein of yarn. Choose a yarn that is soft and warm, such as wool or acrylic, and select your preferred color.
Step 1: Cast On
The first step in knitting a scarf is to cast on the stitches. To do this, hold the knitting needle with your dominant hand and make a slip knot with the yarn. Slide the slip knot onto the needle and pull tight. Continue this process until you have cast on the desired number of stitches for your scarf width.
Step 2: Knit Rows
Once you have cast on the stitches, you are ready to start knitting the rows. Hold the needle with the cast-on stitches in your dominant hand and the empty needle in your non-dominant hand. Insert the empty needle into the first stitch on the other needle, from left to right, working under the stitch. Wrap the yarn around the needle and pull it through the stitch, transferring the stitch from one needle to the other. Continue this process until all the stitches are on the second needle.
Repeat this knitting process for each row, making sure to keep your tension consistent. Knit as many rows as necessary to achieve your desired scarf length.
Step 3: Bind Off

Once you have reached your desired scarf length, it’s time to bind off the stitches. Knit the first two stitches as usual, then insert the left needle into the first stitch on the right needle. Lift this stitch over the second stitch and off the end of the right needle. Continue this process until you have one stitch remaining. Cut the yarn, leaving a long tail, and thread it through the last stitch to secure it.
Congratulations! You have successfully knitted your own scarf. Now, you can enjoy the warmth and style of your handmade accessory or gift it to someone special.
Choosing the Right Yarn and Needles
Choosing the right yarn and needles is essential when knitting a scarf. The right combination of yarn and needles can greatly affect the final look and feel of your scarf.
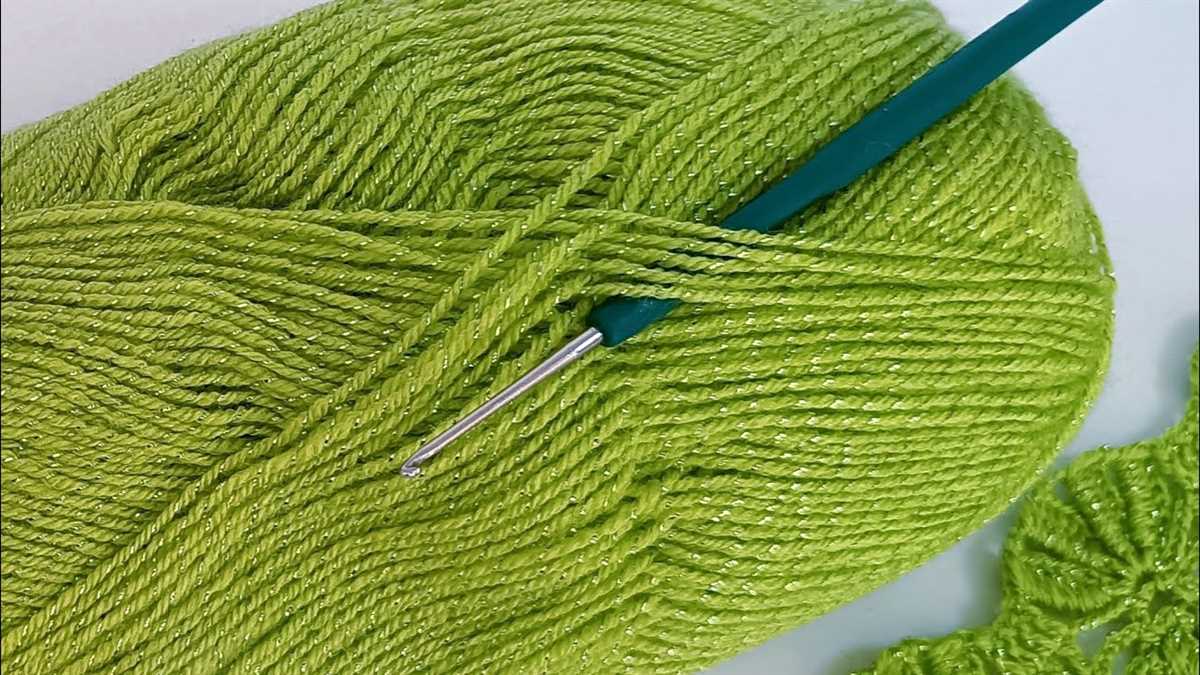
Yarn: When selecting yarn for your scarf, it’s important to consider the fiber content, thickness, and texture. Natural fibers like wool and alpaca are popular choices for scarves as they provide warmth and durability. For a softer and more luxurious feel, consider using yarns with silk or cashmere blends. If you prefer synthetic yarns, acrylic is a good option as it is affordable and easy to care for. The thickness of the yarn will determine the weight and drape of your scarf, so choose a thickness that suits your desired aesthetic. Lastly, consider the texture of the yarn – smooth or textured – depending on the stitch pattern you plan to use.
Needles: The choice of needles also plays a crucial role in the knitting process. The most common types of knitting needles are straight needles and circular needles. Straight needles are perfect for beginners and are used for flat knitting. Circular needles, on the other hand, are versatile and can be used for both flat and circular knitting. They are particularly useful for long scarves or patterns that require a large number of stitches. Consider the length of the needles based on the width of your scarf. Shorter needles are suitable for narrow scarves, while longer needles are needed for wider scarves. The size of the needles, indicated by a number or letter, will determine the gauge and tension of your knitting. Be sure to check the yarn label for the recommended needle size to achieve the desired results.
When choosing the right yarn and needles, it’s important to consider your personal preferences, the desired outcome of your scarf, and the stitch pattern you plan to use. Take your time to explore different options and experiment with different combinations to find the perfect match for your knitting project.
Casting On Stitches
The first step in knitting a scarf is to cast on stitches. Casting on is the process of creating the initial row of stitches on your knitting needle. There are several ways to cast on stitches, but one of the most common methods for a scarf is the long-tail cast-on.
To begin the long-tail cast-on, you will need a pair of knitting needles and a ball of yarn. First, estimate the length of yarn you will need for your desired number of stitches. The general rule of thumb is to measure out about 1 inch of yarn for each stitch you want to cast on, plus a little extra for the tail. For example, if you want to cast on 20 stitches, you will need approximately 21 inches of yarn.
Next, make a slipknot at the end of the yarn, leaving a long tail. Insert one of the knitting needles through the slipknot, holding it in your right hand. With your left hand, hold the yarn against your thumb and the tail against your index finger.
Now, with your right hand, bring the needle under the yarn, over the tail, and back under the yarn. This will create a loop on the needle. Slip this loop off your thumb and onto the needle, tightening it slightly.
Repeat this process, bringing the needle under the yarn, over the tail, and back under the yarn to create additional loops on the needle. Continue casting on stitches until you have reached your desired number.
Once you have cast on all your stitches, you are ready to begin knitting your scarf. Remember to keep your tension loose and even as you work the first row. Happy knitting!
Knitting the First Row
Before you start knitting the first row of your scarf, make sure you have your materials prepared. You will need your knitting needles and your chosen yarn. It’s important to choose a yarn that is appropriate for the type of scarf you want to create, whether it be a thick and cozy winter scarf or a lightweight and delicate accessory.
Once you have your materials ready, begin by making a slipknot with the yarn. To do this, hold the end of the yarn in one hand and create a loop, crossing the end of the yarn over the loop. Then, pull the end of the yarn through the loop, tightening the knot around the needle. This slipknot will serve as your first stitch.
Next, hold the needle with the slipknot in your right hand and the empty needle in your left hand. Insert the right needle into the slipknot from front to back, making sure the right needle is positioned behind the left needle. With your left hand, hold the loose end of yarn and wrap it clockwise around the right needle. This is called a yarn over.
With the yarn over in place, use the right needle to pull the loop through the slipknot, creating a new stitch. Slide the new stitch onto the right needle, and repeat this process until you have the desired number of stitches for your scarf.
Remember to keep an even tension as you knit, making sure not to pull the yarn too tightly or leave it too loose. The first row is often the trickiest, but with practice, you’ll become more comfortable with the knitting process. Once you have completed the first row, you can continue knitting in your chosen stitch pattern to create a beautiful scarf.
Creating the Pattern
When creating a knit pattern for a scarf, there are a few key elements to consider. The first step is to decide on the size of the scarf, which will determine the number of stitches and rows needed. This can be adjusted based on personal preference or desired finished measurements. It’s also important to choose the type of yarn and knitting needles that will be used, as this will impact the overall look and feel of the scarf.
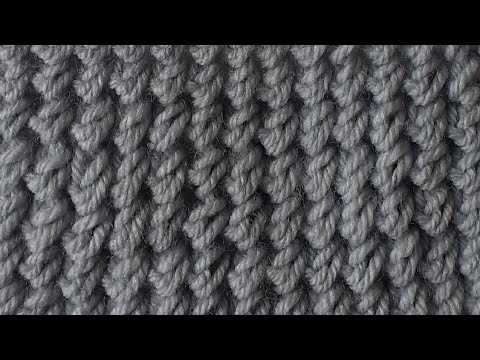
Once these initial decisions have been made, it’s time to start designing the pattern. One approach is to create a simple repeating pattern, such as a ribbed or seed stitch. This can be achieved by alternating between knit and purl stitches in a specific sequence. Another option is to incorporate more intricate stitch patterns, such as cables or lace, which can add visual interest to the scarf.
Materials
- Yarn: Choose a soft and warm yarn that is suitable for scarves. The weight and fiber content can vary depending on personal preference.
- Knitting Needles: Select needles that are appropriate for the chosen yarn weight. Circular or straight needles can be used, depending on personal preference.
- Scissors: A pair of sharp scissors will be needed for cutting the yarn.
- Tapestry Needle: This needle is used for weaving in loose ends and finishing the scarf.
Instructions
- Cast on the desired number of stitches using the chosen method.
- Work the chosen stitch pattern for the desired length, repeating the pattern rows as necessary.
- Continue knitting until the scarf reaches the desired length.
- Bind off all stitches to secure the edge of the scarf.
- Weave in any loose ends using a tapestry needle.
- Block the scarf if desired, by wetting it and laying it flat to dry, reshaping it as necessary.
- Your knitted scarf is now ready to be worn or gifted!
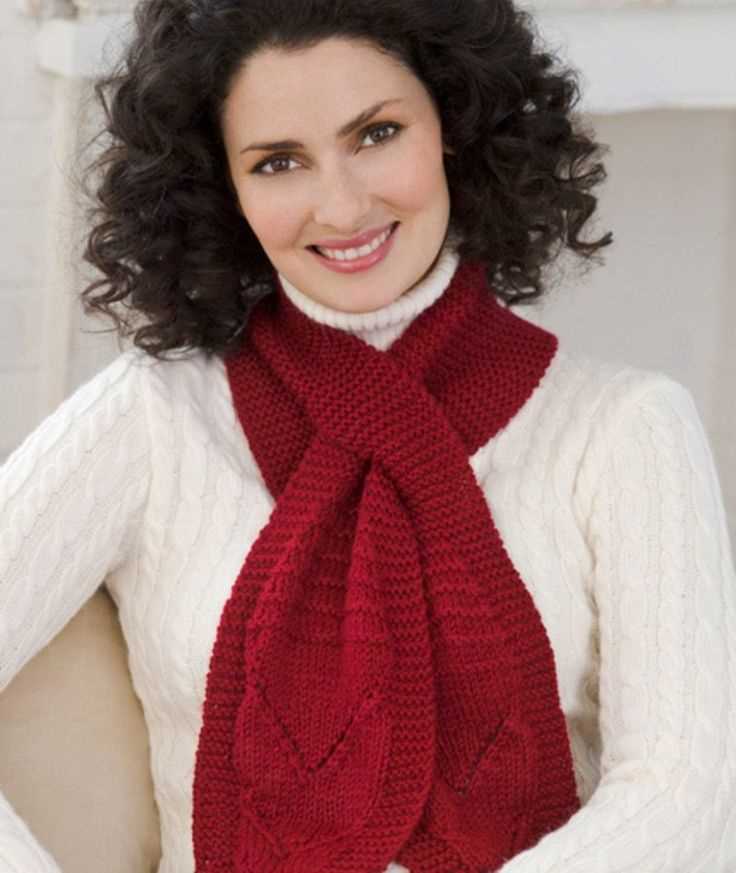
Adding Variation and Texture
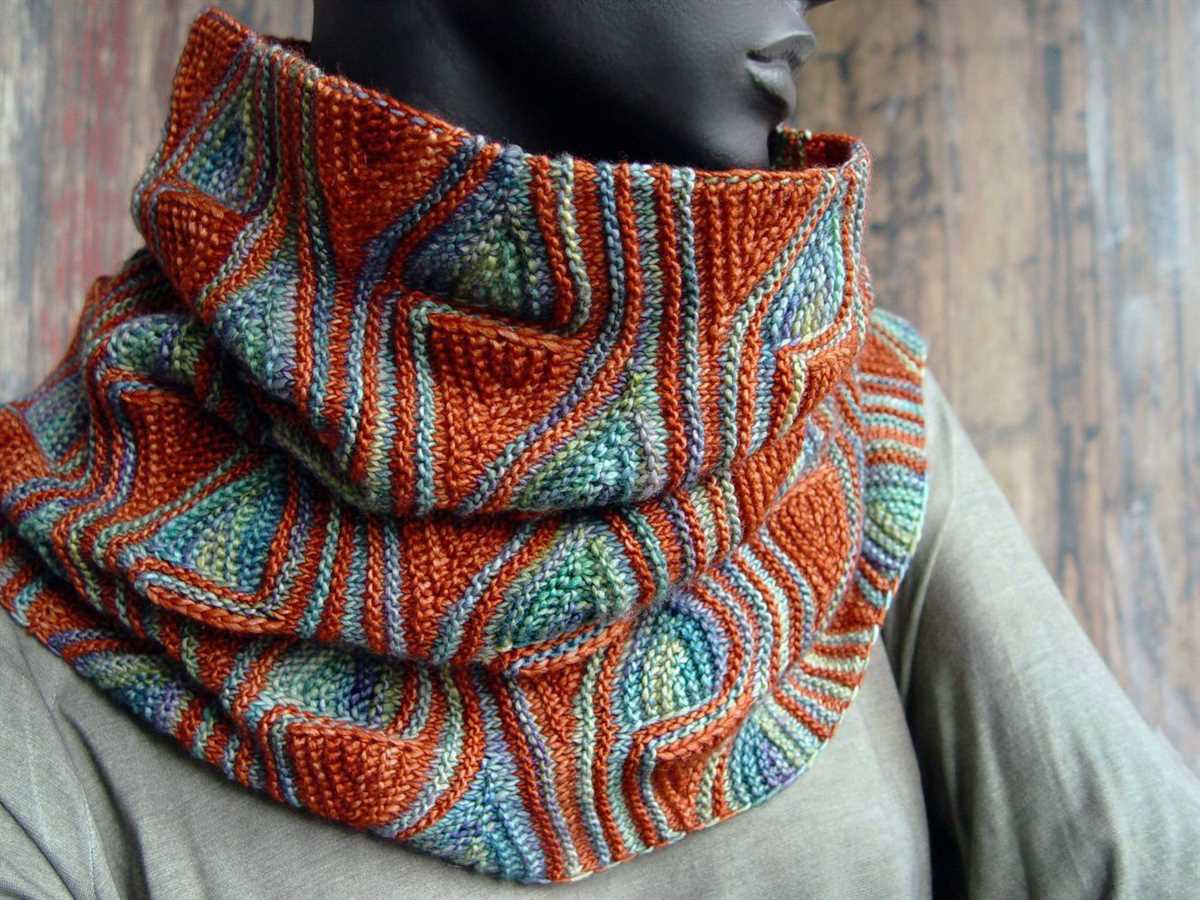
When knitting a scarf, one way to make it more interesting and visually appealing is by adding variation and texture. By incorporating different stitches and patterns, you can create a unique design that stands out.
Using different types of stitches: Instead of sticking to a single stitch pattern throughout the entire scarf, try mixing things up by using different stitches. For example, you can alternate between knit and purl stitches to create a ribbed texture. You can also experiment with more advanced stitches like cables or lace patterns to add even more variation.
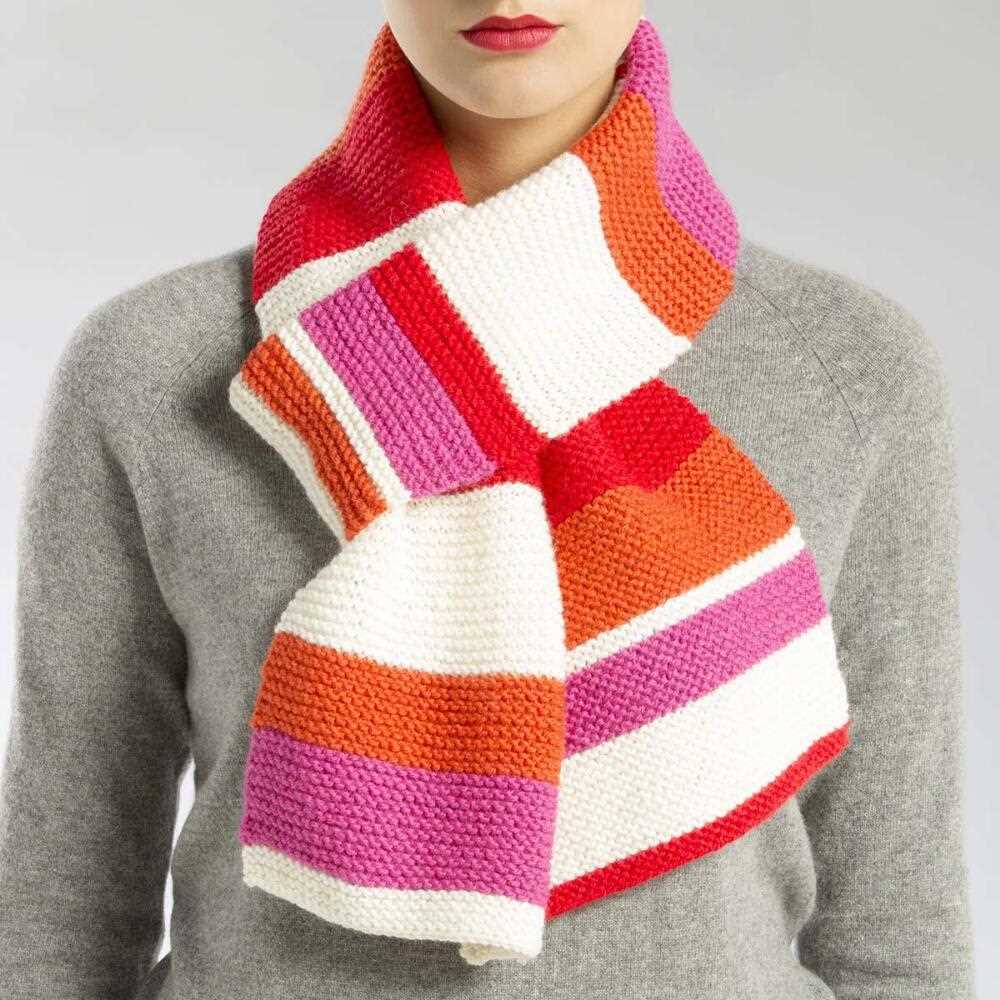
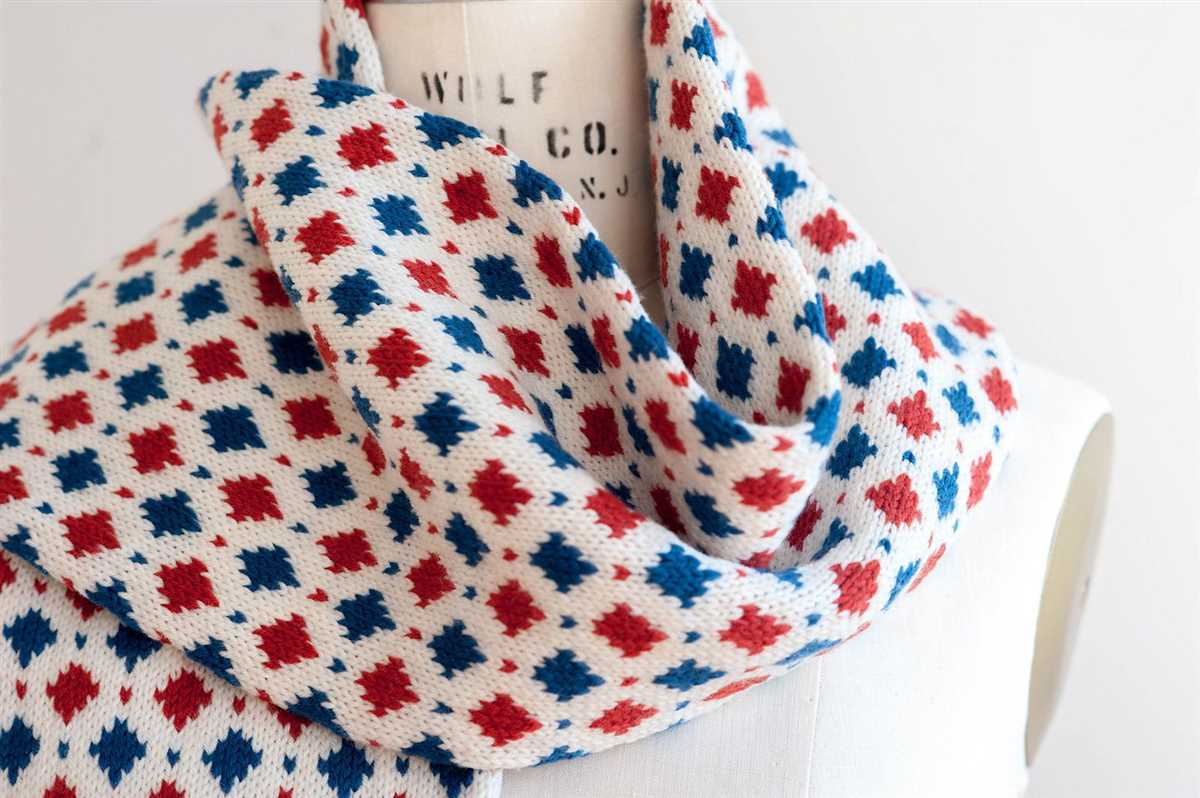
Adding stripes or colorwork: Another way to add variation to your scarf is by incorporating stripes or colorwork. You can use contrasting colors to create bold stripes or try your hand at colorwork techniques like Fair Isle or intarsia. These techniques can create intricate designs and patterns on your scarf.
Emphasizing texture: To enhance the texture of your scarf, you can incorporate different yarn weights or textures. For example, using a chunky yarn for one section of the scarf and then switching to a finer yarn can create a visually interesting contrast. You can also experiment with textured yarns like boucle or mohair to add depth and dimension to your scarf.
Combining different stitch patterns: To create a truly unique and textured scarf, you can combine different stitch patterns together. You can mix cables with lace, or incorporate bobbles or popcorn stitches for added texture. The possibilities are endless, and by combining different patterns, you can truly make your scarf one-of-a-kind.
By adding variation and texture to your scarf, you can elevate its design and make it a statement piece. Whether you choose to experiment with different stitches, incorporate stripes or colorwork, or emphasize texture, the key is to have fun and let your creativity shine.
Changing Colors
In knitting, changing colors can add variety and visual interest to your projects. Whether you’re knitting a scarf, hat, or sweater, learning how to switch colors can bring your design to life. There are several methods you can use to change colors, depending on the effect you want to achieve.
1. Stranded Knitting: This technique involves working with two or more colors at a time, carrying the unused color along the back of the work. Stranded knitting is commonly used in Fair Isle and Scandinavian designs, creating intricate patterns and motifs. It’s important to keep your tension even and not carry the yarn too tightly, as this can cause the fabric to pucker.
2. Intarsia: Intarsia is a color block technique where each color is worked with its own ball of yarn or bobbin. This method is perfect for large, geometric designs or images. When changing colors in intarsia, you leave a tail of the old color and start the new color by twisting the two strands together to avoid any gaps in the fabric.
3. Slip Stitch Colorwork: Slip stitch colorwork is a great option for beginners or those who want to add a touch of color without the complexity of stranded knitting. With slip stitch colorwork, you only work with one color per row, slipping stitches from one row to the next to create a pattern. This method creates a dense and textured fabric.
Remember, when changing colors in your knitting, it’s important to weave in the loose ends to secure them and prevent unraveling. Take your time and experiment with different color combinations to create a unique and personalized project!
Increasing and Decreasing Stitches
When knitting a scarf or any other project, it is important to have a good understanding of increasing and decreasing stitches. These techniques allow you to shape your knitting and create interesting patterns and designs.
There are several ways to increase stitches in knitting. One common method is to make a yarn over. To do this, simply bring the yarn to the front of your work (as if to purl) and then bring it over the right-hand needle to the back of your work. This creates a new stitch on your needle. Another method is to work a knit front and back (kfb) stitch, which involves knitting into the front of the stitch and then into the back of the same stitch. This also creates a new stitch on your needle.
When it comes to decreasing stitches, there are also different techniques to choose from. One simple method is to work a knit two together (k2tog) stitch, which involves knitting two stitches together as if they were one stitch. This decreases the total number of stitches on your needle by one. Another common decrease is the slip, slip, knit (ssk) stitch, which involves slipping two stitches separately knitwise, then knitting them together through the back loop. This also decreases the total number of stitches on your needle by one.
- Yarn over: Bring the yarn to the front of your work, then bring it over the right-hand needle to the back of your work.
- Knit front and back (kfb): Knit into the front of the stitch, then into the back of the same stitch.
- Knit two together (k2tog): Knit two stitches together as if they were one stitch.
- Slip, slip, knit (ssk): Slip two stitches separately knitwise, then knit them together through the back loop.
These are just a few examples of increasing and decreasing stitches in knitting. Experiment with different techniques to achieve the desired shape and design in your knitting projects. Happy knitting!
Working with Multiple Yarns
Introducing multiple yarns into your knitting project can add depth and interest to your work. Whether you want to create a color-blocked scarf or add different textures and fibers to your design, working with multiple yarns can bring a unique element to your knitting.
Choosing Yarns: When selecting multiple yarns for your project, consider their weights, fiber types, and color schemes. Mixing yarns of different weights can create interesting contrasts in texture, while blending different fiber types can add subtle variations in drape and sheen. Additionally, deciding on a cohesive color palette will ensure that your yarns work well together.
Blending Techniques: There are several ways to incorporate multiple yarns into your knitting. You can alternate between two or more yarns, carrying them up the side of your work, to create stripes or color blocks. Another technique is holding multiple strands of yarn together, which can result in a chunkier and more textured fabric. You can also switch between different yarns in specific sections of your project to create pattern variations.
Tension and Gauge: When working with multiple yarns, it is important to maintain consistent tension throughout your project. Pay attention to the recommended gauge for each yarn, and consider using a swatch to test your tension before starting your project. Adjust your needle size if necessary to achieve the desired gauge and ensure that your stitches have an even appearance.
Finishing Touches: Once you have completed your knitting project with multiple yarns, it is important to finish it properly. Weave in any loose ends, making sure to secure them securely to prevent unraveling. Block your finished piece if needed, as this can help even out any inconsistencies in tension and give your project a polished look.
Finishing Off the Scarf
Once you have completed knitting your scarf, it’s time to finish it off and add a professional touch to your project. This final step is crucial to ensure that your scarf is neat and ready to be worn or gifted to someone special.
Blocking: Before you proceed with any further finishing techniques, it’s recommended to block your knitted scarf. Blocking helps to shape and even out the stitches, making your scarf look more polished. To block your scarf, dampen it with water and arrange it in the desired shape. Pin it down on a blocking board or use stainless steel T-pins to hold it in place. Allow it to dry completely before moving on to the next step.
1. Weaving in Ends:
Start by weaving in the loose ends of yarn that were left from joining new balls or changing colors. Use a tapestry needle and thread the yarn through the stitches of your scarf, going back and forth to secure it in place. Make sure to weave the ends on the wrong side of the scarf, following the direction of the stitches to hide them effectively.
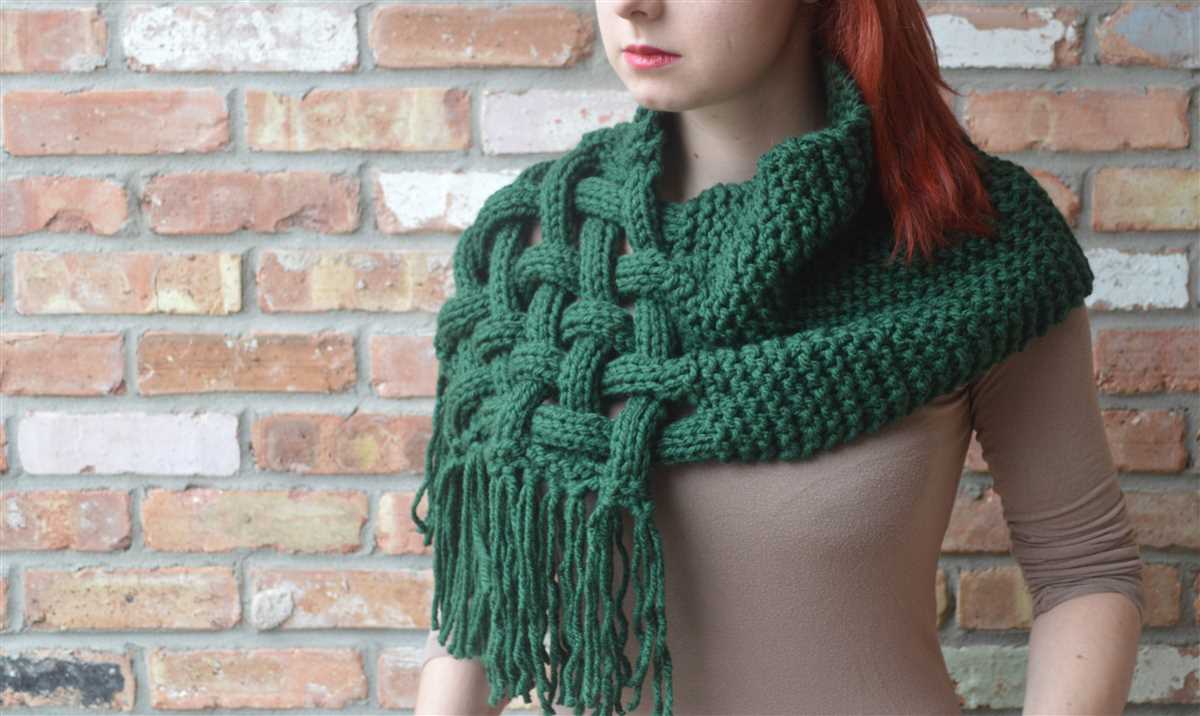
2. Fringing:
If you desire a fringed scarf, this is the time to add the fringes. To create fringes, cut yarns into equal lengths, about twice the desired length of the fringes. Fold each length in half and use a crochet hook or your tapestry needle to pull the folded end through the edge of your scarf. Pass the tails of the yarn through the loop created by the folded end and pull tight. Repeat this process along each end of your scarf, spacing the fringes evenly.
3. Edging:
If you prefer a more finished look, you can add an edging to your scarf. This can be done using a simple crochet border or by picking up stitches along the edge and knitting a few rows in a contrasting color or pattern. This will give your scarf a decorative edge and extra durability.
Remember to gently steam or press your finished scarf using a steam iron on a low setting if needed. This will help to set the shape and create a professional appearance.
Caring for Your Knitted Scarf
Once you have completed knitting your scarf, it is important to properly care for and maintain its quality. By following a few simple steps, you can ensure that your scarf remains in good condition for a long time.
Firstly, it is essential to block your scarf. Blocking is the process of shaping and stretching the knitted fabric to achieve the desired size and shape. To block your scarf, you will need to soak it in lukewarm water with a gentle wool wash or detergent. Gently squeeze out the excess water and spread the scarf on a clean towel, making sure it is in the desired shape and size. You can use pins or blocking wires to hold it in place. Allow the scarf to dry completely before removing the pins or wires.
When it comes to washing your scarf, it is recommended to hand wash it in lukewarm water with a mild detergent specifically designed for wool or delicate fabrics. Avoid using harsh chemicals or bleach, as they can damage the fibers of the scarf. Gently agitate the scarf in the water, then rinse it thoroughly and squeeze out the excess water. Do not wring or twist the scarf, as this can cause it to lose its shape. Instead, roll it in a clean towel to remove any remaining moisture, and then lay it flat to dry.
To store your scarf, it is best to fold it neatly and place it in a clean, dry drawer or storage container. Avoid hanging it, as this can cause the scarf to stretch and lose its shape over time. It is also a good idea to place a sachet of lavender or other natural moth repellent near your scarf to protect it from any potential damage.
By taking the time to properly block, wash, and store your knitted scarf, you can enjoy it for years to come. Remember to handle it with care and avoid exposing it to excessive heat or friction, as these can cause the fibers to weaken or shrink. With the right maintenance, your knitted scarf will continue to keep you warm and stylish throughout the seasons.