
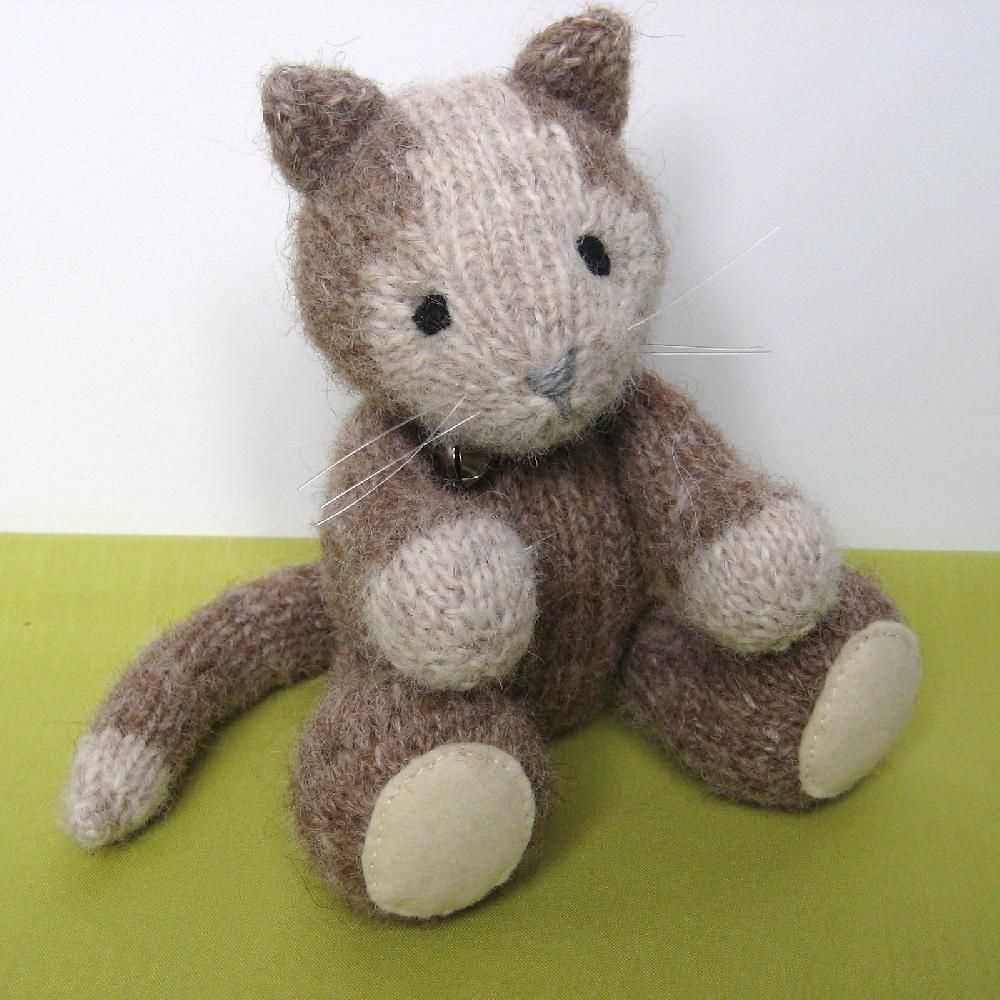
If you’re a knitter looking for a fun and adorable project, then a mouse knit pattern might be just what you need. Knitting toys can be a great way to challenge yourself and create something unique. Plus, who doesn’t love a cute and cuddly mouse?
There are many different mouse knit patterns available, ranging from simple and quick projects to more complex designs. Whether you’re a beginner or an experienced knitter, you can find a pattern that suits your skill level. Knitting a toy mouse can be a great way to practice new stitches and techniques.
One popular mouse knit pattern is the basic garter stitch mouse. This pattern typically involves knitting the body of the mouse in garter stitch, which is a simple and easy-to-learn knitting technique. The ears and tail can be made using a combination of knit and purl stitches to add texture.
Mouse Knit Pattern – Create Your Own Cute Knitted Mouse
If you are a fan of knitting and love creating cute and adorable items, then a mouse knit pattern is the perfect project for you. With just a few simple materials and some basic knitting skills, you can create your own charming knitted mouse that will bring a touch of whimsy to your home.
To get started, you will need some yarn in the colors of your choice. Choose a soft, medium-weight yarn that is easy to work with and comes in a variety of colors. You will also need knitting needles in a size suitable for your chosen yarn, as well as some stuffing material to give your mouse its cuddly shape.
Begin by casting on the required number of stitches for the body of the mouse. You can find a variety of mouse knit patterns online or in knitting books that will guide you through the process step by step. As you work through the pattern, you will create the mouse’s body, head, arms, and legs using basic stitches such as knit and purl.
Once you have finished knitting the various pieces of your mouse, it’s time to assemble them. Start by sewing the body and head together, making sure to leave an opening for stuffing. Stuff the mouse with your chosen material, such as polyester fiberfill, until it is firm but still soft and squishy.
Next, sew the arms and legs to your mouse’s body, positioning them in the desired place to give your mouse a playful and dynamic pose. Finally, embroider or use buttons to create eyes and a nose for your mouse, adding the finishing touches to its adorable face.
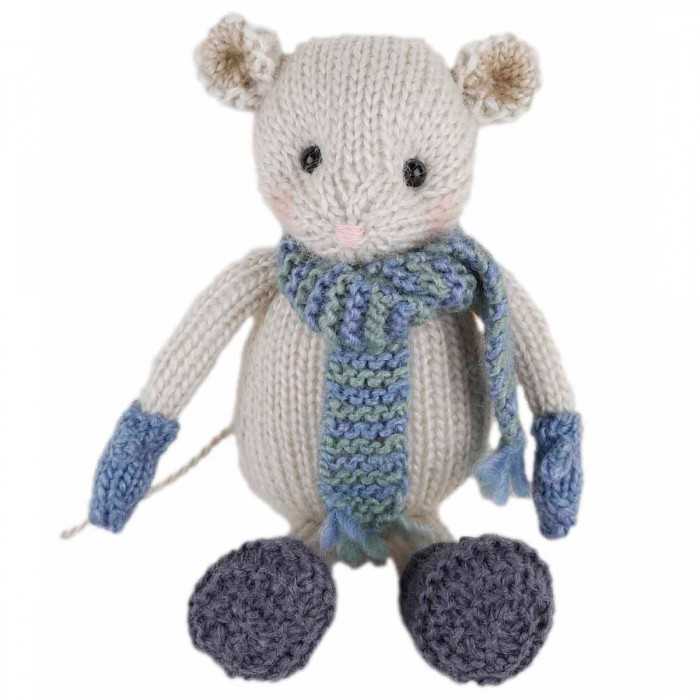
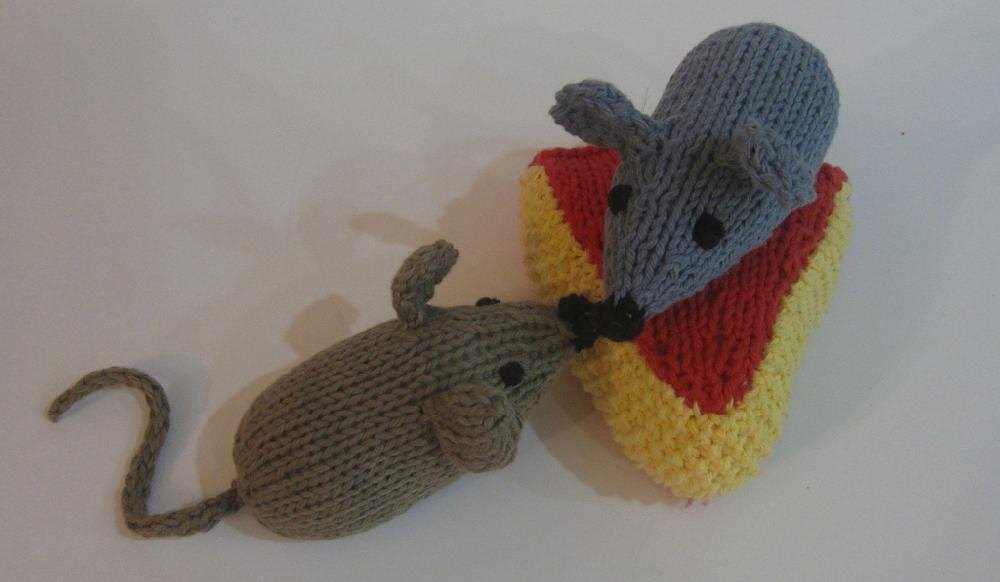
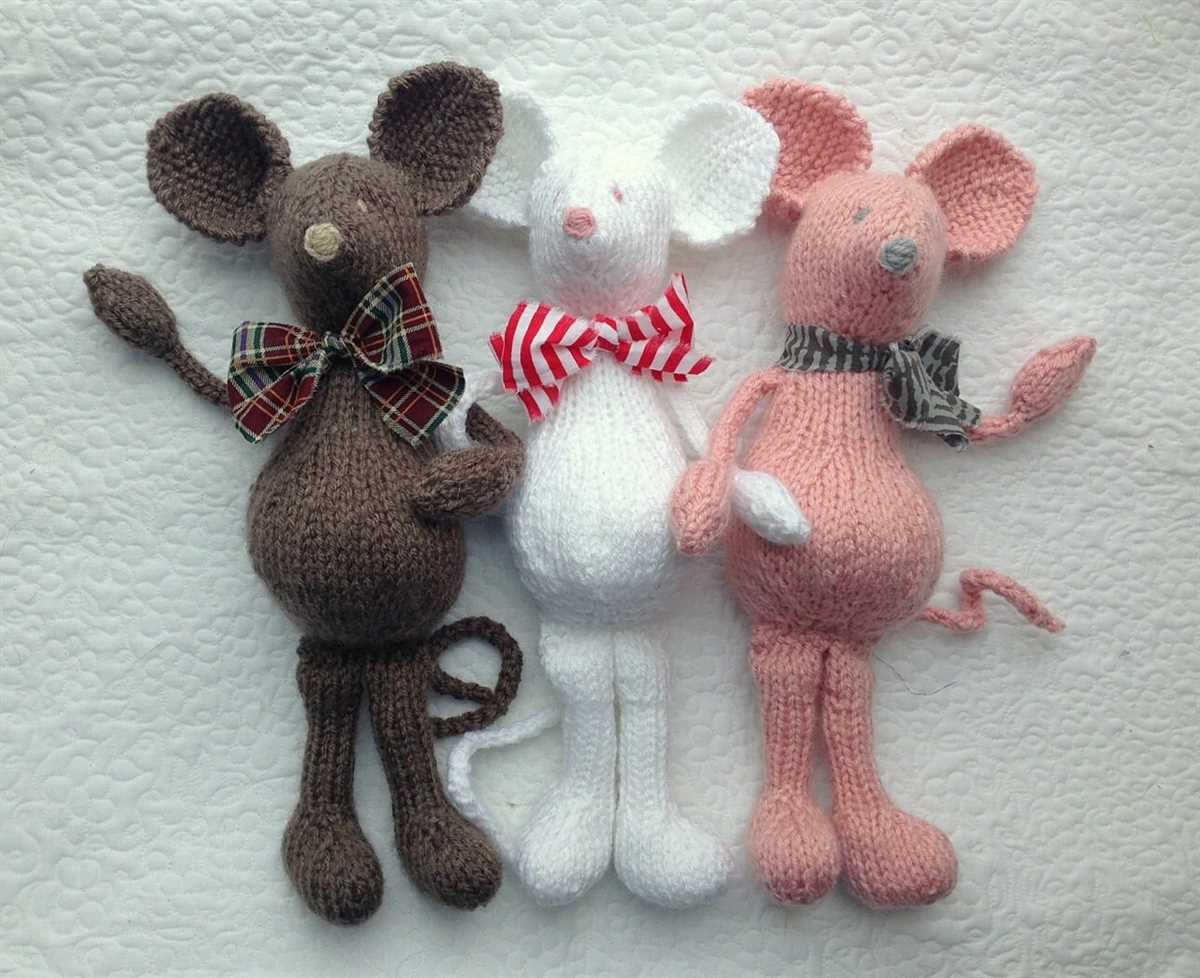
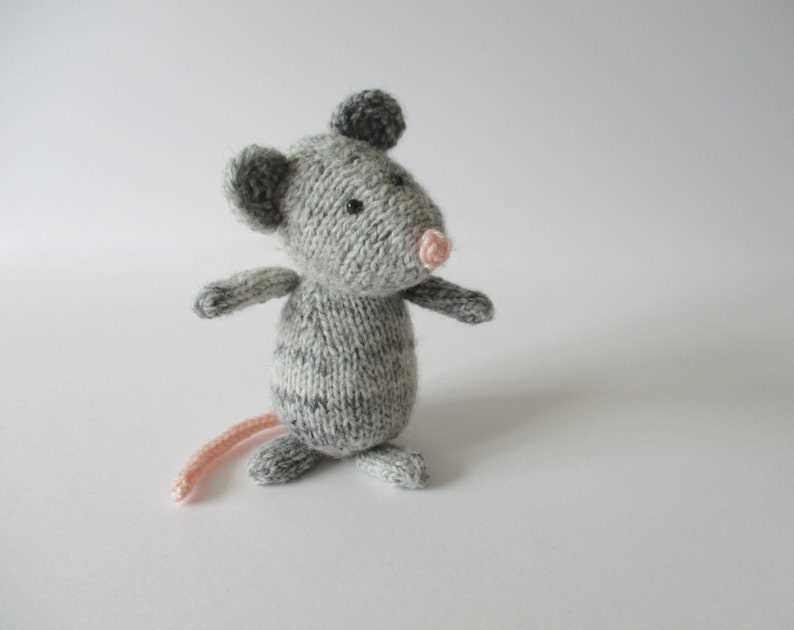
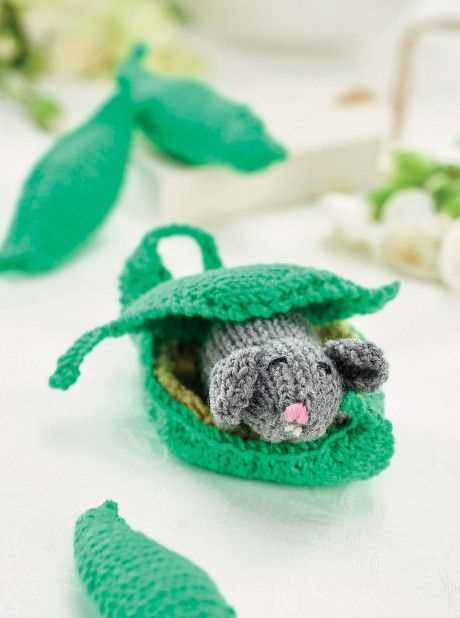
Your knitted mouse is now complete and ready to be displayed or given as a charming gift. Whether you choose to make a single mouse or a whole family of them, this mouse knit pattern allows you to unleash your creativity and create unique and lovable knitted critters that will delight both adults and children alike.
Choose the Perfect Yarn for Your Mouse
When knitting a mouse, one of the most important factors to consider is the type of yarn you will use. The right yarn can greatly enhance the overall look and feel of your knitted creation, making it even more adorable and soft to the touch. There are several key factors to consider when choosing a yarn for your mouse.
1. Fiber Content
The fiber content of the yarn greatly affects the texture and appearance of your mouse. For a soft and cuddly mouse, consider using yarns made from natural fibers, such as wool or alpaca. These fibers provide warmth and a plush feel that is perfect for a huggable mouse toy. Alternatively, you can choose synthetic fibers, such as acrylic or polyester, which are often more affordable and easier to care for.
2. Weight and Gauge

The weight of the yarn refers to its thickness, which can range from laceweight to super bulky. For a mouse toy, it is typically best to use a lighter weight yarn, such as fingering or sport weight, as it will allow for more intricate details. By using a lighter weight yarn, you can create delicate features, such as the mouse’s face and ears, with greater ease. Additionally, consider the suggested gauge of the pattern you are using and choose a yarn that will allow you to achieve the desired measurements.
3. Color and Pattern
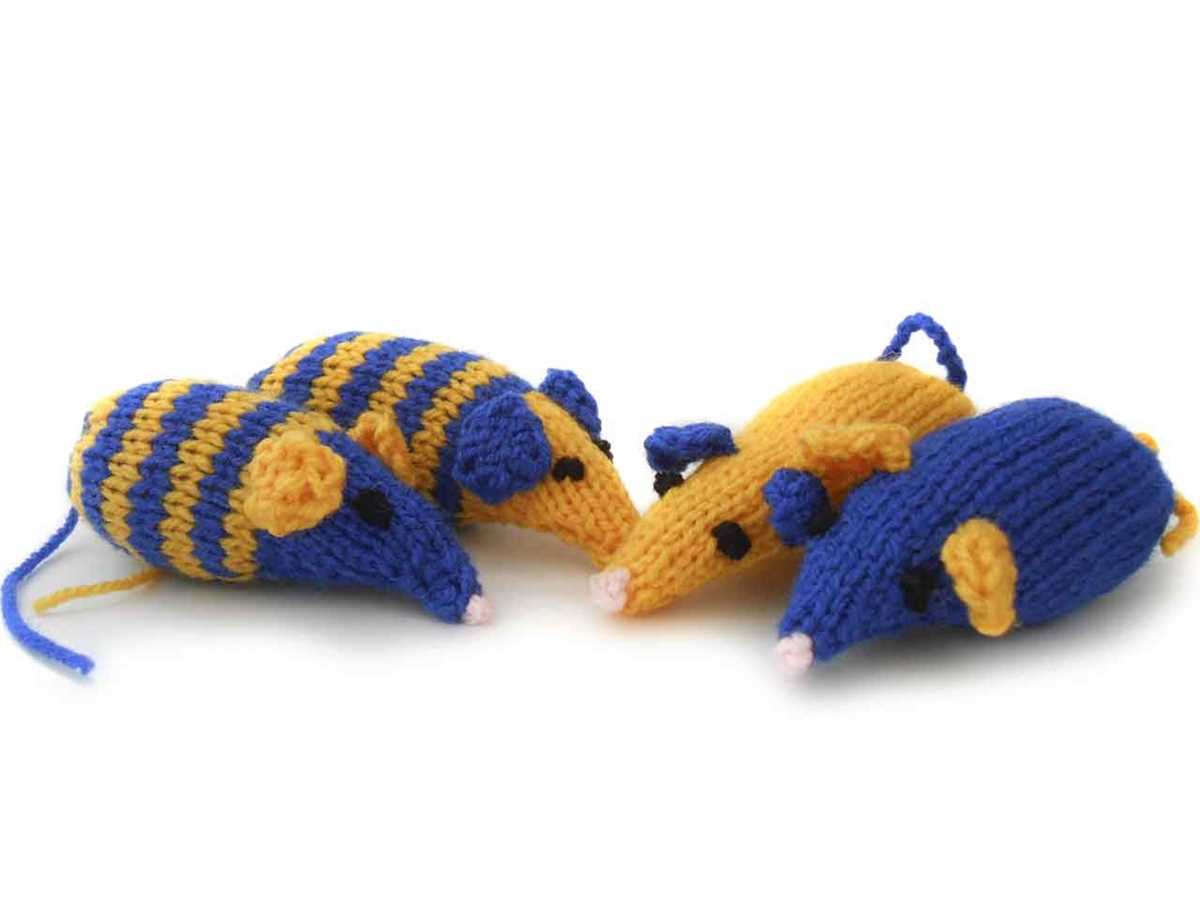
The color and pattern of the yarn can greatly impact the overall aesthetic of your knitted mouse. Consider the color scheme you have in mind and choose a yarn that aligns with your vision. You can opt for solid colors for a classic and timeless look, or experiment with variegated or self-striping yarns for a more playful and whimsical effect. Additionally, if you are following a specific pattern, consider any colorwork or color changes required and choose a yarn that will allow you to achieve the desired results.
Overall, choosing the perfect yarn for your mouse involves considering factors such as fiber content, weight and gauge, as well as color and pattern. By selecting a yarn that aligns with your desired aesthetic and provides the desired texture and appearance, you can create a knitted mouse that is both visually appealing and enjoyable to cuddle with.
Gather the Essential Knitting Supplies
Knitting is a creative and relaxing hobby that requires the right tools and materials. To get started with knitting your own mouse pattern, you will need to gather a few essential supplies.
Yarn: Choose a soft and lightweight yarn in the color of your choice. Opt for a yarn that is suitable for small projects and has good stitch definition. It’s always a good idea to have a few different colors on hand in case you want to add some extra embellishments.
Knitting Needles: You will need a pair of knitting needles that are appropriate for the weight of your yarn. If you’re unsure, check the label of your yarn for the recommended needle size. Circular or straight needles can both be used, depending on your preference.
Tapestry Needle: A tapestry needle, also known as a yarn needle, is an essential tool for weaving in loose ends and sewing up seams. Choose a needle with a large eye so that it’s easy to thread with yarn.
Scissors: A pair of sharp scissors is necessary for cutting the yarn and trimming any excess. It’s important to have a dedicated pair of scissors for knitting to avoid blunting the blades.
Stitch Markers: Stitch markers are helpful for marking specific stitches or sections of your knitting. They can be used to indicate the beginning of each round or to mark a certain pattern repeat.
Row Counter: A row counter is a handy tool for keeping track of your progress and counting rows. It can be in the form of a physical counter that you manually click with each row or a digital app on your phone or tablet.
Stuffing: Lastly, you will need some stuffing to fill your knitted mouse. Choose a soft and hypoallergenic stuffing that is washable and safe for children, if you plan on making the mouse as a toy.
Gathering these essential knitting supplies will ensure that you have everything you need to begin your mouse knitting project. With the right tools and materials, you’ll be able to create a cute and cuddly mouse that is sure to bring joy to anyone who receives it.
Cast On and Start Knitting the Mouse Body

When it comes to knitting a mouse, the first step is to cast on and start knitting the body. This is the foundation of the project and will determine the size and shape of the mouse.
To begin, you will need to gather your materials. These include knitting needles, yarn in the color of your choice, and any additional supplies such as stuffing or safety eyes. Once you have everything prepared, you can start casting on.
Casting On
There are several ways to cast on for the mouse body, but one popular method is the long-tail cast on. To do this, hold the yarn in your dominant hand with the tail end over your thumb and the working end over your index finger. With the needle in your other hand, insert it under the loop on your thumb, then over the loop on your index finger.
- In the long-tail cast on, you will continue to repeat this motion, alternating between your thumb and index finger, until you have cast on the desired number of stitches for your mouse body.
- Make sure to keep the tension even as you cast on to ensure that the stitches are not too loose or too tight.
Once you have cast on the required number of stitches, you can start knitting the body of the mouse. To do this, simply insert your needle into the first stitch on the left-hand needle, then wrap the yarn around the right-hand needle and pull it through the stitch, slipping the original stitch off the left needle.
Continue knitting in this manner until you have reached the desired length for the mouse body. Remember to keep track of your rows if you are following a specific pattern.
Shape the Mouse Head and Ears
Once you have gathered all the necessary materials for knitting the mouse, it is time to shape the head and ears. The head will be the main focal point of the mouse, so it is important to achieve the desired shape and size. Make sure to follow the instructions below to create a cute and proportional mouse head.
Step 1: Start by knitting a basic round shape for the head. You can use a circular knitting needle to make this process easier. Begin knitting in the round and continue until you reach the desired head size. It is recommended to use a chunky yarn to create a fuller and more defined head.
Step 2: To shape the ears, you can follow a simple pattern. Knit two small triangles separately and then sew them onto the top sides of the head. This will give the mouse a cute and distinctive appearance. Use a contrasting color of yarn for the ears to make them stand out.
Alternatively, you can also opt for a different ear shape. For example, you can create floppy ears by knitting two elongated ovals and attaching them to the sides of the head. This will give the mouse a more playful and whimsical look.
Remember to stuff the head and ears with a soft filling material, such as polyester fiberfill or cotton batting, to give them a plump and cuddly feel. Adjust the shape and firmness of the head and ears as needed by adding or removing stuffing.
With the head and ears shaped, you are now ready to move on to the next step of knitting the mouse, which is creating the body and limbs. Stay tuned for the next set of instructions!
Add Details to Bring Your Mouse to Life
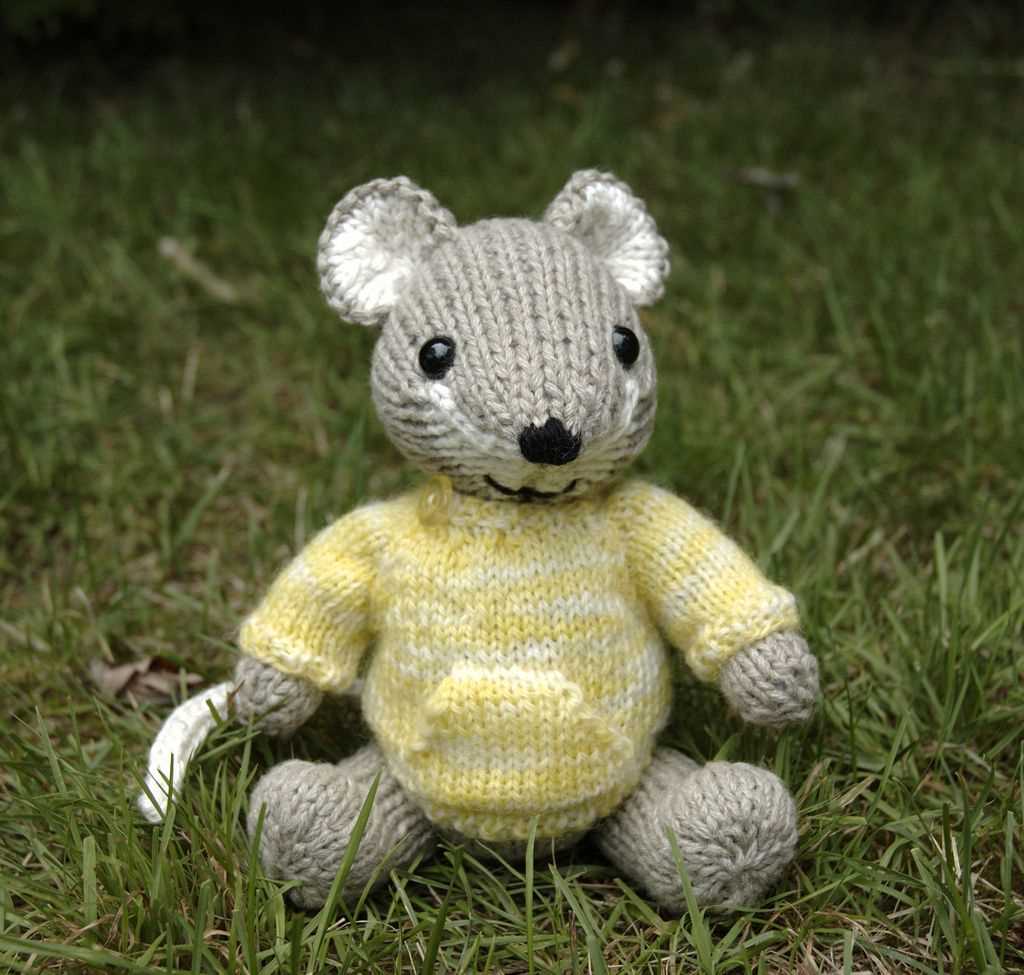
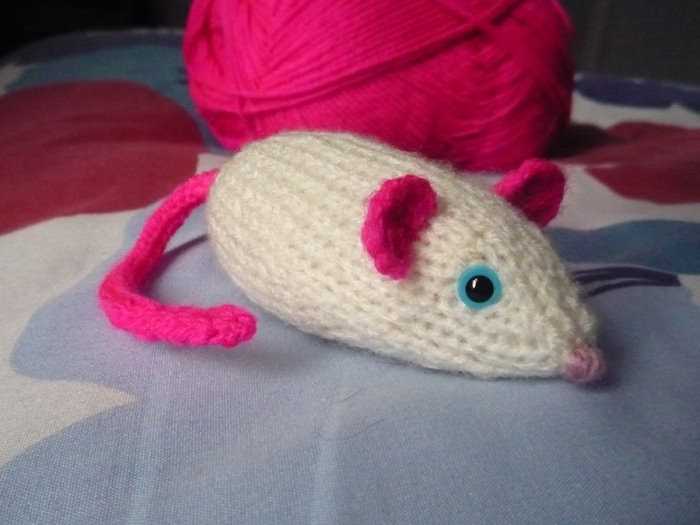
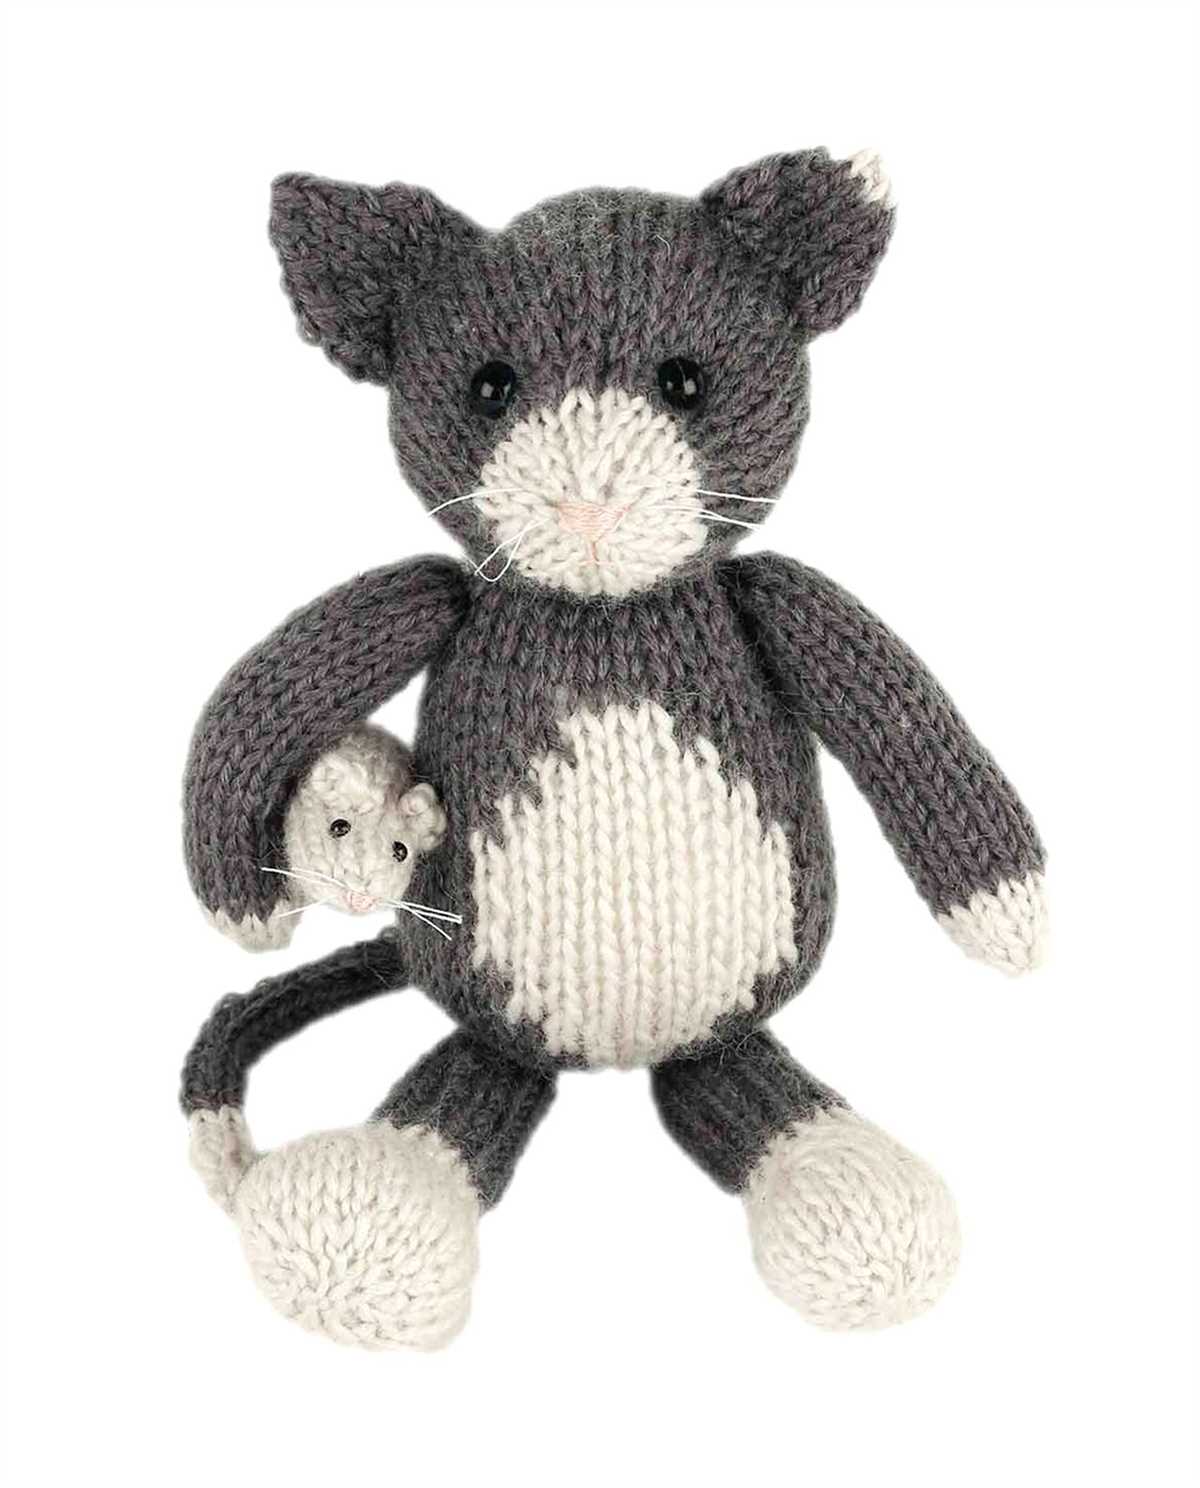
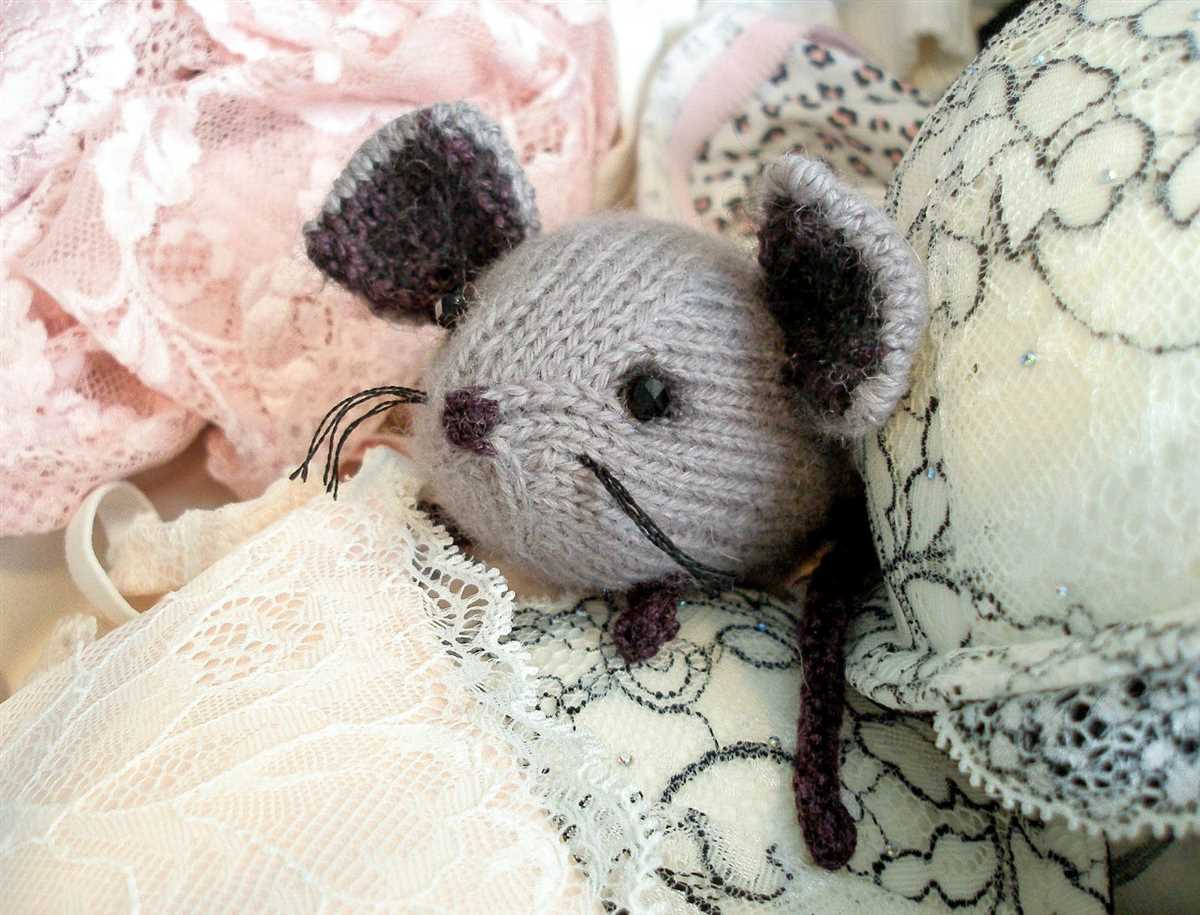
When knitting a mouse, adding details can make all the difference in bringing your creation to life. By adding simple elements such as eyes, a tail, and ears, you can transform your knitted mouse into a charming and realistic creature.
Eyes: One of the most important details to include in your knitted mouse is its eyes. You can use small black buttons or sewn-on felt circles to create the eyes. Placing them towards the top of the mouse’s head will give it a cute and curious expression. Alternatively, you can embroider the eyes using black yarn for a more textured look.
Tail: Don’t forget to give your knitted mouse a tail! You can easily create a tail by knitting a long tube shape and attaching it to the back of the mouse. To add even more realism, you can use a thinner yarn or embroidery thread to stitch small lines along the length of the tail, mimicking the texture of a real mouse’s tail.
Ears: The ears are another important detail that can bring your knitted mouse to life. To create ears, you can either knit small triangles separately and sew them onto the sides of the mouse’s head, or you can use the technique of increasing stitches to shape the ears directly as you knit the head. Placing the ears towards the top of the head will give your mouse a cute and alert appearance.
To sum up, by paying attention to the details such as the eyes, tail, and ears, you can transform your knitted mouse into a lifelike creature. Adding these simple elements not only enhances the overall look of your creation but also adds personality and charm to your knitted toy. So grab your knitting needles and let your imagination run wild as you bring your knitted mouse to life!
Knit the Mouse Arms and Legs
The arms and legs are an important part of knitting a mouse toy. They give the toy a more complete and realistic look, and also add to its playability. Knitting the arms and legs requires some basic knitting skills, but with a bit of practice, it can be easily accomplished. Here is a step-by-step guide on how to knit the arms and legs for your mouse toy.
Materials Needed:
- Knitting needles (size will depend on your yarn thickness)
- Yarn in the desired color for the arms and legs
- Scissors
- Tapestry needle
Instructions:
- Start by casting on the desired number of stitches for the arms or legs. This will depend on the size and thickness you want them to be.
- Knit in the desired stitch pattern (e.g. garter stitch, stockinette stitch) until the desired length is reached. This will depend on the proportions you want for your mouse toy.
- Once you have reached the desired length, bind off the stitches. Cut the yarn, leaving a long enough tail for sewing later.
- Repeat steps 1-3 to create the other arm or leg.
- Using the tapestry needle, sew one end of the arm or leg to the body of the mouse toy. Make sure to securely attach it and hide the yarn tail inside the toy.
- Repeat step 5 to attach the other arm or leg to the body.
And there you have it! By following these simple instructions, you can knit the arms and legs for your mouse toy. Remember to be creative and have fun with your color choices and stitch patterns. Your finished mouse toy will be adorable and ready for playtime!
Sew and Assemble the Mouse Parts
Once you have completed knitting all the required pieces for your mouse toy, it’s time to sew them together and assemble the final product. This step-by-step guide will help you bring your adorable mouse to life.
1. Sew the Body
Start by sewing the two body pieces together using a whip stitch or mattress stitch. Make sure to leave a small opening for stuffing. Once sewn, turn the body right-side out and stuff it firmly with polyester fiberfill. Stitch the opening closed.
2. Attach the Limbs
Match up the legs and arms with the corresponding marks on the body. Sew them in place using a whip stitch or mattress stitch. Make sure they are securely attached, as these parts will endure some tugging and pulling during playtime.
3. Add the Ears and Tail
Position the ears on top of the head of the mouse and sew them in place. You can use a whip stitch or running stitch to attach them securely. For the tail, fold a small piece of yarn in half and sew it onto the back of the mouse.
4. Embroider the Facial Features
Using embroidery thread or yarn, embroider the eyes, nose, and mouth onto the face of the mouse. You can use a satin stitch for the eyes and nose, and a simple backstitch for the mouth. Be creative with the expressions to give your mouse its own unique personality.
5. Final Touches
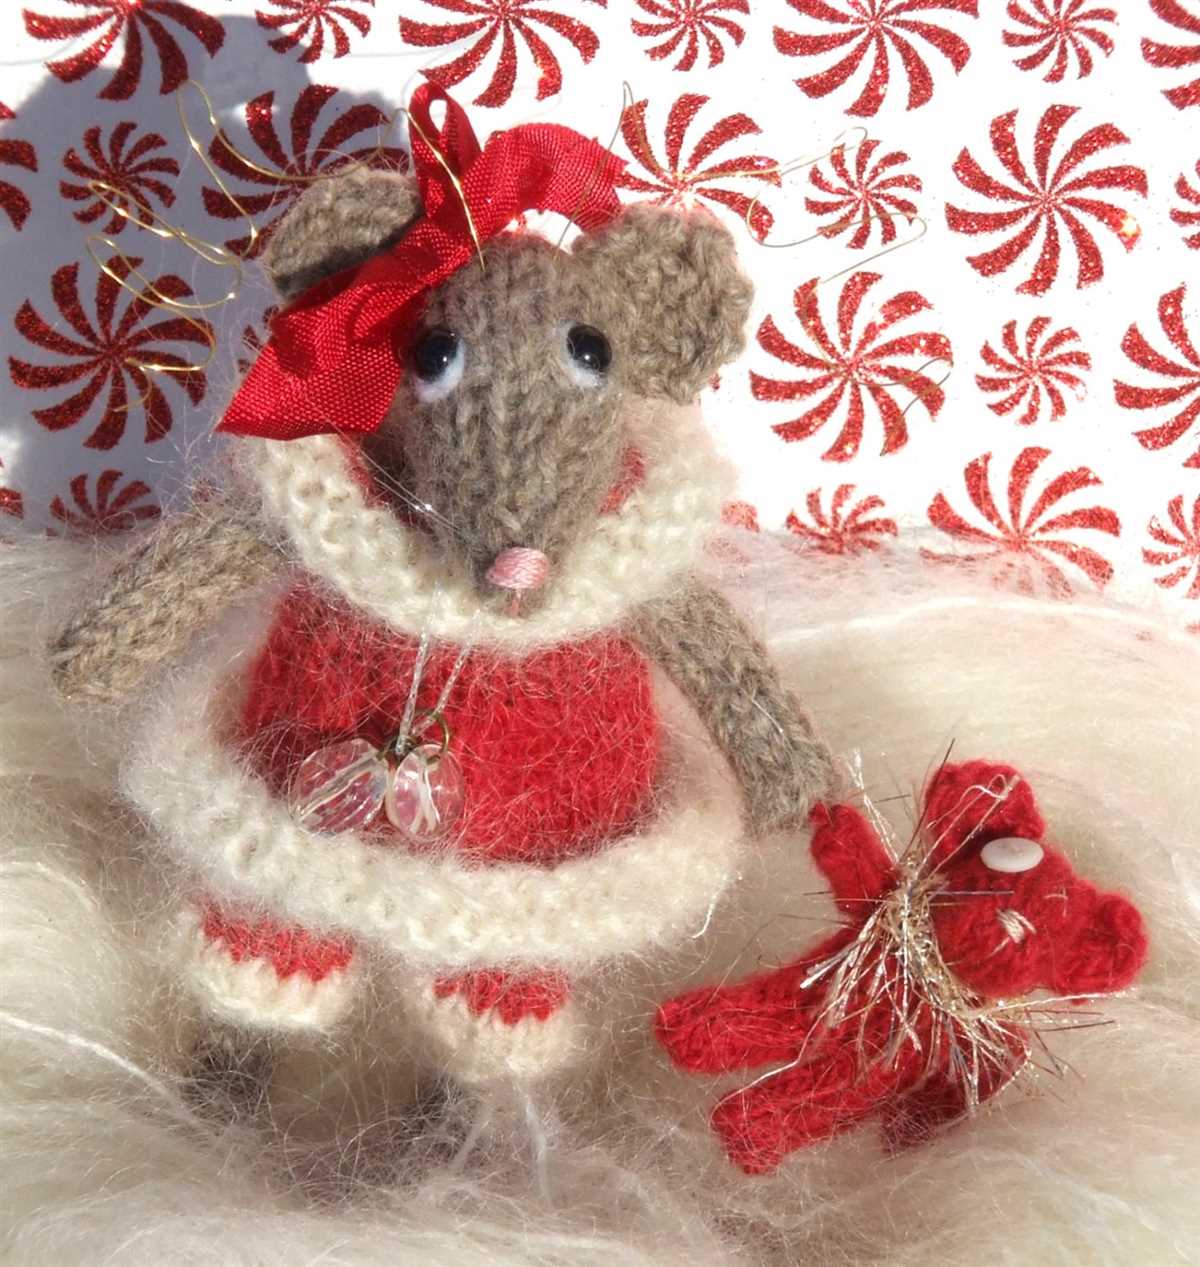
If desired, you can add any additional details to your mouse, such as a bow tie, ribbon, or buttons. Just make sure these embellishments are securely sewn on to prevent any choking hazards. Give your mouse a gentle shake to fluff up the stuffing and ensure it is evenly distributed.
Once you have completed all these steps, your mouse toy is ready for play or display! Enjoy your adorable creation and share it with others who appreciate handcrafted toys.
Stuff and Finish Your Knitted Mouse
Once you have completed knitting your mouse, it’s time to stuff and finish it. This final step will bring your knitted creation to life and give it the adorable shape that you imagined.
Stuffing: To start, gather your stuffing material. You can use polyester fiberfill, cotton, or any other soft material that will give your mouse a plump and cuddly feel. Begin by inserting the stuffing into the body of the mouse through the small opening left at the bottom. Use small amounts of stuffing at a time and distribute it evenly throughout the body, making sure to fill all the nooks and crannies. Gently push the stuffing into the limbs and tail as well to give them shape.
Finishing: After stuffing the mouse, it’s time to close up the bottom opening. You can use a tapestry needle and the same yarn that you used for knitting to sew it closed. Thread the needle, and starting from one side of the opening, stitch across to the other side, securing the stuffing inside. Make sure to sew tightly and neatly, so the opening is not visible once closed. After finishing the bottom, you can weave in any loose ends of yarn to give your mouse a polished look.
To add the final touches, embellish your knitted mouse with eyes and a nose. You can use small black buttons or beads for the eyes and stitch a small triangle or oval shape for the nose. Be creative and use different materials to give your mouse its own unique personality. If you want, you can add a small ribbon around the mouse’s neck for an extra touch of cuteness.
Once you have completed stuffing, sewing, and adding the finishing touches, your knitted mouse is ready to be displayed or given as a thoughtful handmade gift. It will bring joy and warmth to anyone who receives it, showing them the love and care that went into creating such a charming little creature.
Customize Your Mouse with Embellishments
Looking to add a personal touch to your computer mouse? With just a few simple embellishments, you can transform your everyday mouse into a unique and eye-catching accessory. Whether you’re looking to add some sparkle, a pop of color, or a touch of whimsy, there are endless options for customizing your mouse to suit your style.
One of the easiest ways to customize your mouse is with adhesive rhinestones or gems. These small, self-adhesive embellishments come in a variety of colors, shapes, and sizes, making it easy to create a design that reflects your individuality. Whether you prefer a simple arrangement of rhinestones along the edges of your mouse or a more intricate pattern, the possibilities are endless.
Here are a few ideas to get you started:
- Use colorful washi tape to create stripes or geometric patterns on your mouse. Simply cut the tape to size and apply it in your desired design.
- Add a touch of nature with small pressed flowers or leaves. Use a clear adhesive to attach them to your mouse for a delicate and natural look.
- Create a personalized design with fabric paint. Use a brush or sponge to apply the paint in your desired pattern, whether it’s polka dots, stripes, or a custom design.
- Enhance your mouse with a unique texture by wrapping it in yarn or ribbon. Choose a color and texture that complements your mouse and simply wrap it tightly around the body, securing the ends with a small dot of glue.
When customizing your mouse, it’s important to keep in mind that you may need to remove the embellishments if you plan on cleaning your mouse or replacing the batteries. Choose adhesive materials that can be easily removed without leaving any residue or damaging the surface of your mouse.
So why settle for a boring, generic mouse when you can have one that’s uniquely yours? Get creative and start customizing your mouse today!
Enjoy Your Adorable Knitted Mouse!
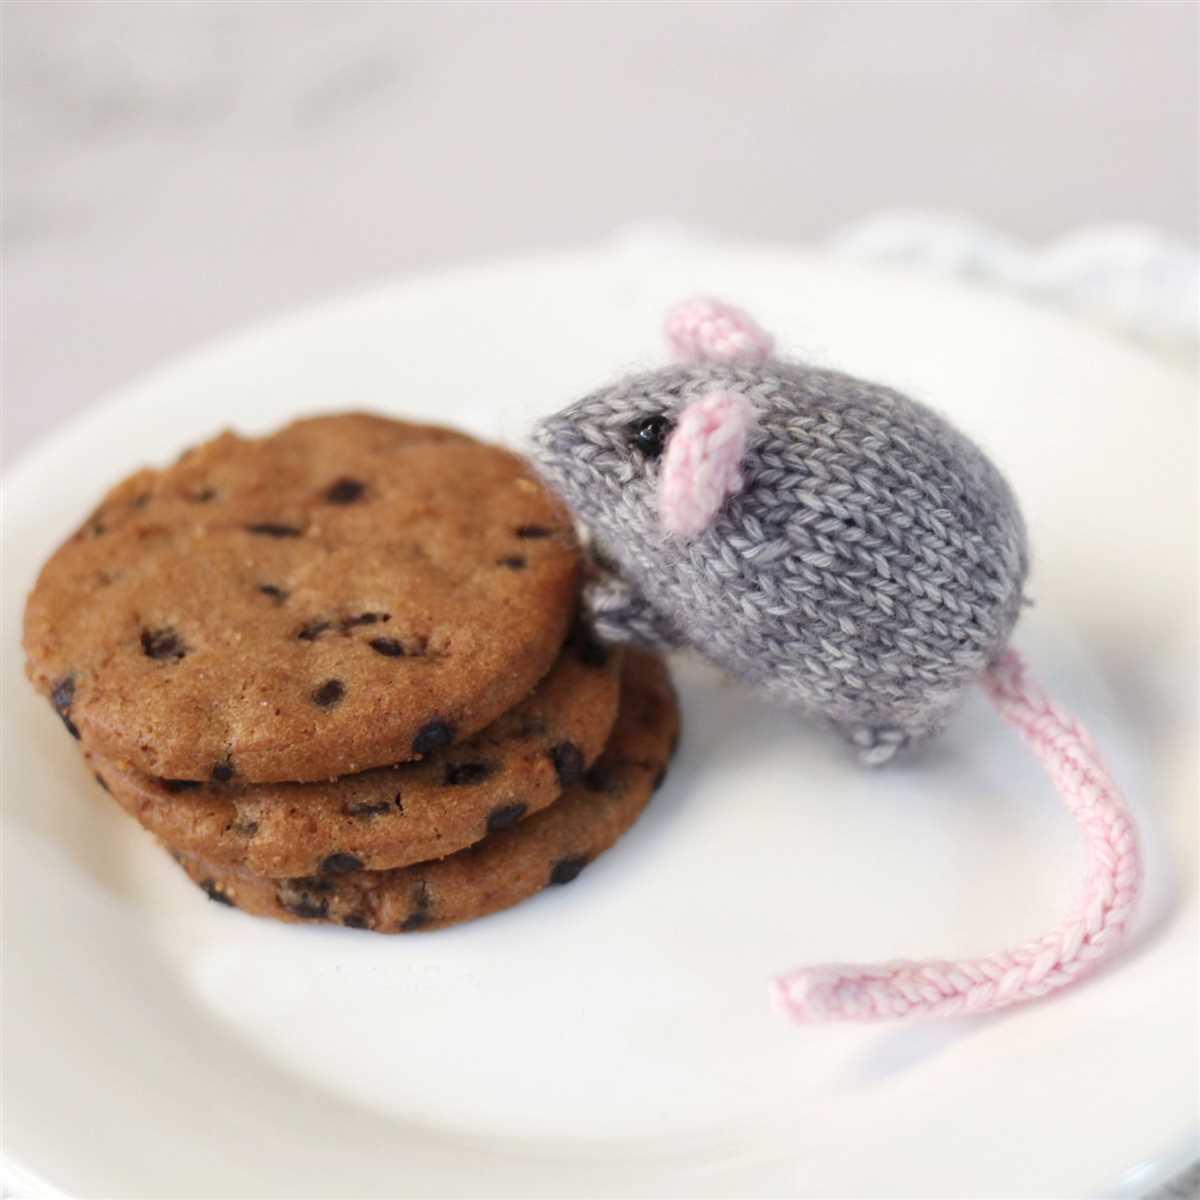
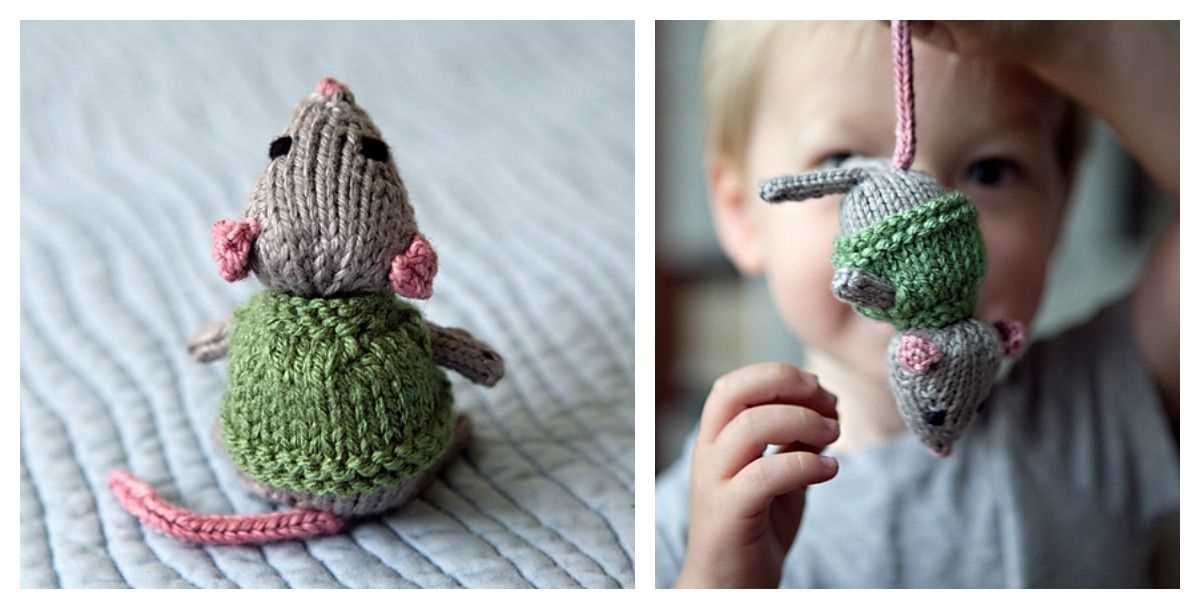
Now that you’ve finished knitting your mouse, it’s time to sit back, relax, and enjoy your adorable creation. Whether you made it as a toy for a child or a cute decoration for yourself, this knitted mouse is sure to bring a smile to your face.
Take a moment to appreciate the time and effort you put into creating this little masterpiece. Knitting can be a meditative and calming activity, and now you have a tangible result of your hard work to show for it.
Playing with Your Knitted Mouse
This knitted mouse is perfect for playtime with children or even for interactive displays. Its soft and cuddly texture makes it an excellent companion for kids, and they will love imagining adventures and stories with their new little friend.
You can also use your knitted mouse as a decoration for your home or office. Place it on a shelf, desk, or table to add a whimsical touch to your space. It can also make a great conversation starter or a unique gift for a fellow knitting enthusiast.
Share Your Creations
If you’re proud of your knitted mouse, don’t hesitate to show it off! Share pictures of your creation on social media or with your knitting community. You never know who might be inspired by your work or who might appreciate the craftsmanship that went into making this adorable mouse.
Celebrate your creativity and the joy of knitting by sharing your knitted mouse with others. You may even inspire someone else to start knitting or try their hand at creating their own knitted masterpiece!
Remember, knitting is not just a hobby; it’s an art form. Every stitch tells a story, and your knitted mouse is a testament to your skill and creativity. So enjoy it, cherish it, and continue to explore the world of knitting with joy and enthusiasm!