
Knitting is a wonderful craft that allows us to create beautiful and functional items. One of the most popular knitting projects is a baby blanket. Blankets made with love and care are not only warm and cozy, but also make for a thoughtful and cherished gift for a new baby.
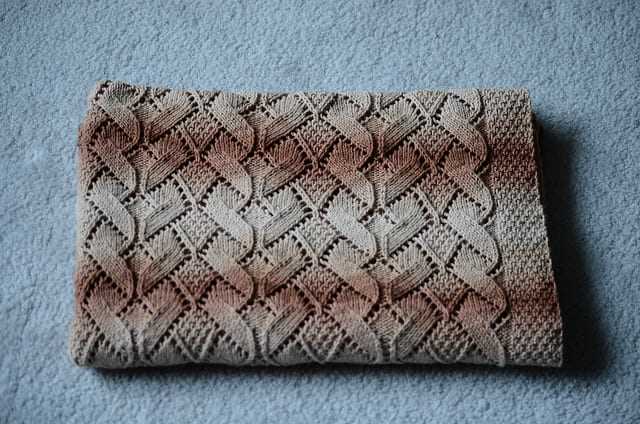
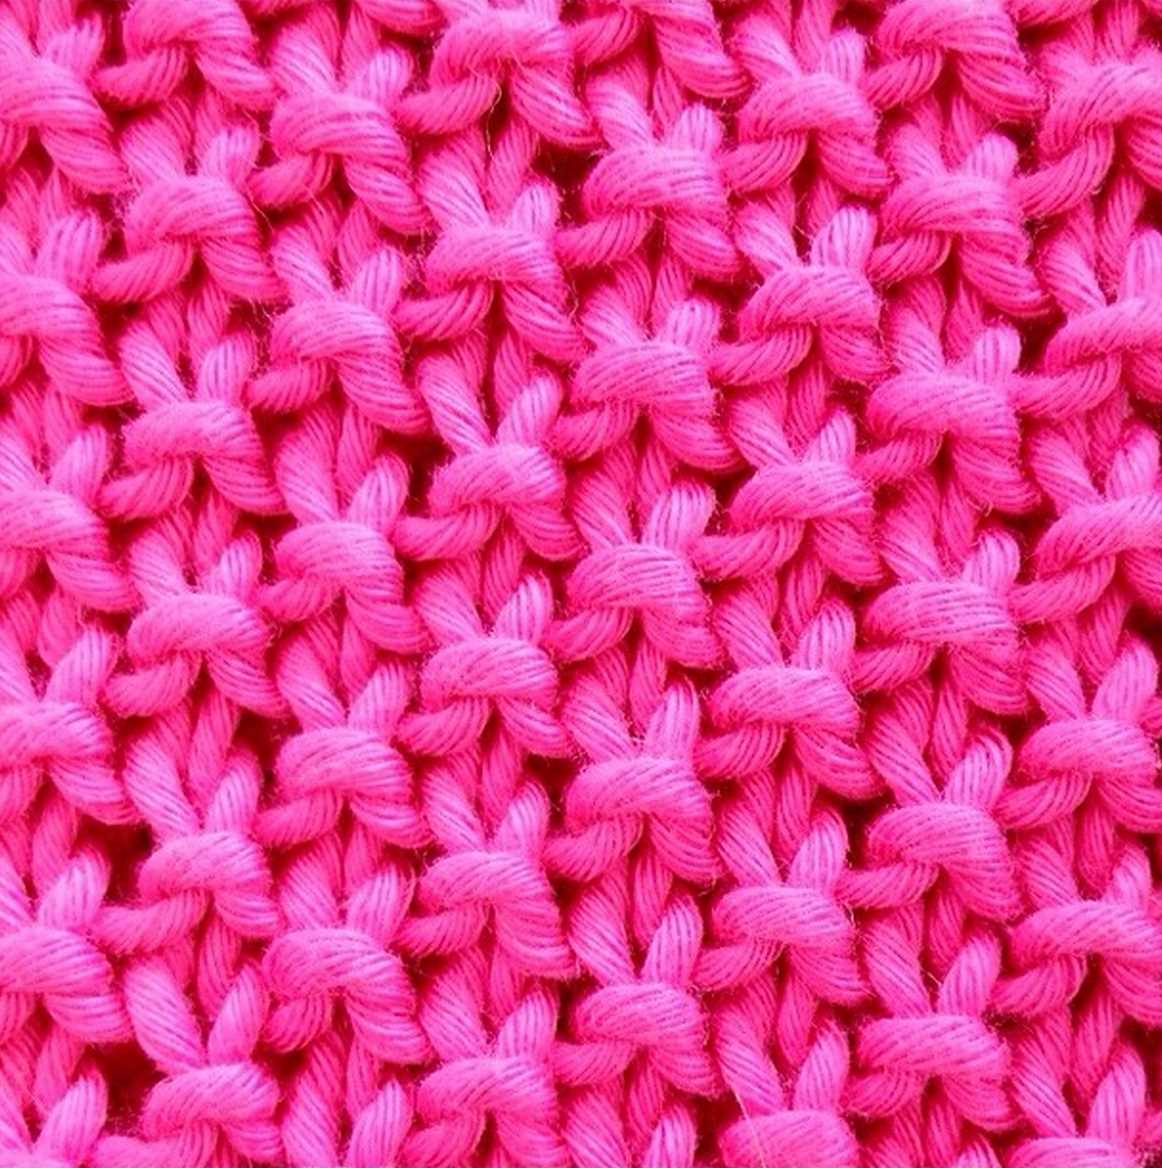
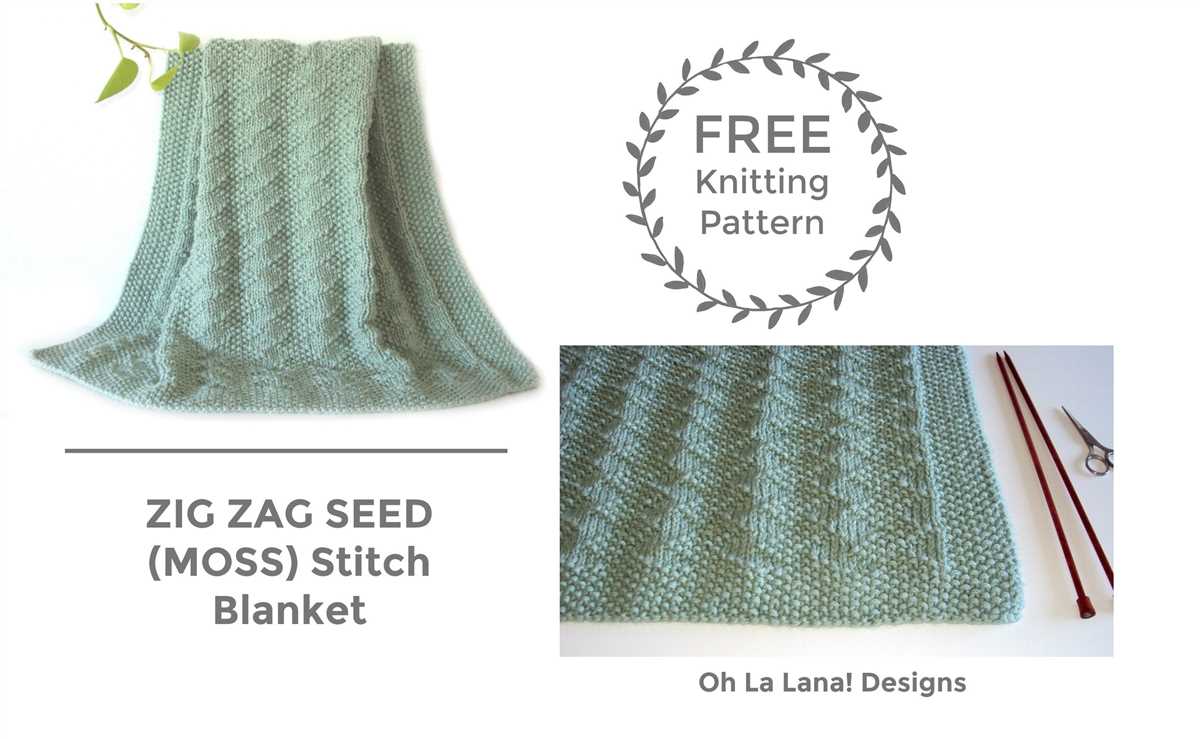
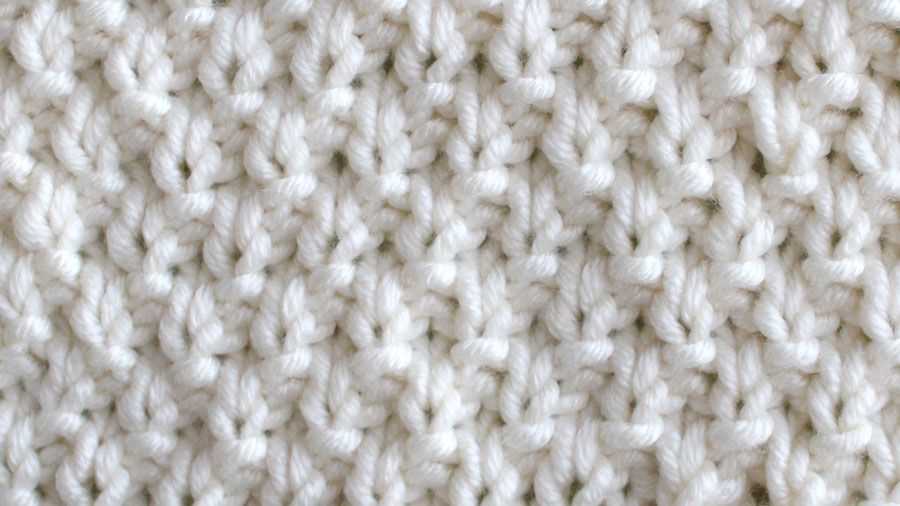
If you’re looking for a free knitting pattern for a baby blanket, the moss stitch pattern is a great choice. The moss stitch, also known as the seed stitch, is a simple yet textured stitch that creates a fabric with a beautiful pattern of small seed-like bumps. It’s not only visually appealing, but also adds extra warmth and thickness to the blanket.
This free pattern for a moss stitch baby blanket is a great project for all levels of knitters, from beginners to advanced. It’s a relatively easy pattern to follow, and the repetitive nature of the moss stitch makes it a relaxing and enjoyable knit. Plus, the finished blanket is sure to be loved and treasured for years to come.
Moss Stitch Baby Blanket Free Pattern Knit
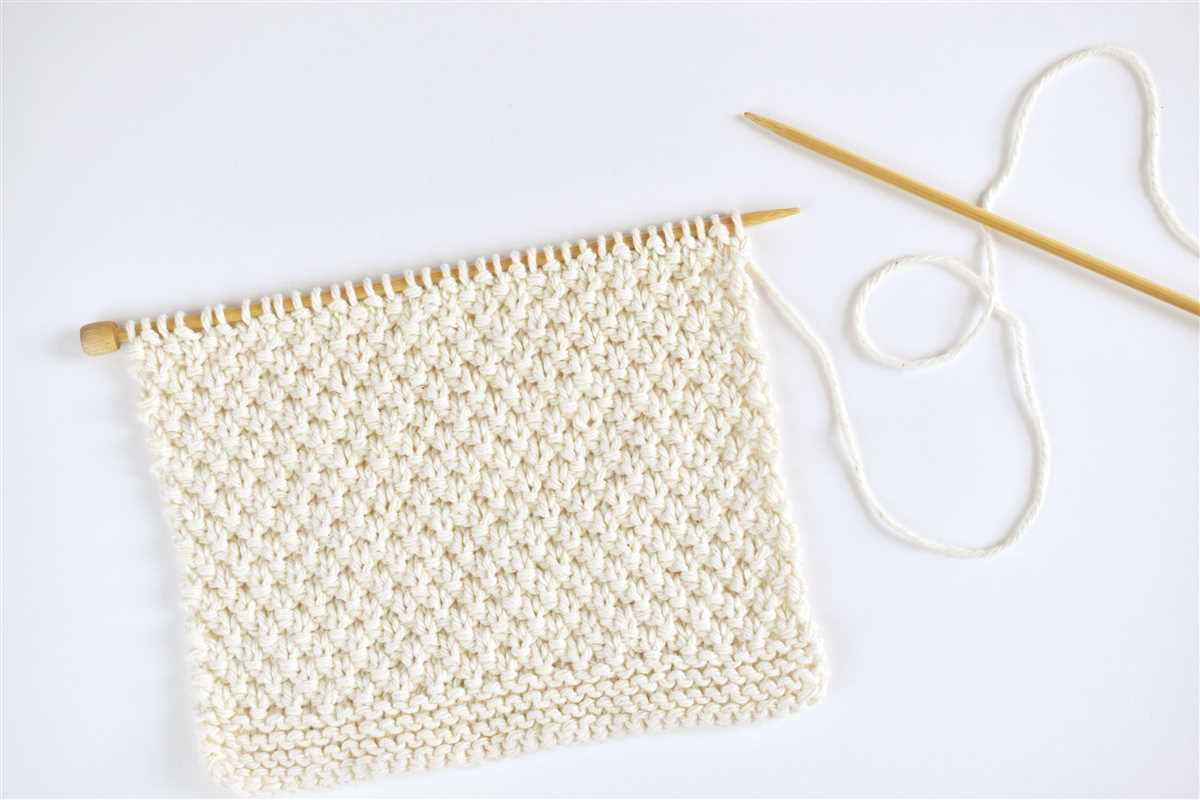
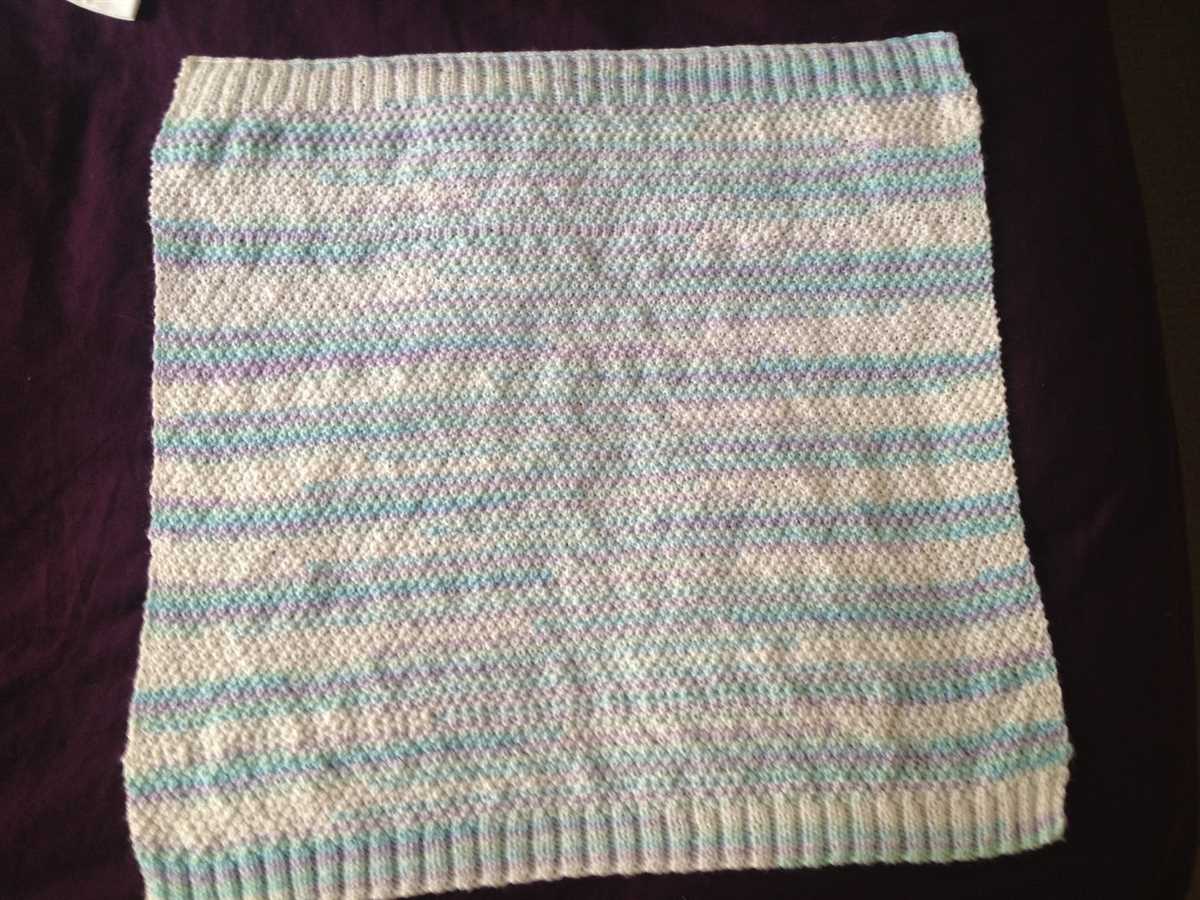
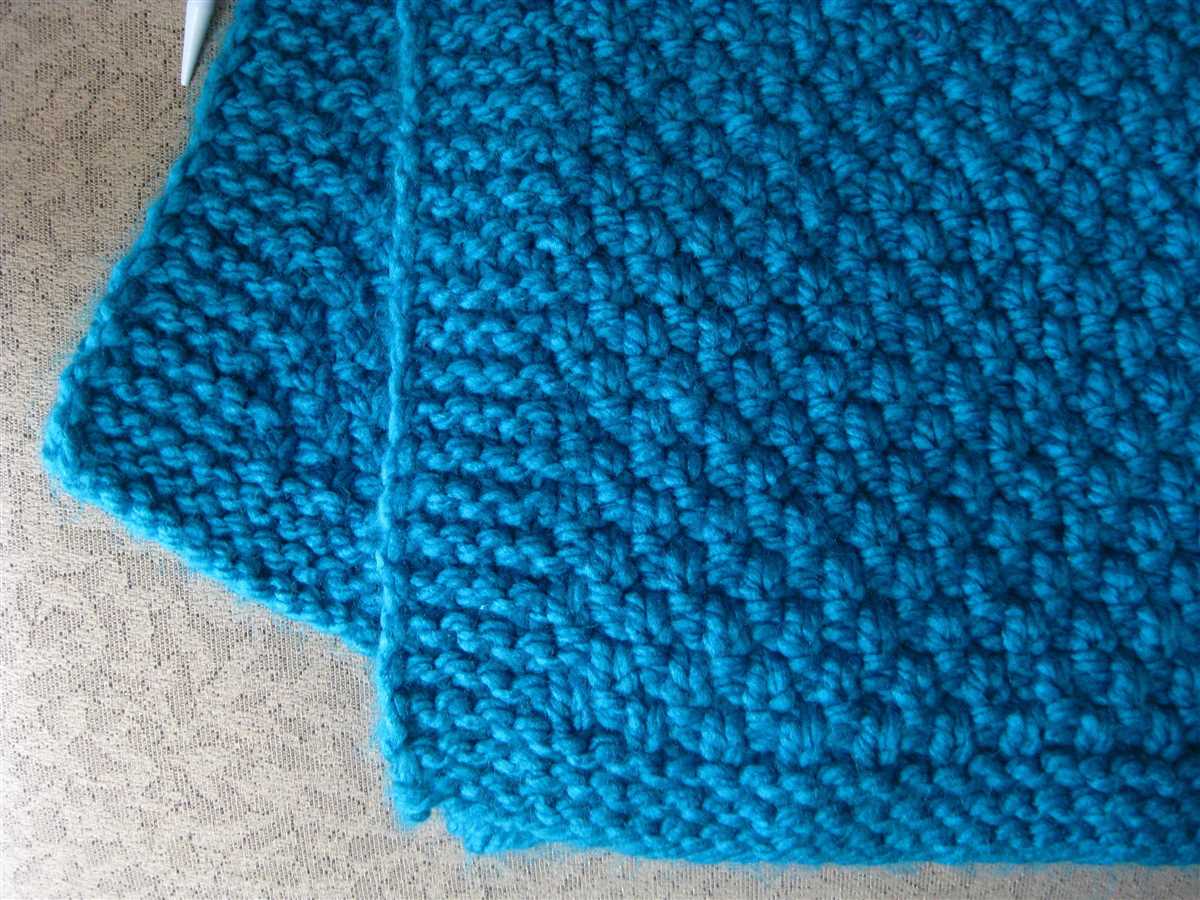
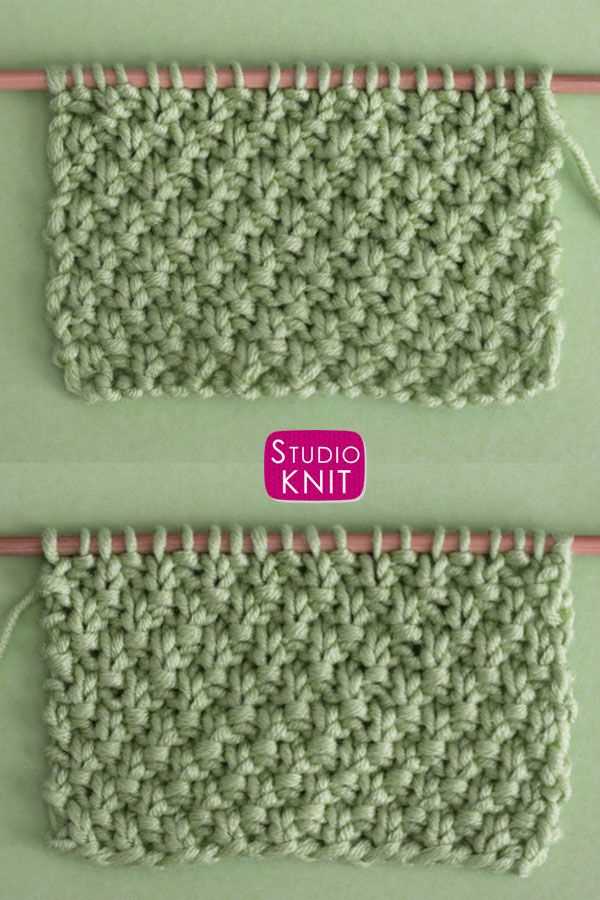
If you’re looking for a beautiful and cozy blanket to knit for a baby, the Moss Stitch Baby Blanket is the perfect option. This free knitting pattern features a classic moss stitch design, which creates a textured and reversible fabric. The blanket is not only aesthetically pleasing but also warm and soft, making it ideal for keeping babies snug and comfortable.
The Moss Stitch Baby Blanket is designed to be knit using worsted weight yarn and size 9 knitting needles. The pattern is straightforward and easy to follow, making it suitable for knitters of all skill levels. It consists of a repeating pattern of knit and purl stitches, resulting in a lovely texture that resembles moss or bobbles.
To begin knitting the Moss Stitch Baby Blanket, simply cast on the desired number of stitches, making sure to have an odd number of stitches to create the moss stitch pattern. Then, follow the pattern instructions, alternating between knit and purl stitches to create the moss stitch texture. Repeat the pattern rows until the blanket reaches the desired length, and then bind off the stitches to finish.
One of the great things about the Moss Stitch Baby Blanket is its versatility. While the pattern is written for a baby blanket, you can easily adapt it to create a larger size for an adult or even a throw blanket. Additionally, you can play around with different yarn colors to create a personalized and unique blanket for any recipient.
Overall, the Moss Stitch Baby Blanket is a delightful knitting project that provides both an enjoyable knitting experience and a cozy blanket for babies. Whether you’re a beginner knitter or an experienced crafter, this free pattern is definitely worth trying. So grab your knitting needles and some soft yarn, and get ready to create a beautiful and snuggly blanket that will be cherished for years to come.
Choosing the Right Yarn and Needles
When knitting a moss stitch baby blanket, it is important to choose the right yarn and needles to ensure the best results. The type of yarn you select will affect the overall feel and look of the blanket, so it is crucial to consider the qualities you desire in the finished product.
Yarn: For a soft and cozy blanket, opt for a yarn that is specifically designed for baby items. Look for yarns made from natural fibers such as cotton, bamboo, or merino wool, as they are gentle on the baby’s delicate skin. Additionally, consider the weight of the yarn. A lighter weight yarn will create a daintier and more delicate blanket, while a thicker yarn will result in a warmer and bulkier finished piece.
Needles: The type of needles you use can also impact the final outcome of your moss stitch baby blanket. Circular needles are commonly used for this type of project as they allow for ease of movement and can hold a large number of stitches. Consider the length of the needles as well, ensuring they are long enough to accommodate the width of your blanket. Additionally, check the recommended needle size indicated on your yarn label and use needles of the appropriate size to achieve the desired tension and stitch definition.
Remember, experimenting with different yarn and needle combinations can result in unique and interesting variations of the moss stitch baby blanket. Have fun exploring different options and find the perfect yarn and needles that will make your knitting project a success!
Getting Started: Casting On
Before you can begin knitting the moss stitch baby blanket, you will need to cast on your stitches. Casting on is the process of creating the first row of stitches on your knitting needle. In this pattern, you will need to cast on a multiple of 2 stitches, plus 1 additional stitch.
To cast on, start by making a slipknot. This is done by making a loop with the yarn, passing the end of the yarn through the loop, and pulling it snugly. Insert the knitting needle into the slipknot, ensuring that the yarn end is on the right side of the needle.
Working the Moss Stitch Pattern
To work the moss stitch pattern, you will need a pair of knitting needles and a ball of baby yarn. Start by casting on an even number of stitches for your desired width. For example, you could cast on 100 stitches for a blanket that is approximately 30 inches wide.
Once you have cast on, the pattern is simple to follow. In the first row, knit the first stitch, then purl the next stitch. Continue this pattern of knitting the first stitch and purling the second stitch until the end of the row. Repeat this pattern for every row.
An important tip when working moss stitch is to always start each row with the same stitch that you ended with in the previous row. This will ensure that the pattern stays consistent and the raised texture is maintained. For example, if you ended the previous row with a knit stitch, start the next row with a knit stitch.
Continue knitting in this pattern until your blanket reaches the desired length. To finish, bind off all stitches and weave in any loose ends. You can also add a border if desired by knitting a few rows of garter stitch or another simple stitch pattern.
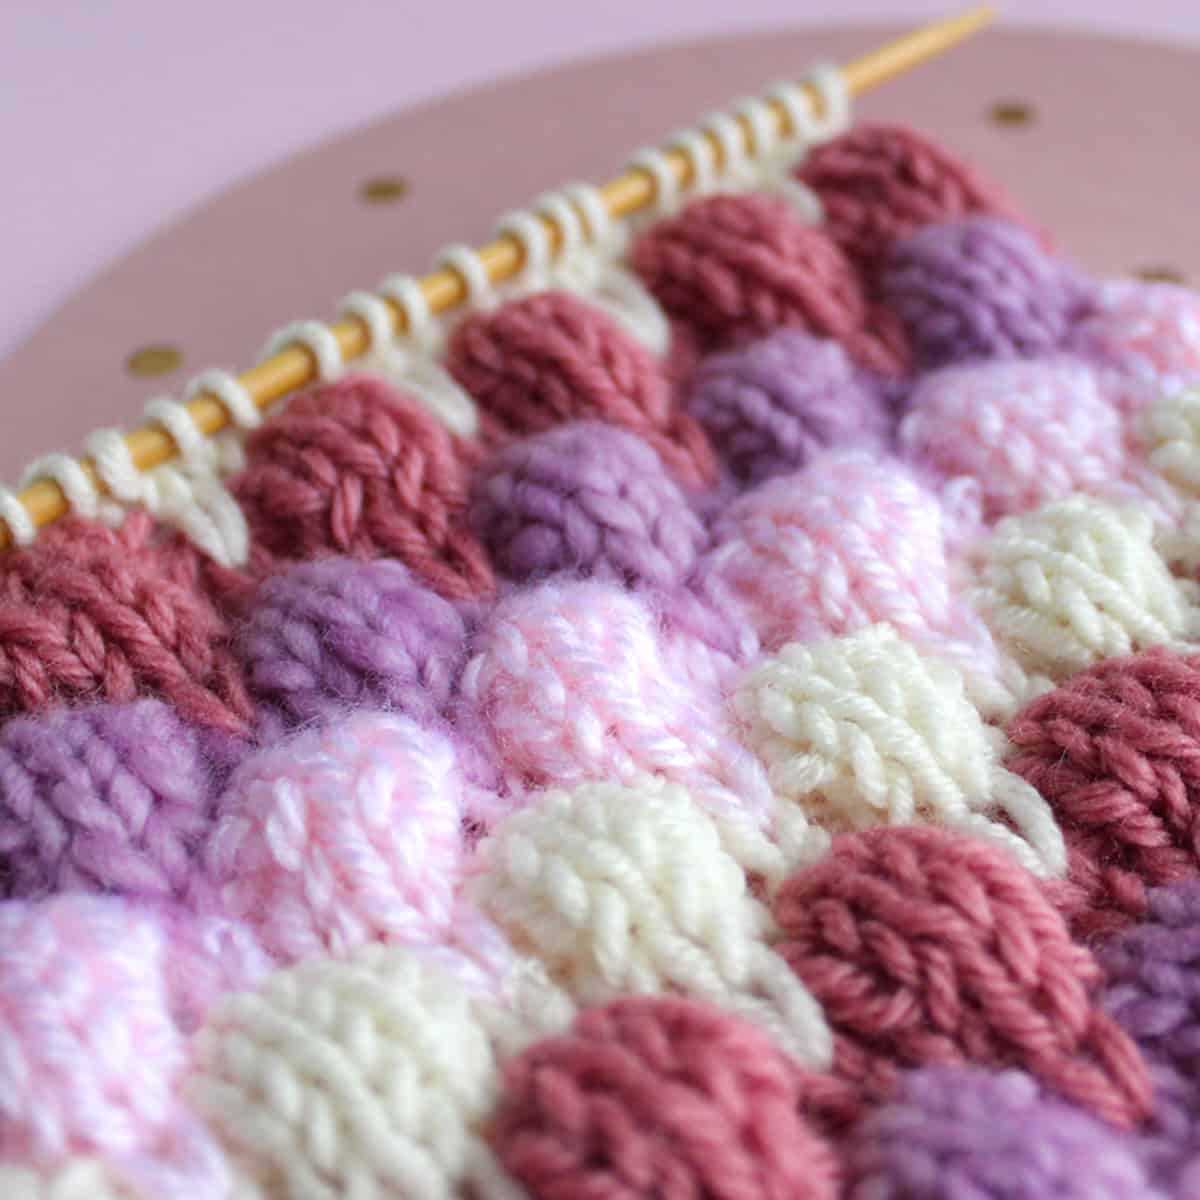
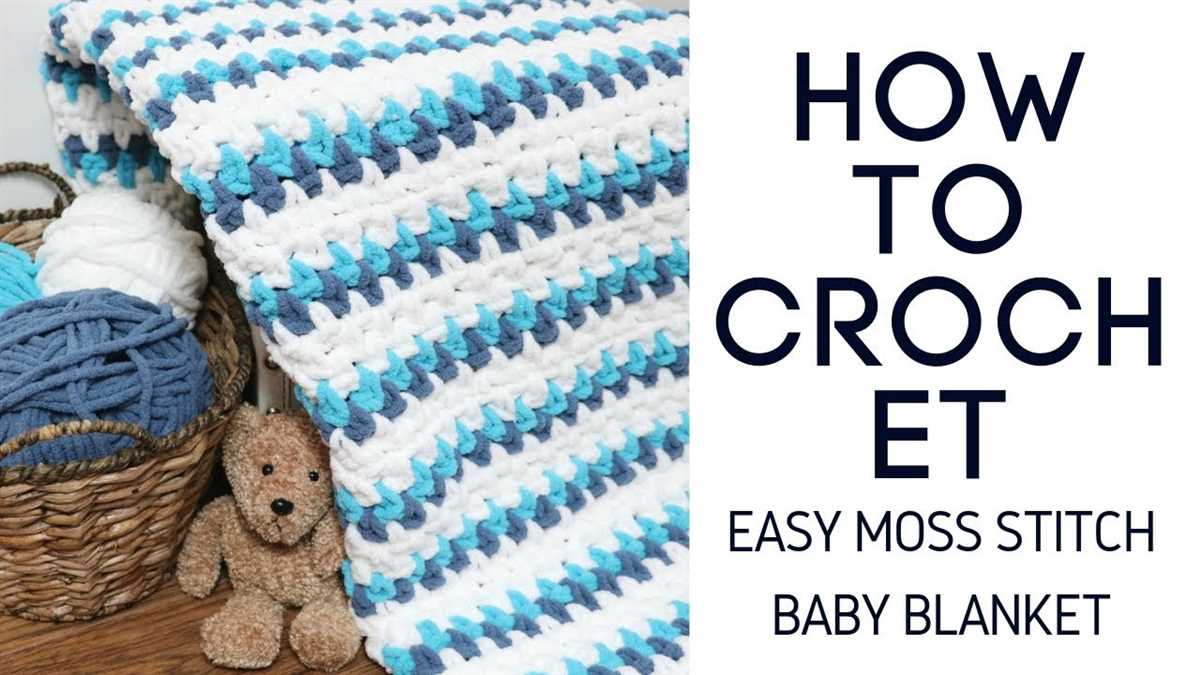
Adding Contrasting Colors
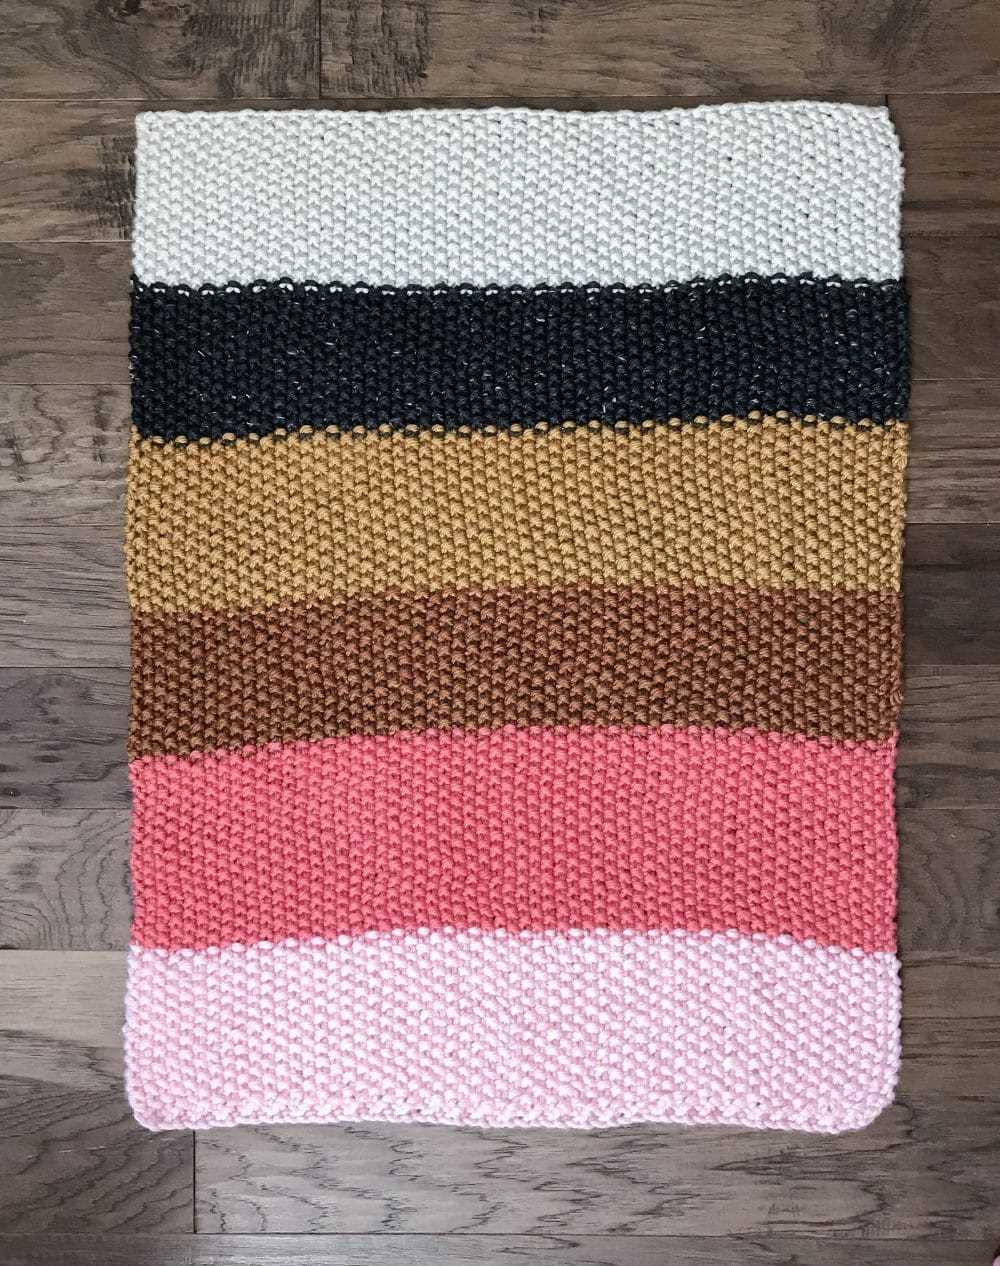
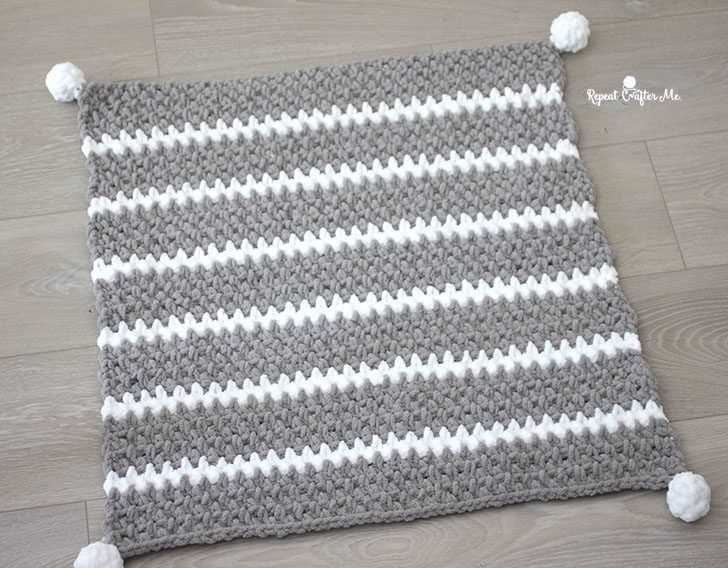
When knitting a moss stitch baby blanket with a free pattern, one way to add visual interest is by incorporating contrasting colors. By using different colored yarns, you can create stripes or blocks of color that will make your blanket stand out.
To begin, choose two or more yarn colors that complement each other. For example, you could use a light pastel color as your main color and a darker shade of the same color as your contrasting color. Alternatively, you could choose colors from opposite ends of the color wheel for a bolder look.
Once you have your colors selected, you can decide on the pattern for incorporating them into your blanket. One option is to create stripes by alternating between your main color and contrasting color for each row or round. This can be done by knitting one row or round with the main color, then switching to the contrasting color for the next row or round.
If you prefer a more structured look, you could also create blocks of color by knitting specific sections of your blanket with one color, then switching to the other color for the next section. This can be done by knitting a certain number of rows with one color, then joining the new color and knitting the next section with that color.
When adding contrasting colors, it’s important to keep track of your pattern and make sure you’re changing colors at the correct time. This can be done by using stitch markers or writing out the pattern and checking off each row or round as you complete it.
Adding contrasting colors to your moss stitch baby blanket is a great way to personalize your project and make it unique. Whether you choose to create stripes or blocks of color, the final result will be a visually stunning blanket that will be cherished for years to come.
Changing Color and Weaving in Ends
When knitting the moss stitch baby blanket, you may want to change colors to create stripes or add visual interest to your project. To change colors, simply work until you have one stitch left in the previous color, then drop the old color and pick up the new color, leaving a tail of the new color that is long enough to weave in later. Continue working in the new color as instructed in the pattern.
To weave in ends, start by threading the tail of the yarn onto a tapestry needle. Insert the needle under the stitches on the wrong side of your work, following the direction of the stitches to avoid distorting the fabric. Weave the needle in and out of the stitch loops for a few inches, making sure the tail is secure and hidden. Trim any excess yarn, leaving a small tail.
If you are changing colors frequently, it is a good idea to weave in the ends as you go to avoid having too many loose ends to deal with at the end. Simply weave in the end of the old color before starting with the new color, and continue as described above. This will help keep your work neat and tidy, and save you time and effort when finishing your blanket.
Creating a Border
Adding a border to your moss stitch baby blanket is a great way to finish off the project and give it a polished look. There are several options for creating a border, depending on your personal preference and skill level.
1. Seed Stitch Border: One option for a border is to use the seed stitch pattern, which complements the texture of the moss stitch nicely. To create a seed stitch border, simply alternate between knitting and purling every stitch for a few rows. This will create a textured border that blends seamlessly with the moss stitch.
2. Garter Stitch Border: Another option is to use a garter stitch border, which is simply knitting every stitch on every row. This is a beginner-friendly option that creates a clean and simple border. You can knit a few rows of garter stitch at the beginning and end of the blanket, or you can choose to add a wider garter stitch border all around the edges for a more pronounced look.
3. Ribbing Border: If you prefer a more structured and defined border, you can opt for a ribbing border. Ribbing involves alternating between knit and purl stitches in a specified pattern, such as knit 2, purl 2, repeat. This creates a stretchy fabric that hugs the edges of the blanket and adds a decorative touch.
4. Eyelet Border: For a delicate and lacy border, you can incorporate an eyelet pattern. This involves creating deliberate yarn overs and decreases in specific rows to create holes or eyelets in the fabric. This type of border adds a touch of elegance and can be a beautiful finishing detail for a baby blanket.
Remember to swatch and practice any border pattern before incorporating it into your blanket, as it may affect the overall size and look of the project. Choose a border that complements the moss stitch and enhances the overall design of your baby blanket.
Blocking the Blanket
After completing the moss stitch baby blanket, it is important to block the piece to give it a professional and finished look. Blocking is the process of shaping and sizing the knitted item by gently wetting it and allowing it to dry in the desired shape. This not only helps to even out the stitches, but also enhances the drape and overall appearance of the blanket.
To block the blanket, start by filling a basin or sink with cool water. Gently submerge the blanket in the water, making sure it is fully saturated. You can add a small amount of mild detergent if desired, but be careful not to agitate or twist the fabric too much.
Once the blanket is soaked, carefully lift it out of the water and gently squeeze out the excess moisture. Lay a clean towel on a flat surface and place the blanket on top. Roll up the towel and press down gently to remove more water. Avoid wringing or twisting the blanket, as this can cause the stitches to stretch or distort.
Next, you will need to shape the blanket to the desired dimensions. Lay the damp blanket flat on a clean, dry surface, making sure the edges are straight and the corners are square. Use rustproof pins to secure the edges in place, gently stretching the fabric if needed. You can refer to the original pattern or use a measuring tape to ensure that the blanket is blocked to the correct size.
Allow the blanket to air dry completely in a well-ventilated area. This may take several hours or even overnight, depending on the humidity and air circulation. Avoid placing the blanket in direct sunlight, as this can cause the colors to fade. Once the blanket is dry, carefully remove the pins and admire your beautifully blocked moss stitch baby blanket.
Washing and Caring for the Blanket
Properly washing and caring for your moss stitch baby blanket will help to ensure that it stays in great condition for years to come. Here are some tips to follow:
1. Handwashing

To keep your blanket looking its best, it is recommended to handwash it. Fill a basin or sink with lukewarm water and add a mild detergent specifically designed for baby items. Gently submerge the blanket in the water and agitate it with your hands, being careful not to stretch or twist the fabric. Rinse the blanket thoroughly with clean water, squeezing out any excess water gently.
2. Machine Washing
If you prefer to machine wash the blanket, select the delicate or wool cycle on your washing machine. Use a gentle detergent and make sure to place the blanket inside a mesh laundry bag or pillowcase to protect it during the wash. Avoid using any harsh detergents or bleach, as these can damage the delicate fabric.
3. Drying
After washing, gently reshape the blanket and lay it flat to dry. Avoid hanging it, as this can stretch the fabric. Smooth out any wrinkles or creases before allowing it to dry completely. Keep the blanket away from direct sunlight, as this can cause the colors to fade.
4. Storage
When not in use, it is important to store the blanket properly to prevent any damage. Fold it neatly and place it in a clean, dry storage bag or container. Avoid storing it in a damp or humid environment, as this can lead to mold or mildew growth.
By following these simple care instructions, your moss stitch baby blanket will remain soft, beautiful, and safe for your little one to use for years to come.
Adding Personalized Embellishments
When creating a moss stitch baby blanket using a free pattern, one way to make it even more special is to add personalized embellishments. These extra touches can be customized to reflect the recipient’s personality or the theme of the nursery. Here are some ideas for adding personalized embellishments to your baby blanket:
Embroidered Initials
A simple and elegant way to add a personal touch to the baby blanket is to embroider the recipient’s initials onto it. You can choose a beautiful font and carefully stitch the letters onto a corner or along the edge of the blanket. This adds a thoughtful and personalized detail that makes the blanket truly one-of-a-kind.
Appliqué Shapes
Another way to add a personalized touch to the moss stitch baby blanket is by adding appliqué shapes. You can cut out shapes from fabric that match the nursery theme or the recipient’s interests. For example, if the nursery has a woodland theme, you can add appliqué shapes of animals like deer or owls. Simply sew the shapes onto the blanket using a contrasting thread to create a whimsical and personalized design.
Ribbons and Bows
If you want to add a touch of elegance to the baby blanket, consider adding ribbons and bows. You can sew ribbons onto the edges of the blanket, creating a beautiful border. You can also tie bows and attach them to the corners or center of the blanket. This adds a delicate and feminine touch to the blanket and makes it feel extra special.
Embroidered Quotes or Messages
If you want to convey a heartfelt message or include a special quote on the baby blanket, you can embroider it onto the fabric. Choose a meaningful quote, a favorite saying, or a heartfelt message to stitch onto the blanket. This adds a sentimental and personal touch that the recipient will cherish for years to come.
By adding these personalized embellishments to your moss stitch baby blanket, you can create a unique and special gift that will be treasured. Whether you choose to embroider initials, add appliqué shapes, attach ribbons and bows, or embroider quotes or messages, these little details will make the blanket even more meaningful and personalized for the recipient.
Tips and Troubleshooting
If you’re new to knitting or working with the moss stitch pattern, here are a few tips to help you along the way:
- Use stitch markers: Stitch markers can be helpful in keeping track of your stitches, especially when working on larger projects like a baby blanket.
- Count your stitches: It’s important to count your stitches regularly to ensure you haven’t accidentally added or dropped any. This will help maintain the neatness and symmetry of the moss stitch pattern.
- Stay consistent with tension: Consistent tension is crucial in achieving an even fabric. Make sure to check your tension regularly throughout the project and adjust your needle size if needed.
- Avoid splitting the yarn: Take care when inserting your needle into the stitches to avoid splitting the yarn. This can create loose loops and affect the overall appearance of the blanket.
Despite being a simple pattern, there may be some common troubleshooting issues you could face while working on your moss stitch baby blanket. Here are a few possible problems and their solutions:
- Holes in the fabric: If you notice small holes in your fabric, it’s likely that you unintentionally made a yarn over or dropped a stitch. Carefully examine your stitches and fix any mistakes before continuing.
- Uneven tension: Inconsistent tension can result in a wavy or distorted blanket. Pay attention to your tension as you work and try to keep it even throughout the project.
- Not enough yarn: If you’re running out of yarn before completing the blanket, double-check that you’re using the suggested yarn weight and yardage. You may need to purchase additional yarn or make adjustments to the pattern.
In conclusion, the moss stitch baby blanket pattern is a beginner-friendly knitting project that creates a beautiful texture. By following the pattern instructions, using the right materials, and keeping a few tips in mind, you can successfully knit a cozy and charming baby blanket. Enjoy the process and embrace the joy of knitting!