
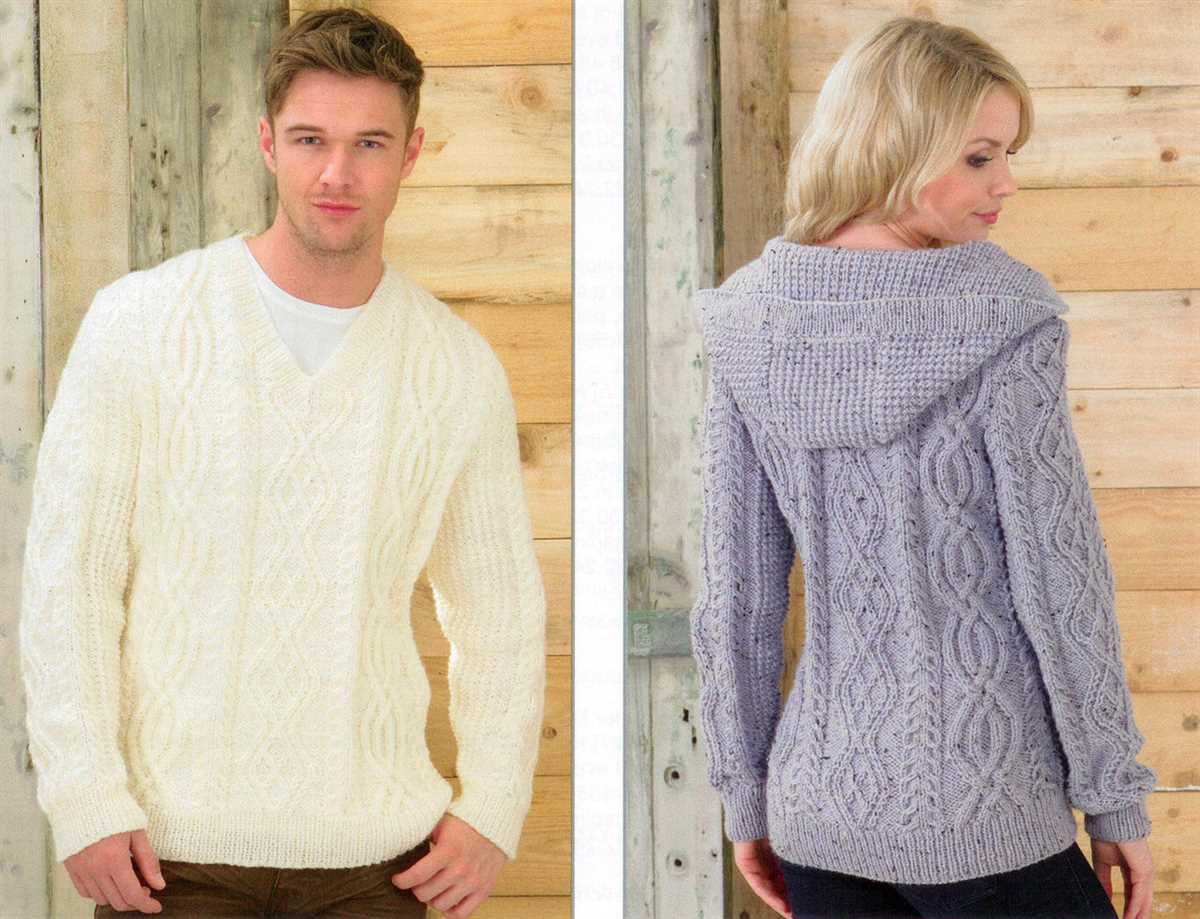
If you love knitting and want to create a stylish and cozy hoodie for yourself, look no further than this ladies hoodie knitting pattern. This pattern is perfect for all skill levels, from beginners to more advanced knitters. You’ll be able to customize this hoodie to fit your style and preferences, whether you want a loose and relaxed fit or a more form-fitting look.
With this pattern, you’ll learn various knitting techniques, such as how to knit in the round and how to create ribbing for the cuffs and hem. The pattern also includes a detailed explanation of the materials and tools you’ll need, as well as step-by-step instructions and diagrams to guide you through the knitting process.
Not only will you have a warm and cozy hoodie to wear, but you’ll also have the satisfaction of knowing that you created it yourself. Plus, you’ll have a one-of-a-kind piece that you won’t find in any store. So grab your needles and get ready to embark on this knitting adventure!
Ladies Hoodie Knitting Pattern
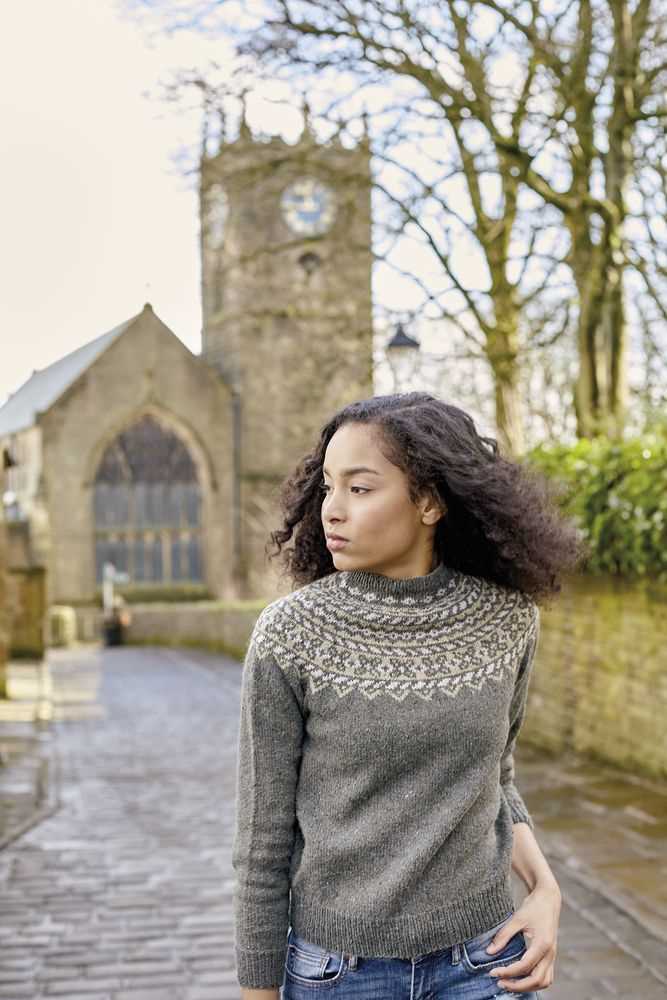
If you enjoy knitting and want to add a stylish and cozy hoodie to your wardrobe, this ladies hoodie knitting pattern is perfect for you. With this pattern, you can create a trendy hoodie that fits well and keeps you warm during the colder months.
Materials Needed: To make this hoodie, you will need the following materials:
- Yarn: Choose a soft and warm yarn in your preferred color. Worsted weight yarn is recommended for this pattern.
- Knitting Needles: Use size 8 (5mm) knitting needles, or the size needed to obtain the gauge.
- Stitch Markers: These will help you keep track of your stitches and shaping.
- Tapestry Needle: This will be used for weaving in ends and finishing touches.
- Buttons or Zipper: You can choose to add buttons or a zipper to the front of your hoodie for closure.
Instructions: Follow these steps to knit your own hoodie:
- Cast on the desired number of stitches for the back panel of the hoodie.
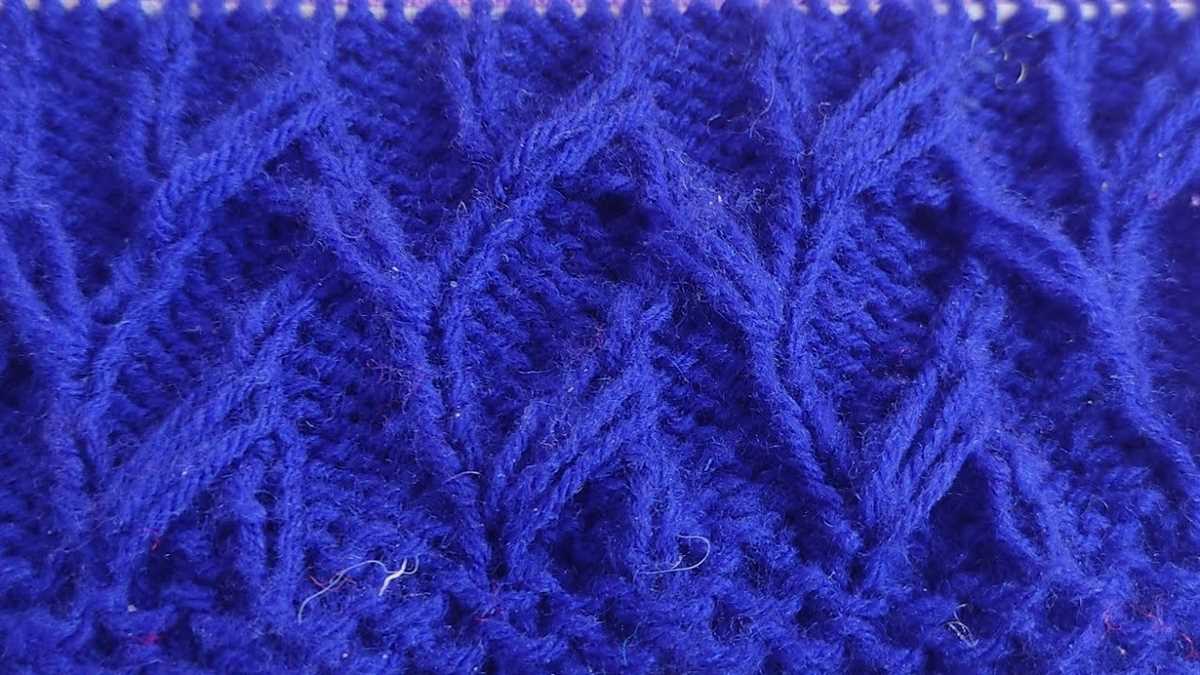
- Work in your preferred stitch pattern (e.g., garter stitch, stockinette stitch) to create the back panel.
- Continue knitting until the back panel measures the desired length.
- Divide the stitches for the sleeves and front panels.
- Knit each sleeve separately, following the instructions for the desired sleeve length and shaping.
- Knit the front panels separately, following the instructions for the desired length and shaping.
- Join the front panels and back panel to create the body of the hoodie.
- Continue knitting to add the hood, following the instructions for the hood shaping and length.
- Finish off your hoodie by adding buttons or a zipper for closure, and weave in any loose ends.
With this ladies hoodie knitting pattern, you can create a unique and fashionable hoodie that is tailored to your style and preferences. Whether you’re a beginner or an experienced knitter, this pattern is suitable for all skill levels and allows you to showcase your creativity. Happy knitting!
Gathering Materials
Before you start knitting your ladies hoodie, it’s important to gather all the necessary materials. By having everything prepared, you’ll be able to dive into the project without any interruptions. Here are the items you’ll need:
- Yarn: Choose a soft and warm yarn in your preferred color. Look for yarn that is suitable for knitting and suitable for the season you plan to wear the hoodie.
- Knitting Needles: Make sure you have the correct size knitting needles for your yarn. Refer to the pattern for the recommended needle size.
- Tape Measure: This will come in handy when measuring your progress and ensuring the correct fit.
- Stitch Markers: These little circular markers will help you keep track of your stitches and pattern repeats.
- Tapestry Needle: You’ll need a needle with a large eye to weave in any loose ends or seams.
- Scissors: A good pair of sharp scissors is essential for cutting yarn.
- Pattern: Print out or have easy access to the ladies hoodie knitting pattern you are using. You’ll want to refer to it frequently as you work.
Once you have all these materials gathered, you’ll be well-prepared to start knitting your ladies hoodie. Take the time to organize and set up your workspace, making sure you have enough room to spread out your materials and work comfortably. With everything in place, you’ll be ready to embark on your knitting journey.
Casting On Stitches
Casting on stitches is the first step in starting your hoodie knitting project. It is the process of creating the initial row of stitches on your knitting needle, which will serve as the foundation for your work.
There are different methods to cast on stitches, but one common technique is the long-tail cast on. To begin, make a slipknot by creating a loop with the yarn, making sure that the tail end is longer than the working end. Insert the needle through the loop, and tighten the knot onto the needle.
To cast on the remaining stitches, hold the needle with the slipknot in your right hand. With your left hand, hold the yarn and make a loop around your thumb. Insert the needle into the loop from left to right, and then bring the working end of the yarn down between the thumb and the needle. Use the needle to catch the working end of the yarn, and pull it through the loop on your thumb. This creates a new stitch on the needle.
Repeat this process until you have cast on the desired number of stitches for your hoodie. Make sure to keep the tension consistent to ensure that all your stitches are even. Once you have completed the cast on, you can proceed to the next steps in your knitting pattern.
Knitting the Body
When knitting a ladies hoodie, one of the key components is the body. The body is what provides the overall structure and shape of the hoodie, and it’s important to get it right to ensure a comfortable and flattering fit.
To start knitting the body, you will typically cast on the required number of stitches onto your knitting needle. This will vary depending on the size of the hoodie and the desired fit. It’s always a good idea to check the pattern instructions for the specific measurements and stitch counts.
Next, you will work in the main stitch pattern as directed by the pattern. This could involve knitting in stockinette stitch, ribbing, or any other stitch pattern specified. Make sure to keep track of your rows and start the pattern repeats if necessary.
As you knit the body, it’s important to check your gauge to ensure the sizing is correct. This can be done by knitting a swatch and comparing it to the pattern gauge. If your gauge is off, you may need to adjust your needle size or make other modifications to achieve the correct fit.
Once you reach the desired length for the body, you will typically need to shape the armholes and neck. This involves binding off a certain number of stitches at each side for the armholes and potentially decreasing or increasing stitches at the neck edge to create the desired shape.
After shaping the armholes and neck, you will continue knitting the remainder of the body until you reach the specified length. Make sure to follow the pattern instructions and check measurements along the way to ensure accuracy.
- At this point, you may need to shape the waist or add any desired waist shaping, such as darts or decreases.
- Once the body is complete, you can then move on to knitting the sleeves, hood, and any other finishing details as specified in the pattern.
Overall, knitting the body of a ladies hoodie requires attention to detail and following the pattern instructions closely. It’s important to take accurate measurements, check gauge, and make any necessary adjustments to ensure a well-fitting and stylish garment.
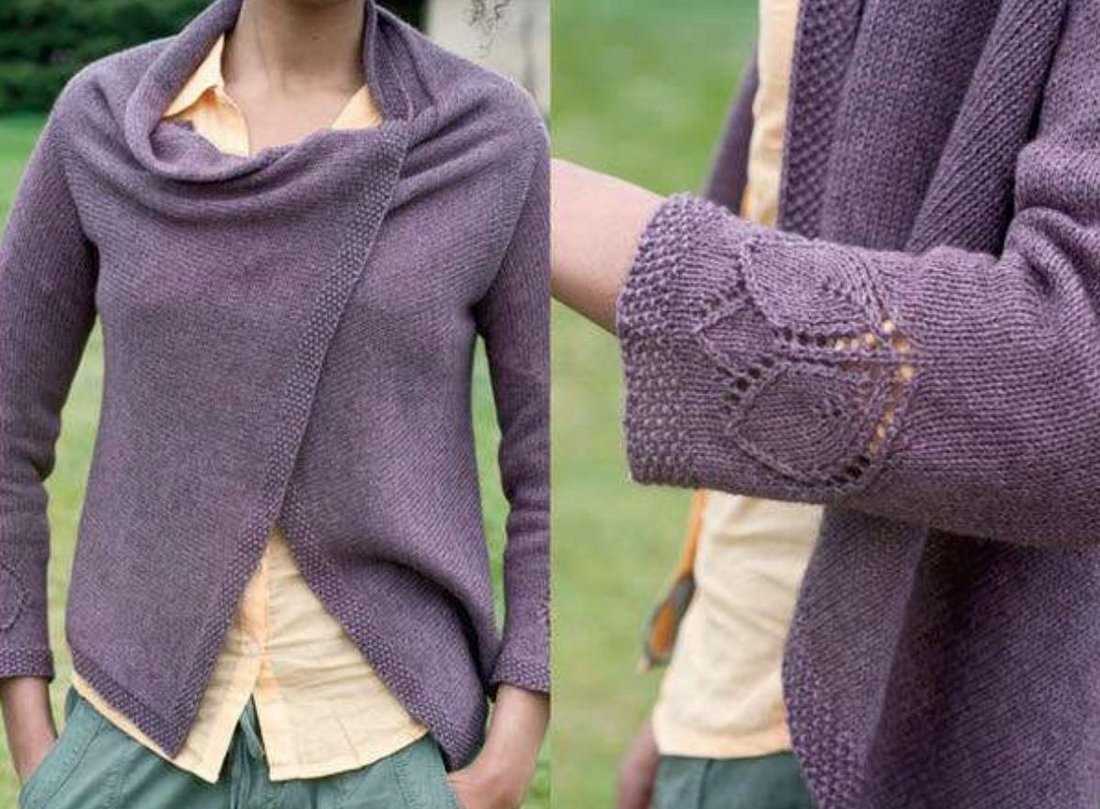
Shaping the Sleeves
When knitting a ladies hoodie, shaping the sleeves is an important step to achieve the desired fit and style. The sleeves can be shaped in different ways depending on the design and pattern instructions. This usually involves increasing or decreasing stitches at specific intervals to create the desired shape and size.
One common method for shaping the sleeves is to gradually increase stitches at the underarm area. This is often done by working short rows or adding extra stitches in each row until the desired width is reached. This creates a gentle slope that follows the natural shape of the arm and provides room for movement.
Another technique is to decrease stitches gradually towards the cuff of the sleeve. This creates a tapered shape that fits snugly around the wrist and forearm. Decreases can be made by knitting or purling two stitches together or by slipping stitches and passing them over. The frequency of the decreases can vary depending on the pattern instructions.
| Example Shaping Instructions: |
|---|
| Row 1: K5, k2tog, knit to last 7 stitches, ssk, k5 |
| Row 2: Purl |
| Repeat Rows 1-2 until X stitches remaining, ending with a purl row. |
These are just a few examples of how sleeves can be shaped in a ladies hoodie knitting pattern. The specific instructions will vary depending on the design and size of the garment. It’s important to carefully follow the pattern instructions to ensure that the shaping is done correctly and the sleeves fit well.
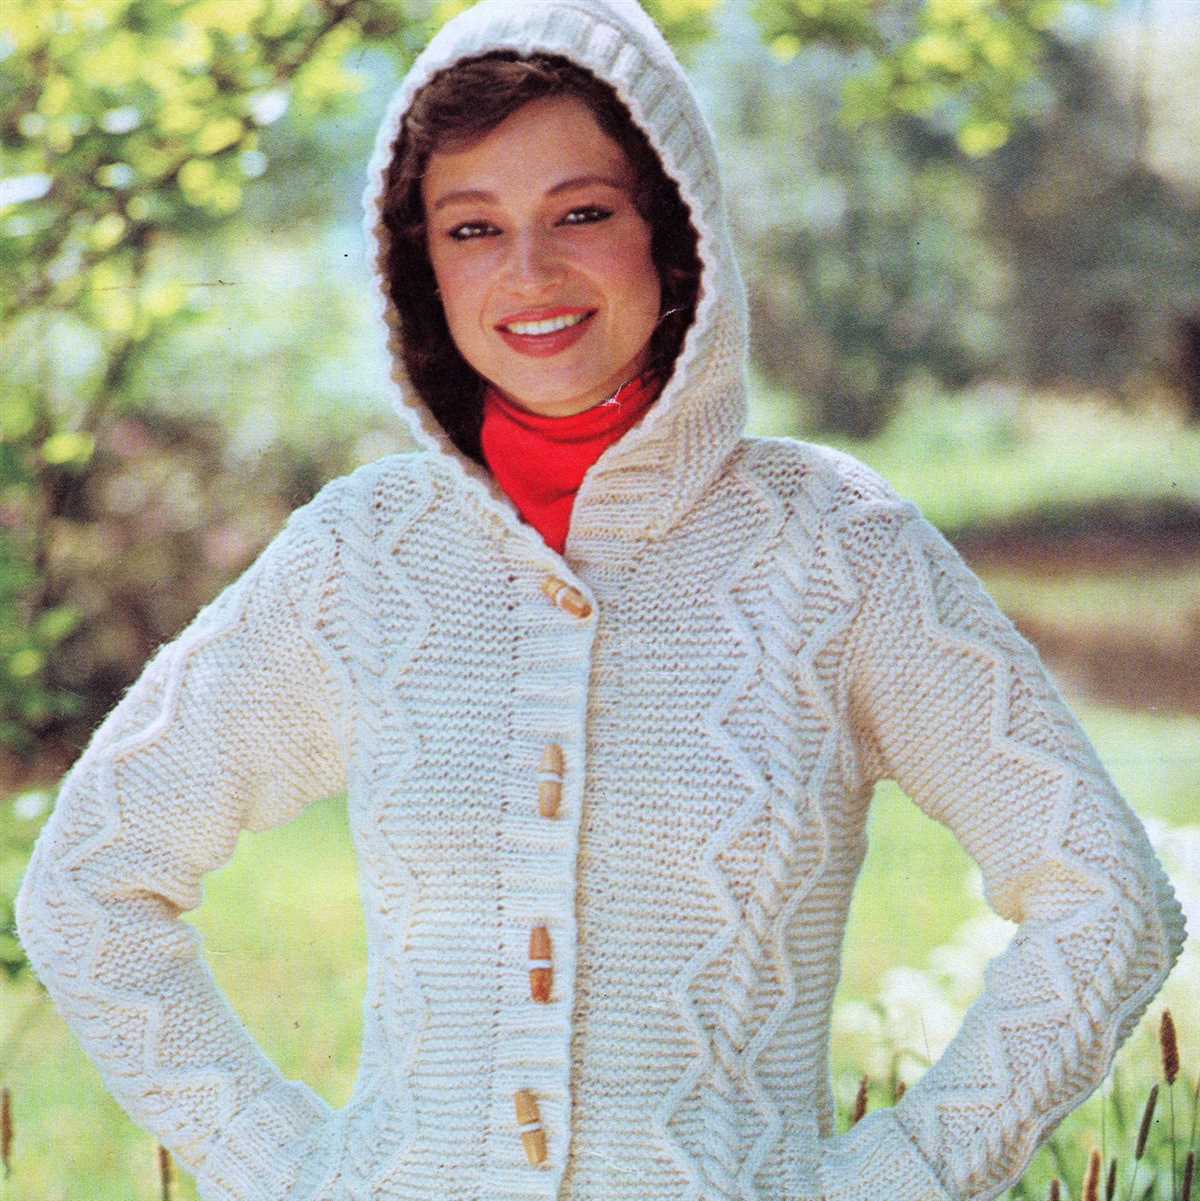
Adding the Hood
Once you have completed the body of the hoodie, it’s time to move on to adding the hood. This is an important step as it adds both style and functionality to the garment. Here are the steps to follow:
1. Prepare the Hood Panels: Begin by preparing the panels for the hood. You will typically have two rectangular panels that will be sewn together. Make sure to measure and cut the panels according to the size and shape specified in the knitting pattern.
2. Sew the Panels: Once the panels are ready, place them right sides together and sew along the top edge. This will form the crown of the hood. Use a matching yarn and a tapestry needle to sew the panels together with neat and even stitches.
3. Shape the Hood: To shape the hood, you will need to decrease the stitches gradually. Follow the instructions in the knitting pattern to create the desired shape. This may involve decreasing stitches at regular intervals or using specific stitch patterns to achieve the desired effect. Pay attention to the pattern and ensure that you are shaping the hood correctly.
4. Attach the Hood: Once the hood is shaped, it’s time to attach it to the body of the hoodie. Start by pinning the hood to the neckline, matching the center of the hood with the center back of the hoodie. Make sure the stitches align neatly. Use a tapestry needle and matching yarn to sew the hood to the neckline, making sure to secure it firmly.
5. Finish the Edges: Finally, finish off the edges of the hood by adding ribbing or a decorative border. This will give the hoodie a polished and professional look. Follow the knitting pattern instructions to add the finishing touches and make any necessary adjustments.
By following these steps, you can easily add the hood to your ladies hoodie. Remember to refer to the knitting pattern for specific measurements and shaping instructions. Happy knitting!
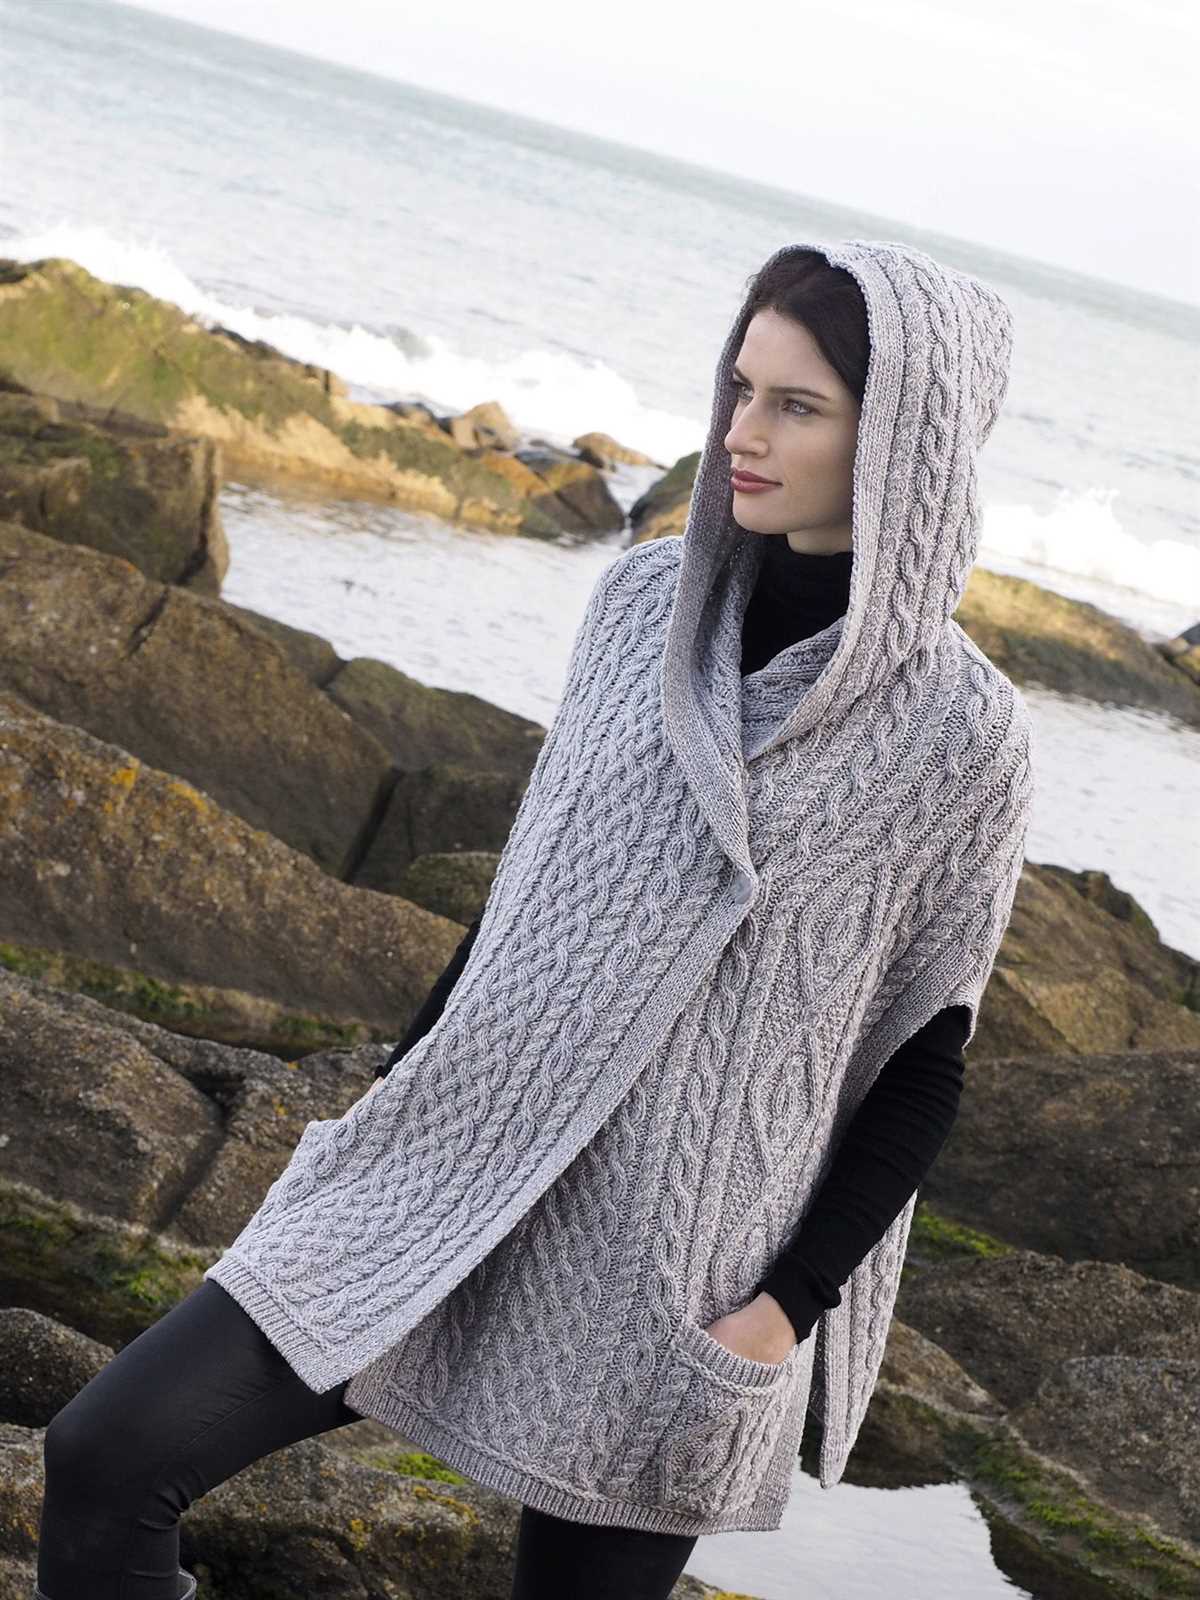
Creating the Pockets
The pockets are an essential part of the hoodie, providing both functionality and style. To create the pockets, you will need to follow a few simple steps and use the knitting pattern provided.
1. Start by casting on the required number of stitches for the pocket opening. This will vary depending on the size of the hoodie and the desired width of the pocket. Make sure to leave a few stitches on each side for the borders.
2. Once you have cast on the stitches, continue knitting in the pattern as instructed. This may involve working in ribbing or a specific stitch pattern. Follow the pattern carefully to ensure that the pocket opening is created correctly.
3. After completing the required number of rows for the pocket opening, you will need to divide the stitches for the pockets. This can be done by using stitch markers to mark the center of the pocket opening. Place a stitch marker on each side of the pocket opening to indicate where the pocket will be placed.
4. Now you will start knitting the pocket lining separately. Cast on the required number of stitches for the pocket lining and begin working in the desired stitch pattern. This may be different from the rest of the hoodie, depending on your preference.
5. Continue knitting the pocket lining until it reaches the desired length. This will typically be a few inches shorter than the length of the pocket opening. Make sure to follow the knitting pattern for the pocket lining, if one is provided.
6. Once the pocket lining is complete, you will need to join it to the pocket opening. This can be done by using a Kitchener stitch or by simply sewing the edges together using a tapestry needle and yarn. Make sure to secure the edges well to ensure that the pocket doesn’t come apart with use.
7. Repeat these steps to create the second pocket on the other side of the hoodie. Make sure to mirror the placement of the first pocket to maintain symmetry.
By following these steps and using the provided knitting pattern, you will be able to create stylish and functional pockets for your ladies hoodie. The pockets will not only provide a convenient place to keep your hands, but also add a unique touch to your hoodie.
Finishing the Edges
When you have completed knitting the body and sleeves of your ladies hoodie, it’s time to finish the edges. The edges give a polished and professional look to the garment, while also ensuring that the knitting is secure and won’t unravel. There are several different techniques you can use to finish the edges, depending on your skill level and the desired outcome.
1. Ribbing
Ribbing is a classic and versatile technique that can be used on the cuffs, hem, and neckline of a hoodie. It creates a stretchy and flexible edge that is both functional and aesthetic. To add ribbing, you will need to switch to a smaller needle size and work in a combination of knit and purl stitches. The most common ribbing pattern is *K1, P1* (knit one stitch, purl one stitch), but you can also experiment with different combinations, such as *K2, P2*.
2. i-Cord

If you want to add a more decorative and stylish edge to your ladies hoodie, you can consider using an i-Cord. An i-Cord is a narrow tube of knitting that can be attached to the edges of the garment to add a polished and finished look. It’s created by knitting a few stitches with a double-pointed needle, then sliding the stitches back to the other end of the needle and knitting them again. Repeat this process until you have reached the desired length.
3. Garter Stitch
If you prefer a simpler and more minimalist look, you can opt for a garter stitch edge. Garter stitch is created by knitting every row, resulting in a textured fabric with ridges on both sides. To finish the edges with garter stitch, you will need to knit a few rows (typically 2-4) before binding off. This technique provides a clean and polished edge that is easy to achieve for knitters of all skill levels.
Whichever technique you choose, make sure to follow the instructions in your knitting pattern for finishing the edges of your ladies hoodie. This will ensure that the edges are consistent with the overall design, and that your finished garment looks professional and well-crafted.
Attaching Buttons or Zipper
Attaching buttons or a zipper to your knitted hoodie is an important step to complete the garment and ensure a secure closure. Here are some steps to guide you through the process:
Adding Buttons:
- Choose buttons that complement the style and color of your knitted hoodie. Make sure they are the appropriate size and weight for the fabric and yarn you used.
- Start by placing the buttons evenly along the button band, making sure they are aligned with the corresponding buttonholes.
- Thread a needle with a matching thread color and knot the end. Insert the needle from the wrong side of the fabric through one of the buttonholes, bringing it out through the corresponding button.
- Take the needle back through the button and fabric, through the buttonhole and repeat the process a few times to ensure a secure attachment.
- Repeat this process for each button, making sure they are all securely attached.
Adding a Zipper:
- Choose a zipper that matches the length and style of your knitted hoodie. If needed, you can cut the zipper to the desired length using fabric scissors.
- Open up the zipper and align it with the center front edges of the hoodie. Pin it in place, making sure it is straight and even.
- Using a sewing machine or a needle and thread, stitch along the edges of the zipper tape, securing it to the fabric. Make sure to stitch close to the teeth but not through them.
- Once the zipper is attached, fold the hoodie in half and close the zipper to check if it aligns properly and opens and closes smoothly. Make any necessary adjustments before securing the stitching.
By following these steps, you can successfully attach buttons or a zipper to your knitted hoodie, creating a functional and stylish closure. Take your time, and ensure that the attachments are secure to prevent any mishaps while wearing your hoodie.
Care Instructions
Proper care and maintenance are essential to keep your knitted hoodie in great condition for years to come. Follow these care instructions to ensure longevity:
Washing:
It is recommended to hand wash your hoodie using a mild detergent. Avoid using bleach or harsh chemicals as it can damage the fabric and color. Gently squeeze the garment to remove excess water, but do not wring or twist it. Lay flat on a clean towel to air dry.
Drying:
Never tumble dry your knitted hoodie as it can lead to shrinkage and distortion. Avoid hanging it directly under sunlight as it can fade the color. Once the hoodie is dry, gently reshape it if necessary.
Ironing:
If needed, iron your hoodie on a low heat setting using a pressing cloth to avoid direct contact between the iron and the fabric. Do not iron over any embellishments or decorations.
Storage:
When not in use, fold your hoodie neatly and store it in a cool, dry place. Avoid hanging it for extended periods as it can stretch the fabric. To prevent any potential damage, keep it away from sharp objects or rough surfaces.
By following these care instructions, you can enjoy your knitted hoodie for many seasons to come, keeping it looking as good as new. Remember to treat it with care, and it will reward you with comfort and style.