
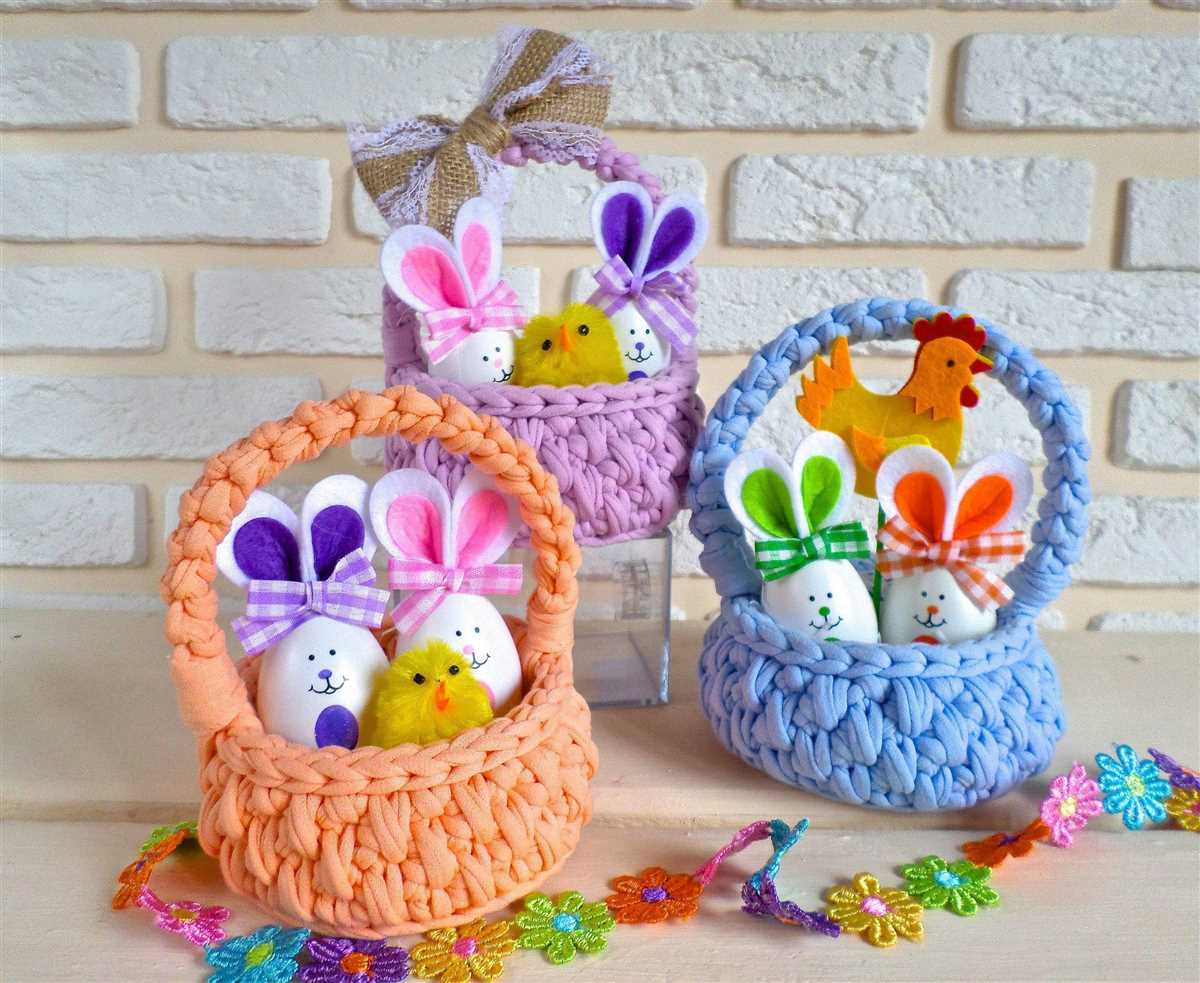
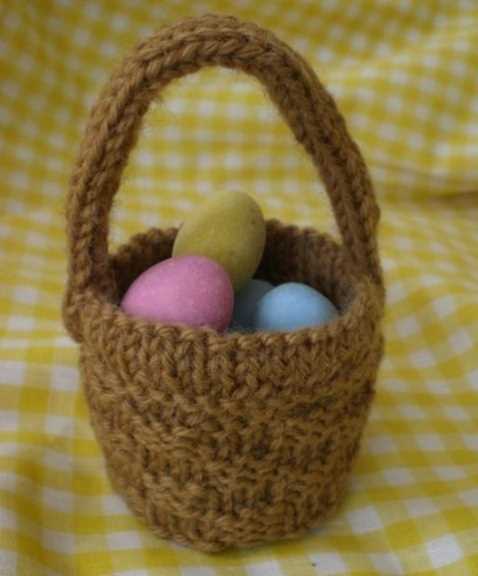
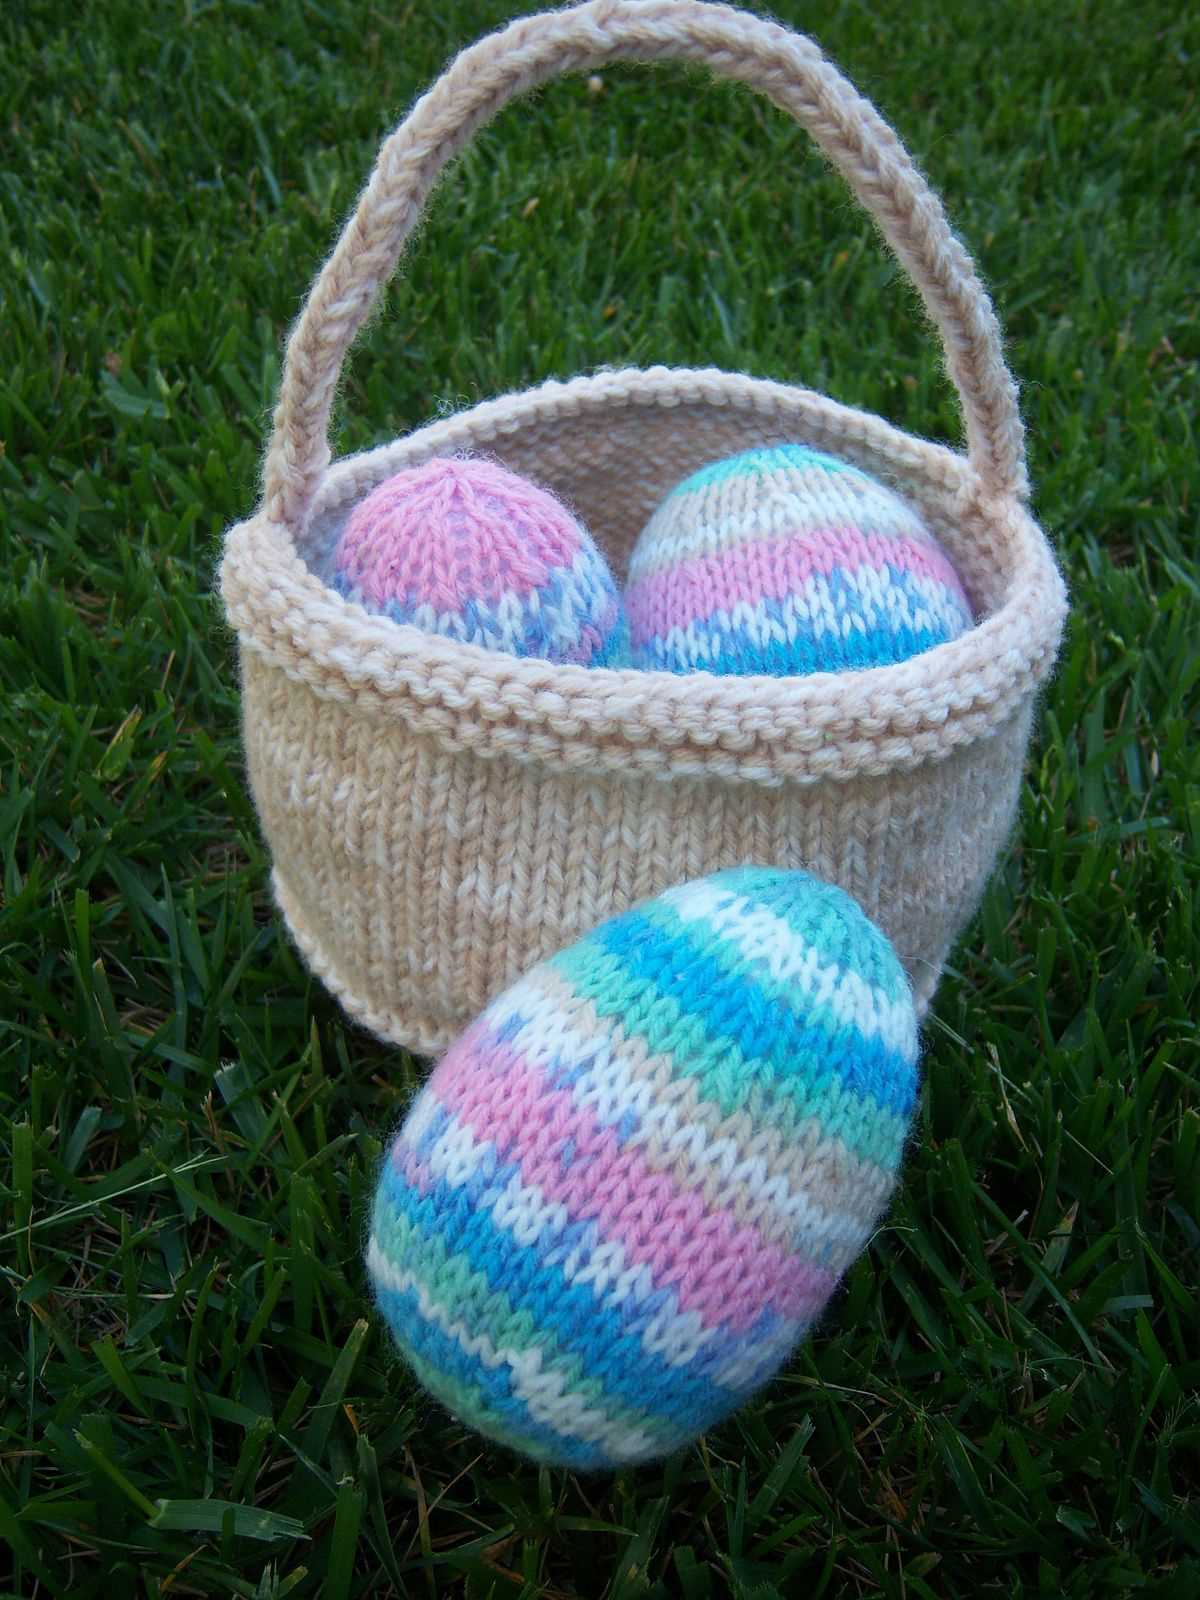
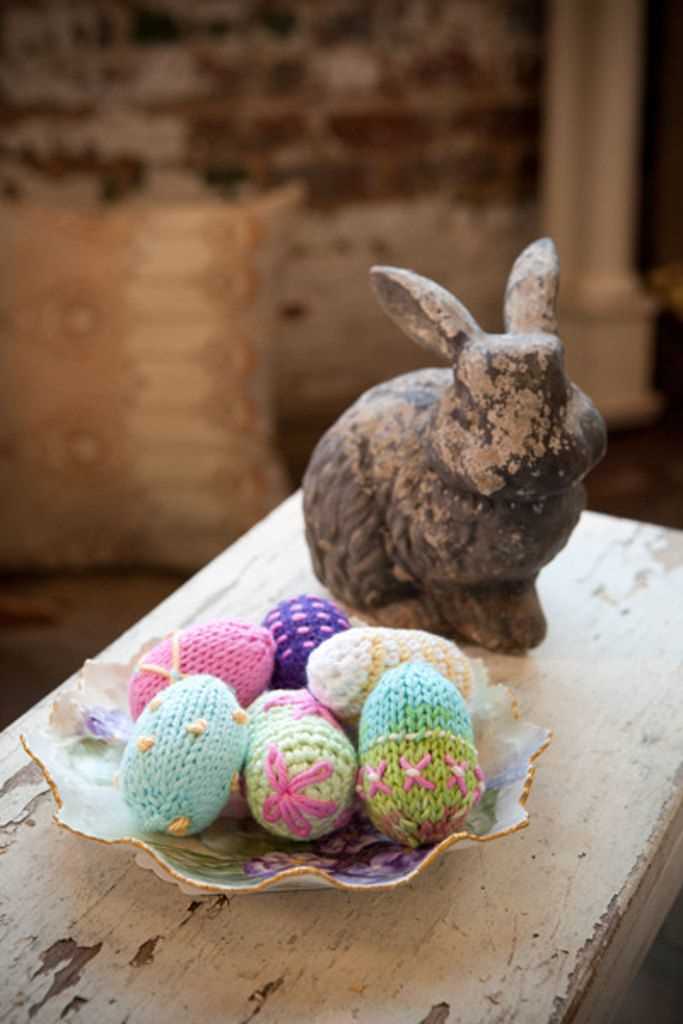
With Easter just around the corner, it’s time to start thinking about decorating your home and creating special gifts for your loved ones. One fun and unique project to try this year is knitting an Easter basket. Not only is it a great way to show off your knitting skills, but it also allows you to personalize the basket with your preferred colors and designs.
Knitting an Easter basket is a versatile project that can be adapted to your skill level. Whether you’re a beginner or an experienced knitter, there are patterns available that cater to all levels of expertise. This means that no matter your skill level, you can create a beautiful and functional Easter basket that will impress everyone.
Aside from being a fun project to work on, knitting an Easter basket also offers practical benefits. You can use the basket to store and display Easter eggs, candies, and small gifts. Plus, unlike store-bought baskets that may break or wear out over time, a knitted basket can be used for many years to come. It becomes a cherished item that can be passed down through generations, creating lasting memories each Easter.
Selecting the right yarn and needles
When it comes to knitting a pattern for an Easter basket, selecting the right yarn and needles is crucial to achieving the desired result. The choice of yarn will not only determine the appearance and texture of the finished basket but also its durability and functionality.
Yarn: It is recommended to choose a yarn that is both sturdy and flexible. A medium-weight yarn made of natural fibers, such as cotton or a cotton blend, is a popular choice for Easter baskets. This type of yarn provides the necessary strength and durability, ensuring that the basket can hold its shape and withstand regular use. Furthermore, cotton yarn offers a smooth finish and is easy to work with, making it ideal for beginners. Alternatively, acrylic yarn can also be used, as it is affordable and readily available in an array of vibrant colors, perfect for creating festive Easter baskets.
Needles: The size of the knitting needles will depend on the thickness of the yarn chosen. For medium-weight yarn, it is generally recommended to use US size 7 or 8 knitting needles. These sizes allow for a balanced tension and create stitches with the appropriate size and density for making a sturdy basket. However, it is always advisable to refer to the specific pattern instructions for the recommended needle size, as different patterns may require variations depending on the desired gauge and stitch pattern. Additionally, circular or double-pointed needles may be required for creating the basket’s bottom or handles, depending on the pattern chosen.
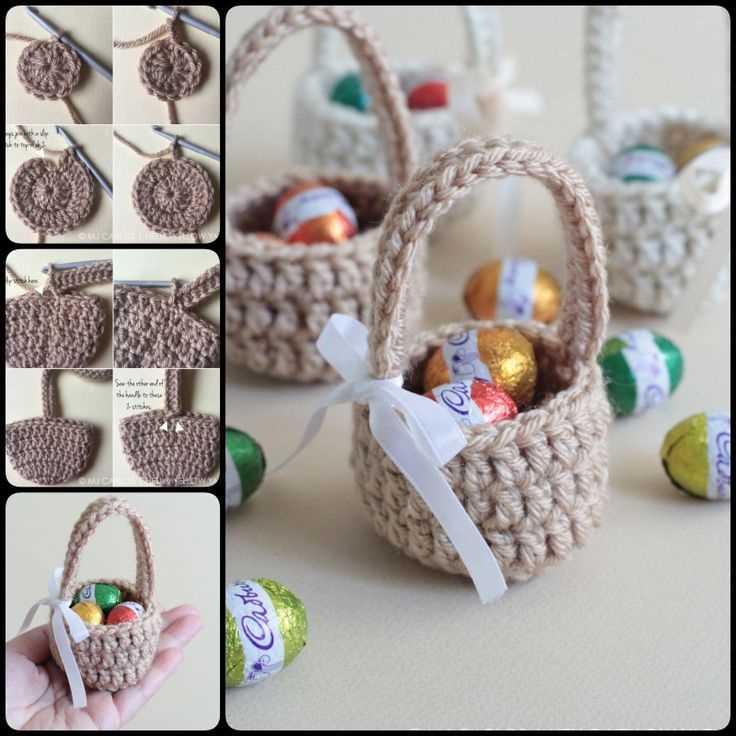
Getting started: casting on and knitting in the round
When starting a knitting project, one of the first steps is casting on. Casting on is the process of creating the first row of stitches on your knitting needle. For the Easter basket knitting pattern, you will need to cast on a specific number of stitches to create the base of the basket. You can use a basic cast on method, such as the long tail cast on, or any other method you are comfortable with.
Once you have cast on the required number of stitches, it’s time to start knitting in the round. Knitting in the round means that you are knitting in a continuous circle, rather than back and forth in rows. This is essential for creating a seamless and circular Easter basket. To knit in the round, you will need to use circular knitting needles or double-pointed needles, depending on your preference and the pattern instructions.
To begin knitting in the round, you will need to join your cast on stitches in a circle. Simply take the last stitch you cast on and slide it onto the other end of the needle, being careful not to twist your stitches. This will create a loop of stitches on your needle, ready for you to continue knitting in a circular motion.
As you knit in the round, make sure to keep track of your rounds by using stitch markers. This will help you stay organized and ensure that you are following the pattern correctly. When you come to the end of each round, simply move the stitch marker to the new beginning of the round.
Key phrases: casting on, knitting in the round, circular knitting needles, double-pointed needles, join stitches in a circle, twist stitches, stitch markers
Creating the base of the basket
When knitting a basket, the first step is to create the base. The base will provide stability and structure to the basket, allowing it to hold its shape.
To begin, you will need to cast on the desired number of stitches, depending on the size of the basket you want to create. It is best to use a sturdy yarn that will hold its shape. A medium weight yarn, such as worsted or aran, is usually a good choice.
Once you have cast on the stitches, you will work in a circular pattern, to create a seamless base. This can be done using either double-pointed needles or a circular needle, depending on your preference.
When working in the round, it is important to keep track of your stitches. You may find it helpful to place a stitch marker at the beginning of each round, so you know where the round begins and ends.
As you continue to knit, the base of the basket will slowly take shape. You can adjust the size of the base by increasing or decreasing stitches as needed. To create a flat base, it is important to evenly distribute any increases or decreases throughout the round.
Once you are satisfied with the size of the base, you can move on to the next step in the pattern, which will typically involve creating the sides of the basket.
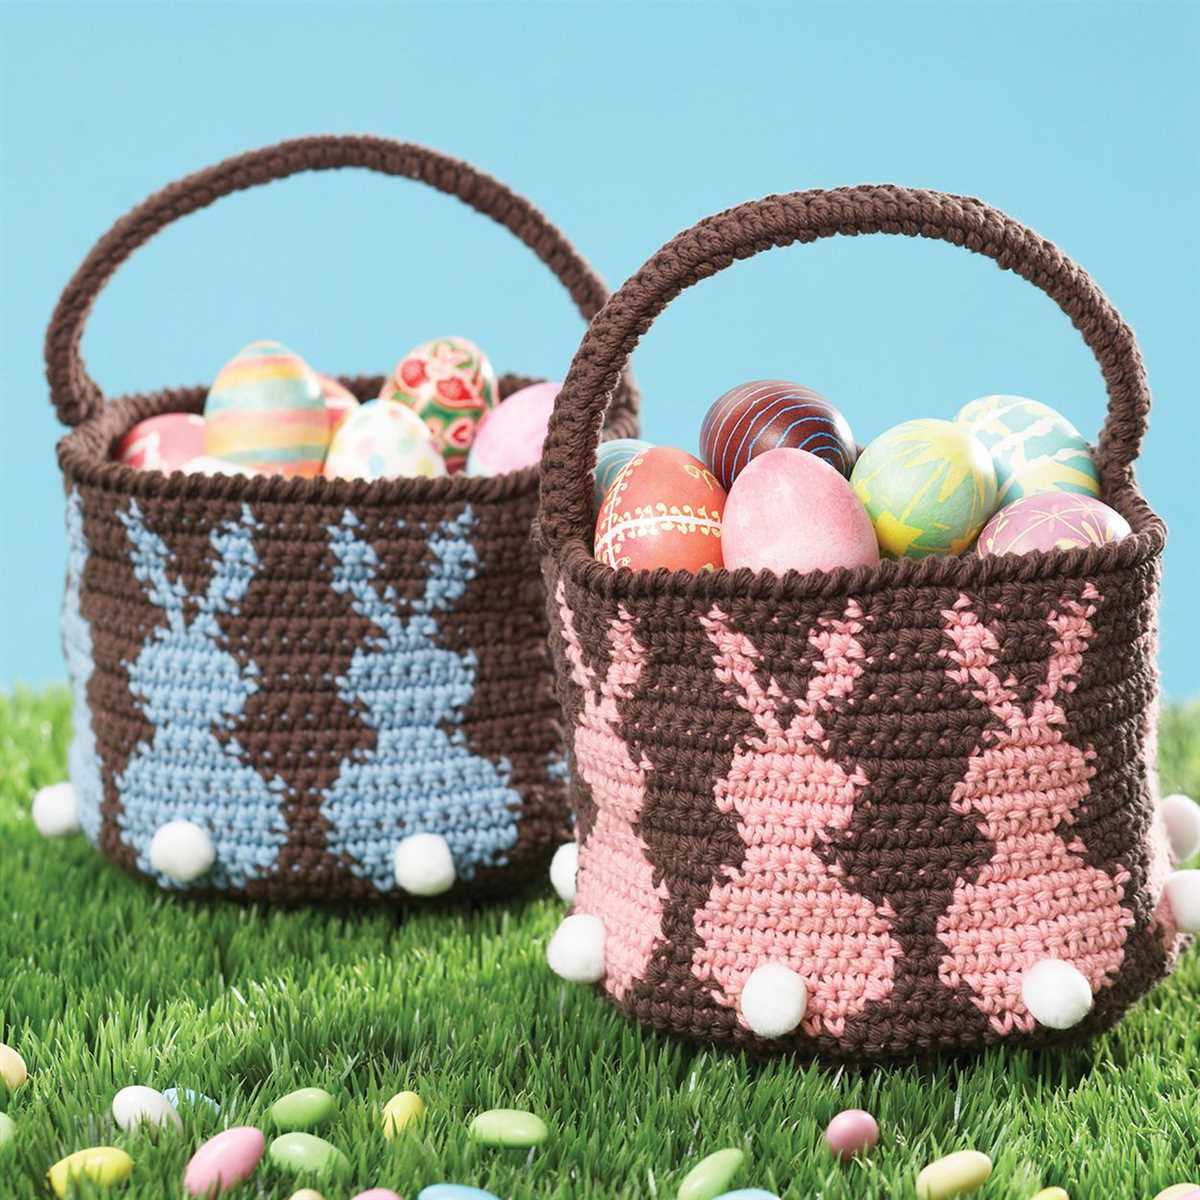
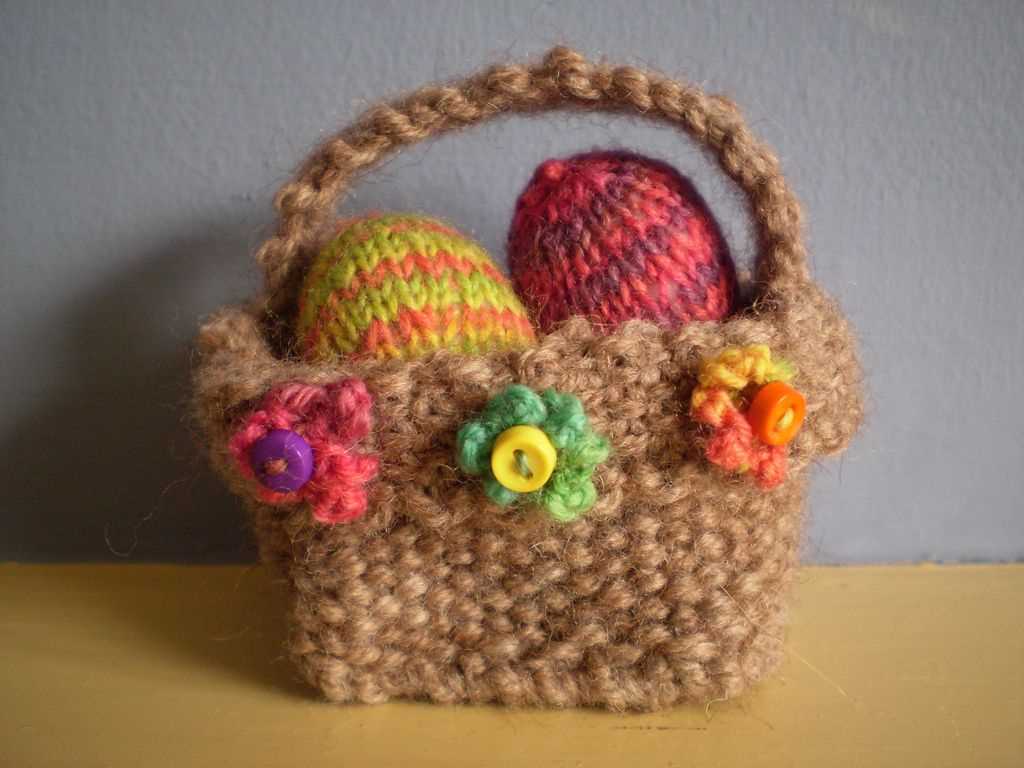
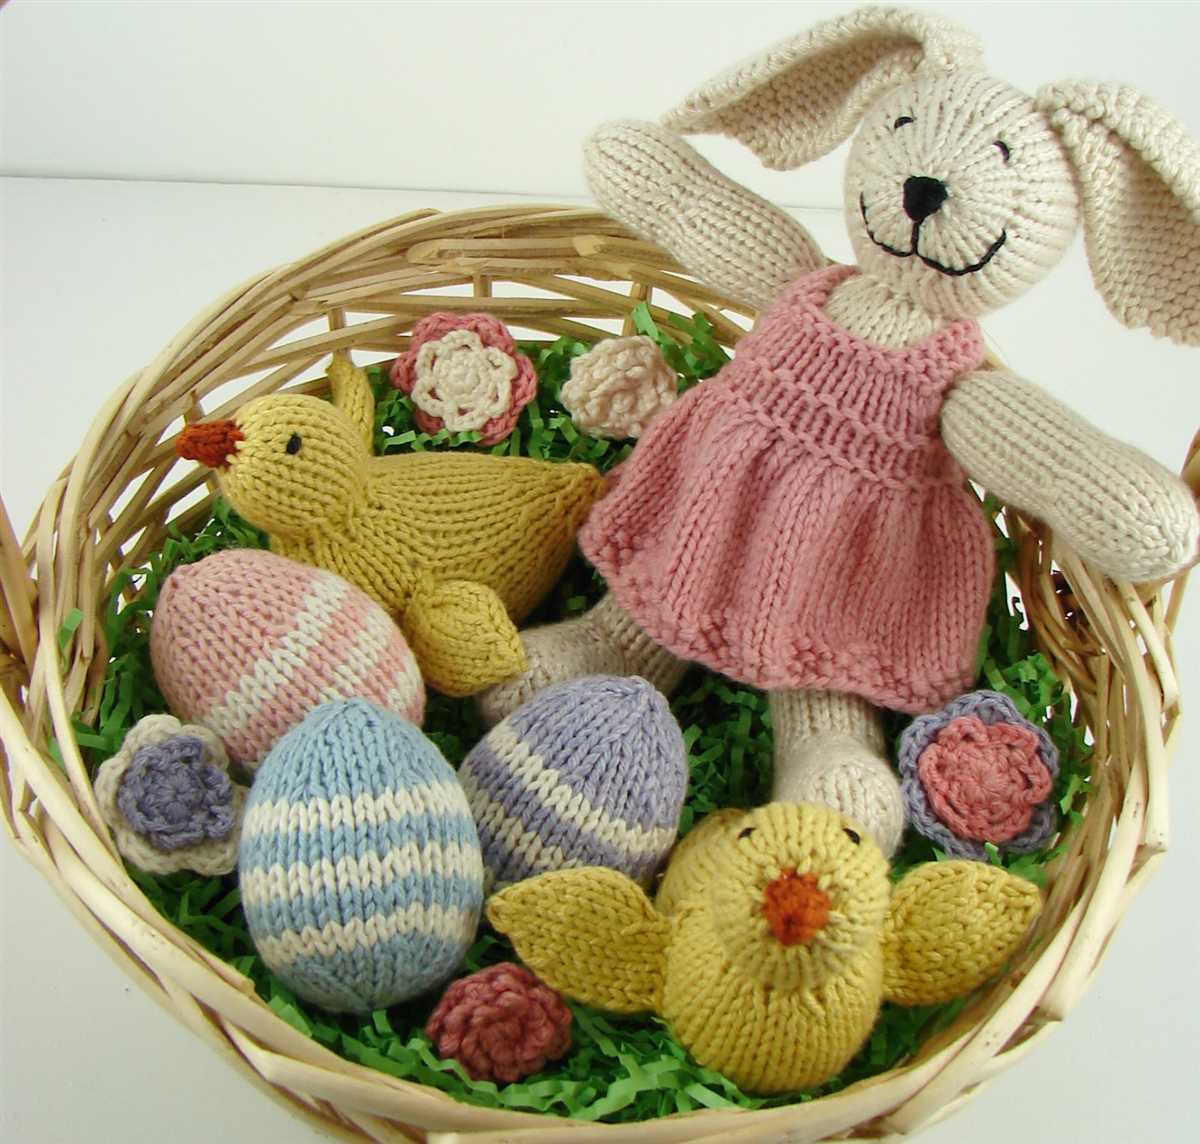
Adding colors and patterns
When it comes to knitting Easter baskets, adding colors and patterns can really make them stand out. It’s a great way to add some personality and charm to your creations. There are many different ways to incorporate color and pattern into your basket design.
Colors: One option is to use different colors of yarn for each section of the basket. You could choose pastel shades for a traditional Easter look, or go for bolder, vibrant colors for a more modern twist. Mixing and matching colors can create a beautiful gradient effect, or you could use contrasting colors to make certain details pop.
Patterns: Another way to add interest to your Easter basket is by incorporating different knitting patterns. You could use a simple seed stitch for the main body of the basket, and then switch to a lace pattern for the handle. The possibilities are endless! You could also experiment with different ribbing patterns or try out some cables for added texture.
There are also options to embellish your basket further with small decorations. You could add a row of colorful pompoms along the edge or attach small knitted flowers. Beads, buttons, or bows can also be used to give your basket a decorative touch.
Overall, adding colors and patterns to your knitted Easter baskets allows you to unleash your creativity and make something truly unique. Whether you prefer a traditional or modern style, there are countless ways to make your baskets standout and showcase your knitting skills.
Shaping the sides of the basket
Once you have completed the base of the Easter basket, it’s time to start shaping the sides. This is where the basket really starts to take shape and become a functional piece.
To shape the sides, you will need to increase the number of stitches in each round. This will create the gradual curve that gives the basket its shape.
Start by knitting 1 stitch, then make 1 stitch by knitting into the front and back of the next stitch. Repeat this pattern until you have reached the end of the round. This will increase the number of stitches by 1 for each round.
Note: It’s important to keep track of the number of rounds you have completed, as it will determine the height of the basket’s sides.
Continue increasing in this manner until the sides of the basket reach the desired height. Remember to periodically check the width of the basket to ensure that it remains the desired size.
Once you have reached the desired height, you can then move on to the next step in the pattern, such as adding a decorative border or handle. The shaping of the sides is a crucial step in creating a beautiful and functional Easter basket.
Knitting the handle
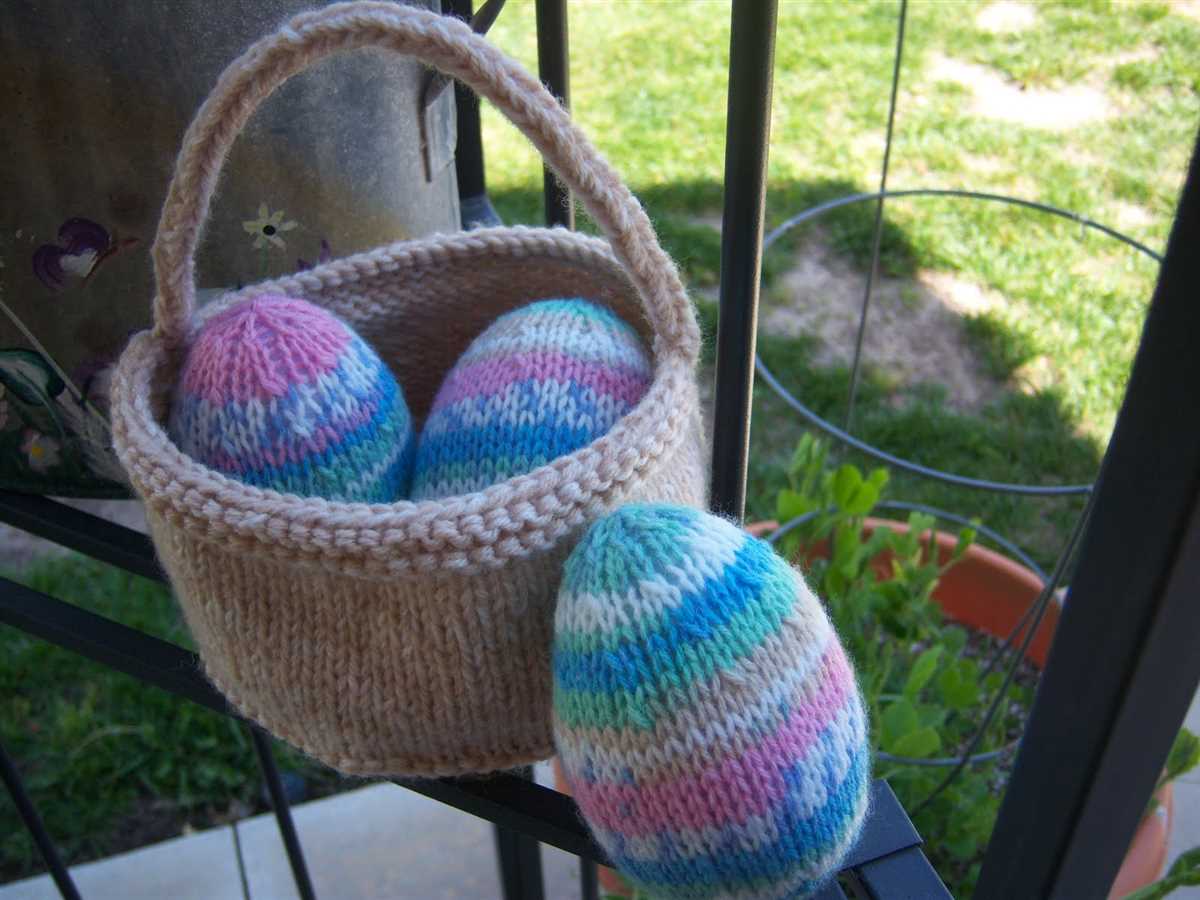
Once you have completed knitting the body of the Easter basket, it’s time to move on to the handle. The handle is an essential part of the basket as it allows you to carry it around with ease.
To knit the handle, you will need to cast on a certain number of stitches, depending on the desired length and thickness of the handle. Usually, a handle consists of a series of garter stitch or ribbing stitches to provide stability and prevent it from stretching.
Step 1: To start knitting the handle, divide the total number of stitches evenly between two double-pointed needles or use a circular needle if preferred.
Step 2: Begin knitting in your chosen stitch pattern, such as garter stitch or ribbing, and continue until you have reached the desired length for the handle. Make sure to periodically measure the handle against the main body of the basket to ensure a proper fit.
Step 3: Once you have reached the desired length, bind off the stitches and cut the yarn, leaving a tail for seaming later on.
It is important to note that the handle should be securely attached to the sides of the basket to ensure it can withstand the weight of any items placed inside. You can do this by sewing the ends of the handle to the inside of the basket using yarn and a tapestry needle.
By following these steps, you can create a sturdy and attractive handle for your knitted Easter basket. Remember to customize the handle to your preference by choosing the stitch pattern, length, and thickness that suits your needs.
Finishing touches: weaving in ends and blocking
Once you have completed knitting your Easter basket, there are a few finishing touches you can add to give it a polished look. One important step is weaving in the ends of your yarn. This involves using a tapestry needle to sew the loose ends of the yarn back into the knitting. By doing this, you can prevent your ends from unraveling and ensure that your basket maintains its shape.
To weave in the ends, thread the tapestry needle with the loose end of yarn and carefully slip it through the stitches on the inside of the basket. Make sure to do this discreetly so that the woven-in end is not visible on the outside of the basket. Repeat this process with any other loose ends you have.
Another finishing touch you can add to your Easter basket is blocking. Blocking is a process used to shape and size the finished item. To block your basket, you can follow these steps. First, dampen the basket with water or a blocking spray. Gently press down on the basket to shape it, making sure to pay attention to any corners or edges. You can use blocking pins or a yarn needle to help hold the shape in place as it dries.
Once your basket is dry, remove the pins or needles and check to see if it has held its shape. If any adjustments are needed, you can carefully reshape the basket by hand. Blocking can help give your Easter basket a more professional and polished look, making it a beautiful addition to your holiday decor.
Decorating the Easter Basket
Decorating the Easter Basket
When it comes to Easter, one of the highlights for many children is the hunt for Easter eggs. And what better way to collect those eggs than with a beautifully decorated Easter basket? Decorating the Easter basket can be a fun project for both kids and adults, and there are countless ways to make the basket unique and personalized.
Gathering the Supplies
Before you start decorating your Easter basket, make sure you have all the necessary supplies. First and foremost, you will need a basket to hold the eggs. Traditional wicker baskets are popular, but you can also get creative and use other types of containers, such as buckets or even fabric bags. Next, gather your decorating materials. This can include paint, stickers, ribbons, fabric, glitter, and any other craft supplies you like.
Choosing a Theme
One way to make your Easter basket really stand out is to choose a theme. This can be based on your child’s interests, a favorite color, or a seasonal motif like bunnies or flowers. Once you have a theme in mind, you can start brainstorming ideas for how to decorate the basket. For example, if your child loves dinosaurs, you could paint dinosaur footprints on the basket and add some small dinosaur figurines to the handle. The possibilities are endless!
Getting Creative
When it comes to decorating the Easter basket, let your imagination run wild. Use paint to create designs or add a splash of color. Attach stickers or cut out shapes from fabric to personalize the basket. Add ribbons or bows for a festive touch. If you have some spare yarn, you could even knit or crochet a cover for the handle. The key is to have fun and create something that reflects your child’s personality.
Finishing Touches
Once you have decorated the Easter basket to your liking, don’t forget the finishing touches. Fill the basket with colorful shredded paper or grass to cushion the eggs and give it a festive look. You can also add some small toys or treats, like chocolate eggs or jelly beans, to make the Easter basket even more special. And of course, don’t forget to label the basket with your child’s name, either using a name tag or by painting it directly on the basket.
Decorating the Easter basket is a wonderful opportunity to get creative and make something truly special. Whether you choose a simple design or go all out with a themed basket, the end result will be a cherished memory for both you and your child.
Optional: Lining the Basket
If you want to add an extra touch to your Easter basket, you can choose to line it with fabric. This optional step can help to protect your items and add a pop of color or pattern to your basket. Here’s how you can do it:
- Measure and cut the fabric: Measure the inside of your basket to determine the dimensions of the lining fabric. Add an extra inch to each side for seam allowance. Then, cut the fabric to the desired size.
- Sew the lining: Fold over the edges of the fabric about half an inch and pin them in place. Then, sew along the pinned edges to create a clean finish.
- Attach the lining to the basket: Place the sewn lining inside the basket, with the wrong side facing upwards. Align the edges of the fabric with the edges of the basket. Use fabric glue or small stitches to secure the lining to the basket along the top edge.
- Tuck in the lining: Gently tuck the excess fabric of the lining into the basket, making sure it lays flat against the sides and bottom.
Adding a lining to your Easter basket can make it more functional and visually appealing. It can also serve as a protective layer for delicate items or treats. Remember to choose a fabric that complements the colors or theme of your basket design. Happy knitting and decorating!