
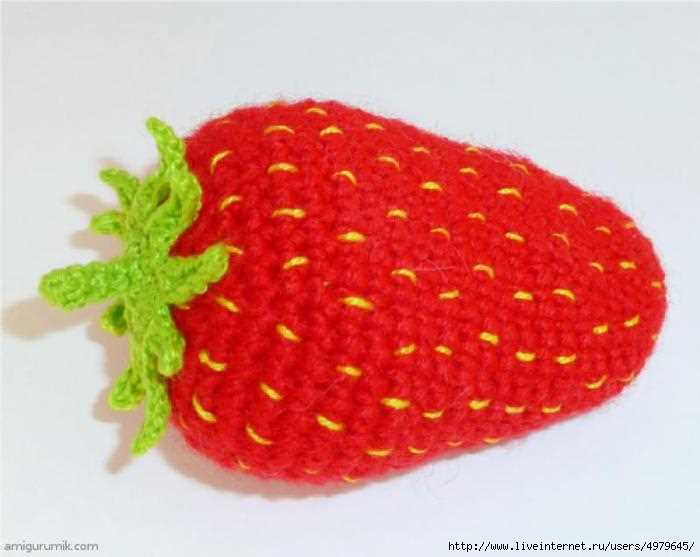
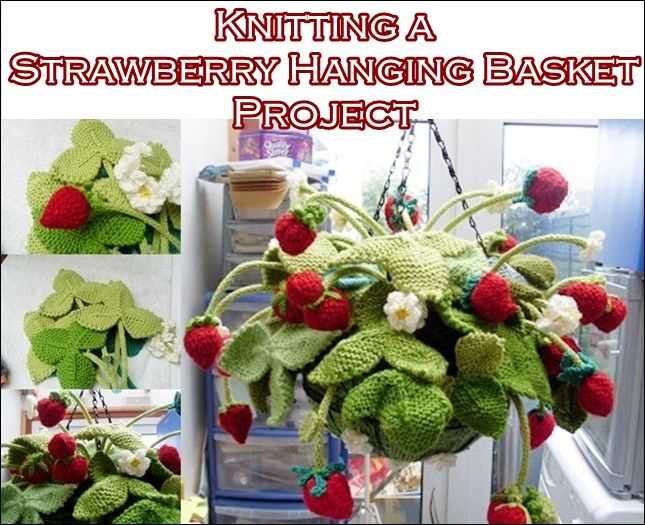
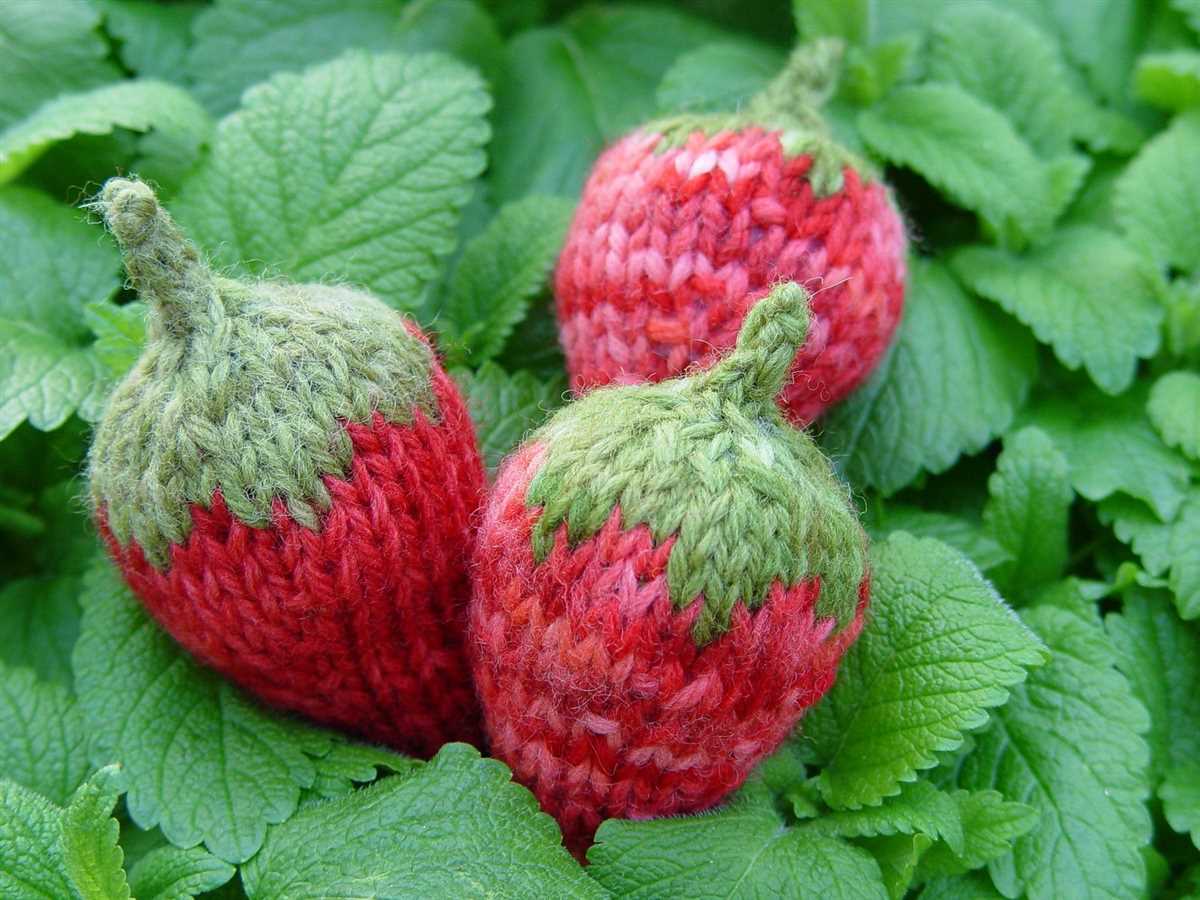
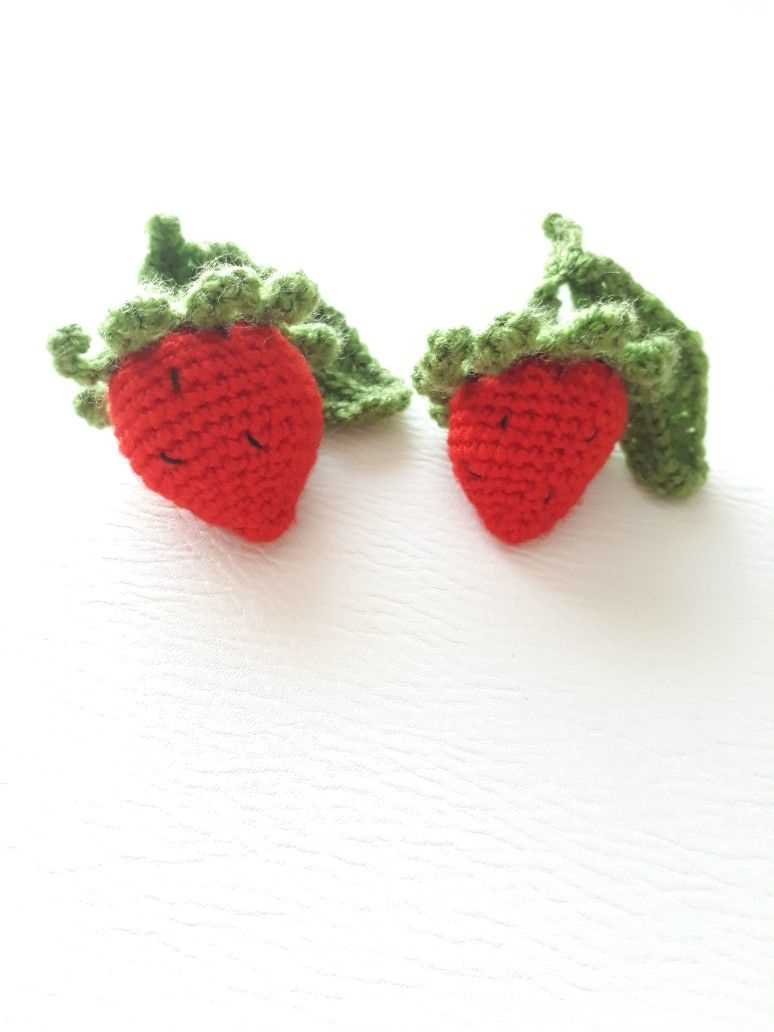
Knitting is a popular hobby that allows you to create beautiful and unique items using just a pair of needles and some yarn. One particularly fun and cute item to knit is a strawberry. Knitted strawberries can be used as decorations, toys, or even keychain charms. Plus, they make great gifts for friends and family. If you’re interested in trying your hand at knitting a strawberry, you’re in luck! In this article, we’ll provide you with a free pattern and step-by-step instructions to create your very own knitted strawberries.
Before we get started, let’s talk about the supplies you’ll need. Firstly, you’ll need some yarn in the color of your choice. It’s best to use a lighter weight yarn, such as DK or sport weight, so that the stitches are small and tight. You’ll also need a pair of knitting needles in an appropriate size for your yarn. Additionally, you’ll need a tapestry needle for sewing and embroidery floss for the strawberry seeds. Finally, if you’re new to knitting, you might want to have a pair of scissors, stitch markers, and a row counter handy.
Now that you have your supplies ready, let’s dive into the pattern. To begin, cast on 5 stitches and join in the round. Knit 1 round. Then, increase in each stitch for the next round, resulting in 10 stitches. Continue knitting in the round for several more rounds, increasing every other round until you have 30 stitches. Next, work even in stockinette stitch for a few rounds.
Knitted Strawberry Pattern Free
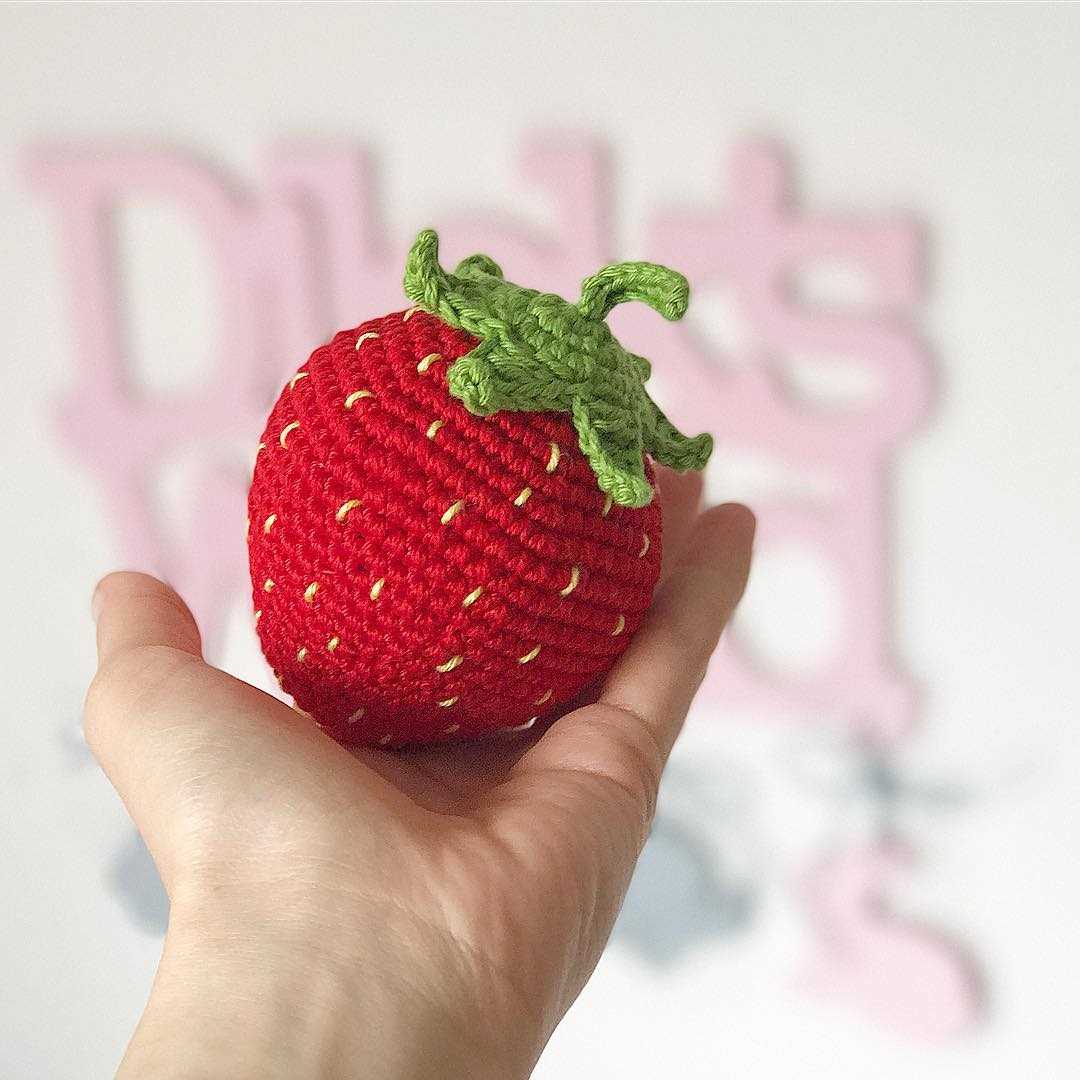
If you love knitting and want to create adorable fruit-themed decorations, a knitted strawberry pattern is a perfect choice. With this pattern, you can make cute strawberries to use as keychains, pincushions, or even as decorative accents on clothing or accessories.
Materials:
- Knitting needles (size 4mm)
- Red yarn (medium weight)
- Green yarn (medium weight)
- Black yarn (embroidery thread)
- Polyester fiberfill
- Tapestry needle
- Scissors
Instructions:
- Cast on 6 stitches with red yarn.
- Knit 1 row.
- Purl 1 row.
- Repeat steps 2 and 3 until you have a total of 15 rows.
- Decrease by knitting 2 together across the row (3 stitches remaining).
- Thread the tapestry needle with the tail of the yarn and thread it through the remaining stitches. Pull tight to close the top of the strawberry.
- With green yarn, cast on 4 stitches.
- Knit 1 row.
- Purl 1 row.
- Repeat steps 7 and 8 until you have a total of 10 rows.
- Decrease by knitting 2 together across the row (2 stitches remaining).
- Thread the tapestry needle with the tail of the green yarn and thread it through the remaining stitches. Pull tight to close the top of the strawberry leaves.
- Sew the strawberry leaves to the top of the strawberry using the tapestry needle and green yarn.
- Using black embroidery thread, embroider tiny seeds on the red part of the strawberry.
- Stuff the strawberry with polyester fiberfill, making sure to shape it like a strawberry.
- Close the bottom of the strawberry by sewing it shut with the tapestry needle and red yarn.
You now have a knitted strawberry ready to be used as a cute decoration or a lovely gift. Enjoy knitting many more strawberries with this free pattern!
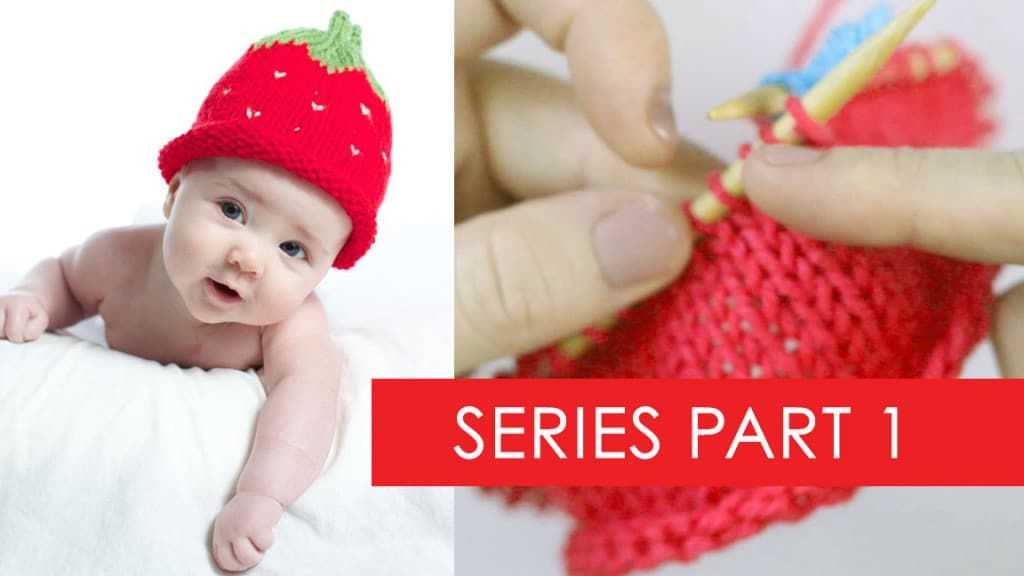
How to Knit a Strawberry
If you are a knitting enthusiast looking for a fun and easy project, knitting a strawberry can be a great choice. Not only is it a cute and decorative item, but it also makes for a lovely gift or a playful addition to your home decor. In this tutorial, we will guide you through the process of knitting a strawberry using a free pattern.
Gather Materials
Before you begin, gather all the necessary materials. You will need yarn in red, green, and black colors, knitting needles of the appropriate size, stuffing material, a yarn needle for sewing, and scissors. Make sure to choose soft yarn that will give your strawberry a nice texture.
Follow the Pattern
Start by casting on a certain number of stitches, as specified in the pattern. The pattern will guide you through knitting the body of the strawberry, which is usually done in a combination of knit and purl stitches to create the characteristic texture. Pay attention to the pattern’s instructions for shaping and decreasing the stitches to achieve the strawberry shape.
Once the body is complete, you will move on to knitting the green leaves and the black seeds separately. The leaves are usually knit in a simple rib stitch pattern, while the seeds can be created using either embroidery or by knitting small bobbles. Again, refer to the pattern for detailed instructions on these elements.
Assembly and Finishing
Once all the separate components are knitted, it’s time to assemble your strawberry. Use a yarn needle and the matching yarn color to sew the leaves onto the top of the strawberry, securing them in place. Next, sew the black seeds onto the red body, evenly spacing them to create a realistic look.
After the sewing is complete, stuff your knitted strawberry with the stuffing material to give it a plump appearance. Add as much stuffing as desired to achieve the desired shape and firmness. Finally, close up the bottom of the strawberry using a neat seam, making sure to secure the stuffing inside.
Once your strawberry is assembled and finished, you can admire your knitting skills and proudly display it as a cute decoration or a sweet gift. Experiment with different yarn colors and sizes to create a whole bunch of knitted strawberries that will bring joy to your knitting projects.
Materials Needed for Knitting a Strawberry
Knitting a strawberry can be a fun and rewarding craft project. To get started, you will need a few materials to create your own knitted strawberry. Here are the essential supplies you will need:
- Yarn: Choose a red or pink yarn for the body of the strawberry. You can also use green yarn for the leaves. Make sure to choose a soft and durable yarn that can withstand stretching and shaping.
- Knitting Needles: You will need a pair of knitting needles in the appropriate size for your chosen yarn. The size of the needles will depend on the weight of the yarn you are using. Check the yarn label for recommended needle size.
- Tapestry Needle: A tapestry needle with a large eye will be useful for seaming and finishing off your knitted strawberry. This type of needle is also great for weaving in loose ends of yarn.
- Stuffing: To give your knitted strawberry a plump and rounded shape, you will need some stuffing material. You can use polyester fiberfill or any other soft stuffing material of your choice.
- Scissors: A sharp pair of scissors is essential for cutting the yarn and trimming any excess threads.
- Stitch Markers: Stitch markers can be used to mark specific stitches or sections of your knitting pattern. They can be helpful in keeping track of your progress and preventing mistakes.
- Embroidery Thread: If you want to add details to your knitted strawberry, such as seeds or facial features, you may need embroidery thread in various colors.
Once you have gathered all the necessary materials, you will be ready to start knitting your own adorable knitted strawberry. Enjoy the process and have fun creating a unique and charming piece of knitted fruit!
Step-by-Step Instructions for Knitting a Strawberry
In this tutorial, we will walk you through the process of knitting a cute and colorful strawberry. This project is perfect for beginners and can be completed with just basic knitting skills. Let’s get started!
Materials:
- Red, green, and black yarn
- Circular knitting needles size 6mm
- Tapestry needle
- Polyester fiberfill
- Scissors
- Stitch marker
Instructions:
Step 1: Cast on 12 stitches using the red yarn. Join the round in a circle, making sure not to twist the stitches. Place a stitch marker to mark the beginning of the round.
Step 2: Knit one round in the round, knitting all stitches.
Step 3: On the next round, decrease by knitting two stitches together every 3 stitches. Repeat this decrease round twice more until you have 6 stitches remaining in the round.
Step 4: Cut the red yarn, leaving a long tail. Thread the tail through a tapestry needle and slide the needle through the remaining stitches. Pull tight to gather the stitches and secure the end. Weave in any loose ends.
Step 5: Using the green yarn, cast on 4 stitches. Knit 12 rows in garter stitch (knit every row).
Step 6: Cut the green yarn, leaving a long tail. Fold the knitted piece in half and sew the side edges together using the tail and a tapestry needle. This will form the strawberry’s stem.
Step 7: Fill the knitted strawberry with polyester fiberfill, stuffing it firmly but not too tightly. Make sure to evenly distribute the filling.
Step 8: Using the black yarn, embroider small “seeds” onto the red part of the strawberry. You can use a tapestry needle and the duplicate stitch technique to create neat and evenly spaced seeds.
Your knitted strawberry is now complete! Use it as a cute decoration, keychain, or even a pincushion. Enjoy your adorable creation!
Tips and Tricks for Knitting a Perfect Strawberry
Knitting a strawberry can be a fun and rewarding project, whether you are a beginner or an experienced knitter. To help you create the perfect strawberry, here are some tips and tricks to keep in mind:
1. Choose the right yarn:
When knitting a strawberry, it is important to choose the right yarn. Opt for a soft and smooth yarn that is easy to work with. Cotton or acrylic yarns are often great choices for creating strawberries, as they provide a smooth finish and hold their shape well.
2. Use the right knitting needles:
The size of the knitting needles you use can greatly affect the appearance of your strawberry. For a tighter, more compact strawberry, use smaller needles. If you prefer a looser, more airy strawberry, opt for larger needles. Experiment with different needle sizes to find the perfect one for your desired outcome.
3. Pay attention to tension:
Consistent tension is key to achieving a neat and polished look for your strawberry. Avoid knitting too tightly or too loosely, as it can result in an uneven shape. Practice maintaining an even tension as you knit to ensure a smooth and professional finish.
4. Add realistic details:
To make your knitted strawberry look more realistic, pay attention to the details. Consider using a different shade of green for the strawberry leaves to add depth and dimension. You can also add tiny embroidered seeds using a contrasting color of yarn to mimic the appearance of real strawberries.
5. Blocking your finished strawberry:
After you have completed knitting your strawberry, it is important to block it to give it a polished and professional look. Gently stretch and shape the strawberry into the desired form and secure it with pins. Steam or lightly mist the strawberry to help set the shape, and let it dry completely before removing the pins.
With these tips and tricks in mind, you are ready to start knitting your own perfect strawberry. Remember to have fun and enjoy the process, and soon you will have a charming knitted strawberry to display or gift to someone special!
Ideas for Using Knitted Strawberries
Knitted strawberries can be a versatile and fun addition to various crafts and projects. Whether you have made them yourself or purchased them, here are some creative ways to use these adorable fruit-inspired items:
1. Jewelry
Add some whimsy to your accessories by incorporating knitted strawberries into your jewelry pieces. You can attach them as charms to bracelets or necklaces, or even make earrings with miniature knitted strawberries. These cute and colorful fruits will definitely make a statement and add a unique touch to your style.
2. Home Decor
Knitted strawberries can also be used to spruce up your home decor. Sew them onto plain throw pillows or cushions to give them a pop of color and a playful touch. You can also create a garland by stringing together a row of knitted strawberries and hanging it on a wall or across a window. This will instantly brighten up any room and create a charming atmosphere.
3. Gift Toppers
Next time you’re wrapping a present, consider adding a knitted strawberry as a unique and eye-catching gift topper. Attach it to the top of a ribbon or directly onto the wrapping paper, and watch as your gift stands out from the rest. This simple addition will make your present even more special and show off your creativity.
4. Keychains
Turn your knitted strawberries into stylish keychains that you can carry with you wherever you go. Simply attach a small metal ring to the top of the strawberry and add a keyring. This way, you’ll always have a cute accessory on hand while keeping your keys organized.
These are just a few ideas for using knitted strawberries in your crafts and projects. Get creative and think outside the box to find even more unique ways to incorporate these delightful fruit-inspired pieces into your life.
Different Types of Yarn for Knitting Strawberries
When it comes to knitting strawberries, the choice of yarn is crucial to achieving the desired results. Different types of yarn can offer varying textures, colors, and thicknesses, all of which can affect the overall appearance of the finished strawberry. Here, we will explore some of the popular yarn options for knitting strawberries.
1. Cotton Yarn
Cotton yarn is a popular choice for knitting strawberries due to its softness and breathability. This type of yarn creates a smooth and lightweight texture, making it ideal for creating realistic-looking strawberries. The natural fibers of cotton also provide excellent stitch definition, allowing the intricate details of the strawberry pattern to stand out.
2. Acrylic Yarn
Acrylic yarn is another common choice for knitting strawberries. This synthetic yarn offers a wide range of colors, including vibrant reds that are perfect for creating juicy-looking strawberries. Acrylic yarn is also durable and easy to care for, making it suitable for everyday use.
3. Wool Yarn
Wool yarn can add a cozy and luxurious feel to knitted strawberries. This natural fiber is known for its warmth and elasticity, allowing the strawberry to hold its shape well. Wool yarn also comes in various thicknesses, from fine and soft to chunky and textured, allowing for different interpretations of the strawberry pattern.
- 4. Variegated Yarn
For a unique and eye-catching effect, variegated yarn can be used to knit strawberries. This type of yarn features multiple colors in a single strand, creating beautiful and unpredictable color patterns. Variegated yarn can add an element of whimsy and playfulness to knitted strawberries.
Ultimately, the choice of yarn for knitting strawberries will depend on personal preference and the desired outcome. Whether you prefer the softness of cotton, the vibrant colors of acrylic, the cozy feel of wool, or the visual interest of variegated yarn, there is a yarn out there that will bring your knitted strawberries to life.
Common Mistakes to Avoid When Knitting Strawberries

Knitting strawberries can be a fun and rewarding project, but there are some common mistakes that beginners often make. By understanding these mistakes and how to avoid them, you can create beautiful, realistic strawberries.
1. Incorrect gauge:
One of the most common mistakes when knitting strawberries is not achieving the correct gauge. Gauge refers to the number of stitches and rows per inch in your knitting. It is important to follow the pattern instructions and make a gauge swatch before starting the project. This will ensure that your strawberries turn out the correct size and proportions.
2. Not using the right yarn:
Using the wrong type of yarn can also result in strawberries that don’t look as realistic as you’d like. Opt for a yarn that is soft and has good stitch definition, such as a cotton or wool blend. Avoid using slippery or bulky yarns, as they can make it difficult to achieve the desired texture and shape.
3. Neglecting to stuff properly:
Proper stuffing is crucial to achieve a realistic and plump strawberry. Make sure to stuff evenly and firmly, using small amounts of stuffing at a time. Pay attention to the shape and size of the strawberry as you go, adding or removing stuffing as needed. Avoid overstuffing, as it can distort the shape and make your strawberry look lumpy.
4. Skipping blocking:
Blocking is an essential step in finishing your knitted strawberries. It helps to even out the stitches and give your strawberry a polished look. After knitting, wet-block your strawberry by soaking it in lukewarm water, gently squeeze out the excess water, and reshape it. Allow it to dry completely before handling.
5. Rushing the finishing touches:
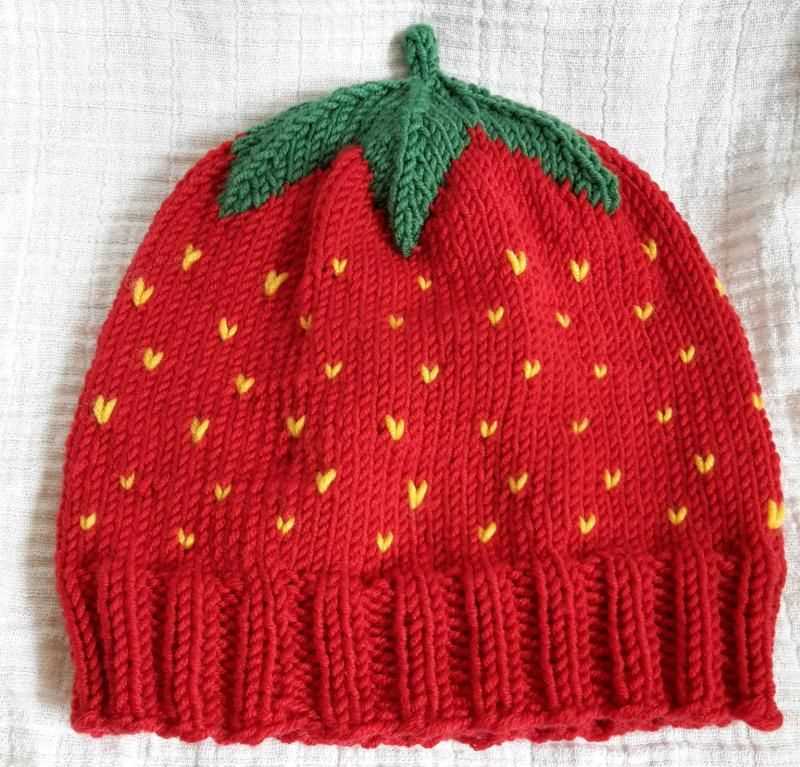
The finishing touches are what bring your knitted strawberries to life. Take the time to embroider the seeds using a contrasting color yarn, and add a small green stem at the top. These details can make a big difference in the overall appearance of your strawberries, so don’t rush through them.
Avoiding these common mistakes will help you create beautiful and realistic knitted strawberries that you can be proud of. With practice and attention to detail, you’ll soon be able to whip up a whole basket of knitted strawberries!
Variations on the Knitted Strawberry Pattern
In the world of knitting, the strawberry is a popular motif. Its vibrant red color and unique shape make it a fun and attractive design to incorporate into various knitted projects. While the base knitted strawberry pattern is fairly simple, there are several creative variations that can be explored to add more flair and uniqueness to your projects.
1. Striped Strawberry
A striped strawberry adds an element of visual interest and playfulness to your knitting. To achieve this effect, you can alternate between two or more colors while knitting the body of the strawberry. Experiment with different color combinations to create unique striped patterns that suit your preferences.
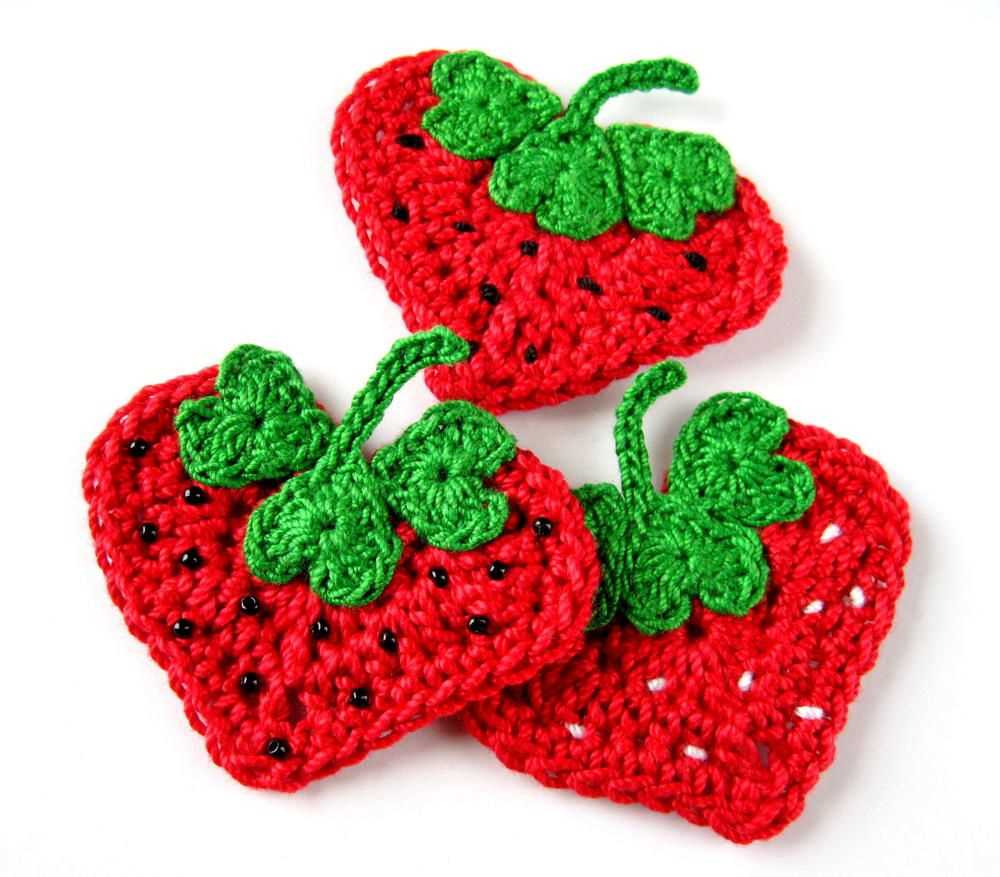
2. Embroidered Seeds
To make your knitted strawberry look even more realistic, consider adding embroidered seeds. Using black or dark brown yarn, carefully stitch small seed-shaped dots onto the red body of the strawberry. This simple addition can make a big difference in the overall appearance of your knitted fruit.
3. Textured Leaves
While the focus of the knitted strawberry pattern is usually on the fruit itself, you can also get creative with the leaves. Instead of plain green leaves, try incorporating different knitting stitches or patterns to add texture and dimension. Try using a leaf pattern stitch or experimenting with different yarn weights and textures to create unique and eye-catching leaves.
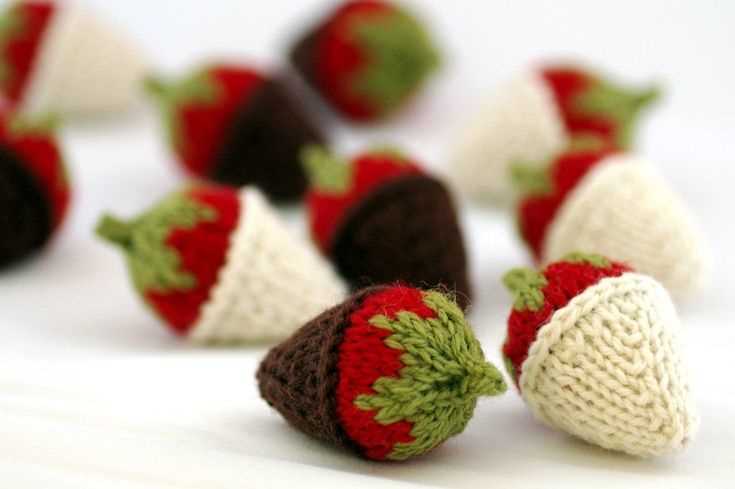
4. Felted Strawberries
If you want to take your knitted strawberries to the next level, consider felting them. Felting involves washing and agitating the knitted item to create a dense and sturdy fabric. This can give your strawberries a more solid and realistic feel. Just make sure to use feltable yarn, such as wool, and follow the felting instructions carefully to achieve the desired result.
- Striped strawberries
- Embroidered seeds
- Textured leaves
- Felted strawberries
These are just a few of the many variations you can explore when knitting strawberries. Whether you prefer a more traditional look or want to get creative with colors, textures, and techniques, there is no shortage of options to choose from. So grab your knitting needles and start experimenting with different variations to create your own unique knitted strawberry designs!
How to Add Embellishments to Your Knitted Strawberries
If you have already mastered the art of knitted strawberries, you might be looking for ways to add some extra flair and personality to your creations. Adding embellishments is a great way to take your knitted strawberries to the next level and make them even more unique and eye-catching.
1. Embroidery: One simple way to add embellishments to your knitted strawberries is by using embroidery techniques. You can use different colored yarns to create intricate designs on the surface of the strawberry. For example, you could embroider tiny seeds or delicate flowers to give your strawberries a more realistic look.
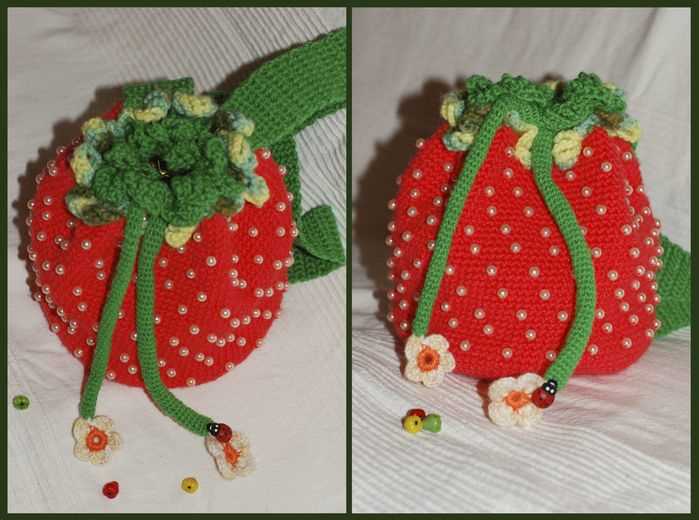
2. Beads: Another option to add some sparkle to your knitted strawberries is by attaching beads. You can use a small needle and thread to carefully sew beads onto the surface of the strawberry. Choose beads in colors that complement the yarn you used for the strawberry, or go for contrasting colors to create a bold and vibrant effect.
3. Ribbons: If you want to add a touch of elegance to your knitted strawberries, consider using ribbons as embellishments. You can tie a small ribbon around the stem of the strawberry or create a bow to attach to one side. Choose ribbons in different colors and textures to experiment with different looks for your strawberries.
4. Fabric Paint: For those who enjoy painting, fabric paint is a great option to add embellishments to your knitted strawberries. You can use fabric paint to create intricate patterns or designs on the surface of the strawberry. This method allows you to play with colors and create unique and personalized designs.
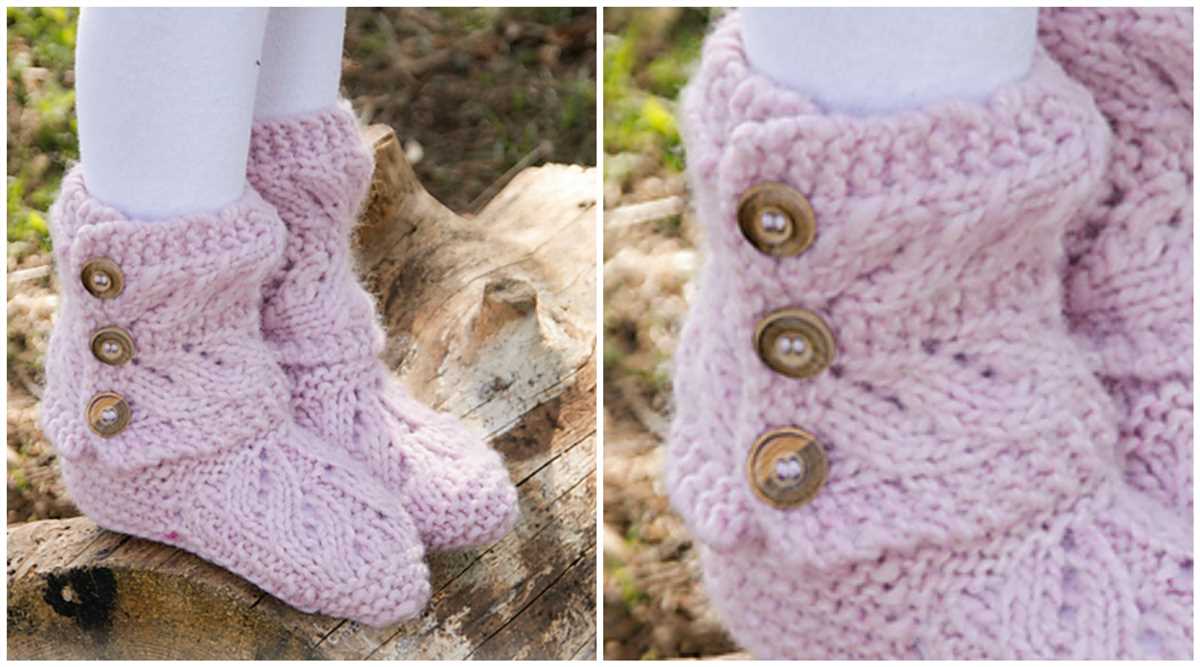
5. Buttons: Finally, buttons can also be a fun and creative way to add embellishments to your knitted strawberries. Choose buttons in various shapes and sizes, and sew them onto the surface of the strawberry. This will not only add visual interest but also create a tactile element to your creations.
Adding embellishments to your knitted strawberries can be a fun and creative process. Whether you choose to embroider, use beads, ribbons, fabric paint, or buttons, these embellishments will enhance the overall look of your strawberries and make them stand out. Let your imagination run wild and create unique and beautiful knitted strawberries that are truly one-of-a-kind.
Knitted Strawberries: A Fun Project for Beginners
Knitting is a popular hobby that allows you to create beautiful and functional items with just a few basic stitches. If you’re a beginner looking for a fun project to start with, why not try knitting strawberries? These adorable fruits are quick and easy to make, and they make great decorations or toys.
To start knitting strawberries, you’ll need a few basic supplies: yarn in red and green (or any other colors you prefer), knitting needles, fiberfill stuffing, and a yarn needle. Once you have your supplies ready, you can begin casting on and knitting the strawberry shape. There are many free patterns available online that provide step-by-step instructions on how to create these cute fruits.
One popular method is to knit the strawberry in two parts: the main body and the leaves. The main body is usually knitted in the round using a small set of double-pointed needles, and it’s stuffed with fiberfill to give it a plump shape. The leaves are knitted separately and sewn onto the top of the strawberry to complete the look.
Another option is to knit the strawberry in one piece using a technique called “short rows.” This method involves working back and forth in rows, gradually decreasing and increasing stitches to create the strawberry shape. Once the knitting is complete, you can stuff the strawberry and add the leaves.
Knitted strawberries can be customized in various ways to add personal flair. You can experiment with different shades of red yarn to create strawberries of different ripeness, or you can add seed stitch details to mimic the texture of real strawberries. The possibilities are endless!
Overall, knitting strawberries is a fun and rewarding project for beginners. Not only do you get to practice your knitting skills, but you also end up with adorable fruits that can be used as decorative items or given as gifts. So grab your knitting needles and start creating your own knitted strawberries today!
Free Knitted Strawberry Pattern Download

Thank you for reading our article on how to knit a strawberry. We hope you have found the information and step-by-step instructions useful. Now that you have learned how to knit a strawberry, it’s time to put your skills to practice and start creating your own knitted strawberries.
We have provided a free knitted strawberry pattern for you to download and use. This pattern includes all the necessary instructions and materials needed to create your own knitted strawberry. Simply click the link below to download the pattern:
Download Free Knitted Strawberry Pattern
Once you have downloaded the pattern, make sure to gather all the materials listed in the instructions. Take your time to read through the pattern and familiarize yourself with the techniques before starting your project.
Remember, knitting is a relaxing and enjoyable hobby. Don’t be afraid to experiment with different yarns and colors to create unique and personalized knitted strawberries. With practice, you will become more skilled and proficient in creating beautiful knitted items.
We hope you have fun knitting your own strawberries and enjoy the process of creating something beautiful with your hands. Happy knitting!