
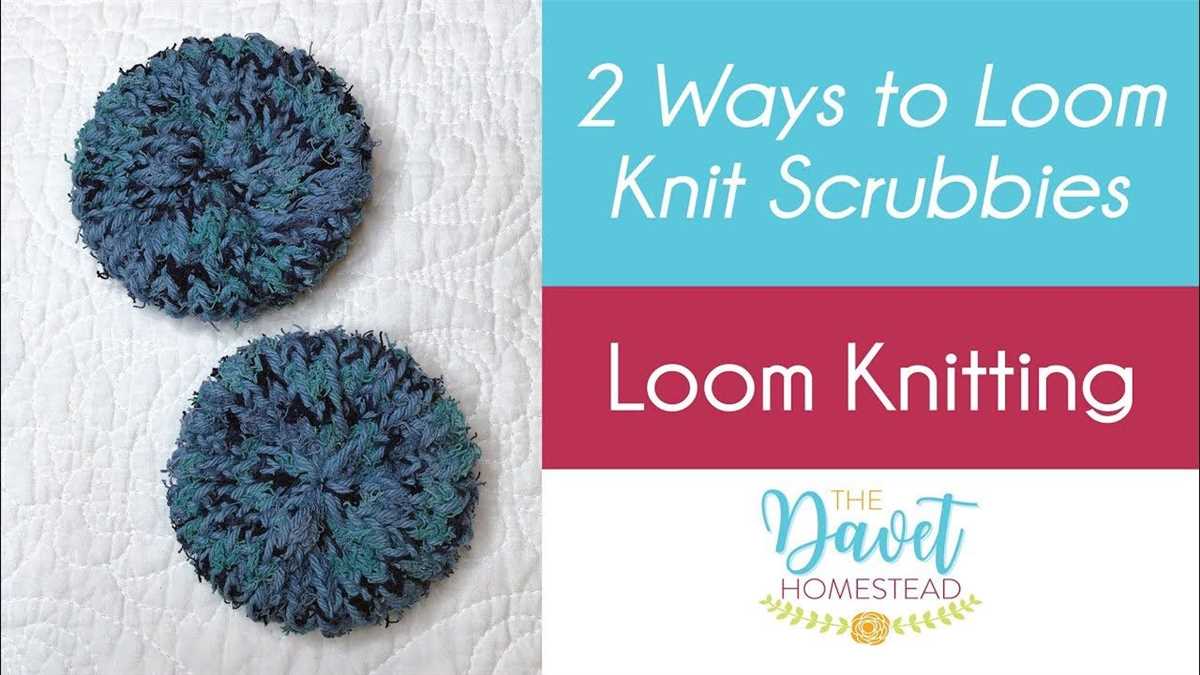
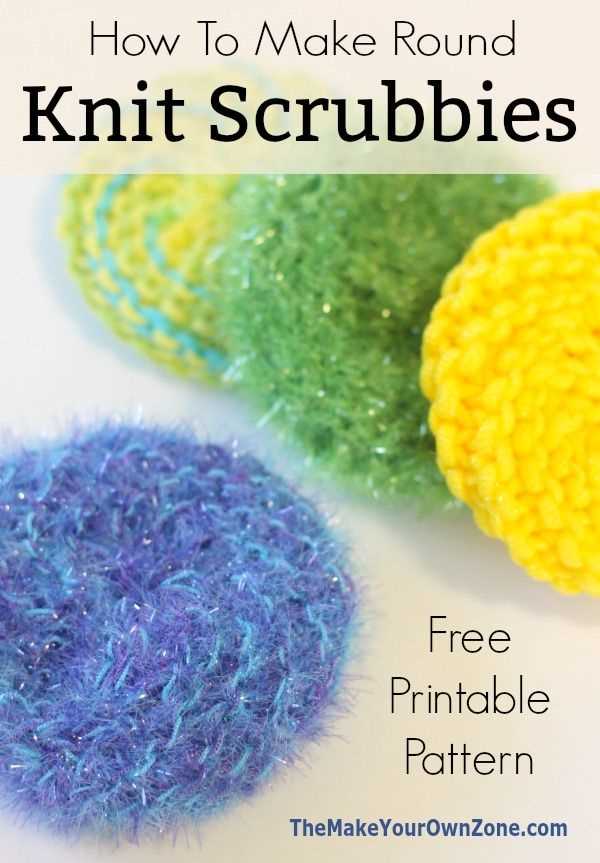
Knitted scrubbies are a versatile and eco-friendly alternative to disposable kitchen sponges or scrub brushes. They are perfect for washing dishes, cleaning countertops, or even exfoliating the skin. Plus, they make for a fun and fulfilling knitting project!
This article will provide you with a step-by-step knitted scrubbies pattern that you can use to create your own reusable and washable scrubbies. Whether you’re a beginner knitter or an experienced one, this pattern is suitable for all skill levels.
To get started, you’ll need a set of knitting needles, your choice of cotton yarn, and a pair of scissors. The pattern uses basic knitting stitches, such as knit and purl, so you don’t need to worry about complex techniques.
By making your own knitted scrubbies, you not only save money in the long run but also contribute to a more sustainable and eco-friendly lifestyle. So, let’s dive into the pattern and get started on this fun knitting project!
Knitted Scrubbies Pattern
Knitted scrubbies are a great eco-friendly alternative to disposable dish sponges. They are perfect for cleaning dishes, pots, and pans, and can be used for other household cleaning tasks as well. Plus, they are super easy to make with this knitted scrubbies pattern!
To make these knitted scrubbies, you will need:
- Size 8 knitting needles
- Cotton yarn
- Scissors
1. Cast on 20 stitches.
2. Knit every row until your work measures approximately 4 inches.
3. Cut the yarn, leaving a long tail for sewing up the sides.
4. Using a yarn needle, fold the knitted rectangle in half and sew up the sides using the long tail of yarn.
5. Turn the scrubbie inside out to hide the seam.
6. Your knitted scrubbie is now ready to use!
Materials Needed for Knitted Scrubbies
Knitted scrubbies are great for exfoliating and getting rid of tough stains, and they make excellent additions to your kitchen or bathroom. If you’re interested in making your own scrubbies, there are a few materials you’ll need to get started.
Yarn:
The most important material for knitting scrubbies is the yarn. You’ll need a sturdy, durable yarn that can withstand frequent use and contact with water. A popular choice for scrubbies is 100% cotton yarn, as it is absorbent and soft on your skin. Acrylic yarn can also be used, but keep in mind that it may not be as durable as cotton.
Knitting Needles:
To create your scrubbies, you’ll need a pair of knitting needles. The size of the needles will depend on the type of yarn you’re using and your desired tension. Typically, a pair of US size 7 or 8 (4.5 or 5mm) knitting needles works well for most scrubbie projects.
Tapestry Needle:
A tapestry needle is essential for finishing your scrubbies and weaving in any loose ends. This needle has a large eye and a blunt tip, making it easy to thread and navigate through your knitted stitches. It’s helpful for sewing seams, joining pieces together, and adding any decorative elements.
Scissors:
To trim excess yarn and cut your threads, a pair of sharp scissors is necessary. Make sure they’re comfortable to hold and have a sharp blade for clean cuts.
Optional: Stitch Marker:
If you’re working on a pattern that requires specific stitch counts or repeat patterns, a stitch marker can be helpful. It keeps track of your progress and ensures you’re following the pattern correctly. You can use a commercial stitch marker or even a simple safety pin or a small loop of contrasting yarn.
With these materials on hand, you’re ready to start knitting your own scrubbies. Experiment with different yarn colors, stitch patterns, and sizes to create unique and functional scrubbies for yourself or to give as gifts.
Knitting Techniques for Scrubbie Pattern
If you are interested in knitting your own scrubbies, it is important to learn some key knitting techniques to ensure the best results. Here are a few techniques that will come in handy when working on a knitted scrubbie pattern.
1. Casting On
When starting your scrubbie pattern, you will need to cast on stitches onto your knitting needle. One common method is the long-tail cast on, which creates a neat and stretchy edge. Make sure to leave a long enough tail to accommodate the number of stitches you need.
2. Knit Stitch
The knit stitch is the most basic stitch in knitting. It creates a smooth and flat texture, perfect for a scrubby. Insert your right needle into the first stitch on the left needle from left to right, with the yarn in the back. Wrap the yarn around the right needle, and pull it through the stitch, sliding the original stitch off the left needle.
3. Purl Stitch
The purl stitch is another essential stitch for knitters. It creates a bumpy texture, which can add extra scrubbing power to your scrubbie. Insert your right needle into the first stitch on the left needle from right to left, with the yarn in front. Wrap the yarn around the right needle, and pull it through the stitch, sliding the original stitch off the left needle.
4. Decreasing
To shape your scrubbie or create interesting patterns, you will often need to decrease stitches. One common decrease method is the knit two together (k2tog) decrease. Insert your right needle into the next two stitches on the left needle from left to right, with the yarn in the back. Wrap the yarn around the right needle, and pull it through both stitches, sliding the original stitches off the left needle.
You can also use the slip, slip, knit (ssk) decrease, which creates a left-leaning decrease. Slip the next two stitches individually from the left needle to the right needle as if to knit. Then, insert the left needle into the front loop of both slipped stitches and knit them together.
5. Binding Off
When you have finished knitting your scrubbie, you will need to bind off to secure the live stitches and create a neat edge. One common method is the basic bind off. Knit the first two stitches, then pass the first stitch over the second stitch and off the right needle. Knit the next stitch, and repeat the pass over until you have one stitch left. Cut the yarn, leaving a long tail, and thread the tail through the last stitch to secure it.
By mastering these knitting techniques, you will be well-equipped to tackle any scrubbie pattern with confidence. Happy knitting!
Step-by-Step Instructions for Knitted Scrubbies
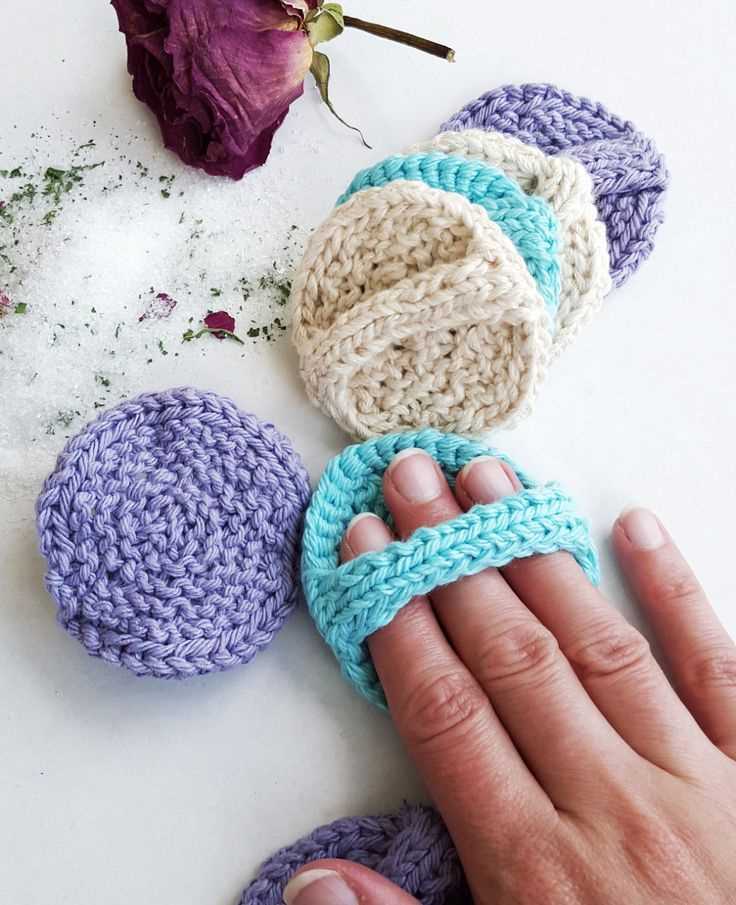
If you’re looking for a fun and practical knitting project, knitted scrubbies are a great option. These small, textured cloths are perfect for washing dishes or exfoliating your skin. In this guide, we’ll walk you through the step-by-step instructions for knitting your own scrubbies.
Materials You’ll Need:
- Size 6 or 7 knitting needles
- Cotton yarn in your choice of colors
- Scissors
- Tapestry needle
Step 1: Cast On
To begin, cast on 20 stitches using your chosen yarn and knitting needles. Make sure to leave a long tail for sewing later on.
Step 2: Knit the First Row
Once you have cast on, knit every stitch across the first row. This will create the base for your scrubbie.
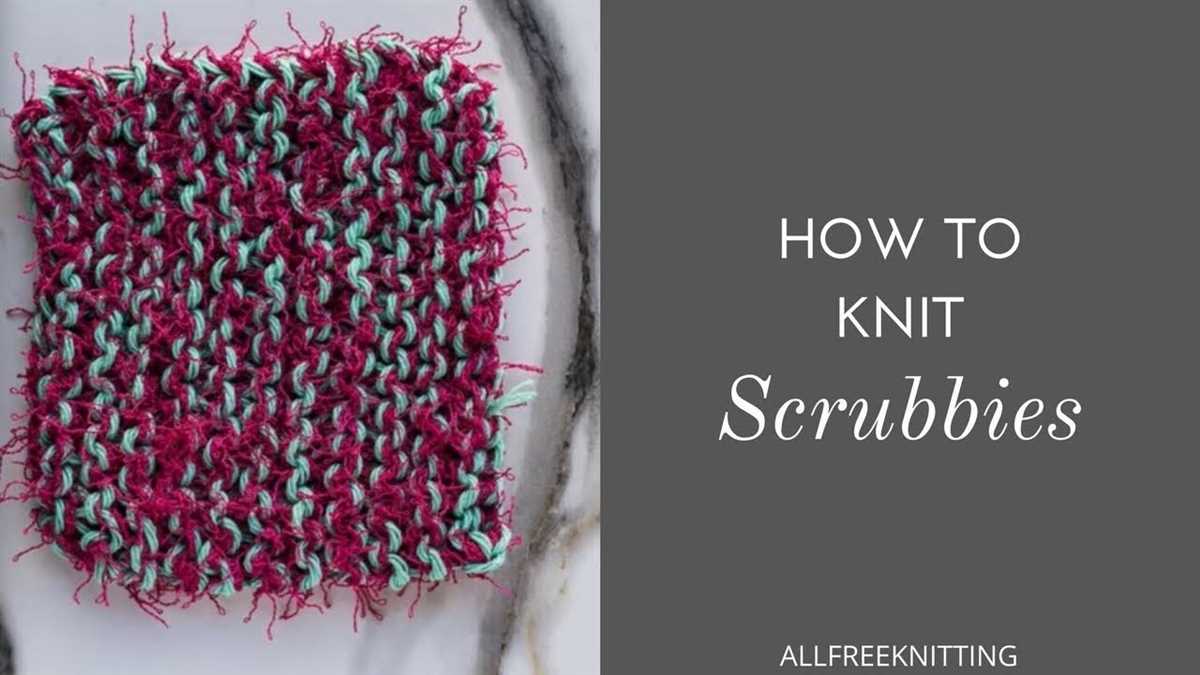
Step 3: Create Texture
For the next few rows, you’ll create the textured pattern that makes the scrubbie effective. To do this, alternate between knitting and purling stitches. For example, you could knit two stitches, purl two stitches, and continue this pattern until the end of the row. Repeat this pattern for the next few rows until you’re satisfied with the scrubbie’s texture.
Step 4: Knit the Last Row
After you have created the desired texture, knit every stitch across the last row of your scrubbie.
Step 5: Bind Off
To finish off your scrubbie, bind off the stitches. Cut the yarn, leaving a long tail, and thread it through the last stitch to secure it.
Step 6: Sew the Scrubbie
Using a tapestry needle, sew the sides of the scrubbie together. Make sure to leave an opening for stuffing.
Step 7: Stuff and Sew
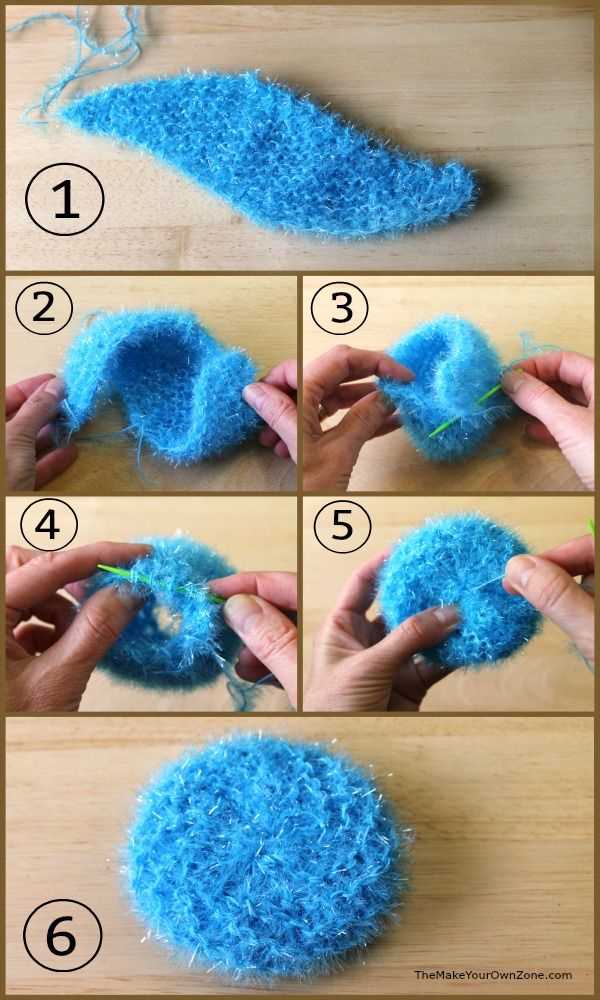
Fill the scrubbie with stuffing, such as cotton balls or leftover yarn scraps. Once filled to your desired level, sew the remaining opening closed.
And that’s it! You now have your own knitted scrubbie. These make great gifts or decorations for your kitchen and bathroom. Happy knitting!
Creating the Base
To create knitted scrubbies, you will first need to start by creating the base. The base is the foundation of the scrubbies and provides the structure for the rest of the project. To create the base, you will need to gather your knitting materials, including your preferred yarn and knitting needles.
Start by casting on the required number of stitches onto your knitting needle. This will vary depending on the size of the scrubbies you want to create. For a standard-sized scrubbie, you may cast on around 35 stitches. Make sure to keep your tension even to ensure a consistent base.
Once you have cast on the desired number of stitches, you can begin working on the base using the stitch pattern of your choice. Some popular stitch patterns for knitted scrubbies include garter stitch, seed stitch, or a simple knit stitch. The choice of stitch pattern will depend on your personal preference and the desired texture of the finished scrubbies.
Continue knitting in your chosen stitch pattern until the base reaches the desired size. This will typically be around 4-5 inches in diameter, but you can adjust it to your preference. Keep in mind that the base will shrink slightly as you proceed with the rest of the pattern, so it’s a good idea to make it slightly larger than your desired finished size.
Once you have reached the desired size for the base, you can bind off the stitches to secure the edges. This will complete the creation of the base for your knitted scrubbies. Now you can move on to the next step in the pattern, which may involve adding additional texture or embellishments to the scrubbies.
Adding Scrubbing Texture
When making knitted scrubbies, one important aspect to consider is the texture of the scrubbing surface. The texture is what helps in effectively cleaning various surfaces and removing stubborn stains. There are several ways to incorporate scrubbing texture into your knitted scrubbies, allowing them to be highly effective cleaning tools.
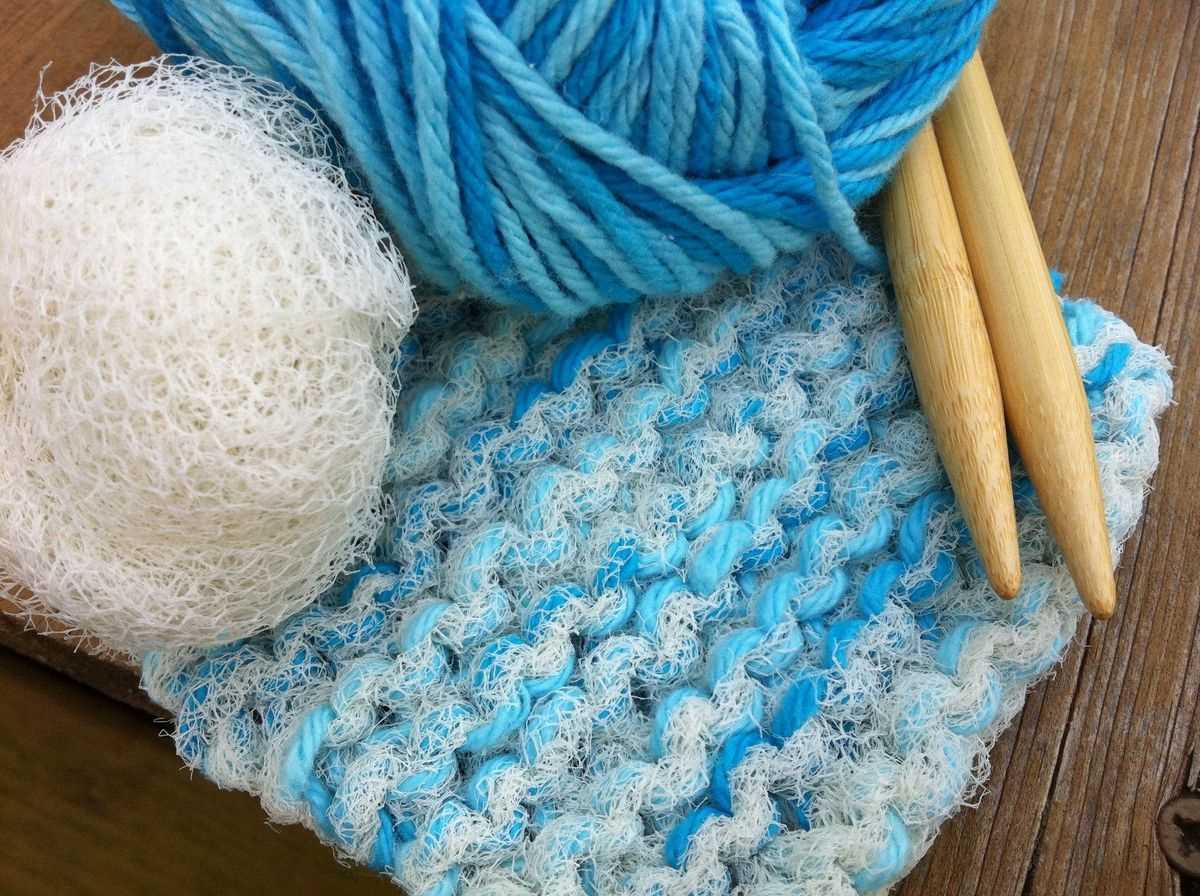
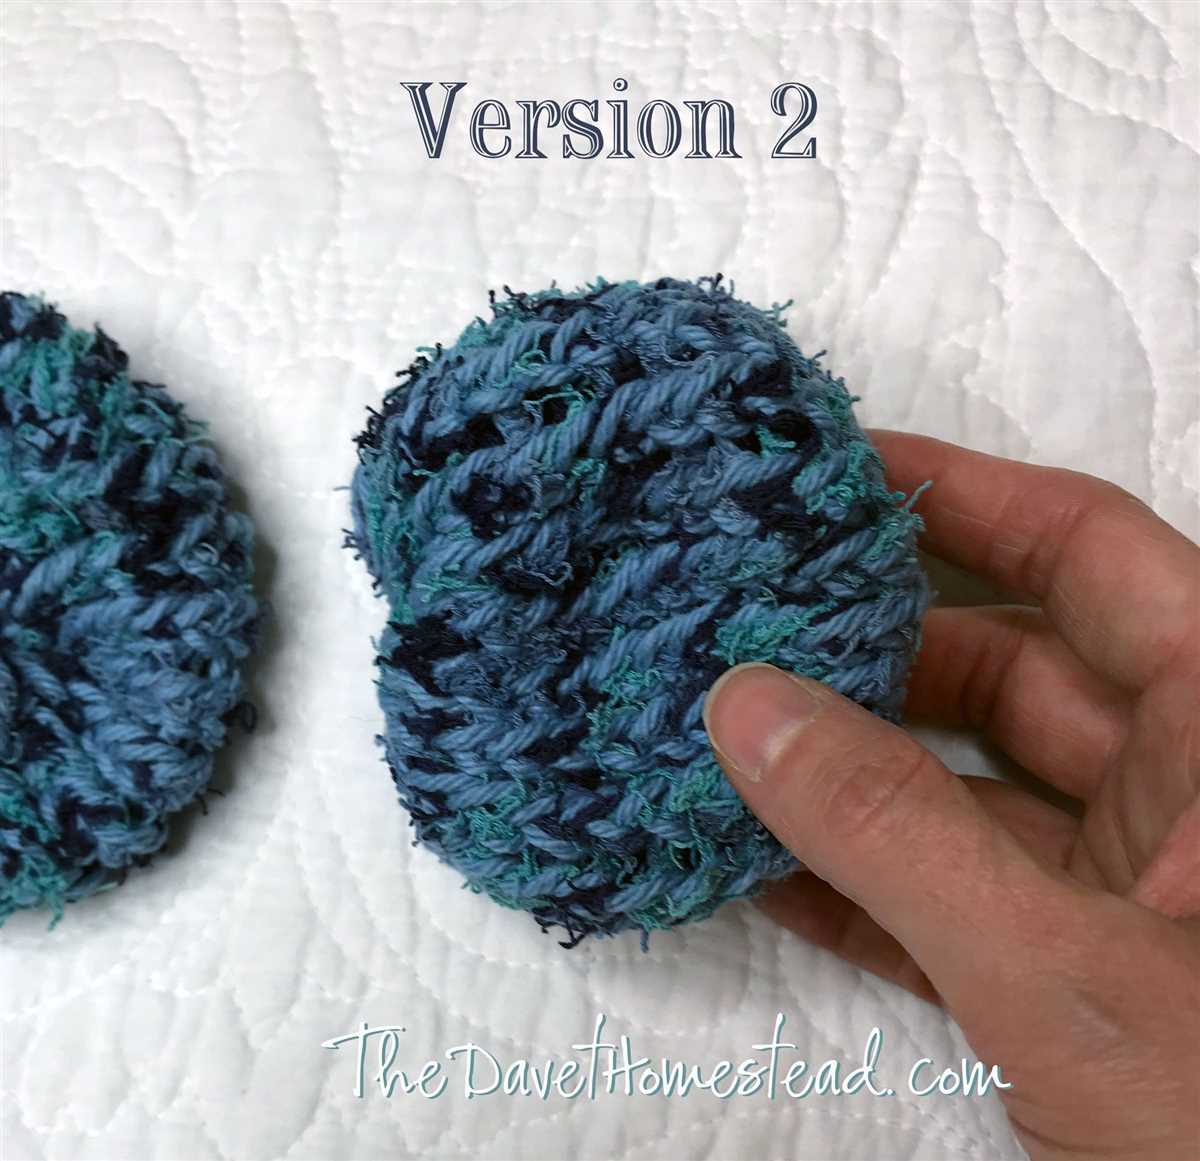
1. Using Scrubby Yarn
One of the easiest ways to create scrubbing texture is by using a yarn specifically designed for scrubbing purposes. Scrubby yarns are often made from nylon or polyester and have a textured surface that provides excellent scrubbing power. When knitting with scrubby yarn, the resulting scrubbies will have built-in texture, making them perfect for cleaning tasks.
2. Adding Raised Stitches
Another method to add scrubbing texture is by incorporating raised stitches into your knitting pattern. This can be achieved by knitting or purling stitches through the back loops, creating a raised ridge or bump on the surface of the fabric. These raised stitches will provide extra texture for scrubbing when the scrubbies are used.
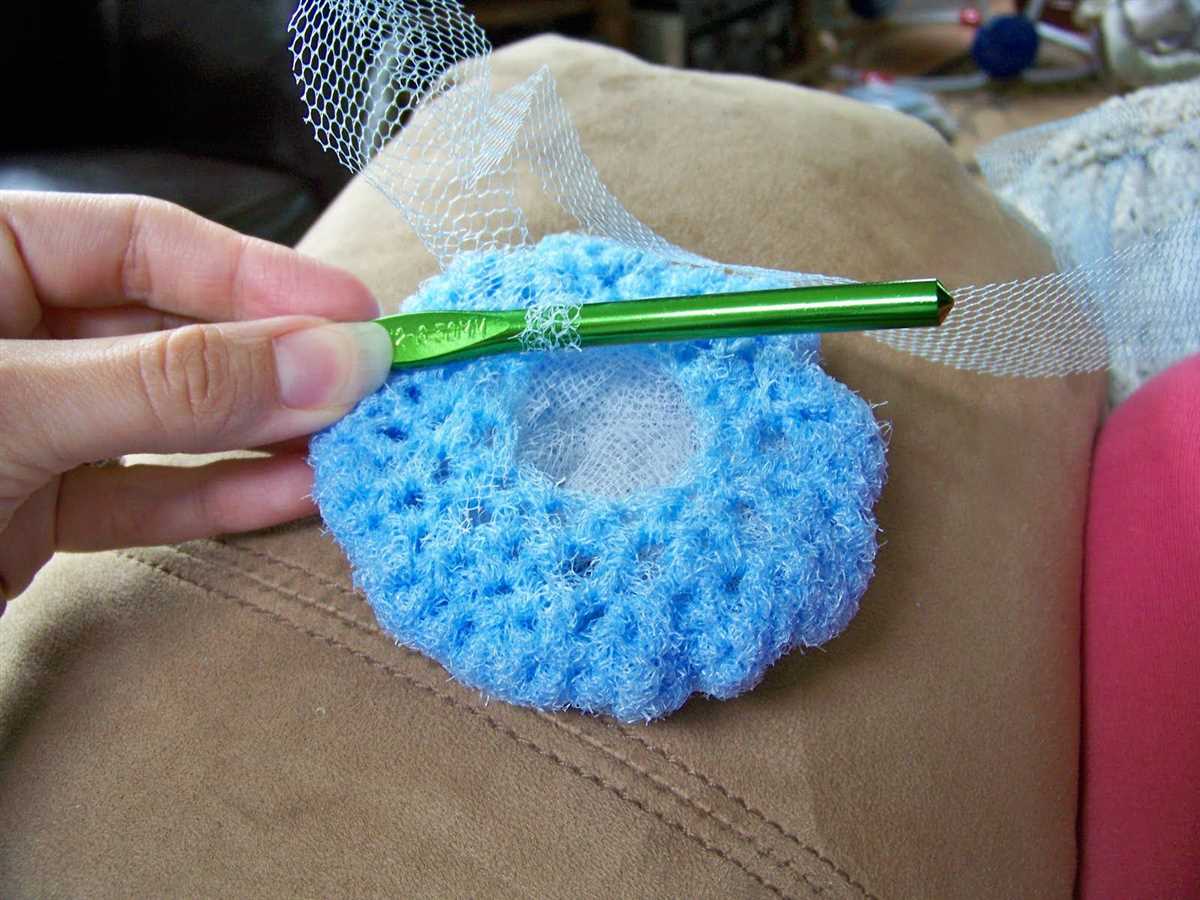
3. Including Scrubbing Pads
If you want to enhance the scrubbing power even further, you can incorporate scrubbing pads into your knitted scrubbies. These pads can be added by sewing them onto the surface of the scrubbies or by knitting them directly into the fabric. Scrubbing pads come in different materials such as mesh, tulle, or even recycled plastic netting, and they provide an extra layer of texture that is highly effective in cleaning.
4. Using Different Stitch Patterns
Varying the stitch pattern is another way to add scrubbing texture to your knitted scrubbies. For example, using a seed stitch or a basketweave stitch pattern creates a bumpy texture that can effectively scrub away dirt or grime. Experimenting with different stitch patterns and combinations can help you achieve the desired level of texture for your scrubbies.
Incorporating these techniques into your knitted scrubbies will ensure that they have the necessary scrubbing texture to tackle tough cleaning tasks. Whether you choose to use scrubby yarn, raised stitches, scrubbing pads, or different stitch patterns, the result will be a highly effective and durable cleaning tool.
Transitioning to a New Yarn Color
When knitting or crocheting, transitioning to a new yarn color can add a beautiful touch to your project. However, it’s important to do so in a seamless and smooth way. Here are a few tips to help you successfully transition to a new yarn color.
1. Prepare your new yarn
Before making the switch, make sure you have your new yarn color ready. It’s best to wind it into a center-pull ball or cake to prevent tangling. If your new yarn color has a different thickness or fiber content, consider making a gauge swatch to ensure your tension remains consistent throughout the transition.
2. Plan the transition point
Decide where you want to make the color change. This could be at the beginning of a row, in the middle of a row, or at a specific stitch. Mark this point with a stitch marker or tie a small piece of contrasting yarn to help you locate it easily when the time comes.
3. Begin the transition
When you reach the marked transition point, stop knitting or crocheting with the old yarn color. Take the new yarn color and tie a secure knot around the old yarn color, leaving a small tail of each color. This will anchor the new color in place.
4. Integrate the new yarn color
Next, start working with the new yarn color. Carry the tail of the old yarn color along the edge of your work, using it as part of your stitching. This will ensure the tail is secure and hidden. Continue working with the new yarn color as you normally would, whether that’s knitting, crocheting, or any other technique.
5. Weaving in ends
Once you’ve completely switched to the new yarn color and no longer need the old yarn color, you can weave in its loose ends. Use a yarn needle to carefully thread the tail through the stitches, going in different directions to prevent it from coming loose. Trim any excess yarn, making sure not to cut too close to your work.
By following these steps, you can smoothly transition to a new yarn color and create stunning visual effects in your knitting or crochet projects. Remember to practice and experiment with different color combinations to achieve the desired result.
Binding Off and Finishing
Once you have completed knitting your scrubbies, it is time to bind off and finish the edges. Binding off is the process of securing the stitches and creating a finished edge. To bind off, knit the first two stitches as normal. Then, using the left needle, lift the first stitch over the second stitch and off the right needle. Continue this process until you have one stitch remaining on the right needle. Cut the yarn, leaving a tail that is long enough to weave in later, and pull it through the last stitch to secure.
After binding off, you may notice that the edges of your scrubbies are curling. To prevent this, you can block your scrubbies. Wet your scrubbies with water and gently squeeze out the excess moisture. Lay them flat on a towel and shape them into the desired size and shape. Allow them to dry completely before using or storing.
If you prefer a neater finish, you can also add a crochet edge to your scrubbies. Using a crochet hook, create a slipknot and insert it into one of the stitches along the edge. Pull the yarn through the slipknot to create a loop. Then, insert the crochet hook into the next stitch and pull the yarn through both loops. Continue this process along the edge of your scrubbies, creating a single crochet stitch in each stitch. This will give your scrubbies a polished and decorative finish.
Once you have finished binding off and adding any desired finishing touches, make sure to weave in any loose ends of yarn. This will give your scrubbies a clean and professional look. To weave in the ends, thread the yarn tail onto a tapestry needle and carefully thread it through the stitches on the backside of the scrubbies. Trim any excess yarn, and your scrubbies are ready to use or give as gifts!
Tips for Customizing Your Scrubbies
When it comes to creating knitted scrubbies, there are endless possibilities for customization. Whether you want to change up the pattern, size, or materials, here are some tips to help you personalize your scrubbies:
1. Experiment with Different Stitch Patterns
Instead of sticking to a traditional garter stitch, try out different stitch patterns to create unique textures and designs. You can explore lace patterns, cables, or even colorwork to add visual interest to your scrubbies.
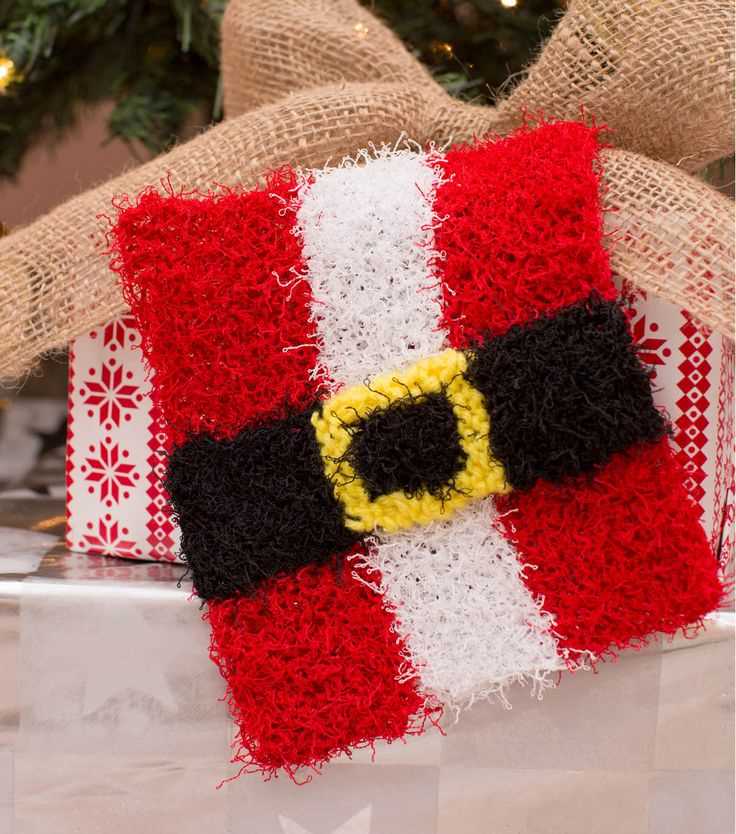
2. Play with Colors
Don’t be afraid to experiment with different color combinations. You can use variegated or self-striping yarns to achieve a fun and vibrant look. Alternatively, you can create color-blocked scrubbies by using multiple colors in your knitting.
3. Adjust the Size
If you prefer larger or smaller scrubbies, you can easily adjust the size. Simply increase or decrease the number of stitches and rows in your pattern to achieve the desired dimensions. Keep in mind that larger scrubbies may require more yarn.
4. Use Different Materials
While cotton yarn is a popular choice for scrubbies due to its absorbency, you can also experiment with other materials. Acrylic yarn can provide a softer scrubbing surface, while nylon yarn can be more durable. Be sure to choose materials that can withstand repeated use and frequent washing.
5. Add Embellishments
To further personalize your scrubbies, consider adding embellishments such as buttons, ribbons, or crochet edging. These small details can make your scrubbies even more unique and decorative.
Remember, the key to customizing your scrubbies is to have fun and let your creativity shine. Don’t be afraid to think outside the box and try new techniques. With these tips, you’ll be able to create one-of-a-kind scrubbies that are both functional and beautiful.
Care and Cleaning for Knitted Scrubbies
Knitted scrubbies are a great addition to your kitchen or bathroom, helping you easily clean tough stains and dirt. To keep your scrubbies in good condition and ensure their longevity, proper care and cleaning is essential. Here are some tips to help you maintain your knitted scrubbies:
1. Handwashing or Machine Wash
Most knitted scrubbies can be easily cleaned by handwashing or machine washing. Always check the care instructions provided with the yarn you used for your scrubbies. If the yarn allows, you can simply wash your scrubbies in warm water with mild detergent. Gently squeeze out the excess water and lay them flat to dry.
2. Air Dry
Avoid tumble drying your knitted scrubbies as the heat can damage the fibers and cause them to lose their shape. Instead, let them air dry naturally by laying them flat on a clean towel or hanging them up in a well-ventilated area.
3. Storing
To prevent your scrubbies from getting tangled or losing their shape, it’s best to store them in a dry and clean place. You can fold them neatly and place them in a drawer or hang them up using a clothespin. Avoid storing them in damp areas, as this can promote mold and mildew growth.
4. Regular Inspection
Periodically inspect your knitted scrubbies for any signs of wear and tear. If you notice any loose threads or weak spots, mend them immediately to prevent further damage. It’s also a good idea to replace your scrubbies if they become too worn out or lose their effectiveness.
Conclusion
Knitted scrubbies are practical and eco-friendly cleaning tools that can be used in various areas of your home. By following these care and cleaning tips, you can ensure that your scrubbies stay in good condition and continue to provide effective cleaning for a long time. Remember to wash them regularly, air dry them, and store them properly to maintain their quality. With proper care, your knitted scrubbies will continue to be a useful and sustainable addition to your cleaning routine.