
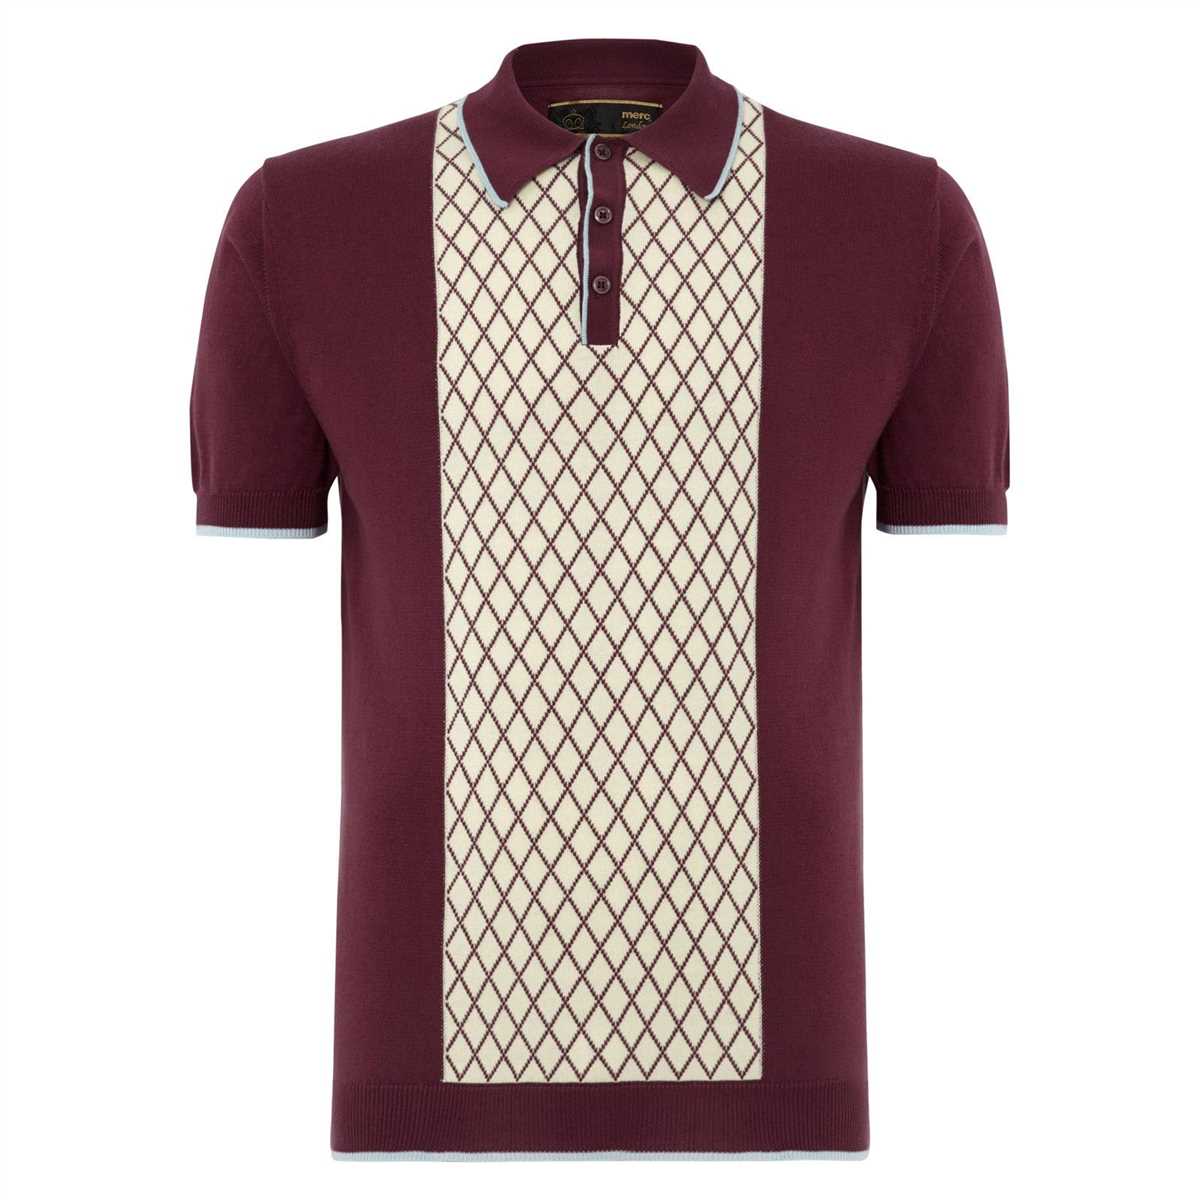
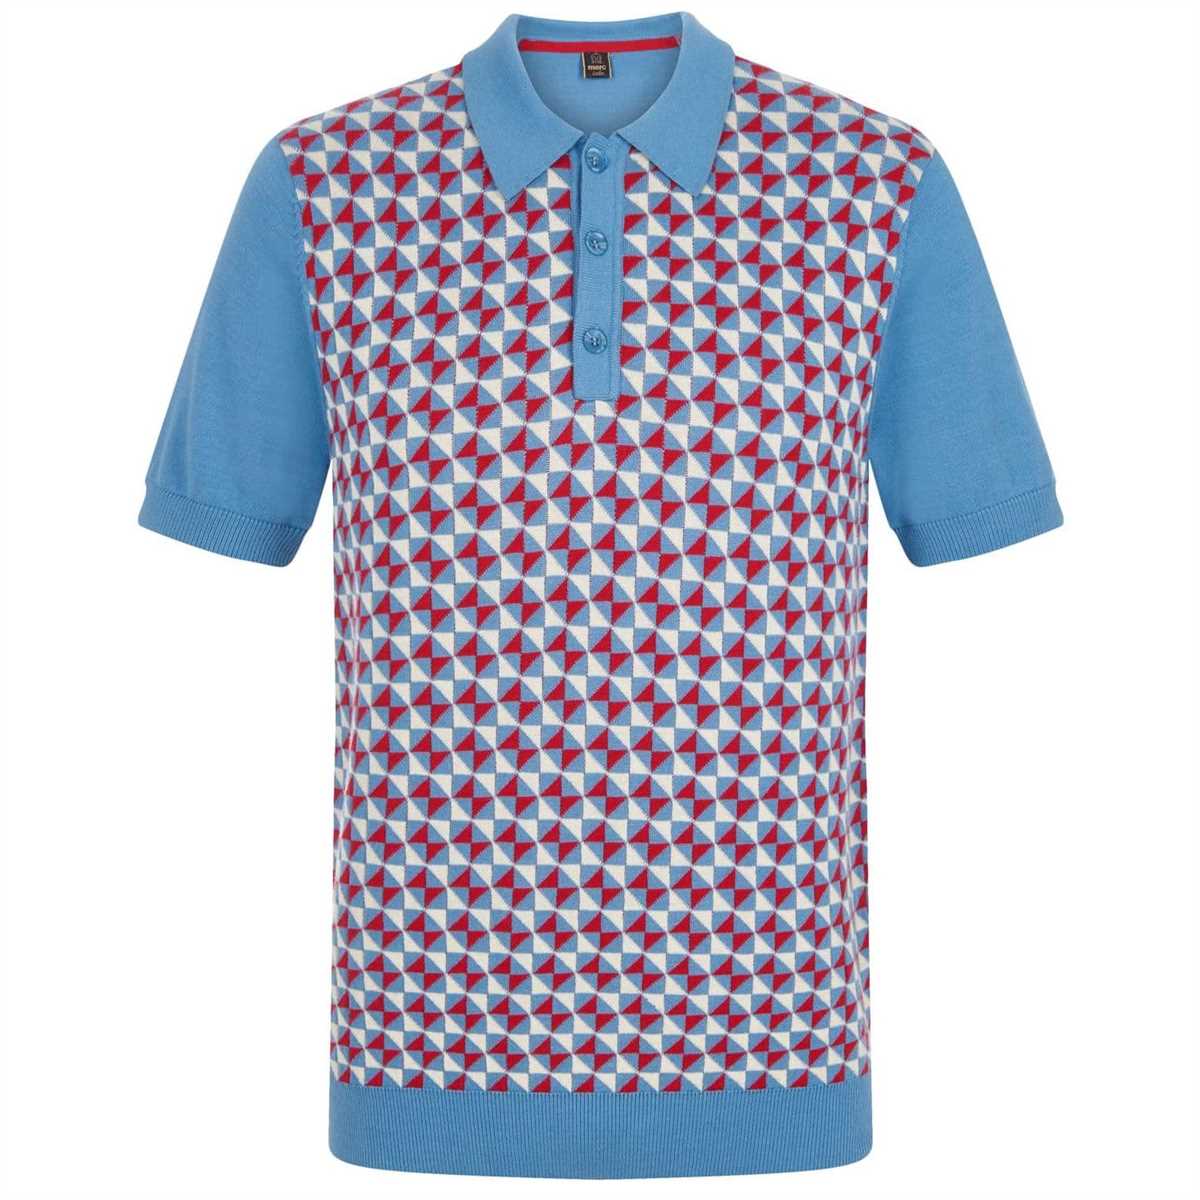
A knitted polo shirt is a versatile and stylish addition to any wardrobe. Whether you’re dressing up for a special occasion or just want to look effortlessly chic, a knitted polo shirt can be the perfect choice. Knitted polo shirts are comfortable, breathable, and can be customized to suit your personal style. Whether you prefer a classic design or want to experiment with color and pattern, knitting your own polo shirt allows you to create a unique garment that fits you perfectly.
Knitting a polo shirt may seem like a daunting task, but with the right pattern and a little practice, it can be a rewarding project for knitters of all skill levels. The key to a successful knitted polo shirt is choosing the right yarn and needles. Look for a yarn that is lightweight and has good drape, such as cotton or a blend of cotton and bamboo. This will ensure that your polo shirt is comfortable to wear and has a polished, professional look.
When it comes to the pattern, there are many options to choose from. You can find free patterns online or invest in a knitting book that includes polo shirt designs. Look for a pattern that matches your skill level and includes clear instructions and diagrams. Some patterns may also include options for customizing the length, sleeve style, and collar design, allowing you to create a truly unique garment.
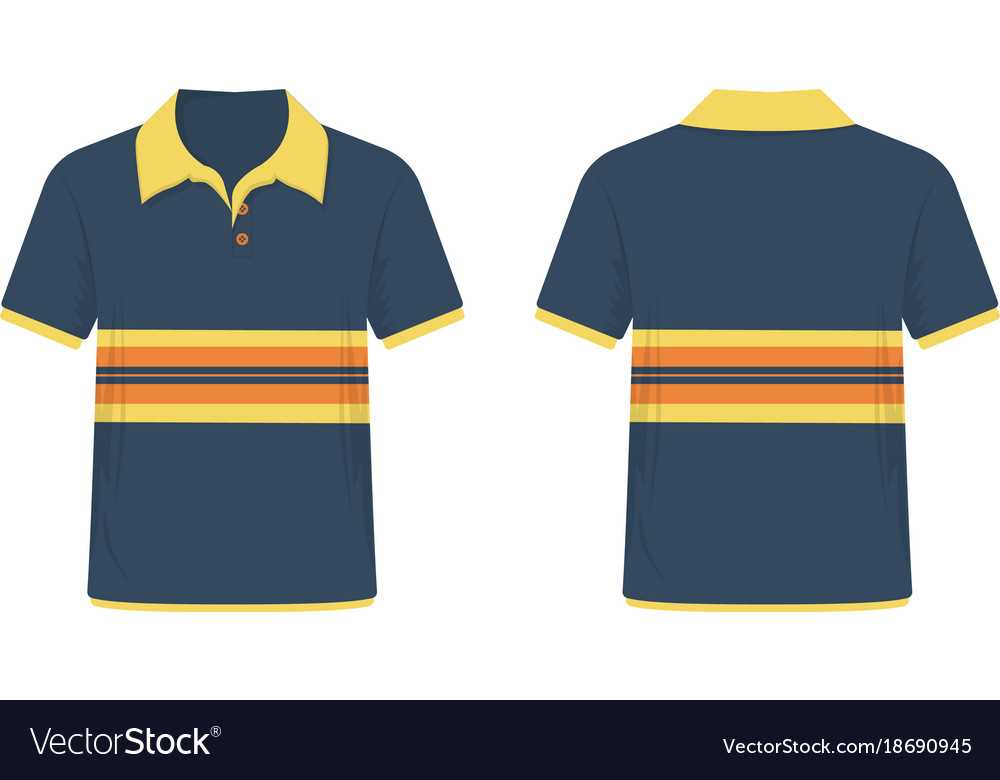
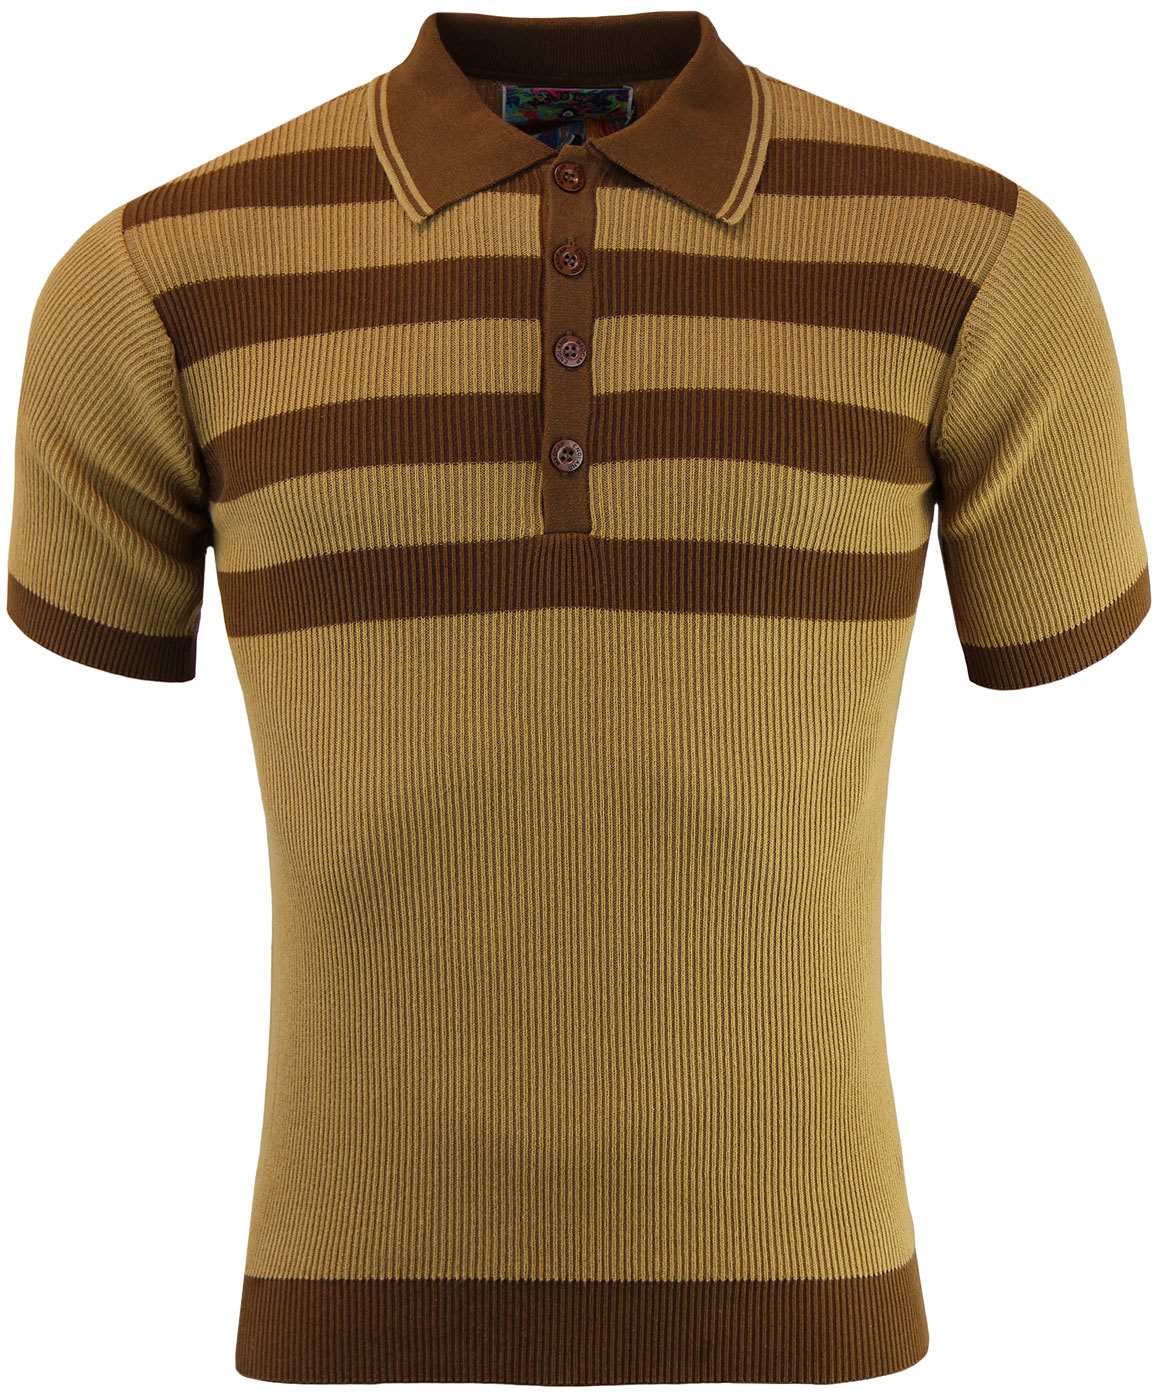
Knitted Polo Shirt Pattern
A knitted polo shirt is a classic wardrobe staple that can be worn for various occasions. Whether you are looking to dress up or dress down, a knitted polo shirt pattern is a versatile and stylish choice. This pattern allows you to create a polo shirt with a knitted fabric, giving it a unique texture and look.
To create a knitted polo shirt, you will need a few basic knitting skills and knowledge of different stitches. The pattern typically starts with knitting the collar and then continues with the body of the shirt. You can choose the length of the sleeves based on your preference, whether you want them to be short or long.
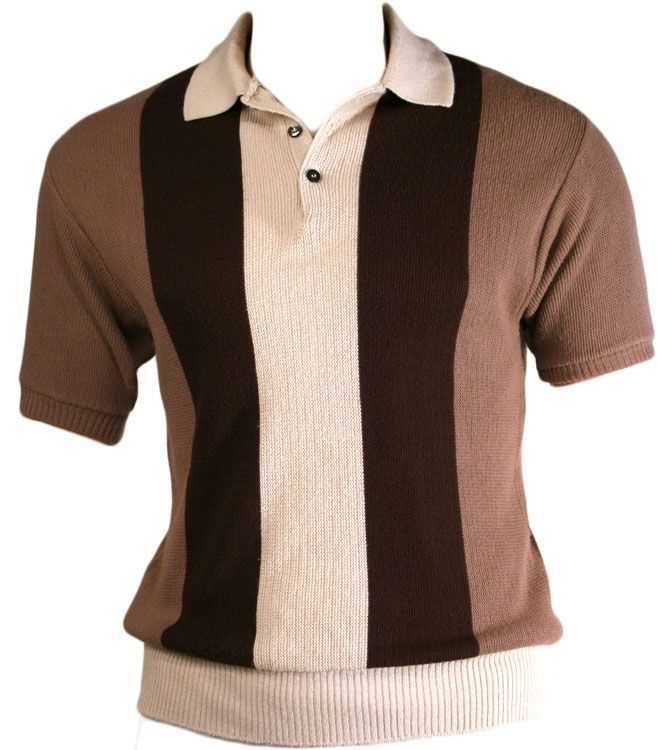
One of the key features of a knitted polo shirt pattern is the use of ribbing for the collar and cuffs. Ribbing creates a stretchy and fitted appearance, making the shirt comfortable to wear. You can also add buttons to the front of the shirt to give it a classic polo shirt look.
When choosing a yarn for your knitted polo shirt, it is important to consider the type of fabric you want to create. A lightweight and breathable yarn, such as cotton or linen, is often preferred for summer months, while a thicker yarn, like wool or acrylic, can provide warmth for colder seasons.
In conclusion, a knitted polo shirt pattern allows you to create a stylish and comfortable shirt that can be customized to your liking. With a variety of options for yarn, sleeve length, and collar style, you can make a polo shirt that is perfect for any occasion.
Materials to gather
Before starting to knit a polo shirt, it is important to gather all the necessary materials. Here is a list of items you will need:
- Yarn: Choose a suitable yarn for your project. It is recommended to use a medium-weight yarn, such as DK or worsted weight, that will provide a good balance of warmth and drape for the polo shirt.
- Knitting needles: Select the appropriate size of knitting needles based on the gauge specified in the pattern. Circular or straight needles can be used, depending on your preference.
- Tapestry needles: These needles are used for weaving in loose ends and seaming the different pieces of the polo shirt together.
- Stitch markers: These small, removable markers help to keep track of stitch patterns or section changes throughout the knitting process.
- Scissors: A pair of sharp scissors is essential for cutting the yarn and trimming any excess.
- Measuring tape: Use a measuring tape to check your gauge and ensure the final measurements of the polo shirt are accurate.
- Buttons: If the pattern calls for buttons, make sure to have the required number and size of buttons ready.
- Polo shirt pattern: Obtain a copy of the polo shirt pattern you wish to knit. This pattern will provide you with the instructions and stitch details necessary to complete the project.
Gathering all these materials before starting your knitting project will ensure that you have everything you need within reach, making the knitting process smoother and more enjoyable.
Choosing the right yarn

When it comes to knitting a polo shirt, choosing the right yarn is essential for achieving the desired result. The yarn you use will greatly impact the look, feel, and durability of the finished garment. Therefore, it is important to consider several factors when selecting the perfect yarn for your project.
Fiber Content

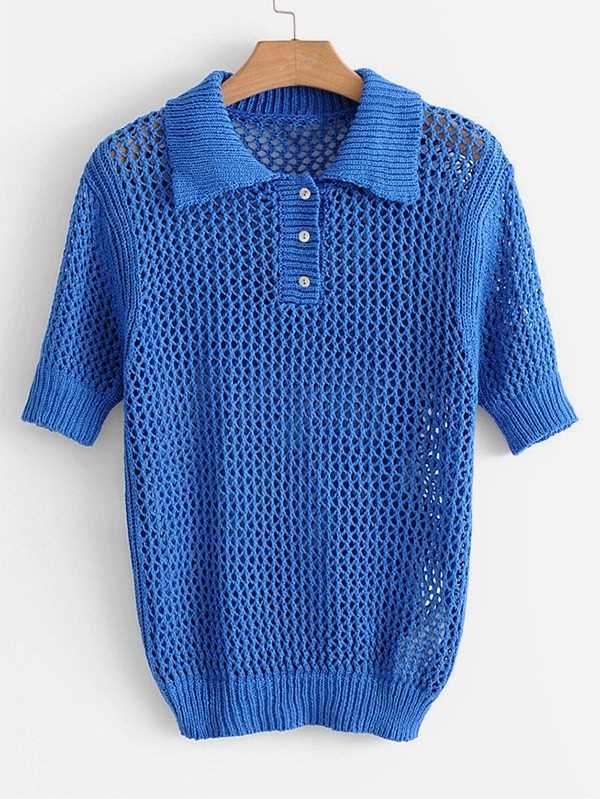
The first factor to consider is the fiber content of the yarn. Different fibers have different properties and characteristics, which will affect the drape, elasticity, and breathability of the knitted fabric. For a knitted polo shirt, it is recommended to use yarns that have a high percentage of natural fibers, such as cotton or linen. These fibers are lightweight, moisture-wicking, and breathable, making them ideal for creating comfortable and stylish summer garments.
Weight and Gauge
The weight of the yarn and the gauge it creates are also important considerations. The weight of the yarn will determine the thickness and heaviness of the fabric, while the gauge will determine the size and fit of the polo shirt. For a knitted polo shirt, a medium weight yarn (also known as DK or light worsted) is generally suitable. This weight will create a fabric that is not too heavy or bulky, while still providing enough coverage and structure for a polo shirt. Additionally, it is important to choose a yarn that matches the recommended gauge in the pattern to ensure proper sizing and fit.
Color and Texture
The color and texture of the yarn are also important considerations when choosing yarn for a knitted polo shirt. The color should complement the style and design of the shirt, whether you prefer a classic solid color or a more vibrant, variegated look. Additionally, the texture of the yarn can add visual interest and dimension to the fabric. For a classic polo shirt, a smooth and even-textured yarn is generally preferred.
By considering these factors and choosing the right yarn, you can ensure that your knitted polo shirt turns out just the way you envisioned – stylish, comfortable, and durable.
Selecting the appropriate needle size
When knitting a polo shirt, one of the essential factors to consider is the needle size. The needle size you choose will directly affect the gauge, drape, and fit of your finished garment. It is crucial to select the appropriate needle size to achieve the desired results.
The recommended needle size for knitting a polo shirt pattern is typically indicated in the pattern instructions. However, it is important to note that everyone’s knitting tension can vary, so it’s wise to make a gauge swatch before starting your project. A gauge swatch allows you to determine your knitting tension and adjust your needle size accordingly.
How to choose the right needle size?

To choose the right needle size, start by referring to the pattern instructions. The pattern may specify a specific needle size or a range of recommended sizes. Consider the yarn weight, stitch pattern, and desired fabric drape when making your selection.
If you are unsure which needle size to use, it is generally better to go with a smaller size rather than a larger one. Using a smaller needle size will result in a tighter gauge, which is easier to adjust by knitting more loosely. Additionally, a tighter gauge will create a fabric with more stability and less drape, which can be desirable for a polo shirt.
Remember, the needle size you choose is not set in stone. If you find that your fabric is too loose or too tight after making your gauge swatch, don’t hesitate to try a different needle size. The goal is to achieve the correct gauge and fabric drapability for your polo shirt, so be open to making adjustments as needed.
Understanding the Gauge
The gauge is an essential aspect of any knitting project, including a knitted polo shirt. It determines the size and fit of the final garment, as well as the amount of yarn required. Understanding the gauge is crucial to achieving the desired results.
Definition: The gauge refers to the number of stitches and rows per inch in a knitted fabric. It is typically measured using a gauge swatch, which is a small sample of the pattern worked in the chosen yarn and needles.
Importance of Gauge:
When knitting a polo shirt or any other garment, following the recommended gauge is crucial for achieving the proper fit and size. If the gauge is too loose, the fabric will be too large, and the finished piece will not fit correctly. On the other hand, if the gauge is too tight, the fabric will be too small, resulting in a garment that is too tight and uncomfortable to wear.
Knowing the gauge is also essential for accurately calculating the amount of yarn needed for the project. Different gauges require varying amounts of yarn, so it is important to match the gauge specified in the pattern to ensure that you have enough yarn to complete the project.
Measuring Gauge:
To measure the gauge, start by knitting a swatch using the specified needles and yarn. The swatch should be large enough to measure at least 4×4 inches. Once the swatch is complete, lay it flat and measure the number of stitches and rows within the 4×4 inch area.
Calculating: To determine the gauge, divide the number of stitches or rows measured by 4. For example, if there are 20 stitches in 4 inches, the gauge would be 5 stitches per inch. Repeat this process for both the stitch and row measurements.
Adjusting Gauge:
If your measured gauge does not match the gauge specified in the pattern, you will need to adjust it. To achieve a looser gauge, try using larger needles. Conversely, to achieve a tighter gauge, switch to smaller needles. Keep in mind that changing the gauge may also affect the drape and overall appearance of the fabric.
- Note: It is important to wash and block the gauge swatch before measuring. Washing and blocking can affect the gauge, so it is essential to replicate the final conditions in which the finished garment will be worn.
Understanding and accurately measuring the gauge will ensure that your knitted polo shirt fits well and meets your expectations. Take the time to swatch and measure your gauge, and don’t be afraid to make adjustments as needed to achieve the desired result.
Casting on and creating ribbing
When starting your knitted polo shirt, it is important to cast on the correct number of stitches to achieve the desired size and fit. The specific pattern you are using should indicate the number of stitches to cast on, as well as the type of cast on method to use. One common cast on method for ribbing is the long-tail cast on, which creates a neat and flexible edge.
To begin the long-tail cast on, you will need to estimate the amount of yarn needed for each stitch. This can be done by measuring a length of yarn that is roughly three times the width of your finished ribbing, plus a bit extra for the tail. With your yarn and needles in hand, create a slipknot and place it on your needle.
Now, hold the slipknot with your thumb and index finger, leaving the tail end of the yarn hanging down. Wrap the working yarn (the portion connected to the ball) around your thumb and the tail yarn around your index finger. Position your needle under the loop of the working yarn, then go over the loop of the tail yarn. With your needle, draw the working yarn through the loop of the tail yarn, creating a new loop on your needle.
Repeat this process for the desired number of stitches, making sure to maintain consistent tension as you go. Once you have cast on all the stitches, you are ready to begin creating the ribbing for your polo shirt. Ribbing is typically done using a combination of knit and purl stitches, which creates a stretchy and textured fabric.
To create ribbing, you will alternate between knitting and purling stitches in a specific pattern. The most common ribbing pattern is a 1×1 rib, which means you knit one stitch, then purl one stitch, and repeat this sequence across the row. This pattern creates a nice, tight fabric that is commonly used for cuffs, hems, and necklines.
As you work your ribbing, be sure to follow the specific pattern instructions for the desired length and number of rows. Once you have completed the ribbing section, you can then move on to the main body of your knitted polo shirt.
Knitting the body of the polo shirt
When knitting the body of a polo shirt, it is important to start by casting on the desired number of stitches. This will depend on the size of the shirt and the gauge of your knitting. The cast-on edge will form the bottom hem of the shirt.
Once the stitches are cast on, you can begin working the body of the polo shirt in the desired stitch pattern. This can be a simple stockinette stitch or a more intricate pattern, depending on your preference. It is important to maintain an even tension throughout the knitting to ensure a neat and professional finish.
If the polo shirt is meant to have shaping, such as waist shaping or bust darts, these can be incorporated into the knitting. This is done by increasing or decreasing stitches at specific points in the pattern. It is important to follow the instructions for shaping carefully to ensure the desired fit.
As you work your way up the body of the polo shirt, you will need to create openings for the collar and the button placket. These can be created by binding off a certain number of stitches in the appropriate places. The exact instructions for creating these openings will depend on the specific pattern you are following.
Once the body of the polo shirt is complete, you can finish off the edges by knitting ribbing or another suitable edging. This will help to give the shirt a polished and professional look. After finishing the body, the next step will be to knit the sleeves and collar of the polo shirt before assembling the pieces together to complete the garment.
Creating the collar
In order to create a knitted polo shirt with a collar, you will need to follow a specific pattern and use the right techniques. The collar is a key element of the polo shirt design, adding a stylish and polished touch to the garment. Here are the steps to create the collar for your knitted polo shirt:
1. Cast on stitches

Start by casting on the required number of stitches for the collar. The number of stitches will depend on the size of your polo shirt and the desired width of the collar. Make sure to use a stretchy cast-on method to ensure a comfortable fit around the neck.
2. Knit in rib stitch

Once you have cast on the stitches, begin knitting in a rib stitch pattern. This will give the collar a stretchy and flexible texture. The most common rib stitch pattern for collars is k1, p1, repeating this sequence until you reach the desired length of the collar. Keep in mind that the length of the collar will depend on your personal preferences and the design of the polo shirt.
3. Shape the collar
To shape the collar and create a fold, you will need to decrease stitches gradually. This can be done by knitting two stitches together at regular intervals. The frequency of the decreases will depend on the width of your collar and the desired shape. Make sure to evenly distribute the decreases to maintain a symmetric look.
4. Finish the collar

Finally, when you have reached the desired length and shape of the collar, bind off the stitches to secure the edge. You can use a basic bind-off method or experiment with a decorative edge, such as a picot bind-off, to add an extra touch of style. Once the collar is finished, it can be attached to the neckline of the polo shirt using a sewing technique or by picking up stitches along the edge of the neckline.
- Tip: When creating the collar, it is important to pay attention to tension and gauge to ensure a professional finish. Experiment with different yarns and needle sizes to achieve the desired texture and fit.
- Note: This is a general guide for creating the collar of a knitted polo shirt. It is always recommended to consult a specific pattern or tutorial for detailed instructions tailored to your project.
Adding buttonholes and buttons
Once you have successfully knitted the polo shirt and finished all the necessary steps, it’s time to add buttonholes and buttons to your garment. Buttonholes and buttons not only serve a functional purpose but also add a decorative element to the finished piece.
Creating Buttonholes: To create buttonholes, you will need to determine the placement and size of the buttonholes on your polo shirt. Mark the desired positions for the buttonholes using stitch markers or pins. You can make vertical or horizontal buttonholes depending on your preference and the design of the shirt. Once you have marked the positions, carefully cut a small slit in the fabric using scissors or a yarn cutter. Make sure to reinforce the edges of the buttonhole with a few additional stitches to prevent fraying.
Attaching Buttons: After creating the buttonholes, it’s time to attach the buttons. Select buttons that match the style and size of the buttonholes. Thread a needle with a matching yarn or thread and tie a knot at the end. Insert the needle from the wrong side of the fabric through one of the buttonholes, then through one of the holes of the button, and back through the fabric. Repeat this process several times to securely attach the button. When all the buttons are attached, make a final knot on the wrong side of the fabric to secure the thread.
Adding buttonholes and buttons is the final step in completing your knitted polo shirt pattern. The buttonholes allow you to fasten the shirt and the buttons add a stylish touch. Take your time and be careful when cutting the buttonholes to ensure they are neat and tidy. Experiment with different button placement options and styles to achieve the desired look for your shirt. Once the buttons are attached, you can proudly wear your handmade knitted polo shirt.
Finishing touches: sewing seams and weaving in ends
Once you have completed knitting your polo shirt using the pattern, it’s time to give it the finishing touches. This includes sewing the seams together and weaving in any loose ends. These final steps are crucial for ensuring a polished and professional-looking finished garment.
To begin, lay the knitted pieces flat on a table or surface, making sure they are aligned correctly according to the pattern’s instructions. Use a tapestry needle and matching yarn to sew the seams together. Start by aligning the edges of the pieces and inserting the needle from the wrong side to the right side, taking care to catch both layers of fabric. Use a whip stitch or mattress stitch to sew the seams, ensuring a secure and tidy finish.
Next, it’s time to weave in any loose ends. This is an important step to prevent unraveling and to give your polo shirt a clean and polished appearance. Thread the loose end onto a tapestry needle and weave it in and out of the knitted stitches along the back of the fabric. Take care to avoid distorting the fabric or creating lumps. Once the end is woven in securely, trim any excess yarn.
For a professional-looking finish, take the time to press your knitted polo shirt using a steam iron and a pressing cloth. This will help to even out any stitches and give the fabric a smooth and polished appearance.
By paying attention to these finishing touches, you can ensure that your knitted polo shirt looks just as good as it feels when you wear it.
Caring for and Blocking Your Knitted Polo Shirt
Proper care and blocking are essential for maintaining the shape and condition of your knitted polo shirt. Follow these guidelines to ensure your garment stays in great shape for years to come:
1. Hand wash gently: Knitted garments are delicate and should be hand washed to prevent damage. Fill a basin with lukewarm water and add a gentle detergent specifically designed for wool or delicate fabrics. Soak the polo shirt for about 10-15 minutes, gently swishing the water around to remove any dirt or residue. Rinse with cold water until all the soap is gone.
2. Do not wring or twist: After rinsing, gently squeeze out excess water without twisting or wringing the fabric. Twisting can cause the polo shirt to lose shape and stretch unevenly. Instead, press the garment gently between two towels to remove excess water.
3. Blocking: To shape your knitted polo shirt, lay it flat on a clean towel or blocking mat. Use rust-proof pins to secure the edges and corners, gently stretching the fabric to the desired dimensions. Allow the garment to dry completely in this shape, which can take anywhere from a few hours to a day or two depending on the humidity and thickness of the yarn.
4. Store properly: When not in use, store your knitted polo shirt folded neatly in a drawer or on a shelf. Avoid hanging it, as the weight of the fabric and gravity can cause stretching and distortion over time.
5. Repair any damages: Regularly check your polo shirt for any loose stitches or snags. If you spot any, repair them promptly to prevent further damage and ensure the longevity of your garment.
By following these care and blocking tips, your knitted polo shirt will continue to look great and feel cozy for many seasons to come.