
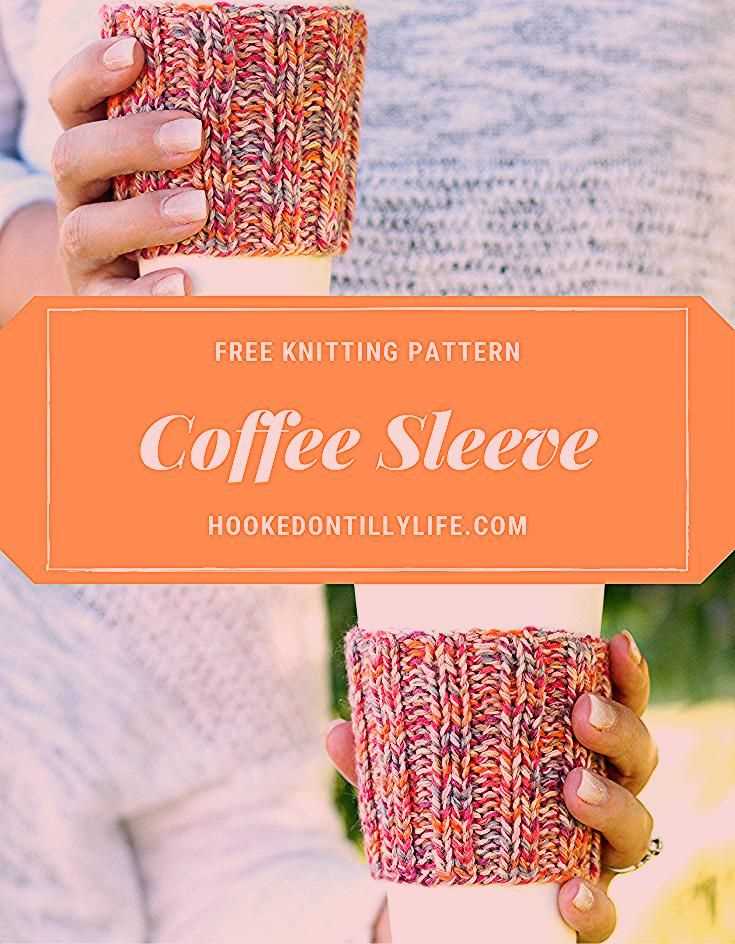
If you’re a coffee lover who enjoys a hot cup of brew on the go, you’ll definitely appreciate the beauty and functionality of a knitted coffee mug sleeve. Not only does it keep your hands cool while holding a steaming cup, but it also adds a touch of personal style to your coffee experience. Plus, it’s an eco-friendly alternative to disposable cardboard sleeves.
Creating your own knitted coffee mug sleeve is a great way to showcase your knitting skills and experiment with different stitch patterns and yarns. Whether you prefer a simple, classic design or something more intricate and eye-catching, there’s a pattern out there to suit your style. The best part is that these sleeve patterns are relatively quick and easy to make, so you can have a new cozy for your favorite mug in no time.
In this article, we’ll explore different knitted coffee mug sleeve patterns, from basic ribbed designs to more intricate cables and lace patterns. We’ll also provide step-by-step instructions and tips for customizing your sleeve to fit any size or style of mug. So grab your knitting needles and get ready to create a cozy accessory that will make your daily coffee routine even more enjoyable!
Knitted Coffee Mug Sleeve Pattern
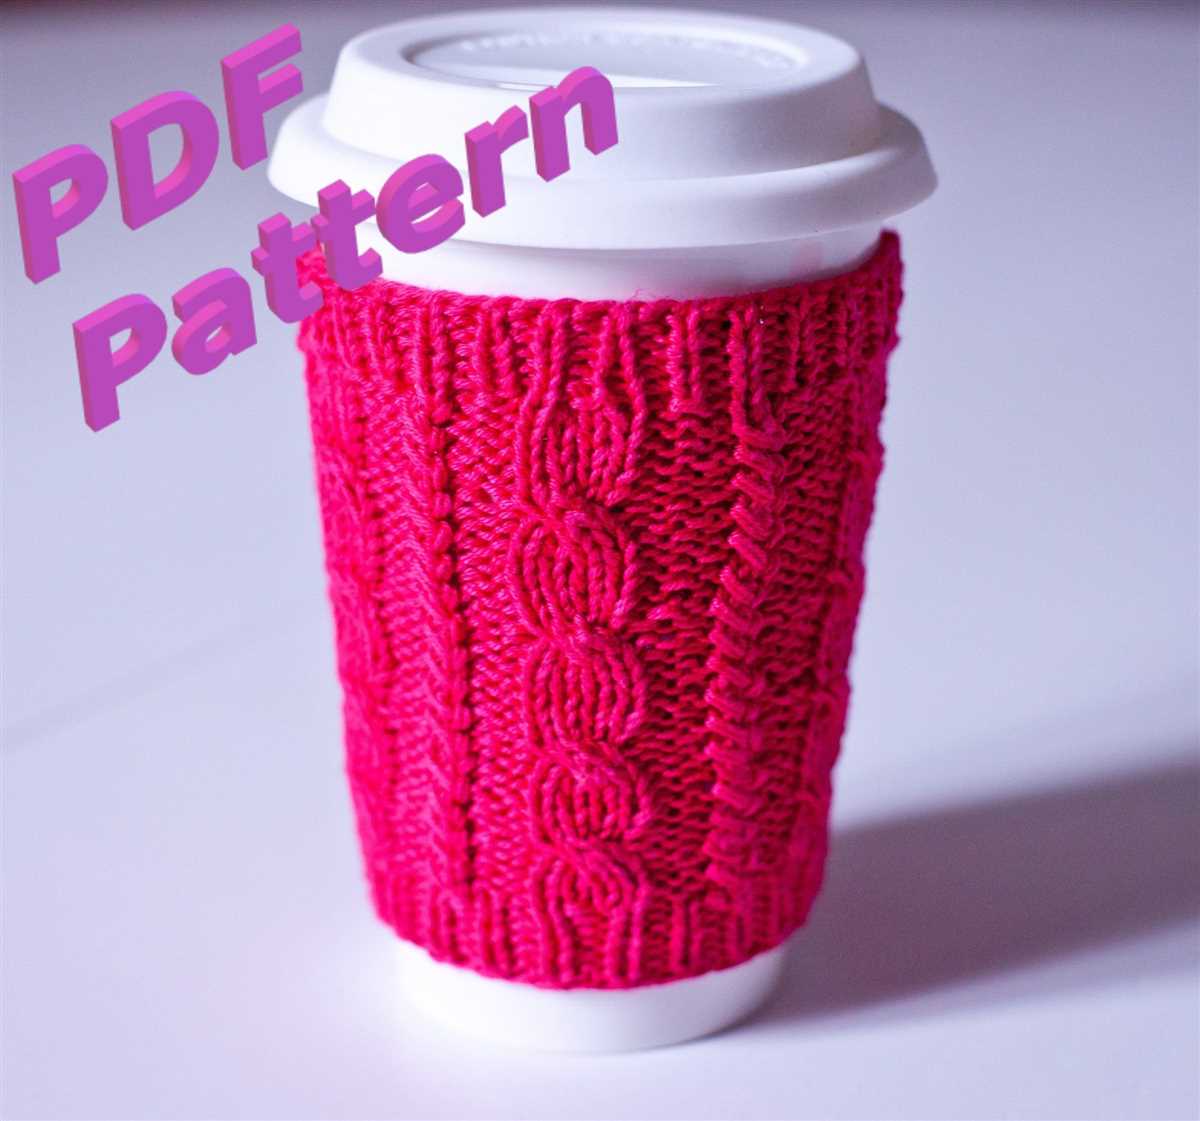
Are you tired of burning your hands while holding a hot cup of coffee? Look no further! With this knitted coffee mug sleeve pattern, you can protect your hands while sipping on your favorite beverage. This cozy sleeve is not only functional but also adds a touch of style to your morning routine.
To begin, gather your materials – you will need a set of knitting needles, a ball of yarn in your preferred color, and a tapestry needle. Start by casting on the desired number of stitches, depending on the size of your coffee mug. The sleeve should fit snugly around the mug, so make sure to measure the circumference before casting on.
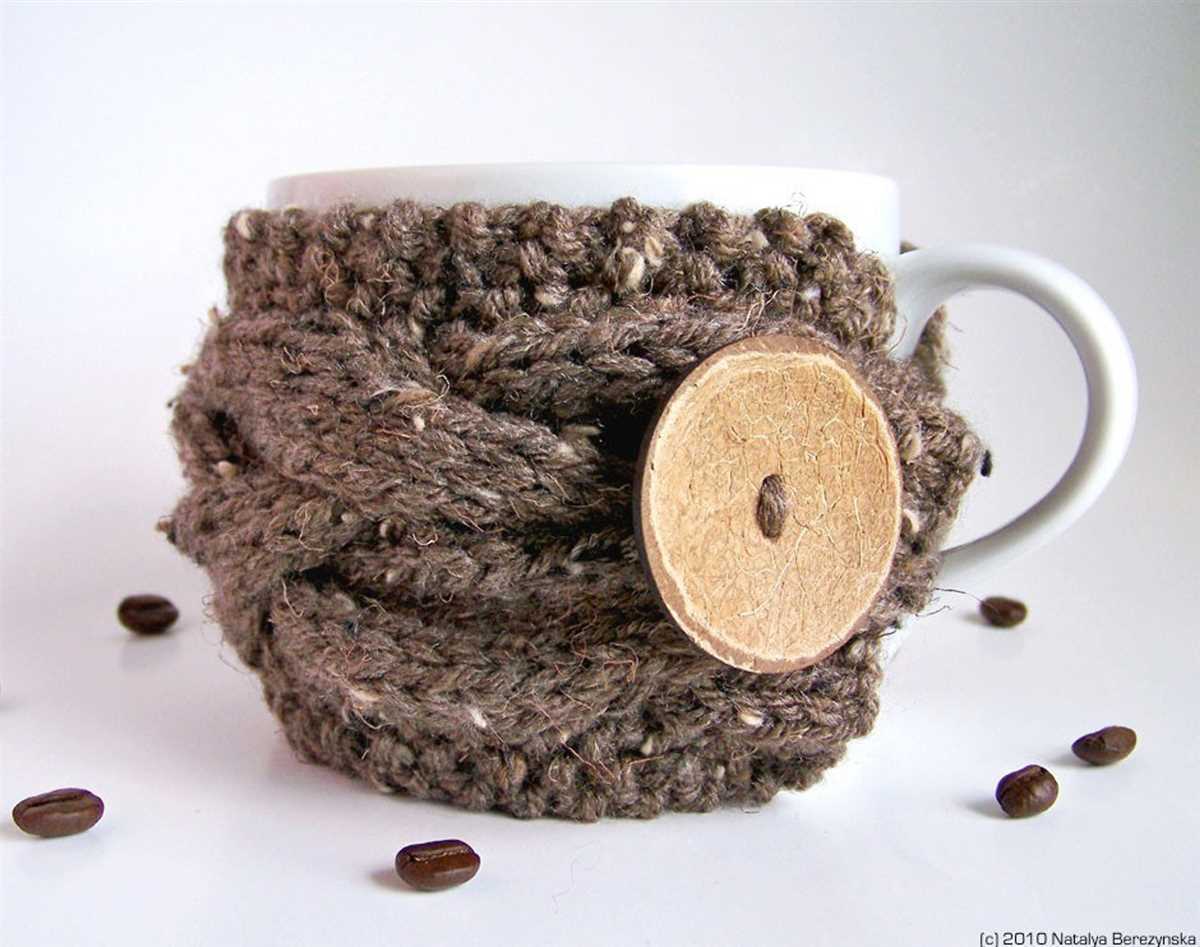
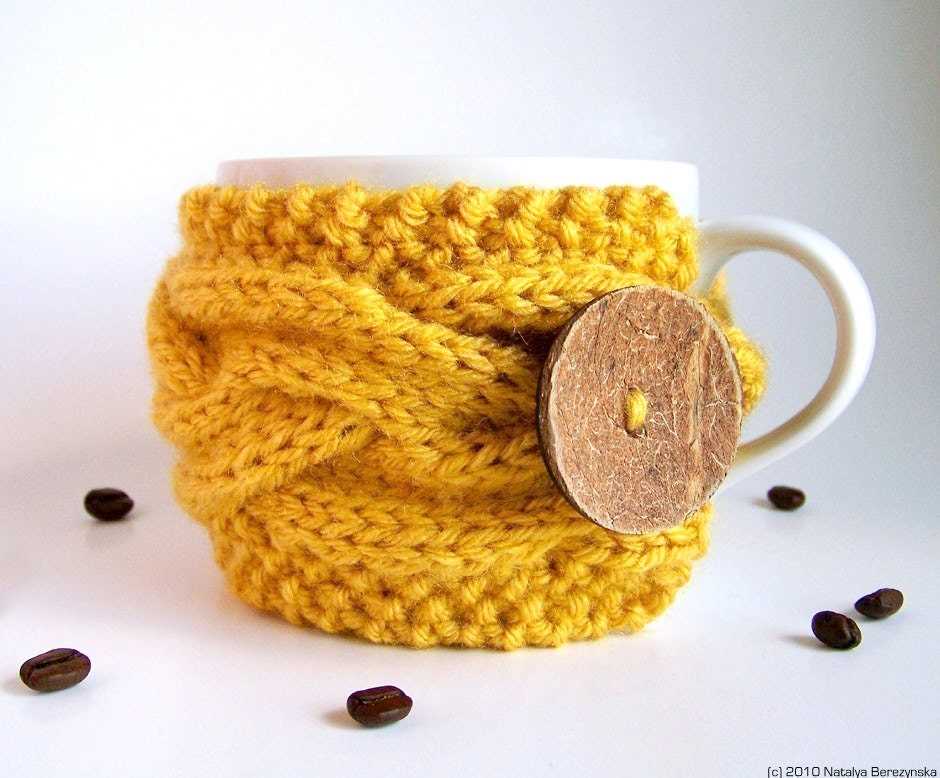
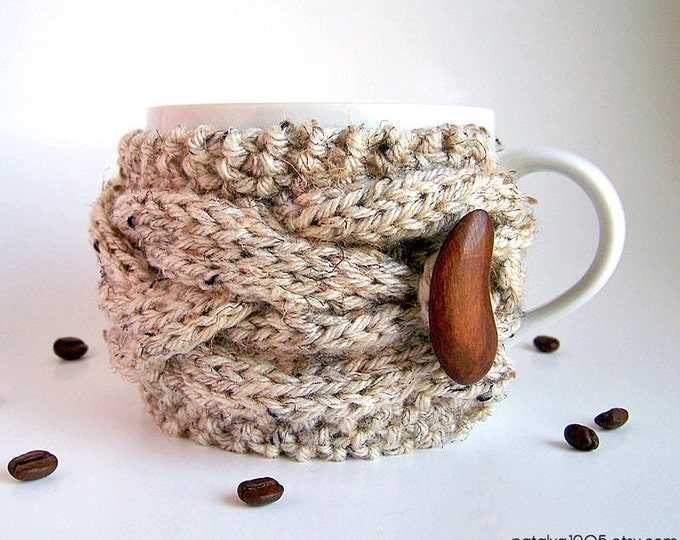
Next, knit the desired length of the sleeve using a simple knit stitch. You can get creative with different stitch patterns or add decorative details such as cables or buttons. Once you have reached the desired length, bind off your stitches and cut the yarn, leaving a long tail for sewing.
To finish the sleeve, fold it in half lengthwise and use the tapestry needle to sew the two edges together, creating a tube. Make sure to secure the ends tightly so that the sleeve doesn’t unravel. Once the seam is complete, turn the sleeve right side out, and it’s ready to use!
This knitted coffee mug sleeve pattern is a great project for both beginners and experienced knitters. It’s an excellent way to practice your knitting skills and create a practical accessory for yourself or as a gift for a coffee lover in your life. So grab your knitting needles and start stitching up a cozy sleeve to keep your hands warm and your coffee hot!
Materials Needed
In order to knit a coffee mug sleeve, you will need the following materials:
- Yarn: Choose a soft and durable yarn in your preferred color. Worsted weight or aran weight yarn is typically recommended for this project.
- Knitting needles: Use knitting needles that are appropriate for the yarn weight you have chosen. Circular or double-pointed needles in size US 7-9 (4.5-5.5 mm) are commonly used for coffee mug sleeves.
- Tapestry needle: This needle will be used to weave in any loose ends of yarn and sew the sleeve together.
- Scissors: A pair of sharp scissors will be necessary for trimming yarn and cutting any excess.
- Stitch markers: These will help you keep track of your stitches and any pattern repeats.
- Measuring tape: Use a measuring tape to ensure that your sleeve will fit snugly around your coffee mug.
- Pattern: You can find various knitting patterns for coffee mug sleeves online or in knitting books and magazines. Choose a pattern that suits your skill level and desired design.
With these essential materials, you will have everything you need to start knitting your own cozy and functional coffee mug sleeve.
Choosing Yarn and Needles
When it comes to knitting a coffee mug sleeve, choosing the right yarn and needles is essential in order to achieve the desired look and functionality of the project. The yarn and needles you choose will determine the texture, warmth, and overall appearance of the sleeve.
Yarn: There are various types of yarn that can be used for knitting a coffee mug sleeve, including wool, cotton, acrylic, and blends of different fibers. Each type of yarn offers different characteristics, such as warmth, softness, durability, and washability. It’s important to consider the intended use of the sleeve when choosing the yarn. If you want a cozy and warm sleeve, wool or wool blends would be a good option. On the other hand, if you prefer a lightweight and breathable sleeve, cotton or acrylic yarn would be more suitable.
Needles: The size of the needles you choose for knitting a coffee mug sleeve will affect the gauge and size of the finished project. Generally, smaller needles will create a tighter and denser fabric, while larger needles will result in a looser and more stretchy fabric. It’s recommended to use needles that are appropriate for the chosen yarn weight. For instance, if you are using a bulky yarn, you may need larger needles to accommodate the thicker yarn. On the other hand, if you are using a thin yarn, smaller needles would be more suitable to create a tighter fabric.
In addition to the size, the type of needles can also impact the knitting process. There are different types of knitting needles available, such as straight needles, circular needles, and double-pointed needles. Straight needles are typically used for flat knitting, while circular needles can be used for both flat and circular knitting. Double-pointed needles are commonly used for knitting in the round or smaller projects like sleeves. The choice of needle type depends on personal preference and the knitting technique you are comfortable with.
Overall, choosing the right yarn and needles for knitting a coffee mug sleeve is crucial for achieving the desired outcome. Consider the characteristics of the yarn, such as warmth and durability, as well as the knitting needle size and type, to create a sleeve that not only looks great but also serves its intended purpose.
Gauge Swatch
Before starting your knitted coffee mug sleeve, it’s important to create a gauge swatch to ensure that your finished project will be the correct size and fit. A gauge swatch is a small sample of your knitting that helps you determine the number of stitches and rows per inch in your chosen yarn and needle size.
To create a gauge swatch, start by selecting the yarn and needle size recommended in your pattern. Cast on a few more stitches than specified in the pattern, around 20-30 stitches should be sufficient. Knit in the stitch pattern indicated in the pattern for the desired gauge for a few inches.
For example:
- If the pattern states a gauge of 4 inches = 18 stitches and 24 rows
- Cast on 22 stitches and knit in the specified stitch pattern for about 4 inches
- Measure the width of your swatch to see if it matches the 4 inches
- Then count how many stitches you have in the 4 inches width
- Also measure the height of your swatch to see if it matches the 4 inches
- Count the number of rows in the 4 inches height
If your gauge matches the pattern, great! You can proceed with confidence knowing that your finished knitted coffee mug sleeve will turn out as expected. However, if your gauge is different from the pattern, you will need to make some adjustments. If you have too many stitches per inch, try using larger needles. If you have too few stitches per inch, try using smaller needles.
Note: Remember that your gauge may also be affected by your tension or the way you hold your knitting needles. It’s a good idea to always check your gauge before starting a new project, even if using the recommended yarn and needle sizes.
Cast On Stitches
When starting your knitted coffee mug sleeve, the first step is to cast on stitches. Casting on is the process of creating the first row of stitches on your knitting needle, which will form the foundation of your project. There are several different methods for casting on, but the most common ones include the long-tail cast on, the knitted cast on, and the cable cast on.
Long-tail cast on: This method creates a neat and stretchy edge. To do the long-tail cast on, start by leaving a long enough tail of yarn for your desired number of stitches. Make a slipknot near the end of the tail, and place it on your needle. Hold the needle with the slipknot in your right hand, and the tail end of the yarn in your left hand. With your left thumb and index finger, make a V-shape between the slipknot and the tail. Insert the needle through the V-shape, from front to back and from left to right. Catch the yarn with the needle and pull it through the V-shape, bringing a new stitch onto the needle. Repeat this process for the desired number of stitches.
Knitted cast on: This method is quick and easy, perfect for beginners. To do the knitted cast on, start by making a slipknot and placing it on your needle. Hold the needle with the slipknot in your right hand, and the working yarn in your left hand. Insert the right needle into the slipknot from left to right, and wrap the working yarn around the right needle in a clockwise direction. Pull the yarn through the slipknot, creating a new stitch on the right needle. Slide the new stitch onto the left needle, and repeat this process for the desired number of stitches.
Cable cast on: This method creates a firm and decorative edge. To do the cable cast on, start by making a slipknot and placing it on your needle. Hold the needle with the slipknot in your right hand, and the working yarn in your left hand. Insert the right needle into the slipknot from left to right, and wrap the working yarn around the right needle in an anti-clockwise direction. Pull the yarn through the slipknot, creating a new stitch on the right needle. Place the new stitch onto the left needle, and repeat this process for the desired number of stitches.
Once you have cast on the required number of stitches for your knitted coffee mug sleeve, you can proceed to the next step of your knitting project.
Knitting the Body
Once you have completed the ribbing at the bottom of your coffee mug sleeve, you can begin knitting the body. To do this, you will need to continue working in the round, following the pattern stitch or design you have chosen. This is where you can get creative and add your own personal touch to your sleeve.
Start by knitting the first round after the ribbing in the main stitch pattern. This could be a simple stockinette stitch, a cable pattern, or any other stitch pattern you prefer. Make sure to keep track of your stitch count and any increases or decreases that may be required for your chosen pattern.
As you continue knitting the body, you may want to incorporate additional design elements such as stripes, color changes, or textured stitches. You can also experiment with different stitch patterns or stitch combinations to achieve the desired look for your coffee mug sleeve.
Remember to regularly check the measurements of your sleeve to ensure it will fit snugly around your coffee mug. You can do this by gently stretching the sleeve around the mug and comparing it to your desired size. Adjust your stitch count accordingly if needed.
Incorporating Color Changes
- If you want to add some color to your coffee mug sleeve, one option is to incorporate color changes in your knitting. You can use different colored yarns or create stripes by alternating between different yarn colors.
- To make a smooth transition between colors, you can use the intarsia technique. This involves adding a new color yarn by twisting it with the old color yarn at the beginning of the row. When you reach the end of the row, twist the new color yarn with the old color to secure it.
- If you prefer a more seamless color change, you can use the stranded knitting technique, also known as fair isle knitting. In this technique, you carry both colors of yarn across the back of your work, picking up the color you need for each stitch.
By incorporating color changes, you can create a unique and eye-catching coffee mug sleeve that reflects your personal style.
Adding Ribbing
The ribbing is an important element in knitting the coffee mug sleeve as it creates stretch and helps to keep the sleeve in place on the mug. It also adds a decorative touch to the sleeve.
To add ribbing, you will need to switch to a smaller needle size. This will create a tighter fabric that will hold its shape better. Typically, a needle size one or two sizes smaller than the main needle is used for ribbing.
1. Switch to a smaller needle size: Once you have completed the main part of the sleeve, transfer the stitches onto the smaller needle. This can be done by slipping the stitches purlwise from the main needle to the smaller needle.
2. Start the ribbing pattern: The most common ribbing pattern used for coffee mug sleeves is the 2×2 ribbing, which alternates between knit and purl stitches. To start the ribbing, knit two stitches, then purl two stitches, and continue this pattern until the end of the round.
3. Repeat the ribbing pattern: Continue working the 2×2 ribbing pattern for the desired length. The ribbing can be as short or as long as you like, depending on your preference. However, it is recommended to make the ribbing at least one inch long to ensure a snug fit around the mug.
4. Bind off in pattern: Once you have reached the desired length for the ribbing, bind off the stitches in the ribbing pattern. This will create a neat and finished edge for the sleeve.
- Tip: If you want to add more visual interest to the ribbing, you can try different ribbing patterns such as 1×1 ribbing or twisted ribbing.
With the ribbing added, your coffee mug sleeve is now complete and ready to be used! The ribbing will provide a snug and secure fit on the mug and add a stylish touch to your morning coffee routine.
Shaping the Sleeve
When knitting a coffee mug sleeve, it is important to shape the sleeve to ensure a proper fit and appearance. This can be done through various knitting techniques and stitches.
1. Decreases: To shape the sleeve, it is common to use decrease stitches. Decreases are performed by knitting or purling two stitches together, reducing the stitch count. This creates a tapered effect, making the sleeve narrower at the top and wider at the bottom.
2. Ribbing: Ribbing is another technique used to shape the sleeve. By alternating knit and purl stitches, ribbing creates a stretchy and snug fit. It is often used at the top and bottom of the sleeve to ensure it stays securely on the mug.
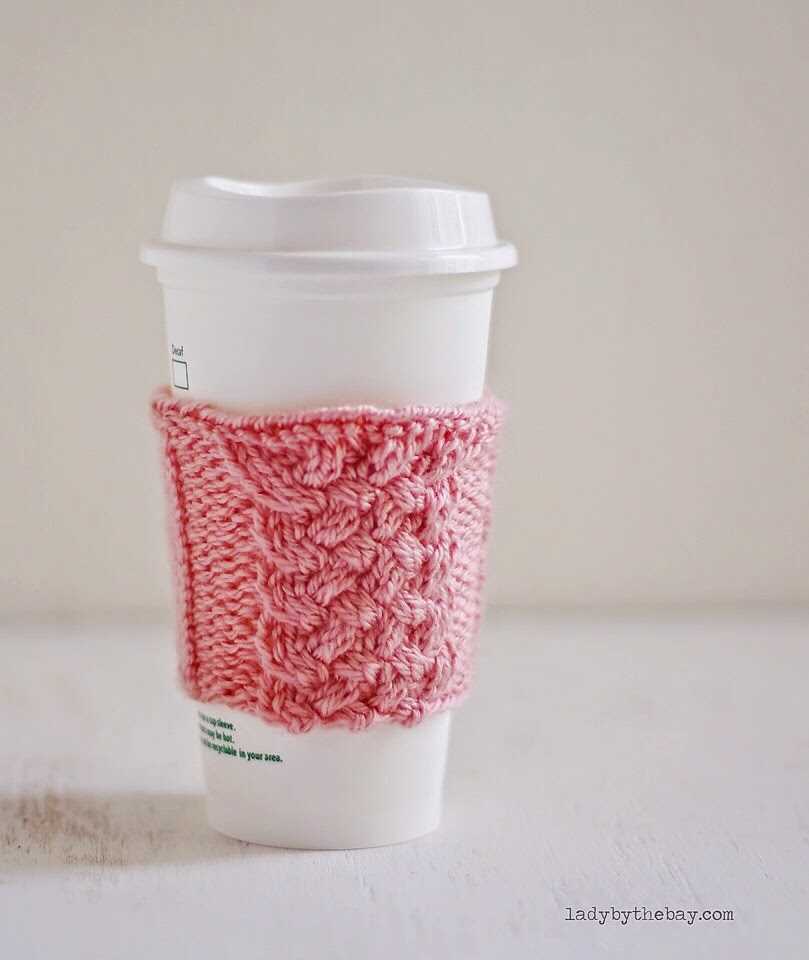
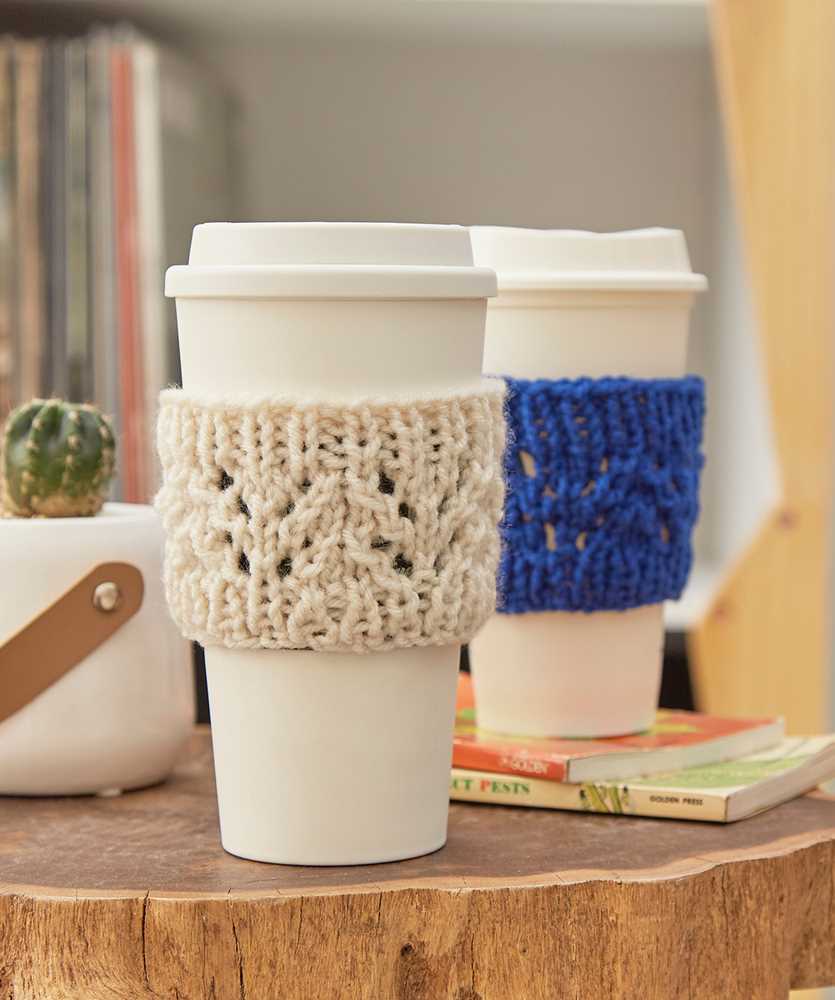
3. Cables or Lace: For a more decorative touch, cables or lace stitches can be incorporated into the sleeve. These stitches add visual interest and texture to the sleeve, while also shaping it. Cables create a twisted effect, while lace stitches create an open and airy look.
Overall, shaping the sleeve is an important step in creating a well-fitting and visually appealing coffee mug sleeve. Whether through decreases, ribbing, or more intricate stitch patterns, these techniques help to customize the sleeve to your desired shape and style.
Finishing Touches
Crafting a knitted coffee mug sleeve is a fun and creative way to add a personal touch to your morning coffee routine. Once you have completed knitting the sleeve, it’s time to add some finishing touches to make it truly unique and special.
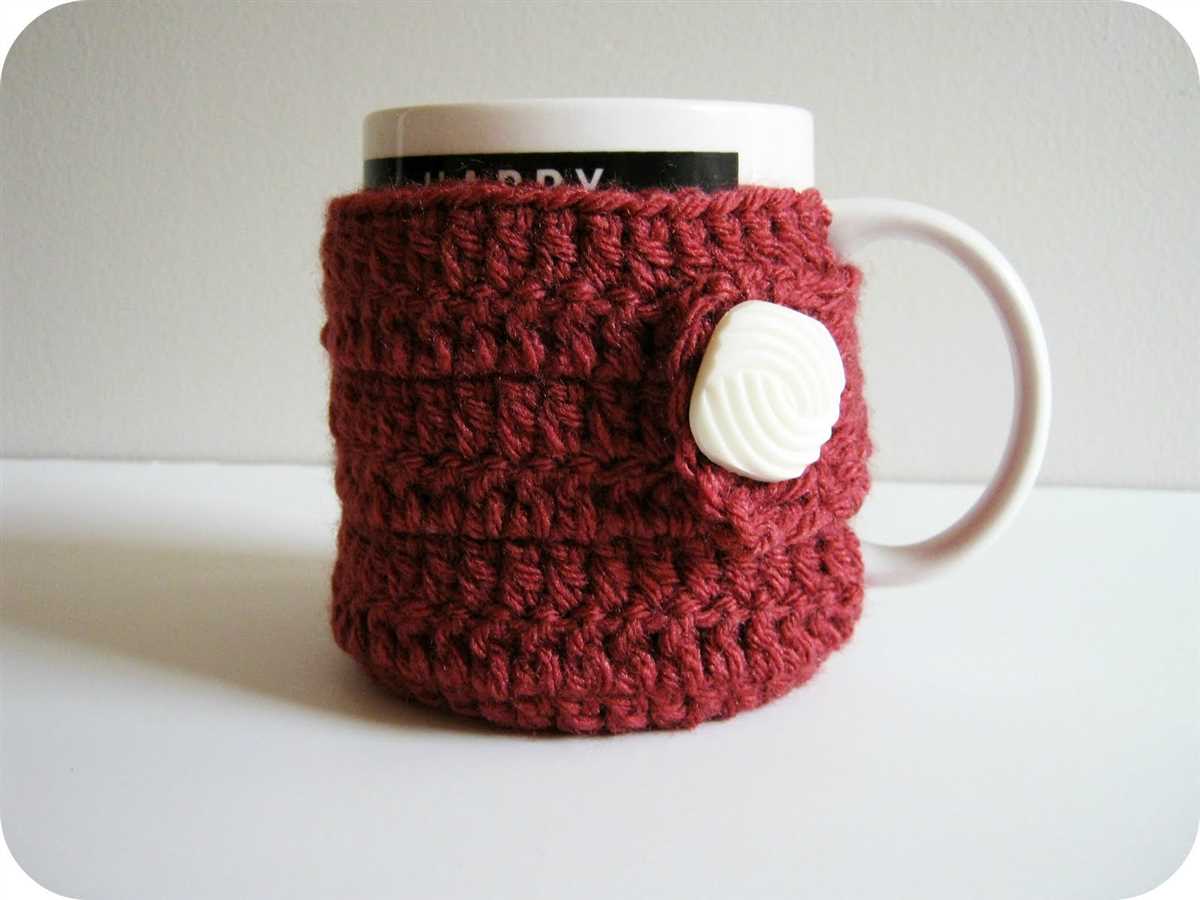
1. Embellishments: Consider adding some embellishments to your knitted sleeve to make it stand out. You can use buttons, beads, or even embroidery to add a pop of color and texture. Sew them onto the sleeve using a strong thread or yarn to ensure they stay in place.
2. Personalization: Make your sleeve even more personal by embroidering your initials or a special design onto it. You can use a contrasting color of yarn to create a bold statement or opt for a more subtle tone-on-tone effect. This personal touch will make your coffee mug sleeve truly one-of-a-kind.
3. Lining: If you want to add an extra layer of insulation and protection to your sleeve, consider adding a lining. Cut a piece of fabric that matches the size of your sleeve and sew it onto the inside. This will not only keep your hands safe from hot beverages but also make your sleeve more durable.
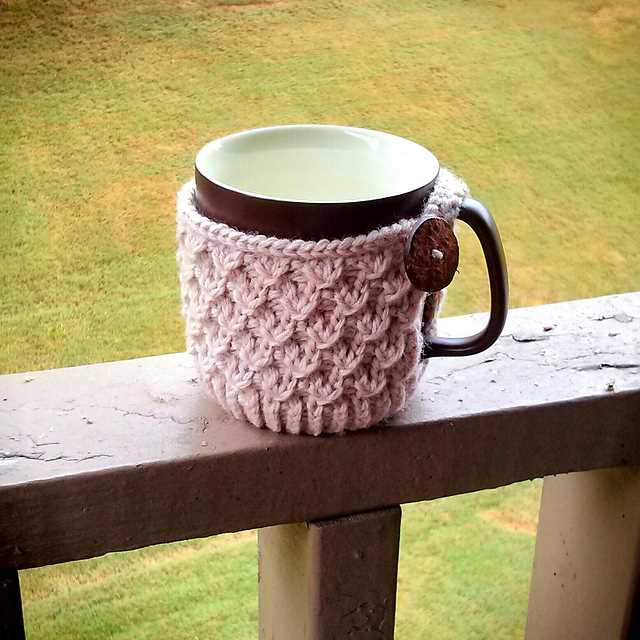
4. Button closure: To ensure that your knitted sleeve stays securely on your coffee mug, you can add a button closure. Sew a button onto one end of the sleeve and create a small loop on the other end. This will allow you to fasten the sleeve around the mug and prevent it from slipping off.
5. Care instructions: Don’t forget to include care instructions when gifting or using your knitted coffee mug sleeve. Knitted items often require specific care, such as handwashing or air drying. Including care instructions will ensure that your sleeve stays in great condition for a long time.
Embellishments and Personalization
Adding embellishments and personalizing your knitted coffee mug sleeve is a great way to make it unique and reflect your own style. There are many options to choose from when it comes to embellishing your sleeve, including buttons, beads, embroidery, and appliques.
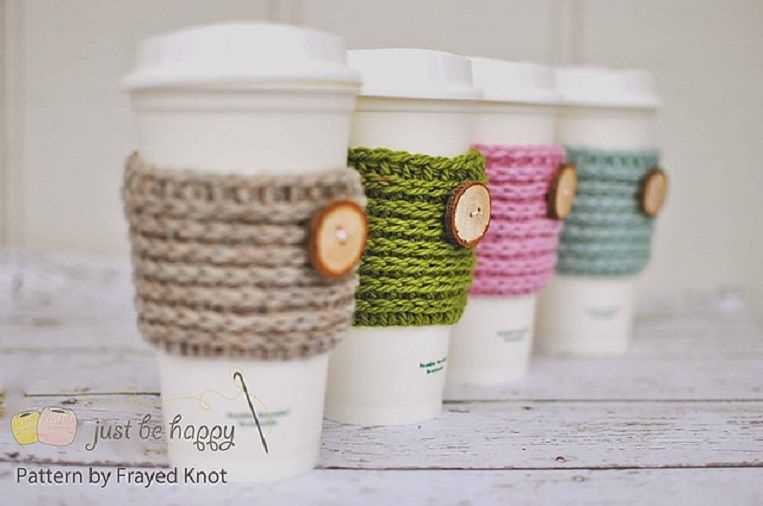
Buttons: Sewing buttons onto your coffee mug sleeve can add a touch of charm and character. You can choose buttons in various shapes, sizes, and colors to match your personal taste and the design of your sleeve. For a fun and whimsical look, consider using novelty buttons shaped like coffee cups, hearts, or any other design that catches your eye.
Beads: Another way to embellish your sleeve is by adding beads. You can thread beads onto your yarn as you knit or sew them onto your finished sleeve. Beads can be used to create intricate patterns or simple accents, depending on your preference. They can add a touch of sparkle and elegance to your sleeve.
Embroidery: Embroidering the sleeve with decorative stitches or patterns is a popular way to personalize your knitting. You can use different colors of embroidery floss to create beautiful floral designs, geometric patterns, or even personalized monograms. Embroidery adds a unique and handmade touch to your coffee mug sleeve.
Appliques: Adding fabric or crocheted appliques to your sleeve is another option for personalizing it. You can create appliques in various shapes and designs, such as flowers, animals, or any other motif that suits your style. Appliques can be sewn or glued onto the sleeve, adding dimension and interest to your knitting.
Whether you choose buttons, beads, embroidery, or appliques, adding embellishments and personalizing your knitted coffee mug sleeve allows you to create a one-of-a-kind accessory. It gives you the opportunity to showcase your creativity and make your sleeve truly unique, while also adding a touch of style to your morning coffee routine.
Final Thoughts
Knitting your own coffee mug sleeve can be a fun and rewarding project. Not only does it provide a practical solution for keeping your hands cool and your coffee warm, but it also allows you to unleash your creativity and create a unique, personalized accessory. Whether you’re a beginner knitter or an experienced one, there are plenty of patterns available to suit your skill level and style preferences.
In this article, we have explored different knitted coffee mug sleeve patterns that you can try. From simple ribbed designs to intricate lace patterns, there is something for everyone. Remember to choose the right yarn and needle size for your project, as they can greatly affect the final look and feel of your sleeve.
When knitting your coffee mug sleeve, don’t be afraid to experiment with different stitches and techniques. Adding a cable or colorwork pattern can take your sleeve to the next level and make it truly unique. And if you’re feeling adventurous, why not try embellishing your sleeve with buttons, beads, or embroidery?
Knitted coffee mug sleeves also make great gifts for friends and family. You can easily customize them with different colors and patterns to suit the recipient’s taste. Plus, they’re a practical gift that will be appreciated and used every day.
In conclusion, knitting your own coffee mug sleeve is a great way to add a touch of warmth and style to your daily coffee routine. So grab your needles, choose your favorite pattern, and start knitting!