
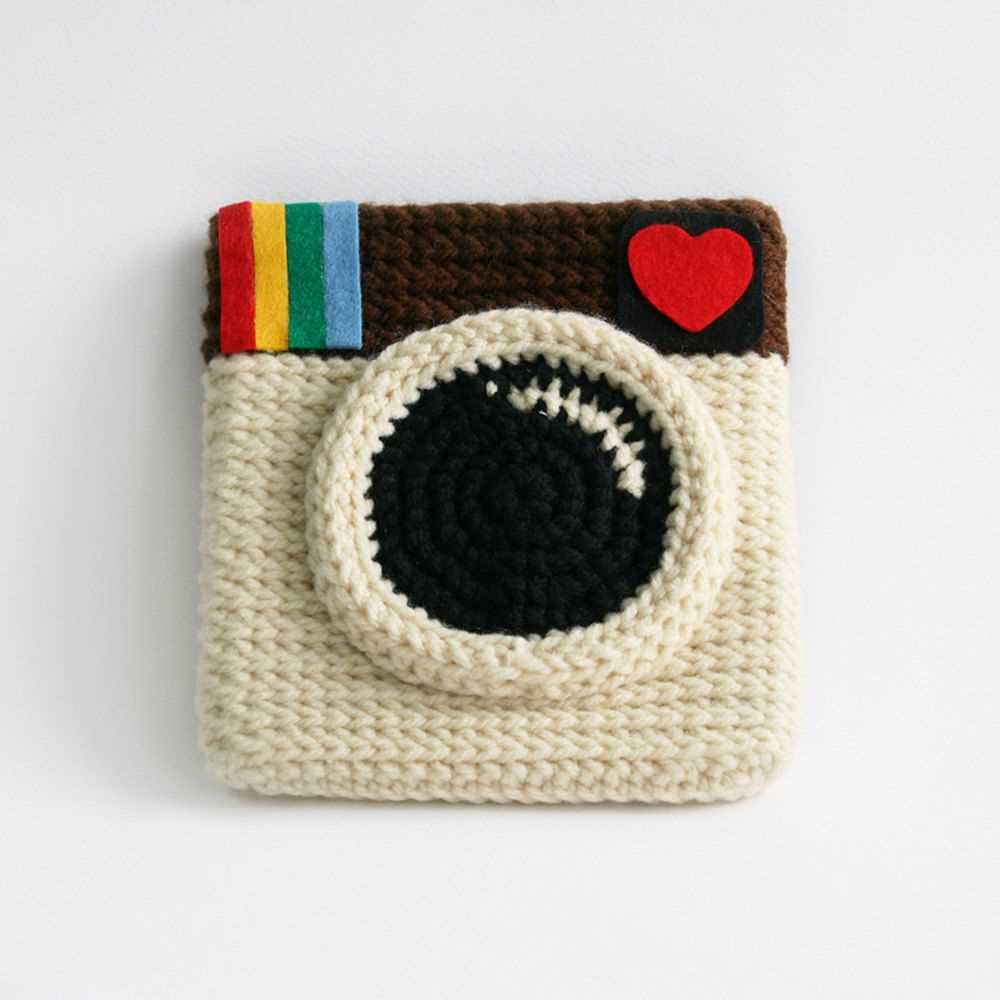
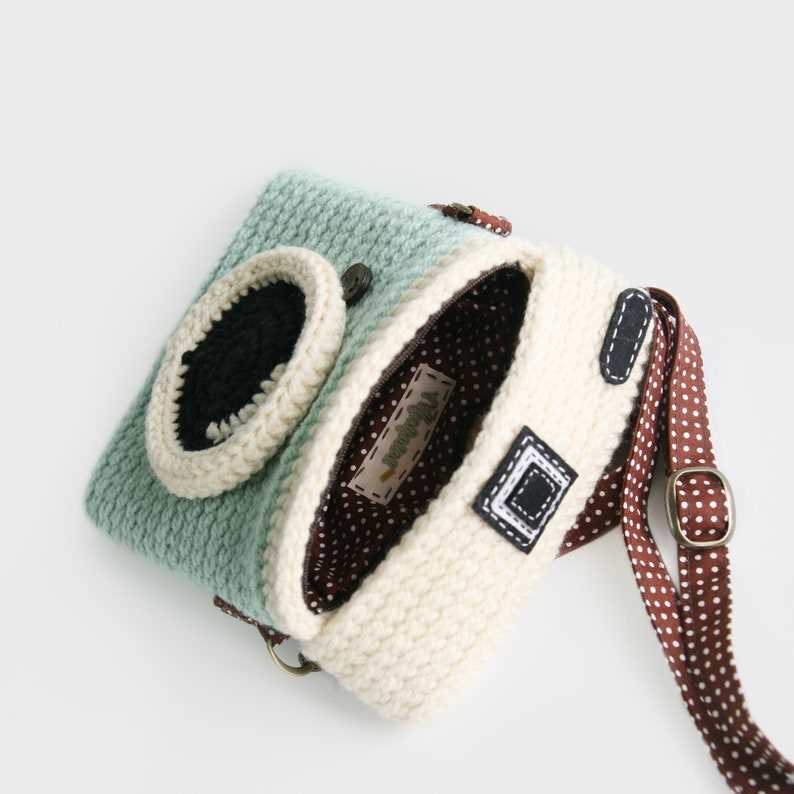
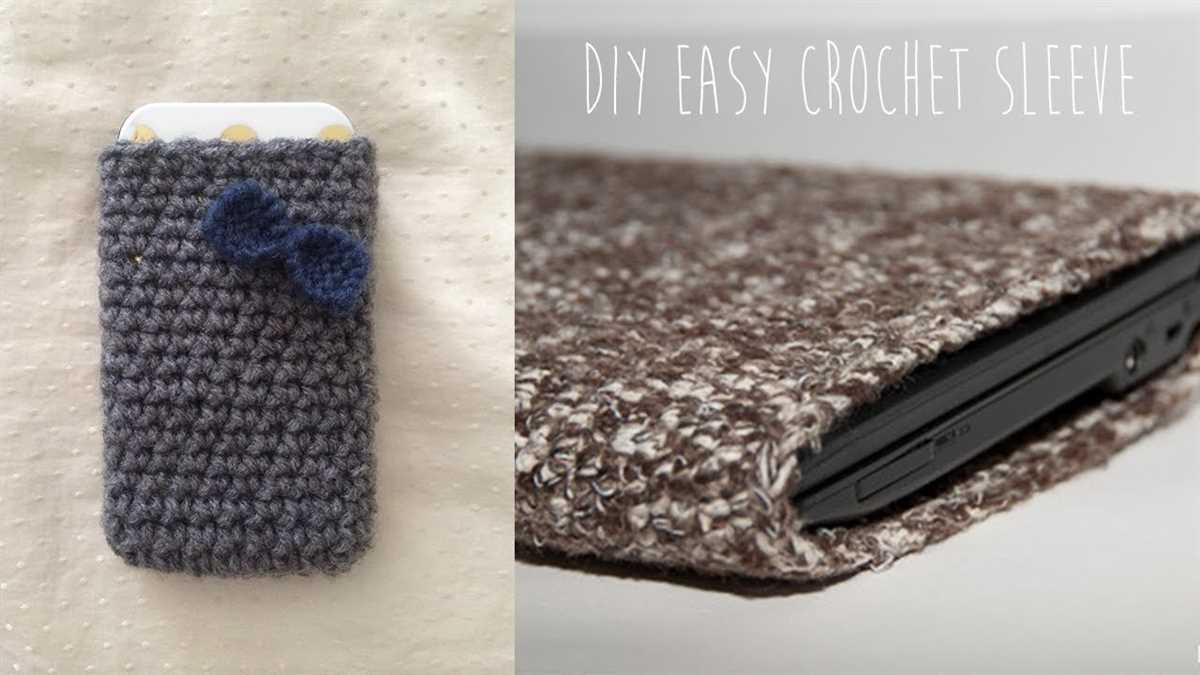
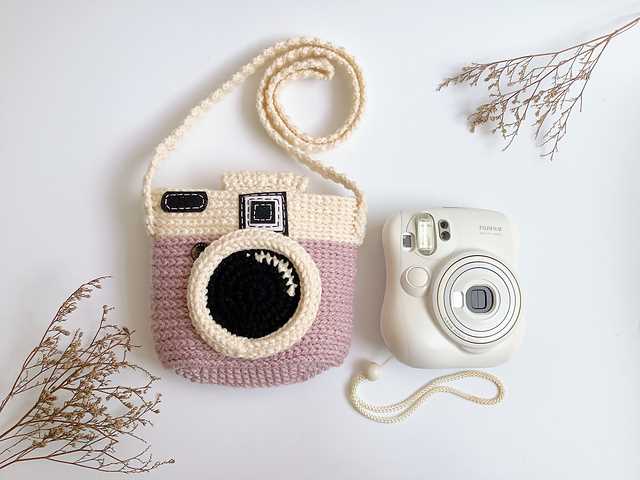
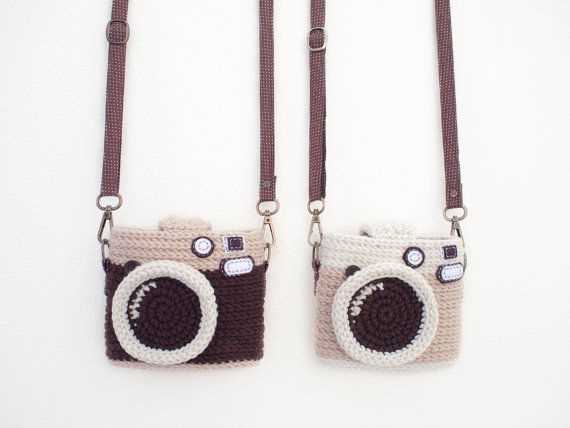
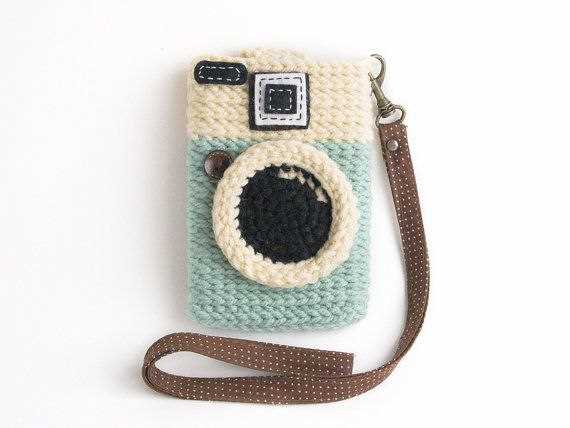
If you have a camera that you love and want to keep it safe and protected, a knitted camera case is the perfect solution. Knitting your own camera case allows you to customize the size, shape, and design to perfectly fit your camera and personal style.
Creating a knitted camera case is a fun and rewarding project that can be completed by knitters of all skill levels. Whether you’re a beginner or an experienced knitter, there are patterns available that will guide you through the process and help you create a beautiful and functional case.
Knitted camera cases can be made using various types of yarn and stitch patterns, allowing you to create a case that is as unique as your camera. From simple stockinette stitch cases to intricate cable or lace designs, the possibilities are endless. You can also add embellishments such as buttons, ribbons, or embroidery to further personalize your case.
Choose the right yarn and needles
When it comes to knitting a camera case, choosing the right yarn and needles is essential. The type of yarn you use will determine the overall look and feel of the case, as well as its durability. It’s important to select a yarn that is strong and sturdy enough to protect your camera while also being soft enough to provide cushioning.
Here are some factors to consider when choosing yarn:
- Fiber content: Opt for yarn that is made from natural fibers, such as wool or cotton, as they are more breathable and provide better insulation. Synthetic fibers, like acrylic or nylon, can be used as well, but may not offer the same level of protection.
- Weight: Consider the weight of the yarn, as it will affect the thickness and resilience of the case. Bulky or chunky yarns can create a thicker and more cushioned case, while lighter weight yarns will result in a slimmer profile.
- Color and pattern: Choose a yarn color and pattern that you find visually appealing. Keep in mind that dark colors may show less dirt and wear over time, while lighter colors can brighten up your camera bag.
When it comes to selecting needles:
- Size: The size of the needles you choose will determine the gauge or tension of your knitting. This, in turn, will affect the overall size and fit of the camera case. The pattern you are following should specify the recommended needle size.
- Material: Consider the material of the needles as it can affect the ease of knitting and the resulting texture of the stitches. Metal or wooden needles are commonly used for knitting, with each material having its own unique characteristics.
- Length: The length of the needles will depend on the size and shape of the camera case you wish to knit. Longer needles can accommodate larger projects, while shorter ones are more suitable for smaller items.
By carefully selecting the right yarn and needles, you can ensure that your knitted camera case turns out beautifully and provides the necessary protection for your camera.
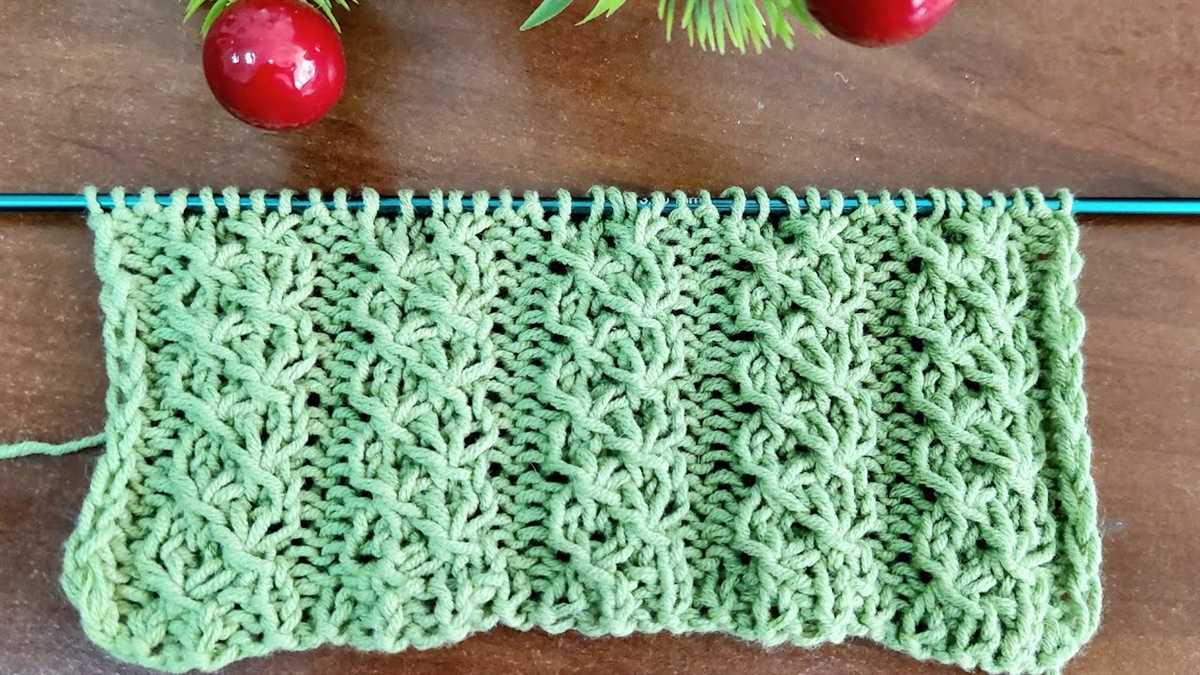
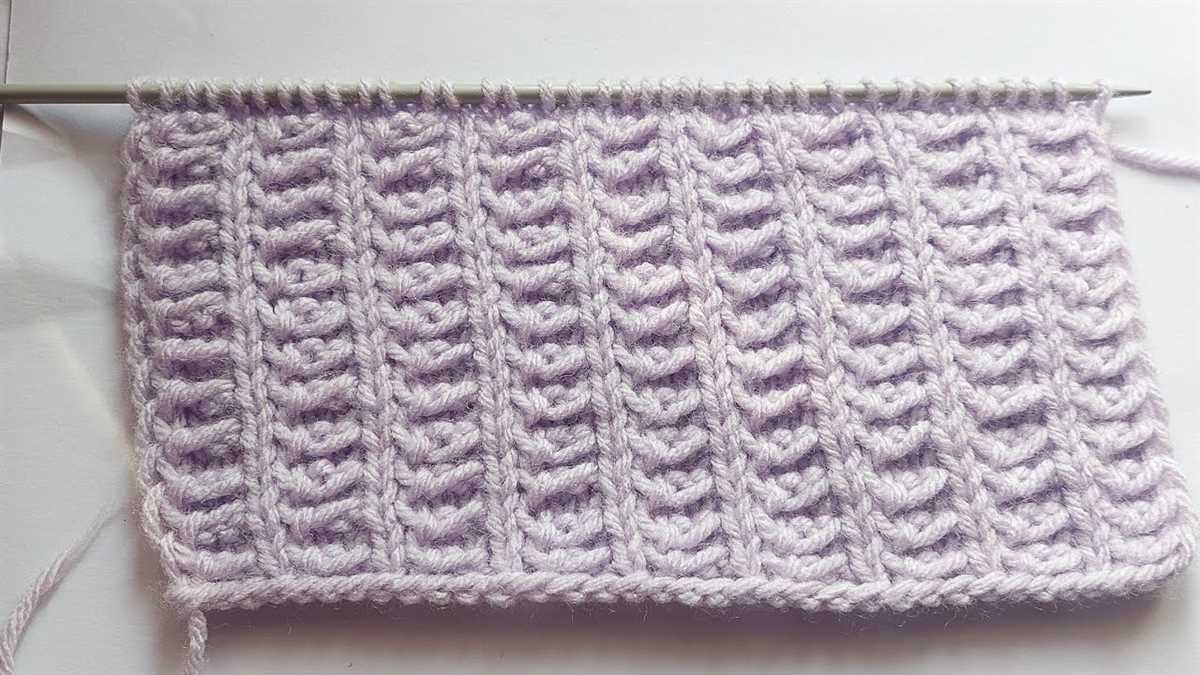
Gauge swatch
A gauge swatch is an essential step in any knitting project. It is a small sample of knitting that allows you to determine the gauge or tension of your work. By knitting a swatch, you can make sure that your finished project will be the correct size and fit.
To create a gauge swatch, you will need the specific yarn and needles that you plan to use for your project. Follow the pattern instructions for the recommended needle size. Starting with the recommended needle size, cast on a sufficient number of stitches to create a square or rectangle that is at least 4 inches by 4 inches. Knit in the stitch pattern specified in the pattern for a few rows, then continue knitting in stockinette stitch until the swatch measures 4 inches in height.
After you have completed the swatch, it is important to measure the gauge accurately. Lay the swatch flat on a surface and use a ruler or a gauge tool to count the number of stitches and rows within a 4 inch by 4 inch area. Compare these measurements to the gauge specified in the pattern. If your gauge does not match the recommended gauge, you may need to adjust your needle size.
Creating a gauge swatch may seem like an extra step, but it can save you time and frustration in the long run. By taking the time to swatch, you can ensure that your finished project will turn out the way you want it to. Plus, it gives you an opportunity to practice the stitch pattern and get familiar with the yarn and needles you are using.
Measurements
In order to knit a camera case that fits your specific camera, it is important to take accurate measurements. This will ensure that the case is the right size and provides a snug fit for your camera.
Start by measuring the length, width, and height of your camera. Use a flexible measuring tape or ruler to get precise measurements. Be sure to measure the dimensions when your camera is in the fully collapsed position, as this is the smallest size the case needs to accommodate.
Length: Measure from the front of the camera to the back, including any protruding parts such as the lens.
Width: Measure from one side of the camera to the other, including any additional width from buttons or dials.
Height: Measure from the bottom of the camera to the top, including any added height from the viewfinder or hot shoe.
Once you have these measurements, it is important to consider any additional padding or space you may want to include in your camera case. If you prefer a snug fit, you can subtract a few millimeters from the dimensions. However, if you want to add extra padding or accommodate other accessories such as lens filters or batteries, you may want to add a few millimeters to each measurement to ensure a comfortable fit.
Knitting the body
After completing the ribbing, it’s time to start knitting the body of the camera case. Begin by knitting in the round using the chosen stitch pattern. This could be stockinette stitch, garter stitch, or even a textured stitch pattern like seed stitch or moss stitch.
Size and stitch pattern: Depending on the desired size, you can adjust the number of stitches to cast on. Make sure to check the gauge of your chosen stitch pattern to ensure that the case will fit your camera properly. Keep in mind that some stitch patterns may be more stretchy than others, so it’s a good idea to try a swatch before starting the project.
Knitting in the round: To knit in the round, you will need either double-pointed needles or a circular needle, depending on your preference. If using double-pointed needles, distribute the stitches evenly among the needles and join in the round, being careful not to twist the stitches. If using a circular needle, simply join in the round and place a marker to indicate the beginning of the round.
- Stockinette stitch: If using stockinette stitch, continue knitting every round until the desired length is reached. This will create a smooth and uniform fabric.
- Garter stitch: If using garter stitch, alternate between knitting and purling every round. This will create a bumpy and textured fabric.
- Textured stitch pattern: If using a textured stitch pattern, follow the specific instructions for that pattern to create the desired effect.
Continue knitting the body of the camera case until it is long enough to fully cover your camera. Remember to periodically try it on the camera to check the fit and make any necessary adjustments. Once the desired length is reached, you can move on to knitting the top section of the case.
Adding a strap
Adding a strap to your knitted camera case is a great way to make it more functional and convenient to carry around. Here are some steps you can follow to add a strap to your camera case:
1. Choose your strap material: There are various options to choose from when it comes to selecting a strap material. You can use leather, fabric, or even a knitted strap to match your camera case. Make sure the material you choose is sturdy enough to support the weight of your camera.
2. Measure and cut the strap: Measure the desired length of your strap, keeping in mind the desired length when the camera is hanging from your shoulder. Cut the strap material to the appropriate length. It’s always better to cut it longer, as you can always trim it down later if needed.
3. Attach the strap to the case: Sew or attach the strap securely to the sides or corners of the camera case. You can use a needle and thread, or a sewing machine if you have one. Make sure the attachment is strong and secure so that it can support the weight of your camera without any issues.
4. Test the strap: Once you have attached the strap, test it by hanging the camera case with the strap over your shoulder. Make sure it feels comfortable and secure. If the strap is too long or too short, you can adjust the length by trimming it or reattaching it to a different location on the case.
5. Add any additional features: If desired, you can also add additional features to your strap, such as padding for extra comfort, a buckle or clasp for adjustable length, or even pockets or compartments for storing small accessories. Get creative and customize your camera case strap to suit your needs.
By following these steps, you can easily add a strap to your knitted camera case and make it more convenient to carry around, ensuring that your camera is always within reach when you need it.
Creating a button closure
One of the key features of a knitted camera case is a secure closure to keep the camera protected. One option for creating a closure is to use buttons. Buttons not only provide a secure fastening but also add a decorative element to the case.
To create a button closure for your knitted camera case, you will need a few basic materials including buttons, sewing needle, and thread. Choose buttons that match the color and style of your case. Ideally, you should use two buttons for proper closure.
Step 1:
- Position your camera case so that the flap is folded over the front of the case.
- Measure the placement of the buttons. They should be evenly spaced on the front of the case, centered, and align with the edge of the flap.
- Use a stitch holder or safety pin to mark the position of the buttons on the inside of the case.
Step 2:
- Thread your sewing needle with a thread that matches the color of your buttons.
- Begin by sewing the first button onto the inside of the case, following the marked position.
- Make several stitches through the button and the fabric to ensure a secure attachment.
- Repeat the process for the second button, ensuring that it aligns with the first button when the flap is closed.
By following these simple steps, you can easily create a button closure for your knitted camera case. Enjoy the added security and style that buttons bring to your handmade accessory!
Adding Decorative Elements
When it comes to creating a knitted camera case, adding decorative elements can really make your creation stand out. There are several ways you can incorporate decorative details into your design.
Selecting the Right Yarn
Choosing the right yarn is essential for adding decorative elements to your knitted camera case. Opt for yarns that have unique textures, colors, or patterns. For example, you could use a variegated yarn that creates a beautiful gradient effect, or a yarn with metallic fibers for a touch of sparkle. Knitting with a textured yarn, such as boucle or chenille, can also add visual interest to your camera case.
Integrating Embroidery
Integrating embroidery is another fantastic way to add decorative elements to your knitted camera case. You can use embroidery threads in complementary colors to create beautiful patterns or motifs on the case. For example, you could embroider flowers, geometric shapes, or even the owner’s initials. Embroidery adds a personalized touch and allows you to unleash your creativity.
Using Buttons or Beads
Incorporating buttons or beads is a simple yet effective way to add decorative elements to your knitted camera case. You can sew on buttons in various shapes, sizes, and colors to create interesting patterns or focal points. Alternatively, you can add beads to your knitting by threading them onto the yarn as you work. Beads can add a touch of elegance or whimsy to your camera case, depending on the style you choose.
Overall, adding decorative elements to your knitted camera case allows you to infuse your own personality and creativity into the design. Whether it’s through yarn selection, embroidery, or the addition of buttons or beads, these decorative details will make your camera case truly one-of-a-kind.
Blocking and finishing touches
Once you have finished knitting your camera case, the next step is to block it. Blocking is the process of stretching and shaping your knitted item to give it a more professional and polished look. To block your camera case, you will need to wash it first. Fill a sink or basin with lukewarm water and a mild detergent, then gently submerge the case and let it soak for a few minutes. After soaking, gently squeeze out the excess water, making sure not to wring or twist the fabric.
After washing, lay the camera case flat on a clean towel and roll it up to remove any remaining moisture. Unroll the towel and carefully shape the case to the desired size and dimensions. You can use pins to hold the fabric in place if necessary. Leave the case to dry completely, preferably in a well-ventilated area away from direct sunlight.
- Once your camera case is dry, you can add some finishing touches to make it even more personalized. You can embroider your initials or a small design onto the fabric using colorful thread. This will not only add a decorative element but also make your case unique.
- Another option is to attach some buttons or charms to the case. This can not only add visual interest but also serve as functional closures for your case.
- If you want to add some extra padding for protection, you can sew a soft lining into the case. Cut a piece of fabric slightly smaller than the dimensions of your case and sew it onto the inside, making sure to leave an opening for inserting the camera.
- Lastly, consider adding a strap or handle to the case for easy carrying. You can either crochet or knit a strap using a matching yarn or repurpose an old strap from another bag.
By blocking your camera case and adding these finishing touches, you can ensure that your knitted creation not only looks great but also functions well to protect your camera. Enjoy using your handmade case and show off your knitting skills!
Tips for customization

When it comes to knitting your own camera case, there are various ways you can personalize and customize it to make it uniquely yours. Here are some tips to help you get started:
Choose your yarn: Select a yarn that not only matches the size of your camera but also suits your personal style. You can opt for a vibrant and colorful yarn if you want your camera case to stand out, or go for a more neutral shade if you prefer a classic and understated look.
Add embellishments:
Buttons: You can add buttons to your camera case to give it some extra flair. Choose buttons that complement the color or pattern of your case, or opt for unique and eye-catching buttons to make a statement.
Embroidery: Consider adding some embroidery to your case to add a personal touch. You could embroider your initials, a small design, or a meaningful symbol.
Customize the size and shape:
If you have a specific camera model or prefer a snug fit, you can customize the pattern to fit your camera perfectly. Adjust the number of stitches and rows accordingly to ensure a snug but not too tight fit. Additionally, you could experiment with different shapes, such as a pouch or a sleeve, depending on your preference and the camera’s design.
Experiment with patterns:
While following a pattern can give you a great starting point, don’t be afraid to experiment with different stitch patterns to create your camera case. You can incorporate cables, lace, or colorwork to add texture and visual interest.
Make it functional: Think about the functionality of your camera case. You may want to consider adding a strap or a loop to attach it to your bag or belt for easy access. You can also customize the closure mechanism, such as a button, zipper, or drawstring, to ensure your camera is secure while still being easily accessible.
Share your finished project
Once you have completed knitting your camera case using the provided pattern, we encourage you to share your finished project with us and the knitting community. Whether you’re proud of the color combination you chose or want to show off your knitting skills, we would love to see your creations!
There are several ways you can share your finished project:
- Social media: Take a photo of your camera case and post it on your favorite social media platform using the hashtag #KnittedCameraCasePattern. This way, other knitters can easily find and admire your work.
- Online knitting communities: Join online knitting communities, such as Ravelry or knitting forums, and share your camera case project in the respective project or pattern groups. You can also provide feedback and answer questions from other knitters who might be working on the same pattern.
- Personal blog or website: If you own a knitting blog or website, consider writing a blog post about your camera case project. Include photos, details about the pattern, and any modifications or tips you have for fellow knitters.
No matter how you choose to share your finished project, remember that the knitting community is a supportive and welcoming one. Your work is valuable, and others will appreciate the effort and creativity you put into your camera case.
We hope you enjoyed knitting this camera case and that it provides a stylish and protective accessory for your photography adventures. Happy knitting!