
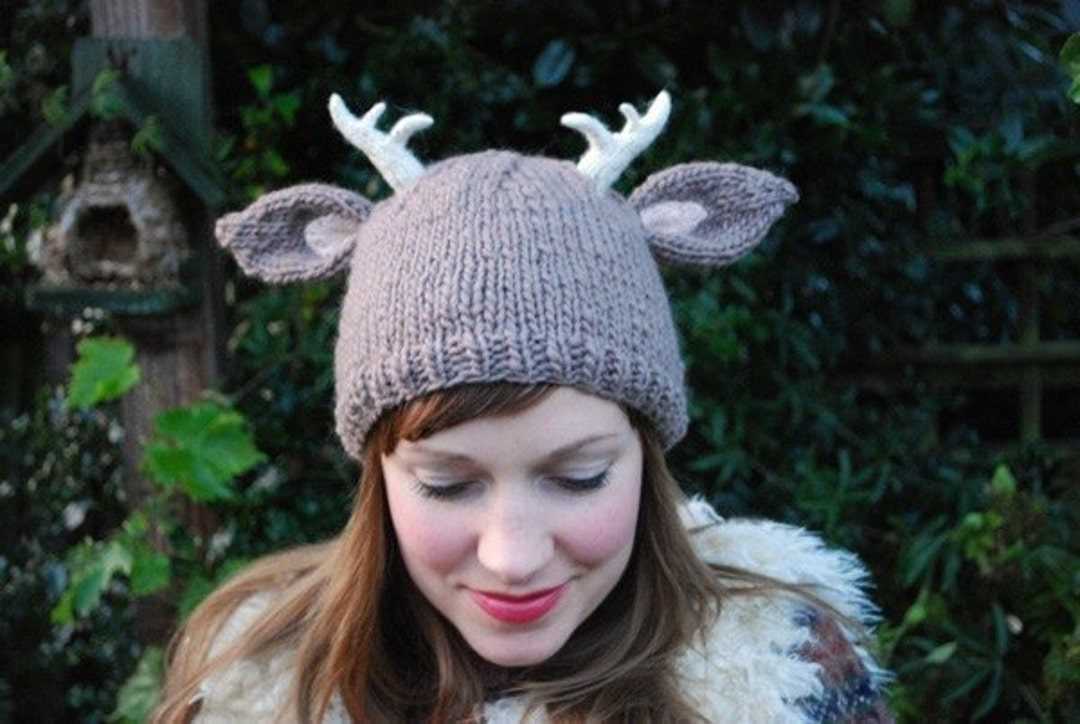
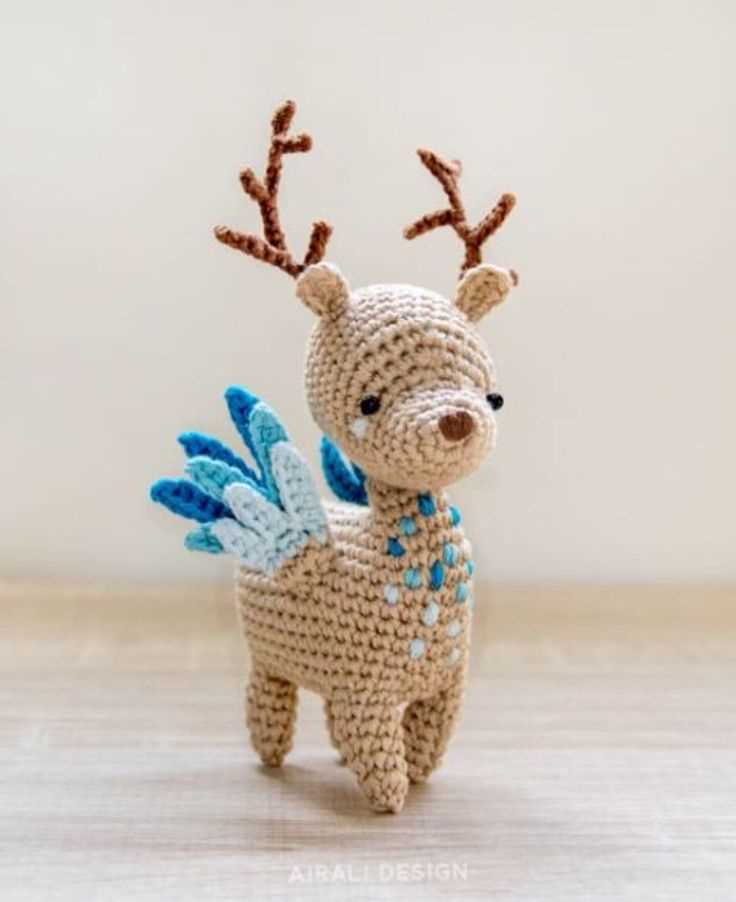
Are you looking for a fun and unique accessory to add to your winter wardrobe? Look no further than these adorable knitted antlers! These antlers are the perfect way to embrace your inner woodland creature and show off your love for all things cozy and cute.
Knitted antlers are not only a great way to stand out from the crowd, but they also make for a fun and festive gift. Whether you’re dressing up for a holiday party or just want to add a touch of whimsy to your everyday look, these knitted antlers are sure to do the trick.
Don’t worry if you’re new to knitting – these antlers are beginner-friendly and can be whipped up in no time. All you need is some yarn, knitting needles, and a willingness to give it a go. Plus, with this handy pattern, you’ll be able to create antlers in a variety of sizes and styles, so you can customize them to suit your personal style.
So why wait? Get started on your knitted antlers today and add a touch of whimsy to your winter wardrobe!
How to Knit Antlers Pattern: A Step-by-Step Guide
Knitting antlers can be a fun and creative project for those who love to knit. Whether you want to create a unique accessory for a costume or add a whimsical touch to a hat or headband, knitting antlers can be a great way to showcase your knitting skills. Follow this step-by-step guide to learn how to knit antlers pattern.
Materials Needed
Before you get started, gather the necessary materials for knitting antlers. You will need:
- Yarn in your desired color
- Knitting needles
- Tapestry needle
- Scissors
Casting On
To begin, cast on the desired number of stitches onto your knitting needles. This will determine the width of your antlers. You can refer to a knitting pattern for the specific number of stitches to cast on, or experiment with different numbers to achieve the desired shape and size.
Creating the Antler Shape
Once you have cast on your stitches, you can start shaping the antlers. Begin by knitting each row in stockinette stitch, which is knitting one row and purling the next. This will create a smooth surface for your antlers.
To create the antler shape, you will gradually increase the number of stitches on each side of your work. This can be done by knitting into the front and back of a stitch, or using other increase techniques such as yarn overs. Continue increasing until you have reached the desired width of your antlers.
Finishing Off
Once you have achieved the desired shape and size of your antlers, it’s time to finish off your knitting. Bind off your stitches by knitting two stitches together and passing the first stitch over the second. Cut the yarn, leaving a long tail for sewing.
Using a tapestry needle, sew the sides of the antlers together to create a rounded shape. You can also add stuffing, such as polyester fiberfill, to give your antlers a more three-dimensional look. Once the sides are securely sewn together, weave in any remaining loose ends and trim off excess yarn.
Final Thoughts
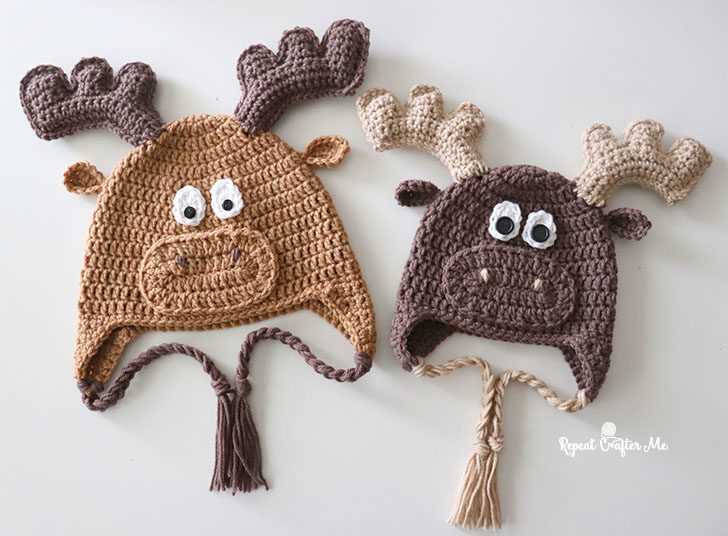
Knitting antlers can be a fun and rewarding project that allows you to showcase your creativity and knitting skills. Whether you’re adding them to a hat, headband, or creating a standalone accessory, you can customize the antler pattern to suit your needs. Experiment with different colors, shapes, and sizes to create a unique design that truly stands out.
Materials and Tools Needed for Knitting Antlers
Knitting antlers can be a fun and unique project to create a whimsical touch to your winter accessories. To get started, you will need a few key materials and tools to bring your vision to life.
Materials:

- Yarn: Choose a yarn in the color and texture of your choice to mimic the look of real antlers. Consider using a blend of wool and acrylic for warmth and durability.
- Knitting Needles: Select a pair of needles that are appropriate for the chosen yarn weight. Circular or straight needles can work depending on your personal preference.
- Stuffing: To give your knitted antlers proper structure and shape, you will need some polyester fiberfill or other stuffing material.
- Wire: If you want to make your antlers bendable or poseable, consider using thin craft wire to insert into your knitted pieces.
- Embroidery Floss: Adding decorative details to your antlers can be achieved with embroidery floss in various colors.
- Scissors: Make sure to have a good pair of scissors for cutting yarn and trimming any excess materials.
- Sewing Needle: A large sewing needle with a blunt end will come in handy for sewing together your knitted pieces and attaching any additional elements.
- Markers or Pins: These will be useful for keeping track of your stitches and patterns as you work through your project.
Tools:
- Tape Measure: This will help you accurately measure your antlers to ensure they are the desired size.
- Row Counter: Keeping track of your rows can be made easier with a row counter that can be attached to your knitting needles or used separately.
- Stitch Holder or Scrap Yarn: If you need to set aside any stitches or sections of your project, a stitch holder or scrap yarn can be used to keep them in place.
- Blocking Tools: Depending on the type of yarn you use and the desired outcome, you may want to consider using blocking tools, such as blocking mats and pins, to shape and set your finished antlers.
With these materials and tools in hand, you will be ready to embark on your knitting journey to create a pair of charming antlers to add a touch of whimsy to your cold-weather attire.
Selecting the Right Yarn for Your Antlers
When it comes to knitting your own antlers, selecting the right yarn is crucial. The yarn you choose will affect the look, feel, and durability of your finished project. Here are some factors to consider when selecting the yarn for your knitted antlers:
1. Weight:
Consider the weight of the yarn you want to use for your antlers. Different weights of yarn will give your antlers different textures and appearances. A bulky yarn will create thick and chunky antlers, while a fine yarn will result in delicate and slender antlers.
2. Fiber:
The type of fiber used in the yarn will also impact the final look and feel of your antlers. Natural fibers like wool can provide a more realistic and textured appearance, while synthetic fibers like acrylic can offer more durability and ease of care.
3. Color:
Choose a color that matches the desired look for your knitted antlers. If you want a realistic and natural look, opt for browns, grays, or other earth tones. If you prefer a more whimsical or creative look, feel free to choose vibrant or unconventional colors.
4. Texture:
Consider the texture of the yarn and how it will affect the appearance of your antlers. Smooth yarns will provide a sleek and polished look, while textured yarns can add depth and dimension to your antlers.
By carefully selecting the right yarn for your knitted antlers, you can ensure that your finished project meets your expectations and brings a touch of uniqueness to your knitting endeavors.
Getting Started: Casting on Stitches
The first step in knitting the antlers pattern is to cast on stitches. Casting on is the process of creating the foundation row of stitches that will be used to start the project. There are different methods for casting on, but for this specific pattern, we will be using the long-tail cast on method.
Materials:
- Knitting needles (size to fit your yarn)
- Yarn (color of your choice)
- Tape measure or ruler
To begin, measure out a length of yarn that is approximately four times the width of the project you are planning to knit. This will ensure that you have enough yarn to cast on the required number of stitches. Once you have measured the yarn, make a slipknot at one end.
Next, hold the knitting needle in your right hand and the slipknot in your left hand. Insert the needle through the slipknot from front to back, making a loop around the needle. With your left thumb and index finger, hold the yarn tail and the working yarn together.
Now, bring the needle over the top of the loop, taking the yarn along with it. Slip the loop off your left thumb, pulling it tight to create the first stitch on the needle. Repeat this process, making sure to keep the stitches snug but not too tight.
Continue casting on stitches until you reach the required number for the pattern. Once you have cast on all the stitches, you are ready to begin knitting the next section of the pattern.
Casting on stitches may take some practice to master, so don’t be discouraged if it takes a few tries to get it right. With some patience and persistence, you will soon be able to cast on stitches confidently and start knitting your beautiful knitted antlers.
Knitting the Antler Shape
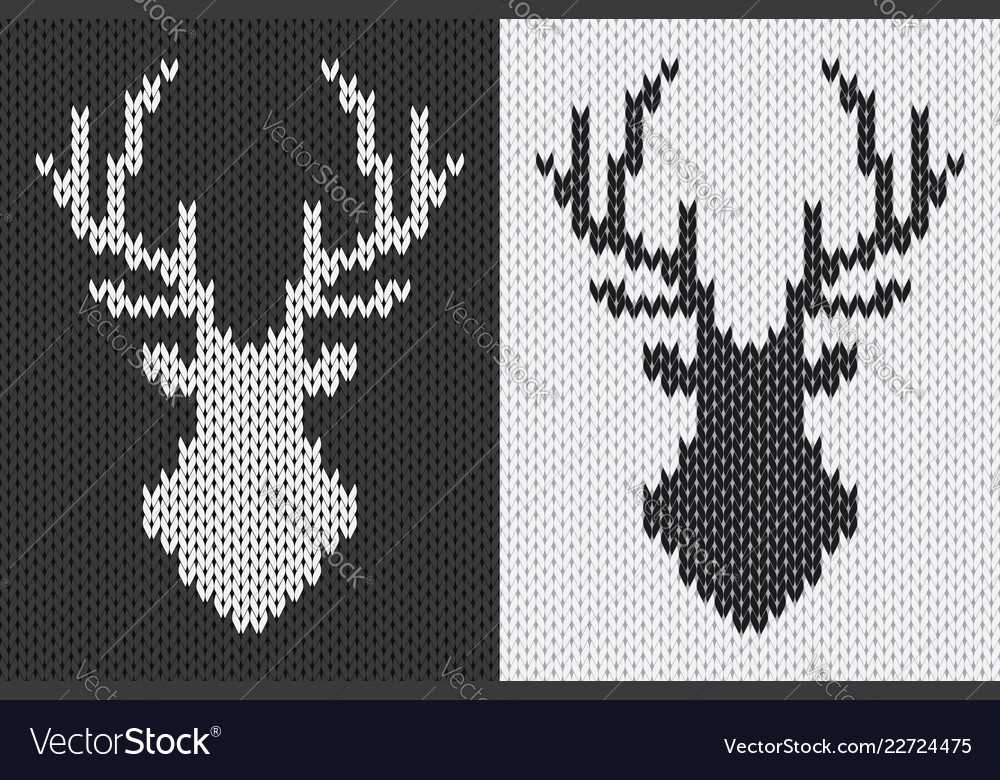
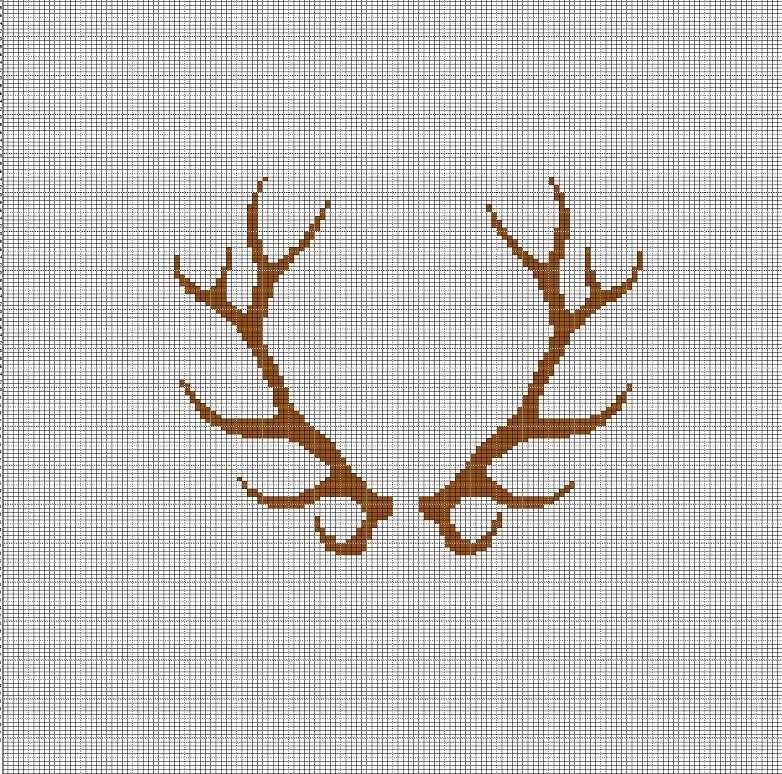
Knitting the antler shape is an exciting project that requires some skill and attention to detail. To create the realistic and intricate texture of antlers, it is important to choose the right knitting pattern and technique.
Choosing the Pattern: There are several knitting patterns available that can help you achieve the desired antler shape. Look for patterns that specifically mention antlers or animal horns, as they will provide detailed instructions and guidance.
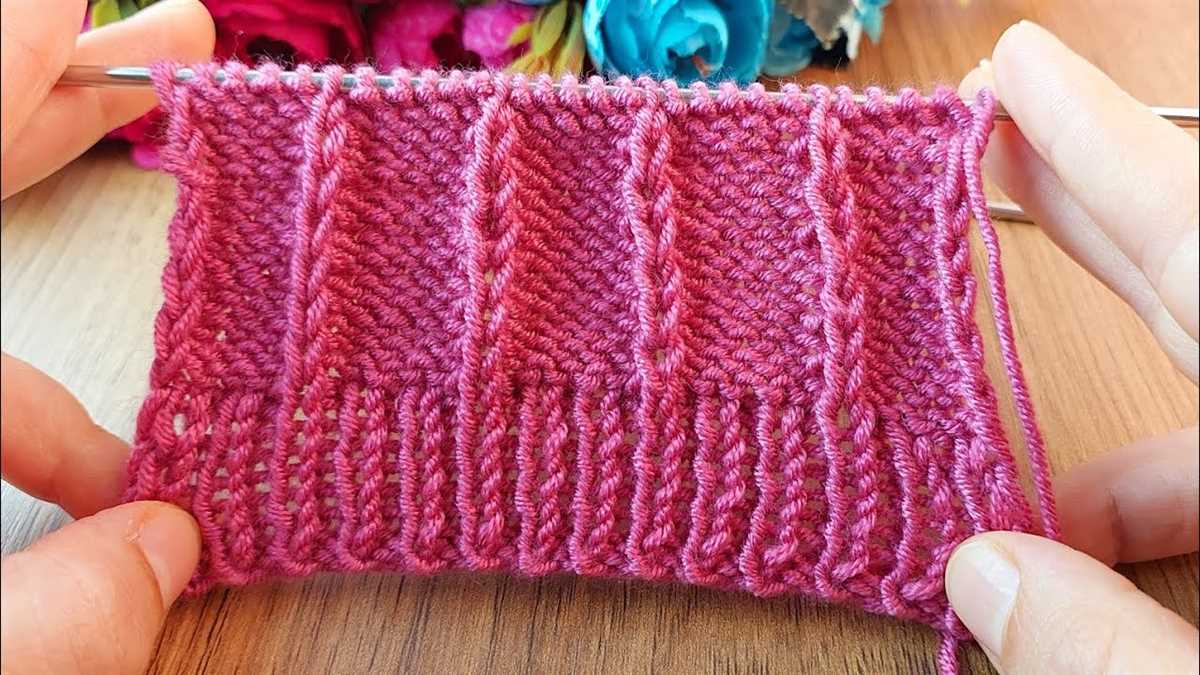
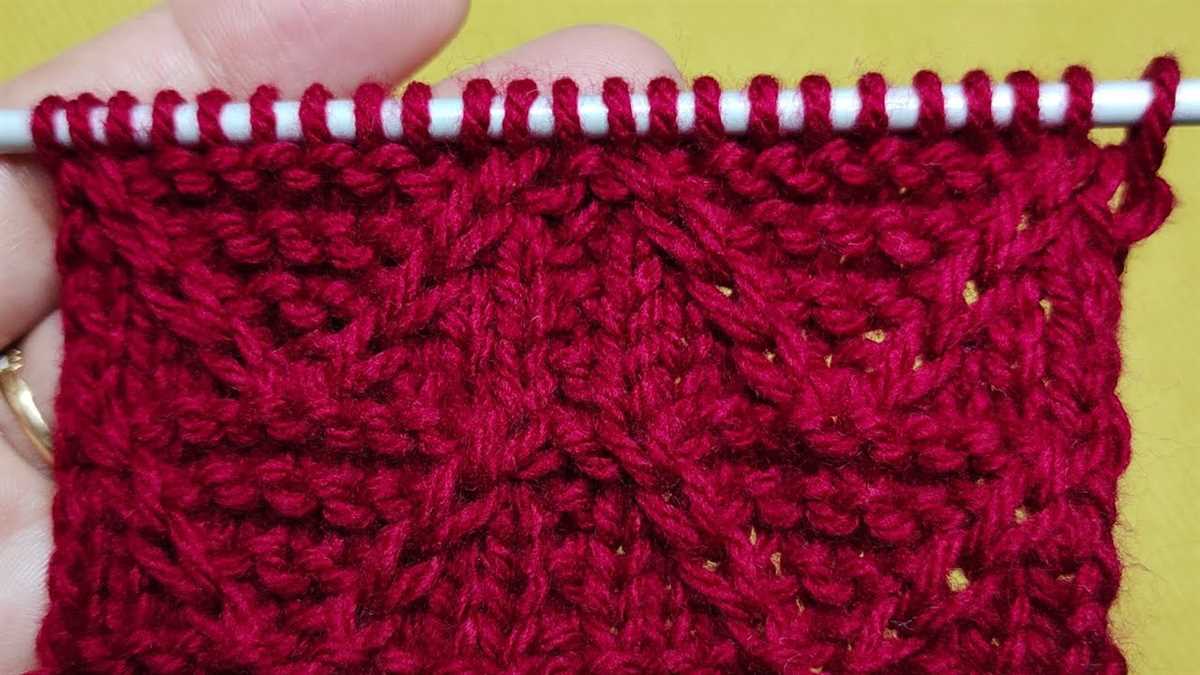
Repeating Stitches:
One common technique used in knitting antler shapes is creating repeating stitches. This involves knitting or purling a specific stitch pattern multiple times in a row to create the desired texture and shape. It is important to follow the pattern’s instructions carefully to ensure the antler shape appears as intended.
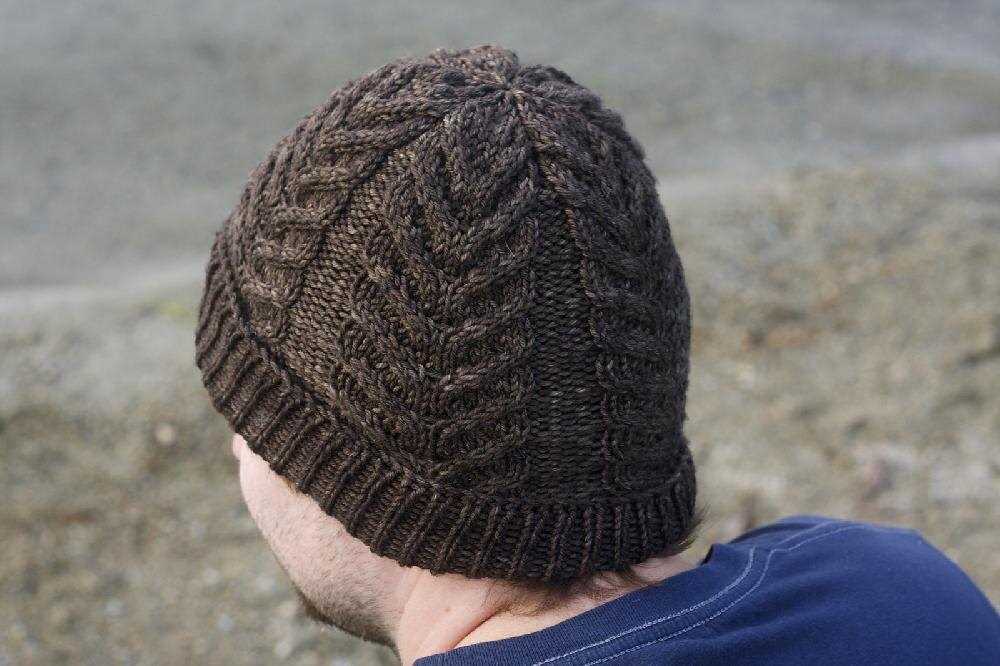
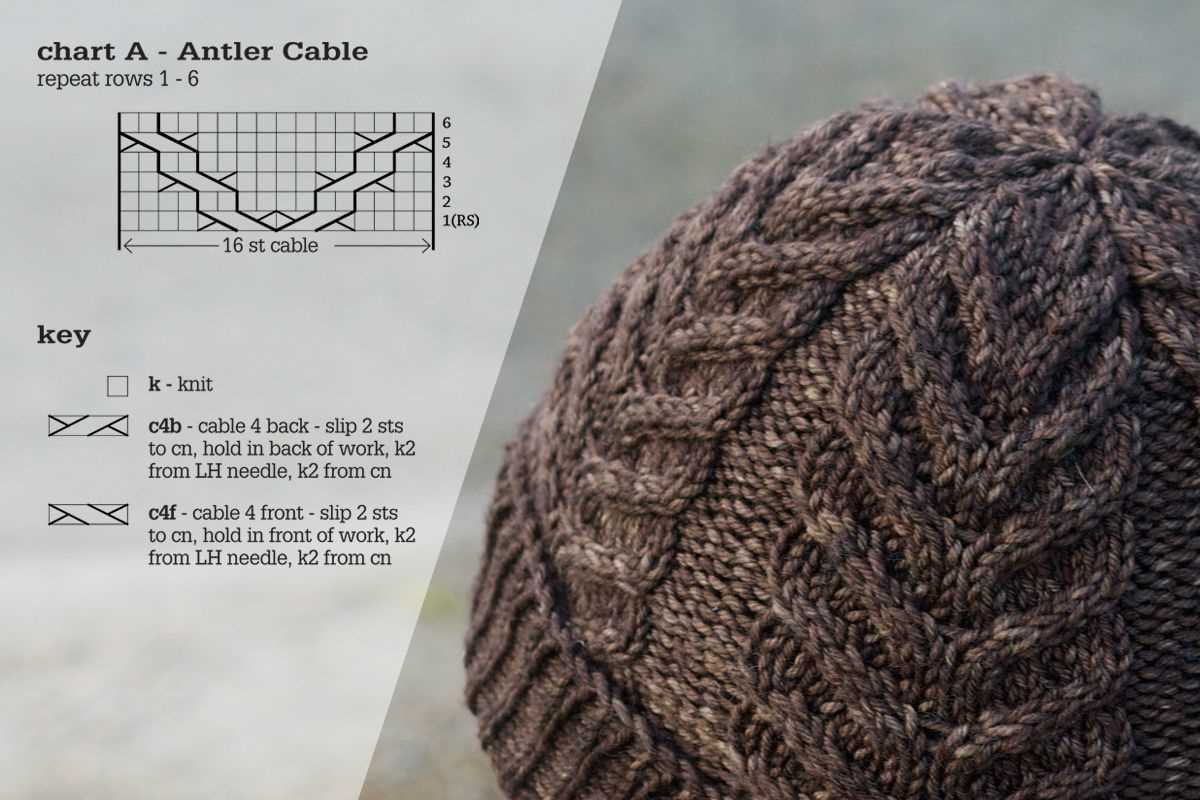
Cables and Twists:
Another technique frequently used in knitting antlers is cables and twists. These techniques involve manipulating the stitches on the knitting needles to create intricate designs and textures. By crossing stitches over each other or twisting them in specific patterns, you can create the illusion of antler shapes.
Pay Attention to Detail: When knitting the antler shape, it is crucial to pay close attention to detail. Ensure that each stitch is executed correctly and that the pattern is followed precisely. Even small deviations can affect the overall look of the antler.
- Use stitch markers to keep track of specific sections or patterns within the antler shape.
- Check your tension regularly to ensure an even and consistent appearance.
- Take your time and be patient as you work through the pattern, especially if it includes complex techniques.
By choosing the right pattern, mastering the necessary techniques, and paying close attention to detail, you can successfully knit the intricate and realistic shape of antlers. This project requires creativity and skill, but the end result will be a unique and impressive addition to your knitting repertoire.
Adding Texture and Details to Your Antlers
When knitting antlers, adding texture and details can bring your creation to life and make it more realistic. There are a few different techniques you can use to achieve this. Here are some ideas to help you get started.
1. Cabling
One way to add texture to your knitted antlers is by using cabling. Cabling involves crossing stitches over each other to create a raised, twisted pattern. You can incorporate cables into your antlers by following a cable pattern or by designing your own. This technique adds depth and interest to the antlers, making them look more like the real thing.
2. Embroidery
Another way to add details to your knitted antlers is by using embroidery. You can use different colors of yarn to stitch on patterns, such as lines or dots, to create a realistic and textured effect. Embroidery can also be used to add additional details, such as veins or knots, to the antlers. This technique allows you to customize your antlers and make them truly unique.
3. I-cord
An additional technique you can use to add texture to your knitted antlers is by using I-cord. I-cord is a narrow, tube-like strip of knitting that can be stitched onto the antlers to create a more three-dimensional effect. You can knit the I-cord using a contrasting color of yarn to make it stand out, or use the same color as the antlers for a subtle texture. This technique adds dimension and detail to the antlers, making them appear more realistic.
By incorporating these techniques into your knitted antlers, you can create a unique and realistic piece of art. Experiment with different textures and details to find the style that works best for you. Whether you choose to use cabling, embroidery, or I-cord, the end result will be a knitted masterpiece that is sure to impress.
Shaping the Antlers: Increasing and Decreasing Stitches
One of the key elements in knitting the perfect pair of antlers is knowing how to shape them properly. This involves increasing and decreasing stitches strategically to create the desired shape and size. Let’s take a closer look at how to achieve this.
Firstly, to begin shaping the antlers, you will need to increase stitches. This is done by working multiple stitches into a single stitch, effectively adding more stitches to the row. One common method of increasing stitches is the knit-front-and-back (kfb) technique. To perform a kfb, insert the right needle into the front loop of the next stitch, knit it as usual, but do not slip it off the left needle. Instead, bring the yarn to the front, insert the right needle through the back loop of the same stitch, and knit it again. Finally, slip the stitch off the left needle, and you have successfully increased one stitch.
On the other hand, decreasing stitches is necessary to create a tapered or narrow shape for the antlers. There are various ways to decrease stitches, such as knit two stitches together (k2tog) or slip, slip, knit (ssk). For a k2tog, insert the right needle into the front loop of the next two stitches on the left needle, and knit them together as if they were one stitch. Slip the resulting stitch back onto the left needle, and you have decreased one stitch. An ssk, on the other hand, involves slipping two stitches separately knitwise onto the right needle, inserting the left needle into the front loops of these two slipped stitches, and knitting them together as if they were one stitch. This creates a left-slanting decrease.
Summary:
- Increasing stitches is done to add more stitches to the row, and can be achieved with techniques such as knit-front-and-back (kfb).
- Decreasing stitches is necessary to create a tapered shape, and can be done with methods like knit-two-together (k2tog) and slip, slip, knit (ssk).
- Properly shaping the antlers involves strategically using increasing and decreasing stitches to achieve the desired shape and size.
Finishing Off Your Antlers
Once you have completed knitting your antlers, there are a few steps you need to take to finish them off and give them a polished look. Here are some tips on how to complete the final steps:
1. Seam the Antlers
First, you’ll need to seam the antlers together. Lay them flat on a table and align the edges that need to be joined. Using a yarn needle and the same color yarn you used for knitting, carefully stitch the edges together. Make sure to keep your stitches neat and even, and secure any loose ends.
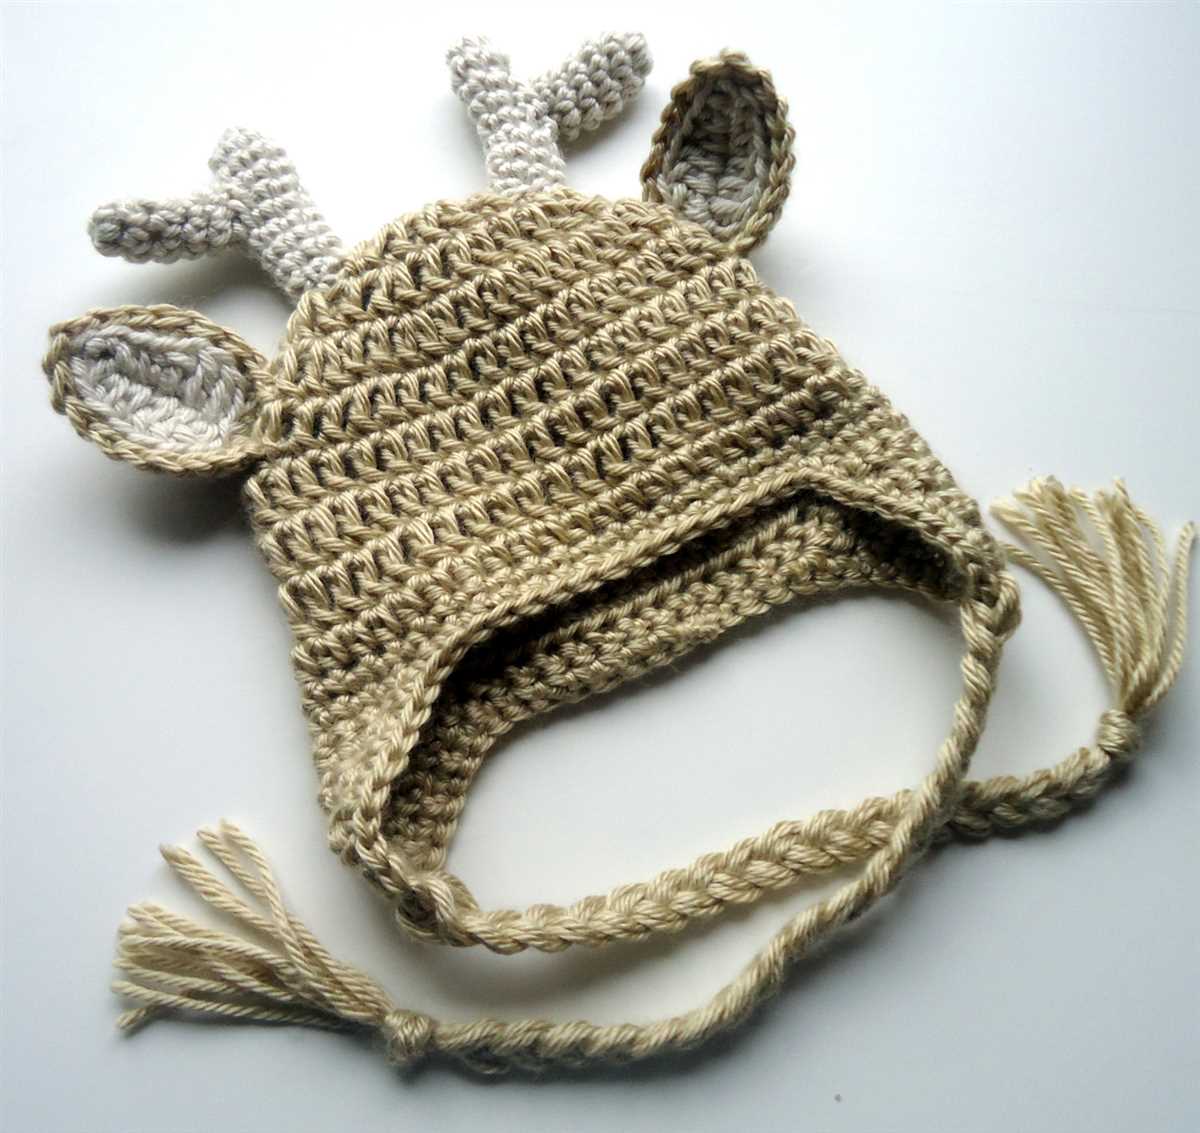
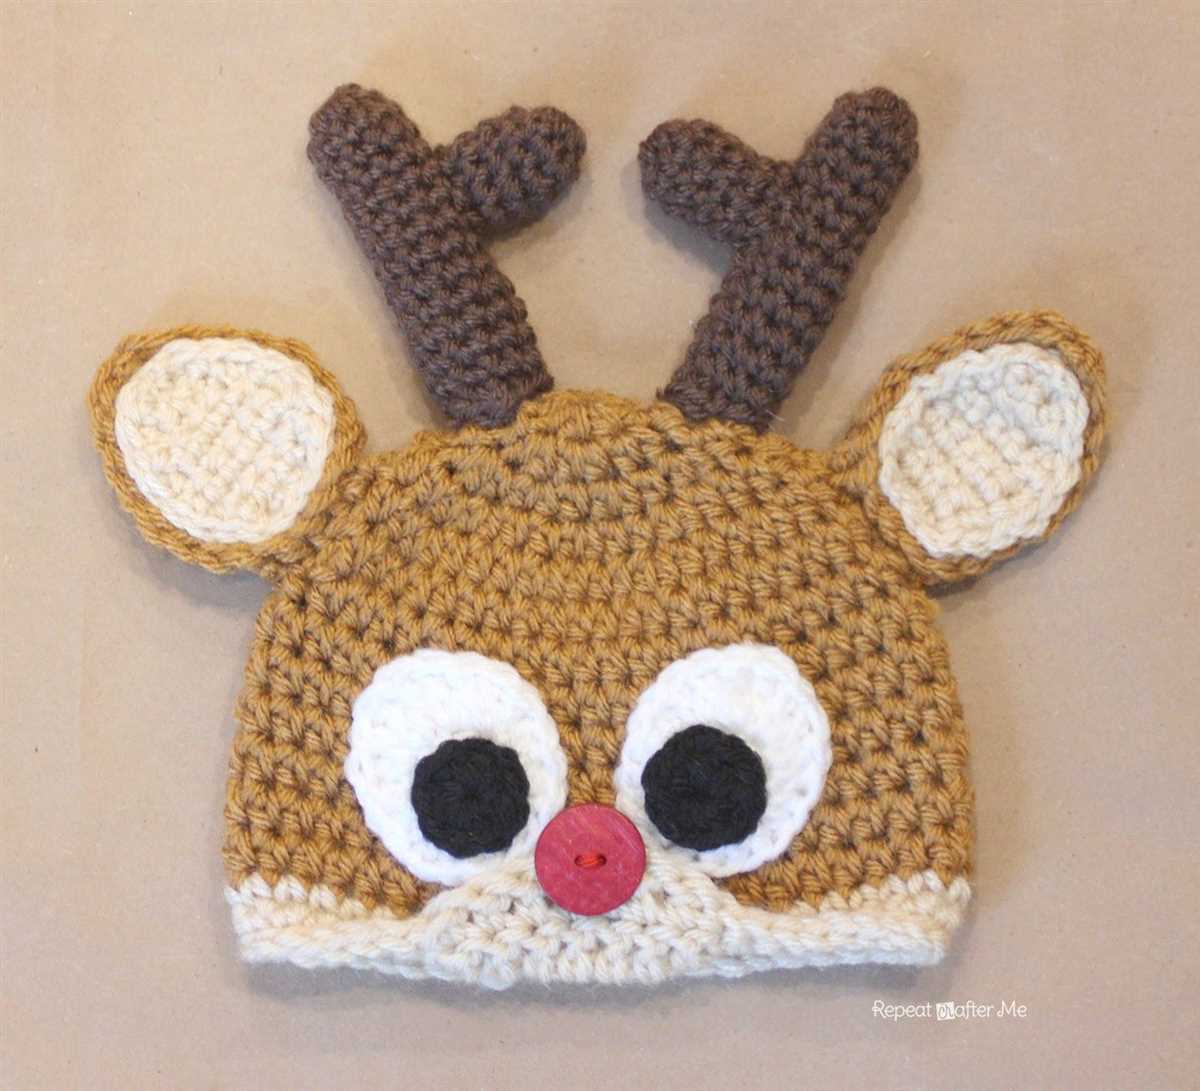
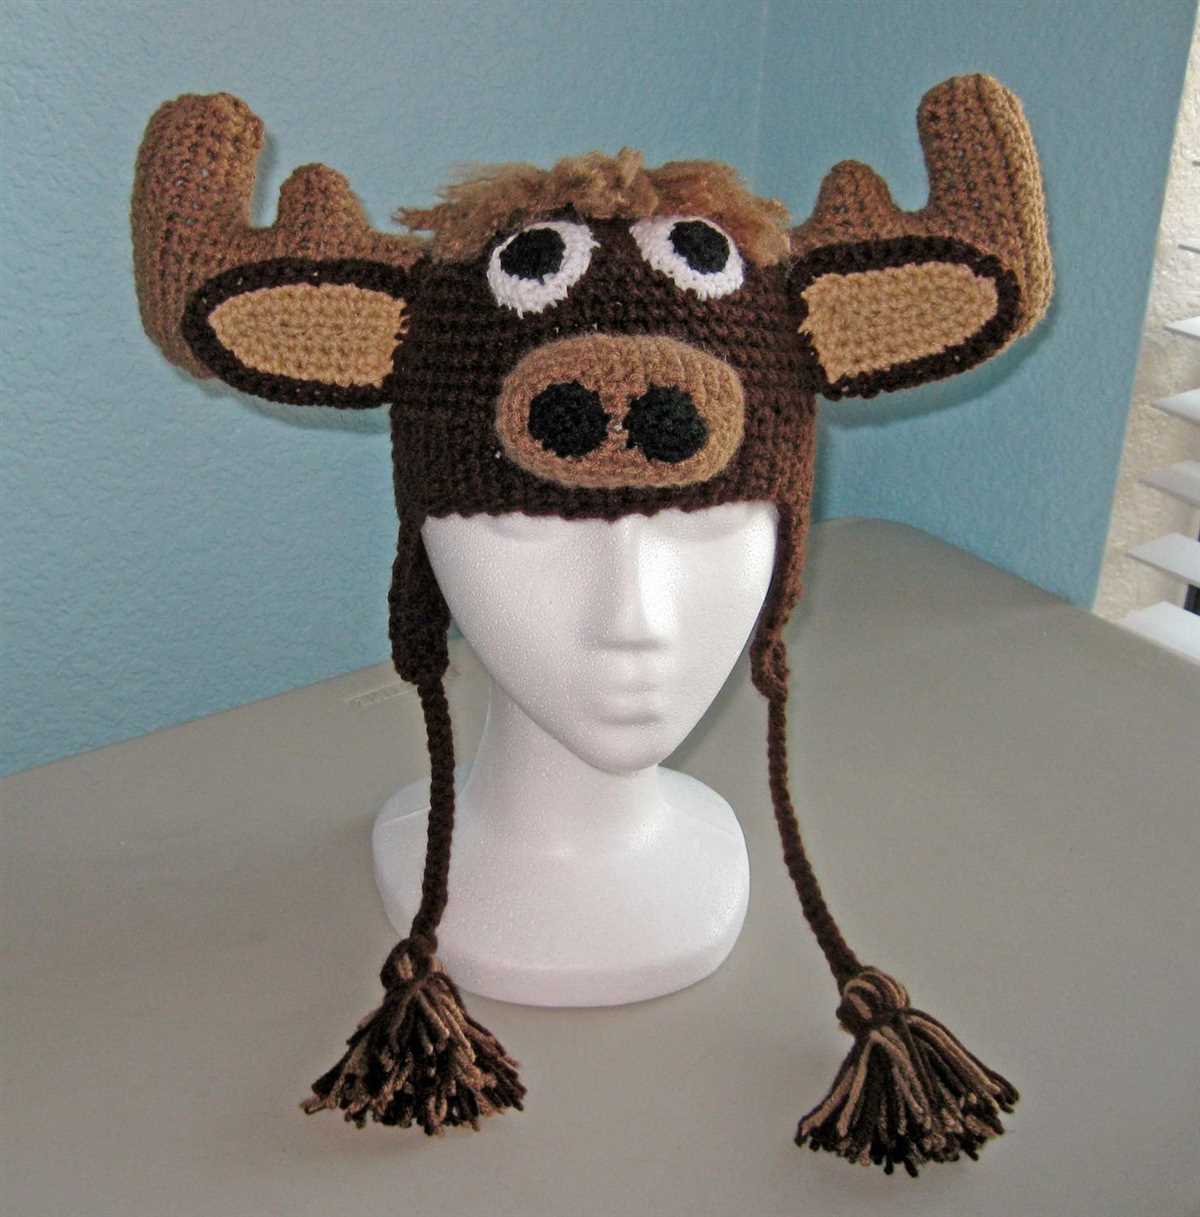
2. Attach to the Hat
Next, you’ll need to attach the finished antlers to the hat. This can be done by sewing them onto the hat using the same yarn color. Position the antlers on the hat where you want them to be and use a needle to stitch them securely in place. Make sure to sew through both the antlers and the hat to ensure they are securely attached.
3. Add any Embellishments
If desired, you can add some extra embellishments to your antlers to make them stand out even more. This could include adding some beads or sequins, or even wrapping some ribbon around the base of the antlers. Get creative and personalize your antlers to suit your style.
Finishing off your knitted antlers is an important step in completing your project. By carefully seaming the antlers, attaching them securely to your hat, and adding any extra embellishments, you can ensure that your antlers look polished and professionally finished.
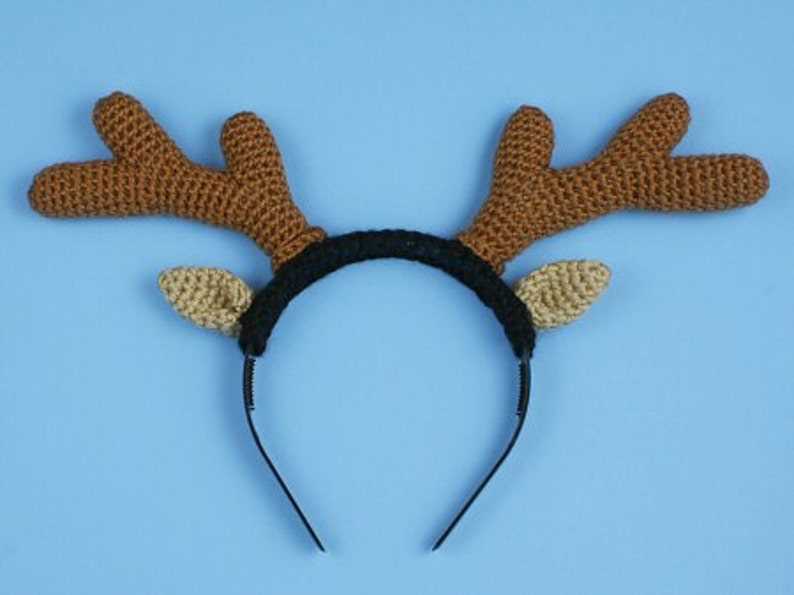
Attaching the Antlers to a Hat or Headband
Once you have completed knitting the antlers according to the pattern, it’s time to attach them to a hat or headband. This step is crucial to ensure that the antlers stay securely in place while wearing the accessory.
To begin, gather the necessary materials, including the knitted antlers, a hat or headband, and a yarn needle. Make sure that the hat or headband is made from a stretchy material that can accommodate the added weight of the antlers.
Attaching the Antlers to a Hat:
1. Position the knitted antlers on the hat in the desired location. Use pins to hold them in place temporarily if necessary.
2. Thread the yarn needle with a length of matching yarn. Starting from the inside of the hat, insert the needle through the base of one antler and then through the hat, making sure to catch a stitch to secure the antler in place.
3. Repeat the previous step for the other antler, ensuring that both are securely attached to the hat.
4. Once the antlers are attached, weave in any loose ends of yarn to ensure a neat finish.
Attaching the Antlers to a Headband:
1. Position the knitted antlers on the headband in the desired location. Use pins to hold them in place temporarily if necessary.
2. Thread the yarn needle with a length of matching yarn. Starting from the inside of the headband, insert the needle through the base of one antler and then through the headband, making sure to catch a stitch to secure the antler in place.
3. Repeat the previous step for the other antler, ensuring that both are securely attached to the headband.
4. Once the antlers are attached, weave in any loose ends of yarn to ensure a neat finish.
By following these steps, you can successfully attach the knitted antlers to a hat or headband, creating a fun and festive accessory for various occasions. Make sure to double-check the attachment points periodically to ensure that the antlers remain securely in place during wear.
Optional Embellishments for Your Knitted Antlers
Once you have knitted your antlers, you have the opportunity to make them even more unique and eye-catching by adding optional embellishments. These extra details can take your project to the next level and truly make your antlers stand out.
Here are some ideas for optional embellishments:
- Glitter or Sequins: Add some sparkle to your antlers by attaching glitter or sequins. You can use fabric glue or sewing thread to secure the glitter or sequins to the antlers.
- Ribbons or Bows: Enhance the look of your antlers by tying ribbons or bows around them. Choose festive colors or patterns that complement your knitted antlers.
- Faux Flowers: Add a touch of nature to your antlers by attaching faux flowers. You can secure them with hot glue or stitching.
- Bells: Give your antlers a festive jingle by attaching small bells. You can thread them onto a string and tie the string around the antlers.
Remember, these embellishments are optional and can be customized to fit your personal style and preferences. Don’t be afraid to get creative and have fun with your knitted antlers!
Show off Your Knitted Antlers and Share Your Creations
Now that you have completed your knitted antlers, it’s time to show them off and share your creations with others! Whether you created a pair for yourself or made them as a gift, the Knitted Antlers Pattern is a fun and festive project that is sure to spark conversation.
Share your photos on social media using the hashtag #KnittedAntlersPattern and tag us @knittinglovers. We can’t wait to see your unique take on this pattern and admire your handiwork!
Options for Sharing Your Knitted Antlers
If you’re looking for more ways to showcase your knitted antlers, here are a few ideas:
- Create a blog post or tutorial detailing your experience knitting the antlers. Include step-by-step instructions, tips, and tricks you discovered along the way.
- Join a knitting community or forum and share your photos and experiences with fellow knitters. You may even inspire others to give the Knitted Antlers Pattern a try!
- Donate your knitted antlers to a local charity or organization. Spread holiday cheer by giving back to those in need.
- Create a mini photo shoot with your knitted antlers and share the pictures with friends and family. It’s a fun and creative way to celebrate the season!
Remember, the Knitted Antlers Pattern is just the beginning. Feel free to get creative and make modifications to personalize your antlers. Experiment with different yarn colors, add embellishments like bells or ribbons, or even incorporate them into other holiday crafts.
Happy knitting and happy holidays!