
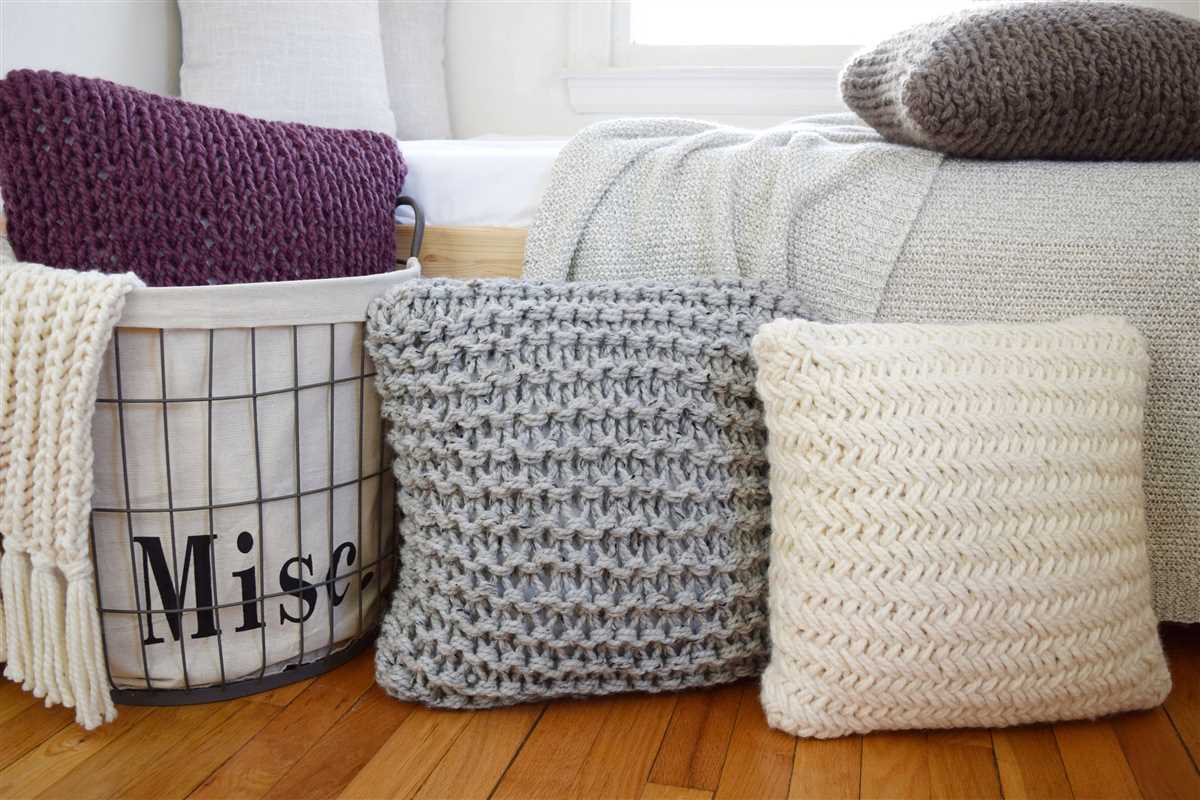
If you’re looking to add a cozy and stylish touch to your home decor, a knit pillow is the perfect project. With this free pattern, you can create a beautiful and comfortable pillow that will make any room feel warm and inviting. Whether you’re a beginner or an experienced knitter, this pattern is suitable for all skill levels. It’s also a great way to use up leftover yarn from previous projects.
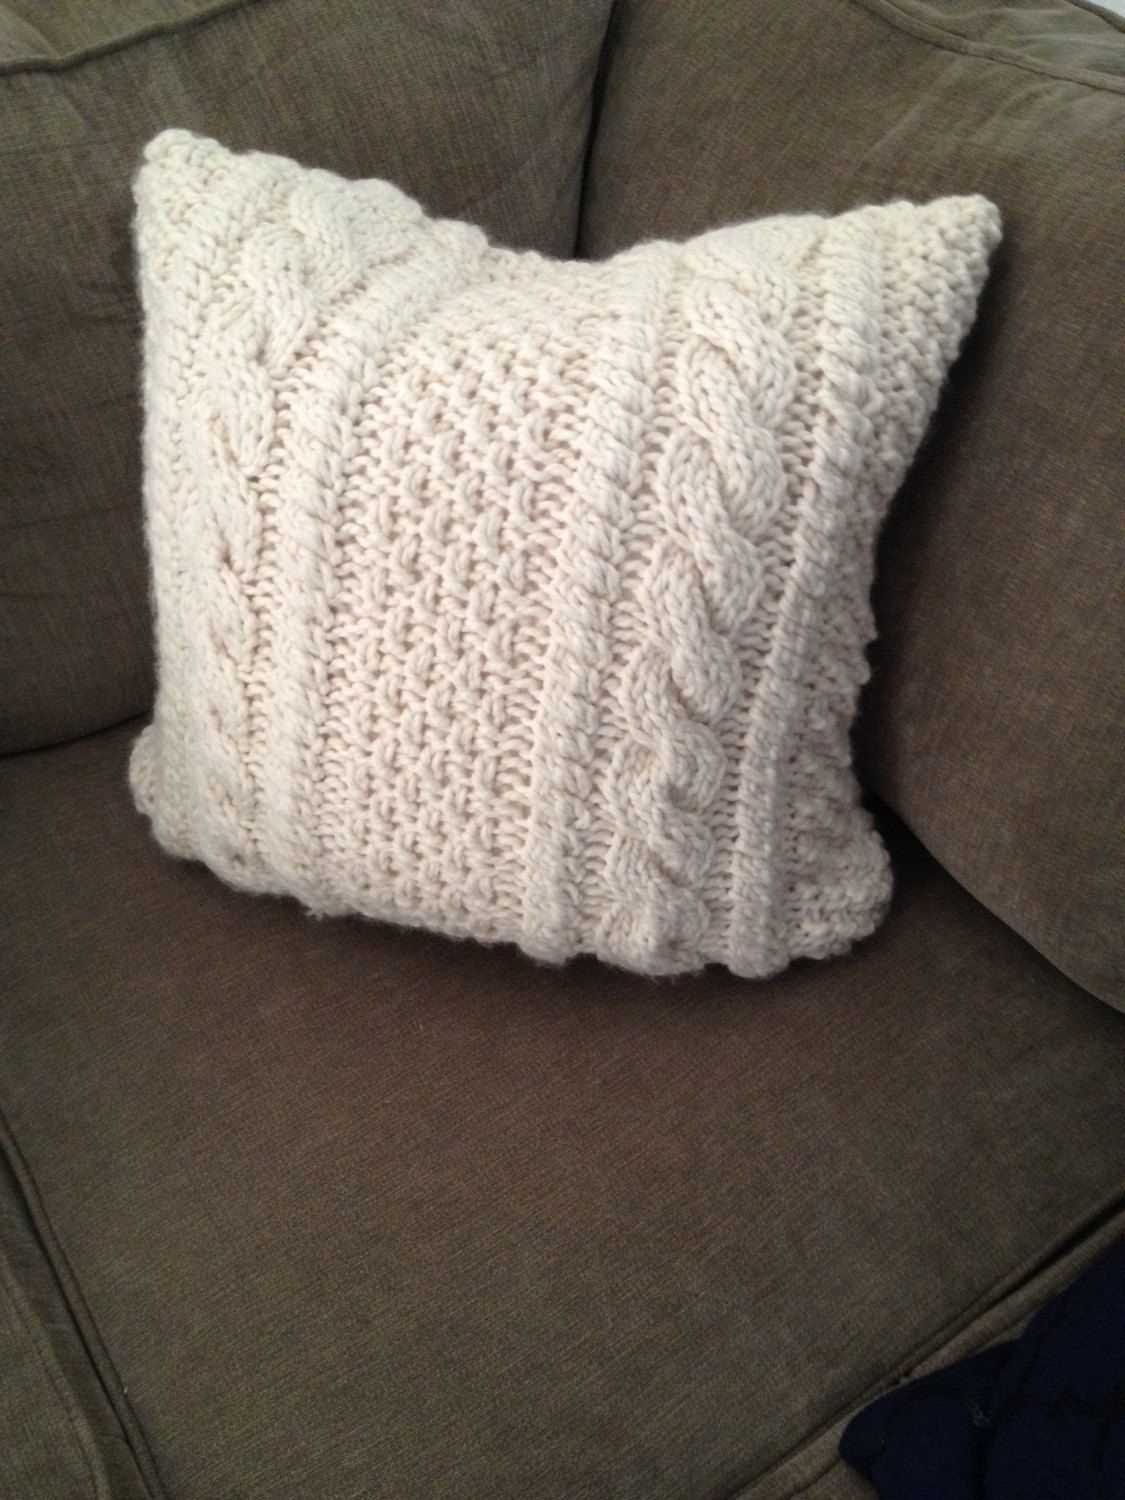
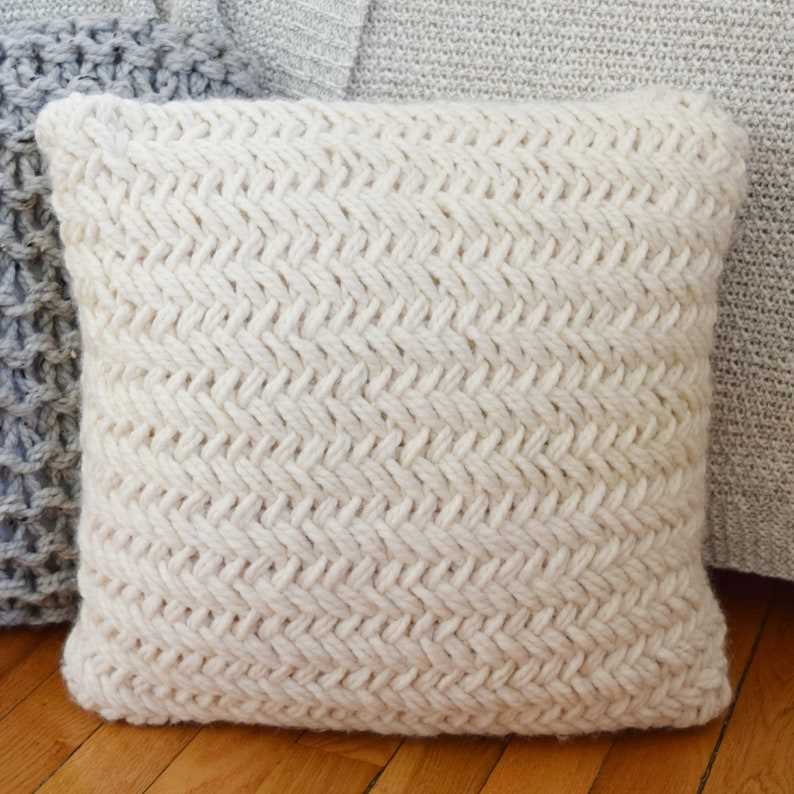
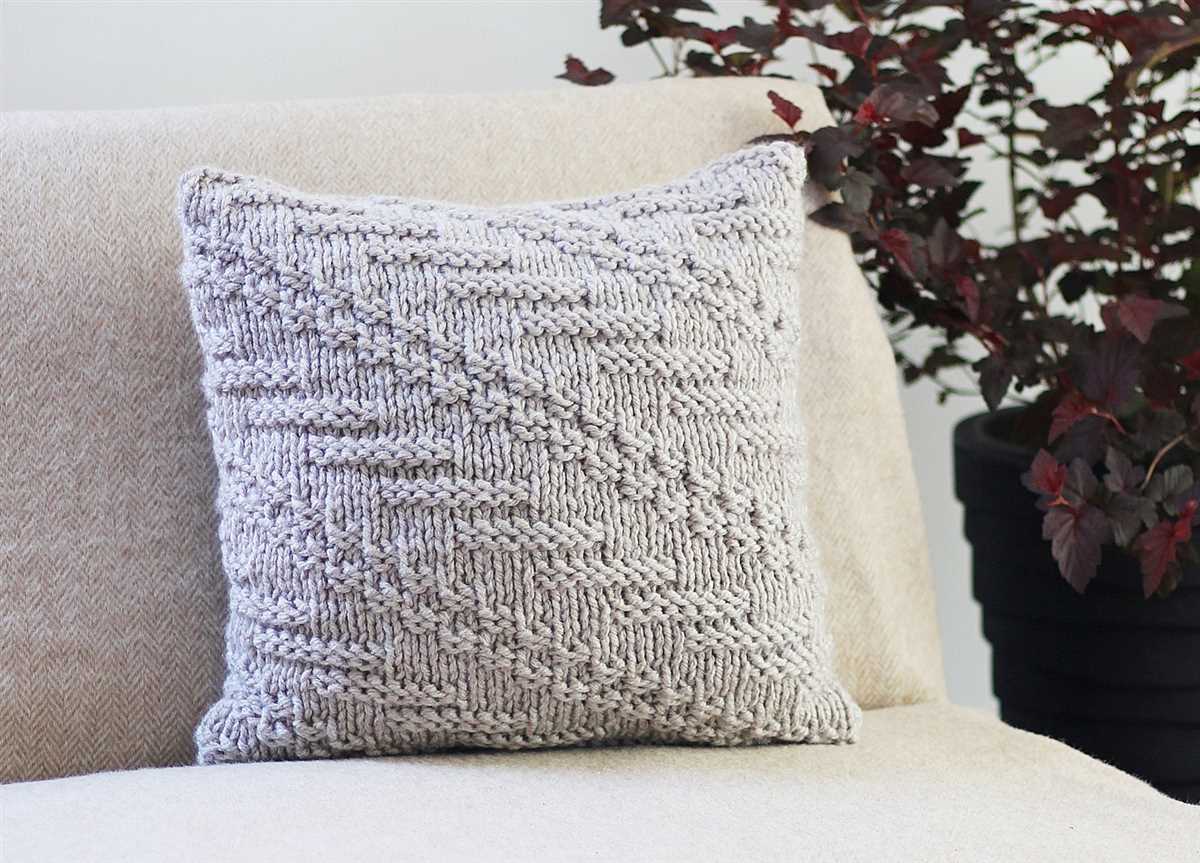
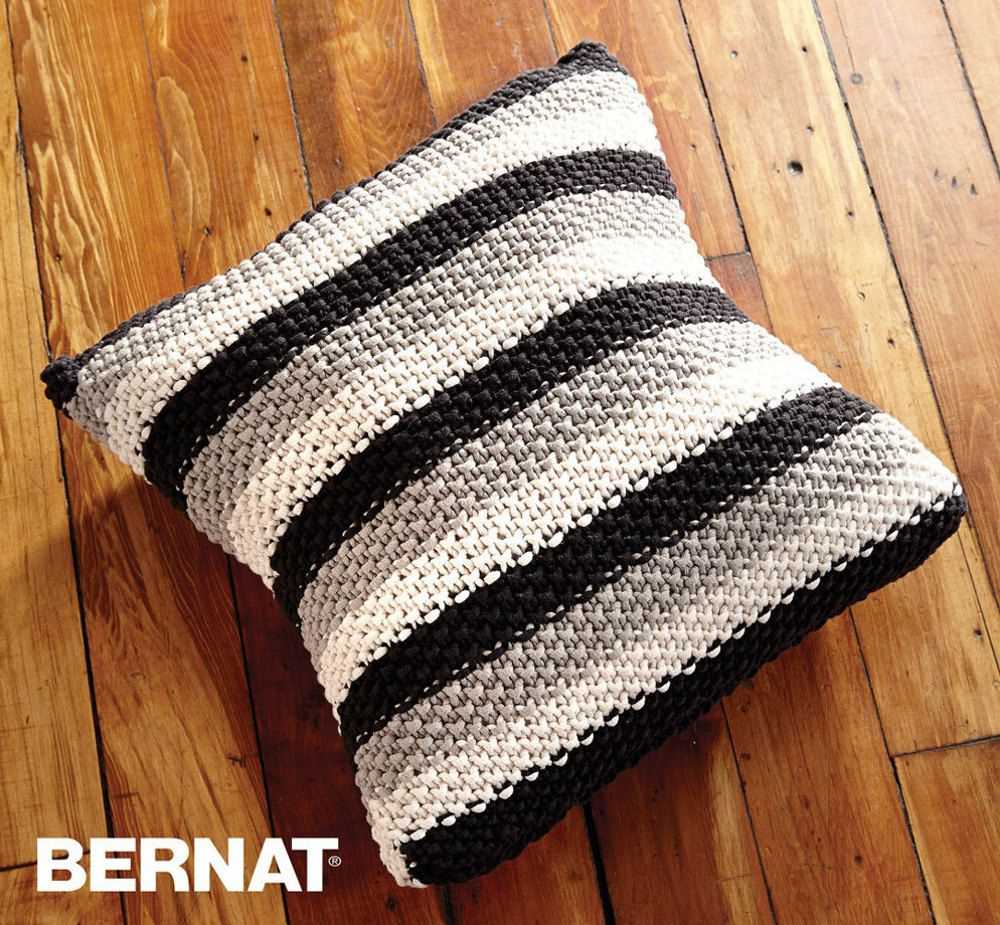
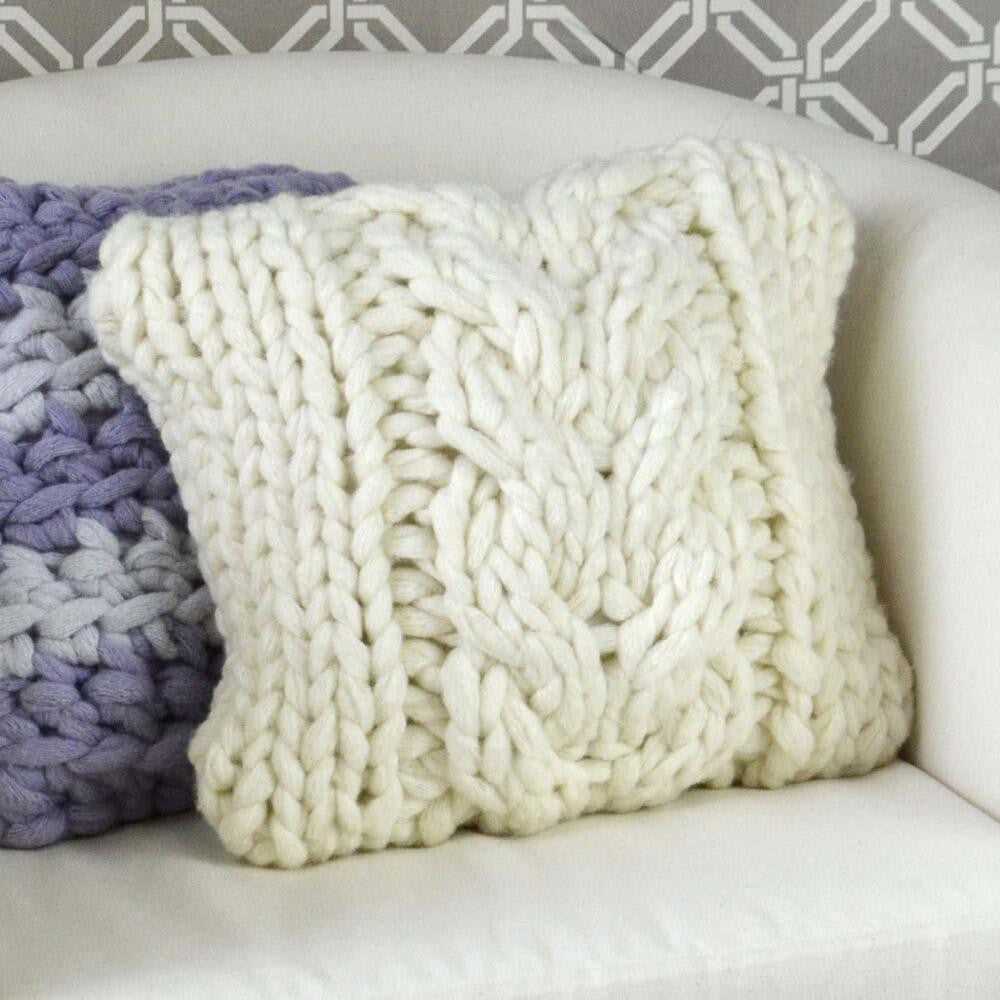
The pattern features a classic cable design that adds texture and interest to the pillow. It’s knit in a chunky yarn, which not only makes it quick to knit but also gives the pillow a plush and luxurious feel. You can choose any color that complements your decor, whether you prefer a neutral tone or a vibrant pop of color. The pattern provides instructions for two different sizes, so you can make pillows for both your couch and your bed.
The best part is that this pattern is completely free. You don’t need to spend a fortune on expensive designer pillows when you can make your own for a fraction of the cost. Knitting your own pillow allows you to customize it to your exact preferences and ensure that it matches your personal style. Plus, it’s a fun and relaxing project that allows you to unwind and express your creativity.
Why You’ll Love This Free Knit Pillow Pattern
If you’re an avid knitter or just starting out, you’re going to love this free knit pillow pattern. It’s the perfect project to showcase your knitting skills and create a cozy and stylish accessory for your home. Whether you’re looking to add a pop of color to your living room or create a personalized gift for a loved one, this pattern has got you covered.
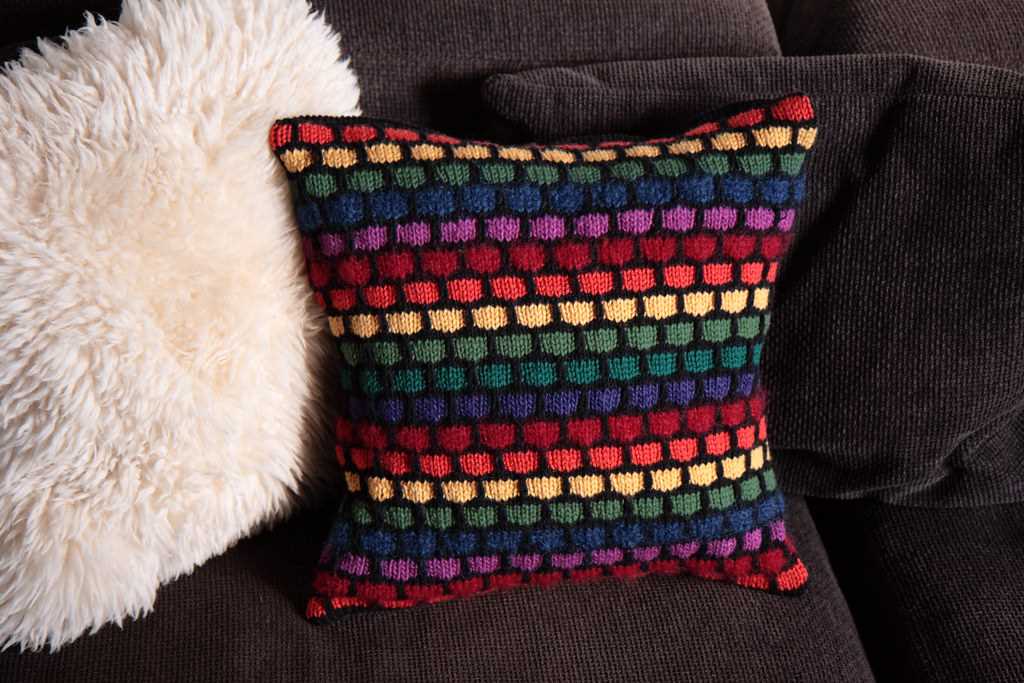
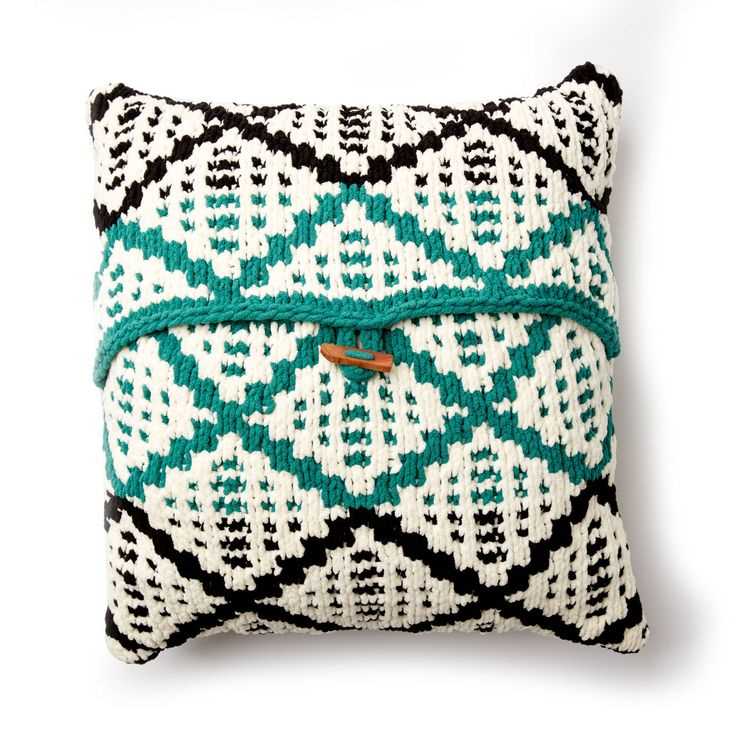
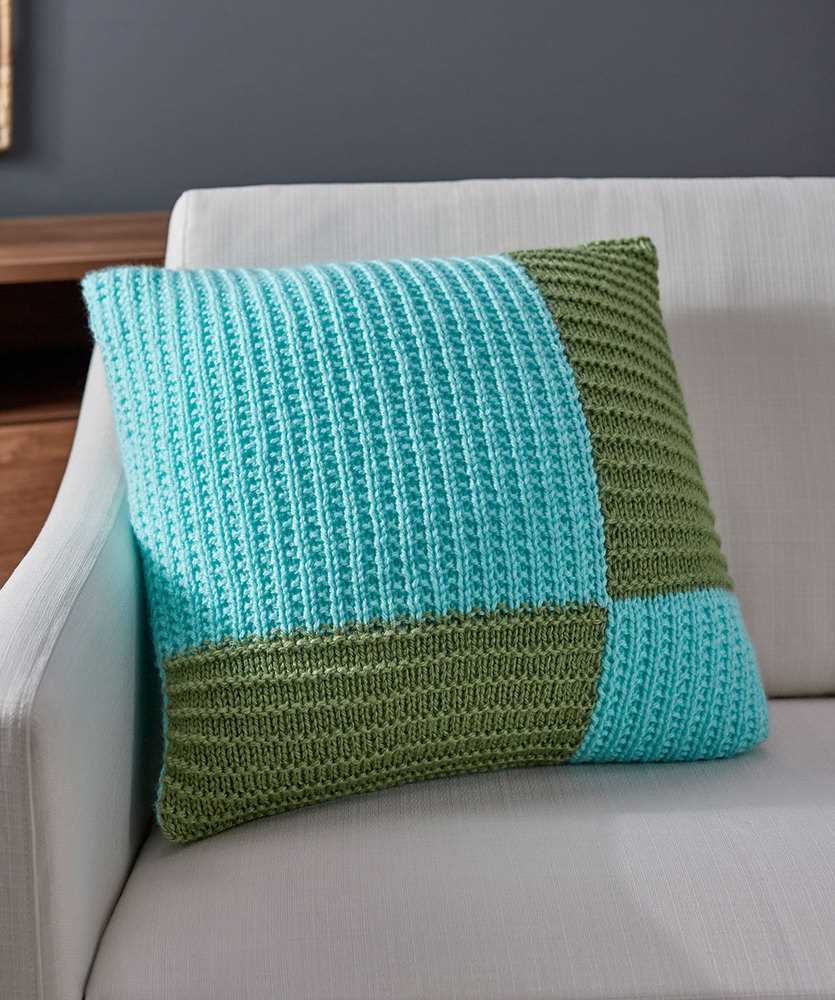
One of the things that sets this knit pillow pattern apart is its versatility. With a variety of stitch patterns and color choices, you can customize this pillow to match any decor style or personal preference. From simple garter stitch to intricate cables, you can choose the stitches that showcase your knitting abilities and create a one-of-a-kind pillow that’s truly unique.
Designed with comfort in mind
This free knit pillow pattern doesn’t just look good, it’s also designed with comfort in mind. The pattern includes instructions for using a soft and plush yarn that will make your pillow irresistibly cozy. You’ll love how this pillow feels against your skin and how it adds an extra layer of comfort to your favorite chair or couch.
A quick and rewarding project
If you’re looking for a knitting project that won’t take weeks or months to complete, this free knit pillow pattern is perfect for you. With its straightforward instructions and easily memorizable stitch patterns, you’ll be able to whip up this pillow in no time. Plus, seeing your progress as the pillow takes shape will provide you with a sense of accomplishment and keep you motivated to finish.
Perfect for all skill levels
Whether you’re a seasoned knitter or a beginner, this free knit pillow pattern is suitable for all skill levels. With its clear and detailed instructions, even those who are new to knitting can successfully complete this project. It’s a great way to learn new stitches and techniques while creating a beautiful and functional item for your home.
Materials You’ll Need to Make a Knit Pillow
Knitting a pillow can be a fun and rewarding project, and all you need are a few basic materials to get started. Whether you’re a seasoned knitter or just starting out, here are the essential supplies you’ll need to make a knit pillow.
1. Yarn: The first thing you’ll need is yarn. Choose a high-quality yarn that is soft and cozy, as this will ensure your pillow is comfortable to rest on. Consider the size of your pillow and how much yarn you’ll need to cover it. You can find a variety of yarn options in different colors and textures to match your home decor.
2. Knitting Needles: You’ll also need knitting needles to work with your yarn. The size of the needles will depend on the thickness of the yarn you choose. Make sure to check the yarn label for recommended needle sizes. If you’re unsure, start with a medium-sized pair of needles (US size 8-10) as they are versatile and widely used.
3. Stitch Markers: Stitch markers are helpful tools that help you keep track of your stitches and patterns. They come in different styles, such as locking markers or clip-on markers, and can be easily moved along your knitting needles. Using stitch markers will help prevent mistakes and make it easier to read your knitting.
4. Scissors: Scissors are a must-have tool for any knitting project. You’ll need them to cut your yarn and trim any excess. Choose a pair of sharp, lightweight scissors that are easy to handle. It’s also a good idea to have a small pair of scissors with pointed tips for working on finer details.
5. Pillow Form: Finally, you’ll need a pillow form to stuff your knitted cover. Pillow forms come in various sizes, so make sure to choose one that matches the dimensions of your knit pillow. You can find pillow forms in fabric or polyfill, depending on your preference.
With these essential materials, you’ll be well-equipped to create a beautiful knit pillow that adds a cozy touch to your home decor. Get ready to relax and enjoy the process of knitting your own stylish pillow.
Choosing the Right Yarn for Your Knit Pillow
When it comes to knitting a pillow, selecting the right yarn is essential to ensure both the appearance and functionality of your final product. With so many options available, it can be overwhelming to choose the perfect yarn for your project. However, by considering a few key factors, you can make an informed decision that will result in a beautiful and long-lasting knit pillow.
1. Fiber Content: The first factor to consider is the fiber content of the yarn. Different fibers have different characteristics, and it’s important to choose one that suits your needs. For a soft and cozy pillow, natural fibers such as wool or alpaca are excellent choices. These fibers provide warmth and tend to be more breathable compared to synthetic materials. However, if you prefer a more lightweight and hypoallergenic option, acrylic yarn might be a better fit. Additionally, considering the care instructions for the yarn is crucial to ensure your pillow stays in good condition over time.
2. Thickness: The thickness or weight of the yarn also plays a significant role in the outcome of your knit pillow. Thicker yarns will result in a bulkier and more substantial pillow, while thinner yarns will create a lighter and more delicate look. It’s important to consider the pattern you’ll be using and the desired texture and feel of the pillow. If you want a more textured design, a thicker yarn with a higher stitch definition would be ideal. On the other hand, if you’re aiming for a more dainty and delicate pillow, a thinner yarn would be a better choice.
When choosing the right yarn for your knit pillow, it’s crucial to consider the fiber content and thickness of the yarn. By taking these factors into account, you can ensure that your pillow turns out just as you envisioned and meets your specific needs and preferences. Whether you opt for a soft and cozy natural fiber or a lightweight and hypoallergenic synthetic yarn, choosing the right yarn will ultimately result in a beautiful and functional knit pillow.
The Essential Knitting Needles for Your Project
When starting a knitting project, one of the most important decisions you will make is choosing the right knitting needles. The type of needles you choose can significantly impact the outcome of your project, so it’s crucial to select the appropriate ones for your specific needs.
Straight Needles: Straight knitting needles are the most common type of knitting needles. They are usually long, thin, and have a pointed tip on one end. Straight needles are perfect for flat knitting projects such as scarves, blankets, and washcloths. The length of the needles is determined by the width of your project.
Circular Needles: Circular needles consist of two long needles connected by a flexible cable. They are versatile and can be used for both flat and circular knitting projects. Circular needles are ideal for larger projects like sweaters or blankets, as they can hold a large number of stitches and distribute the weight of the project evenly.
Double-Pointed Needles: Double-pointed needles, also known as DPNs, are shorter needles with pointed ends on both sides. They are typically used for small, circular knitting projects such as socks, gloves, and hats. DPNs allow you to work in the round without the need for circular needles or magic loop techniques.
Interchangeable Needles: Interchangeable needles are a versatile option for knitters who want to have a wide range of needle sizes and lengths without purchasing multiple sets. These needles consist of interchangeable tips and cables that can be easily swapped out to accommodate different projects. Interchangeable needles are a cost-effective and space-saving solution for avid knitters.
Bamboo Needles: Bamboo needles are known for their lightweight and warm feel. They provide a smooth knitting experience and are perfect for those who prefer a natural material. Bamboo needles are also less slippery than metal needles, making them an excellent choice for beginners or knitters with arthritis.
- Straight Needles: best for flat knitting projects.
- Circular Needles: versatile, suitable for flat and circular projects.
- Double-Pointed Needles: used for small, circular projects.
- Interchangeable Needles: offer flexibility and variety.
- Bamboo Needles: lightweight and warm, perfect for beginners.
Ultimately, the choice of knitting needles will depend on your personal preferences and the specific requirements of your project. Consider factors like the type of project, yarn weight, and your knitting style when selecting your needles. With the right needles, you’ll be on your way to creating beautiful knitted items!
How to Cast On Stitches for Your Knit Pillow
When starting a knitting project, the first step is to cast on stitches. Casting on is the process of creating the foundation row of stitches that will be worked throughout the project. In the case of a knit pillow, casting on will determine the width of the pillow and set the stage for the pattern.
To cast on stitches for your knit pillow, you will need knitting needles and yarn. Start by making a slip knot at the end of the yarn and place it on one of the knitting needles. Hold the needle with the slip knot in your right hand, and the empty needle in your left hand.
Next, insert the point of the left needle into the slip knot from left to right, bringing the needle under the right-hand needle. With your right hand, bring the yarn over the left needle, forming a loop. Bring the right-hand needle down and under the left-hand needle, catching the loop of yarn and bringing it through the slip knot. This creates the first stitch.
Repeat this process until you have cast on the desired number of stitches for your knit pillow. Make sure to keep the stitches on the needle loose enough to easily work with, but not so loose that they slip off. Once all the stitches are cast on, you are ready to begin knitting your pillow.
Step-by-Step Instructions for the Knit Stitch
The knit stitch is one of the basic stitches in knitting and is essential for any knitting project. Whether you are a beginner or an experienced knitter, it is important to master this stitch. Here are step-by-step instructions to help you learn and perfect the knit stitch.
Gather Your Materials
Before you can start knitting, make sure you have all the necessary materials. You will need knitting needles, yarn, and a pair of scissors. Choose a yarn that is suitable for your project and a pair of needles that are compatible with the yarn weight.
Hold the Needles
To start knitting, hold one knitting needle in each hand. The right-hand needle is the working needle, and the left-hand needle is the holding needle. Make sure the working needle is in your dominant hand and the holding needle is in your non-dominant hand.
Make a Slip Knot
Create a slip knot at the end of the yarn, leaving a tail of about 4-6 inches. Slide the slip knot onto the right-hand needle, and tighten it by pulling the yarn end.
Insert the Needle
With the slip knot on the right-hand needle, insert the tip of the left-hand needle into the front of the slip knot from left to right. The needles should cross each other with the right-hand needle behind the left-hand needle.
Wrap the Yarn
Bring the yarn over the top of the right-hand needle, from back to front. This creates a loop around the right-hand needle.
Pull Through
Using the right-hand needle, pull the loop of yarn through the slip knot, bringing it forward and between the needles. The slip knot will now be on the right-hand needle.
Repeat
Continue repeating steps 3-5 until you have completed the desired number of knit stitches. Each time you complete a knit stitch, slide the newly formed stitch onto the right-hand needle to make room for the next stitch.
With these step-by-step instructions, you can confidently knit using the knit stitch. Practice the stitch until you feel comfortable with the technique, and soon you’ll be ready to tackle more advanced knitting patterns.
How to Purl Stitch for a Patterned Pillow
When knitting a patterned pillow, one of the basic stitches that you will commonly use is the purl stitch. The purl stitch creates a raised and textured fabric, which adds depth and interest to your knitting project. In this tutorial, we will guide you step by step on how to purl stitch for a patterned pillow.
Step 1: Prepare your materials
Before you start purl stitching, make sure you have all the necessary materials at hand. You will need your knitting needles, yarn, and a pattern for your pillow. Choose a soft and durable yarn that is suitable for pillows. Make sure to read and understand the pattern before you begin.
Step 2: Hold your knitting needles
To purl stitch, hold your knitting needles in your preferred hand. The empty needle should be in your right hand and the needle with the stitches should be in your left hand. Make sure the yarn is positioned at the back of your work.
Step 3: Insert the right needle
To purl stitch, insert the tip of the right needle into the first stitch on the left needle from right to left. The right needle should be behind the left needle.
Step 4: Wrap the yarn
With the yarn positioned at the back of your work, bring the yarn to the front of your work, between the two needles. Wrap the yarn counterclockwise around the right needle, making sure to keep the tension moderate.
Step 5: Pull the yarn through
While holding the yarn in place, use the right needle to bring it through the stitch on the left needle. This will create a new stitch on the right needle.
Step 6: Slide the stitch off
After pulling the yarn through, slide the stitch off the left needle and onto the right needle. You have successfully completed one purl stitch.
Step 7: Repeat the process
Repeat steps 3 to 6 for the remaining stitches on the left needle. Continue purl stitching as instructed in your pattern until you have completed the required number of rows or stitches for your patterned pillow.
Step 8: Finishing your patterned pillow
Once you have finished purl stitching all the required rows for your patterned pillow, follow the instructions in your pattern to complete the rest of your pillow. This may include knitting additional sections, shaping the pillow, or adding any desired embellishments.
By following these steps, you will be able to purl stitch for a patterned pillow with ease. Enjoy the process of creating a textured and beautiful pillow that will add warmth and style to your home.
Pattern Instructions for Your Knit Pillow
In this pattern, we will provide you with step-by-step instructions on how to knit your own cozy pillow. Whether you’re a beginner or an experienced knitter, this pattern is suitable for all skill levels. You’ll be able to customize your pillow with your favorite colors and create a unique piece for your home.
Materials:
- Size 10 knitting needles
- Super bulky yarn in your chosen colors
- Yarn needle
- Pillow insert
Instructions:
- Cast on 60 stitches.
- Begin with a garter stitch pattern, knitting every row, for the first 10 rows.
- Switch to a stockinette stitch pattern, knitting the right side rows and purling the wrong side rows, for the next 30 rows.
- Continue with the garter stitch pattern for the final 10 rows.
- Bind off all stitches.
- Using the yarn needle, sew up three of the four sides of your pillow cover.
- Insert your pillow insert and sew up the final side.
Finishing Touches:
Feel free to add any additional embellishments or details to your knit pillow. You can experiment with different stitch patterns, add buttons or tassels, or even embroider a design onto the cover. Let your creativity shine and make your pillow truly unique!
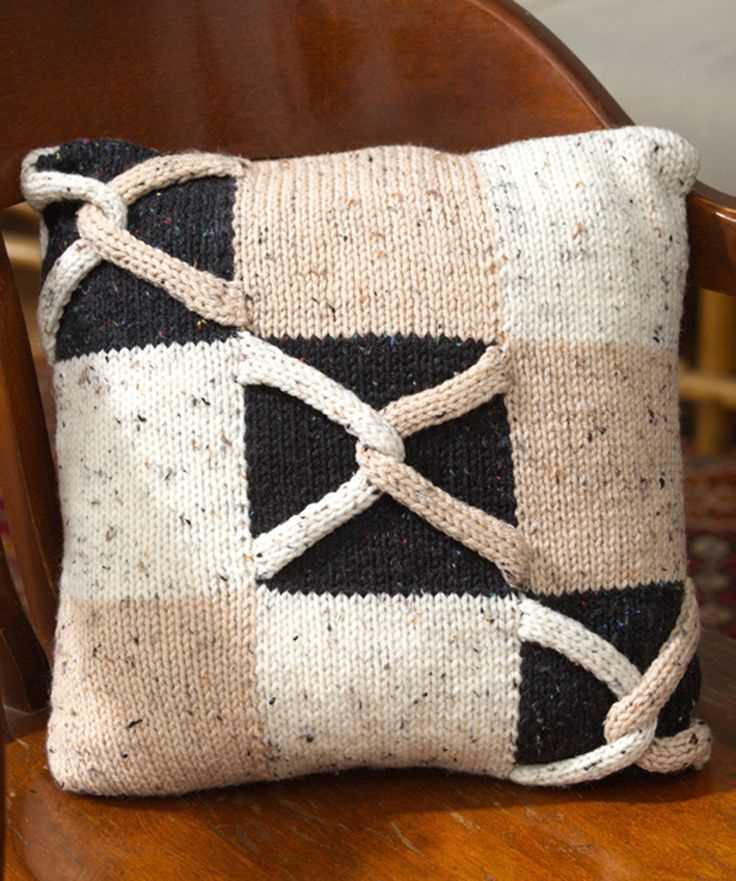
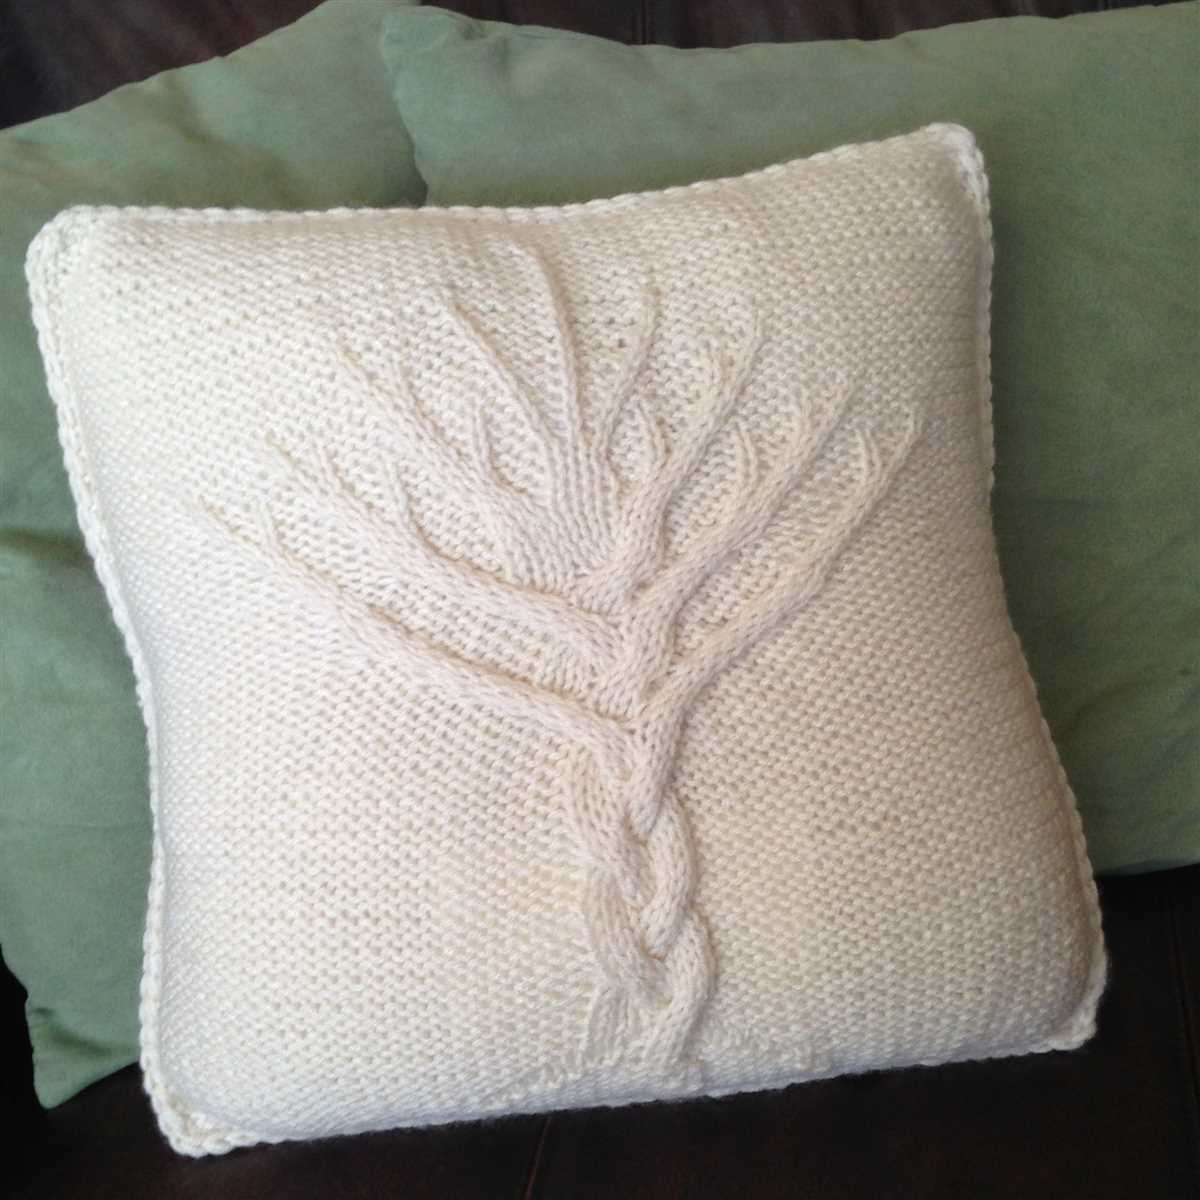
Creating the Front Panel of Your Pillow
When creating a knit pillow, the front panel is an important component that adds both style and functionality to your design. The front panel is typically the focal point of the pillow, featuring various patterns and textures that make it visually appealing. To create the front panel of your pillow, you will need to follow a specific pattern and use the appropriate knitting technique.
Choosing the Pattern: Before starting your project, it’s important to choose a pattern that suits your aesthetic preferences and skill level. There are numerous free knit pillow patterns available online, ranging from simple ribbing to intricate lacework. Consider the overall design of your pillow and select a pattern that complements it.
Gathering the Materials: Once you’ve chosen a pattern, gather all the necessary materials. This typically includes the appropriate size knitting needles, yarn in your desired color, a tapestry needle for weaving in ends, and any additional embellishments or accessories specified in the pattern. Make sure you have enough yarn to complete the front panel of your pillow, as well as any additional panels or sections.
Following the Pattern Instructions: Carefully read and understand the instructions provided in the chosen pattern. Pay attention to the stitch abbreviations and any special techniques or stitches required. Start by casting on the specified number of stitches and follow the pattern row by row, keeping track of any changes in stitch pattern, increases, or decreases. It’s helpful to use stitch markers to mark important sections or pattern repeats.
Note: As you knit the front panel, periodically check your gauge to ensure the finished size matches the pattern specifications. This will help ensure a proper fit when assembling the pillow.
Knitting the Back Panel and Finishing Touches
Once you have completed the front panel of your knit pillow, it’s time to move on to the back panel. Using the same pattern and stitch as the front, knit the desired number of rows to create the back panel. This will depend on the size of your pillow and the thickness of your yarn.
To ensure that the back panel is the same size as the front, it’s important to measure your work as you go along. Use a tape measure or ruler to check the width and length of your knitting. Adjust your stitch count or the number of rows as needed to achieve the desired size.
Finishing the back panel:
- Once you have finished the back panel, you can add any additional embellishments or details to personalize your pillow. This could include adding buttons or a zipper for closure, or perhaps embroidering a design onto the fabric.
- Once you are satisfied with the back panel, it’s time to sew the front and back panels together. Lay the two panels with the right sides facing each other, making sure that the edges align.
- Using a tapestry needle and the same yarn you used for knitting, sew the panels together along three sides, leaving one side open for stuffing.
- When you have finished sewing, turn the pillow cover right side out. Use a crochet hook or your fingers to carefully stuff the pillow with the desired filling material. Make sure to evenly distribute the filling for a smooth appearance.
- Finally, sew the remaining side closed using a whip stitch or slip stitch. Knot the yarn securely and weave in any loose ends.
Once your knit pillow is complete, step back and admire your handiwork. Your cozy and stylish pillow is sure to add a warm and personal touch to any living space. Enjoy the comfort and satisfaction of knowing that you created something beautiful with your own two hands.
Tips and Tricks for a Perfect Knit Pillow

Knitting a pillow can be a fun and rewarding project, but it’s important to pay attention to the details in order to achieve a perfect result. Whether you’re a beginner or an experienced knitter, here are some additional tips and tricks to help you create a beautiful knit pillow:
1. Choose the right yarn
When selecting yarn for your knit pillow, consider the texture, weight, and durability. Opt for soft, cozy yarns that are both comfortable to touch and durable enough to withstand daily use. It’s also important to choose yarn that is suitable for the size of your needles and the desired gauge of your project.
2. Measure your gauge
Before starting your project, take the time to knit a swatch and measure your gauge. This will ensure that your pillow turns out to be the correct size and that your stitches are even. Adjust your needle size if necessary to achieve the desired gauge.
3. Use stitch markers
Adding stitch markers to your project can help you keep track of different sections or patterns, especially if you’re working on a complex design. They can also be useful for marking the beginning or end of a round. This will help prevent mistakes and make it easier to follow your pattern.
4. Block your knitting
Blocking is an essential step in finishing your knit pillow. It involves wetting or steaming your knitting to even out the stitches and give them a professional look. Make sure to follow the blocking instructions for the specific yarn you’re using to avoid any damage.
5. Create a sturdy closure
If your knit pillow requires a closure, such as buttons or a zipper, make sure to sew it on securely. Test the closure before finishing your project to ensure that it holds up to regular use. Additionally, consider using reinforced stitching for extra durability.
These tips and tricks will help you create a knit pillow that not only looks great but also stands the test of time. Enjoy the process and have fun experimenting with different patterns and yarns to make your pillow truly unique!
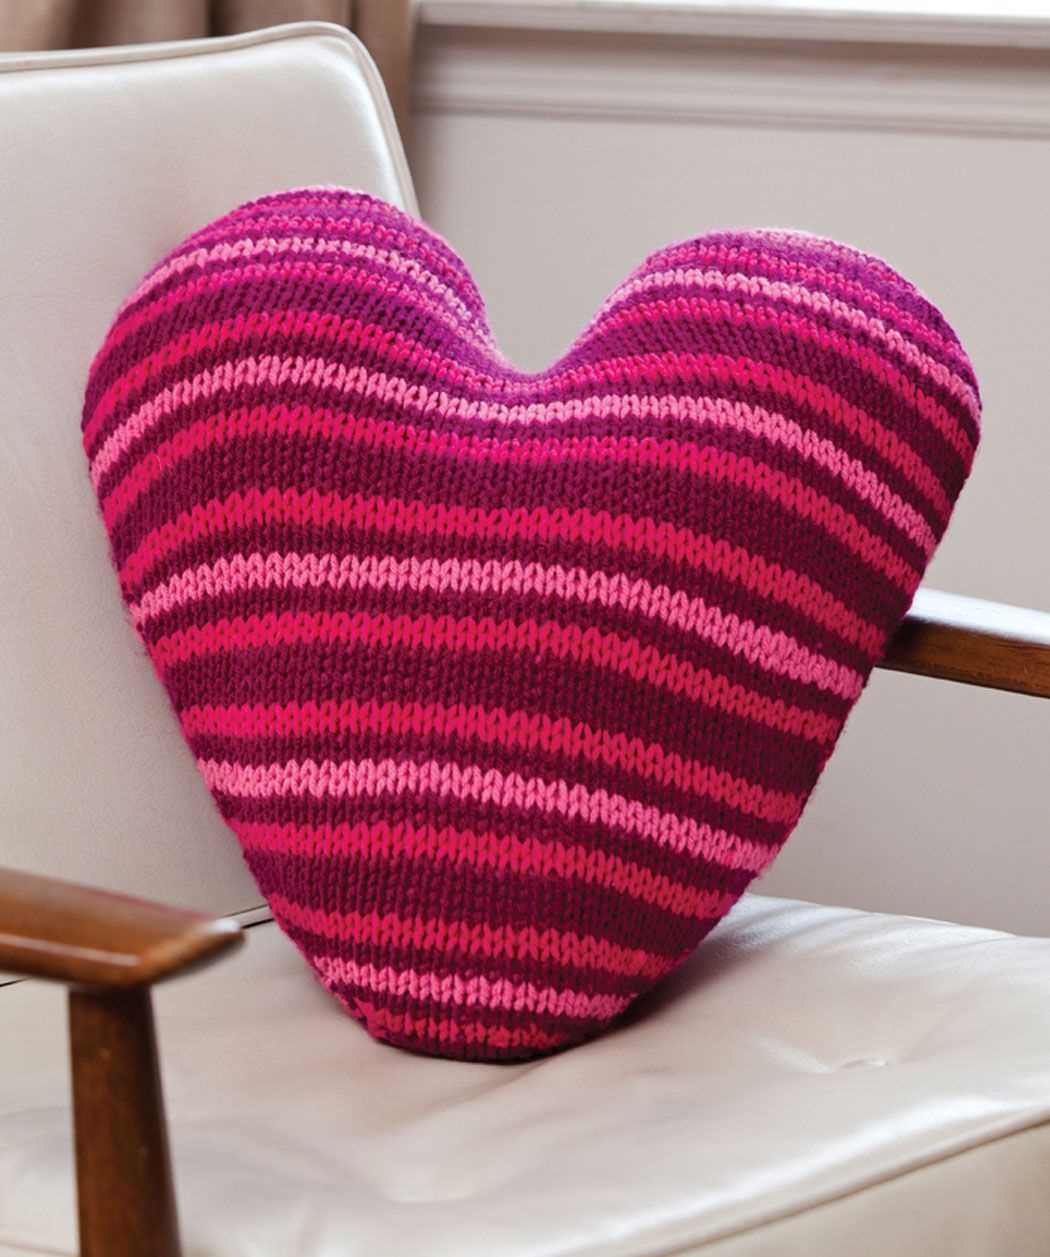
Show Off Your Finished Knit Pillow
After all your hard work, it’s time to proudly display your finished knit pillow! Whether you plan on using it as a decorative accent in your living room or gifting it to a loved one, your handiwork deserves to be showcased.
Here are a few ways you can show off your beautiful knit pillow:
- Place it on your favorite armchair or couch to add a cozy touch to your home decor.
- Arrange it on your bed for an extra pop of color and texture.
- Create a cozy reading nook by placing your knit pillow on a comfortable chair or corner of a room.
- Take a photo of your knit pillow and share it on social media to inspire and impress your friends and fellow knitting enthusiasts.
- Gift it to a friend or family member who will appreciate the time and effort you put into making the pillow.
Add the finishing touches to your knit pillow by washing and blocking it if necessary. This will help to even out the stitches and give your pillow a more polished look.
Remember, the best way to show off your finished knit pillow is with pride and joy. Be proud of your accomplishment and let your creativity shine!