
Whether you want to keep your ankles warm during cold winter days or simply add a fashionable touch to your outfit, knitted ankle warmers are the perfect accessory. With their versatility and endless design possibilities, ankle warmers have become increasingly popular among knitters of all skill levels. In this article, we will share a simple yet stylish knitted ankle warmers pattern that you can easily follow and customize to your liking.
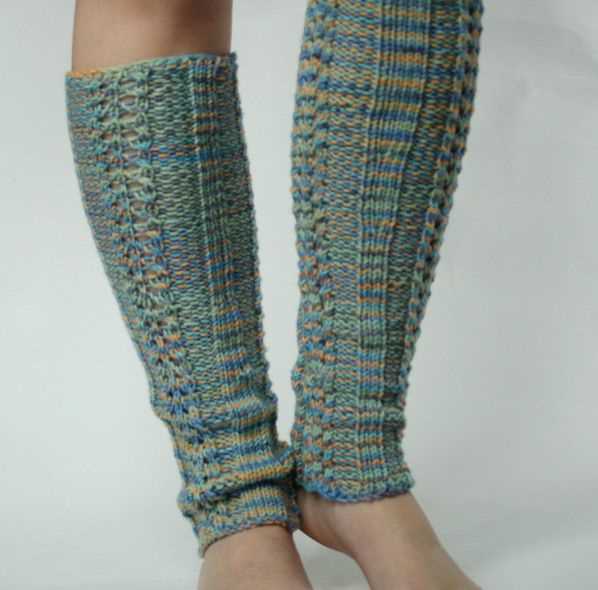
Knitting ankle warmers is a great way to practice various stitches and techniques, making it an ideal project for both beginners and experienced knitters. They can be knitted using different yarns and needle sizes, allowing you to create ankle warmers with varying levels of warmth and thickness. Moreover, ankle warmers can be knitted in a wide range of patterns, from simple ribbing to intricate lace designs, giving you the freedom to express your creativity and personal style.
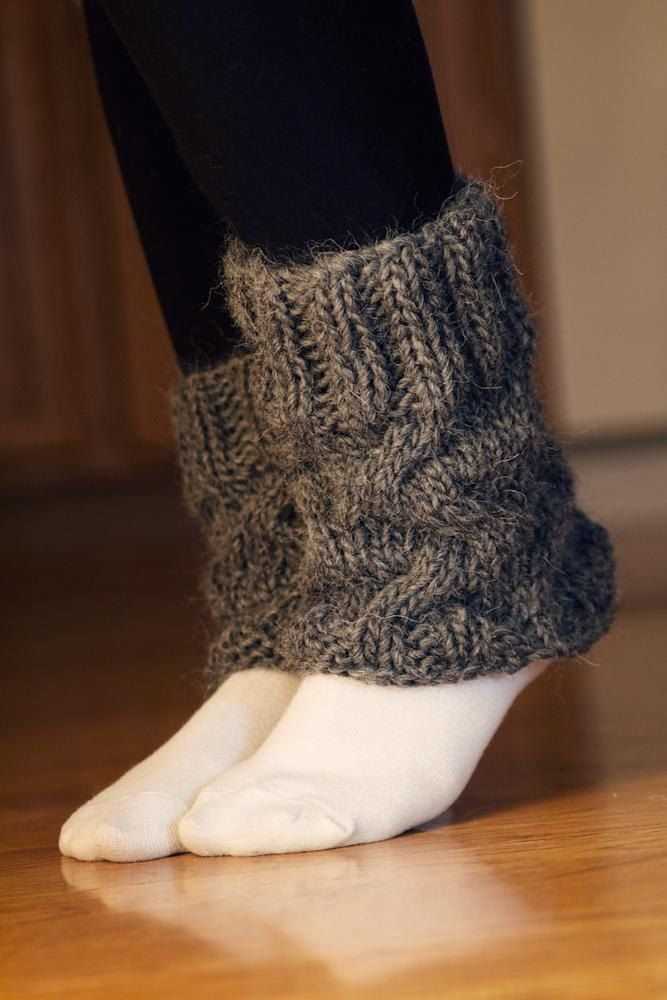
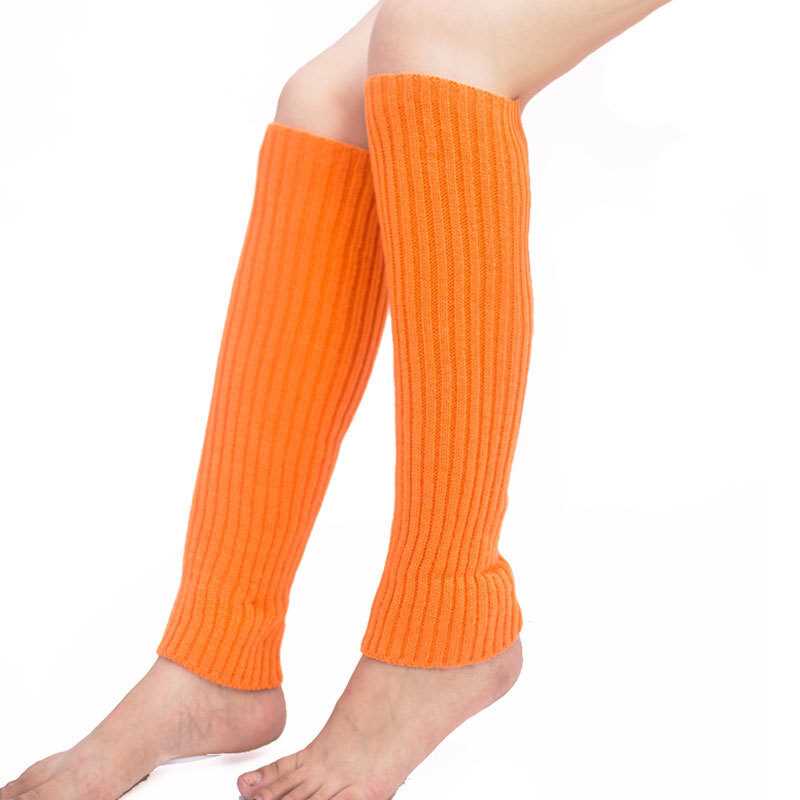
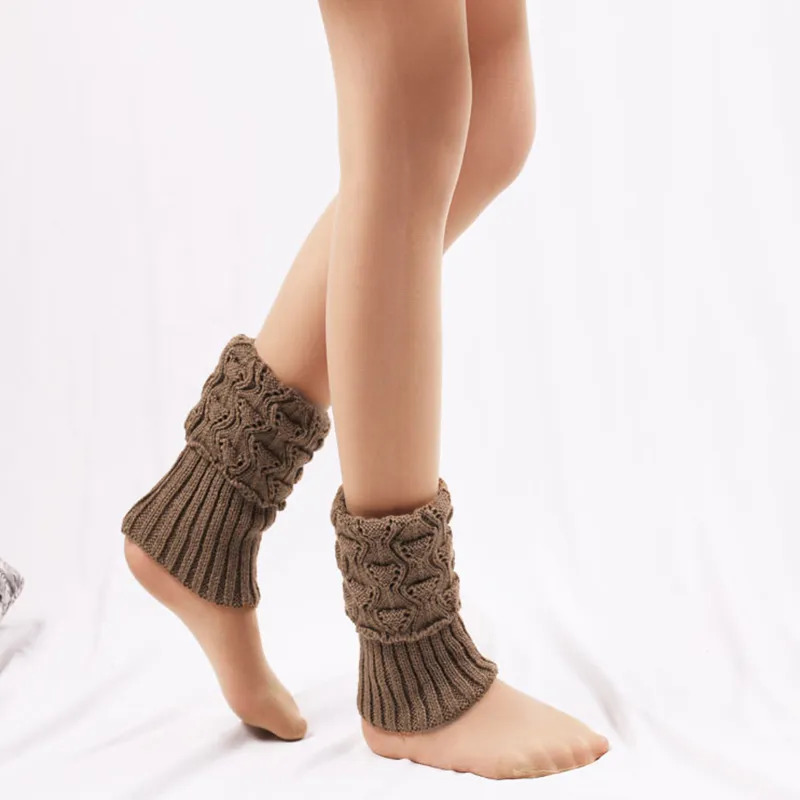
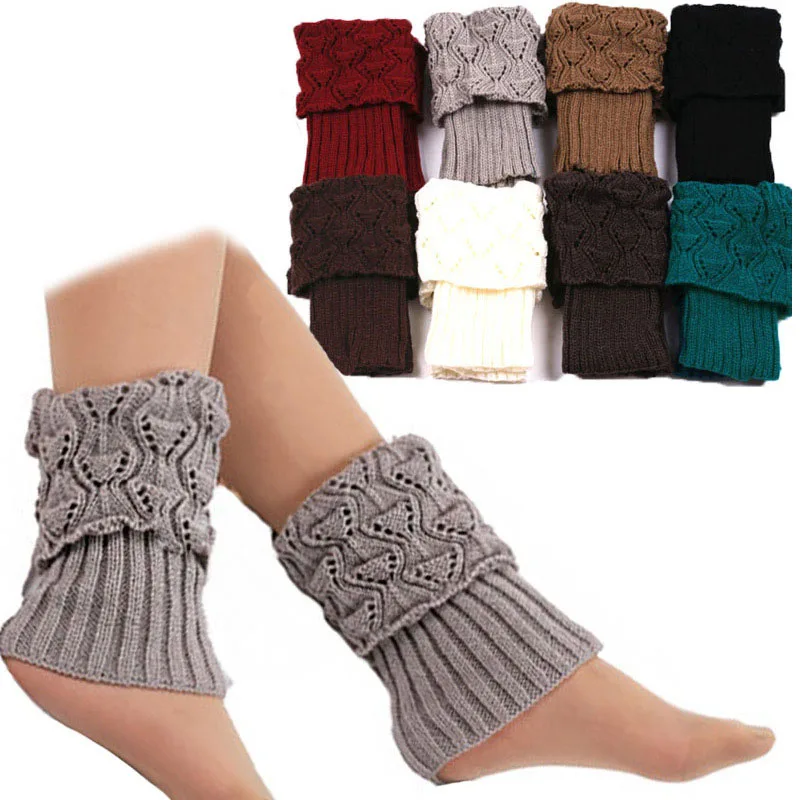
This knitted ankle warmers pattern features a classic ribbed design, which not only adds extra stretch and comfort but also helps to keep the warmers securely in place. Knitted in the round from the cuff downwards, these ankle warmers are seamless, making them not only visually pleasing but also more comfortable to wear. The pattern includes instructions for different sizes, so you can easily customize them to fit your ankles perfectly.
Choosing the right yarn
When it comes to knitting ankle warmers, choosing the right yarn is crucial to ensure a comfortable and durable finished product. The type of yarn you select will determine the warmth, texture, and overall look of your ankle warmers.
Consider the season and climate: If you are knitting ankle warmers for the winter season or live in a colder climate, opt for yarns that offer excellent insulation and warmth. Look for materials like wool or alpaca, which are known for their natural heating properties.
Pay attention to the fiber content: The fiber content of the yarn plays a significant role in the comfort and durability of your ankle warmers. Natural fibers, such as wool, alpaca, or cotton, are popular choices due to their breathability and moisture-wicking abilities. These fibers allow for proper air circulation, preventing your feet from getting too sweaty or overheated.
Additionally, consider if you want your ankle warmers to have any special properties. For example, if you want them to be antibacterial or odor-resistant, look for yarns made with merino wool or bamboo.
Choose the right weight: Yarns come in different weights, ranging from laceweight to bulky. The weight of the yarn will determine the thickness and density of your ankle warmers. In general, for ankle warmers, you’ll want to choose a medium-weight yarn that provides sufficient warmth without being too bulky or heavy.
Experiment with colors and textures: Another aspect to consider when selecting yarn is the color and texture. Depending on your personal style and preference, you may want to opt for solid colors, variegated yarns, or yarns with different textures or patterns. These elements can add visual interest and make your ankle warmers stand out.
Selecting the Appropriate Needle Size
When knitting ankle warmers, selecting the appropriate needle size is crucial to achieving the desired results. The needle size determines the gauge of the project, which in turn affects the overall fit and appearance of the ankle warmers. It is important to choose the right needle size based on the yarn weight and the desired tension for the project.
Before starting a knitted ankle warmers project, it is recommended to check the yarn label for the recommended needle size. This information can usually be found on the label alongside the yarn weight and fiber content. Following the recommended needle size ensures that the ankle warmers will be knit to the same gauge as intended by the designer, resulting in a finished product that matches the pattern’s proportions and measurements.
Considerations for Needle Size Selection:
- Yarn Weight: Different yarn weights require different needle sizes to achieve the desired tension. Thicker yarns typically require larger needles, while finer yarns may require smaller needles. It is important to choose a needle size that complements the yarn weight for balanced and even stitches.
- Tension and Gauge: Tension refers to the tightness or looseness of the stitches. It is crucial to maintain an even tension throughout the project, especially when knitting ankle warmers. The recommended tension or gauge for the pattern should be followed, and the needle size can be adjusted accordingly to achieve the desired results.
- Personal Preference: Some knitters may prefer a tighter or looser stitch, depending on their personal knitting style and the desired fit of the ankle warmers. Experimenting with different needle sizes can help achieve the desired tension and gauge that aligns with personal preferences.
Ultimately, selecting the appropriate needle size for knitting ankle warmers requires careful consideration of the yarn weight, tension, and personal preferences. By following the recommended needle size and adjusting as necessary, the result will be a pair of ankle warmers that are not only stylish but also comfortable to wear.
Gauge and Sizing

When knitting ankle warmers, it is important to consider gauge and sizing to ensure a proper fit. The gauge refers to the number of stitches and rows per inch in the knitted fabric. This can vary depending on the type of yarn and needle size used. To determine the correct gauge for your ankle warmers, it is recommended to knit a gauge swatch. This involves casting on a certain number of stitches and knitting a small sample to measure the gauge. Adjustments may be needed in needle size or tension to achieve the desired gauge.
The sizing of ankle warmers can vary depending on personal preference and the intended recipient. Some people prefer a snug fit, while others may prefer a looser or slouchy style. When choosing a size, it is important to consider the circumference of the ankle, as well as the desired length of the warmers. Measuring the ankle and comparing it to a sizing chart can help determine the appropriate size to knit. Additionally, it is recommended to try on the ankle warmers as you go to ensure a proper fit.
Sizing Chart:
Here is a general sizing chart for ankle warmers:
| Size | Ankle Circumference (inches) |
|---|---|
| Small | 7-8 |
| Medium | 8-9 |
| Large | 9-10 |
It is important to note that these sizes are just a general guideline, and adjustments may be needed depending on individual measurements and preferences. It is always a good idea to try on the ankle warmers as you go to ensure the proper fit.
Casting on
Casting on is the first step in any knitting project, including making knitted ankle warmers. It is the process of creating the very first stitches on your knitting needles before you begin working on the actual pattern. There are different methods you can use to cast on, depending on the desired effect and your personal preference.
Long-Tail Cast On: One popular method for casting on is the long-tail cast on. To do this, you will need to estimate the length of yarn you’ll need for your cast on and leave a long tail. With the tail end in your right hand and the working yarn in your left hand, you will create a slip knot and then place that slip knot on your left knitting needle. From there, you will begin knitting by alternating between using the yarn held in your right hand (the tail) and the yarn held in your left hand (the working yarn). This method creates a neat edge and is often used in a variety of knitting projects.
Knitted Cast On: Another method you can use is the knitted cast on. This method is similar to the long-tail cast on but doesn’t require estimating the length of yarn needed for the cast on. To start, you will make a slip knot and place it on the left needle. Then, insert the right needle into the slip knot from front to back, and wrap the working yarn around the needle as if to knit. Pull the loop through the slip knot, creating a new stitch. Repeat this process until you have the desired number of stitches. This method creates a slightly looser edge and is often used when you need more stretch in your cast on.
Once you have successfully cast on the required number of stitches for your knitted ankle warmers, you can continue working on the pattern, following the instructions for each row. Taking the time to cast on properly and neatly will set a good foundation for your knitting project and ensure that your ankle warmers turn out just the way you want them.
Basic Stitch
The basic stitch is the foundation of knitting and is used in many different patterns, including the knitted ankle warmers pattern. With the basic stitch, you can create a variety of textures and patterns in your knitting projects.
To create the basic stitch, you will need a pair of knitting needles and some yarn. Start by making a slipknot and placing it on one of the needles. Hold the needle with the slipknot in your right hand and the empty needle in your left hand.
Step 1: Insert the right needle into the slipknot from front to back, making sure the yarn is behind the needle.
Step 2: Cross the left needle over the right needle, bringing it under the right needle and to the front of your work.
Step 3: Wrap the yarn around the right needle from back to front, crossing the needles in an “X” shape.
Step 4: Use the right needle to pull the loop of yarn through the slipknot, creating a new loop on the right needle. This is called a knit stitch.
Step 5: Slide the knit stitch off the left needle and onto the right needle.
Step 6: Repeat steps 1-5 until you have the desired number of stitches on your right needle.
The basic stitch can be used to create a smooth and even fabric, or you can experiment with different variations to create different textures and patterns. Once you have mastered the basic stitch, you will be able to tackle more complex knitting patterns with confidence.
Creating ribbing
The ribbing is an essential part of any ankle warmer pattern as it provides stretch and helps the ankle warmers stay in place. To create ribbing, you will need to alternate between knit and purl stitches. This creates raised rows of stitches that give the finished ankle warmers a textured and stretchy appearance.
To start the ribbing, cast on the desired number of stitches using the long-tail cast-on method. It’s recommended to use a circular needle to accommodate all the stitches comfortably. Once your stitches are cast on, begin by knitting the first stitch. Then, bring the yarn to the front of the work and purl the next stitch. Continue this pattern of knitting and purling until you reach the end of the row.
To create a traditional ribbed pattern, you can use a 2×2 ribbing technique. This means knitting two stitches and then purling two stitches, and repeating this pattern across the row. This creates raised columns of knitted stitches separated by purl stitches, which gives a nice stretch to the final ankle warmers.
Alternatively, you can experiment with different ribbing patterns to achieve different textures and designs. For example, a 1×1 ribbing pattern consists of alternating knit and purl stitches in every stitch, creating a more compact and elastic ribbing. Another option is a 3×1 ribbing pattern, where you knit three stitches followed by purling one stitch, creating wider columns of knitted stitches.
Regardless of the ribbing pattern you choose, it’s important to maintain a consistent tension throughout your work. Make sure your knitted and purled stitches are the same size and avoid pulling the yarn too tightly or leaving it too loose. This will ensure that your ankle warmers have a uniform and professional-looking ribbing.
## Shaping the ankle warmer
When knitting ankle warmers, shaping is an important step to ensure a proper fit around the ankle. To begin shaping, first determine the desired circumference of the ankle warmer at its widest point. This measurement will vary depending on the size of the wearer’s ankle and personal preference. Once the circumference is determined, divide it by the gauge to find the number of stitches needed.
The shaping of the ankle warmer can be achieved in several ways. One common method is to decrease the number of stitches gradually as you work your way towards the ankle. This can be done by knitting two stitches together at regular intervals or by using other decrease stitches such as slip slip knit or slip knit pass. Another option is to work short rows to create a curved shape that follows the natural contour of the ankle. Short rows involve knitting only a portion of the stitches and then turning the work before completing the row.
When shaping the ankle warmer, it is important to maintain an even tension and consistent stitch size. This will help ensure that the ankle warmer fits snugly without being too tight or too loose. For a professional and polished finish, consider using a stretchy bind off method to allow for easy stretching and comfortable wear.
To add extra texture and interest to the ankle warmers, consider incorporating different stitch patterns or colorwork. Cables, ribbing, or simple lace motifs can all be effective ways to add visual appeal to the ankle warmers while still maintaining their functionality and warmth. Experiment with different stitch patterns to find the one that best suits your personal style and desired level of difficulty.
Overall, shaping the ankle warmer is an important step in the knitting process that ensures a comfortable and well-fitting finished product. By following a pattern or adapting one to your own preferences, you can create ankle warmers that not only keep your feet warm but are also stylish and unique. Enjoy the process of knitting and shaping your ankle warmers, and embrace the creativity and warmth they bring to your winter wardrobe.
Working in the round
When knitting ankle warmers or any other small circular project, it’s important to know how to work in the round. This technique allows you to create a seamless tube without the need for side seams. To work in the round, you will need either double-pointed needles or a circular needle, depending on your preference and the number of stitches you’re working with.
If you’re using double-pointed needles, divide the total number of stitches evenly across three or four needles. Slide the stitches to the other end of the needle so that the working yarn is at the right-hand side. Make sure the stitches aren’t twisted and join them in a circle by working the first stitch of the round onto the first needle. The working yarn should be coming from the last stitch on the last needle.
When using a circular needle, cast on the required number of stitches onto the needle. Make sure the stitches aren’t twisted and join them in a circle by knitting the first stitch of the round onto the right-hand needle. The working yarn should be coming from the last stitch on the left-hand needle.
Whether you’re using double-pointed needles or a circular needle, continue working in the round by knitting or purling each stitch as required. You may find it helpful to place a stitch marker at the beginning of the round to help you keep track. Avoid pulling the stitches too tight when transitioning from one needle to the next to ensure an even tension throughout your project.
Working in the round allows you to create seamless garments and accessories, such as ankle warmers, hats, and socks. It eliminates the need for seaming and creates a clean, professional-looking finish. Keep in mind that when knitting in the round, you will always be working on the right side of the fabric, so be mindful of any stitch patterns that require alternating knit and purl rows. With practice, working in the round will become second nature, and you’ll be able to tackle a wide range of circular knitting projects.
Adding decorative elements

When knitting ankle warmers, you can add various decorative elements to make them more unique and personalized. These decorative elements can be simple additions that help enhance the overall appearance of the ankle warmers.
One popular decorative element is adding a lace pattern. Lace patterns can be delicate and intricate, creating an elegant and feminine look for the ankle warmers. They can be incorporated into the cuff or body of the ankle warmers, adding a touch of sophistication to the design.
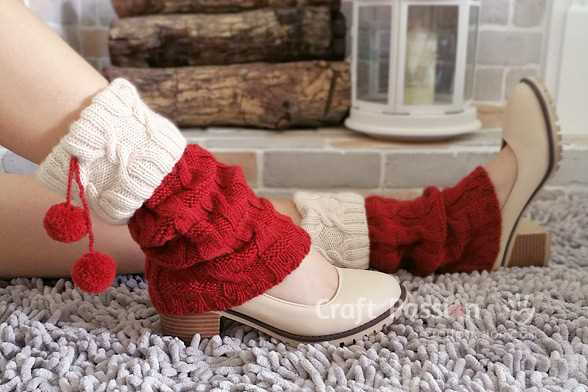
Another decorative element that can be added is a cable pattern. Cable patterns create a textured and visually interesting look. They can be used to create braided or twisted designs on the ankle warmers, adding a touch of complexity and charm to the overall design.
In addition to lace and cable patterns, you can also incorporate colorwork into your ankle warmers. Colorwork involves knitting with multiple colors to create patterns or designs. This can be done using stranded knitting, where two or more colors are used in each row, or intarsia knitting, where different colors are used to create separate blocks of color.
Finally, you can also add embellishments such as buttons, beads, or ribbon bows to further enhance the decorative elements of the ankle warmers. These small additions can add a pop of color or sparkle, making the ankle warmers even more eye-catching and stylish.
Binding off
Binding off is the final step in completing your knitting project, and it is crucial to do it properly to ensure a neat and finished edge. This process involves securing the stitches in the final row and creating a tidy edge that won’t unravel. It is important to bind off loosely enough so that the edge remains flexible and doesn’t pucker.
To bind off, start by knitting the first two stitches as you normally would. Then, take the left needle and pass it into the first stitch on the right needle. Lift the first stitch over the second stitch and off the right needle. This effectively “binds off” one stitch. Continue this process of knitting a stitch and then lifting the previous stitch over until you have only one stitch left on the right needle.
- Step 1: Knit the first two stitches.
- Step 2: Pass the left needle into the first stitch on the right needle.
- Step 3: Lift the first stitch over the second stitch and off the right needle.
- Step 4: Repeat steps 2 and 3 until one stitch remains on the right needle.
Once you have a single stitch left, cut the yarn, leaving a tail of about 6 inches. Thread the tail through the last stitch, pull it tight, and secure it by weaving the tail back into the fabric. This will prevent the yarn from unraveling and secure the bound-off edge.
Binding off may seem intimidating at first, but with practice, it becomes a simple and essential skill for finishing your knitting projects. Remember to bind off loosely and to take your time to ensure a clean and professional-looking edge.
Finishing touches
Adding the finishing touches to your knitted ankle warmers can make all the difference in the final result. Here are a few suggestions to help you achieve a polished look:
1. Blocking: Before adding any decorative elements, it is important to block your ankle warmers to ensure they have a neat and uniform shape. Blocking can help to smooth out any uneven stitches and stretch the fabric to the desired size.
2. Ribbing and cuffs: To provide a snug fit and prevent the ankle warmers from slipping down, consider adding ribbing or cuffs to the top and bottom edges. This can be created by switching to a smaller needle size or working a different stitch pattern.
3. Button embellishments: Adding buttons to your ankle warmers can not only enhance their appearance but also provide a functional element. You can choose buttons that match the color and style of your yarn or opt for contrasting ones to create an eye-catching detail.
4. Embroidery: Embroidery can be a beautiful way to personalize your ankle warmers. Whether you choose to add a simple monogram or intricate designs, embroidery can add a touch of elegance and uniqueness to your project. Consider using embroidery floss in complementary colors for a striking effect.
5. Lace trim: If you want to add a feminine touch to your ankle warmers, consider attaching a delicate lace trim to the edges. This can be done by sewing the lace onto the fabric or by knitting it directly into the design. Be sure to choose a lace that complements the overall look and feel of your ankle warmers.
6. Finishing touches: Once you have completed all the decorative elements, take the time to carefully weave in any loose ends and trim excess yarn. This will give your ankle warmers a polished and professional look.
By paying attention to these finishing touches, you can transform a simple pair of knitted ankle warmers into a stylish and unique accessory that you will be proud to wear or gift to someone special.
The Benefits of Knitted Ankle Warmers
Knitted ankle warmers not only provide warmth and comfort to your feet and ankles, but they also offer a range of benefits that make them a great addition to your wardrobe. Here are some of the key advantages of wearing knitted ankle warmers:
- Added warmth: Knitted ankle warmers provide an extra layer of warmth to your feet and ankles, helping to keep them cozy and comfortable during cold weather. Whether you’re staying indoors or braving the elements outside, these warmers can help to keep your lower extremities toasty.
- Improved circulation: Poor circulation in the feet can lead to discomfort and cold feet. Knitted ankle warmers can help to improve blood circulation by providing gentle compression around the ankles. This can help to relieve symptoms of poor circulation and keep your feet feeling warm and comfortable.
- Moisture-wicking: Knitted ankle warmers made from moisture-wicking materials such as wool or synthetic blends can help to keep your feet dry and comfortable. These materials draw moisture away from your skin, preventing the buildup of sweat and reducing the risk of odors and discomfort.
- Protection and support: Knitted ankle warmers can provide added protection and support to your ankles. They can help to reduce the risk of sprains and twists, especially during physical activities such as hiking or running. The extra layer of padding can also help to cushion your ankles, reducing the impact on your joints.
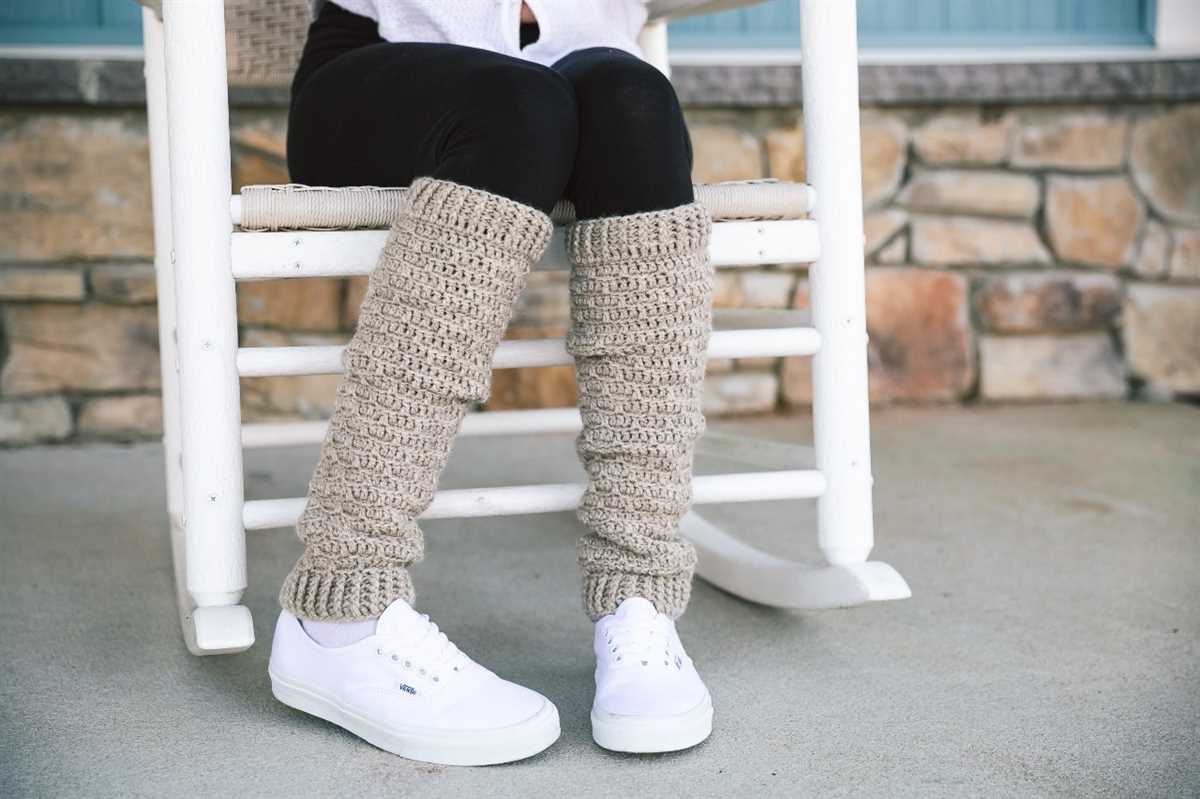
- Style and versatility: Knitted ankle warmers come in a wide range of colors, patterns, and designs, allowing you to express your personal style. Whether you prefer a classic solid color or a bold pattern, there’s a knitted ankle warmer out there to suit your taste. They can be worn with various types of footwear, including boots, sneakers, and even heels, making them versatile and adaptable to different outfits.
In conclusion, knitted ankle warmers offer a multitude of benefits, from added warmth and improved circulation to moisture-wicking properties and ankle support. They are not only functional but also stylish, allowing you to stay comfortable and on-trend. Consider adding a pair of knitted ankle warmers to your wardrobe and experience the benefits for yourself.