
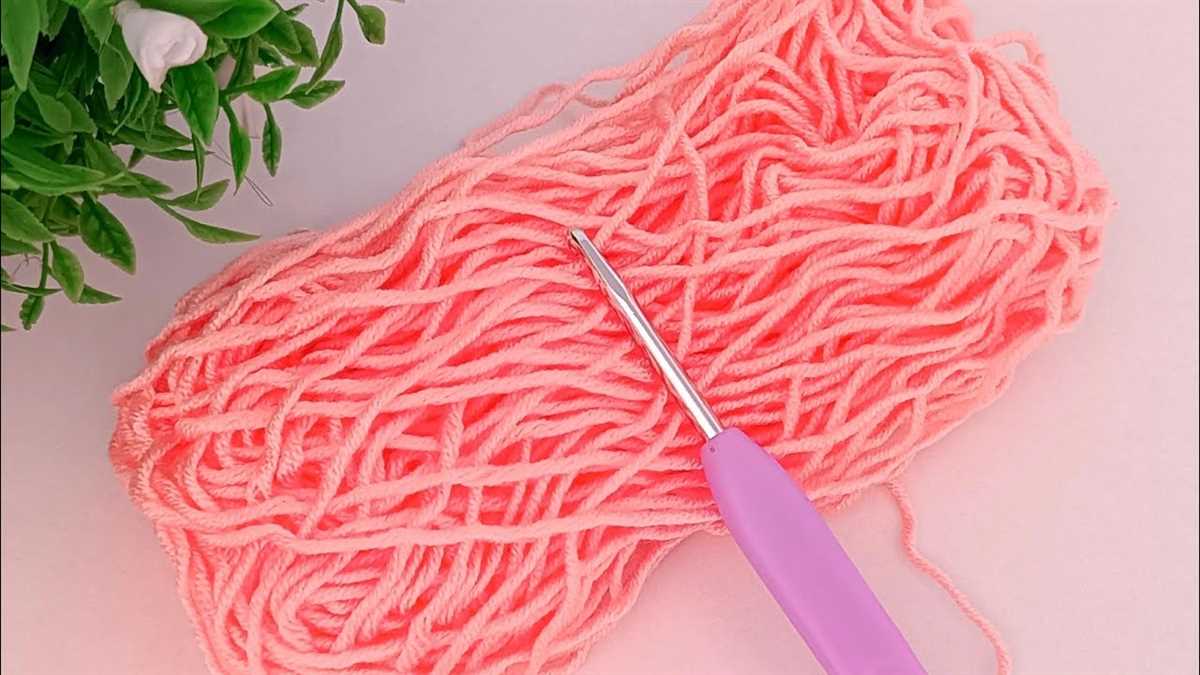
When the temperature drops, there’s nothing quite like a cozy scarf to keep you warm. And if you’re looking to up your knitting game, a tube scarf is the perfect project for both beginners and experienced knitters alike. In this article, we’ll take a look at a simple yet stylish knit tube scarf pattern that you can whip up in no time.
One of the great things about a tube scarf is that it’s seamless, so you don’t have to worry about finishing edges or sewing pieces together. Plus, the tube design gives the scarf a beautifully textured look that’s sure to impress. With just a few basic knitting stitches, you can create a fashionable accessory that will add warmth and style to any outfit.
To make this knit tube scarf, you’ll need a pair of circular knitting needles, chunky yarn, and some basic knitting skills. The pattern is worked in the round, so you’ll be knitting continuously without turning your work. Don’t worry if you’ve never used circular needles before – they’re surprisingly easy to work with and can make your knitting projects go much faster.
So whether you’re knitting this tube scarf for yourself or as a gift for a loved one, get ready to cozy up in style with this simple and versatile pattern. Let’s get started!
Knit Tube Scarf Pattern
If you’re looking for a cozy and stylish accessory for the colder months, a knit tube scarf is the perfect choice. It’s not only warm, but also versatile and can be worn in different ways to suit your style. Whether you’re a beginner or an experienced knitter, this pattern is easy to follow and will result in a beautiful and functional scarf.
Materials:
- Size 10 circular knitting needles
- Super bulky weight yarn (approximately 200-300 yards)
- Yarn needle
- Stitch markers
Instructions:
- Cast on: Start by casting on 60 stitches. Make sure the stitches are loose enough to comfortably knit with the circular needles.
- Join in the round: After casting on, join the first and last stitch together to create a continuous loop. Place a stitch marker to mark the beginning of the round.
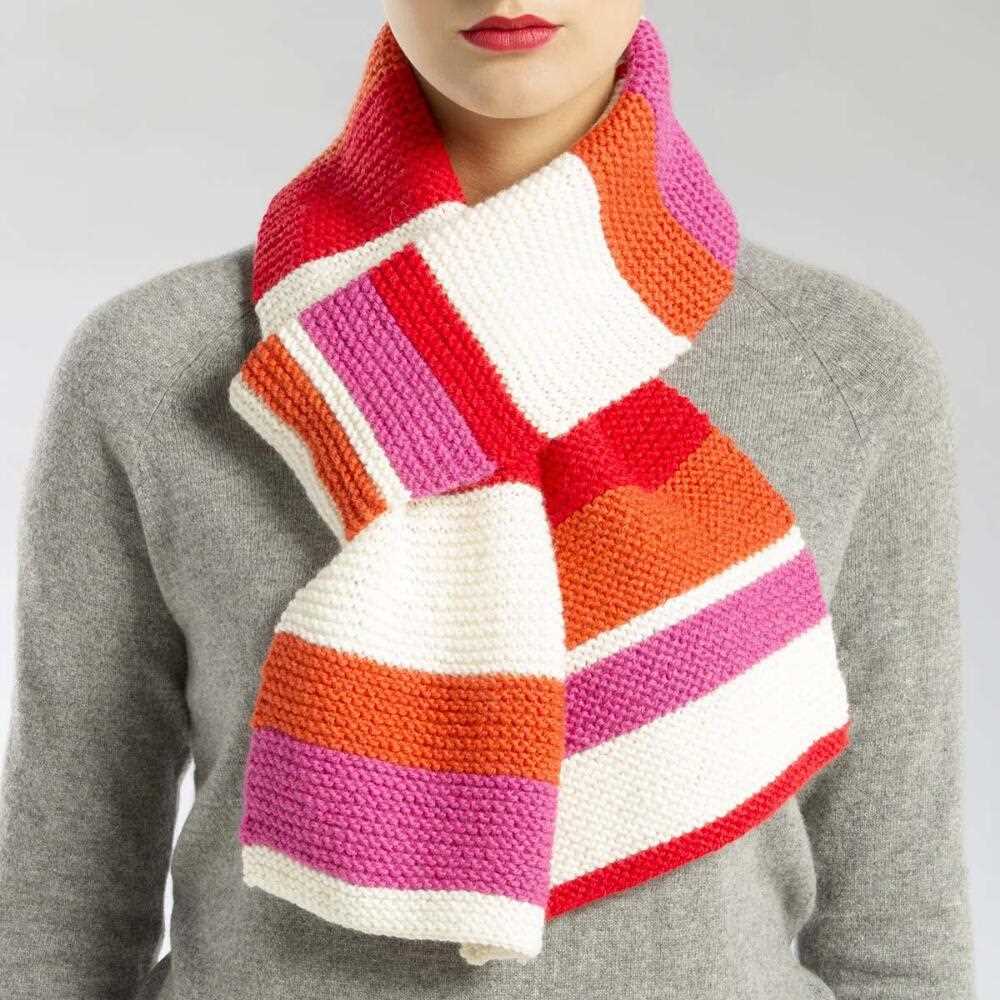
- Knit in the round: Using a basic knit stitch, continue knitting in the round until the scarf reaches your desired length. This pattern is great for using up leftover yarn, so feel free to change colors or add stripes.
- Bind off: Once your scarf has reached the desired length, bind off all the stitches. Cut the yarn, leaving a long tail.
- Finishing: Use a yarn needle to weave in any loose ends. You can also block your scarf to give it a smoother and more polished look.
With this knit tube scarf pattern, you’ll have a cozy and stylish accessory to keep you warm during the colder months. Experiment with different yarns and colors to create a unique and personalized scarf. Whether you’re making it for yourself or as a gift, this pattern is sure to impress.
Choosing the Right Yarn

When knitting a tube scarf, choosing the right yarn is essential for achieving the desired outcome. The yarn you select will determine the warmth, texture, and overall look of your scarf. Consider the following factors when choosing your yarn:
1. Fiber Content:
The first thing to consider is the fiber content of the yarn. The most common fibers used for knitting scarves are wool, acrylic, and cotton. Wool is a great option for warmth and elasticity, but it may be too itchy for some people. Acrylic is a synthetic fiber that is soft, machine-washable, and often more affordable than natural fibers. Cotton is a breathable and lightweight option, but it may lack the warmth of wool or acrylic. Choose a fiber that suits your preferences and the intended use of your scarf.
2. Weight:
The weight of the yarn is another important factor to consider. Depending on the desired thickness of your scarf, you can choose from different yarn weights such as lace, fingering, sport, DK, worsted, or bulky. Lace and fingering weight yarns are lightweight and ideal for delicate and lacy scarves. Worsted or bulky weight yarns will result in thicker scarves that provide more warmth. Consider the season and climate in which you plan to wear your scarf to make an appropriate choice.
3. Color and Texture:
The color and texture of the yarn can greatly impact the overall look of your scarf. Choose a color that complements your wardrobe or makes a statement. Consider whether you want a solid color or a variegated yarn with multiple colors. Additionally, the texture of the yarn, such as smooth, fluffy, or textured, can add visual interest to your scarf. Keep in mind that highly textured yarns may be more challenging to work with, especially for beginners.
By considering the fiber content, weight, color, and texture of the yarn, you can choose the perfect yarn for your knit tube scarf project. Experiment with different options to create a scarf that is not only functional but also reflects your personal style and preferences.
Getting the Right Needles
Choosing the right needles is an important step in creating your knit tube scarf. The type and size of needles can greatly affect the overall look and feel of your finished project.
Needle material: Needles can be made from various materials, such as metal, wood, or plastic. Each material has its own unique properties that can impact your knitting experience. Metal needles are known for their smoothness and durability, making them a popular choice among knitters. Wood needles provide a warmer feel and are ideal for those who prefer a more traditional knitting experience. Plastic needles are lightweight and comfortable to use, making them a good option for beginners or those with hand or wrist issues. Choose a needle material that suits your personal preferences and knitting style.
Needle size:
Another important factor to consider when selecting needles for your tube scarf is the size. The size of the needles you use will determine the gauge or tension of your knitting. The pattern you are following should specify the recommended needle size. Using the wrong size of needles can result in a scarf that is too loose or too tight. It’s also important to note that different knitting techniques require different needle sizes. For example, if you plan on using a lace knitting technique, you may need to use a smaller needle size to achieve the desired delicate look.
It’s always a good idea to have a variety of needle sizes on hand so you can experiment and find the best fit for your project. Knitting needle sizes are typically labeled with numbers or letters, with smaller numbers indicating smaller needles. Consult a needle size chart or speak with experienced knitters for guidance in selecting the right size for your knit tube scarf.
Getting Started
Before you begin knitting your tube scarf, it’s important to gather all the necessary materials and make sure you understand the knitting pattern. Here is a list of things you’ll need:
- Yarn: Choose a soft and chunky yarn in the color of your choice. This will determine the overall look and feel of your scarf.
- Knitting needles: Use circular knitting needles in size suitable for the yarn you’ve chosen. Make sure the needles are long enough to accommodate the width of your scarf.
- Tape measure: This will help you keep track of the width and length of your scarf as you knit.
- Stitch markers: These are useful for marking the beginning and end of rounds in your knitting.
- Scissors: You’ll need scissors to cut the yarn at the end of your project.
- Yarn needle: This will be used to weave in any loose ends of yarn once you’ve finished knitting.
Once you have all the necessary materials, it’s time to familiarize yourself with the knitting pattern. The knit tube scarf pattern typically involves knitting in the round, which means you’ll be working in a continuous loop. Make sure you understand the basic stitches and techniques required, such as knitting, purling, and binding off.
Before you start knitting, take some time to swatch and determine the gauge of your knitting. This will ensure that your scarf turns out the right size and that you’re using the correct needle size. Simply knit a small sample using the yarn and needles you’ve chosen and measure the number of stitches per inch. Adjust your needle size if necessary.
Now that you’re prepared with all the necessary materials and have a good understanding of the knitting pattern, you’re ready to start knitting your tube scarf. Follow the instructions step-by-step, making sure to keep track of your progress and check your gauge regularly. Have fun and enjoy the process of creating a cozy and stylish accessory!
Cast On Stitches
When starting a knitting project, the first step is to cast on stitches onto your knitting needle. The cast on stitches create the foundation row for your project and determine the width of your work. There are many different methods for casting on stitches, and the method you choose will depend on the type of project you are working on and your personal preference.
Long-Tail Cast On: The long-tail cast on is a versatile method that creates a neat and stretchy edge. To use this method, you will need to estimate the length of yarn needed for your cast on stitches. You will then create a slipknot on your needle, leaving a long tail of yarn. Using both the working yarn and the tail yarn, you will create new stitches by wrapping the yarn around your thumb and needle.
Thumb Method Cast On
The thumb method cast on is another common method for casting on stitches. To use this method, you will start with a slipknot on your needle and hold the yarn in your right hand. With your left hand, you will create new stitches by wrapping the yarn around your thumb and needle. This method is popular because it is quick and easy to learn.
Other methods for casting on stitches include the cable cast on, the knit cast on, and the provisional cast on. Each method has its own unique characteristics and is suited for different types of projects. It is important to choose the right cast on method for your project to ensure that your stitches are secure and your edge is the desired width.
Cable Cast On
The cable cast on is a great method to use when you want a firm and sturdy edge. To use this method, you will create a slipknot on your needle and insert the right needle between the stitch just worked and the next stitch on the left needle. You will then knit into the back of this stitch and transfer it to the left needle. This method creates a row of stitches that are securely attached to the needle.
Whatever method you choose, it is important to practice and become comfortable with it before starting your project. The cast on stitches are the foundation of your knitting, so taking the time to learn and master the technique will help ensure a successful and beautiful finished project.
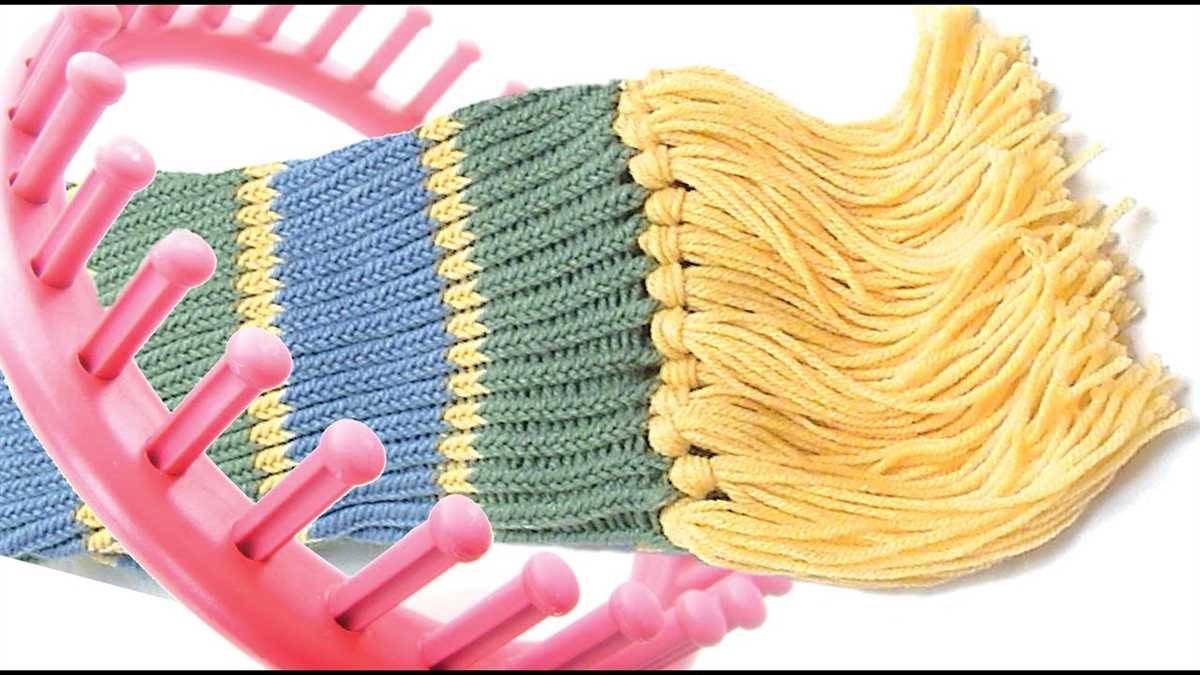
Knitting in the Round
If you’re looking to knit a seamless project, knitting in the round is the way to go. This technique allows you to create a tube of fabric without any seams, which means no need to sew pieces together at the end. Knitting in the round is commonly used for projects such as hats, socks, and of course, tube scarves.
To knit in the round, you will need either a set of double-pointed needles (DPNs) or a circular needle. DPNs are shorter needles with points at both ends, while a circular needle has a long cable connecting two needle tips. Both methods work well for knitting in the round, so it’s really a matter of personal preference.
If you decide to use DPNs, you will typically start by casting all your stitches onto one needle, then distribute them evenly onto three or four needles. You will then join the ends to form a circle and start knitting from there. If you’re using a circular needle, you simply cast on your stitches onto the needle and connect the ends to form a circle.
When knitting in the round, you will alternate between knit and purl stitches just like in flat knitting. However, instead of turning your work at the end of each row, you will simply keep knitting in a continuous spiral. This allows you to create a seamless and uniform fabric.
To keep track of your rounds, you can use a stitch marker to mark the beginning of each round. As you continue knitting, you may need to switch to double-pointed needles or use the magic loop technique when your project becomes too small for a circular needle.
Creating the Tube Shape
Creating the tube shape for your knit scarf is a simple and straightforward process. To begin, you will need to cast on the appropriate number of stitches for your desired scarf width. This can vary depending on your knitting style and the type of yarn you are using. I recommend using a smooth, medium-weight yarn for this project.
Once you have cast on your stitches, you will need to join them in the round to create the tube shape. This can be done using a circular knitting needle or by using double-pointed needles. If you are using circular needles, simply make sure that your stitches are evenly distributed on the needle and join them in the round by knitting the first stitch from the beginning of the row.
If you are using double-pointed needles, divide your stitches evenly between three or four needles, depending on your preference. Make sure that all the needles are pointing in the same direction and that the stitches are not twisted. Join the stitches in the round by knitting the first stitch from the first needle onto the last needle.
Once you have joined your stitches in the round, continue knitting in your chosen stitch pattern until your scarf reaches the desired length. Remember to regularly check the gauge to ensure that your stitches are the correct size and that your scarf is turning out as you envision. Enjoy the process of knitting your tube scarf and the cozy warmth it will provide once finished!
Continuing the Knitting Process
After you have cast on the desired number of stitches for your tube scarf, you can now start the knitting process. Make sure to keep your tension even throughout the project to ensure a consistent and professional finish.
Begin by knitting the first row. Insert the right needle into the first stitch on the left needle, from left to right, and wrap the yarn around the right needle. Pull the loop through the first stitch, transferring it to the right needle. Repeat this process for each stitch on the left needle until all stitches have been transferred to the right needle.
Once you have completed the first row, it’s time to start knitting in the round. Join the round by bringing the right needle around to the left, making sure not to twist the stitches. This will create a continuous loop, or tube, for your scarf. You can now begin knitting each row in the same manner, knitting all stitches until the desired length is reached.
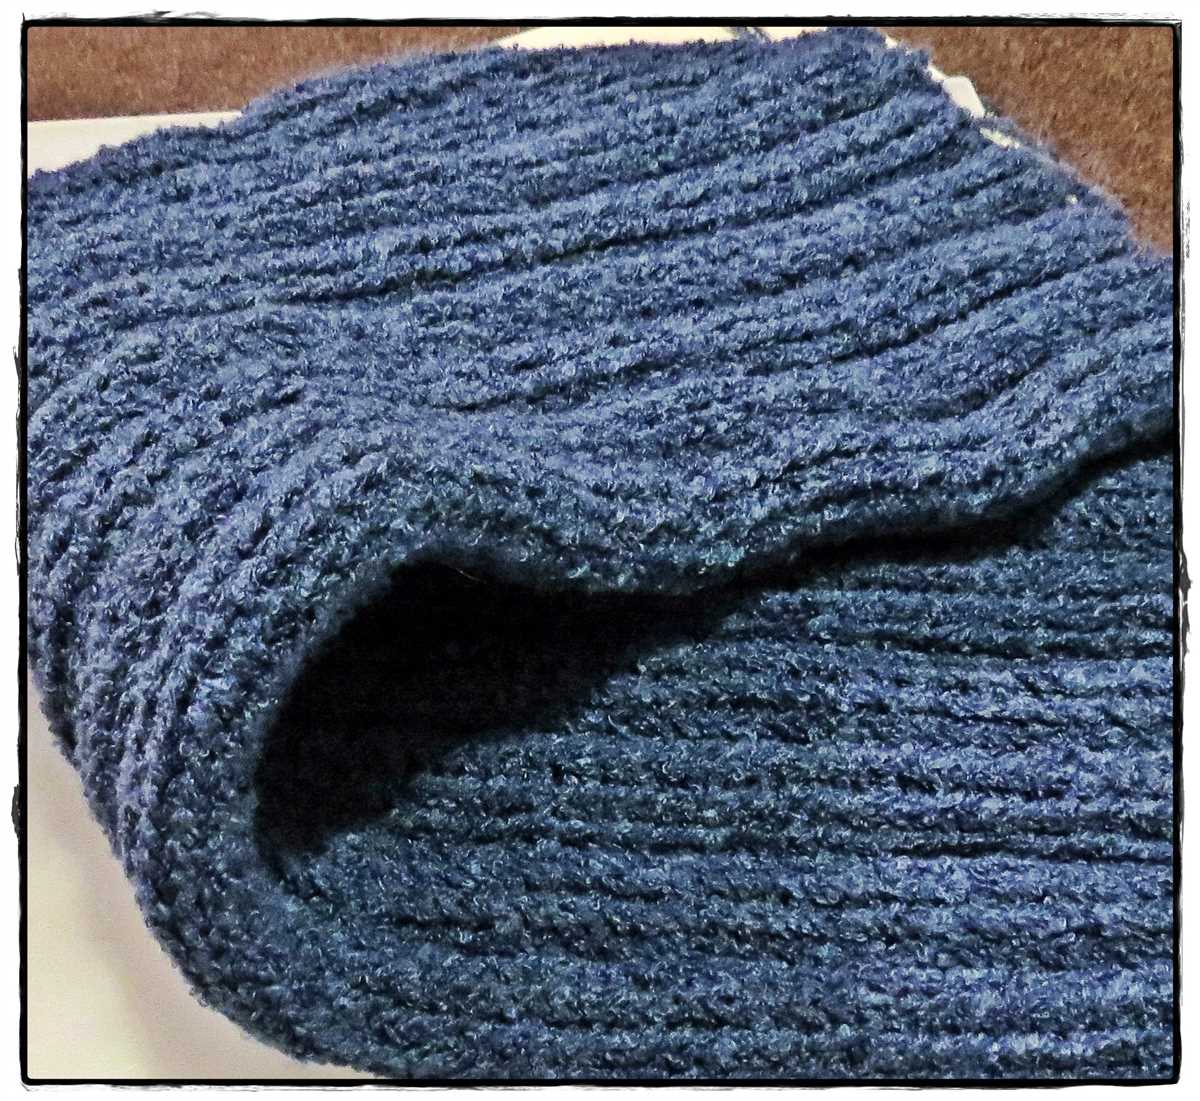
To add some variation and interest to your tube scarf, you can experiment with different stitch patterns and techniques. For example, you could try ribbing by alternating knit and purl stitches in a pattern (e.g., k2, p2) for a stretchy and textured effect. Alternatively, you could incorporate cables or lace patterns for a more intricate design.
Remember to keep track of your rows and stitches as you go along, especially if you’re following a specific pattern. You may find it helpful to use stitch markers or a row counter to keep track of where you are in the knitting process. And don’t forget to periodically check the length of your tube scarf to ensure it’s progressing as desired.
Once you’re satisfied with the length of your tube scarf, you can finish off the project by binding off all stitches. This will secure the loops and prevent them from unraveling. Cut the yarn, leaving a tail of about 6 inches, and thread it through the last stitch. Pull tight to secure the end, and weave in any remaining loose ends to tidy up the scarf.
Adding Patterns or Designs

Adding patterns or designs to your knit tube scarf can be a fun and creative way to personalize your project. There are several different techniques you can use to incorporate patterns or designs into your scarf.
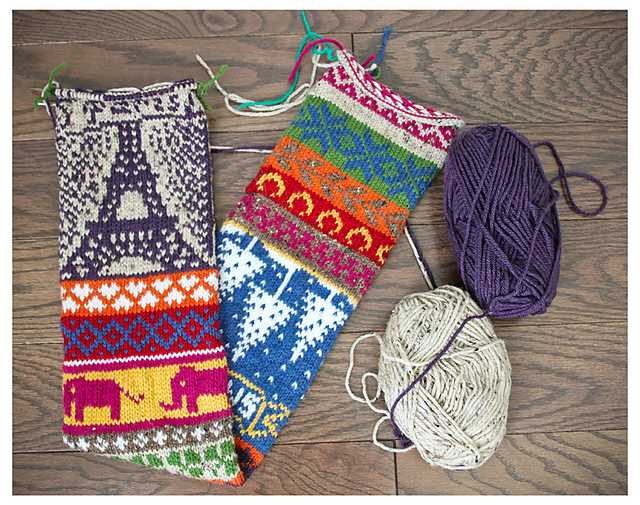
Colorwork
One way to add a pattern or design to your scarf is through colorwork. This involves knitting with multiple colors to create a design or pattern. There are various colorwork techniques, such as stranded knitting and intarsia, which allow you to create intricate and detailed patterns. You can choose a pre-designed pattern or create your own unique design.
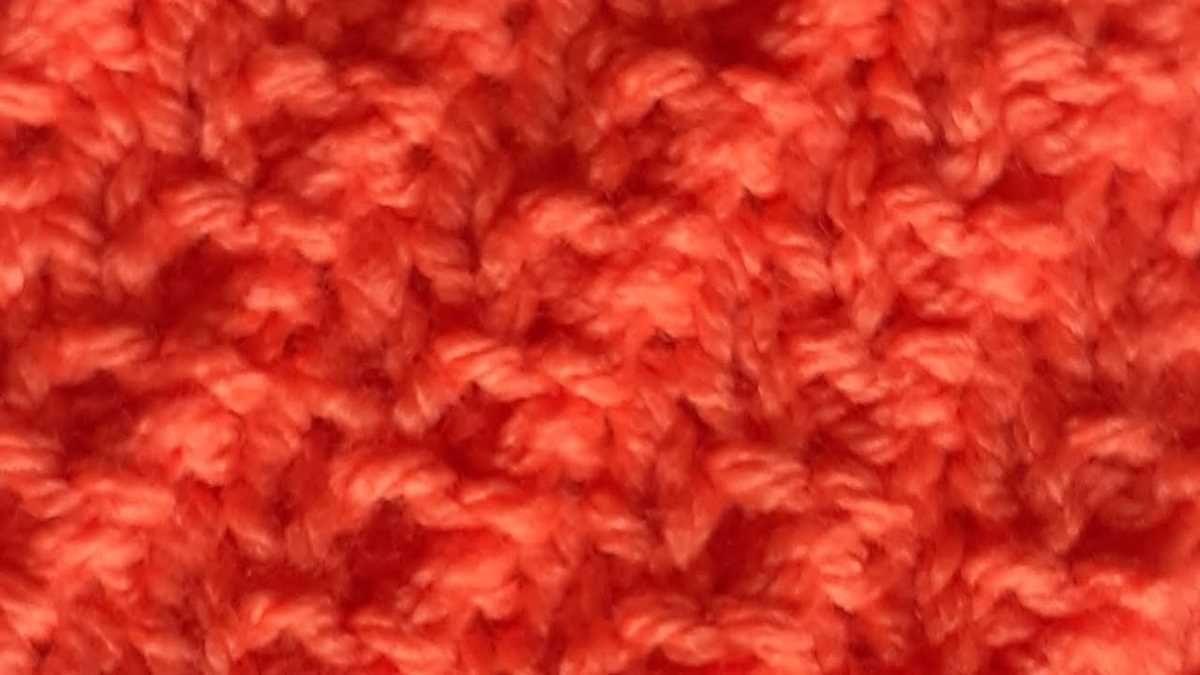
Textures
Another way to add interest to your knit tube scarf is by incorporating different textures. You can use different stitch patterns, such as cables, lace, or ribbing, to create texture and depth in your scarf. Textured patterns can add visual interest and make your scarf more unique.
Embroidery or Applique
If you want to add a design or pattern to your knit tube scarf without changing the actual knitting, you can consider using embroidery or applique. Embroidery involves stitching designs onto the finished scarf using a needle and thread. Applique involves attaching fabric or other materials to the scarf to create a design. This allows you to add intricate details or images to your scarf without the need for complex knitting techniques.
- Colorwork, textures, and embroidery/applique are all great ways to incorporate patterns or designs into your knit tube scarf.
- Consider the level of difficulty and time required for each technique before deciding which one to use.
- Experiment with different patterns and designs to create a unique and personalized scarf.
- Don’t be afraid to get creative and think outside the box when adding patterns or designs to your knit tube scarf.
Finishing the Tube Scarf
Once you have finished knitting your tube scarf, it’s time to move on to the finishing touches. Here are a few steps to complete your project and make it ready to wear.
Weaving in the Ends
Start by weaving in any loose yarn ends that were left from joining the beginning and end of your tube scarf. Use a yarn needle to carefully thread the yarn through the stitches on the back side of your work, making sure the ends are secure and won’t come undone.
Blocking
To give your tube scarf a professional finish and to even out any uneven stitches, you may want to consider blocking it. Blocking involves wetting your finished knit piece, laying it flat on a towel, and gently stretching and shaping it to the desired size. Leave it to dry completely before wearing.
Adding Fringe or Tassels
For some extra flair, you can add fringe or tassels to the ends of your tube scarf. To make fringe, cut several pieces of yarn twice the desired length and attach them to the ends of your scarf. To make tassels, wrap yarn around a piece of cardboard, cut one end, and thread the other end through the top to secure. Attach the tassels to the ends of your scarf.
Caring for Your Scarf
Lastly, it’s important to know how to care for your new tube scarf to keep it looking its best. Check the yarn label for specific washing instructions, but in general, it’s recommended to hand wash your scarf in lukewarm water with a mild detergent. Gently squeeze out excess water and lay it flat to dry.
By following these steps, you will be able to finish your tube scarf and enjoy wearing it for many seasons to come. Happy knitting!
Blocking and Shaping
Blocking and shaping are important steps in finishing your knitted tube scarf. Blocking is the process of gently shaping and stretching your completed scarf to create a more even and professional-looking fabric. Shaping, on the other hand, involves manipulating the fabric to achieve a specific shape or drape.
Before blocking, it is important to check the label or instructions of your yarn to determine the best blocking method. Some yarns may require wet blocking, where the scarf is soaked in water and laid flat to dry, while others may need steam blocking, where a steam iron is used to gently apply heat and moisture to the fabric. Make sure to test a small section of your scarf first before proceeding with blocking to prevent any damage to the yarn or fabric.
To block your knitted tube scarf, start by laying it flat on a clean towel or blocking mat. Gently shape the scarf into the desired dimensions, making sure to smooth out any wrinkles or uneven stitches. Pin the edges of the scarf in place using T-pins or blocking wires, ensuring that the fabric stays stretched and flat. If steam blocking, hold the steam iron a few inches above the fabric and hover the iron over the scarf, moving it in a back-and-forth motion to apply steam evenly. If wet blocking, gently press the excess water out of the scarf and let it dry completely before removing the pins.
Once the blocking process is complete, you can move on to shaping your scarf. This step is optional, but can greatly enhance the drape and appearance of your finished project. You can shape your scarf by using a steam iron to apply heat and pressure to specific areas, such as the ends or corners, to create a more defined shape. Alternatively, you can use a row of running stitch and a strong thread to gather and shape the fabric, creating pleats or ruffles.
Remember to always follow the specific instructions and recommendations for blocking and shaping your knitted tube scarf, as different yarns and patterns may require different techniques. With proper blocking and shaping, your scarf will look more polished and professional, showcasing your knitting skills and creating a beautiful accessory to keep you warm and stylish.
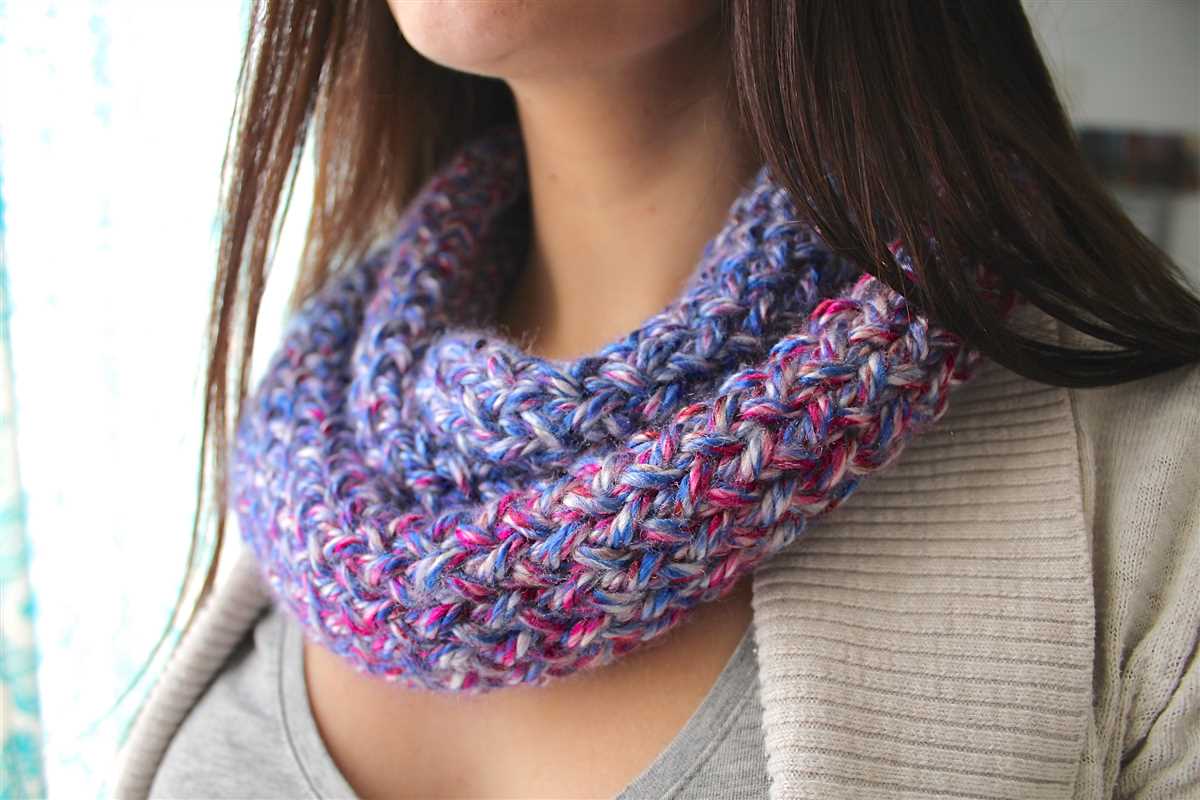
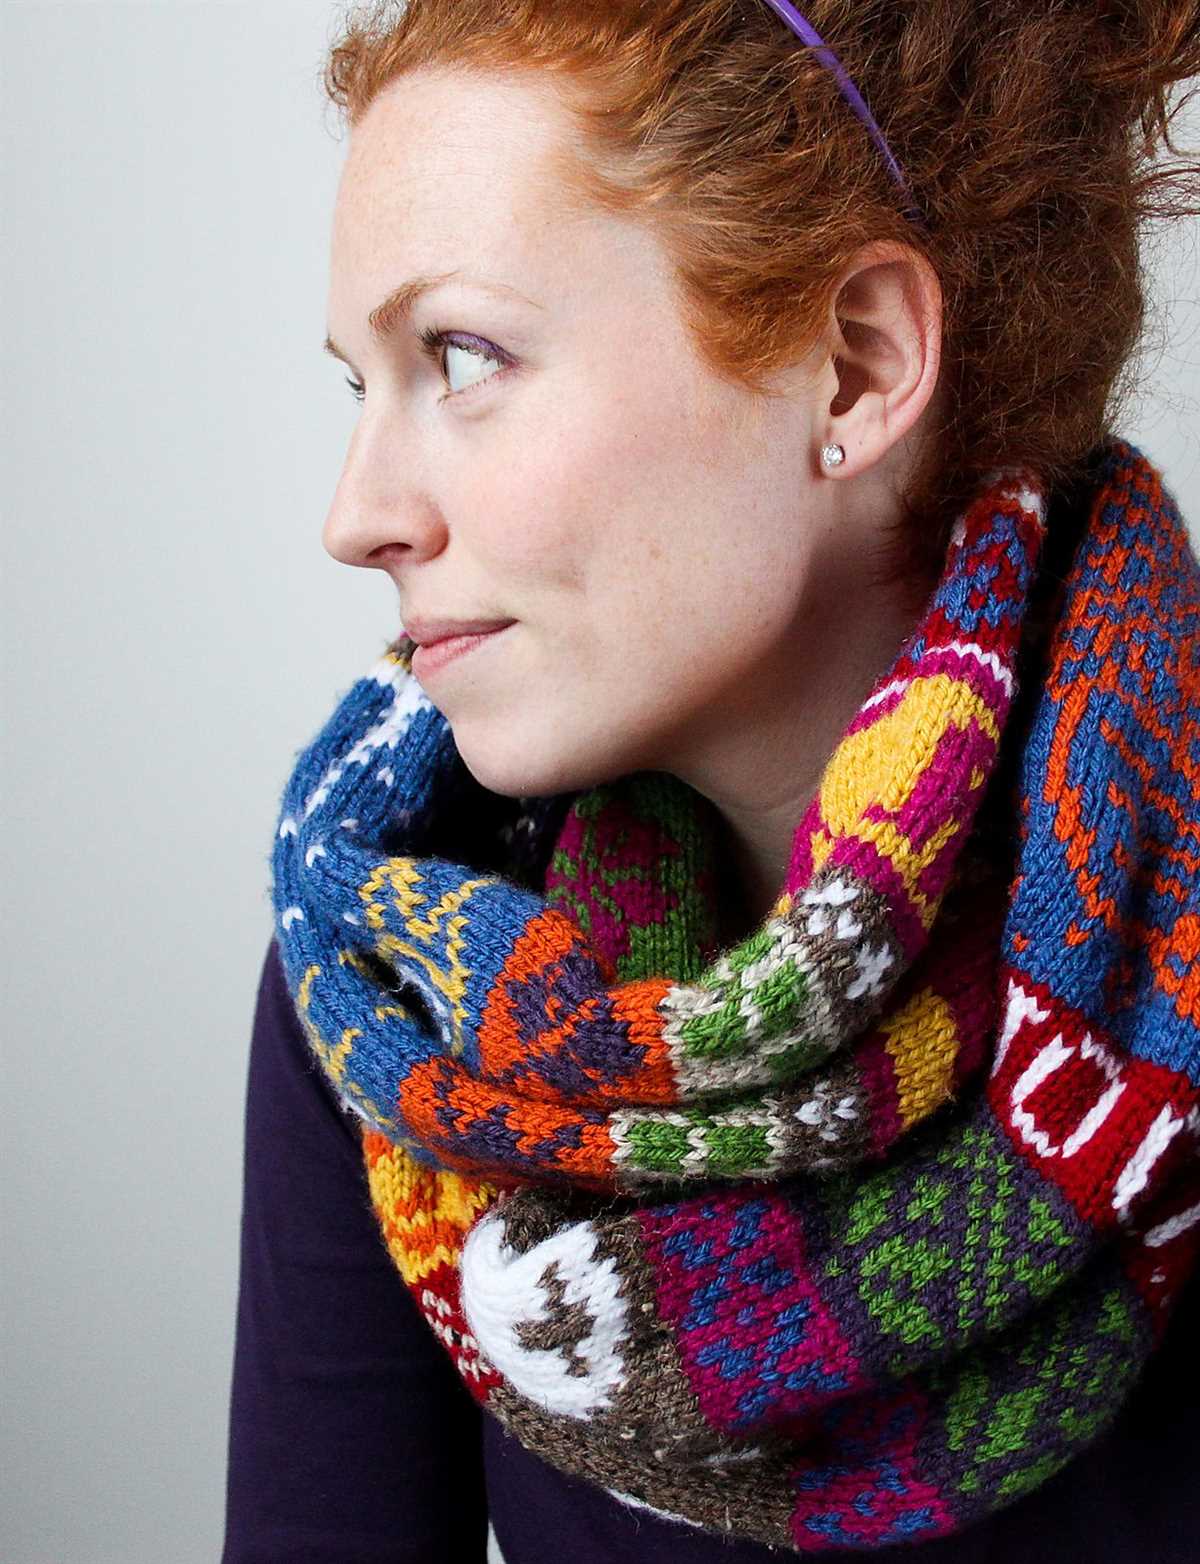
Wearing and Styling Possibilities
The knit tube scarf is a versatile accessory that can be worn in several different ways to create various stylish looks. Whether you prefer a casual or a more formal style, the knit tube scarf can enhance your outfit and provide both comfort and warmth.
Here are some popular ways to wear and style a knit tube scarf:
- Traditional Loop: Simply wrap the scarf around your neck once or twice, depending on your desired level of warmth. This classic style is perfect for everyday wear and can be easily paired with any outfit.
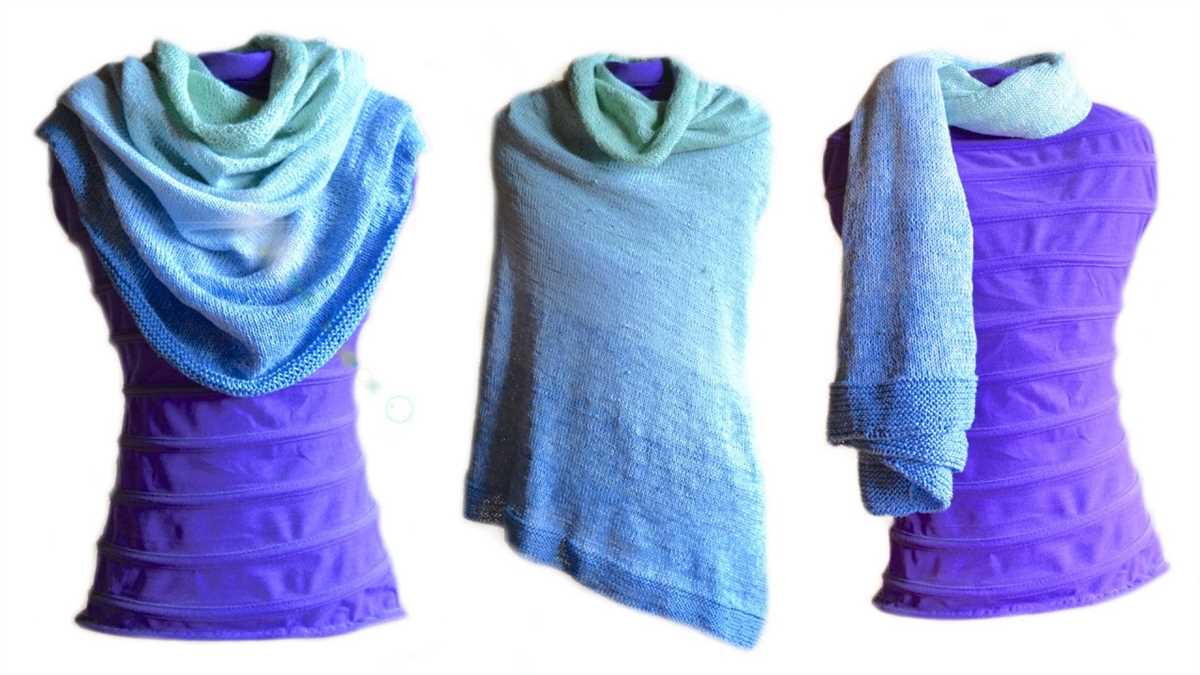
- Double Loop: For a more voluminous look, double-loop the scarf around your neck. This style adds an extra layer of coziness and can be particularly useful in colder climates.
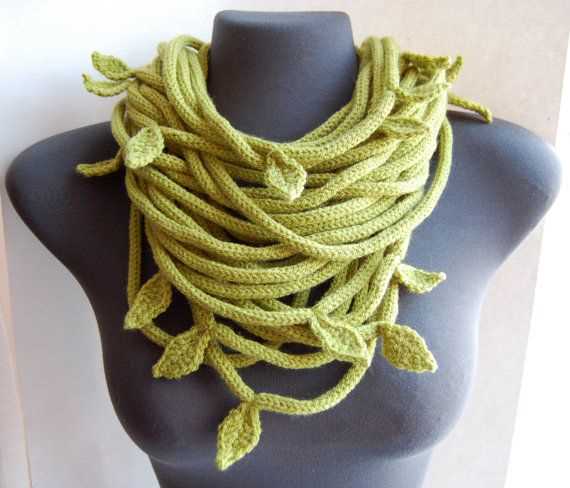
- Shoulder Drape: For a statement look, drape the scarf over one shoulder and let it hang down to your waist. This style adds an elegant touch to any dress or formal outfit.
- Hooded Scarf: Transform your knit tube scarf into a hood for added warmth during chilly days. Simply pull the scarf over your head and arrange it to cover your head and neck. This style is perfect for outdoor activities or when you need extra protection from the cold.
When it comes to styling options, the possibilities are endless. Here are a few additional tips:
- Pair your knit tube scarf with a leather jacket and jeans for a trendy and edgy look.
- Coordinate the color of your scarf with other accessories, such as gloves or a hat, to create a cohesive and stylish ensemble.
- Experiment with different textures and patterns in your scarf to add visual interest to your outfit.
- Use a brooch or a decorative pin to secure your scarf in place and add a touch of elegance.
Overall, the knit tube scarf is not only a practical accessory for keeping warm, but it can also be a fashion statement that adds style and personality to your outfit. With various wearing and styling possibilities, this versatile scarf is a must-have in any wardrobe.
Q&A:
1. Where can I find a knit tube scarf pattern?
You can find knit tube scarf patterns on various websites, such as knitting blogs, knitting pattern websites, and online knitting communities. Some popular websites for finding knit tube scarf patterns include Ravelry, LoveKnitting, and AllFreeKnitting.
2. Are there different types of knit tube scarf patterns available?
Yes, there are different types of knit tube scarf patterns available. You can find patterns that use different knitting stitches, such as ribbing, cables, lace, or colorwork. There are also patterns available for different sizes and lengths of tube scarves.
3. Can I modify a knit tube scarf pattern to make it longer or shorter?
Yes, you can modify a knit tube scarf pattern to make it longer or shorter. You can either adjust the number of stitches in the pattern to make it wider or narrower, or you can add or remove pattern repeats to make it longer or shorter. Just make sure to keep track of your modifications and adjust the pattern accordingly.
4. What materials do I need to knit a tube scarf?
To knit a tube scarf, you will need a pair of knitting needles and yarn. The size of the needles will depend on the type of yarn and the desired gauge for your project. You will also need a tapestry needle or crochet hook for weaving in the ends, and stitch markers can be helpful for keeping track of stitch patterns.
5. Are knit tube scarves suitable for beginners?
Knit tube scarves can be suitable for beginners, especially if you choose a simple pattern with basic stitches. However, if you are new to knitting in the round or working with double-pointed needles, it may take some practice to get used to the technique. It’s always a good idea to start with a smaller project before attempting a larger tube scarf.
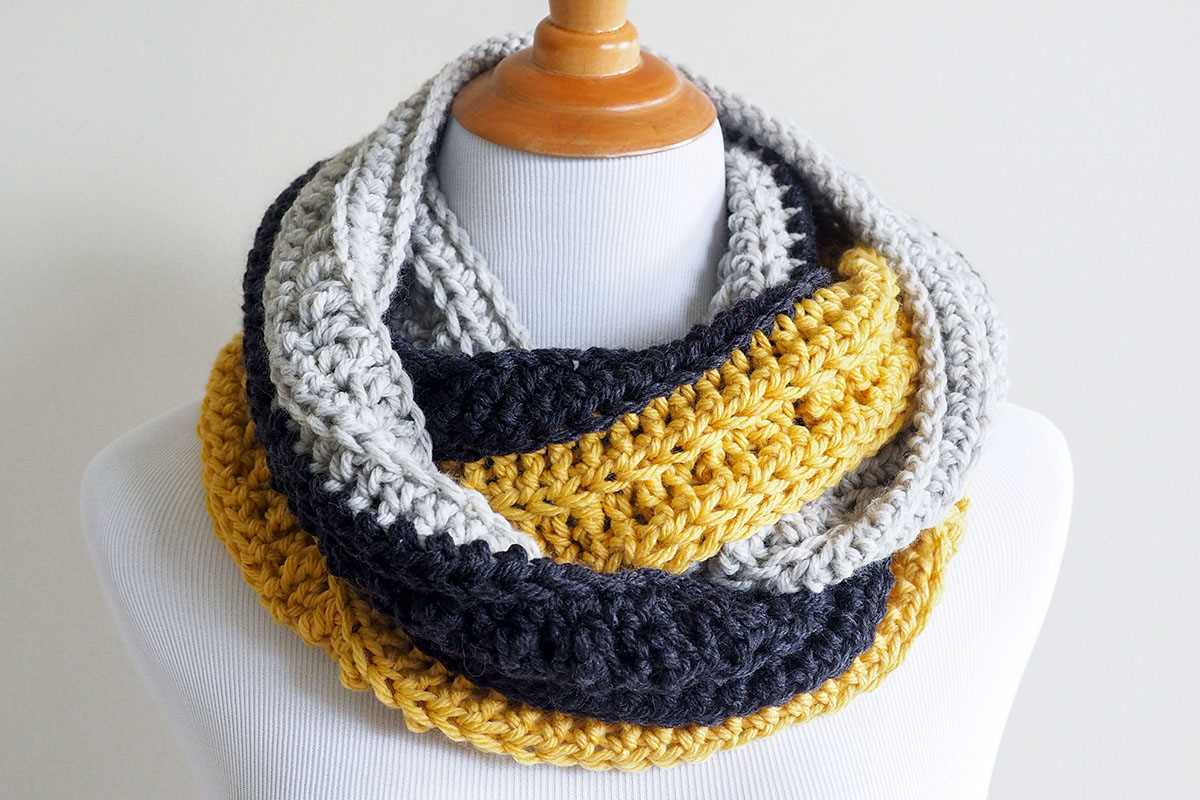
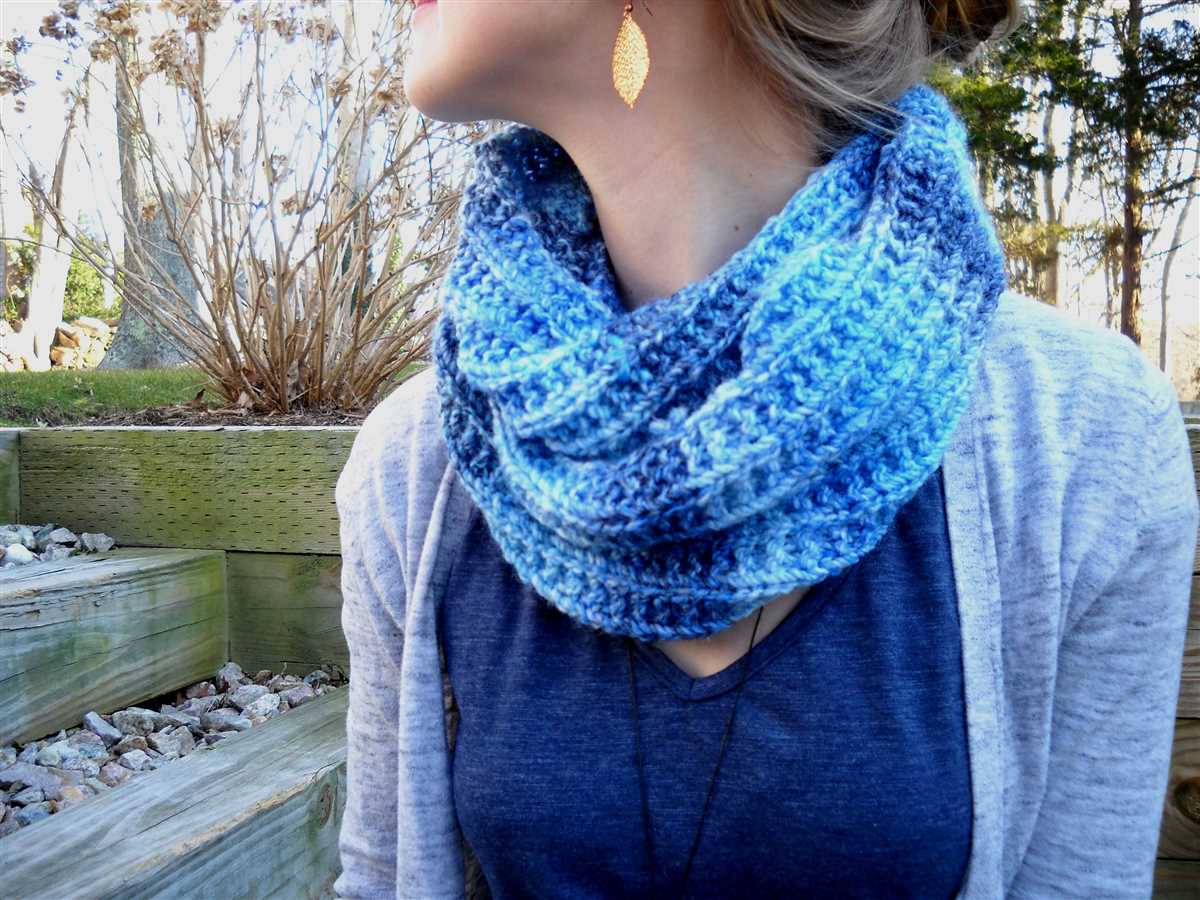
What is a knit tube scarf?
A knit tube scarf, also known as an infinity scarf, is a type of scarf that is knit in a circular shape instead of being a long, flat piece. It can be looped around the neck multiple times for added warmth and style.
How do you knit a tube scarf?
To knit a tube scarf, you will need circular knitting needles. Cast on the desired number of stitches onto the needles, making sure the total number is divisible by 4. Join the round, being careful not to twist the stitches, and knit in the round until the scarf reaches the desired length. Bind off and weave in the ends.