
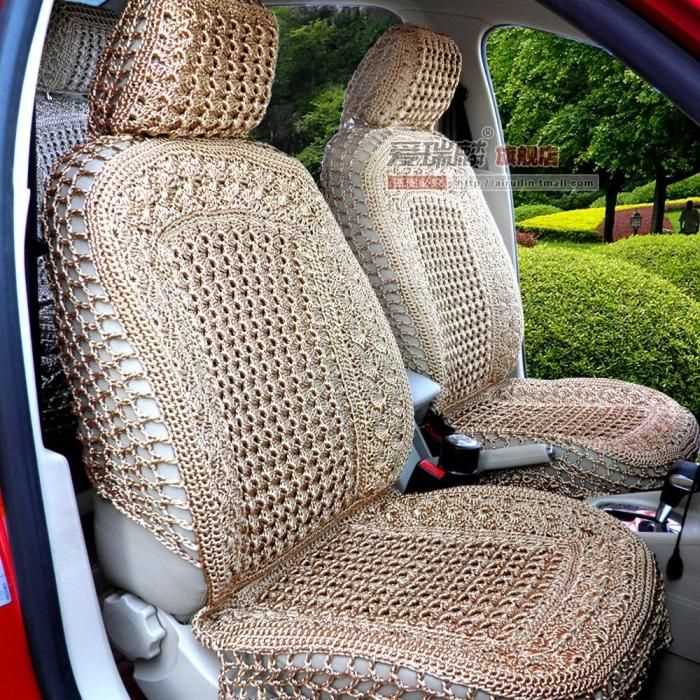
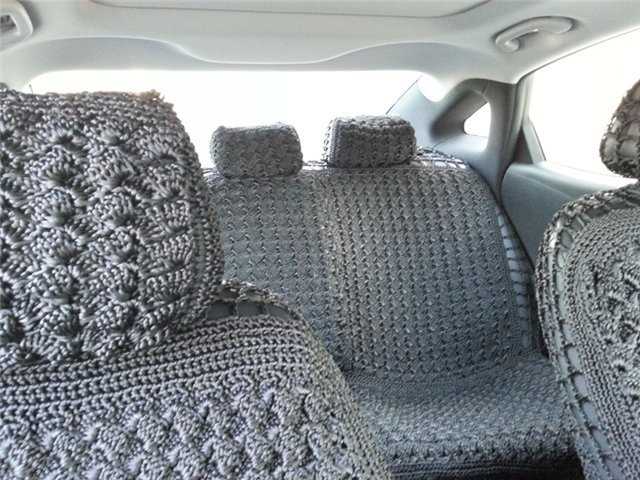
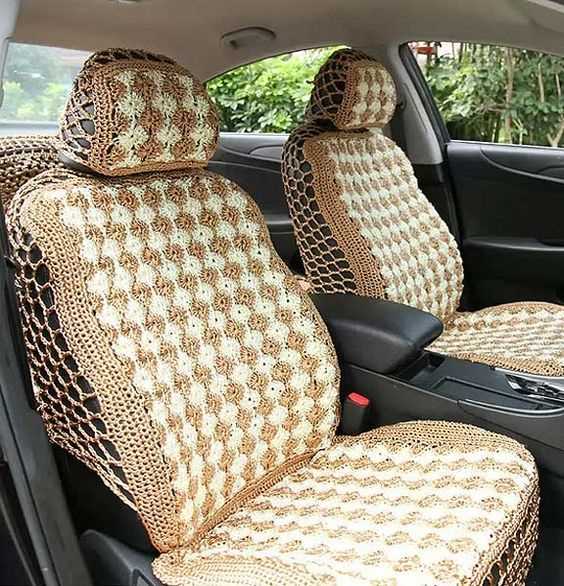
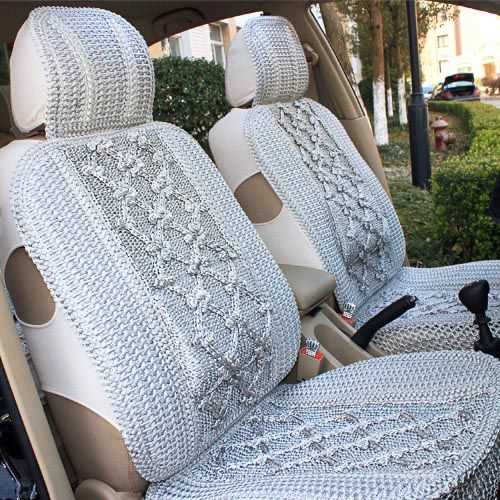
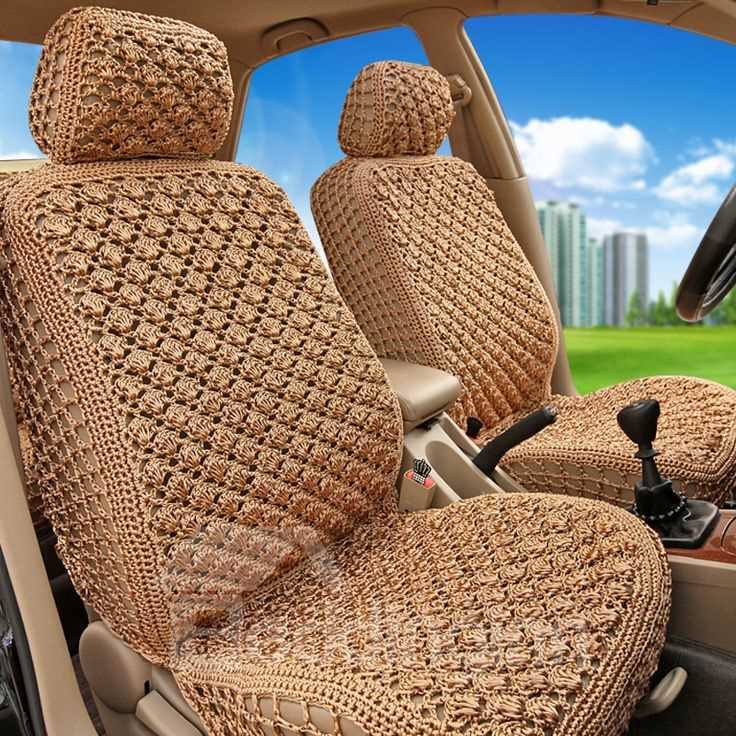
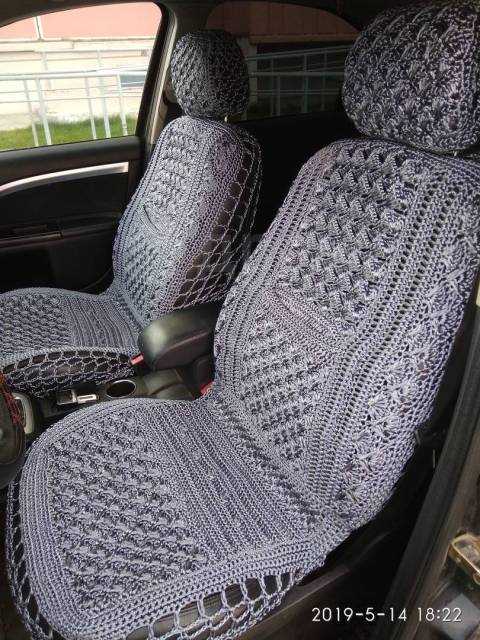
If you’re tired of your car seats looking worn out and dirty, a knit car seat cover can be the perfect solution. Not only will it protect your seats from spills, stains, and everyday wear and tear, but it will also add a touch of style and personality to your car. Whether you’re a beginner or an experienced knitter, this knit car seat cover pattern is easy to follow and can be customized to fit any size of car seat.
To start knitting your car seat cover, you’ll need a few basic supplies. You’ll need a set of knitting needles in a size suitable for the type of yarn you’ll be using. You’ll also need enough yarn to cover the size of your car seat, plus a little extra just in case. Choose a yarn that is easy to care for and durable, like acrylic or a mix of acrylic and wool. You may also want to have a stitch counter, stitch markers, and a row counter handy to help you keep track of your progress.
Once you have your supplies ready, it’s time to cast on and start knitting. The pattern begins with a ribbed edge to ensure a snug fit around the seat. From there, you’ll follow a simple repeating pattern of knit and purl stitches to create a textured design that adds both comfort and visual interest. The pattern includes instructions for shaping the cover to fit the curves of your car seat, as well as tips for creating openings for seat belts and headrests.
How to Knit a Car Seat Cover: Step-by-Step Guide

Knitting a car seat cover can be a fun and rewarding project for any knitting enthusiast. Not only does it add a personal touch to your car’s interior, but it also provides an extra layer of comfort and protection for your seat. Follow this step-by-step guide to create your own stylish and cozy car seat cover.
Materials Needed:
To start knitting your car seat cover, you will need the following materials:
- Chunky yarn in your desired color
- Knitting needles, size 10 or the appropriate size for your yarn
- Tape measure or ruler
- Scissors
- Yarn needle
Step 1: Measure Your Car Seat
Start by measuring your car seat to determine the size of your cover. Measure the width and length of the seat, as well as the height from the seat cushion to the top of the backrest.
Step 2: Cast On Stitches
Using your chosen yarn and knitting needles, cast on the required number of stitches to match the width of your car seat. Make sure to leave a few extra stitches on each side for the seam allowance.
Step 3: Knit the Cover
Continue knitting in your desired stitch pattern, such as garter stitch or stockinette stitch, until the cover reaches the desired length. Remember to periodically measure your work against the dimensions of your car seat to ensure a proper fit.
Step 4: Shape the Cover
To shape the cover to fit your car seat, you will need to decrease stitches gradually at the edges. Follow the instructions of your chosen stitch pattern to create a smooth and snug fit.
Step 5: Bind Off and Finish
Once you have reached the desired length and shape, bind off your stitches and weave in any loose ends using a yarn needle. Give your car seat cover a final steam blocking or gentle wash to ensure the stitches are even and the fabric is soft.
Congratulations! You have successfully knitted your car seat cover. Simply place it on your car seat, adjust the fit if needed, and enjoy the added comfort and style it brings to your car’s interior.
Materials You Will Need
When it comes to knitting a car seat cover, you will need a few materials to get started. These materials include:
- Knitting Needles: Choose knitting needles in a size appropriate for the yarn you will be using. The size may vary depending on the pattern you are following.
- Yarn: Select a yarn that is suitable for a car seat cover. Consider the thickness and durability of the yarn to ensure it will hold up well to regular use.
- Tape Measure: A tape measure will come in handy for measuring the dimensions of your car seat and checking your gauge as you work.
- Stitch Markers: Stitch markers can be useful for keeping track of specific stitches or sections of your car seat cover pattern.
- Yarn Needle: You will need a yarn needle for weaving in loose ends and sewing any additional pieces together.
- Scissors: A pair of scissors is essential for cutting your yarn and trimming any excess.
Be sure to gather all of these materials before starting your car seat cover project. Having everything prepared and within reach will make the knitting process much smoother and more enjoyable.
Choosing the Right Yarn and Needles
When it comes to knitting a car seat cover, choosing the right yarn and needles is essential. The type of yarn you select will determine the durability, softness, and overall appearance of your finished project. Additionally, using the correct size of needles will ensure that your stitches are even and the cover fits snugly over the car seat.
Yarn: There are a few factors to consider when selecting the yarn for your car seat cover. First, think about the season and climate in which the cover will be used. If you live in a cooler climate, you may want to choose a thicker and warmer yarn, such as wool or a wool blend. For warmer climates, cotton or acrylic yarns may be more suitable. Additionally, think about the washability and durability of the yarn. A car seat cover will likely need to be washed frequently, so choosing a yarn that can withstand regular machine washing is important.
Needles: The size of needles you choose will depend on the gauge of the yarn and the desired texture of your car seat cover. Check the label on your yarn for a recommended gauge range, and choose needles that will help you achieve that gauge. If you want a tighter and denser fabric, choose smaller needles. For a looser and more open texture, opt for larger needles. Circular needles are often preferred for larger projects like car seat covers, as they allow for easier maneuverability and distribute the weight of the knitting more evenly.
In summary, choosing the right yarn and needles for your car seat cover is crucial for achieving the desired look and functionality of your project. Consider factors such as climate, washability, and gauge when selecting your materials, and choose needles that will help you achieve the desired texture. With the right tools, you’ll be on your way to knitting a beautiful and practical car seat cover.
Measuring Your Car Seat
Before you start knitting a car seat cover, it’s important to make sure you have the correct measurements of your car seat. Each car seat is unique in size and shape, so taking accurate measurements is crucial to ensure a perfect fit for your cover.
Step 1: Measure the width of the car seat
Using a measuring tape, measure the width of the car seat from one side to the other. Start from the outer edges of the seat and make sure to measure the widest point.
Step 2: Measure the length of the car seat
Next, measure the length of the car seat. Place the measuring tape at the back of the seat, where the seat meets the backrest, and extend it all the way to the front of the seat.
Step 3: Measure the height of the car seat
Lastly, measure the height of the car seat. Start from the bottom of the seat, right where it meets the cushion, and measure all the way to the top where the headrest begins.
Once you have these measurements, you’ll be able to choose or adjust a car seat cover pattern that will fit your specific car seat perfectly. Keep in mind that it’s always better to have slightly larger measurements than smaller, as you can always adjust the cover to fit more snugly if needed.
Understanding Knitting Gauge
In the world of knitting, gauge refers to the number of stitches and rows per inch in a knitted fabric. It is an important factor to consider when working on a knitting project as it determines the finished size and fit of the garment or item being knitted. By understanding and achieving the correct gauge, you can ensure that your knitted piece turns out as intended.
How to measure gauge: To measure gauge, you can use a ruler or a gauge swatch. A gauge swatch is a small sample of knitting that you create using the same yarn and knitting needles that you plan to use for your project. Typically, a gauge swatch is a 4-inch by 4-inch square that you knit in the stitch pattern specified in the pattern instructions. You can then count the number of stitches and rows within this 4-inch square to determine your gauge.
The importance of gauge: Achieving the correct gauge is important because it directly affects the size, fit, and overall appearance of the knitted item. If your gauge is too tight (meaning you have more stitches and rows per inch), your knitted piece will turn out smaller than intended. On the other hand, if your gauge is too loose (meaning you have fewer stitches and rows per inch), your knitted piece will turn out larger than intended. This can result in a poorly fitting garment or item.
- Pattern instructions: When working on a knitting project, the pattern instructions will specify the required gauge. It will typically state the number of stitches and rows per inch using a specific stitch pattern and the recommended needle size. It is important to follow the pattern instructions and achieve the specified gauge to ensure that your finished item matches the intended measurements.
- Adjusting gauge: If your gauge does not match the specified gauge in the pattern instructions, you may need to adjust your knitting needles or yarn to achieve the correct gauge. If your gauge is too tight, you can try using larger needles or a thinner yarn. If your gauge is too loose, you can try using smaller needles or a thicker yarn. Making these adjustments will help you achieve the desired gauge and ensure that your knitted piece turns out as intended.
Knitting the Base of the Car Seat Cover
When knitting a car seat cover, it is important to start with the base, as this will provide the foundation for the rest of the project. The base is typically knitted in a rectangle shape, and it will be the part that rests on the seat of the car. It is important to choose a sturdy, yet comfortable yarn for this part of the project, as it will need to withstand the weight of a person sitting on it, as well as any wear and tear that may occur while driving.
To begin knitting the base of the car seat cover, you will need to decide on the desired size and dimensions. Measure the seat of your car and determine how wide and long you want the cover to be. This will help you determine the number of stitches you will need to cast on. It’s a good idea to add a few extra stitches to account for any stretching that may occur over time.
Once you have determined the number of stitches, you can cast on using your preferred cast-on method. It is recommended to use a circular needle to accommodate the width of the car seat cover. If you prefer to use straight needles, you can knit the base in sections and seam them together later.
As you knit the base, consider adding some texture or pattern to prevent it from sliding on the car seat. You can do this by incorporating a slipped stitch pattern or using a textured stitch such as seed stitch or ribbing. This will help create friction between the cover and the seat, ensuring that it stays in place while driving.
Once you have completed knitting the base to the desired length, you can bind off your stitches and weave in any loose ends. Take a moment to check the fit of the cover on the car seat before proceeding to the next step. The base should fit snugly without being too tight or loose.
Creating the Strap Openings
When knitting a car seat cover, it is important to consider the functionality of the design. One crucial aspect is the creation of strap openings to ensure that the cover can be securely attached to the car seat. Here is a step-by-step guide on how to create these strap openings.
Step 1: Determine the Placement
Start by deciding where you want the strap openings to be located on the car seat cover. This will depend on the specific car seat you are covering and the design of the cover. Measure the width between the two straps on the car seat and mark the desired location on the cover.
Step 2: Provisional Cast On
To create the strap openings, you will need to temporarily cast on stitches in the designated area. This is known as a provisional cast on. Using a waste yarn in a contrasting color, cast on the desired number of stitches using the provisional cast on method of your choice.
Step 3: Work the Pattern
Continue working the pattern stitch as instructed, making sure to incorporate the provisional cast on stitches into the fabric. You may need to adjust the stitch count and pattern to accommodate the strap openings. Be sure to maintain the correct tension throughout to ensure a neat and even appearance.
Step 4: Bind Off

Once you have completed the desired length of the car seat cover, it’s time to bind off. As you reach the strap opening area, carefully remove the waste yarn from the provisional cast on, placing the live stitches onto a spare needle. Then, bind off these stitches along with the rest of the fabric using a suitable bind off method.
By following these steps, you can create sturdy and functional strap openings in your knit car seat cover. These openings will allow for easy attachment and removal of the cover, ensuring a snug and secure fit on the car seat.
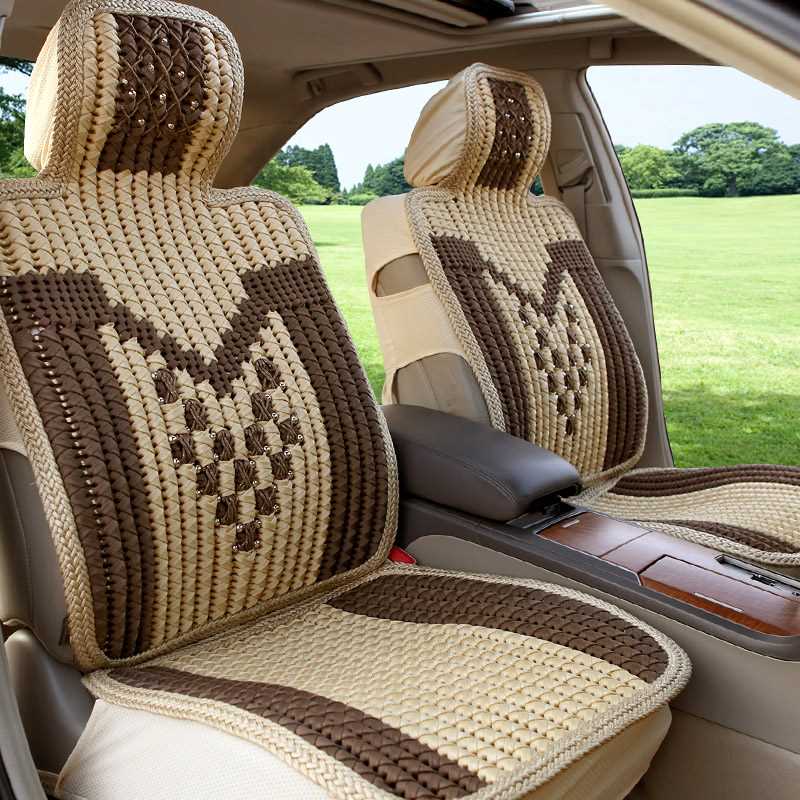
Add a Touch of Style with Ribbing
If you’re looking to add some style and texture to your knit car seat cover, ribbing is a great technique to consider. Ribbing is a knitting pattern that creates a stretchy and textured fabric, perfect for adding some visual interest to your car seat cover. Whether you’re an experienced knitter or new to the craft, adding ribbing can be a fun and rewarding challenge.
Ribbing is created by alternating knit and purl stitches in a specific pattern. This pattern creates raised ridges or ribs, hence the name ribbing. The most common ribbing pattern is a 1×1 rib, which alternates one knit stitch with one purl stitch. This creates a nice, even texture that adds depth to your car seat cover.
Why choose ribbing for your car seat cover?
- Texture: Ribbing adds texture to your car seat cover, making it more visually appealing and interesting.
- Elasticity: Ribbing creates a fabric with stretch and elasticity, allowing your car seat cover to fit snugly and securely on the seat.
- Durability: Ribbing creates a dense fabric that is more durable and resistant to stretching and deformation over time.
Overall, adding ribbing to your knit car seat cover is a simple way to elevate its style and functionality. Whether you choose a 1×1 rib or experiment with other ribbing patterns, the result will be a cover that stands out from the crowd and adds a touch of elegance to your car interior.
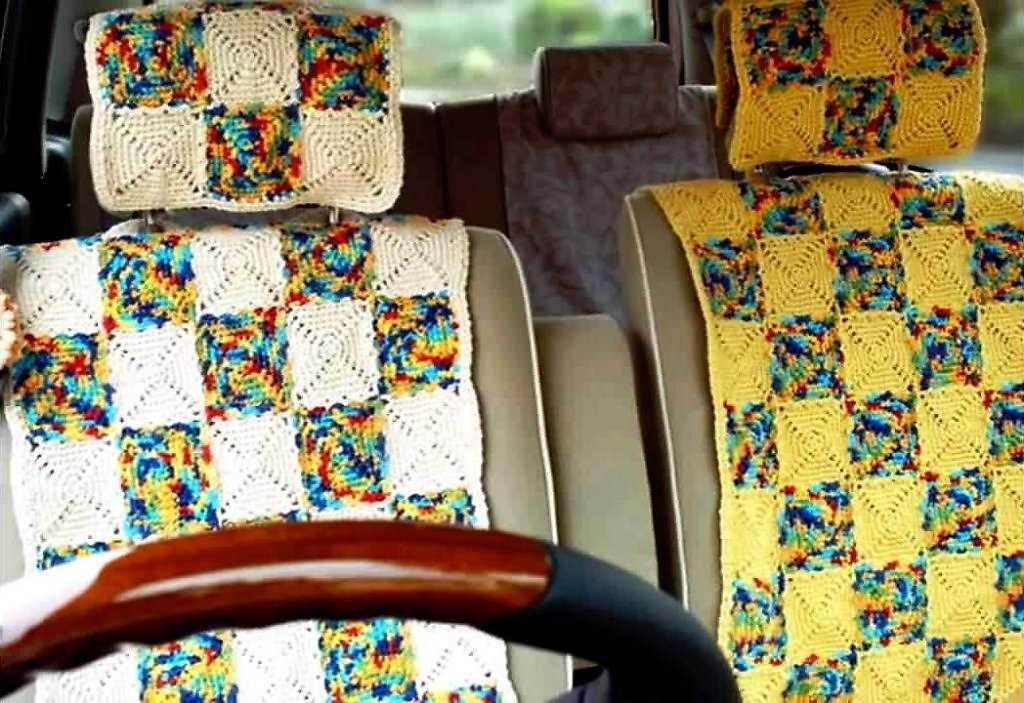
Add Some Color with Stripes or Fair Isle
Looking to add a pop of color and some visual interest to your knitted car seat cover? Why not try incorporating stripes or a Fair Isle pattern into your design? These techniques can add depth and texture to your cover, making it stand out and giving it a unique look.
Stripes are a simple yet effective way to introduce color into your car seat cover. You can choose to have thin or thick stripes, or even experiment with different color combinations to create a fun and playful design. Whether you opt for contrasting colors or a more harmonious palette, stripes can make your car seat cover look more vibrant and dynamic.
If you’re up for a challenge and want to take your knitting skills to the next level, consider incorporating a Fair Isle pattern into your car seat cover. Fair Isle is a traditional knitting technique that involves using multiple colors in each row to create intricate and detailed patterns. By using contrasting colors and playing with different stitch combinations, you can create a visually stunning car seat cover that is sure to wow anyone who sees it.
When working with stripes or Fair Isle, it’s important to plan your design ahead of time. Consider the width and placement of your stripes, or the motifs and colors you want to incorporate in your Fair Isle pattern. Sketching out your ideas and swatching different stitch patterns can help you visualize the final result and make any necessary adjustments before starting the actual knitting.
So why settle for a plain and boring car seat cover when you can add some color and personality to it? Take your knitting skills to the next level and create a cover that reflects your style and creativity. Whether you choose to go with stripes or Fair Isle, your knitted car seat cover is sure to become a conversation piece and a unique accessory for your car.
Adding Buttons or Other Closures
A knit car seat cover can be a stylish and practical addition to your car’s interior. While the cover itself may provide some protection to the seat, adding buttons or other closures can help ensure a secure fit and make it easier to remove and clean the cover when necessary.
Buttons: Sewing buttons onto the edges of the seat cover can provide a simple yet effective closure method. Choose buttons that coordinate with the yarn color or opt for contrasting buttons for a more eye-catching look. Sew the buttons onto one side of the cover, spacing them evenly along the edge. Then sew corresponding buttonholes onto the opposite side, aligning them with the buttons. This will allow you to fasten the cover securely in place.
Hook and loop fasteners: Another popular closure option is to use hook and loop fasteners, such as Velcro. Sew one half of the fastener onto the edges of the seat cover and the matching half onto the corresponding spots on the other side of the cover. This will allow you to easily attach and detach the cover as needed. Make sure to sew the fasteners securely to ensure they can withstand regular use.
- Zippers: If you prefer a more seamless look, consider using zippers as closures for your car seat cover. Sew the zipper onto one side of the cover, aligning it with the edge. Then sew the corresponding half of the zipper onto the other side of the cover. This will allow you to zip the cover closed and provide a secure fit. Zippers can be a bit trickier to sew, so it’s important to take your time and sew in a straight line.
- Elastic: Elastic can also be used to create a snug fit for your car seat cover. Sew the elastic along the edges of the cover, ensuring it is stretched slightly to provide tension. This will allow the cover to conform to the shape of the seat and stay in place. Elastic closures can be a quick and easy option, especially if you’re looking for a closure method that doesn’t require any additional supplies.
When choosing a closure method for your knit car seat cover, consider the overall style and functionality you are looking to achieve. Buttons, hook and loop fasteners, zippers, and elastic all offer various benefits and can be customized to match your personal preferences. Experiment with different closure options to find the one that works best for you.
Finishing Off the Car Seat Cover

Once you have completed knitting the car seat cover pattern, it’s time to finish it off and prepare it for use. There are a few steps you need to follow to ensure a clean and polished final product.
First, carefully bind off all of your stitches to secure them. This can be done by knitting two stitches together and then passing the first stitch over the second stitch. Repeat this process until you have only one stitch remaining, and then cut the yarn, leaving a tail for weaving in.
Next, use a yarn needle to weave in all of the loose ends of the yarn. Thread the tail of the yarn onto the needle and carefully sew it through the stitches on the back of the fabric. Make sure to do this neatly and securely, so that the ends do not come loose with use.
After weaving in all of the loose ends, give the car seat cover a final blocking. This will help to even out the stitches and give the cover a more professional finish. You can do this by wetting the cover with lukewarm water, gently squeezing out any excess water, and then laying it flat to dry, shaping it to the desired dimensions.
Once the cover is dry, you can add any finishing touches, such as buttons or decorative edging, if desired. This will personalize the cover and make it unique to your style. Finally, give the cover a thorough inspection to ensure that all ends are securely woven in and that there are no mistakes or loose stitches. Your car seat cover is now ready to be used and enjoyed!
Washing and Caring for Your Knitted Car Seat Cover
If you have recently knitted a car seat cover and are wondering how to keep it clean and maintained, here are some tips on washing and caring for your knitted car seat cover.
Washing: It is important to check the care instructions provided with your yarn before washing your car seat cover. Most yarns can be machine washed, but some may require handwashing or dry cleaning. If your yarn allows for machine washing, use a gentle cycle and cold water to prevent any shrinkage or damage to the delicate knit. It is recommended to place your car seat cover in a mesh laundry bag to protect it during the wash cycle.
- Set the washing machine to a gentle cycle and use cold water.
- Place the car seat cover in a mesh laundry bag.
- Add a mild detergent specifically designed for delicate fabrics.
- Avoid using bleach or harsh chemicals that could damage the yarn.
- After the wash cycle is complete, remove the car seat cover from the laundry bag.
Drying: Air drying is the best way to preserve the shape and integrity of your knitted car seat cover. Lay it flat on a clean, dry towel or a drying rack, reshape it if necessary, and let it dry naturally. Avoid hanging the car seat cover to dry, as this can cause it to stretch out of shape.
Caring: To keep your knitted car seat cover looking its best, avoid exposing it to excessive heat, direct sunlight, or rough surfaces that could snag or fray the yarn. If your car seat cover gets stained, gently blot the stain with a clean cloth or sponge using a mild detergent. Avoid scrubbing or rubbing the stain, as this can damage the knit. If necessary, you can spot clean the affected area with a gentle stain remover, following the instructions provided by the manufacturer.
By following these washing and caring tips, you can ensure that your knitted car seat cover stays clean, soft, and beautiful for years to come.
Tips and Tricks for Knitting a Perfect Car Seat Cover

If you’re embarking on the journey of knitting a car seat cover, these tips and tricks will help ensure that your project turns out perfect. Whether you’re a beginner knitter or an experienced pro, these techniques and suggestions will guide you through the process.
1. Choose the right yarn: Selecting the right yarn is crucial for a successful car seat cover. Opt for a yarn that is durable, washable, and will hold its shape over time. Look for yarns specifically designed for baby items or projects that require frequent washing.
2. Take accurate measurements: The key to creating a well-fitting car seat cover is taking accurate measurements of the car seat. Measure the width, height, and depth of the seat, as well as any straps or buckles that need to be accommodated. This will ensure a snug and secure fit.
Additional Tips and Tricks:
- Use stitch markers: Placing stitch markers at key points in your pattern can help you keep track of increases, decreases, and any stitch pattern changes. This will help prevent mistakes and ensure a consistent look throughout your car seat cover.
- Block your work: Blocking is the process of shaping and setting your knitted fabric. After completing your car seat cover, wet-block or steam-block it to even out stitches and improve the overall appearance.
- Try different stitch patterns: Don’t be afraid to experiment with different stitch patterns to add texture and visual interest to your car seat cover. Just be sure to choose patterns that will not create large gaps where little fingers or toes could get caught.
- Include buttonholes or openings: Consider adding buttonholes or openings in your car seat cover to accommodate straps or buckles. This will make it easier to secure the cover to the car seat and ensure a snug fit.
- Embroider or appliqué: Personalize your car seat cover by adding embroidered designs or appliqués. This can be a fun way to add a touch of creativity and make your cover unique.
By following these tips and tricks, you’ll be well-equipped to knit a perfect car seat cover. Remember to take your time, choose the right materials, and have fun with the process. Happy knitting!