
Summer is here and it’s time for some fun in the sun!
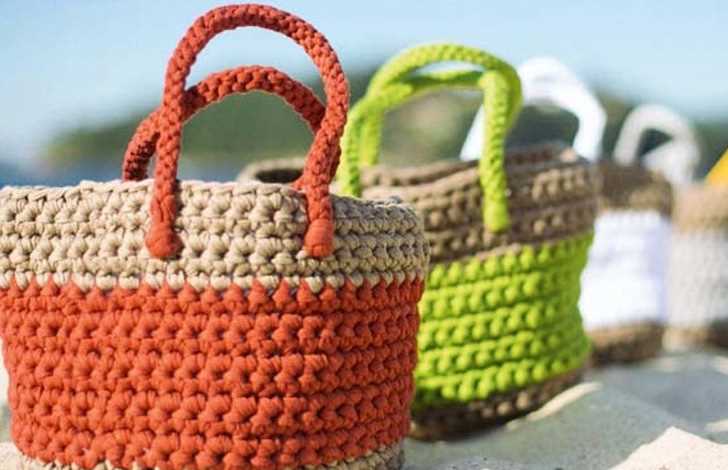
If you’re heading to the beach and need a stylish and functional bag to carry all your essentials, look no further than the knit beach bag pattern. Whether you’re packing sunscreen, a towel, a good book, or some snacks, this bag has plenty of room to hold everything you need for a day of relaxation by the water.
The best part about this pattern is that it’s customizable to fit your needs and personal style. You can choose the colors and yarn type that you love, and even add embellishments like buttons or tassels to make it truly unique. Plus, since it’s knit, it’s stretchy and can accommodate larger items or extra layers for those cooler beach days.
So grab your knitting needles and get ready to create your new favorite beach accessory. This knit beach bag pattern is beginner-friendly and easy to follow, so even if you’re new to knitting, you’ll be able to make something beautiful and functional in no time. Get ready to turn heads at the beach with your one-of-a-kind knit beach bag!
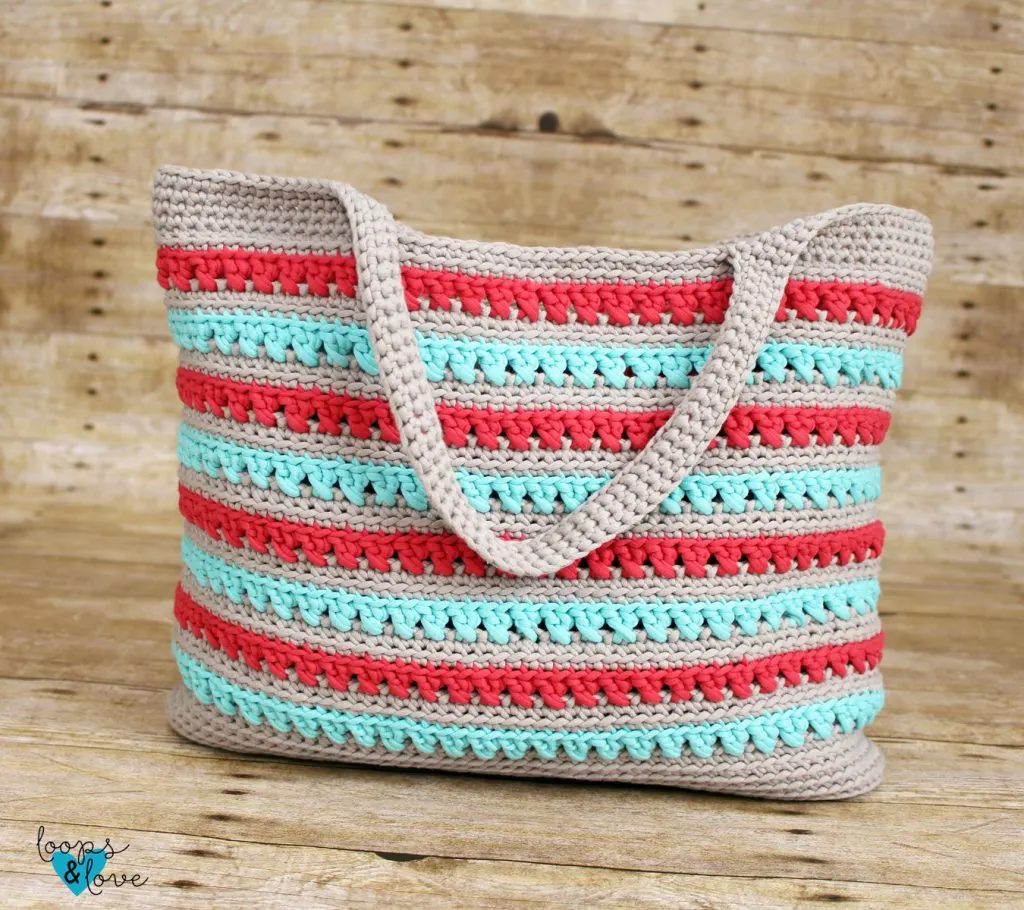
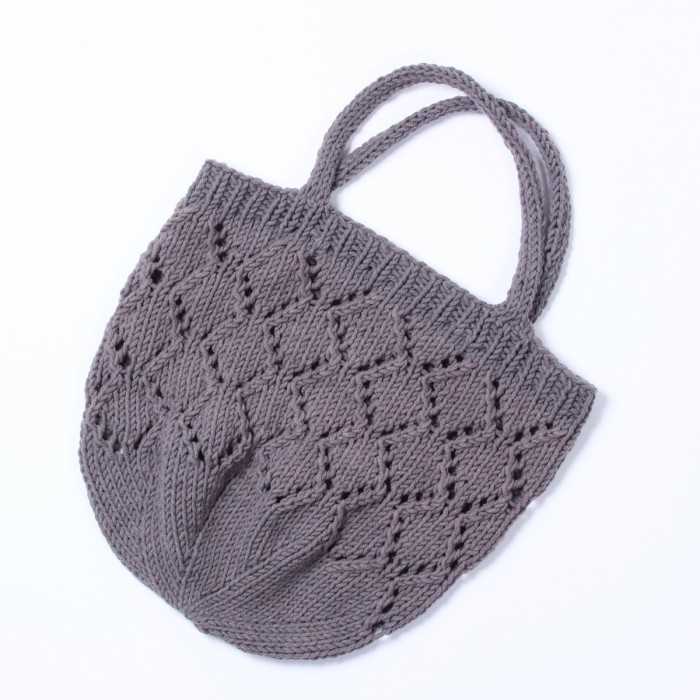
Knit Beach Bag Pattern
Looking for a stylish and functional beach bag to take with you on your next vacation? Why not try knitting your own? With a few basic knitting skills and a fun pattern, you can create a unique and personalized beach bag that will hold all your essentials while adding a touch of handmade charm to your beach look.
One of the great things about knitting your own beach bag is that you can choose the exact yarn and colors you want to use. Whether you prefer vibrant and bold colors or soft and natural tones, you can create a bag that reflects your personal style. Additionally, knitting allows you to experiment with different stitches and patterns, allowing you to create interesting textures and designs on your bag.
Materials needed:
- Knitting needles
- Cotton yarn
- Tapestry needle
Pattern:
- Cast on a multiple of stitches that will create the desired width of your bag. For example, if you want a 12-inch wide bag, cast on 60 stitches.
- Knit in a stitch pattern of your choice until the bag reaches the desired length. You can experiment with different stitch patterns such as garter stitch, rib stitch, or seed stitch.
- When your bag reaches the desired length, bind off all stitches.
- Next, fold the knitted piece in half with the right sides facing each other and sew the side seams together using a tapestry needle and matching yarn.
- Once the side seams are sewn, fold the top edge of the bag down about 1-2 inches to create a cuff. Sew the cuff in place using the tapestry needle.
- To create the handles, cut two lengths of yarn and attach them to the sides of the bag. You can make the handles as long or as short as you prefer.
- Weave in any loose ends and trim the yarn.
With this simple knit beach bag pattern, you’ll have a stylish and practical bag that is perfect for your beach adventures. Whether you’re packing your sunscreen, towel, and book, or your snacks, water bottle, and beach toys, this bag will keep everything organized and easily accessible. Plus, the handmade touch will make it extra special and unique.
Choose the right yarn for your beach bag
When choosing yarn for your beach bag, there are several factors to consider. The first is the durability of the yarn. Since your beach bag will be exposed to sand, water, and other elements, it is important to choose a yarn that can withstand these conditions. Look for yarns that are labeled as durable or suitable for outdoor use.
Another important factor to consider is the weight of the yarn. You want your beach bag to be light and easy to carry, so it is best to choose a lightweight yarn. Cotton and linen yarns are great options for beach bags as they are lightweight and breathable.
For a beach bag, you may also want to consider the color of the yarn. Bright and vibrant colors are perfect for beach bags as they can add a pop of fun and personality to your bag. Additionally, lighter colors may be ideal as they will reflect the sun’s rays and help to keep your bag cooler.
When it comes to the texture of the yarn, you want to choose something that is comfortable to touch and won’t irritate your skin. Smooth and soft yarns, such as bamboo or mercerized cotton, are great options for beach bags.
In conclusion, when choosing yarn for your beach bag, consider factors such as durability, weight, color, and texture. By choosing the right yarn, you can create a functional and stylish beach bag that will last for many summers to come.
Select the perfect needles for your project
When it comes to knitting, selecting the right needles for your project is essential. The type and size of needles you choose can greatly impact the outcome and quality of your knitwork. Whether you’re knitting a beach bag or any other project, here are some factors to consider when selecting your needles:
Material:
Needles can be made from various materials, including wood, metal, and plastic. Each material has its own unique characteristics that can affect your knitting experience. Wood needles are known for their smoothness and warmth, while metal needles are lightweight and durable. Plastic needles, on the other hand, are often budget-friendly and come in a wide range of colors. Consider the type of yarn you’re using and your personal preferences when choosing the material of your needles.
Size:
The size of your needles will depend on the weight of your yarn and the desired gauge of your project. Needles come in different sizes, usually indicated by numbers or letters. The smaller the number, the smaller the needle, and vice versa. When selecting the size, refer to the pattern or project instructions to determine the recommended needle size. Using the correct size needles will ensure that your stitches are even and the finished product turns out as intended.
Length:
The length of your needles can also make a difference in your knitting experience. Shorter needles are great for small, tight projects, or when you’re working in the round. Longer needles are ideal for larger projects, such as blankets or shawls, as they can hold more stitches. Consider the size and type of project you’re working on when choosing the length of your needles.
By considering these factors and experimenting with different needle options, you can find the perfect needles for your project and enjoy a smooth and enjoyable knitting experience.
Casting on and starting your beach bag

Before you can start knitting your beach bag, you need to cast on your stitches. This will determine the width of your bag, so make sure to choose a cast-on method that gives you the desired size. The long-tail cast-on method is a popular choice for its versatility and neat appearance.
To cast on using the long-tail method, hold your knitting needle in your right hand and make a slipknot with the yarn. Place the slipknot on the needle and tighten it. Hold the tail of the yarn in your right hand and the working yarn in your left hand. With your right hand, bring the tail over the top of the needle and cross it behind the working yarn. Then, bring the tip of the needle under the tail and up between the tail and the working yarn, forming a loop. Repeat this process until you have the desired number of stitches on your needle.
Once you have cast on your stitches, you are ready to start knitting your beach bag. The pattern will specify the stitch pattern and the number of rows or rounds you need to work. To begin, hold the needle with the stitches in your right hand and insert the left needle into the first stitch from left to right. With the working yarn in your right hand, bring it over the right needle and towards you, creating a loop around the right needle. Slip the right needle into the loop on the left needle, then bring the right needle under the left needle and through the loop, pulling the loop and the new stitch through.
Continue knitting each stitch in the row or round according to the pattern instructions. As you work, you’ll gradually see your beach bag take shape. Make sure to check your gauge periodically to ensure that your knitting is the correct size. Once you’ve completed the required number of rows or rounds, you can move on to the next part of the pattern or continue knitting the body of the bag.
Knitting the base of your beach bag
When knitting a beach bag, the first step is to create the base. The base is the foundation of the bag and determines its shape and size. There are several ways to knit the base of a beach bag, but one common method is to start with a rectangular shape.
To begin, cast on the desired number of stitches. This will depend on how wide you want your bag to be. For example, if you want a wider bag, you can cast on more stitches. If you prefer a smaller bag, cast on fewer stitches. Make sure to use a sturdy and durable yarn that is suitable for beach conditions.
Once you have cast on, start knitting in the desired stitch pattern. You can use a simple garter stitch or experiment with more intricate patterns, such as a basketweave or seed stitch. Knit rows back and forth until the base reaches the desired length. Measure the length periodically to ensure that you are on track.
When the base is the desired length, you can begin shaping the sides of the bag. This can be done by decreasing or increasing stitches at the beginning and end of each row. The exact shaping technique will depend on the pattern you are following or the design you have in mind.
- If you want a bag with straight sides, continue knitting in the stitch pattern without any shaping.
- If you want a bag with rounded sides, gradually decrease stitches as you work towards the top. This will create a sloping effect.
- If you want a bag with flared sides, gradually increase stitches as you work towards the top. This will create a widening effect.
Once you have finished shaping the sides, you can bind off the stitches and your base is complete! Now you can move on to knitting the body of the beach bag and adding any additional details or embellishments.
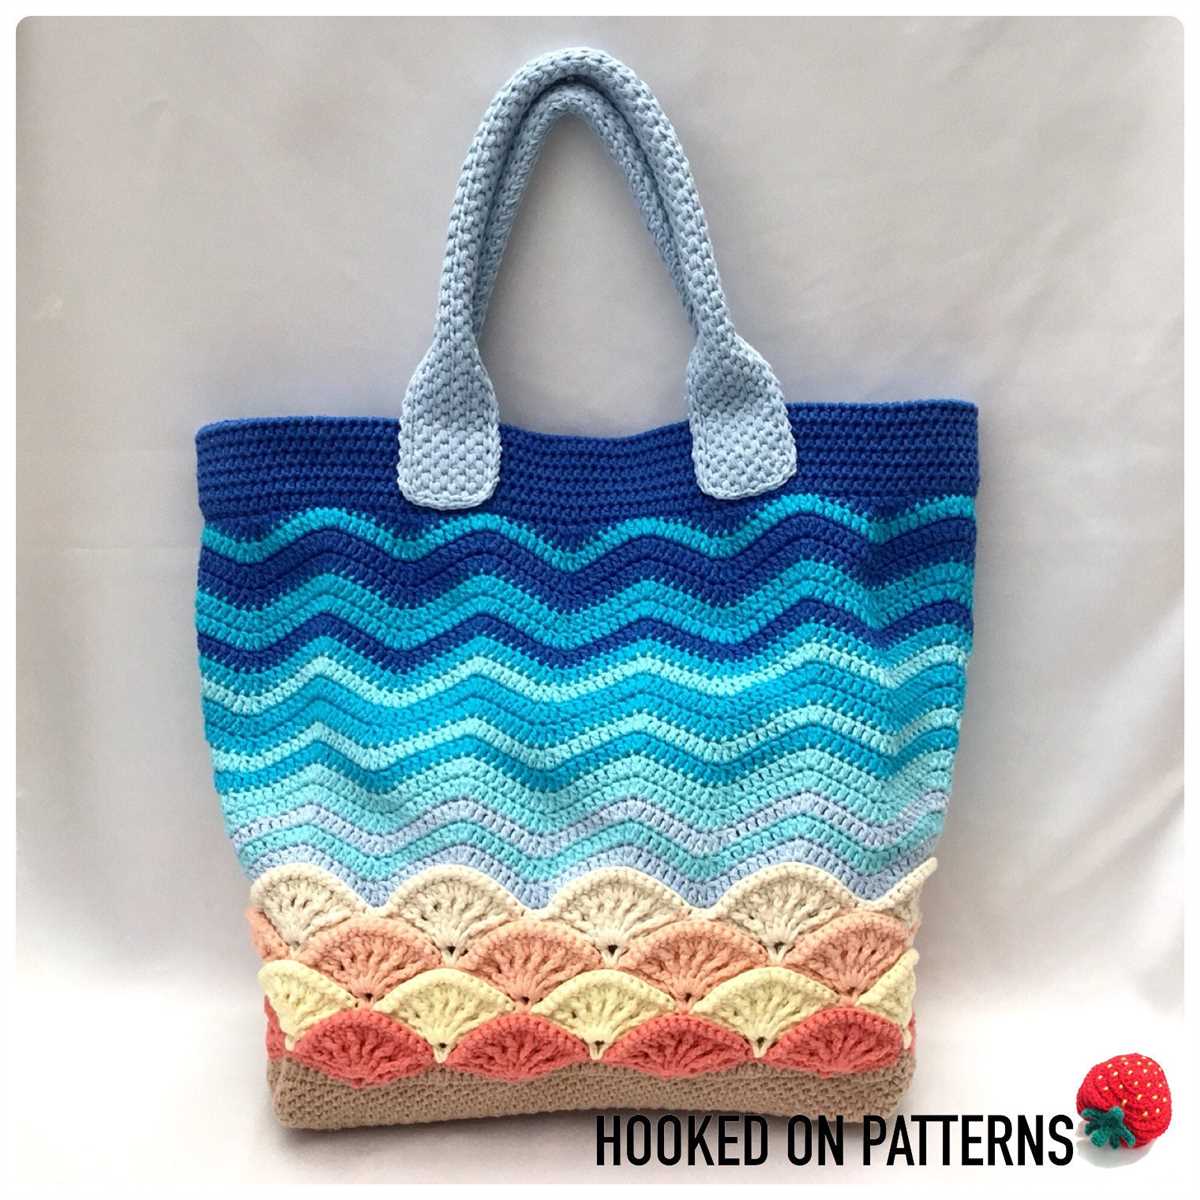
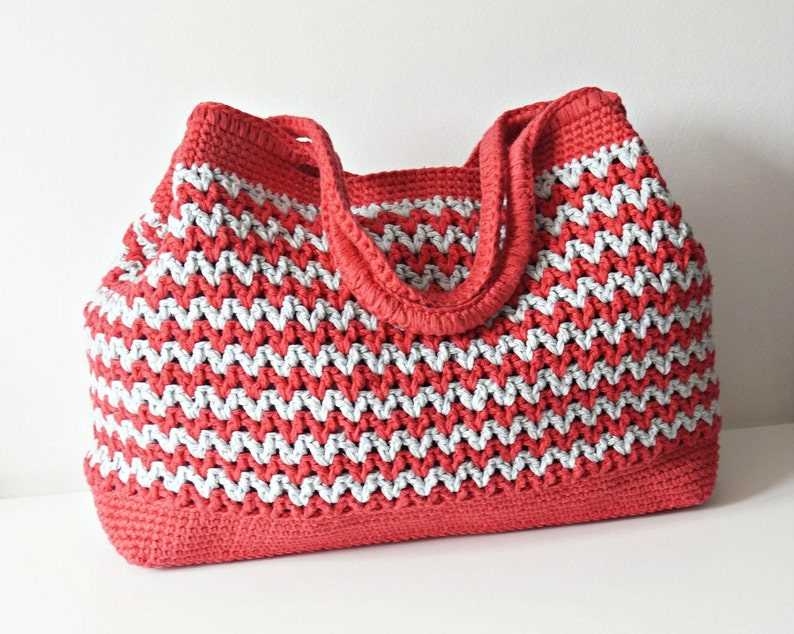
Adding Texture and Design to Your Beach Bag
When designing your own beach bag, adding texture and design can elevate the overall look and feel of the bag. There are several techniques and patterns that can be used to achieve this, allowing you to customize your bag to suit your personal style.
One simple way to add texture is by using different types of yarn. A combination of smooth and textured yarns can create an interesting visual effect. For example, you could use a smooth, cotton yarn for the main body of the bag and then incorporate a textured, bulky yarn for the handles or accents. This contrast in texture adds depth and interest to the bag.
Knit Patterns
Knit patterns can also be used to add texture to your beach bag. Consider using a ribbed or cable stitch pattern for the body of the bag, or incorporate lace or eyelet patterns for a more delicate and feminine look. These patterns not only add texture but can also provide structural integrity to the bag, making it more durable and sturdy.
Don’t be afraid to experiment with different stitch patterns and techniques to achieve the desired texture and design. You can also incorporate additional elements like colorwork or appliques to further enhance the visual appeal of your beach bag. The possibilities are endless, and by adding texture and design, you can create a one-of-a-kind bag that is both functional and fashionable.
Creating handles for your beach bag
When making a beach bag, one of the most important features to consider is the handles. The handles not only provide comfort and support when carrying the bag, but they also contribute to the overall design and functionality. Here are a few ideas on how to create handles for your knit beach bag:
1. Braided handles
One popular option is to create braided handles. This adds a unique and stylish touch to your beach bag. To make braided handles, start by knitting three separate strips of fabric in the desired width and length. Then, braid the three strips together tightly and sew the ends to secure the braid. Attach the handles to the sides of the bag, ensuring they are securely stitched in place.
2. Ribbed handles
Ribbed handles are another great choice for a beach bag. To create ribbed handles, use a rib stitch pattern while knitting the strips for the handles. This will add texture and elasticity to the handles, making them more comfortable to hold. Once the strips are knitted, sew the ends together and attach them to the bag. The ribbed pattern will stretch slightly to accommodate heavier loads.
3. Knotted handles
If you prefer a simpler design, knotted handles can be an excellent option. To create knotted handles, knit two separate strips of fabric and fold each strip in half. Then, tie a knot at the folded end of each strip, creating a loop. Attach the loops to the bag, ensuring they are securely stitched in place. Knotted handles are not only easy to make, but they also provide a sturdy and secure grip.
Remember to choose a handle style that complements the overall design of your beach bag. Consider your personal preferences and the functionality you desire from the handles. By adding unique and comfortable handles, you will enhance both the look and usability of your knit beach bag.
Finishing touches on your beach bag

Once you have completed knitting your beach bag, it’s time to add the finishing touches to make it both functional and stylish. These final touches will help ensure your bag is ready for a day of fun in the sun!
Straps: Attach the straps securely to the bag using a needle and thread. Make sure the straps are evenly spaced and securely sewn. You can choose to create long straps for a shoulder bag or shorter handles for a tote-style bag.
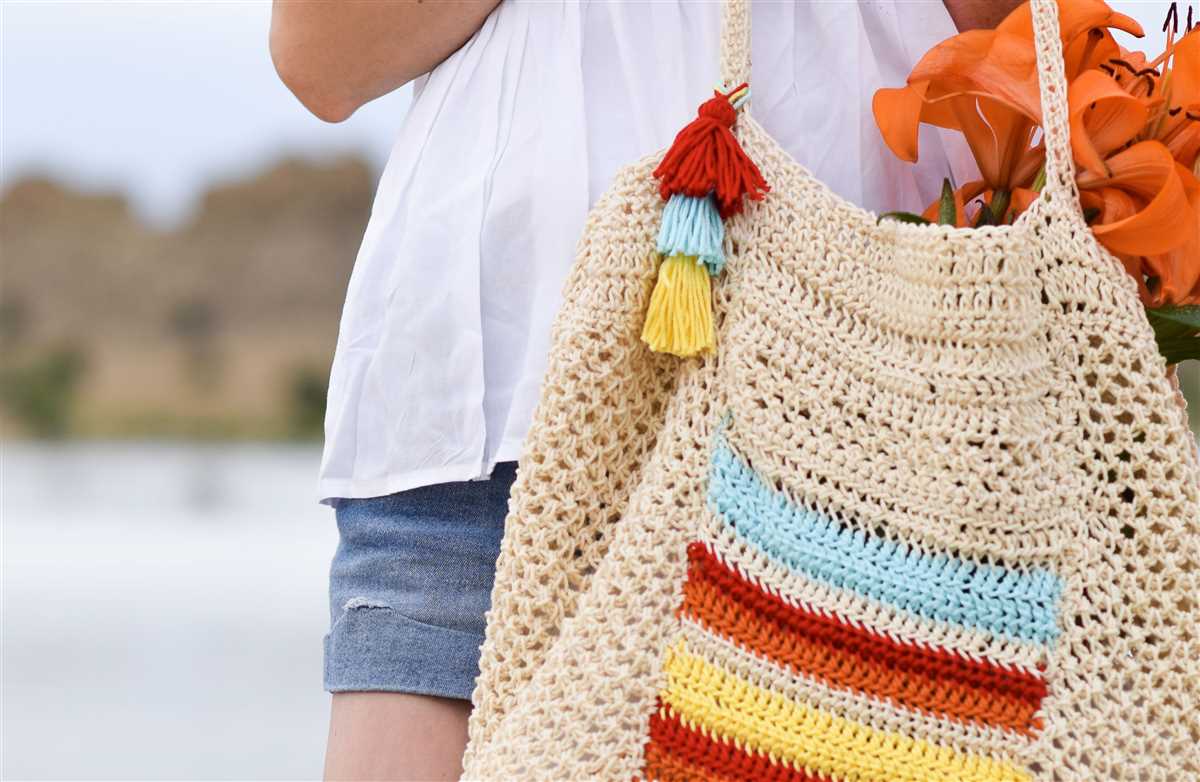
Decoration: Add some decorative touches to personalize your beach bag. You can attach pom-poms, tassels, or beads to the edges of the bag or create a colorful pattern using embroidery thread. Be creative and have fun with adding your personal style to the bag!
Lining: To add durability and prevent small objects from falling out, consider adding a lining to your beach bag. Cut a piece of fabric that is slightly larger than the dimensions of your bag, and sew it to the inside. This will give your bag a more finished look and protect it from wear and tear.
Waterproofing: If you plan on using your beach bag to carry wet items such as towels or swimwear, consider waterproofing the bag. You can use a waterproofing spray or apply a waterproof coating to the fabric to protect it from moisture. This will help ensure that your bag stays dry and lasts longer.
Finishing off: Lastly, make sure to secure any loose ends of yarn or thread. Trim off any excess and weave in the ends to give your bag a polished look. This will also prevent any unraveling or damage to the bag over time.
With these finishing touches, your knit beach bag will be ready to accompany you on your beach adventures. It will not only be functional but also a stylish accessory that reflects your personal style. Enjoy your time in the sun with your new beach bag!
Blocking your beach bag
Blocking is an important step in finishing your knit beach bag. It helps to shape and smooth out the fabric, giving it a professional and polished appearance. The process involves wetting the bag, stretching it to the desired shape, and then allowing it to dry in that shape.
Before you begin blocking, make sure to read the washing instructions for your yarn. Some yarns may require specific care, such as hand washing or avoiding excessive heat. It’s important to follow these instructions to ensure the best results.
Step 1: Wetting the bag
Fill a sink or basin with lukewarm water and add a small amount of gentle soap or wool wash. Gently submerge the bag into the water, making sure it is completely soaked. Let the bag sit in the water for about 15 minutes to allow the fibers to fully absorb the water.
Step 2: Stretching the bag
Remove the bag from the water and gently squeeze out any excess water, being careful not to wring or twist the fabric. Lay the bag flat on a clean towel and use your hands to gently stretch and shape it to the desired dimensions. Pay attention to any handles or straps, making sure they are evenly stretched.
Step 3: Allowing the bag to dry
Once the bag is in the desired shape, place it on a drying rack or on a fresh towel and allow it to air dry. Avoid exposing the bag to direct sunlight or heat sources, as this can damage the yarn fibers. It may take several hours or even overnight for the bag to fully dry.
By blocking your knit beach bag, you will not only improve its shape and appearance, but also ensure that it holds up well over time. It’s a simple step that can make a big difference in the final result of your project.
Adding embellishments to your beach bag

When it comes to creating a stylish and unique beach bag, adding embellishments is a great way to personalize your design. Whether you’re knitting your own bag or updating an existing one, there are several options for adding eye-catching details that will make your beach bag stand out.
Embroidery: Embroidery is a popular technique for adding intricate designs and patterns to fabric. Consider adding embroidered details to the front or sides of your beach bag. You can use colorful thread to create floral motifs, tropical patterns, or even your initials for a personalized touch.
Beads and sequins:
- Another way to add sparkle and glamour to your beach bag is by using beads and sequins. You can sew them onto the fabric in a specific pattern or scatter them randomly for a more bohemian look.
- Consider adding beaded tassels or fringe to the edges of your bag for an extra touch of interest.
Fabric paint:
- If you’re looking for a more vibrant and bold design, fabric paint is a great option. You can use stencils or freehand techniques to create your own unique designs on the fabric. From palm trees to waves, the possibilities are endless.
- Consider using fabric markers or fabric paints that are specifically designed for use on textiles to ensure the longevity of your design.
Pom-poms and tassels: Pom-poms and tassels are fun and playful embellishments that can be added to the handles or sides of your beach bag. You can either buy pre-made pom-poms and tassels or make your own using yarn or embroidery floss. Choose colors that complement your bag’s design and attach them using a sewing needle and thread.
In conclusion, adding embellishments to your beach bag is a creative way to make it unique and personalized. Whether you choose to embroider, add beads and sequins, use fabric paint, or attach pom-poms and tassels, there are endless possibilities for adding your own personal touch to your beach bag.
Personalizing your beach bag with colors and patterns
When it comes to beach bags, personalization is key. Adding your own touch with colors and patterns can make your beach bag stand out from the crowd and reflect your unique style. Whether you prefer bright and bold colors or subtle and elegant patterns, there are endless possibilities to make your beach bag one-of-a-kind.
One way to personalize your beach bag is by choosing colors that resonate with you. You can opt for vibrant shades like sunny yellow, turquoise, or fuchsia to add a playful and energetic vibe to your bag. On the other hand, if you prefer a more relaxed and calming look, you can go for pastel tones like baby blue, mint green, or soft pink. Don’t be afraid to mix and match different colors to create a visually striking effect.
Patterns and motifs:
- Stripes: Stripes are a classic pattern that never goes out of style. You can choose horizontal, vertical, or even diagonal stripes to add a touch of sophistication and timeless elegance to your beach bag.
- Geometric shapes: Geometric patterns like triangles, squares, or chevron can give your beach bag a modern and contemporary look. These patterns can be bold and eye-catching, making your bag a fashion statement.
- Tropical prints: Embrace the beach vibes by choosing beach-inspired patterns like palm leaves, pineapples, or exotic flowers. These tropical prints will instantly transport you to a sunny paradise and add a fun and holiday-like feel to your bag.
- Animal prints: For a touch of wildness and adventure, you can opt for animal prints like leopard, zebra, or snake skin. These prints can add a touch of edginess and make your beach bag a true fashion accessory.
Remember, the key to personalizing your beach bag with colors and patterns is to choose ones that resonate with your personal style and make you feel confident and beautiful. Whether you decide to go bold and vibrant or opt for a more understated and subtle look, the most important thing is to have fun and let your creativity shine through!
Options for lining your beach bag
If you have decided to knit a beach bag, you may also want to consider lining it to give it added durability and structure. There are several options for lining your beach bag, each with its own advantages and considerations.
Fabric lining
One option is to sew a fabric lining for your knitted beach bag. This can be done with a matching or contrasting fabric, depending on your personal preference. Fabric lining can help protect your bag from any potential snagging or stretching, and it can also add a pop of color or pattern to your bag. To line your bag with fabric, you will need to measure and cut the fabric to fit the dimensions of your bag, and then sew it in place either by hand or with a sewing machine.
Canvas lining
If you prefer a sturdier lining option, you may want to consider using canvas fabric. Canvas is a heavy-duty material that can provide extra strength and durability to your beach bag. It is also water-resistant, which can be beneficial if you plan on using your bag to carry wet items or if you will be spending time at the beach. To line your bag with canvas, you will need to measure and cut the fabric to fit the dimensions of your bag, and then sew it in place either by hand or with a sewing machine.
Lining with a drawstring bag
Another option is to use a drawstring bag as a lining for your knitted beach bag. This can be a convenient option if you have a drawstring bag on hand that matches the size and style of your knitted bag. To use a drawstring bag as a lining, simply place it inside your knitted bag and tie the drawstrings to secure it in place. This can be a quick and easy way to add some extra protection and organization to your beach bag.
Considerations
When choosing a lining option for your beach bag, it’s important to consider factors such as the intended use of the bag, the type of yarn used for knitting, and your personal preferences. Fabric and canvas linings offer added protection and structure, but they may add extra weight to your bag. Drawstring bag linings can be more lightweight and convenient, but they may not provide as much durability. Ultimately, the best choice for lining your beach bag will depend on your specific needs and preferences.
Taking care of your knit beach bag
Now that you have completed knitting your beautiful beach bag, it’s important to learn how to properly take care of it to ensure its longevity. Here are some tips to help you keep your knit beach bag in top condition:
1. Hand wash
Hand washing is the preferred method for cleaning knit items, including your beach bag. Fill a basin or sink with cool water and add a gentle detergent formulated for delicates. Gently agitate the bag in the soapy water, paying special attention to any stains or dirty areas. Rinse the bag thoroughly with cool water and gently squeeze out any excess water.
2. Air dry
Air drying is the best way to dry your knit beach bag. Lay it flat or hang it up to dry in a well-ventilated area away from direct sunlight. Avoid wringing or twisting the bag, as this can cause it to lose its shape. Once the bag is completely dry, gently reshape it if needed.
3. Store properly

Storing your knit beach bag properly when not in use will help protect it from dust, dirt, and any potential damage. Clean the bag before storing it to ensure that there are no stains or residue that could attract pests. Fold the bag neatly and place it in a clean, dry storage container or bag. Avoid storing it in a hot, humid area as this can promote mold or mildew growth.
4. Mend any damages
Regularly check your knit beach bag for any loose stitches or damages. If you notice any, take the time to mend them to prevent further unraveling or tearing. Keep a spare yarn from the original project to make the repairs and ensure a seamless match.
By following these care instructions, you can enjoy your knit beach bag for many seasons to come. Take pride in your handmade creation and show it off with confidence during your beach adventures.