
Knitting is a beloved pastime for many people around the world. From scarves to sweaters, the possibilities are endless when it comes to creating warm and cozy knitted items. One popular item that many people enjoy knitting is a wool hat. Not only can a wool hat keep you warm during the colder months, but it can also be a stylish accessory.
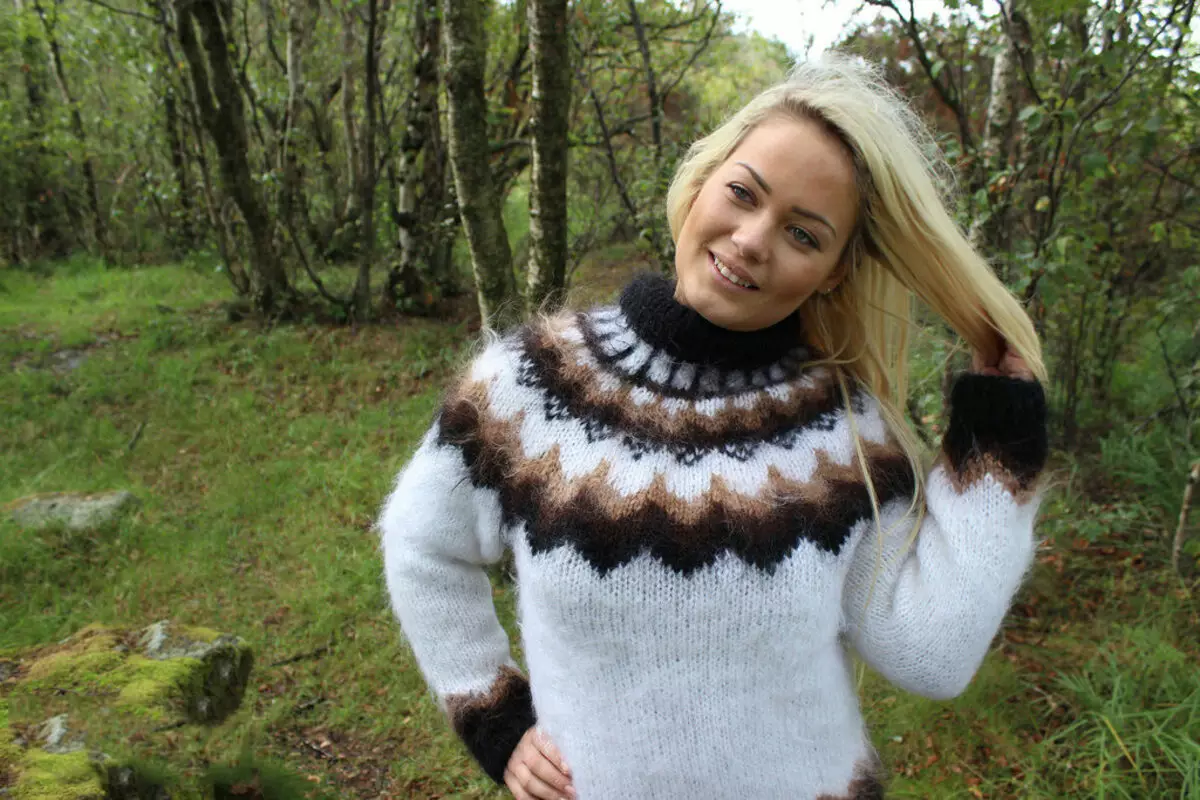
If you’re looking for a new knitting project, why not try your hand at knitting an Icelandic wool hat? Icelandic wool is known for its warmth and durability, making it the perfect choice for a hat that will keep you cozy all winter long. In addition, Icelandic wool is also breathable, which means it can help regulate your body temperature even in changing weather conditions.
Knitting an Icelandic wool hat is a great way to practice your knitting skills and create a unique and functional item. In this article, we will provide you with a simple knitting pattern for an Icelandic wool hat. Whether you’re a beginner knitter or an experienced one, this pattern is perfect for anyone looking to create a cozy and stylish hat.
Icelandic Wool Hat Knitting Pattern
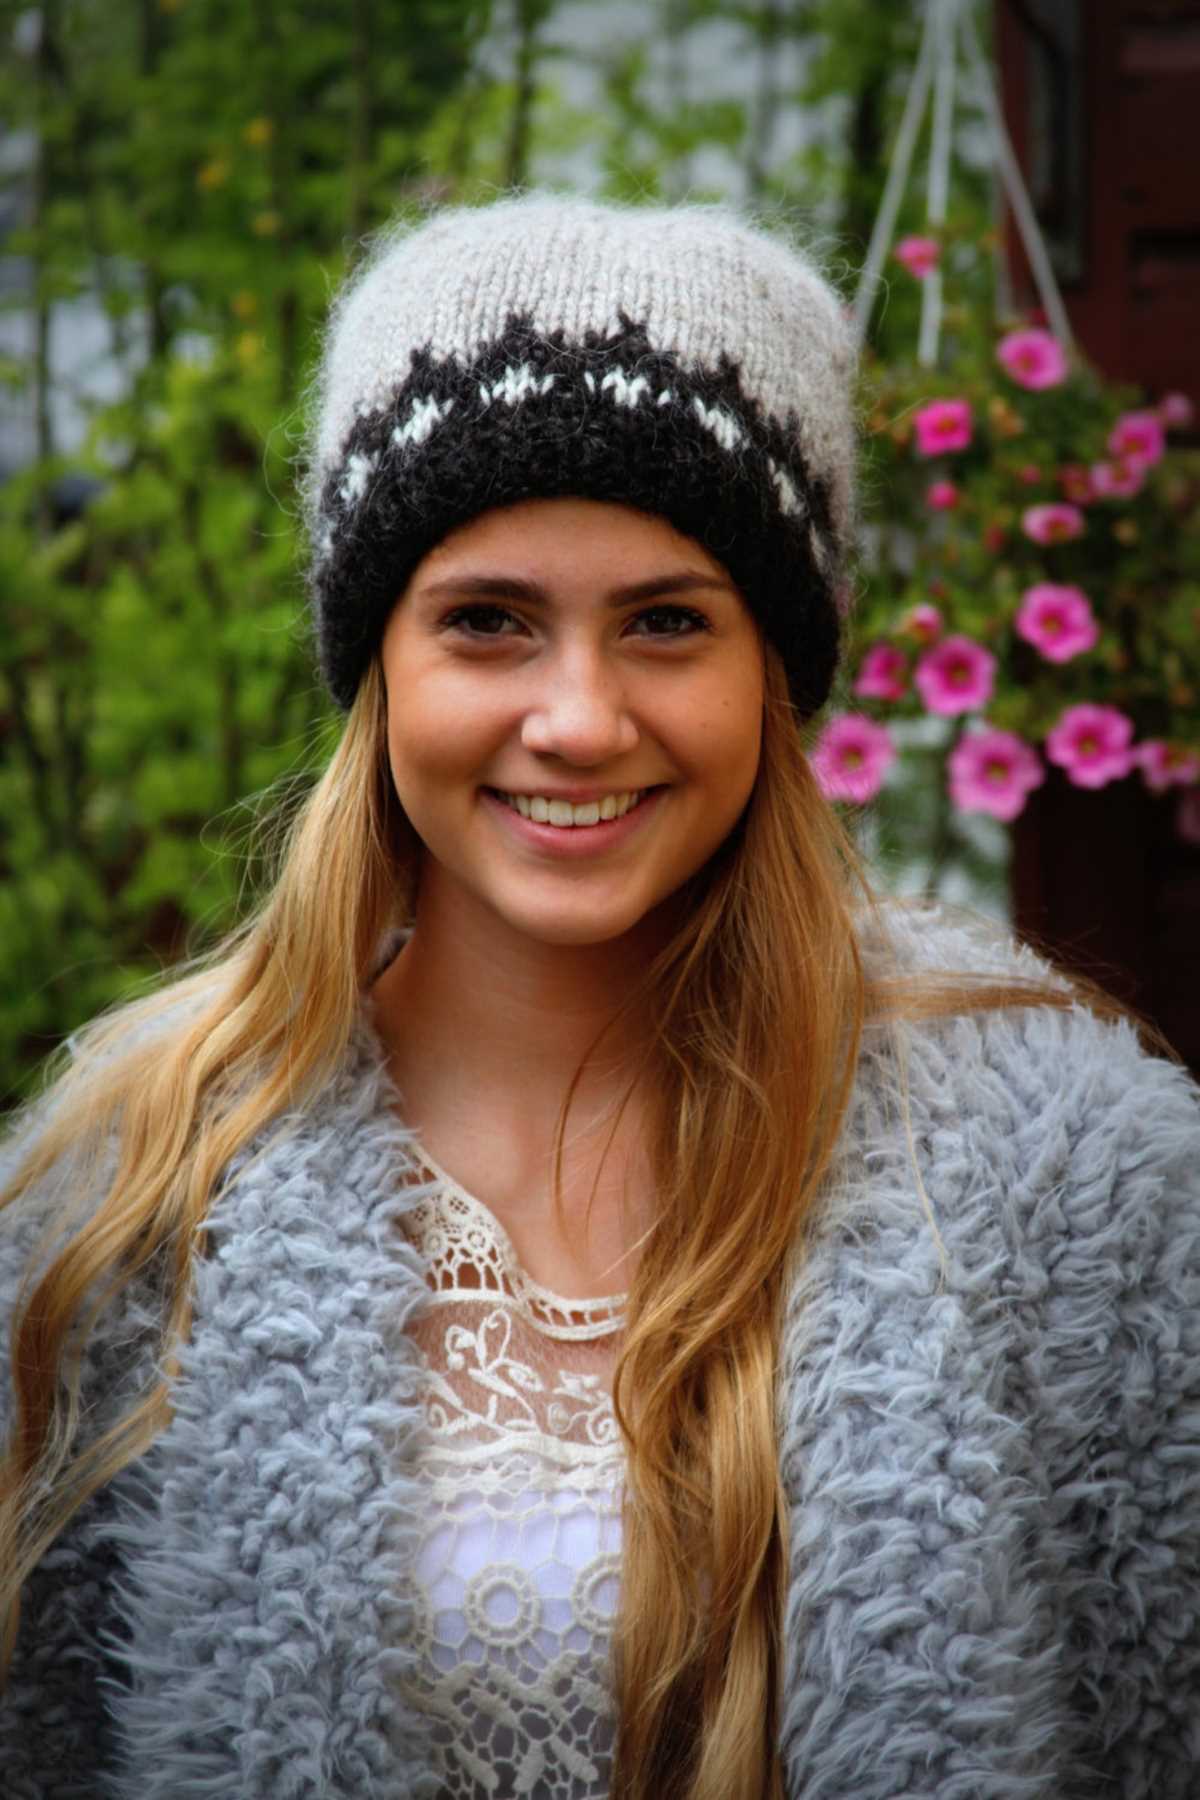
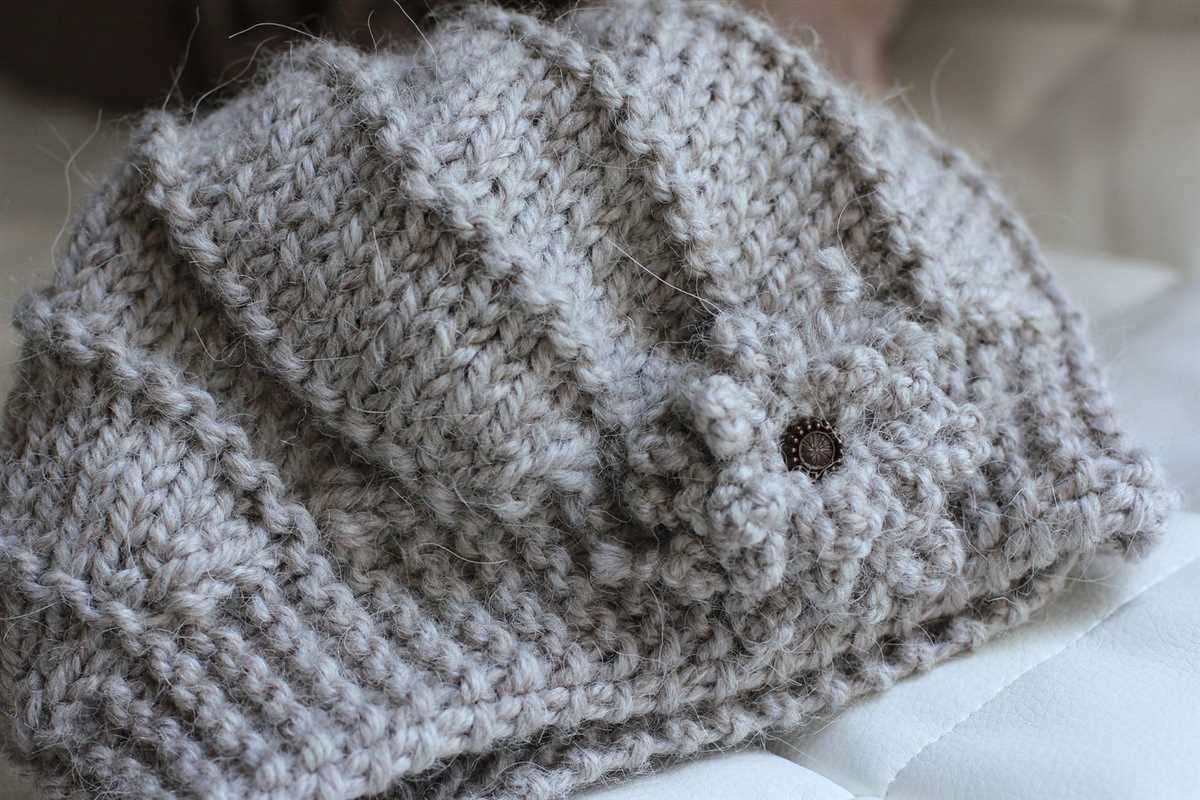
The Icelandic wool hat is a traditional and popular accessory, known for its warmth and durability. It is often knitted using a variety of color patterns and designs, making it not only functional but also stylish. With its thick and cozy texture, it is perfect for cold winter days and outdoor activities in chilly weather.
To create your own Icelandic wool hat, you will need a set of double-pointed knitting needles and Icelandic wool yarn. Start by casting on the desired number of stitches and join them in a round. Then, begin knitting in a ribbing pattern, alternating between knit and purl stitches, to create a stretchy brim for the hat.
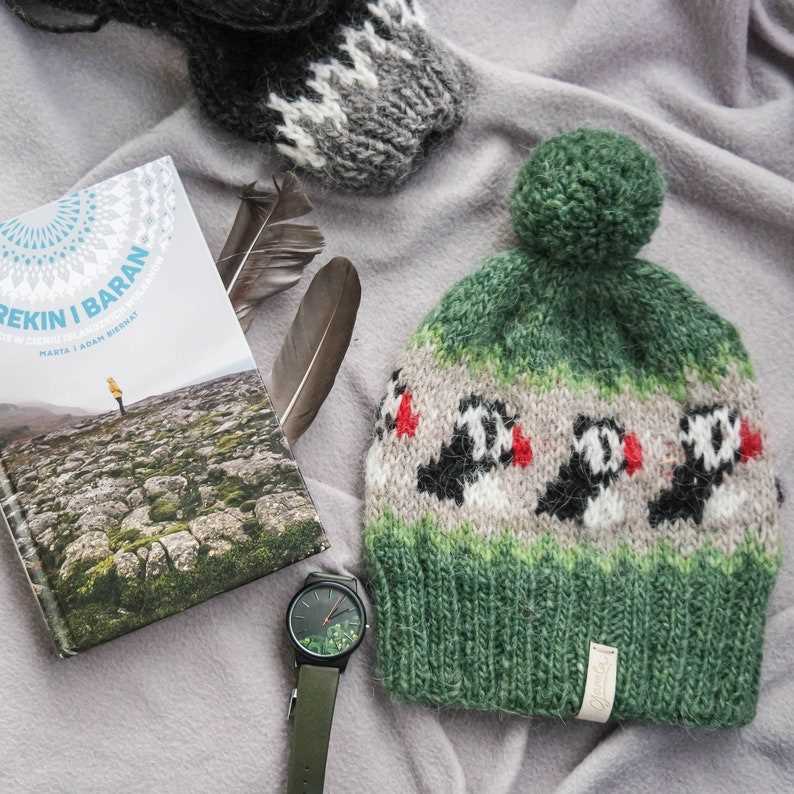
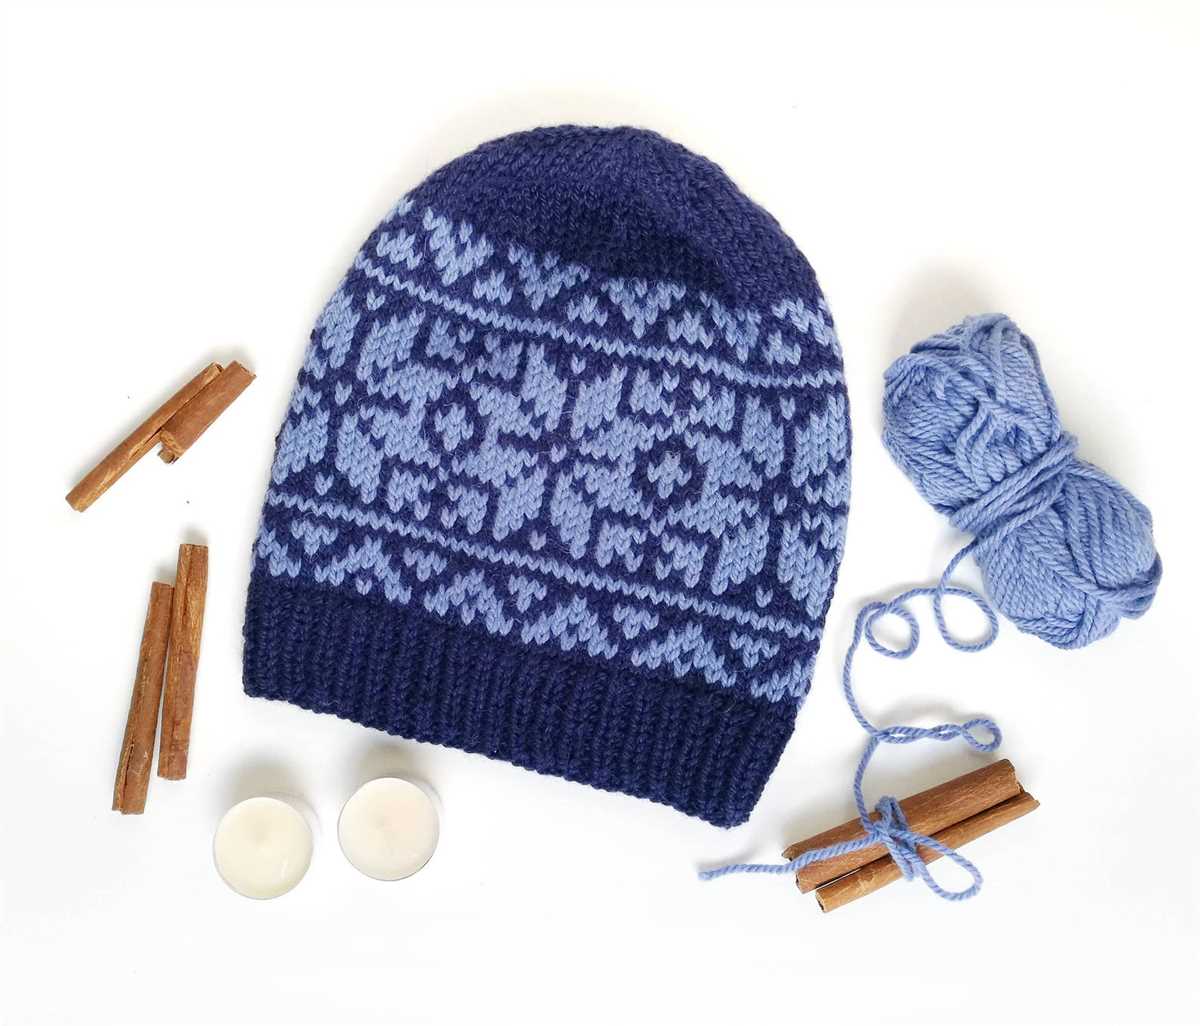
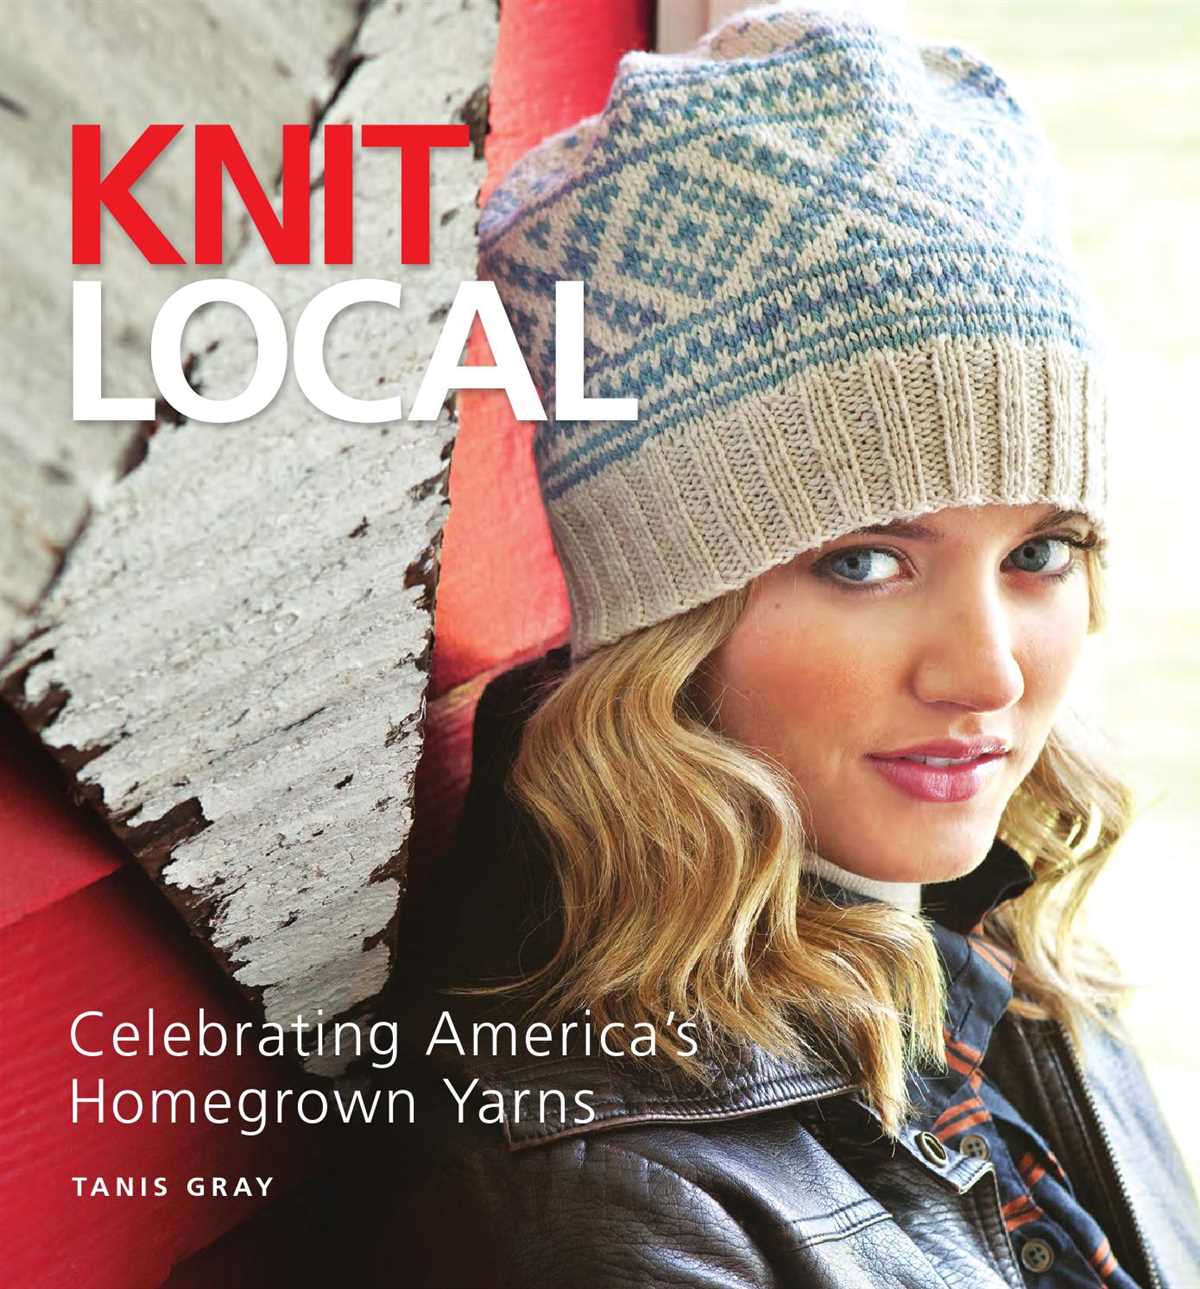
Once the brim is complete, you can start working on the main part of the hat. This is where you can get creative and incorporate different color patterns or stitch designs. The Icelandic knitting tradition often includes motifs inspired by nature, such as snowflakes, mountains, or Icelandic horses.
To add these motifs, you can use the stranded knitting technique, also known as Fair Isle knitting. This involves carrying multiple colors of yarn across the back of your work and switching between them as needed. The result is a beautiful and intricate pattern that adds visual interest to your hat.
Continue knitting in the round until the hat reaches the desired length. Then, you can start decreasing stitches to shape the crown. There are various methods for decreasing, such as knitting two stitches together or slipping stitches, which create different effects and shapes.
Finally, when you have reached the top of the hat, cut the yarn and thread it through the remaining stitches to secure them. Weave in any loose ends, and your Icelandic wool hat is ready to be worn and enjoyed!
Why Choose an Icelandic Wool Hat
An Icelandic wool hat is not just a fashionable accessory, but also a practical and functional item. Made from the high-quality wool of Icelandic sheep, these hats offer exceptional warmth and insulation. The wool is naturally water repellent, making it perfect for protecting your head from the cold and wet weather conditions. Whether you’re hiking in the mountains or strolling around the city, an Icelandic wool hat will keep you cozy and comfortable.
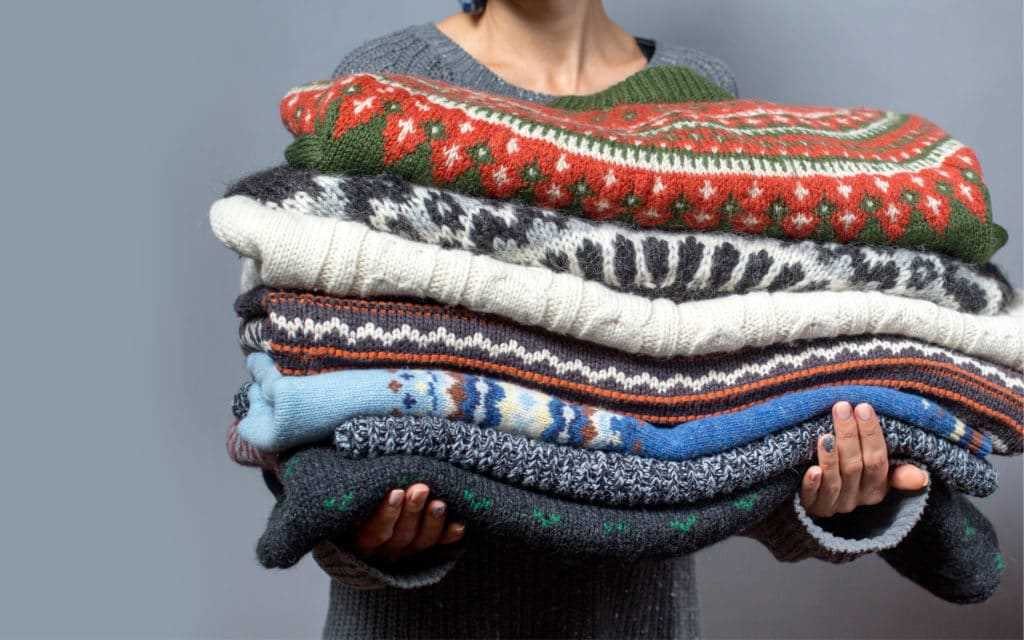
Durability and Longevity: Icelandic wool is known for its durability and longevity. The fibers are incredibly strong and resilient, so your hat will withstand the test of time. This means that you can enjoy your hat for years to come, without worrying about wear and tear.
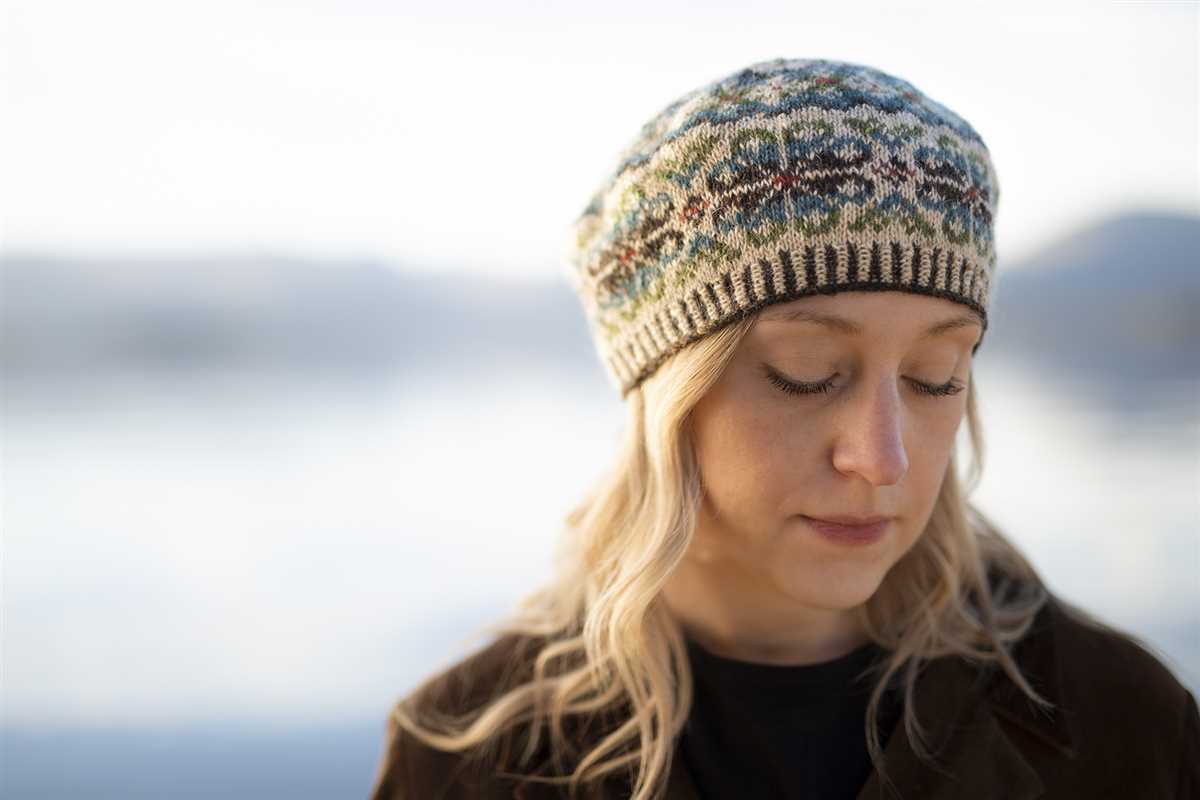
Unique and Stylish: Icelandic wool hats are known for their unique patterns and designs. Each hat is handcrafted by skilled artisans, who incorporate traditional Icelandic knitting techniques. The result is a hat that is not only warm and functional, but also visually stunning. With an Icelandic wool hat, you can make a fashion statement and stand out from the crowd.
Did you know? Icelandic wool hats are also hypoallergenic, making them suitable for those with sensitive skin. The natural fibers are gentle on the skin and won’t cause irritation or itchiness. So, if you’re looking for a hat that is both stylish and comfortable, an Icelandic wool hat is the perfect choice.
Materials Needed for Knitting an Icelandic Wool Hat
When it comes to knitting an Icelandic wool hat, there are a few essential materials that you’ll need to get started. These materials will help you create a warm and cozy hat that is perfect for cold winter days.
1. Icelandic Wool Yarn: The key ingredient for an Icelandic wool hat is, of course, the Icelandic wool yarn. This yarn is known for its exceptional warmth and durability. It is usually made from the wool of Icelandic sheep, which have a long, dual-coated fleece that provides insulation against the cold. Make sure to choose a color and weight of yarn that suits your style and preferences.
2. Knitting Needles: You’ll need a set of knitting needles to work with the Icelandic wool yarn. The size of the needles will depend on the gauge and thickness of the yarn you choose. It’s a good idea to have a few different sizes on hand to accommodate any variations in your knitting tension.
3. Stitch Markers: Stitch markers are helpful tools that can be placed on your knitting needles to mark specific points in your pattern. They can help you keep track of stitch counts, markers for shaping, or any other pattern instructions. These small plastic or metal rings come in various sizes and can be easily slipped onto the needles.
4. Tapestry Needle: A tapestry needle with a blunt end is essential for weaving in loose ends and finishing off your hat. It’s used to thread the yarn through stitches, creating a neat and seamless finish. Make sure to choose a needle with a large eye that can accommodate the thickness of the Icelandic wool yarn.
5. Pom Pom Maker (optional): If you want to add a fun touch to your Icelandic wool hat, you can use a pom pom maker. This tool allows you to easily create fluffy and uniform pom poms that can be attached to the top of your hat. While not necessary, pom poms can add a playful and stylish element to your finished hat.
With these materials in hand, you’ll be well-equipped to start knitting your own cozy Icelandic wool hat. Remember to follow the knitting pattern instructions and have fun with your project!
Getting Started: Casting On
Before you can start knitting your Icelandic wool hat, you will need to cast on your stitches. Casting on is the process of creating a foundation row of stitches on your knitting needle. This step is essential for building the base of your hat.
Materials Needed:
- Knitting needles
- Icelandic wool yarn
- Tape measure
- Scissors
To cast on your stitches, you can use the long-tail cast-on method or any other cast-on method that you are comfortable with. The long-tail cast-on method is commonly used and provides a neat and flexible edge for your hat.
Here’s a step-by-step guide to casting on using the long-tail cast-on method:
- Measure a length of yarn for your long tail, leaving a tail that is approximately three times the width of your finished hat.
- Make a slipknot at the end of your yarn, leaving a small loop.
- Insert one knitting needle into the slipknot loop, holding the other knitting needle in your right hand.
- With your right hand, use the other end of the long tail yarn to wrap it around your right thumb.
- Take the needle in your right hand and insert it through the loop on your thumb from front to back.
- With your thumb, push the loop off and onto the right needle, creating a new stitch.
- Repeat steps 4-6 until you have cast on the desired number of stitches for your hat.
Once you have successfully cast on your stitches, you are ready to begin knitting the body of your Icelandic wool hat. The casting on process sets the foundation for your project and ensures a secure starting point for your knitting.
Knitting the Ribbing
In knitting the ribbing for your Icelandic wool hat, you will be using a combination of knit and purl stitches to create a stretchy and textured fabric. The ribbing is usually located at the brim of the hat and helps to keep it snugly in place on your head.
To start the ribbing, you will need to cast on the desired number of stitches. This can vary depending on the size of your hat and the type of ribbing you want to create. Common choices for ribbing are 1×1 (alternating one knit stitch with one purl stitch) or 2×2 (alternating two knit stitches with two purl stitches).
Once you have cast on your stitches, you will begin working in your chosen ribbing pattern. If you are doing a 1×1 rib, you will knit one stitch, then purl one stitch, and repeat this pattern until the end of the row. If you are doing a 2×2 rib, you will knit two stitches, then purl two stitches, and repeat this pattern until the end of the row.
Continue working in your ribbing pattern for the specified number of rows or until the ribbing measures the desired length. Remember to always knit the knit stitches and purl the purl stitches to maintain the ribbing pattern. The ribbing should be snug without being too tight, as it needs to stretch to fit comfortably around your head.
Once the ribbing is complete, you can move on to the main body of the hat, following the pattern instructions for the specific design you are knitting. The ribbing provides a clean and finished edge to your hat, giving it a polished look. Enjoy the process of knitting the ribbing and creating a beautiful hat with Icelandic wool!
Knitting the Body of the Hat
Once you have completed the ribbing, it’s time to move on to knitting the body of the hat. This is where you will see the pattern start to take shape, and you can showcase the beautiful Icelandic wool.
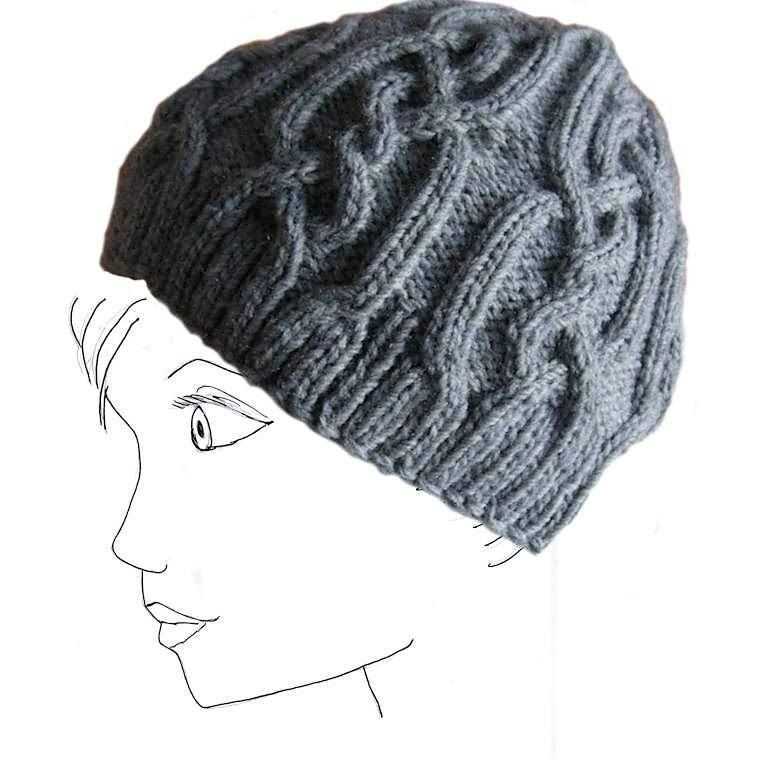
1. Transition to the main pattern: Switch to the larger needles and begin knitting in the main pattern. This pattern could be a simple stockinette stitch, a ribbed pattern, or a more intricate design like cables or colorwork. Follow the instructions provided in your chosen pattern.
2. Shaping the crown: As you knit the body of the hat, you will want to keep the crown shaping in mind. This is where the hat will taper to fit snuggly on the head. The crown shaping can be achieved through decreases or by knitting a series of short rows. Check your chosen pattern for specific instructions on how to shape the crown of the hat.
3. Measure your progress: It’s essential to periodically measure your work to ensure that you are on track. Place the hat on a ruler or measuring tape to check the length. This will help you determine when to start the crown shaping or when to start decreasing for a slouchy fit.
4. Customize your hat: While following a pattern is a great way to create a beautiful hat, don’t be afraid to customize it to suit your style. You can add stripes, change colors, or incorporate different stitch patterns to make the hat uniquely yours.
5. Finishing off: Once you have reached the desired length and completed the crown shaping, it is time to finish off the hat. Cut the yarn, leaving a long tail. Thread the tail through the remaining stitches, pull tight to close the top of the hat, and secure it with a knot. Weave in any loose ends, and your hat is ready to wear!
Creating the Decrease Rows
Once you have completed the desired number of pattern repeats for the main body of the hat, it is time to start creating the decrease rows. These rows will shape the top of the hat and give it a tapered look.
To begin, you will need to determine how many stitches to decrease in each decrease row. This will depend on the original number of stitches you cast on and the desired final circumference of the hat. For example, if you cast on 80 stitches and want the final circumference to be 60 stitches, you will need to decrease 20 stitches over the course of the decrease rows.
Decrease Row 1:
- Knit the first 2 stitches together.
- Continue knitting the rest of the stitches in the round as established in the pattern.
Repeat decrease row 1 every X stitches until you have reached the desired number of decrease rows. The value of X will depend on your specific pattern and gauge.
Decrease Row 2:
- Knit the first 2 stitches together.
- Continue knitting the rest of the stitches in the round as established in the pattern.
Repeat decrease row 2 every X stitches until you have reached the desired number of decrease rows.
Continue repeating the decrease rows, decreasing the specified number of stitches in each row, until you have only a few stitches left.
Next, cut the yarn, leaving a long tail. Thread the tail through the remaining stitches, pull tight to close the top of the hat, and secure it with a knot.
Your Icelandic wool hat is now complete! You can finish it off by weaving in any loose ends and blocking it to shape. Enjoy staying warm and stylish with your handmade creation!
Shaping the Crown of the Hat
Once you have completed the body of the hat, it’s time to shape the crown. This is an important step that determines the overall look and fit of the hat. There are several common techniques for shaping the crown, and we will explore a few of them here.
Decreasing: One of the most common ways to shape the crown is by decreasing the stitches. This is done by knitting or purling two stitches together at regular intervals. The number and frequency of decreases will depend on the desired shape and size of the finished hat. For example, you could decrease every other round, or every round for a more gradual taper.
Knitting in the Round: Another method for shaping the crown is by knitting in the round. This involves gradually decreasing the number of stitches by knitting together two or more stitches until you reach the desired number. This technique creates a smoother and more seamless finish.
Gusset Shaping: Gusset shaping is a technique often used in traditional Icelandic hat patterns. This involves creating a triangular or diamond-shaped gusset by increasing stitches evenly around the hat. The gusset is then gradually decreased to form the crown. This technique adds extra volume and shaping to the top of the hat.
- Always follow the pattern instructions for shaping the crown, as different patterns may require different techniques.
- If you are designing your own hat pattern, experiment with different shaping methods to achieve the desired look and fit.
- Use stitch markers to help keep track of your decreases or increases.
- Try on the hat periodically as you shape the crown to ensure it fits comfortably and securely.
Additional Tips:
Finishing Touches: Binding Off
After completing the final rows of your Icelandic wool hat and reaching the desired length, it’s time to bind off your stitches to create a clean and finished edge. Binding off, also known as casting off, is the process of securing the stitches so they don’t unravel.
There are several methods you can use to bind off your knitting, but one of the most common and simple techniques is the standard bind off. To do this, knit the first two stitches as usual. Then, using the left needle, lift the first stitch over the second stitch and off the right needle. This leaves one stitch on the right needle. Knit the next stitch, and repeat the process of lifting the previous stitch over the newly knit stitch. Continue this pattern until you have finished binding off all the stitches.
Once you have bound off all the stitches, cut the yarn, leaving a tail that is at least 6 inches long. Thread the tail through the final stitch and pull tight to secure. You can then weave in the ends using a tapestry needle, ensuring that the ends are hidden within the hat and won’t come loose with wear.
Another option for finishing the edge of your Icelandic wool hat is to add a decorative bind off. This can involve using a different stitch pattern or adding a picot edging. Some popular decorative bind off techniques include the picot bind off, the picot rib bind off, or the picot edge bind off. These techniques add a stylish and unique touch to your hat while also ensuring the stitches are secure.
By binding off your stitches with care and attention to detail, you can create a polished and professional finish to your Icelandic wool hat. Whether you choose the standard bind off or opt for a decorative edge, the final result will be a cozy and stylish accessory to keep you warm on chilly Icelandic days.
Blocking and Shaping
Blocking is an important step in the process of knitting a Icelandic wool hat. It involves shaping and stretching the knitted fabric to achieve the desired size and shape. To block your hat, you will need a blocking board or mat, rust-proof T-pins, and a spray bottle filled with water.
First, you should wet the hat by spraying it with water. Make sure to evenly distribute the moisture throughout the fabric. Then, gently stretch the hat to the desired size and shape, using the T-pins to hold it in place on the blocking board. Be careful not to pull too hard or distort the stitches.
Once the hat is pinned into shape, leave it to dry completely. This step is important to ensure that the hat retains its shape once it is removed from the blocking board. It may take a day or two for the hat to dry completely, depending on the humidity level in your area.
After the hat is dry, carefully remove the T-pins and the hat from the blocking board. The hat should now be perfectly shaped and ready to wear.
Remember, blocking is an essential step in knitting a Icelandic wool hat to achieve the desired fit and shape. Take your time and follow these steps to ensure that your hat turns out beautifully.
Adding Embellishments

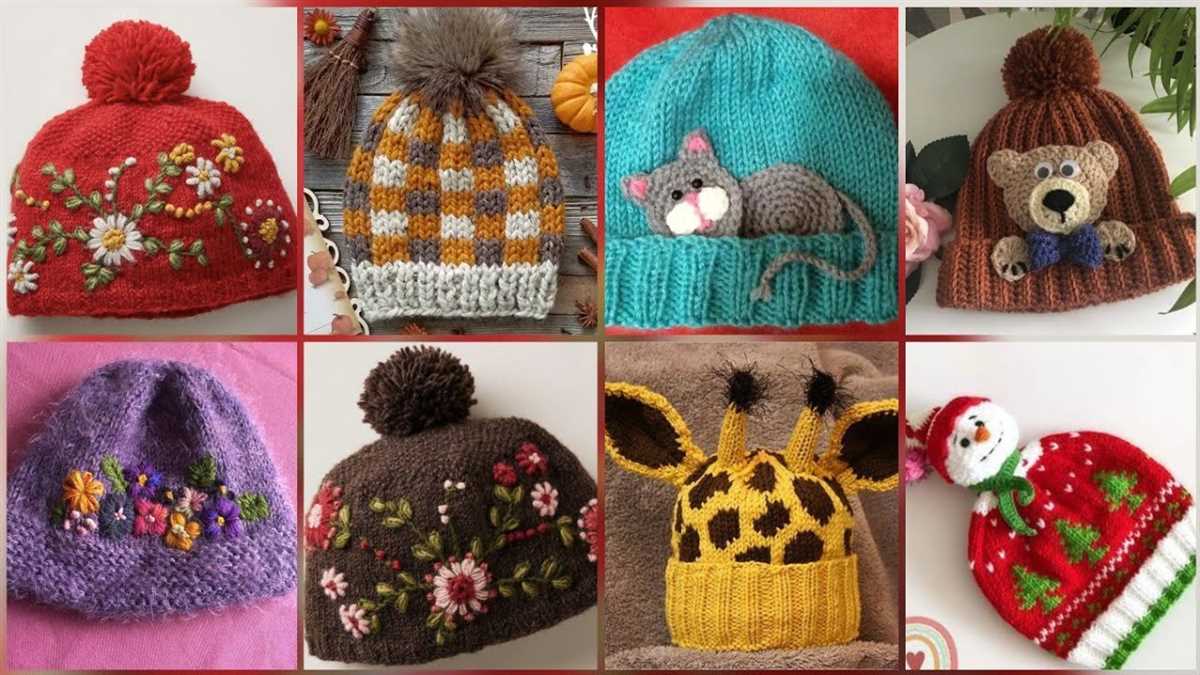
Adding embellishments to your Icelandic wool hat can give it a unique and personalized touch. There are many different options for adding decorative elements, such as pom-poms, tassels, or embroidered designs. Here are some ideas to inspire you:
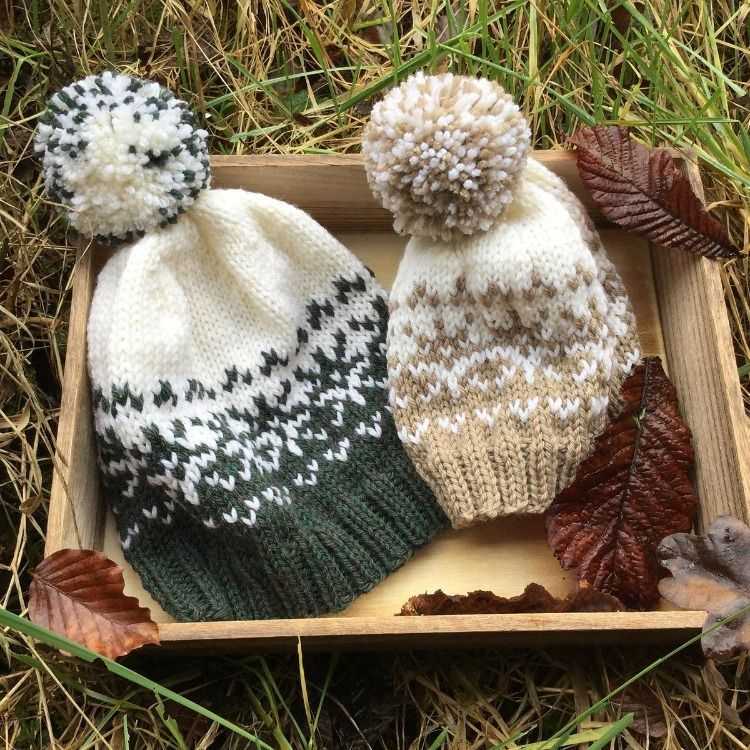
Pom-Poms
Adding a pom-pom to the top of your hat can add a playful and whimsical element. You can use matching or contrasting colors of Icelandic wool yarn to create a pom-pom that complements your hat. There are many different techniques for making pom-poms, from using a pom-pom maker to making them by hand. Choose the method that you find most comfortable and enjoy the process of creating a fluffy and fun addition to your hat.
Tassels
Another option for embellishing your Icelandic wool hat is to add tassels. Tassels can be made using the same yarn as your hat, or you can use a different color to create a contrasting effect. You can attach the tassels to the corners of the hat or create a cluster of tassels in different sizes. Tassels can add movement and texture to your hat, creating an eye-catching detail.
Embroidery
If you are skilled in embroidery, you can add intricate designs to your hat using a needle and thread. Choose a design that complements the pattern of your hat or create your own unique design. You can embroider flowers, animals, geometric patterns, or any other motif that you like. Embroidery allows you to add a personal touch and show off your creativity.
Buttons and Beads
Another option for embellishing your Icelandic wool hat is to add buttons or beads. You can sew buttons in a row or create a cluster of buttons in a specific area of the hat. Beads can be threaded onto the yarn and incorporated into the knitting pattern, or they can be sewn onto the finished hat as accents. Choose buttons or beads that match the color and style of your hat to create a cohesive look.
Conclusion
Adding embellishments to your Icelandic wool hat allows you to customize it and make it truly unique. Whether you choose pom-poms, tassels, embroidery, buttons, or beads, the embellishments will add a special touch to your hat and make it stand out. Have fun experimenting with different techniques and designs, and enjoy the process of creating a hat that reflects your personal style.
Care Instructions for Your Icelandic Wool Hat
Proper care will help to ensure that your Icelandic wool hat stays in great condition and lasts for many years to come. Follow these care instructions to keep your hat looking and feeling its best:
- Hand Wash: It is recommended to hand wash your Icelandic wool hat to prevent any damage or shrinking. Use mild detergent in lukewarm water and gently agitate the hat. Avoid harsh scrubbing or twisting.
- Dry Flat: After washing, reshape the hat and lay it flat on a clean towel to dry. Avoid hanging or wringing out the hat, as this can cause stretching or misshaping.
- Avoid Direct Sunlight: When drying or storing your hat, avoid exposing it to direct sunlight for prolonged periods of time. Sunlight can fade the colors and weaken the fibers of the wool.
- Store Properly: When not in use, store your Icelandic wool hat in a cool, dry place. Avoid storing it in plastic bags, as this can trap moisture and lead to mildew or odors. Instead, use a breathable fabric or paper bag.
- Avoid Contact with Velcro or Sharp Objects: To prevent snagging or damaging the fibers, avoid contact with Velcro, sharp objects, or rough surfaces.
- Consider Using a Hat Box: If you have a collection of Icelandic wool hats, consider using a hat box for storage. This will help protect them from dust, moisture, and potential damage.
Following these care instructions will help prolong the life of your Icelandic wool hat and keep it looking beautiful. Remember, proper care is essential for maintaining the quality and integrity of your hat, ensuring it continues to provide warmth and style for years to come.