
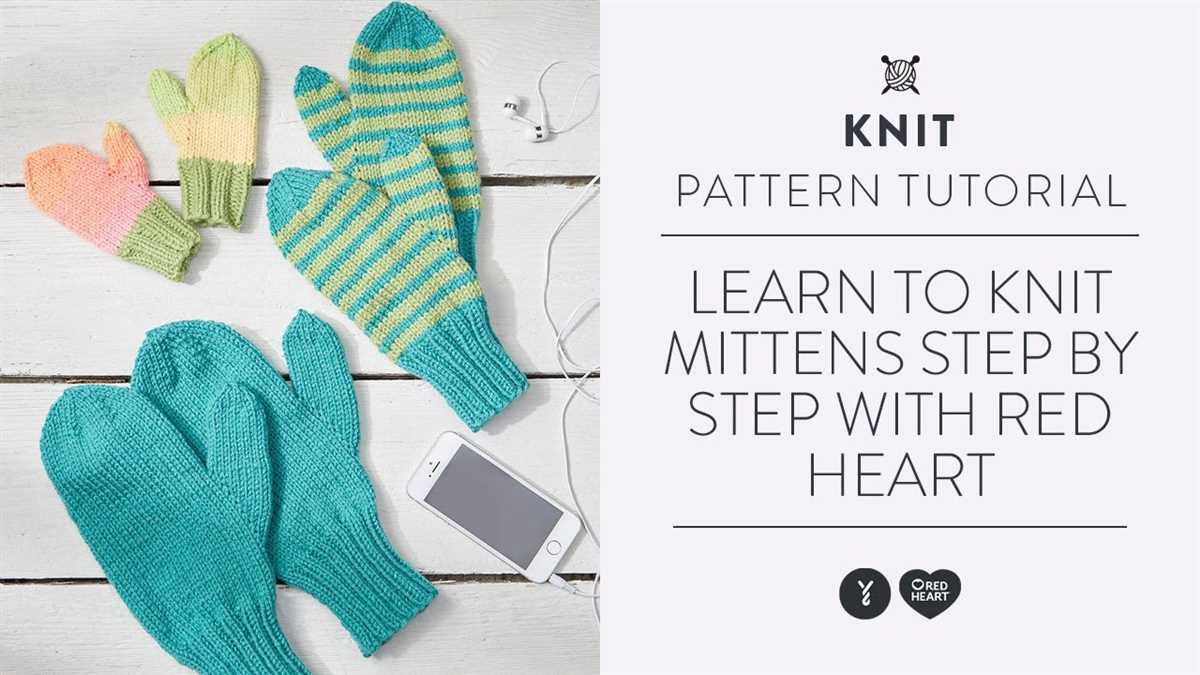
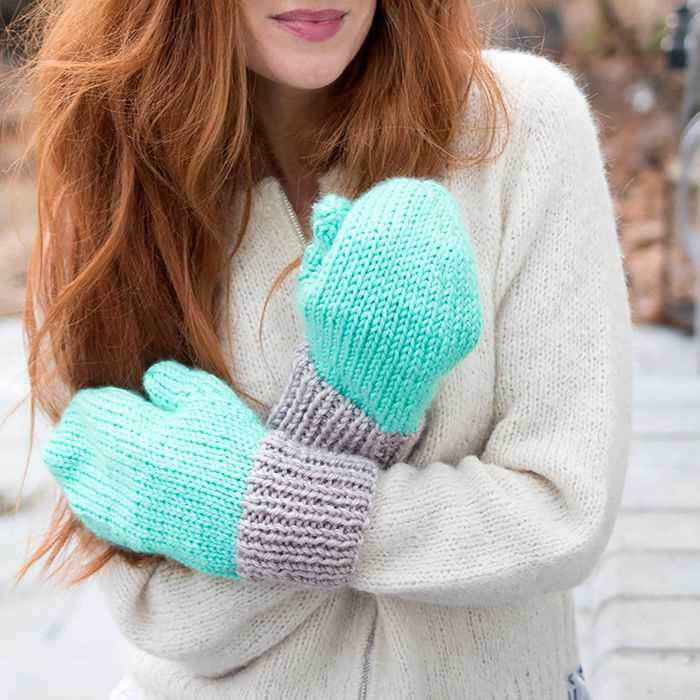
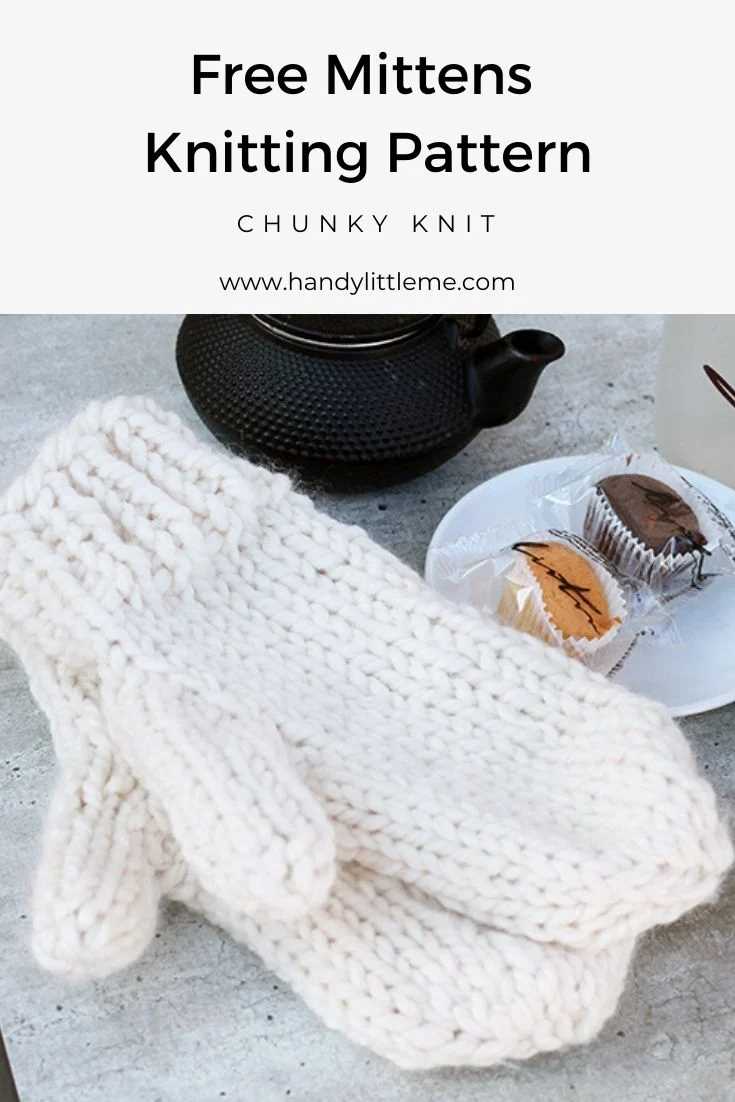
When the weather gets chilly, there’s nothing better than cozying up with a warm pair of mittens. But finding the perfect mittens can be a challenge, especially if you want something that’s stylish and easy to make. That’s why we’ve put together this easy chunky mitten knitting pattern that’s perfect for beginners and experienced knitters alike.
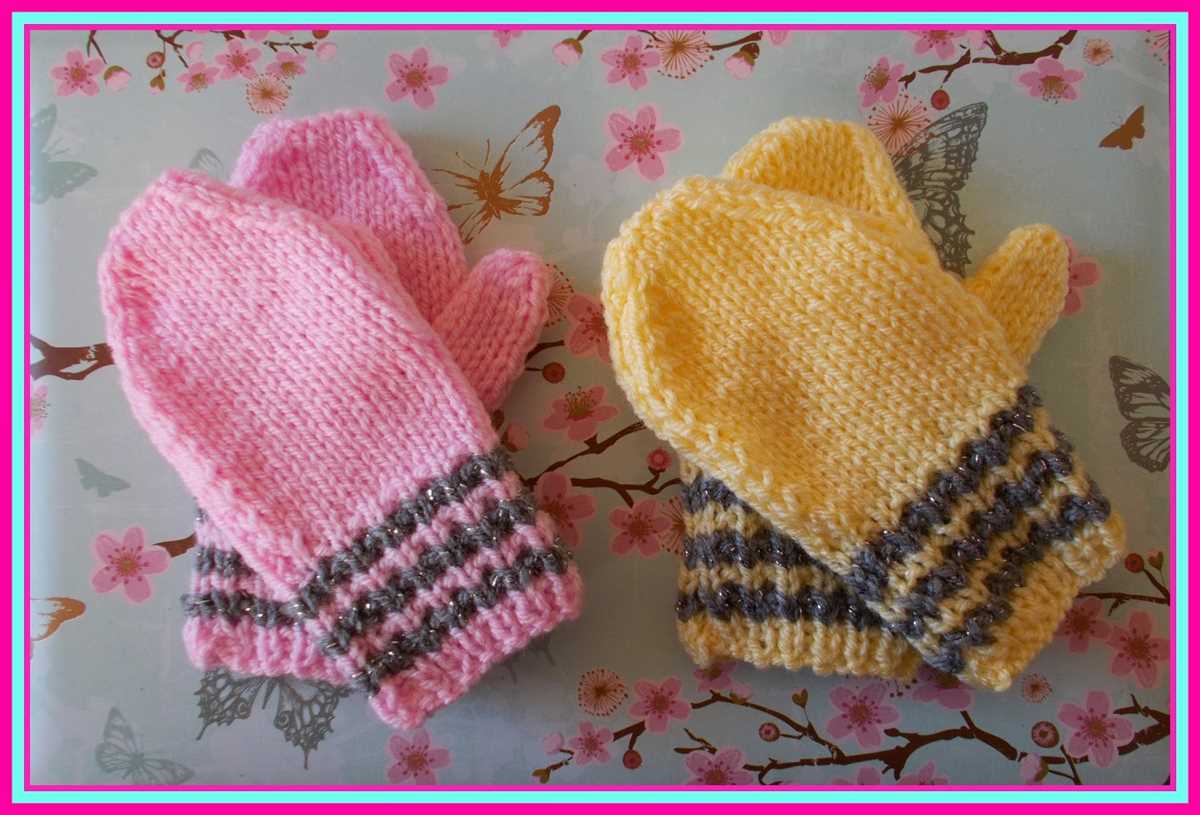
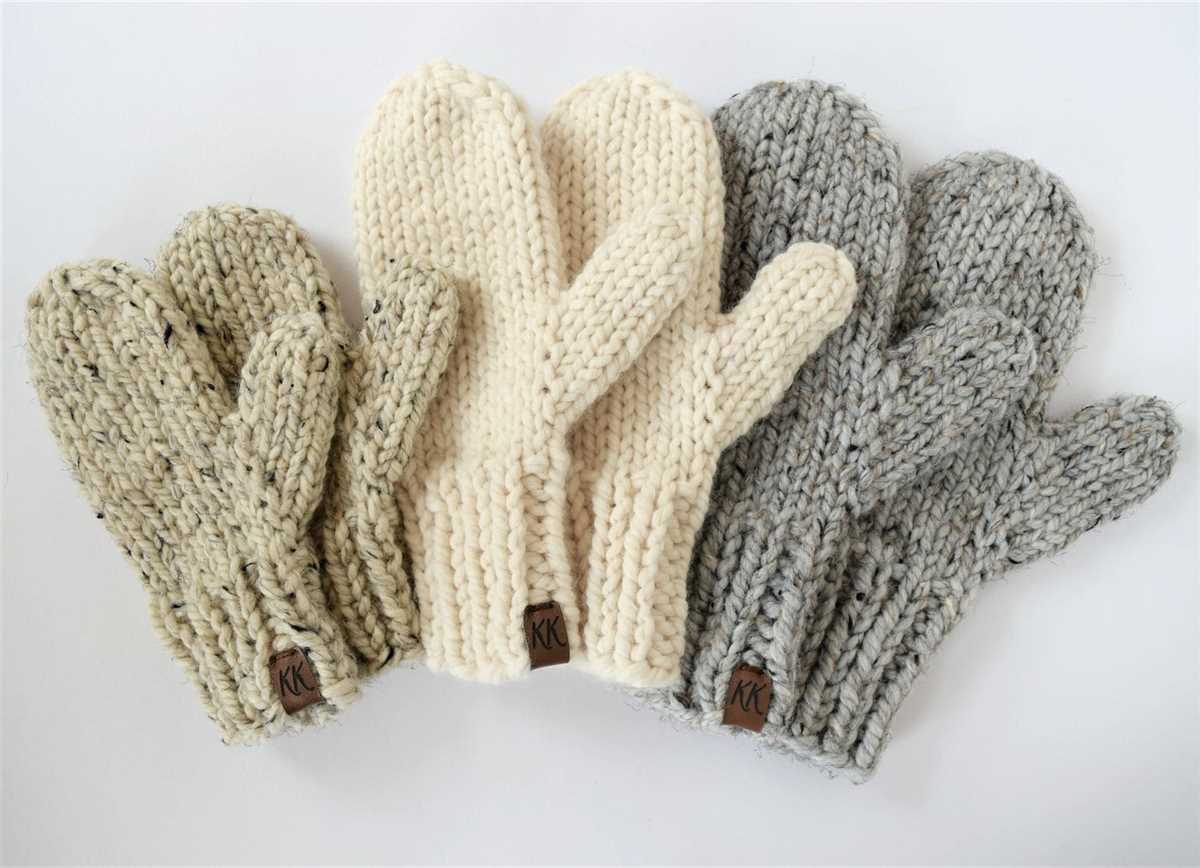
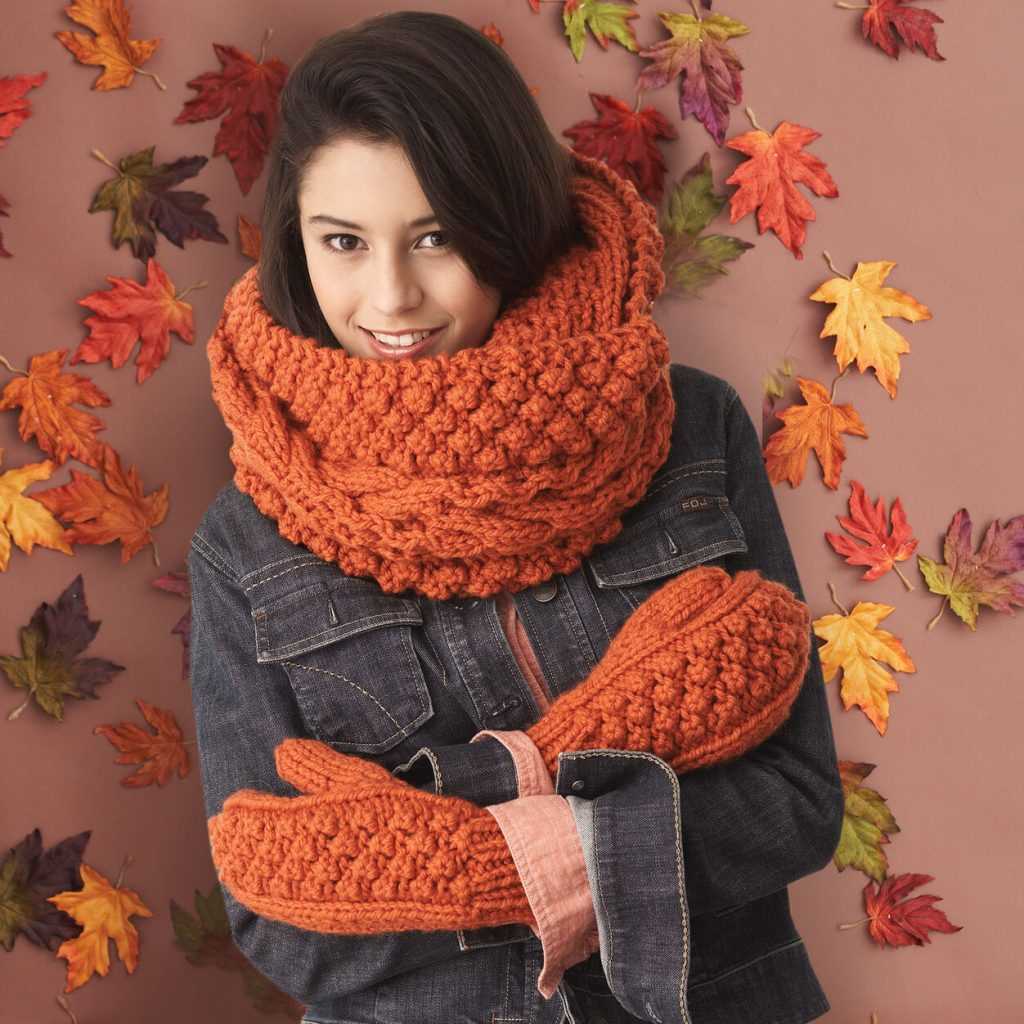
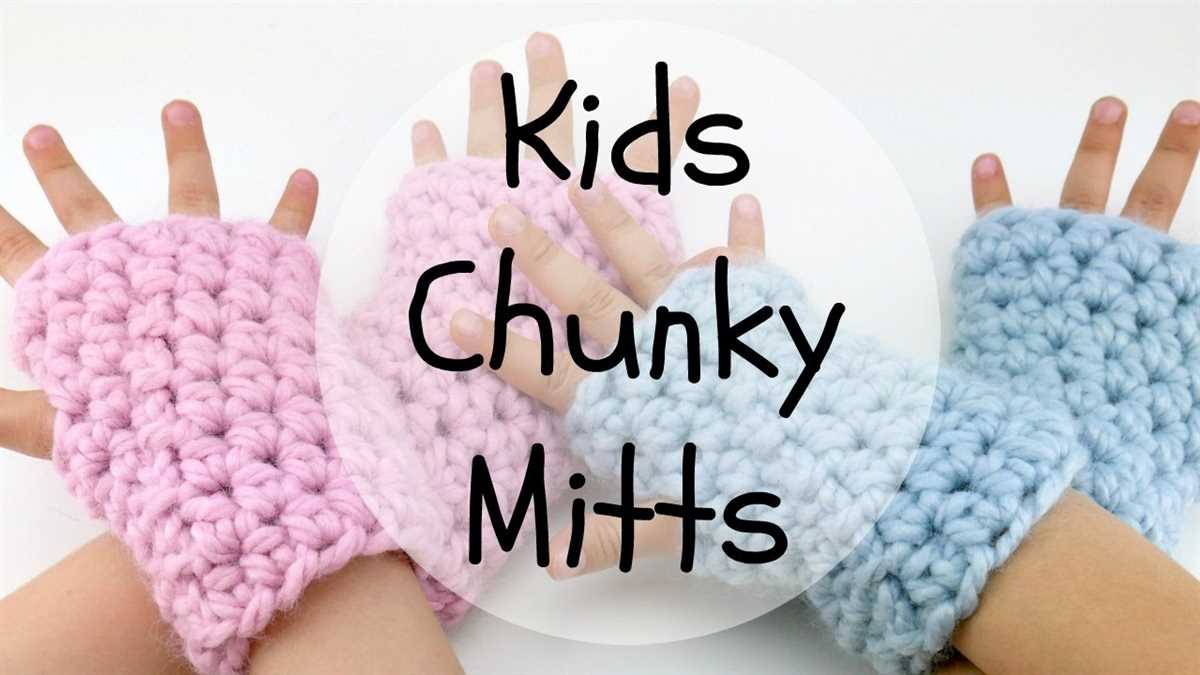
These chunky mittens are not only warm and functional, but they’re also a stylish addition to your winter wardrobe. The pattern uses a chunky knitting yarn and large needles, which means they knit up quickly and are super soft and cozy. Plus, the pattern includes both a thumbless version, perfect for little ones, and a thumb version for adults.
Whether you’re an experienced knitter looking for a quick and satisfying project or a beginner wanting to try knitting for the first time, this easy chunky mitten knitting pattern is perfect for you. So grab your yarn and needles and get ready to create a pair of cozy mittens to keep your hands warm all winter long.
What you’ll need
Before you get started on knitting your easy chunky mitten, here’s a list of the materials you’ll need:
- Yarn: Choose a bulky or chunky weight yarn in your preferred color. Make sure to have enough yarn for the desired size of your mittens.
- Knitting needles: Depending on the yarn weight and your tension, you may need size US 10.5 (6.5mm) or US 11 (8mm) knitting needles.
- Tapestry needle: This will be used for sewing in loose ends and finishing touches.
- Stitch markers: These will help you keep track of your stitches and rounds.
- Scissors: You’ll need a pair of sharp scissors for cutting the yarn.
- Measuring tape: This will come in handy for measuring your gauge and the size of your mittens.
Once you have gathered all of these materials, you’ll be ready to start knitting your easy chunky mitten!
Choosing the right yarn and needles

When it comes to knitting mittens, choosing the right yarn and needles is essential. The yarn you choose will determine the overall look and feel of your mittens, while the needles will affect the thickness and drape of the fabric. Here are some factors to consider when selecting your materials.
Yarn
- First and foremost, consider the weight of the yarn. For chunky mittens, a bulky or super bulky yarn is recommended. This will provide warmth and a cozy, textured look.
- Next, think about the fiber content of the yarn. Natural fibers like wool and alpaca are excellent choices for mittens, as they are warm, breathable, and durable. Acrylic yarn can also be a great option, as it is often more affordable and easy to care for.
- If you have sensitive skin or allergies, be mindful of the yarn’s texture. Some fibers may be scratchy or irritating to certain individuals.
- Consider the color or pattern of the yarn. Mittens are a great opportunity to experiment with bold, vibrant hues or playful variegated yarns.
Needles
- For chunky mittens, you will need a set of knitting needles in a size that complements your yarn. Check the label of your yarn for the recommended needle size, or refer to a needle size conversion chart.
- Circular or double-pointed needles are commonly used for knitting mittens. Circular needles can provide more flexibility and ease in handling bulky yarn, while double-pointed needles allow for seamless knitting in the round.
- Consider the material of your needles. Bamboo or wooden needles are often preferred for their warmth and grip, while metal needles can give a smoother knitting experience.
- Make sure your needles are the correct length for the circumference of your mittens. Longer needles may be necessary for larger sizes or if you prefer to use the magic loop technique.
By carefully selecting the right yarn and needles for your chunky mitten project, you can ensure a successful and enjoyable knitting experience. Have fun experimenting with different materials and techniques to create the perfect cozy pair of mittens!
Getting started: casting on
Before you can begin knitting your chunky mittens, you need to cast on your stitches. Casting on is the process of creating the first row of stitches on your knitting needles. For this easy chunky mitten knitting pattern, you will be using a long tail cast on method.
To cast on, start by leaving a long tail of yarn, approximately three times the width of the finished mitten, and make a slipknot. Insert your knitting needle through the slipknot and tighten it around the needle, leaving a loop of yarn on your needle.
Next, hold the needle with the slipknot in your right hand (if you are right-handed) and the tail of the yarn in your left hand. Position your hands so that the yarn is behind the needle and the tail is between your thumb and forefinger.
Using your right hand, reach over the needle and hook the tail of the yarn from front to back, bringing it through the loop on the needle. This creates a new stitch.
Repeat this process, alternating between your right and left hand, until you have cast on the desired number of stitches. Make sure to leave a small gap between each stitch for ease of knitting.
Note: It is important to cast on the correct number of stitches as specified in the pattern to ensure that your mittens fit properly. If you are unsure, you can measure your hand circumference and adjust the number of stitches accordingly.
After casting on, you are ready to start knitting the first row of your chunky mittens.
Knitting the wrist cuff
When knitting the wrist cuff of your chunky mitten, start by casting on the required number of stitches using a size 10 knitting needle and your yarn of choice. Make sure to leave a long tail for weaving in later. For example, you may need to cast on 30 stitches for a standard adult-sized mitten.
Once you have cast on your stitches, join the round by working the first stitch on the left needle as if to knit, and then slipping the stitch onto the right needle. This will create a continuous loop of knitting. Be careful not to twist the stitches, as this will affect the shape of your cuff.
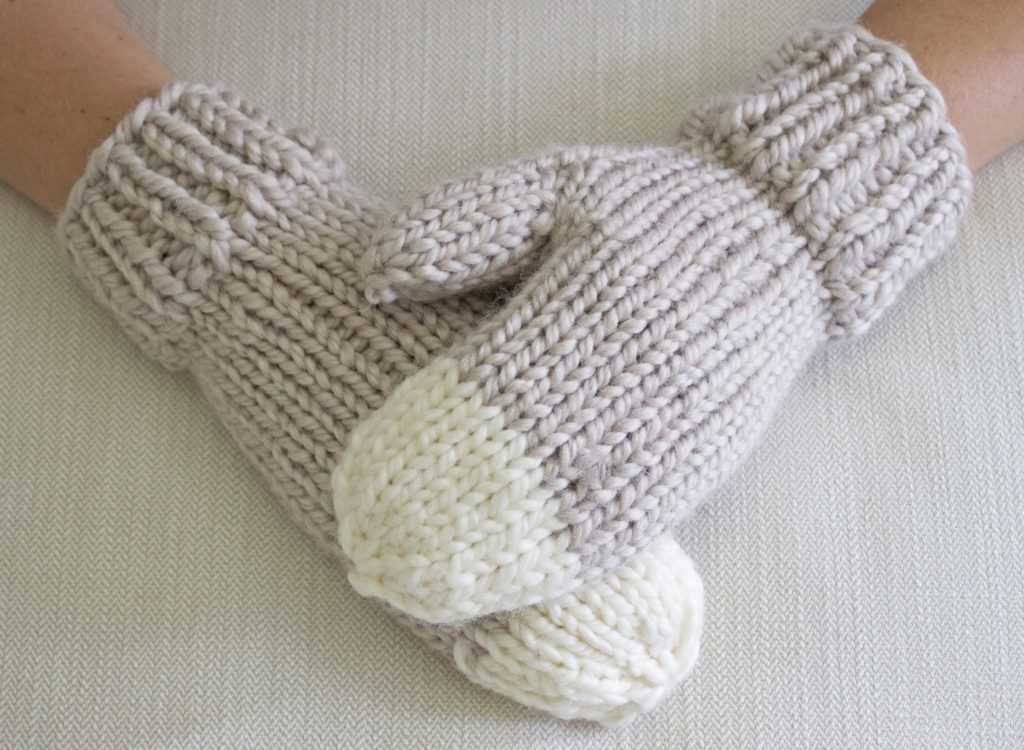
Next, you will begin working the ribbed cuff pattern. This pattern usually involves alternating between knit and purl stitches to create a stretchy and textured fabric. For example, you may start with a round of *knit two stitches, purl two stitches* and then repeat this pattern until the end of the round. This will create a ribbed pattern that stretches nicely around the wrist.
Continue working the ribbed cuff pattern for the desired length, usually around 2-3 inches. You can adjust the length based on personal preference or the specific pattern you are following. Remember to keep track of your stitch count and pattern repeats to ensure the wrist cuff is even and consistent.
Creating the thumb gusset
Once you have completed the ribbing and main body of the mitten, it’s time to start creating the thumb gusset. The thumb gusset is the section of the mitten where the thumb will be placed. It is usually located on the side of the mitten, slightly towards the palm area.
To begin creating the thumb gusset, you will start by placing a marker on the stitch where the thumb will be placed. This marker will help you keep track of where the gusset is located as you continue knitting the rest of the mitten.
Next, you will start increasing stitches to create the thumb gusset. This is usually done by knitting into the front and back of a stitch, or by making yarn overs. The number of increases and the frequency will depend on the pattern you are following.
As you continue knitting the thumb gusset, you will see the section gradually take shape. It will start to widen and curve towards the thumb area, creating the space for the thumb to fit comfortably. Be sure to follow the pattern instructions carefully to ensure the gusset is created correctly.
Once you have completed the thumb gusset, you can continue knitting the rest of the mitten. The gusset will provide the necessary room for the thumb, making the mittens more comfortable to wear. Following the pattern and taking your time will ensure that your mittens turn out beautifully.
Knitting the hand section
After completing the cuff, it’s time to move on to knitting the hand section of the chunky mitten. This is where the mitten really starts to take shape and provide warmth and comfort to the wearer.
To begin knitting the hand section, you will continue working in the round with your preferred stitch pattern or the pattern provided. Make sure to follow the stitch count and any pattern instructions carefully to ensure the correct fit and look of the mitten.
If you are using double-pointed needles, you will distribute the stitches evenly onto three or four needles, depending on the pattern. If you are using circular needles, you can simply continue knitting around in a continuous circle.
As you work on the hand section, you may need to shape the thumb gusset if the pattern calls for it. This involves increasing stitches around the thumb area to create a roomy and comfortable fit. Be sure to follow the pattern instructions for the correct placement and number of increases.
Continue knitting the hand section until it reaches the desired length, typically measured from the base of the thumb to the top of the fingers. Make sure to try on the mitten as you go to ensure a proper fit. Once you have reached the desired length, you can move on to shaping the top of the mitten and completing the thumb section.
Shaping the top of the mitten
Once you’ve completed the body portion of the mitten, it’s time to shape the top to create the finger openings. This is where the mitten starts to take its final form.
To shape the top, you’ll need to decrease the number of stitches evenly across the rows. This will create a curved shape that allows for the fingers to fit comfortably within the mitten.
Decreasing stitches
To decrease stitches, you can use various techniques such as knitting two stitches together (k2tog) or slipping a stitch knitwise, knitting the next stitch, and then passing the slipped stitch over (ssk). The specific decrease method you choose will depend on the pattern you’re following.
When decreasing, it’s important to follow the pattern’s instructions precisely to ensure the correct shaping. You may need to decrease every other row or every few rows, depending on the desired fit and design.
Creating the thumb opening
In addition to shaping the top for the finger openings, you’ll also need to create an opening for the thumb. This can be done by placing a certain number of stitches on hold, typically using a stitch holder or spare yarn.
The thumb opening is usually positioned slightly below the highest point of the mitten, allowing for a comfortable and natural fit for the hand. Once the thumb opening is created, you can continue shaping the top as instructed in the pattern.
Overall, shaping the top of the mitten is an essential step in creating a well-fitted and functional mitten. Take your time to carefully follow the pattern instructions and adjust the shaping as needed to achieve the desired result. With practice and attention to detail, you’ll be able to create beautifully shaped mittens that are both stylish and cozy.
Finishing off: binding off
Once you have completed knitting your easy chunky mittens, the final step is to bind off. This is the process of securing the stitches and creating a finished edge. Binding off is essential for preventing the stitches from unraveling and giving your mittens a polished look.
To bind off, start by knitting two stitches. Then, using your left needle, lift the first stitch over the second stitch and off the right needle. Repeat this process until you have only one stitch remaining on your right needle. Finally, cut the yarn, leaving a long tail, and pull it through the last stitch to secure it.
It’s important to note that when binding off, you should aim for a loose tension. Tightly binding off can result in a tight edge that may be uncomfortable to wear. By maintaining a relaxed tension, you ensure that the edge of your mittens will have a comfortable fit.
After binding off, you may want to weave in any loose ends of yarn. This can be done using a tapestry needle, threading the end of the yarn through the stitches on the wrong side of the work. By weaving the yarn in and out of the stitches, you can secure the loose end and prevent it from coming undone.
Once you have completed the binding off and weaving in any loose ends, your easy chunky mittens are ready to be worn or given as a cozy gift to keep someone’s hands warm during the colder months.
Adding a decorative touch
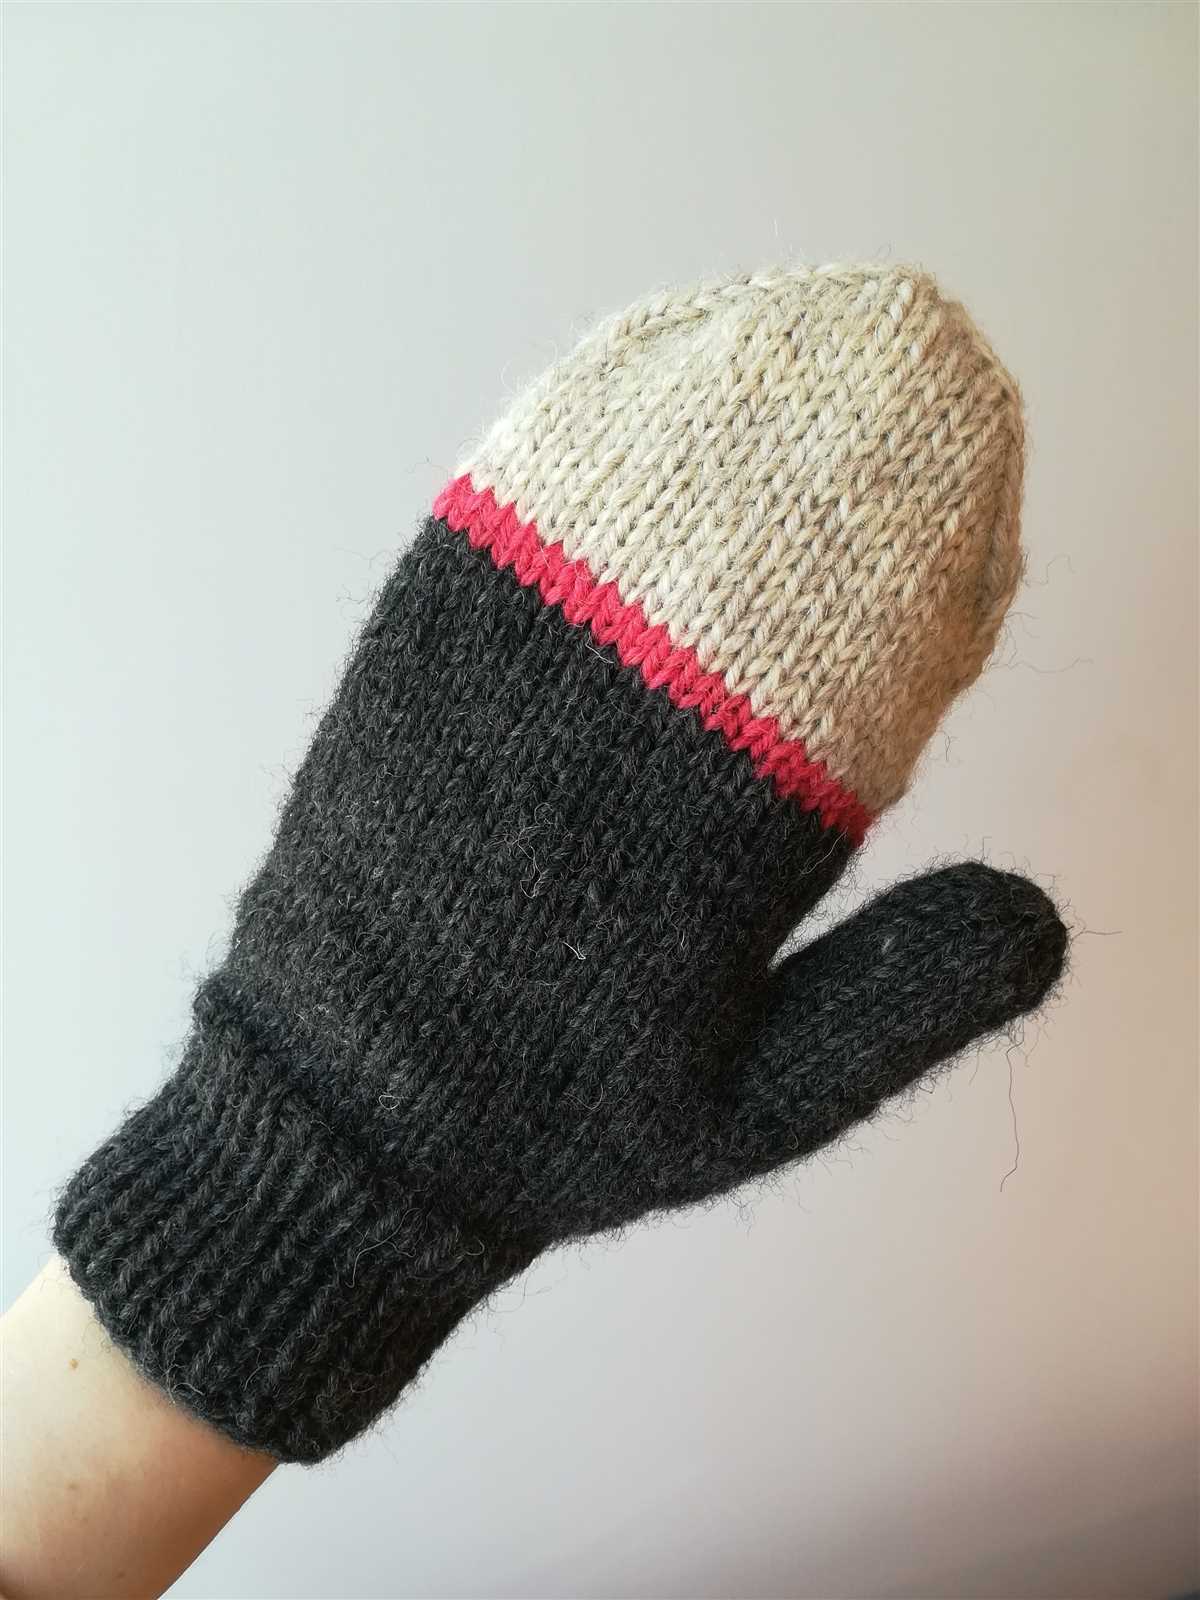
When it comes to knitting chunky mittens, adding a decorative touch can elevate the final product and make it unique. One simple way to do this is by incorporating different stitch patterns. For example, you could use a seed stitch pattern for the cuff of the mittens, which adds texture and visual interest. Another option is to knit a contrasting color stripe along the body of the mittens, creating a pop of color and accentuating the chunky texture of the yarn.
In addition to stitch patterns, you can also add decorative elements such as buttons or pom poms. Sewing on a row of buttons along the cuff of the mittens can give them a whimsical and playful look. Alternatively, attaching pom poms to the top of the mittens can add a touch of fun and make them stand out.
If you’re feeling more adventurous, you could even try incorporating intarsia or fair isle techniques to create intricate colorwork designs on your mittens. This can be a great way to showcase your knitting skills and add a truly unique and eye-catching element to the finished product.
Overall, adding a decorative touch to your chunky mittens is a great way to personalize them and make them special. Whether you choose to experiment with different stitch patterns, add buttons or pom poms, or even try more advanced techniques, the possibilities are endless. So get creative and have fun with your knitting!
Tips for a perfect pair of mittens
Knitting a pair of mittens can be a fun and rewarding project. To ensure that your mittens turn out perfectly, here are some tips to keep in mind:
Choose the right yarn and needle size
Choosing the right yarn and needle size is crucial for achieving the desired gauge and ensuring a perfect fit. Consider the recommended yarn weight and needle size in the pattern and make any adjustments if necessary.
Check your gauge
Gauge is important when knitting any project, and mittens are no exception. Take the time to check your gauge before starting and adjust your needle size if needed. This will help you achieve the correct size and fit for your mittens.
Use stitch markers
When knitting a pattern with multiple sections, such as thumb gussets or finger divisions, it can be helpful to use stitch markers to keep track of these sections. This will make it easier to follow the pattern and ensure that your mittens turn out symmetrical.
Learn the Kitchener stitch
The Kitchener stitch is a technique used to seamlessly close the top of the mitten without a visible seam. Learning this technique will give your mittens a professional finish.
Block your mittens
Once you have finished knitting your mittens, blocking them will help to even out the stitches and ensure a polished look. Follow the recommended blocking method for your yarn to achieve the best results.
By keeping these tips in mind, you can create a perfect pair of mittens that are not only cozy and warm but also showcase your knitting skills. Happy knitting!