
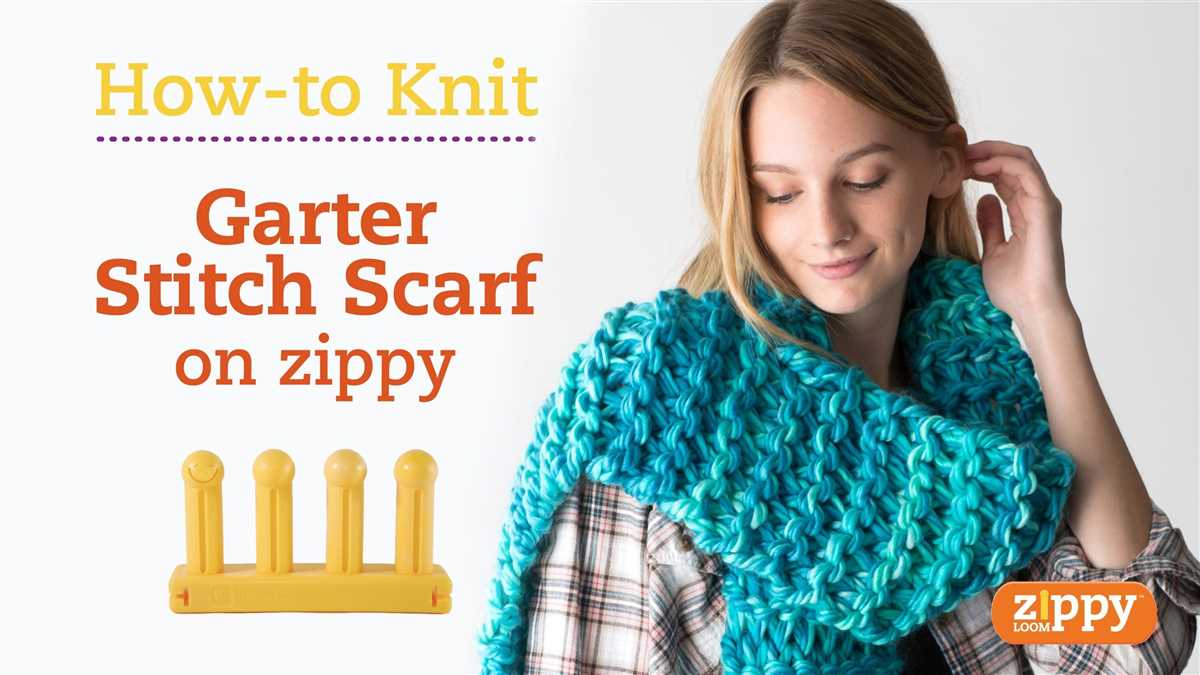
If you’re a beginner knitter looking for a simple project that will help you improve your skills and create a beautiful accessory, look no further than a garter stitch scarf. The garter stitch is one of the most basic and easiest stitches in knitting, making it perfect for those just starting out.
This knitting pattern will guide you through the process of creating a cozy and stylish scarf using the garter stitch. Made entirely of knit stitches, the garter stitch creates a dense and squishy fabric that is perfect for keeping warm during the colder months.
With this pattern, you’ll learn how to cast on stitches, knit in the garter stitch, and bind off your work to create a finished scarf. The best part is that you can customize the scarf to your desired length and width, making it perfect for anyone on your gift list or for yourself.
Garter Stitch Scarf Knitting Pattern
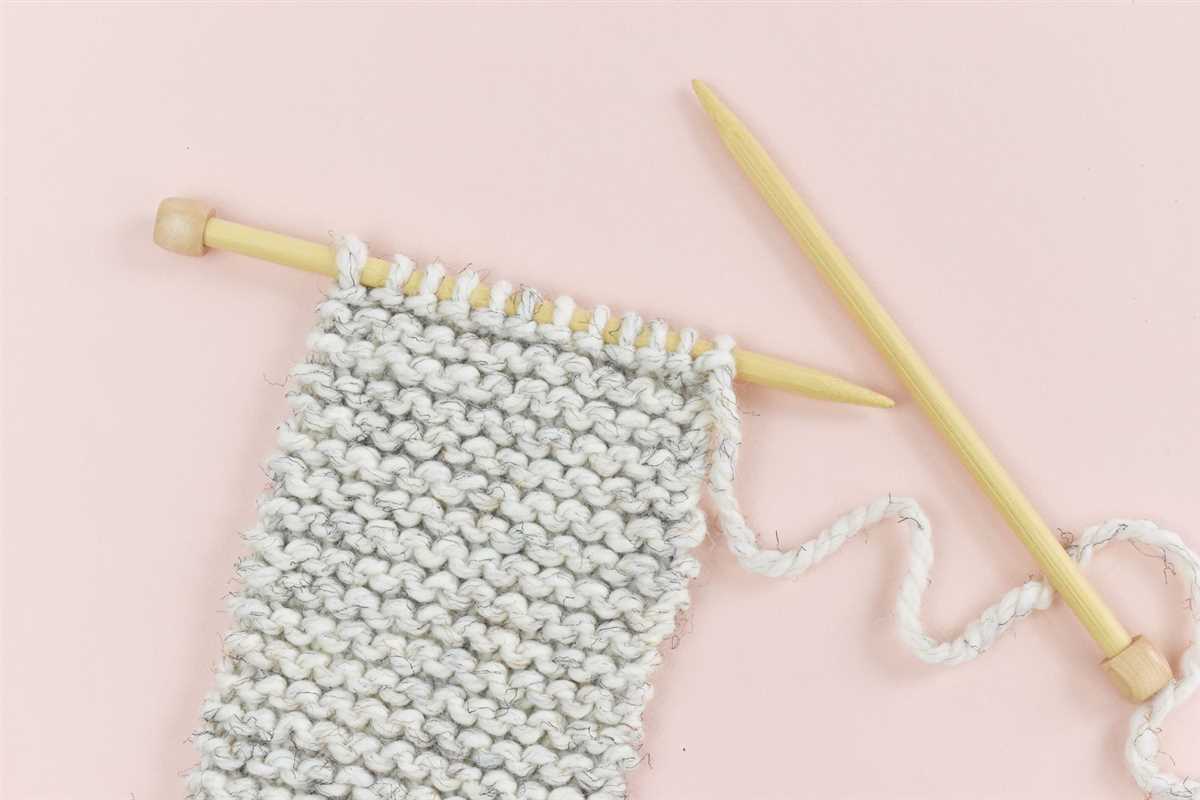
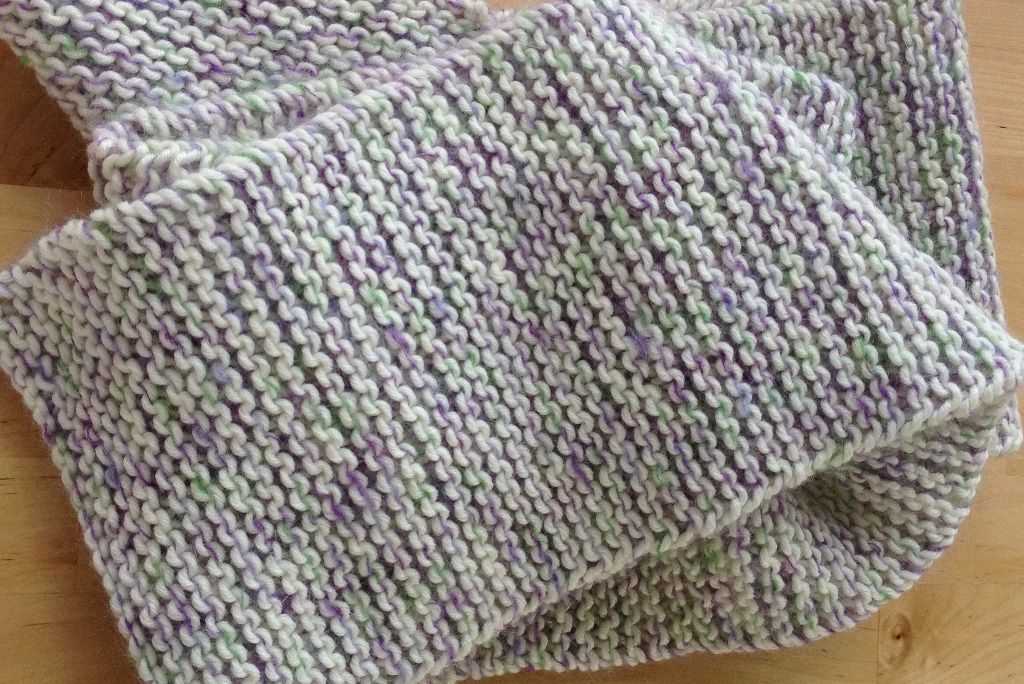
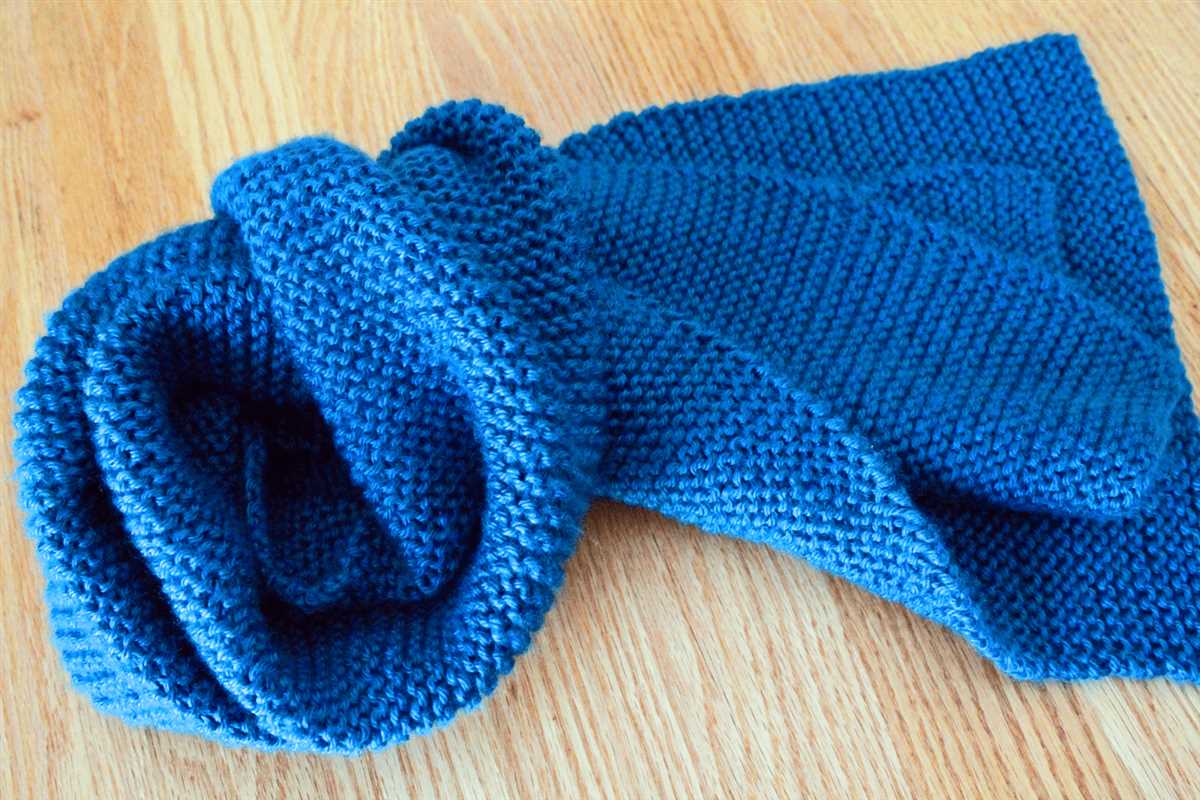
When it comes to knitting, garter stitch is a classic pattern that is perfect for beginners. The garter stitch is created by knitting every row, resulting in a textured fabric that lies flat and has a reversible design. It is an ideal stitch for creating scarves, as it provides warmth and style.
To start knitting a garter stitch scarf, all you need is a pair of knitting needles and some yarn. The size of the needles will depend on the weight of the yarn you choose. Thicker yarn will require larger needles, while thinner yarn will require smaller ones. You can experiment with different yarn colors and textures to create a unique scarf.
When casting on stitches for your scarf, you can use any method you are comfortable with. Once you have cast on the desired number of stitches, simply knit every row until the scarf reaches your desired length. You can add a border or fringe to your scarf for added flair.
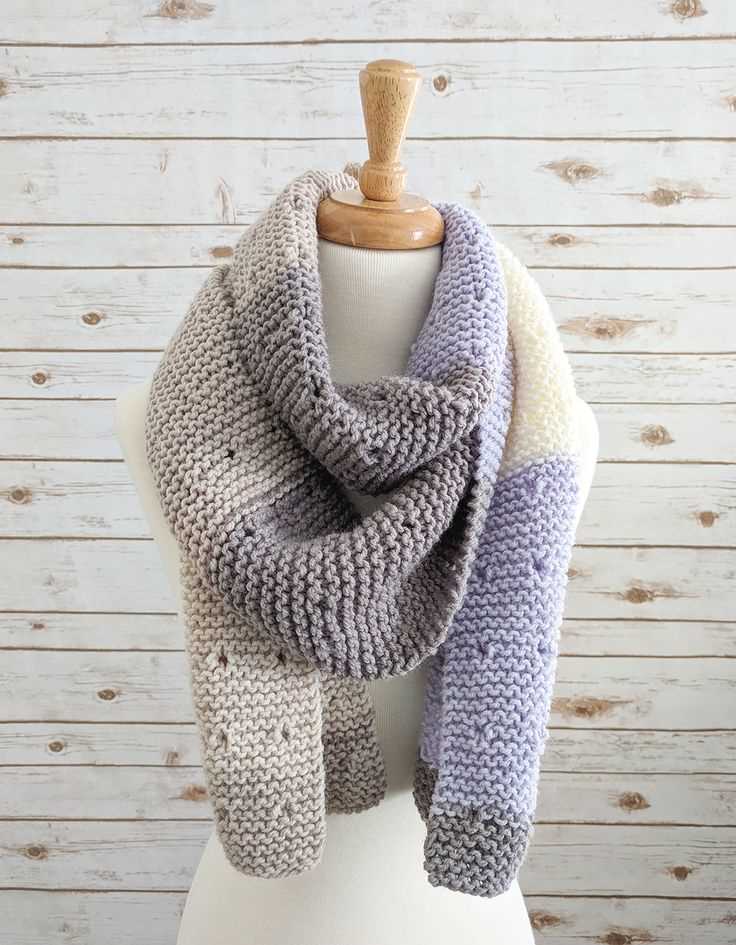
A garter stitch scarf is a versatile accessory that can be worn in various ways. You can drape it around your neck, tie it in a knot, or even use it as a headscarf. The simplicity of the garter stitch allows the scarf to complement any outfit and add a touch of coziness to your winter wardrobe.
Overall, the garter stitch scarf knitting pattern is an excellent choice for both beginners and experienced knitters. It is an easy and enjoyable project that results in a stylish and functional accessory. So grab your knitting needles and start creating your own garter stitch scarf today!
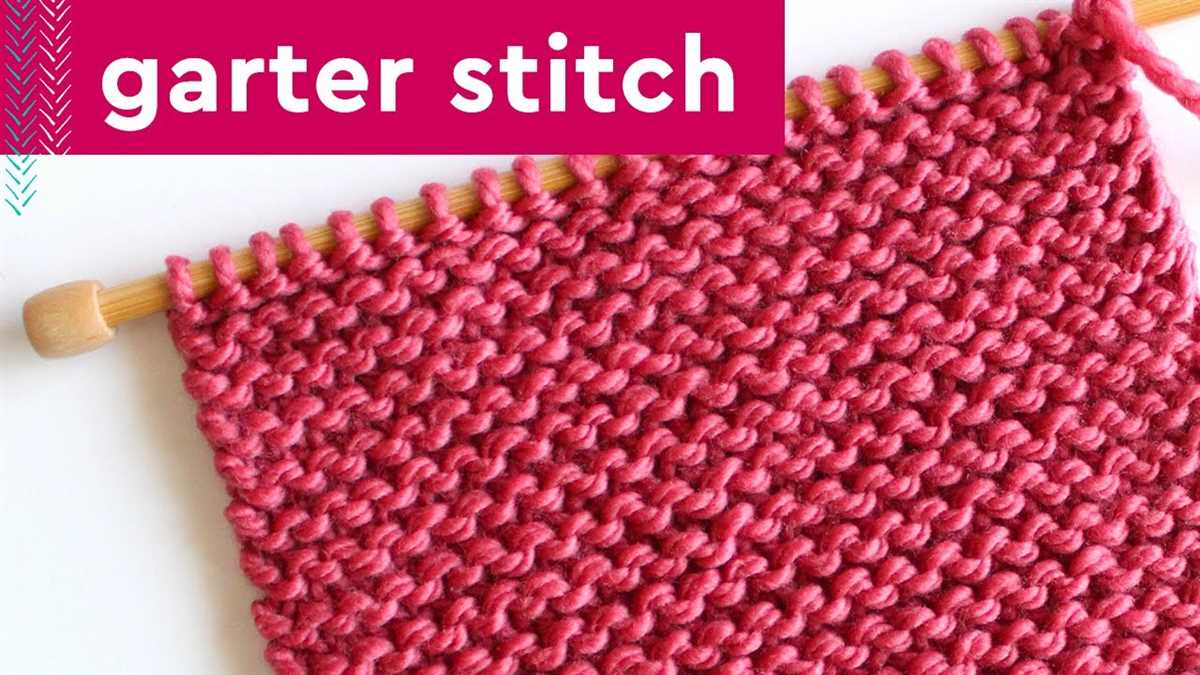
What Is Garter Stitch?
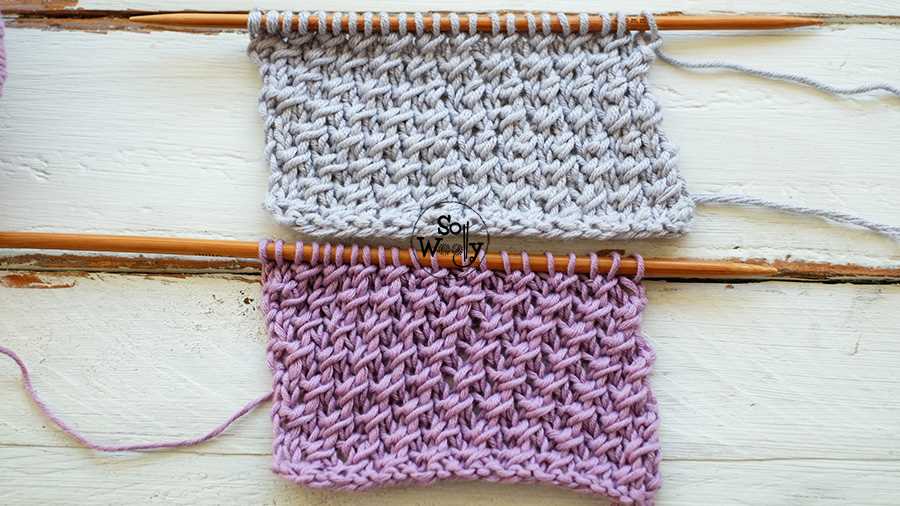
Garter stitch is a basic knitting stitch pattern that is commonly used by beginners and experienced knitters alike. It creates a fabric with rows of horizontal ridges that are formed by knitting every row. This stitch pattern is created by working all stitches in the knit stitch, resulting in a squishy and textured fabric.
The garter stitch is characterized by its simplicity and versatility. It is reversible, meaning that both sides of the fabric have the same textured pattern. The stitch pattern lies flat, making it ideal for scarves, blankets, and other projects where a flat fabric is desired. Garter stitch is also commonly used for edging and borders, as it creates a neat and cohesive finish.
When knitting in garter stitch, it is important to note that each row is worked in the same manner. Unlike other stitch patterns that require a combination of knit and purl stitches, garter stitch only requires the knit stitch. This simplicity makes it an excellent choice for beginners who are still mastering the basics of knitting.
To create a garter stitch scarf, simply cast on the desired number of stitches and knit every row until the desired length is reached. The repetitive motion of knitting every stitch helps to create a relaxing and meditative knitting experience. The resulting scarf will have a classic and timeless look, perfect for keeping warm in the colder months.
Why Choose Garter Stitch for a Scarf?
Garter stitch is a classic knitting pattern that is perfect for making scarves. Whether you are a beginner or an experienced knitter, garter stitch offers several benefits that make it a popular choice for scarf projects.
Simple and Easy: One of the main reasons why people choose garter stitch for a scarf is because it is simple and easy to knit. Garter stitch is created by knitting every row, so there is no need to worry about complicated stitch patterns or techniques. This makes it a great option for beginners who are just learning how to knit.
Great for Beginners: As mentioned earlier, garter stitch is an ideal choice for beginner knitters. It helps them practice their knitting skills and get used to the basic knitting techniques. Knitting a garter stitch scarf allows beginners to focus on their tension, stitch consistency, and overall knitting rhythm.
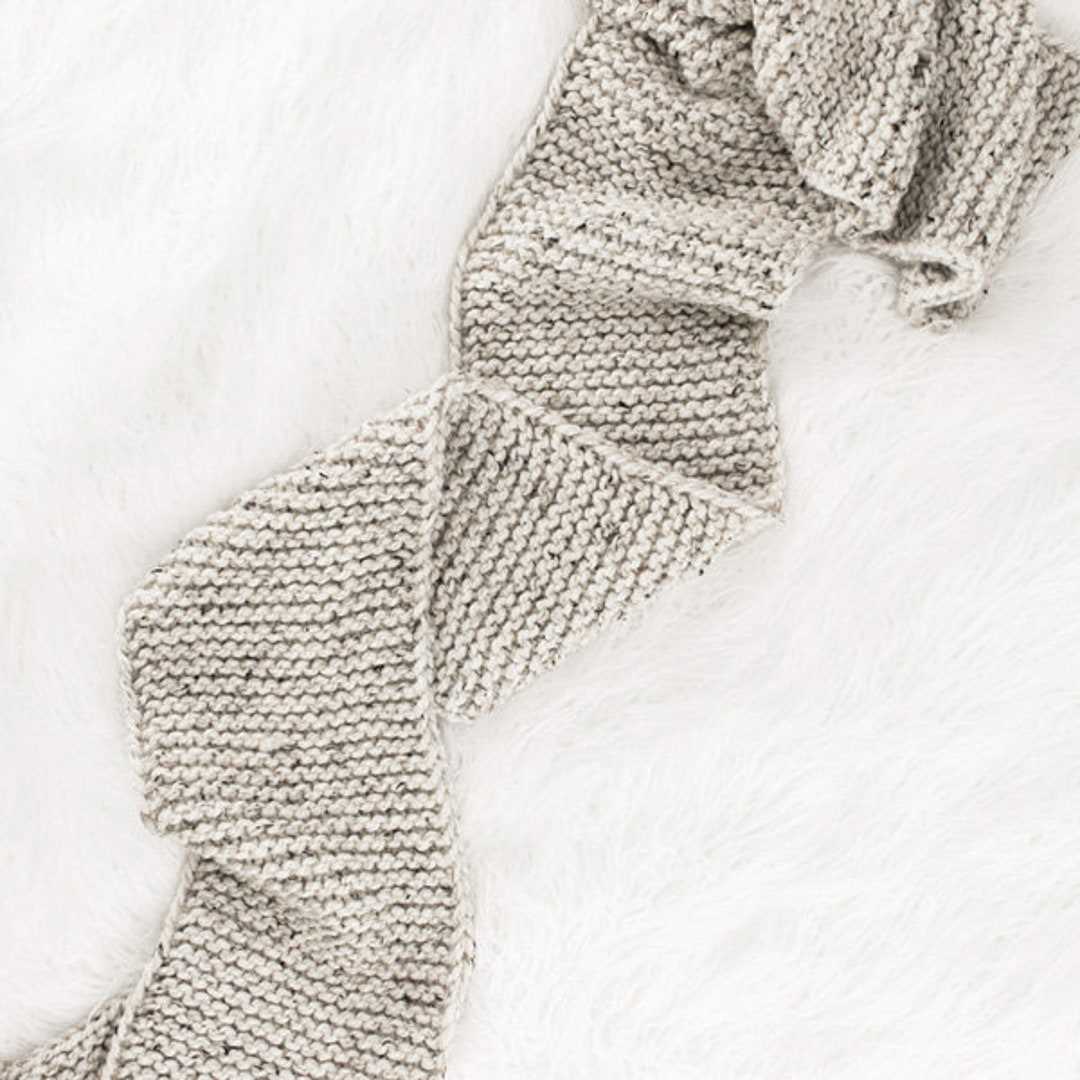
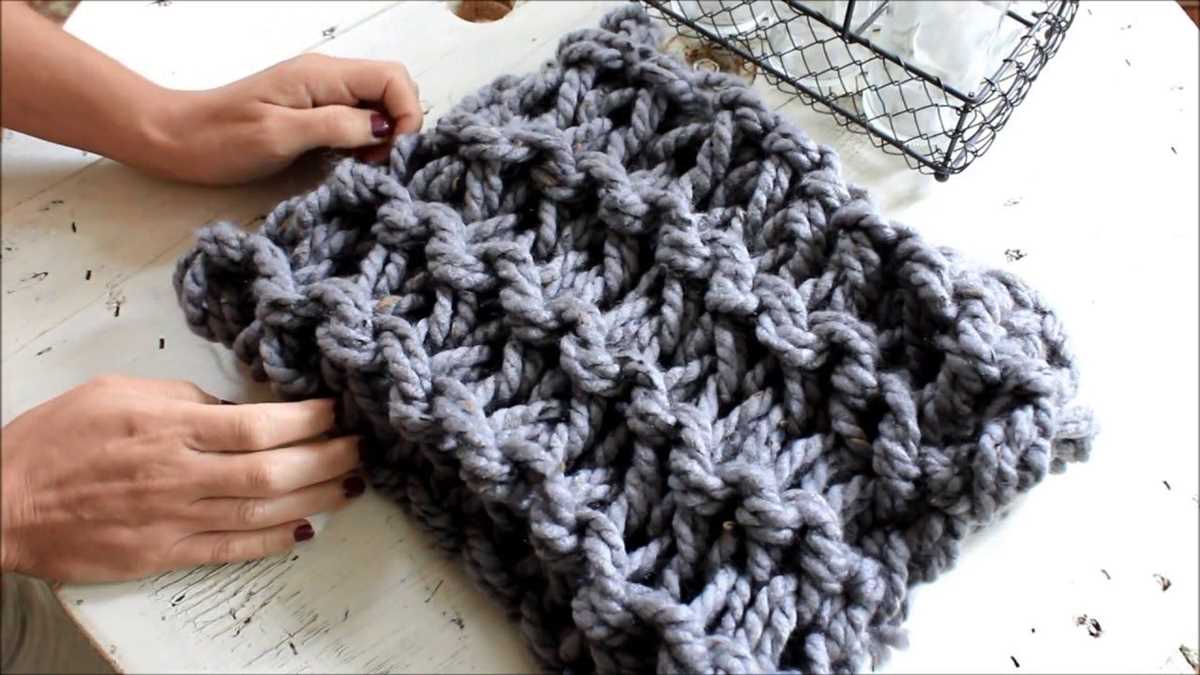
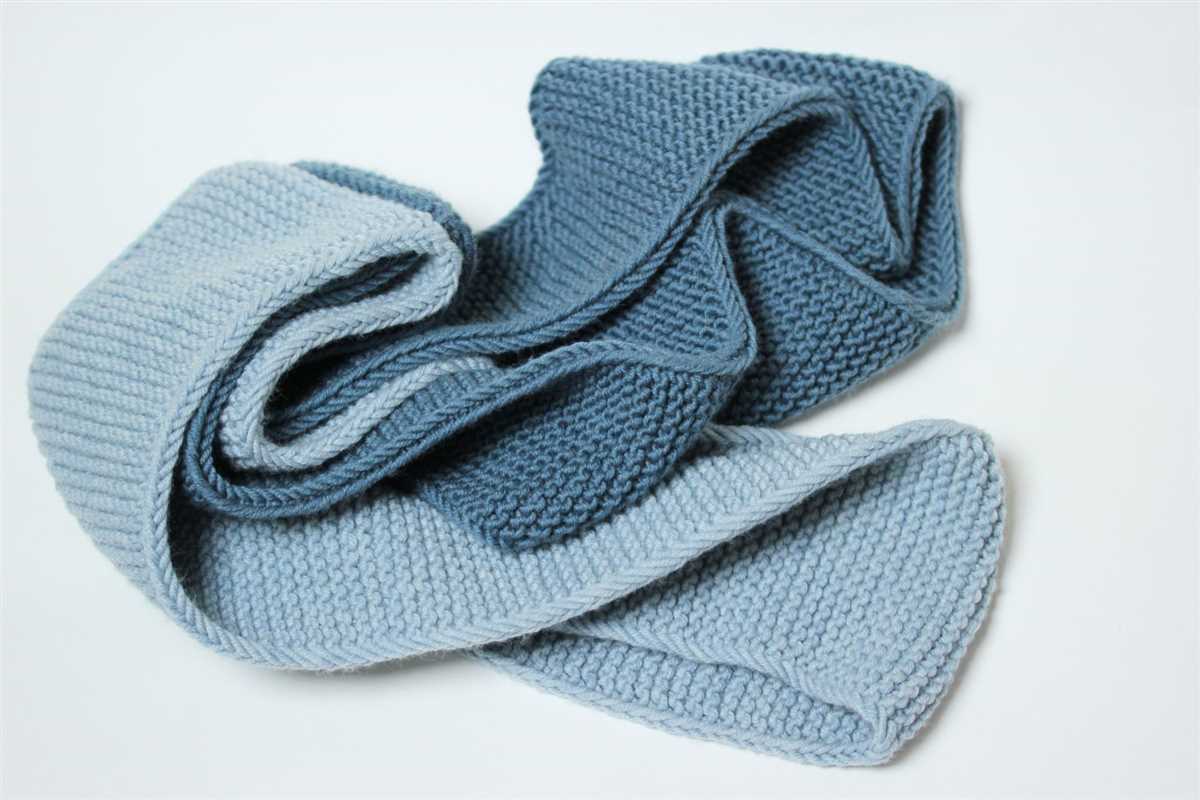
Textured and Reversible: Garter stitch creates a beautiful textured fabric that adds depth and visual interest to a scarf. It has a bumpy or ridged appearance, which adds warmth and coziness to the finished project. Another great advantage of garter stitch is that it is reversible, meaning that both sides of the scarf look the same. This is particularly beneficial if you prefer a scarf that doesn’t have a definite right or wrong side.
Timeless and Versatile: Garter stitch scarves have a timeless appeal and can be worn with various outfits and styles. They offer a classic and elegant look that never goes out of fashion. The simplicity of garter stitch also allows you to experiment with different yarn types, colors, and textures, making it a versatile choice for creating unique and personalized scarves.
Durable: Garter stitch is known for its durability. The repetitive nature of knitting every row creates a sturdy and long-lasting fabric. This means that your garter stitch scarf will stand up to regular wear and tear, keeping you warm and stylish for many seasons to come.
Affordable and Budget-Friendly: Finally, garter stitch scarves are an affordable option for those who are conscious of their budget. Garter stitch doesn’t require complex stitch patterns or expensive yarn, making it a cost-effective choice for knitting projects.
In conclusion, garter stitch is a fantastic option for knitting scarves. Its simplicity, versatility, and durability make it an excellent choice for beginners and experienced knitters alike. Plus, the textured fabric and timeless appeal of garter stitch scarves make them a stylish accessory that can be worn for any occasion.
Materials Needed
In order to complete the garter stitch scarf knitting pattern, you will need the following materials:
- Yarn: Choose a yarn of your preference and in a color of your choice. Make sure to check the suggested gauge for the pattern for the best results.
- Knitting Needles: Use knitting needles that are appropriate for the chosen yarn and will help you achieve the desired gauge. The pattern may suggest a specific needle size, so make sure to check that as well.
- Tape Measure: A tape measure will come in handy to measure your progress and ensure you are following the correct dimensions.
- Scissors: Keep a pair of scissors nearby to cut the yarn and weave in any loose ends.
- Tapestry Needle: A tapestry needle will be used to weave in any loose ends and finish the scarf neatly.
- Stitch Markers: These will help you keep track of specific points in the pattern, such as increases or decreases.
- Row Counter: If you find it helpful, a row counter can be used to keep track of the number of rows completed.
With these materials on hand, you will be well-prepared to start knitting your garter stitch scarf and create a beautiful accessory to keep you warm and stylish.
Step-by-Step Instructions
Materials Needed:
- Knitting needles (size 8 or 9)
- Yarn (medium weight)
- Scissors
Instructions:

- Start by casting on an odd number of stitches. We recommend casting on 25 stitches for a beginner’s scarf, but you can adjust the number based on your preference.
- After casting on, begin the first row by knitting every stitch. This will create the garter stitch pattern.
- Continue knitting every stitch for each row until you reach your desired length. For a standard scarf, aim for around 60 inches.
- When you have reached the desired length, bind off all stitches. Cut the yarn, leaving a tail of about 6 inches.
- Weave in any loose ends with a tapestry needle to finish off your scarf.
And there you have it – a beautiful garter stitch scarf that you can wear with pride or give as a gift. This pattern is perfect for beginners as it allows you to practice the basic knit and purl stitches while creating a functional and stylish accessory. So grab your knitting needles and start stitching!
Adding Variation to Your Scarf
While the garter stitch pattern is a classic choice for a scarf, you may want to add some variation to make your scarf more interesting and unique. There are several ways you can do this, whether it’s through color changes, stitch patterns, or embellishments.
Color Changes: One simple way to add variation to your garter stitch scarf is by changing colors. You can create stripes by alternating between two or more different colors, or you can choose a variegated yarn that already has different colors in it. Experiment with different color combinations to find a look that you love.
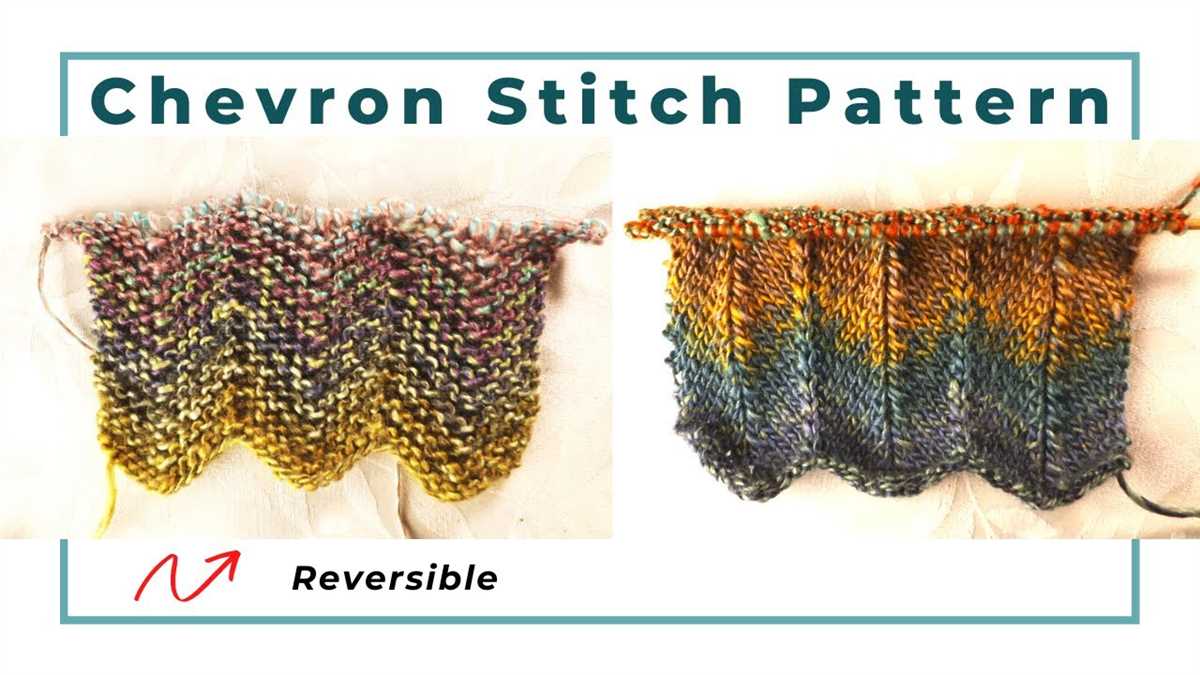
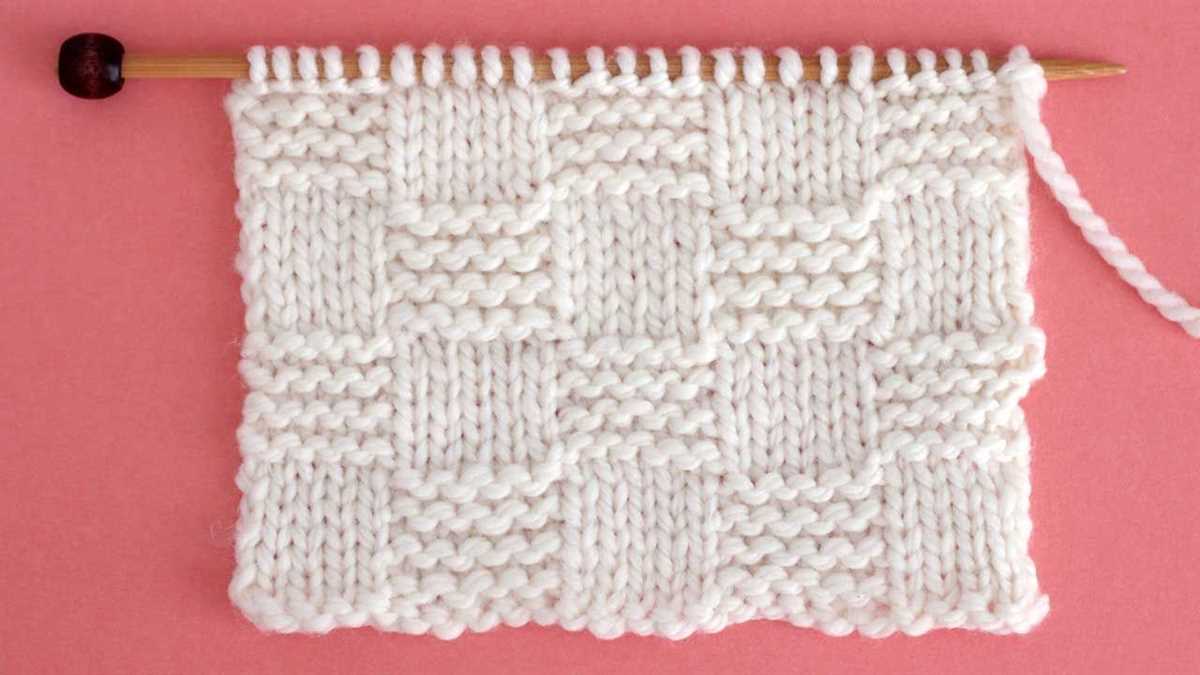
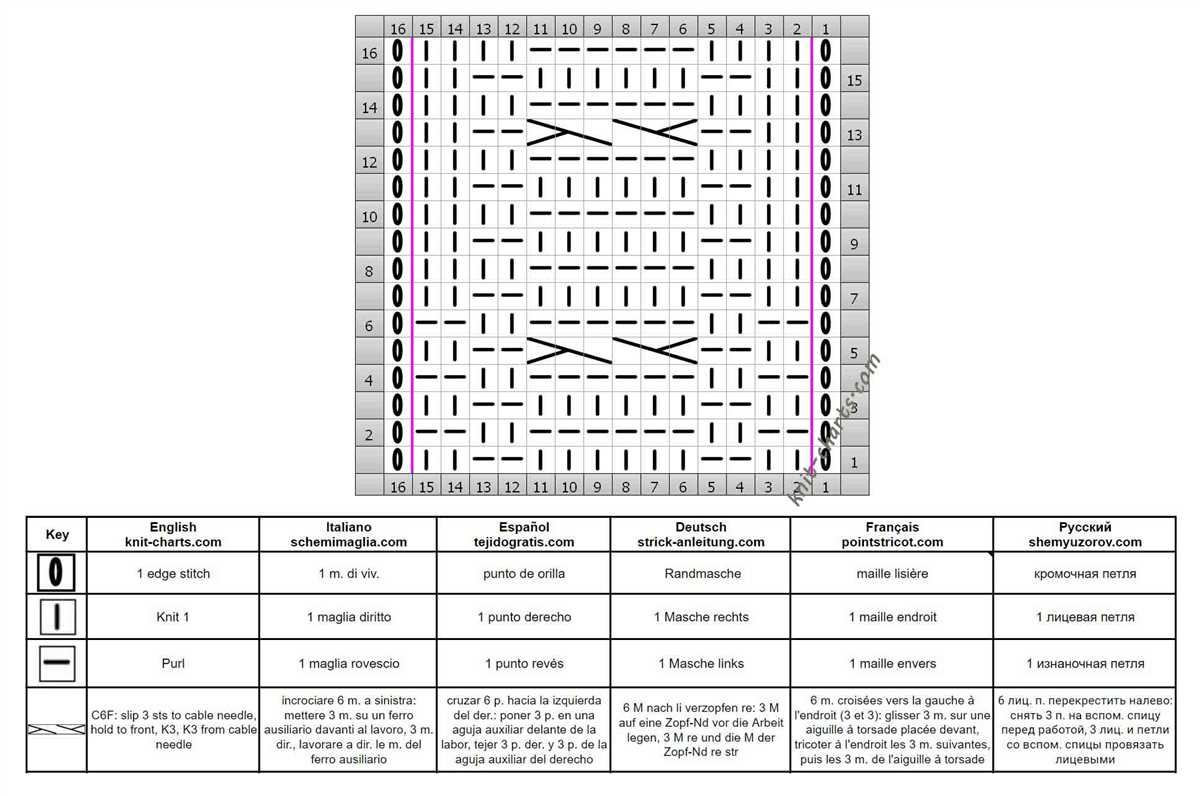
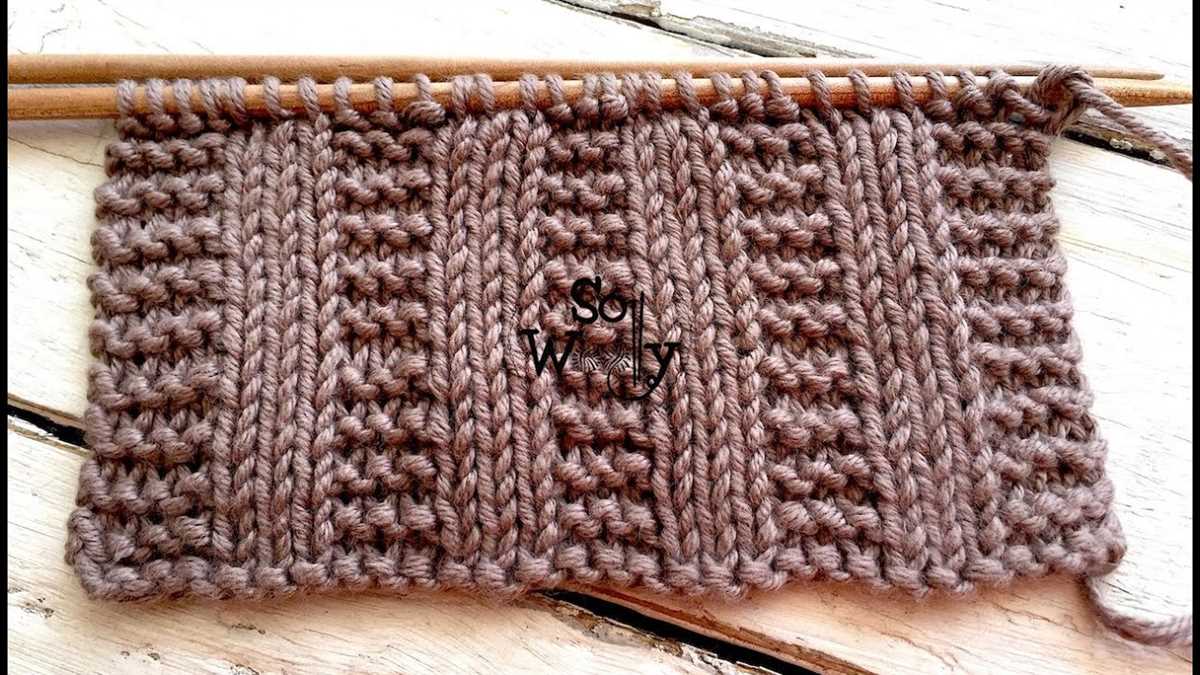
Stitch Patterns: Another way to add variation is by incorporating different stitch patterns into your scarf. You can try adding a section of ribbing or seed stitch to create texture, or you can experiment with lace or cable patterns for a more intricate look. There are countless stitch patterns to choose from, so don’t be afraid to get creative and try something new.
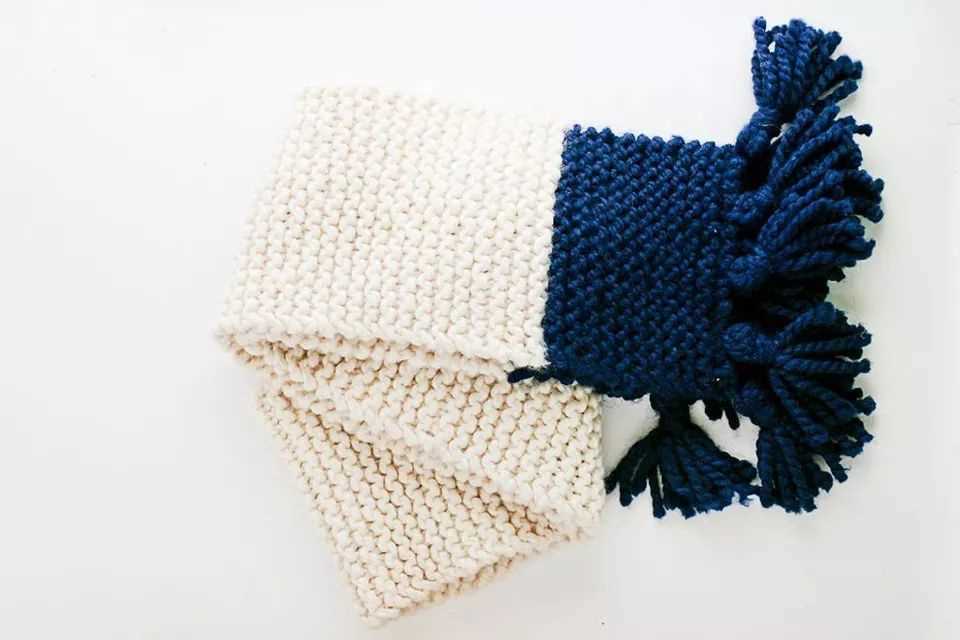
Embellishments: If you want to take your scarf to the next level, consider adding some embellishments. You can sew on buttons, beads, or appliques to add some sparkle and dimension to your scarf. You can also experiment with different types of fringe or tassels to give your scarf a unique finishing touch.
Incorporating color changes, stitch patterns, or embellishments into your garter stitch scarf can transform it from a basic project into a one-of-a-kind accessory. Whether you want to add a pop of color, create interesting textures, or add some personal style, there are endless possibilities for making your scarf truly unique. Don’t be afraid to let your creativity shine and make your scarf a reflection of your own personal style.
Tips for Knitting with Garter Stitch
Garter stitch is a basic knitting pattern that creates a textured fabric with rows of knit stitches. It is a versatile stitch that can be used to create a variety of projects, from scarves to blankets. If you’re new to knitting or just want some tips for working with garter stitch, here are a few things to keep in mind:
1. Choose the Right Yarn
When knitting with garter stitch, it’s important to choose the right yarn for your project. Since garter stitch creates a fabric with a lot of texture, it’s best to avoid yarns that are too bulky or fuzzy, as they can obscure the stitch definition. Instead, opt for a smooth yarn that will highlight the knit stitches and give your project a polished look.
2. Use the Right Needle Size
The needle size you use can also affect the appearance of your garter stitch. If you want a tighter, denser fabric, choose a smaller needle size. If you prefer a looser, more open fabric, opt for a larger needle size. Experiment with different needle sizes to see which one gives you the desired effect.
3. Pay Attention to Tension
Consistent tension is key when knitting with garter stitch. Make sure to keep your tension even throughout your project to avoid any inconsistencies in stitch size. If your tension is too tight, your fabric may become stiff and less drapey. If your tension is too loose, your fabric may become floppy and lack structure. Practice maintaining a steady tension as you knit to achieve the desired result.
4. Consider Blocking
Blocking is the process of shaping and smoothing your knitted fabric to give it a more finished look. Garter stitch can benefit from blocking, as it helps to even out any uneven stitches and gives the fabric a nice drape. Follow the instructions for blocking your specific yarn to ensure the best results.
With these tips in mind, you’ll be well-equipped to knit your next project using the garter stitch pattern. Remember to have patience and practice, and soon you’ll be creating beautiful garter stitch items with ease!
Blocking Your Finished Scarf
Once you have finished knitting your garter stitch scarf, the next step is to block it. Blocking is an important process that helps to give your finished project a more polished and professional look. It helps to even out the stitches, remove any wrinkles or curling, and give the scarf its final shape and drape.
To block your scarf, start by gently washing it. Fill a sink or basin with lukewarm water and add a small amount of wool wash or a gentle soap. Submerge the scarf in the water and let it soak for about 15 minutes. Avoid rubbing or agitating the scarf too much, as this can cause the fibers to felt or become damaged.
After the scarf has soaked, carefully remove it from the water and gently squeeze out the excess water. Avoid twisting or wringing the scarf, as this can also cause damage. Lay the scarf flat on a clean towel and roll it up, pressing gently to remove even more moisture. Unroll the towel and transfer the scarf to a fresh, dry towel.
Once the scarf is on the dry towel, you can begin to shape it. Start by gently stretching the scarf to its desired dimensions, making sure to maintain the garter stitch pattern. You can use blocking pins or rust-proof T-pins to secure the edges and corners of the scarf in place. Allow the scarf to air dry completely before removing the pins.
After the scarf has dried, you will notice that it looks much neater and more even. Blocking helps to relax the stitches and give the scarf a more professional finish. Once the scarf is blocked, you can wear it with pride or give it as a gift, knowing that it has been finished with care and attention to detail.
Tying Off and Weaving in Ends
After you have finished knitting your garter stitch scarf, it’s time to tie off and weave in the ends. This final step will give your scarf a polished and professional look.
To tie off, simply cut the yarn, leaving a tail that is long enough to work with. Thread the tail onto a yarn needle, and insert the needle through the last stitch on your knitting needle. Pull the yarn through, creating a loop. Then, insert the needle through the loop and pull tight. This will secure the last stitch and prevent it from unraveling.
Next, you will need to weave in the loose ends, also known as “tails,” to hide them and ensure that they do not come undone. To do this, thread the tail onto a yarn needle and insert the needle under a few stitches on the wrong side of your scarf. Pull the needle all the way through, allowing the tail to be hidden within the scarf. Repeat this process with any remaining tails, making sure to weave them in securely.
If you prefer a neater finish, you can also use a crochet hook to weave in the ends. Insert the hook under the stitches on the wrong side of the scarf, catching the tail of yarn. Then, pull the yarn through to the wrong side, effectively hiding the tail.
Once you have tied off and woven in all the ends, give your scarf a gentle steam or block it to help it lay flat and even. Now your garter stitch scarf is complete and ready to be worn or gifted!
Styling and Wearing Your Garter Stitch Scarf
Once you have completed your garter stitch scarf using the knitting pattern, you can start thinking about different ways to style and wear it. The simplicity and versatility of the garter stitch make it a perfect accessory for any outfit. Here are some ideas on how to make the most of your garter stitch scarf:
1. Classic Loop
One of the easiest and most popular ways to wear a garter stitch scarf is to loop it around your neck once or twice. This creates a classic look that can be worn with almost any outfit. For a more polished look, try folding the scarf in half before looping it.
2. Draped Shawl
If you want to wear your garter stitch scarf as more than just a neck accessory, you can drape it over your shoulders like a shawl. This adds warmth and creates a stylish layered look. You can secure the scarf in place with a decorative pin or leave it open for a more relaxed vibe.
3. Belted Scarf
Add an element of interest to your outfit by using your garter stitch scarf as a belt. Simply wrap it around your waist over a dress or a long tunic and secure it with a knot or a belt buckle. This not only adds a pop of color but also cinches in your waist for a flattering silhouette.
4. Head Wrap
For those colder days when you want to keep your ears warm, transform your garter stitch scarf into a head wrap. Start by folding the scarf into a thinner strip and then wrap it around your head, covering your ears. You can tie it at the back or use a hairpin to secure it in place. This adds a cozy and stylish touch to your winter look.
These are just a few suggestions on how to style and wear your garter stitch scarf. Get creative and experiment with different wrapping techniques to find the one that suits your personal style and complements your outfits. Whether you wear it as a classic loop, a draped shawl, a belted accessory, or a head wrap, your garter stitch scarf is sure to add a touch of warmth and style to any ensemble.
Other Projects Using Garter Stitch
Garter stitch is a versatile knitting pattern that can be used to create a variety of projects aside from scarves. Its simplicity makes it a great choice for beginner knitters, while its texture and stretchability add interest to more advanced projects. Here are some other ideas for projects you can make using garter stitch:
1. Dishcloths and Washcloths
Garter stitch makes for a durable and absorbent fabric, making it perfect for dishcloths and washcloths. These small projects are quick to knit and make great gifts. You can experiment with different colors and stitch patterns to create unique and personalized designs.
2. Baby Blankets
Garter stitch baby blankets are soft and cozy, and the stretchiness of the pattern allows for a comfortable fit around the baby. You can choose a classic garter stitch design or incorporate other stitch patterns, such as eyelets or cables, to add visual interest.
3. Shawls and Wraps
Garter stitch shawls and wraps are perfect for cool evenings or for adding a pop of color to your outfit. The simplicity of garter stitch allows the focus to be on the yarn itself, so you can choose a luxurious or eye-catching yarn to make a statement piece.
4. Headbands and Ear Warmers

Garter stitch headbands and ear warmers are quick and easy projects that are perfect for keeping your ears warm in colder weather. You can experiment with different widths and yarn weights to create the perfect fit.
These are just a few examples of the many projects you can create using garter stitch. Whether you’re a beginner knitter or an experienced crafter, garter stitch offers endless possibilities for creating beautiful and functional items.
Q&A:
What is a garter stitch scarf knitting pattern?
A garter stitch scarf is a type of scarf that is knitted using the garter stitch pattern. The garter stitch pattern is created by knitting every row, resulting in a textured fabric with ridges on both sides.
How do I make a garter stitch scarf?
To make a garter stitch scarf, you will need a pair of knitting needles and yarn. Cast on the desired number of stitches, then knit every row until the scarf is the desired length. Bind off the stitches and weave in any loose ends.
What size needles should I use to knit a garter stitch scarf?
The size of needles you should use for knitting a garter stitch scarf depends on the weight of the yarn you are using. Generally, a medium-weight yarn would work well with US size 8 or 9 knitting needles. However, you can adjust the needle size to achieve the desired tension and fabric texture.
Can I use any type of yarn for a garter stitch scarf?
Yes, you can use any type of yarn for a garter stitch scarf. However, the type and weight of yarn you choose will impact the overall look and feel of the finished scarf. Thicker yarns will create a chunkier and warmer scarf, while thinner yarns will result in a lighter and more delicate scarf.