
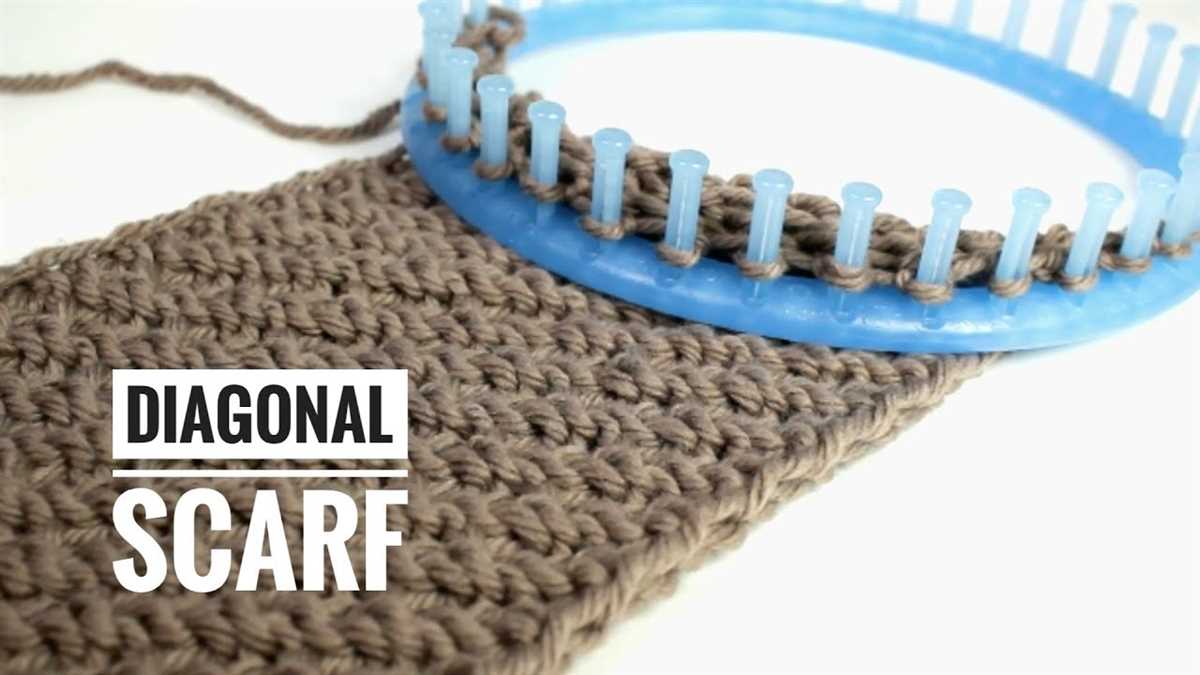
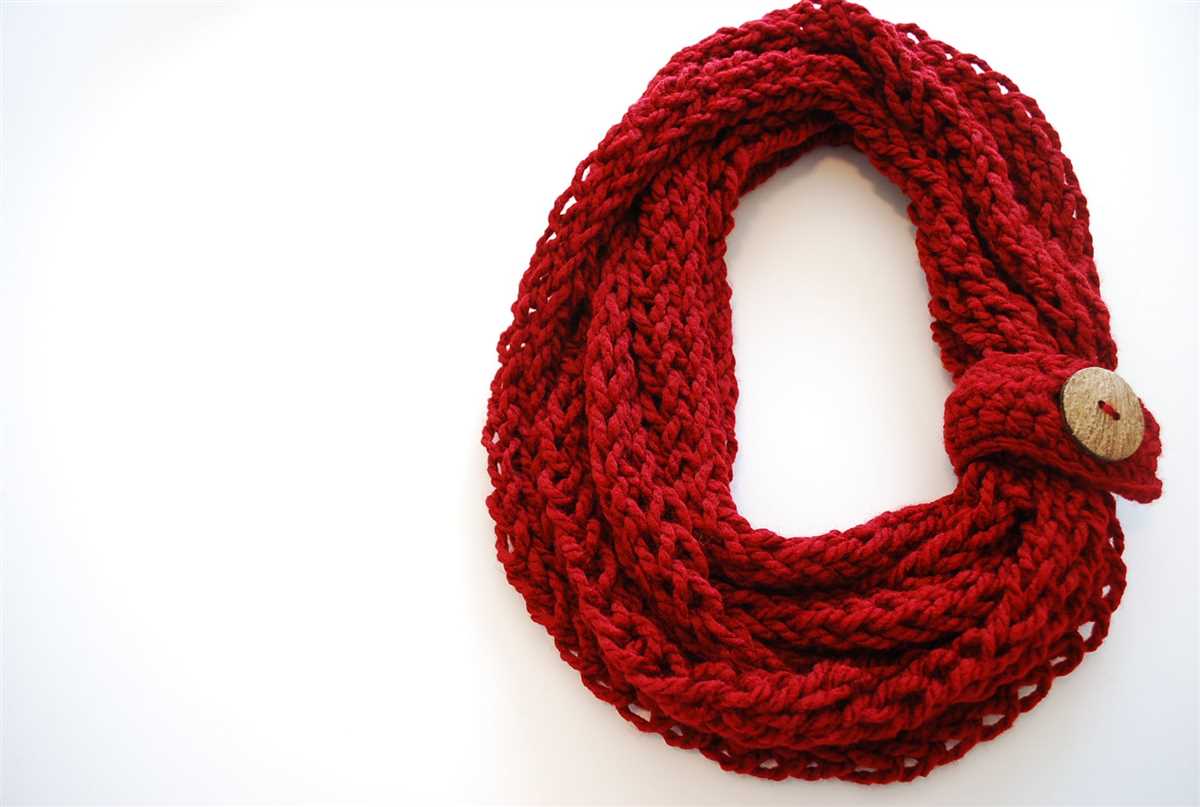
If you’re a knitting enthusiast looking for a new project, you may want to try your hand at a diagonal knitting scarf pattern. Diagonal knitting creates an interesting texture and visual appeal that will make your scarf stand out from the rest. This pattern is also great for beginners who are looking to challenge themselves and learn new techniques.
One of the best things about knitting a scarf with a diagonal pattern is that it’s versatile enough to suit any style or occasion. Whether you prefer something classic and understated, or bold and colorful, you can easily customize your scarf to reflect your personal taste. Plus, the diagonal pattern adds a touch of elegance and sophistication to any outfit.
To get started, you’ll need some basic knitting supplies, including yarn, knitting needles, and a pair of scissors. You can choose any type of yarn you like, but keep in mind that different weights and textures will create different effects. Thicker yarns will result in a chunkier scarf, while finer yarns will create a lighter, more delicate look.
As for the knitting needles, you’ll want to choose a size that is appropriate for your chosen yarn. The label on the yarn will usually recommend a needle size, or you can use a knitting needle gauge to determine the best size for your project. Once you have all your supplies gathered, it’s time to cast on and start knitting your diagonal scarf!
Diagonal Knitting Scarf Pattern
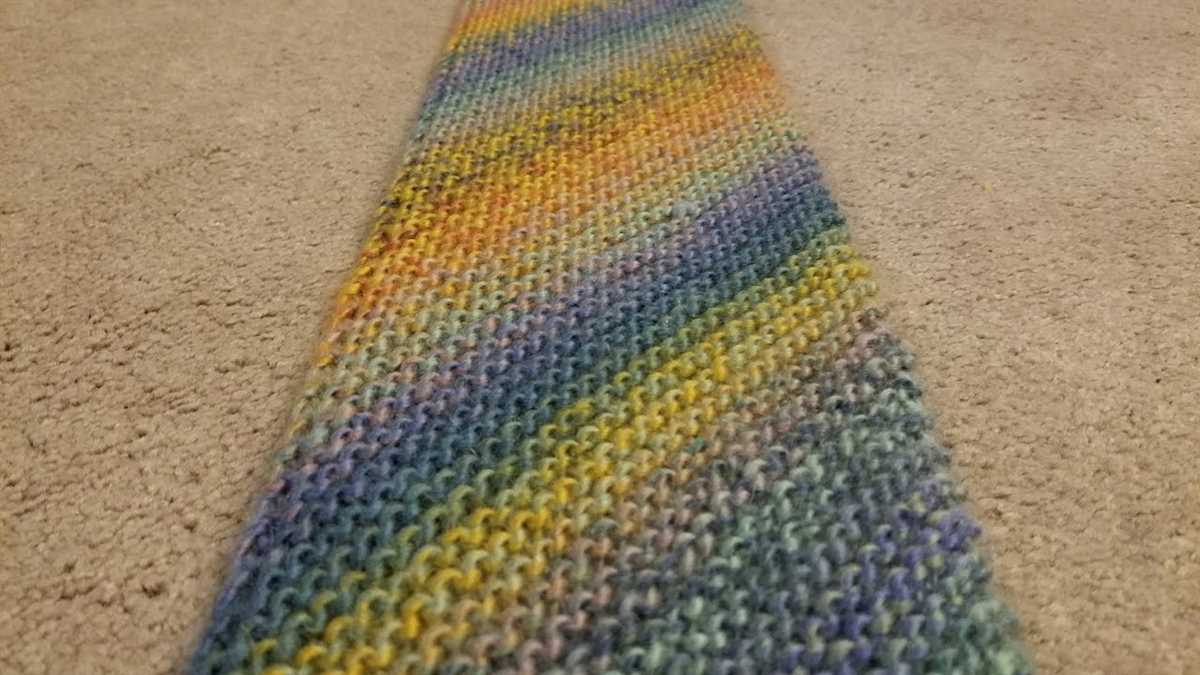
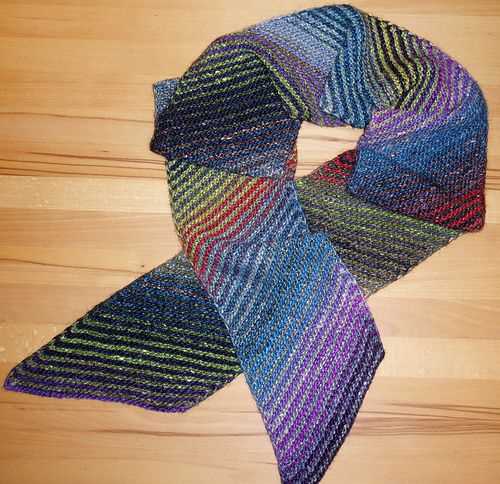
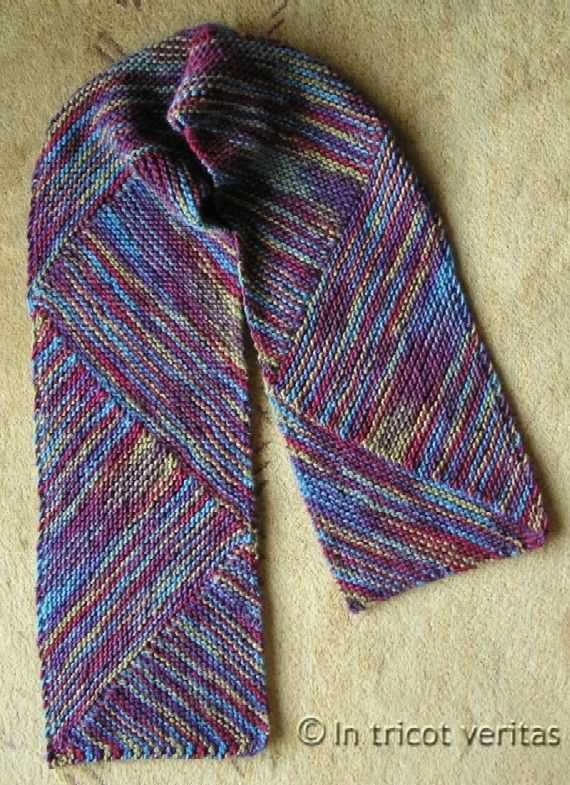
The diagonal knitting scarf pattern is a popular choice among knitters who want to create a unique and eye-catching accessory. This pattern creates a diagonal stripe design that adds visual interest to a classic scarf shape.
To knit the diagonal scarf pattern, you will need a set of knitting needles and a ball of yarn in the color of your choice. Start by casting on the desired number of stitches, which will depend on the width of your scarf. For a narrower scarf, cast on fewer stitches, and for a wider scarf, cast on more stitches.
Once you have cast on your stitches, begin knitting in a diagonal pattern. To do this, knit the first stitch, then increase by knitting into the front and back of the next stitch. Continue knitting in this pattern until you reach the end of the row.
To create the diagonal stripe design, you will need to change colors every few rows. Choose contrasting or complementary colors to make the stripes stand out. To change colors, simply switch to the new color at the beginning of a row and continue knitting in the diagonal pattern.
The diagonal knitting scarf pattern is a versatile design that can be customized to fit your style. You can adjust the width of the stripes, the number of colors used, and the overall length of the scarf. Have fun experimenting with different yarns and color combinations to create a one-of-a-kind accessory.
Materials:
- Knitting needles
- Yarn in desired color(s)
Instructions:
- Cast on the desired number of stitches.
- Knit the first stitch, then increase by knitting into the front and back of the next stitch.
- Continue knitting in this pattern until you reach the end of the row.
- Change colors every few rows to create diagonal stripes.
- Continue knitting in the diagonal pattern, changing colors as desired.
- Repeat steps 4 and 5 until the scarf reaches the desired length.
- Bind off and weave in any loose ends.
Materials
In order to create the diagonal knitting scarf pattern, you will need a few materials. Here is a list of the essential items:
- Yarn: Choose a yarn of your preference, preferably one that is suitable for scarves. Select colors that you would like to use for your pattern.
- Knitting needles: Make sure you have a pair of knitting needles that are appropriate for the thickness of your chosen yarn.
- Tape measure: This will come in handy for measuring your scarf and ensuring the correct dimensions.
- Scissors: You will need scissors to cut the yarn and any excess material.
- Yarn needle: A yarn needle will be needed for weaving in loose ends and finishing touches.
- Stitch markers: Stitch markers are optional but can be helpful for keeping track of your stitches.
Make sure you gather all these materials before you start knitting your scarf. Having everything at hand will save you time and make the process more enjoyable. Now that you have everything you need, let’s move on to the next step.
Gauge
When starting a knitting project, one of the most important factors to consider is the gauge. Gauge refers to the number of stitches and rows per inch that you achieve with a particular yarn and knitting needles. It is crucial to match the gauge stated in the knitting pattern, as a difference in gauge can significantly affect the size and fit of the finished piece.
To determine the gauge, it is recommended to knit a swatch using the chosen yarn and needles. The swatch should be at least 4×4 inches in size, and it is preferable to wash and block it before measuring. By knitting the swatch, you can compare the number of stitches and rows per inch to the gauge specified in the pattern.
Why is gauge important?
Gauge is essential because it ensures that your finished garment or accessory will have the correct measurements and fit. If your gauge is too loose, your piece may turn out larger than anticipated, while a tighter gauge can result in a smaller finished size. This is especially crucial when knitting items such as sweaters or hats, where precise sizing is important.
How to adjust gauge?
If your gauge doesn’t match the one stated in the pattern, there are several ways to adjust it. First, you can try using larger or smaller knitting needles to achieve the desired gauge. A larger needle will create larger stitches, while a smaller needle will create smaller stitches. Additionally, adjusting your tension while knitting can also impact the gauge. If your stitches are too loose, try knitting tighter, or if they are too tight, try knitting looser.
Checking gauge throughout the project
It is important to periodically check your gauge as you progress with your knitting project. Sometimes, the gauge can change as you become more comfortable with the pattern and your tension relaxes. By checking gauge regularly, you can ensure that your measurements stay consistent and prevent any unexpected surprises at the end.
Pattern
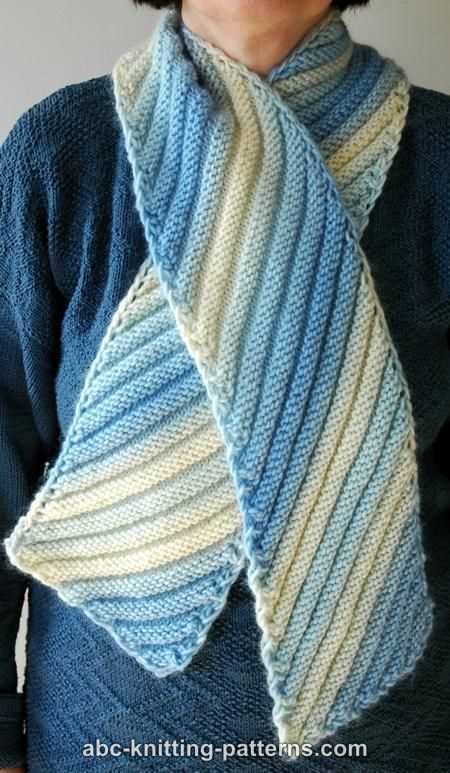
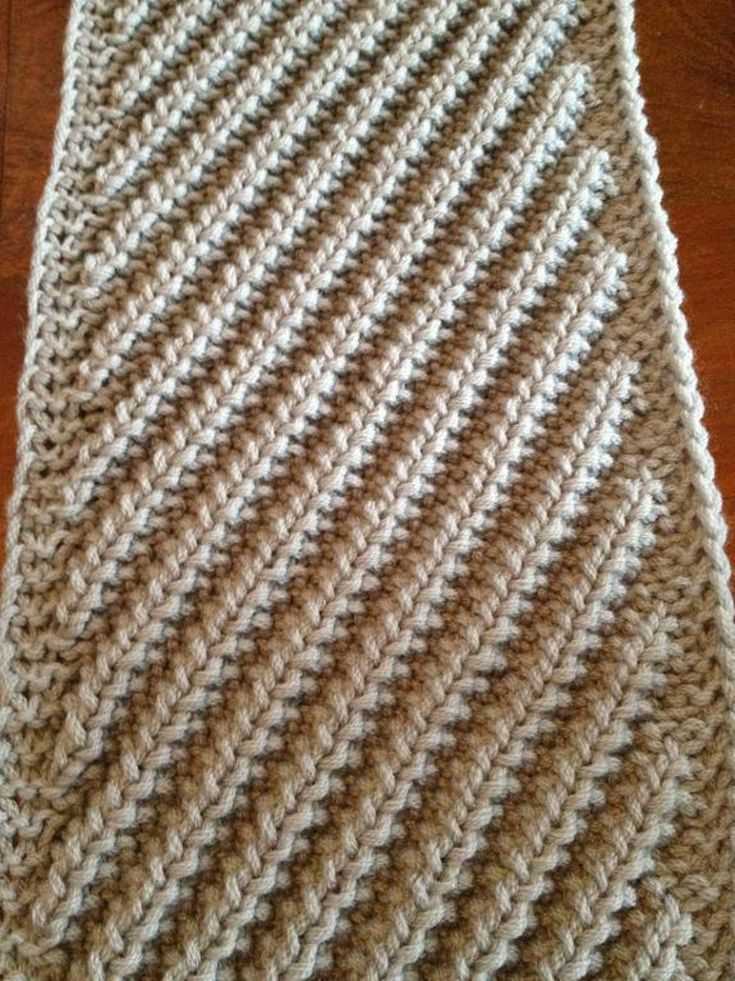
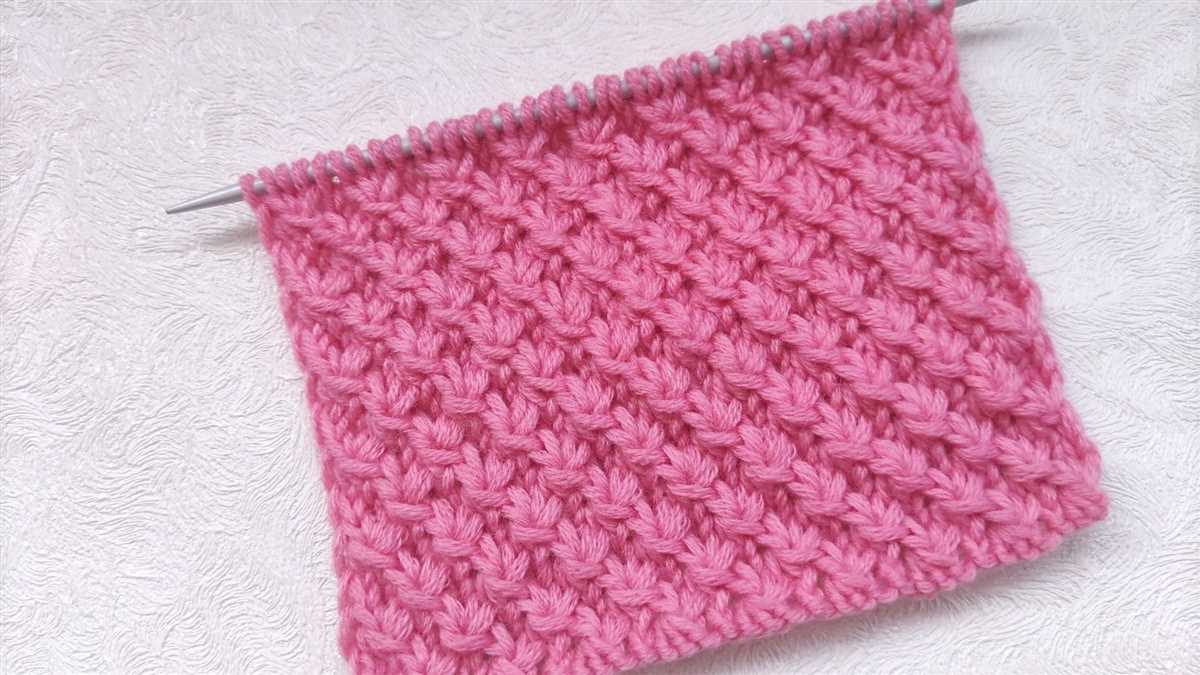
A diagonal knitting scarf pattern is a great way to add some texture and visual interest to your knitting projects. The diagonal pattern creates a beautiful diagonal line that runs across the entire scarf, adding a unique twist to a traditional knitting design.
To create the diagonal pattern, you will need to follow a specific set of instructions. Start by casting on an odd number of stitches and then follow the pattern chart or written instructions. The pattern typically involves knitting a certain number of stitches, then decreasing a specific way before knitting the remaining stitches. This process is repeated until you reach the desired length of the scarf.
Here is an example of a diagonal knitting scarf pattern:
- Cast on 27 stitches.
- Row 1: Knit 2, *k2tog, knit to end; repeat from * to last 2 stitches, knit 2.
- Row 2: Knit all stitches.
- Repeat rows 1 and 2 until the scarf reaches your desired length.
- Bind off all stitches.
The pattern can be customized to fit your preferences by changing the number of stitches cast on or the number of stitches knitted before decreasing. You can also experiment with different yarns and colors to create unique and personalized scarves.
Once you have mastered the diagonal knitting scarf pattern, you can use it as a base to create other diagonal patterns such as stripes or chevrons. By combining different patterns and colors, you can create a wide variety of scarves that are both stylish and cozy.
Instructions
In order to knit the diagonal scarf pattern, you will need to follow these instructions carefully:
Materials:
- Size 8 knitting needles
- Worsted weight yarn in two contrasting colors
- Tapestry needle
- Scissors
Steps:
- Start by casting on 30 stitches with the first color of yarn.
- Knit every row for 10 rows.
- Switch to the second color of yarn and knit every row for 10 rows.
- Now, to start the diagonal pattern, you will need to increase or decrease stitches at the beginning or end of each row.
- On the next row, knit 2 stitches, then knit 2 together, knit to the end of the row.
- Repeat this decrease row every other row until you have 5 stitches remaining on your needle.
- Switch back to the first color of yarn and knit every row for 10 rows.
- Repeat steps 3-7 until your scarf is the desired length.
- Finish off by binding off all stitches and weave in any loose ends.
Once you have followed these instructions, you will have a beautiful diagonal knitting scarf pattern! Enjoy wearing or gifting your handiwork.
Finishing
Once you have completed knitting the diagonal pattern for your scarf, it’s time to finish off the project. Here are a few steps to help you complete your scarf with a polished look.
Weaving in Ends
Start by weaving in any loose ends of yarn that may be left from changing colors or joining new skeins. Use a yarn needle to thread the end of the yarn through the stitches at the back of your work, and trim any excess yarn. Make sure to weave in the ends neatly and securely, so they don’t come loose with wear.
Blocking
Blocking is an important step in giving your scarf a professional finish. Depending on the type of yarn you used, you may need to wet block or steam block your scarf. Wet blocking involves soaking the scarf in water, gently squeezing out the excess moisture, and then laying it flat to dry. Steam blocking, on the other hand, involves using a steam iron to lightly steam the fabric, shaping it as desired. Follow the recommendations for your specific yarn to determine the best blocking method.
Adding Fringe (optional)
If you want to add some extra flair to your scarf, you can finish it off with fringe. Measure out pieces of yarn that are double the desired fringe length, then fold them in half. Use a crochet hook or your fingers to pull the folded end through a stitch along the edge of your scarf, creating a loop. Pass the loose ends of the yarn through the loop, and pull tight to secure. Repeat this process along the edge of your scarf, spacing the fringe loops evenly.
Once you have completed these finishing steps, your diagonal knitting scarf will be ready to wear or give as a thoughtful handmade gift. Take pride in the time and effort you put into creating a beautiful and functional accessory!
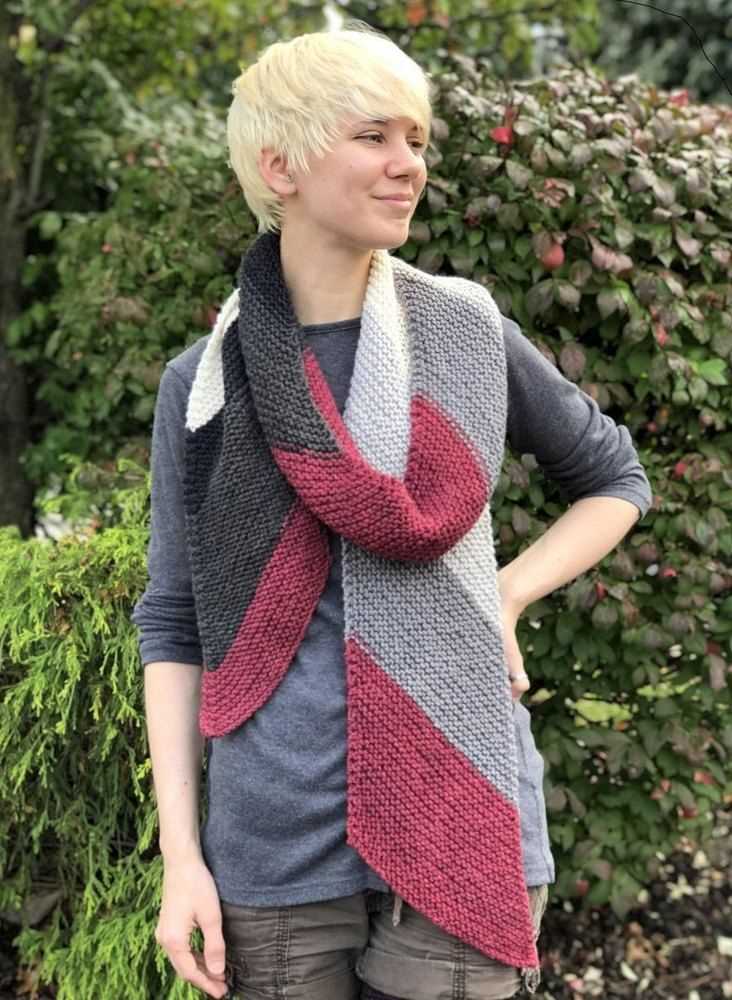
Variations
There are numerous ways to add variations to the diagonal knitting scarf pattern. Here are a few ideas to get you started:
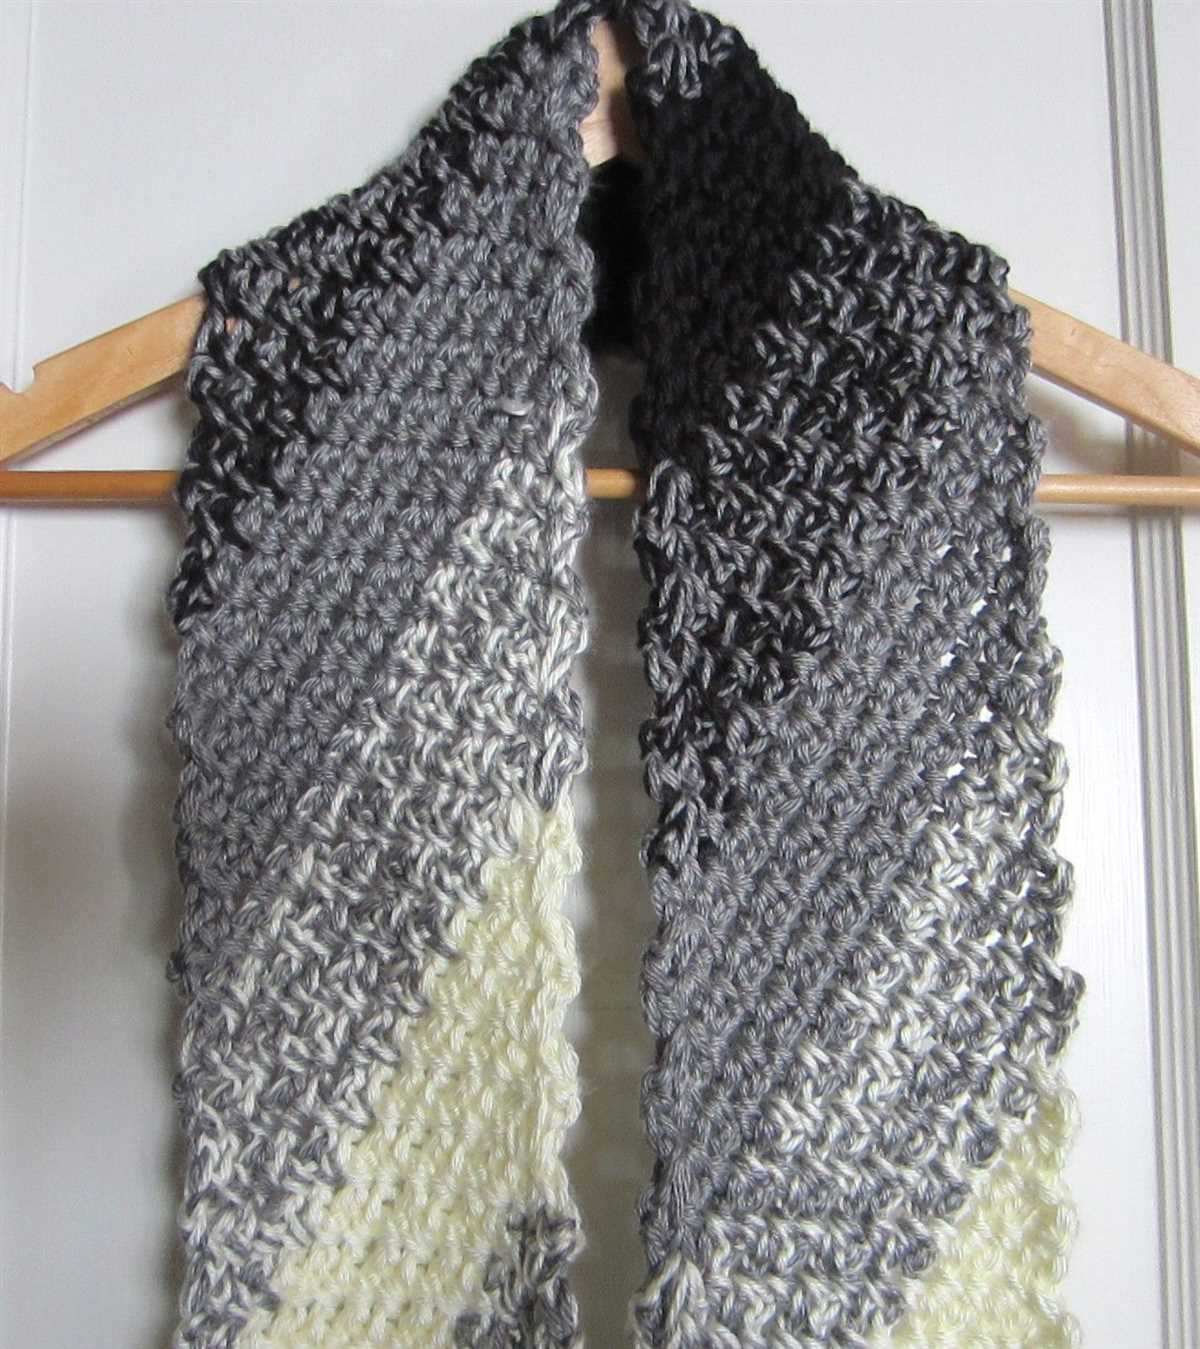
Color Variations:
Add a pop of color to your scarf by using different colored yarns for each section. You can create a gradient effect by choosing shades that blend together or go for a bold contrast with complementary colors. Experiment with different color combinations to create a unique scarf that reflects your personal style.
Pattern Variations:
While the diagonal knitting pattern is classic, you can also incorporate other stitch patterns to add visual interest to your scarf. Experiment with different textured stitches such as cables or lace. You can alternate between the diagonal pattern and the textured pattern or even combine them in one section. This will create a more intricate design and make your scarf truly stand out.
Length Variations:
You can customize the length of your diagonal knitting scarf to suit your preference. If you prefer a shorter scarf, you can knit fewer sections or use a thicker yarn. For a longer scarf, simply increase the number of sections or use a thinner yarn. Play around with the length to achieve the perfect size for you.
Width Variations:

If you prefer a wider or narrower scarf, you can easily adjust the width by adding or subtracting stitches. To make a wider scarf, simply cast on more stitches for each section. To make a narrower scarf, cast on fewer stitches. Keep in mind that the number of sections will also affect the overall width, so make sure to adjust accordingly.
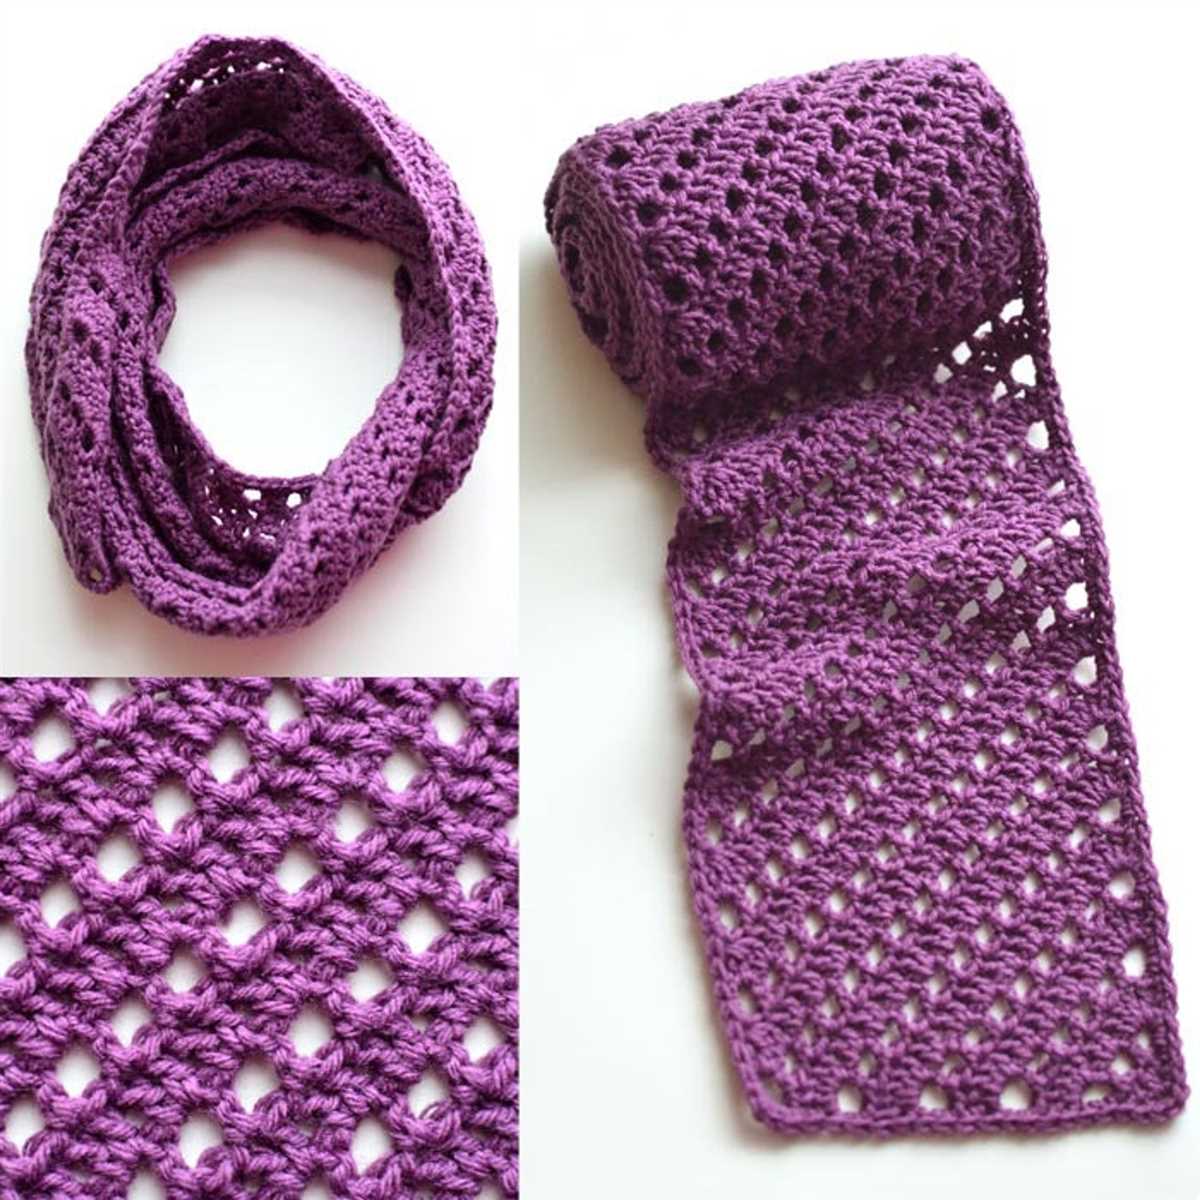
Yarn Variations:

Explore different types of yarn to give your scarf a unique look and feel. Opt for a soft and cozy wool yarn for a winter accessory or choose a lightweight cotton yarn for a breezy summer scarf. You can also experiment with different yarn weights to create a scarf with a different drape and texture. The possibilities are endless!
Embroidery or Appliqué:
If you want to add an extra touch of creativity to your scarf, consider adding embroidery or appliqué. You can use embroidery thread to create intricate designs or appliqué small fabric shapes onto the scarf for a playful and whimsical touch. This way, you can truly make your scarf one-of-a-kind.
Tips and Tricks
Knitting a diagonal scarf can be a unique and fun project, but it can also present some challenges. Here are some tips and tricks to help you along the way:
1. Choose the right yarn

When knitting a diagonal scarf, it’s important to choose a yarn that is suitable for the pattern. A lightweight yarn, such as a fingering weight or sport weight, works best for achieving a drapey and comfortable scarf. Consider the fiber content as well – natural fibers like wool or alpaca will provide warmth, while silk or cotton will give a lighter and cooler feel. Make sure to check the yarn label for the recommended needle size.
2. Use stitch markers
Diagonal knitting can involve increasing and decreasing stitches to create the desired shape. To keep track of your stitches and ensure accuracy, it’s helpful to use stitch markers. Place them at regular intervals along the edges of your scarf, or wherever necessary according to the pattern instructions. This will help you keep track of your progress and avoid mistakes.
3. Block your finished scarf
Blocking is an essential step in finishing your diagonal scarf. It helps to even out the stitches, open up the lace patterns (if any), and give the scarf its final shape. Follow the blocking instructions provided with your yarn, or wet block the scarf by soaking it in lukewarm water, gently squeezing out the excess moisture, and pinning it out to the desired shape. Allow it to dry completely before removing the pins.
4. Experiment with stitch patterns
While the pattern may specify a particular stitch pattern for your diagonal scarf, don’t be afraid to experiment and make it your own. Try different stitch patterns or colorwork techniques to add variety and personalization to your scarf. Just make sure to keep track of your stitch count and any necessary modifications to the pattern.
5. Join the diagonal ends neatly
When you reach the desired length of your scarf, you will need to join the diagonal ends together to create a seamless finish. There are various methods to do this, such as a three-needle bind-off or grafting the stitches together using Kitchener stitch. Take your time and make sure the join is secure and invisible to achieve a polished look.
With these tips and tricks in mind, you’ll be well-equipped to tackle the diagonal knitting scarf pattern and create a unique and beautiful accessory. Happy knitting!
Frequently Asked Questions
Finding the perfect scarf pattern and getting started with diagonal knitting can be both exciting and challenging. Here are some frequently asked questions to help guide you through the process:
1. Can I adjust the size of the scarf?
Yes, you can adjust the size of the scarf by simply adding or reducing the number of stitches. Keep in mind that this may also affect the overall length of the scarf, so make sure to plan accordingly.
2. Can I use different yarn weights for this pattern?
Absolutely! Diagonal knitting is versatile and allows for different yarn weights. However, keep in mind that using a different yarn weight may affect the overall look and feel of the scarf. It’s always a good idea to make a gauge swatch before starting your project.
3. How do I change colors in the scarf?
To change colors in your scarf, simply knit up to the stitch where you want to switch colors. Then, drop the old color and start knitting with the new color. Leave a long enough tail from each color to weave in later. It’s recommended to twist the old and new color yarns together at the beginning of the row to avoid any gaps.
4. Can I knit this pattern in the round?
Unfortunately, this particular scarf pattern is designed to be knit flat. However, you can easily convert it to a circular scarf by joining the ends and knitting in the round. Just make sure to adjust the stitch count accordingly.
5. How do I prevent gaps in my knitting?
Gaps can occur when transitioning from one color to another. To prevent gaps, make sure to pull the new color tightly before starting the next row. Additionally, twisting the yarns together at the beginning of the row can help close any potential gaps.
6. Can I add fringe to my scarf?
Yes, adding fringe to your diagonal knitting scarf can be a great way to personalize your project. Simply cut lengths of yarn and attach them to the ends of your finished scarf using a crochet hook or your knitting needles.
Remember to have fun with your diagonal knitting scarf and experiment with different color combinations and techniques. Whether you’re a beginner or an experienced knitter, this pattern offers endless possibilities to create a unique and stylish accessory.
Q&A:
What is diagonal knitting?
Diagonal knitting is a technique in which the stitches are worked on a diagonal, creating a diagonal pattern in the fabric. It is often used to create scarves, blankets, and other items with a unique and eye-catching design.
What is a knitting scarf pattern?
A knitting scarf pattern is a set of instructions that tells you how to create a scarf using knitting techniques. It usually includes information on the type of yarn to use, the size of needles, and step-by-step instructions for creating the scarf.
What is a diagonal knitting scarf pattern?
A diagonal knitting scarf pattern is a specific type of knitting pattern that instructs you how to create a scarf using the diagonal knitting technique. It will provide instructions on how to create the diagonal pattern and may include variations in stitch patterns to add interest to the design.
Are there any specific techniques or skills required for diagonal knitting scarf patterns?
Diagonal knitting scarf patterns typically require basic knitting skills, such as casting on, knitting, purling, and binding off. Some patterns may also include more advanced techniques, such as increases and decreases, to create certain stitch patterns. It is always helpful to have some experience with knitting before attempting a new pattern.