
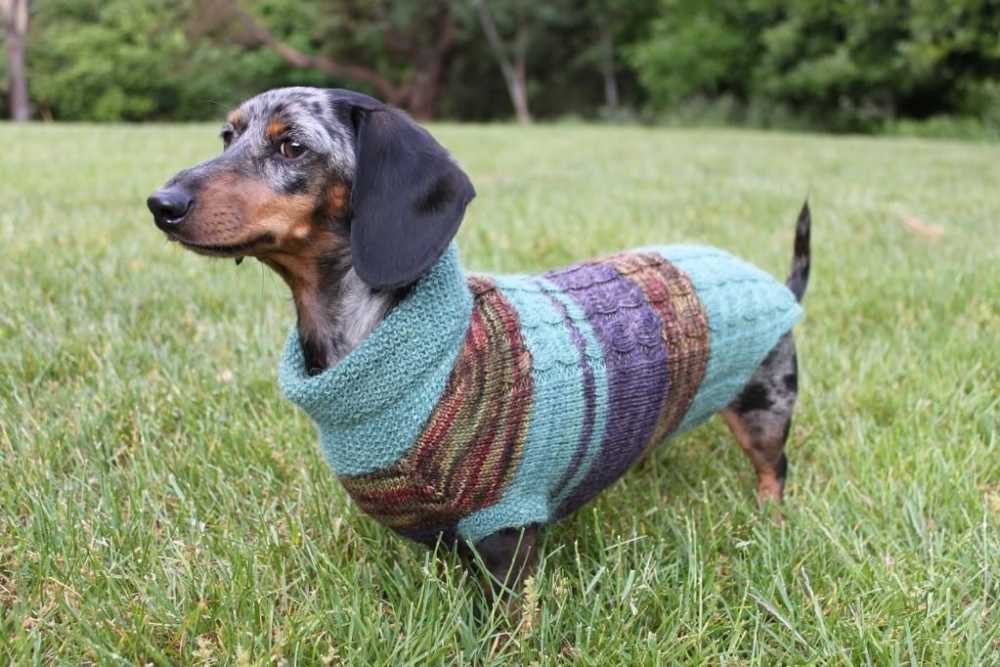
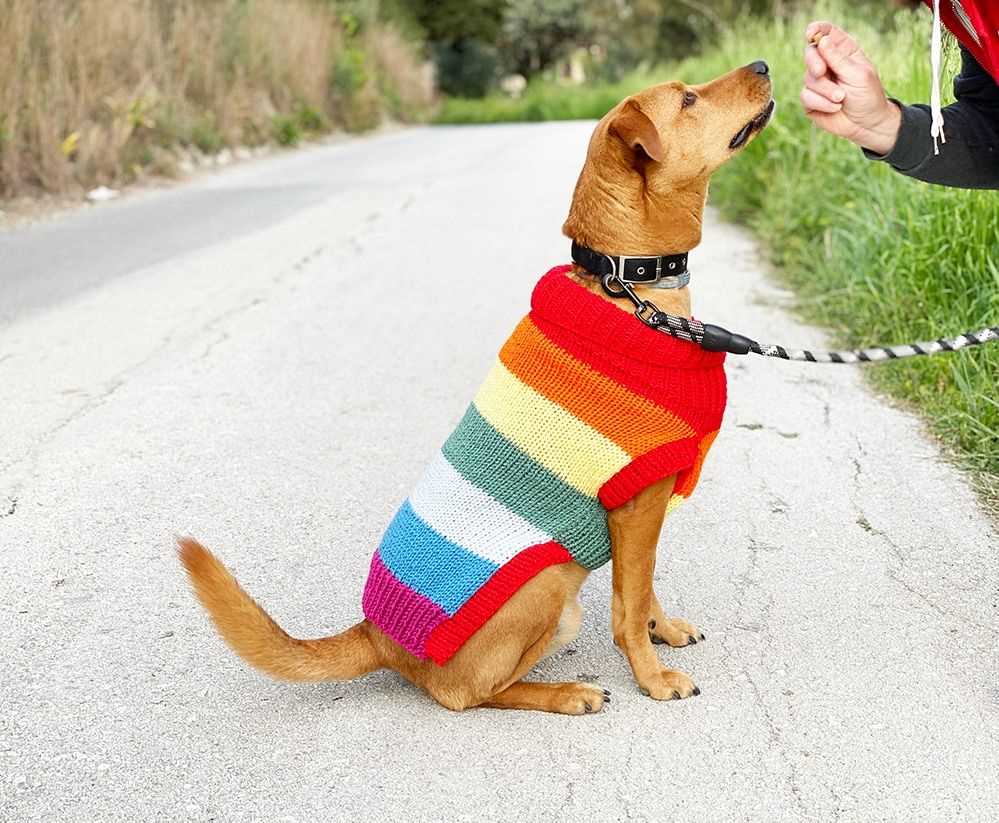
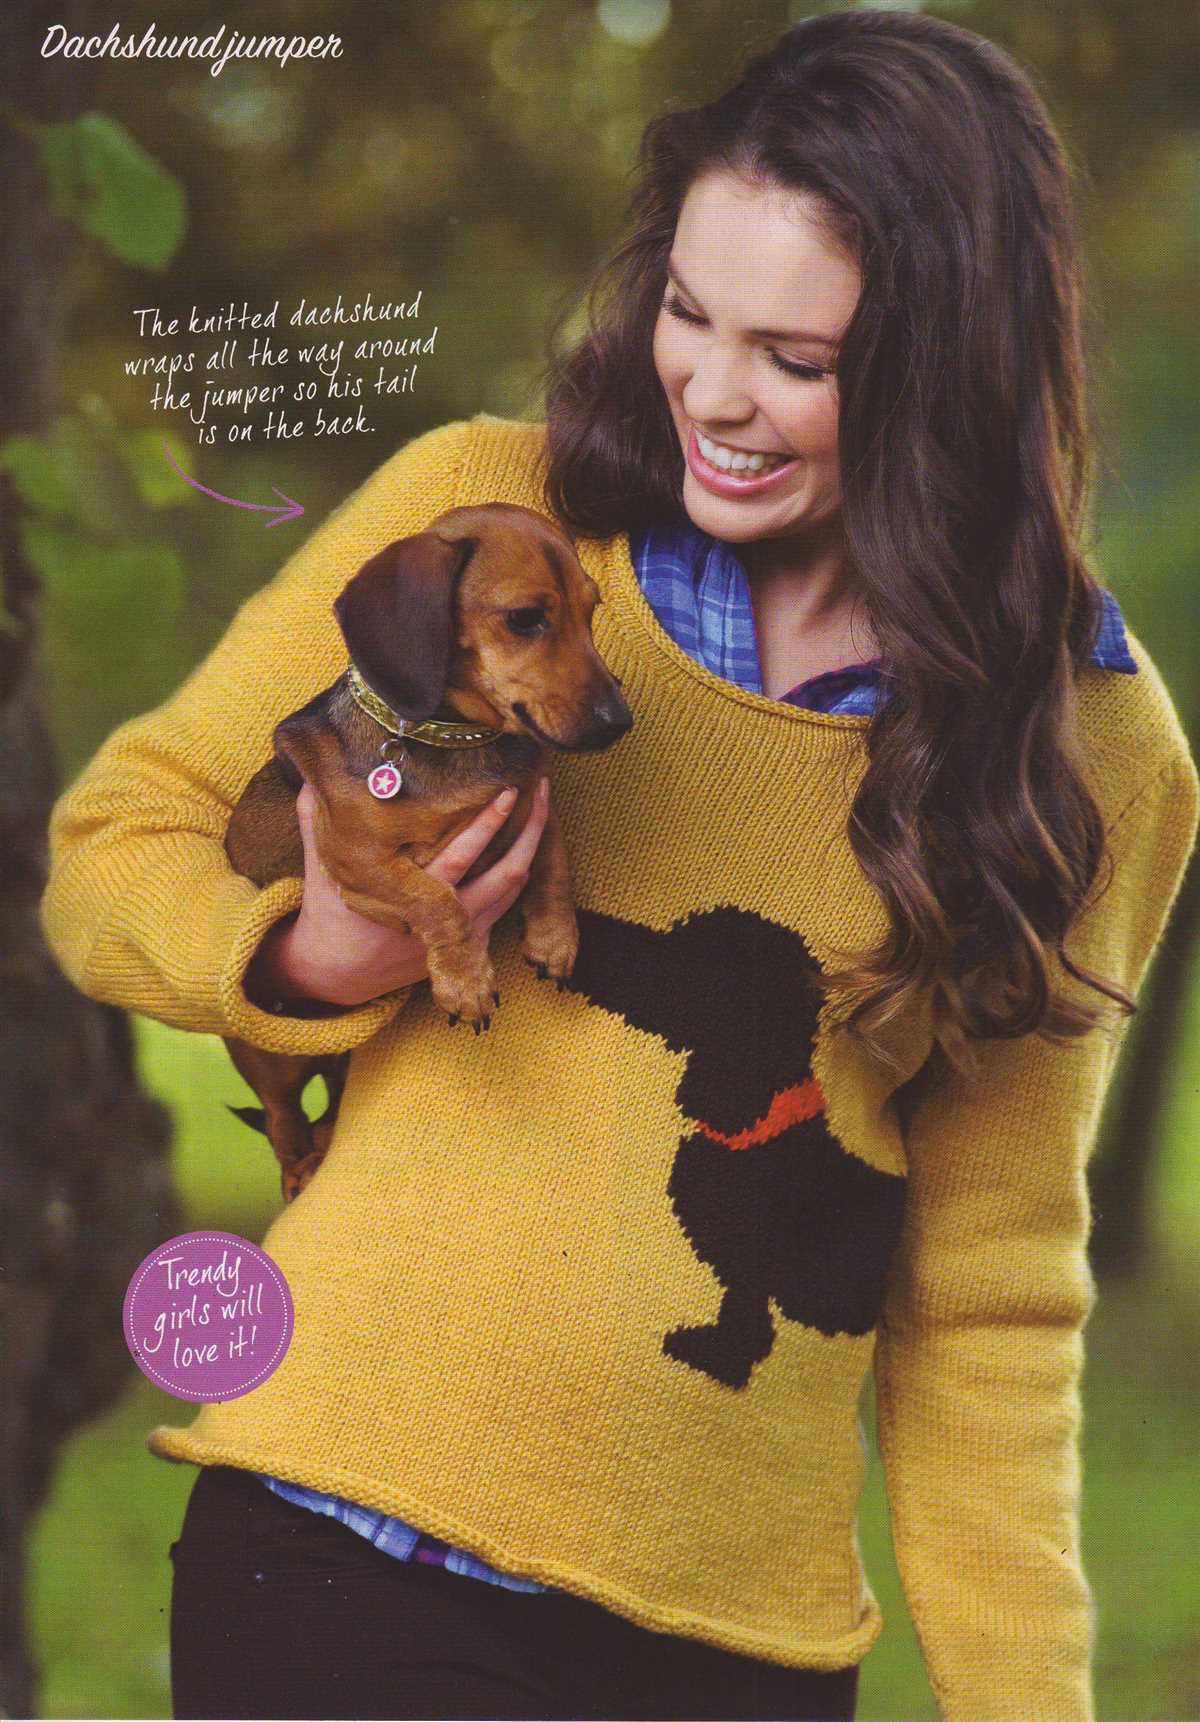
If you have a furry friend who loves to stay warm and cozy during the colder months, then this free knitting pattern for a dog jumper is just what you need. Whether you have a small toy breed or a large breed dog, this pattern can be easily customized to fit your pup perfectly.
Knitting a jumper for your dog is not only a fun and fulfilling project, but it also allows you to create a one-of-a-kind piece that will keep your furry friend stylish and warm. This pattern is suitable for knitters of all skill levels, so even if you are a beginner, you can confidently give it a try.
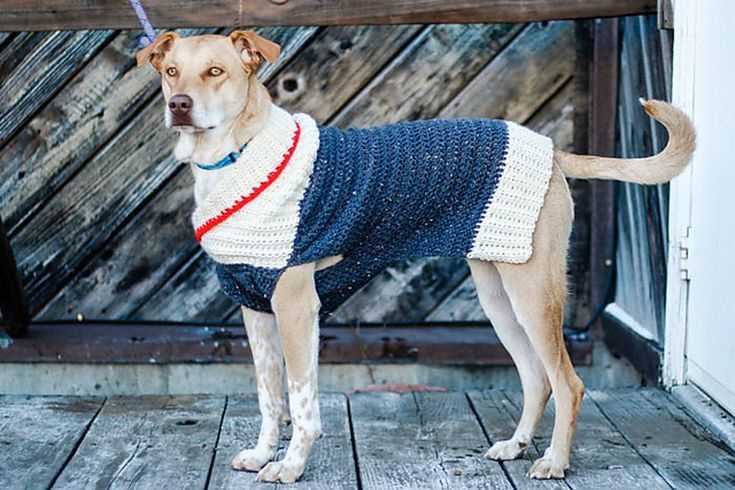
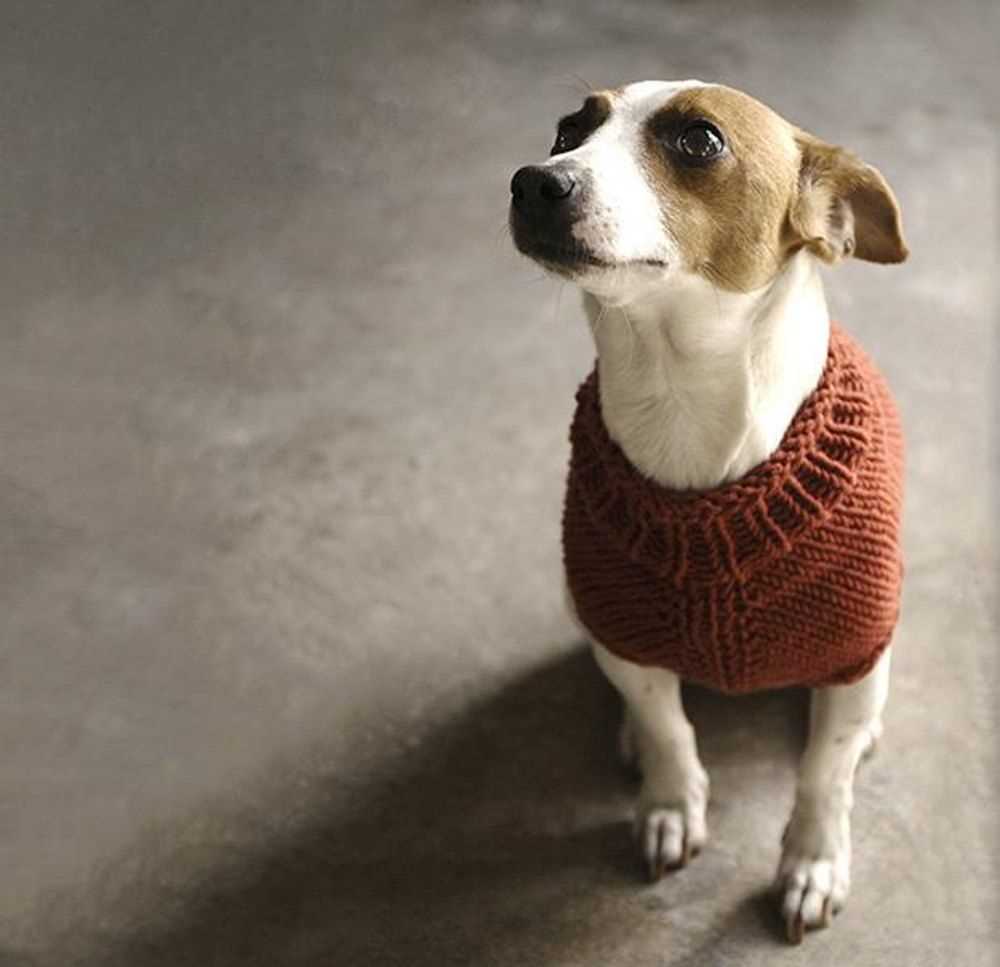
The pattern provides step-by-step instructions, along with helpful tips and techniques, to guide you through the knitting process. You can choose from a range of colors and yarn types to create a jumper that complements your dog’s fur and personality. The jumper features a ribbed collar and cuffs, ensuring a snug and comfortable fit.
So why not grab your knitting needles, choose your favorite yarn, and get started on knitting a cozy jumper for your beloved pet? With this free pattern, your dog will be both warm and stylish, turning heads wherever they go!
Materials needed
Before you start knitting your dog jumper, you will need to gather a few materials to ensure a successful project. Here is a list of items you will need:
- Yarn: Choose a soft and warm yarn suitable for your dog’s size and breed. The amount of yarn needed will depend on the size of the dog jumper.
- Knitting needles: Select the appropriate size of knitting needles based on the recommended gauge on the yarn label.
- Stitch markers: These will help you keep track of any stitch patterns or increases/decreases in the pattern.
- Tape measure: You will need a tape measure to take accurate measurements of your dog’s chest circumference, length, and neck circumference.
- Scissors: A sharp pair of scissors will be needed to cut the yarn and any excess thread.
- Darning needle: This needle will be used for weaving in loose ends and sewing any seams.
- Buttons or closures: Depending on the design of the dog jumper, you may need buttons or other closures to secure the garment.
Make sure you have all these materials ready before you begin your knitting project. This will ensure a smooth and enjoyable knitting experience, and you’ll be able to quickly start creating a cozy and stylish dog jumper for your furry friend!
Choosing the right yarn
When knitting a dog jumper, it is important to choose the right yarn for the project. The type of yarn you select will determine the warmth, durability, and overall look of the jumper. Here are some factors to consider when choosing the yarn for your dog’s jumper.
1. Weight: The weight of the yarn refers to its thickness. For a dog jumper, you will want to choose a medium or heavy-weight yarn to provide enough warmth and insulation for your furry friend.
- If you live in a colder climate, a bulky or chunky yarn would be ideal.
- For milder temperatures, a worsted or aran weight yarn would work well.
2. Fiber: Different fibers have different properties, so it’s important to consider your dog’s needs and preferences when choosing a yarn.
- Wool is a popular choice for dog jumpers as it is warm, durable, and moisture-wicking.
- Acrylic yarn is a budget-friendly option that is also soft and easy to care for.
- Cotton is a lightweight and breathable option, perfect for warmer climates.
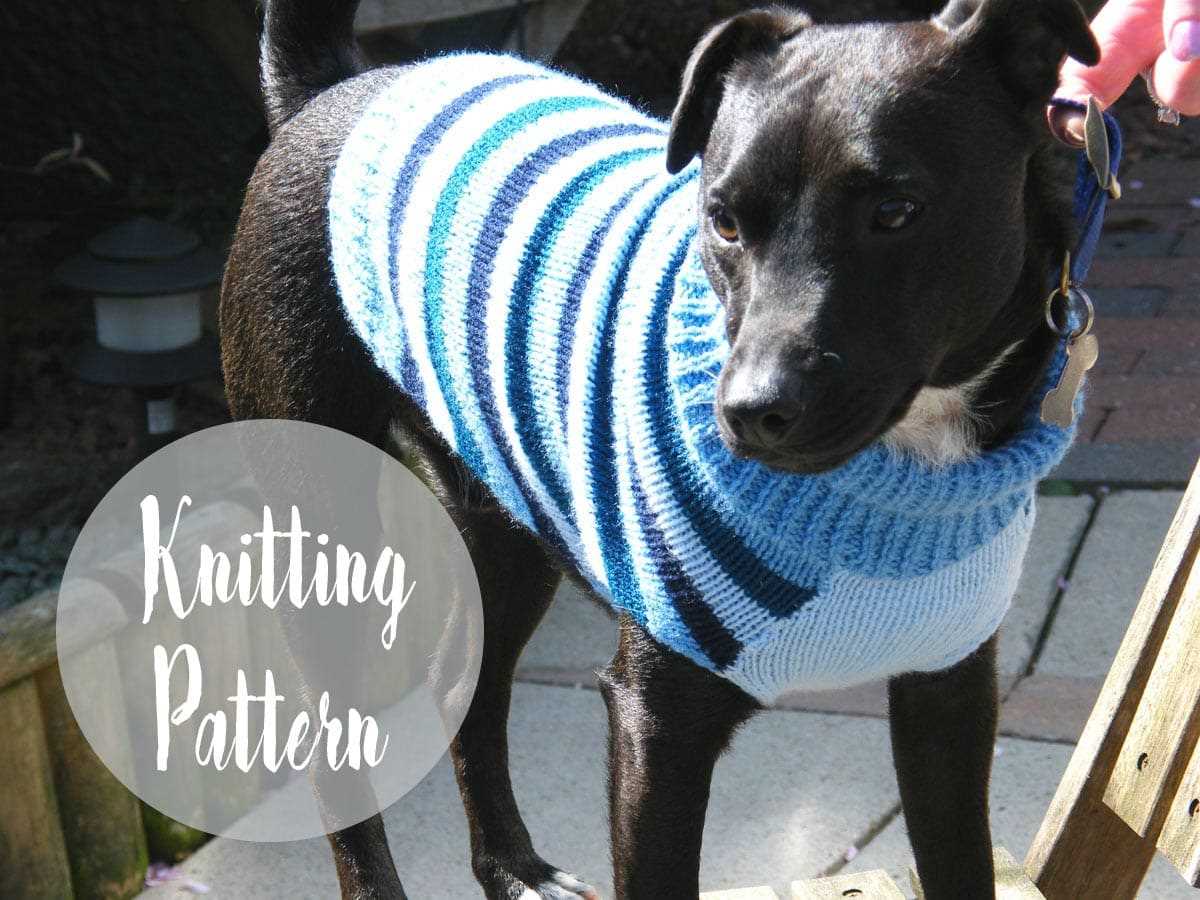
3. Color and pattern: Consider your dog’s coloring and choose a yarn color that will complement their fur. You can also get creative and choose a patterned yarn to add some extra flair to the jumper.
4. Gauge: Before starting your project, make sure to check the gauge recommended in the knitting pattern. This will ensure that the finished jumper fits your dog properly. Adjust the needle size if needed to achieve the correct gauge.
By considering these factors, you can choose the perfect yarn for your dog’s jumper and create a cozy and stylish garment that your furry friend will love to wear.
Selecting the correct needle size
When knitting a dog jumper, it is important to select the correct needle size to ensure the right fit and comfort for your furry friend. Using the wrong needle size can result in a garment that is too tight or too loose, causing discomfort for your dog.
To determine the right needle size, you will need to consider the yarn weight and the gauge of the pattern. Yarn comes in different thicknesses, or weights, such as lace, fingering, sport, worsted, and bulky. Each weight requires a different needle size to achieve the desired tension in the fabric.
For example, if the pattern calls for a worsted weight yarn, you will typically use a needle size between US 7 (4.5mm) and US 9 (5.5mm).
To find the correct needle size, check the yarn label for recommendations or refer to a knitting needle size conversion chart. You can also make a gauge swatch by knitting a small sample of your chosen stitch pattern with the recommended needle size. Measure the gauge of your swatch and compare it to the pattern’s gauge to see if adjustments are needed.
Remember, using the correct needle size is crucial for achieving the correct measurements and fit for your dog’s jumper.
Taking accurate measurements
Before you start knitting a dog jumper, it is important to take accurate measurements of your dog’s body. This will ensure that the jumper fits properly and is comfortable for your furry friend.
To begin, you will need a flexible measuring tape and a helper, if possible, to hold your dog still. Start by measuring the length of your dog’s back from the base of their neck to the base of their tail. Make sure to measure along the spine for the most accurate measurement. Write down this measurement as it will be needed later for determining the length of the jumper.
Next, measure the circumference of your dog’s neck. Place the measuring tape around the base of their neck, where their collar would normally sit. Make sure the tape is snug but not too tight. Write down this measurement as well.
- Measure the circumference of your dog’s chest at its widest point, usually just behind their front legs. Make sure the tape is snug but not too tight and write down this measurement.
- Measure the circumference of your dog’s waist at its narrowest point, just in front of their hind legs. Again, make sure the tape is snug but not too tight and write down this measurement.
- Finally, measure the circumference of each of your dog’s front legs. Start at the top of their shoulder and measure down to their elbow. Then measure the circumference of their elbow and write down both measurements.
Once you have taken all of these measurements, you can use them to determine the size of the jumper you will need to knit. Refer to the knitting pattern for guidance on how to adjust the measurements and create a custom-fit jumper for your dog.
Casting on stitches
In knitting, casting on stitches is the process of creating the foundation row of loops on the needle to start a project. It is an essential skill to learn for any knitter, as it is the first step in most knitting patterns. There are several different methods for casting on stitches, each with its own advantages and uses.
One common method for casting on stitches is the long-tail cast on. This method creates a neat and elastic edge, making it suitable for a wide range of projects. To perform a long-tail cast on, you will need to estimate the amount of yarn needed by measuring a length of yarn about two and a half times the desired width of your knitting. Then, you will create a slipknot and place it on the knitting needle, using the tail of the yarn as the longer end and the working yarn as the shorter end. Finally, you will use both ends of the yarn to create a series of loops on the needle, securing them in place as you go.
Long-tail cast on:
- Estimate the amount of yarn needed.
- Create a slipknot and place it on the needle.
- Use both ends of the yarn to create loops on the needle.
- Secure the loops in place as you go.
Another method for casting on stitches is the knit cast on. This method is quick and easy to learn, making it great for beginners. To perform a knit cast on, you will start with a slipknot on the needle, then insert the right-hand needle into the slipknot. Next, you will wrap the yarn around the right-hand needle from back to front, and use the right-hand needle to pull the loop through the slipknot. Finally, you will transfer the new loop onto the left-hand needle, and repeat these steps until you have cast on the desired number of stitches.
Knit cast on:
- Start with a slipknot on the needle.
- Insert the right-hand needle into the slipknot.
- Wrap the yarn around the right-hand needle from back to front.
- Pull the loop through the slipknot.
- Transfer the new loop onto the left-hand needle.
- Repeat these steps until the desired number of stitches is cast on.
Knitting the body
Once you have completed the ribbing for the dog jumper, it’s time to start knitting the body. The body is worked in stockinette stitch, which means you will be knitting on the right side and purling on the wrong side of the fabric.
To begin, cast on the required number of stitches for your dog’s size. You can refer to the pattern for the exact measurements. Once you have cast on, you will need to work the first row in a knit stitch. This will create the first row of the stockinette stitch pattern.
Continue working in stockinette stitch for the desired length of the body. This will generally be determined by the size of your dog and how long you want the jumper to be. Be sure to check your gauge to ensure the fit is correct.
Once you have reached the desired length, you can start shaping the body. This is done by decreasing stitches evenly across the row. The pattern will provide instructions on how many stitches to decrease and how often to do so. This will create a tapered shape for a better fit around the dog’s body.
After you have completed the shaping, continue knitting in stockinette stitch until you reach the desired length for the body. Remember to check your gauge as you go to ensure the fit is still correct.
Finally, you will need to bind off all stitches to finish the body of the dog jumper. This can be done by knitting two stitches together, passing the first stitch over the second, and repeating across the row. Once all stitches are bound off, cut the yarn and secure the end.
Knitting the leg openings

When knitting a dog jumper, it’s important to create leg openings to ensure a comfortable fit for your furry friend. The leg openings will allow your dog to move freely and comfortably while wearing the jumper. Follow these steps to knit the leg openings:
1. Mark the leg openings
Start by marking the areas where the leg openings will be located. This will depend on the size of your dog and the desired fit of the jumper. Use stitch markers or contrasting yarn to indicate the beginning and end of each leg opening.
2. Decrease stitches
To create the leg openings, you will need to decrease the number of stitches in the designated areas. This can be done through various decrease techniques such as knit two together (k2tog) or slip slip knit (ssk). The specific decrease method will depend on the pattern you are following.
3. Knit the leg opening rows

Once the stitches have been decreased, you will continue knitting the leg opening rows according to the pattern instructions. This may involve knitting back and forth or in the round, depending on the style of jumper you are making.
4. Bind off stitches
Once the leg opening rows are complete, you will need to bind off the stitches in the leg opening area. This will secure the edges and create a neat finish. Follow the pattern instructions for the appropriate bind off method to use.
By following these steps, you will be able to create leg openings for your dog jumper that provide both a comfortable fit and a stylish design.
Creating the neck opening
The neck opening is an important element of a dog jumper as it allows for a comfortable fit. To create the neck opening, you will need to measure your dog’s neck circumference. Use a tape measure to get an accurate measurement, and make sure it is not too tight or too loose. Once you have the measurement, you can use it to determine how many stitches to cast on for the neck opening.
To start, cast on the required number of stitches for the neck opening. You can use a provisional cast on if you want to create a seamless finish, or simply cast on using your preferred method. You can also use stitch markers to keep track of the neck opening stitches, especially if you are working in the round.
If you are working in rows, place the stitch markers on the first and last stitches of the neck opening. This will help you easily identify the stitches that need to be worked for the neck opening. When working in the round, you can place a stitch marker at the beginning of the round to mark the start of the neck opening.
Next, follow the pattern instructions to work the neck opening stitches. This may involve working a series of decreases or increases to shape the opening. Be sure to read the instructions carefully and check your stitch count as you go to ensure the correct number of stitches are being worked.
Once you have completed the neck opening section, you can continue working the pattern as directed. The neck opening should now be the correct size for your dog’s neck, providing a snug and comfortable fit. Remember to refer back to the pattern for any specific instructions on finishing the neck opening, such as adding a ribbed collar or binding off stitches.
Finishing Touches
Now that you have completed knitting your dog’s jumper, it’s time to add some finishing touches to make it extra special. Here are a few ideas to consider:
1. Embellishments
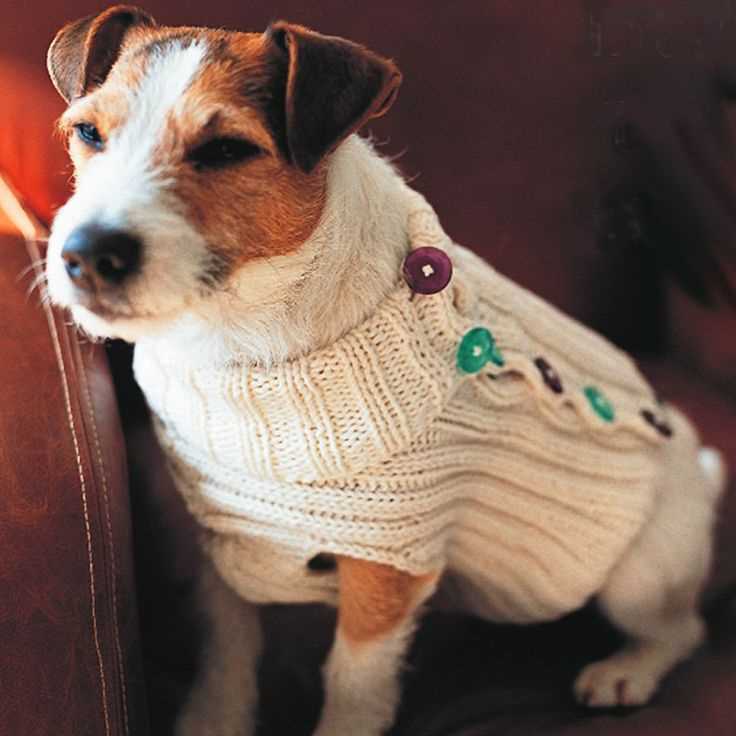
Add some embellishments to make your dog’s jumper stand out. You can sew on buttons, beads, or appliqués to create a unique design. Just make sure they are securely attached and won’t pose a choking hazard to your furry friend.
2. Personalization
Show off your dog’s personality by adding some personalization to the jumper. You can embroider their name or initials, or even knit a small patch with their breed or a fun phrase. This will make the jumper feel more like a one-of-a-kind piece made just for your beloved pet.
3. Ribbons or Bows
Add a touch of elegance by attaching ribbons or bows to the jumper. You can tie them around the collar or attach them to the back for a cute finishing touch. Just make sure they are securely fastened and won’t easily come undone.
4. Custom Fit
To ensure the jumper fits your dog perfectly, consider adding a ribbed collar and leg cuffs. This will help keep the jumper in place and provide a snug fit. Measure your dog’s neck and legs before knitting these sections to ensure a custom fit.
With these finishing touches, your dog’s jumper will be complete and ready for them to show off in style. Enjoy the process and have fun making something special for your furry friend!