
Knitting is a popular pastime for many, and with the arrival of autumn, there’s no better time to get your needles out and create something cozy and festive. One popular project for the fall season is knitting pumpkins. These adorable decorations can be used to spruce up your home for Halloween or Thanksgiving, and can also make great gifts for friends and family.
With this free knitted pumpkin pattern, you’ll be able to create your own unique pumpkins in no time. The pattern is easy to follow and suitable for knitters of all skill levels. You’ll need some basic supplies, such as yarn and knitting needles, and once you have everything ready, you can get started on your pumpkin project!
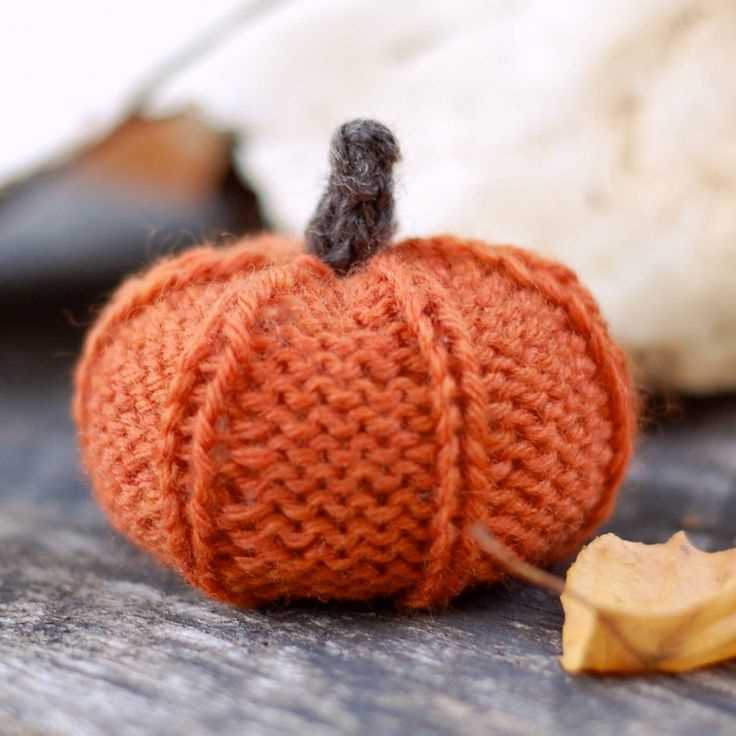
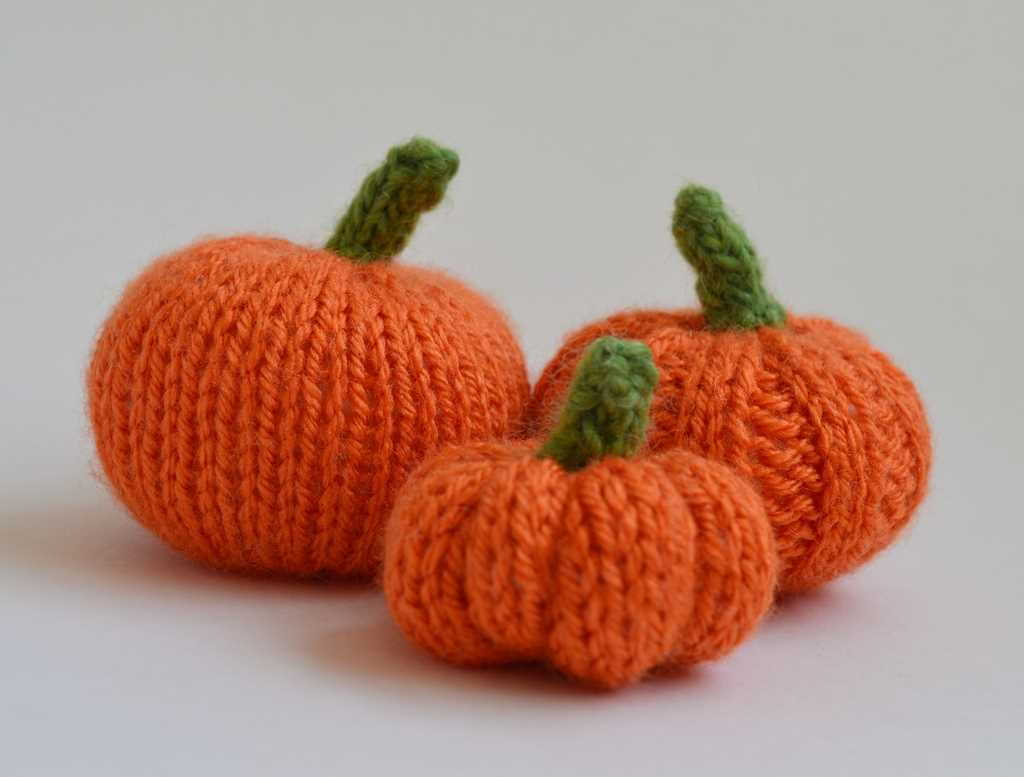
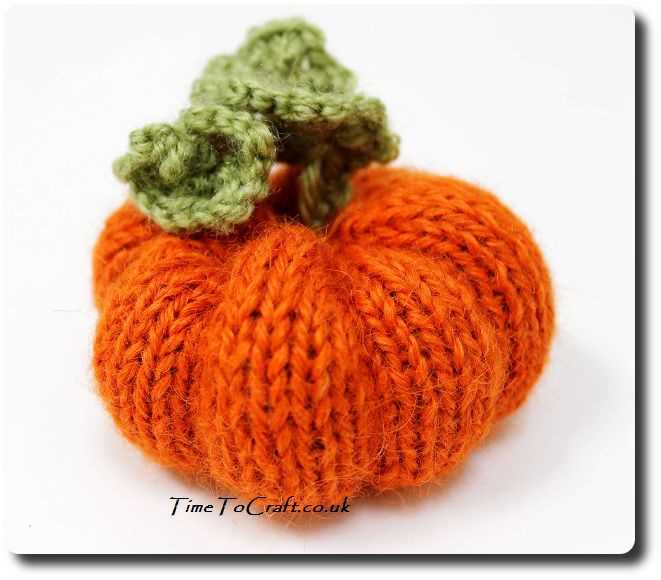
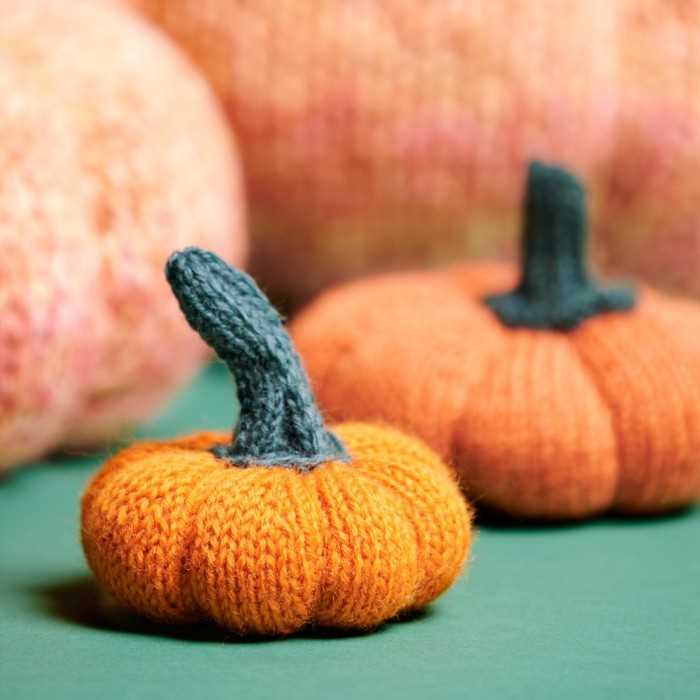
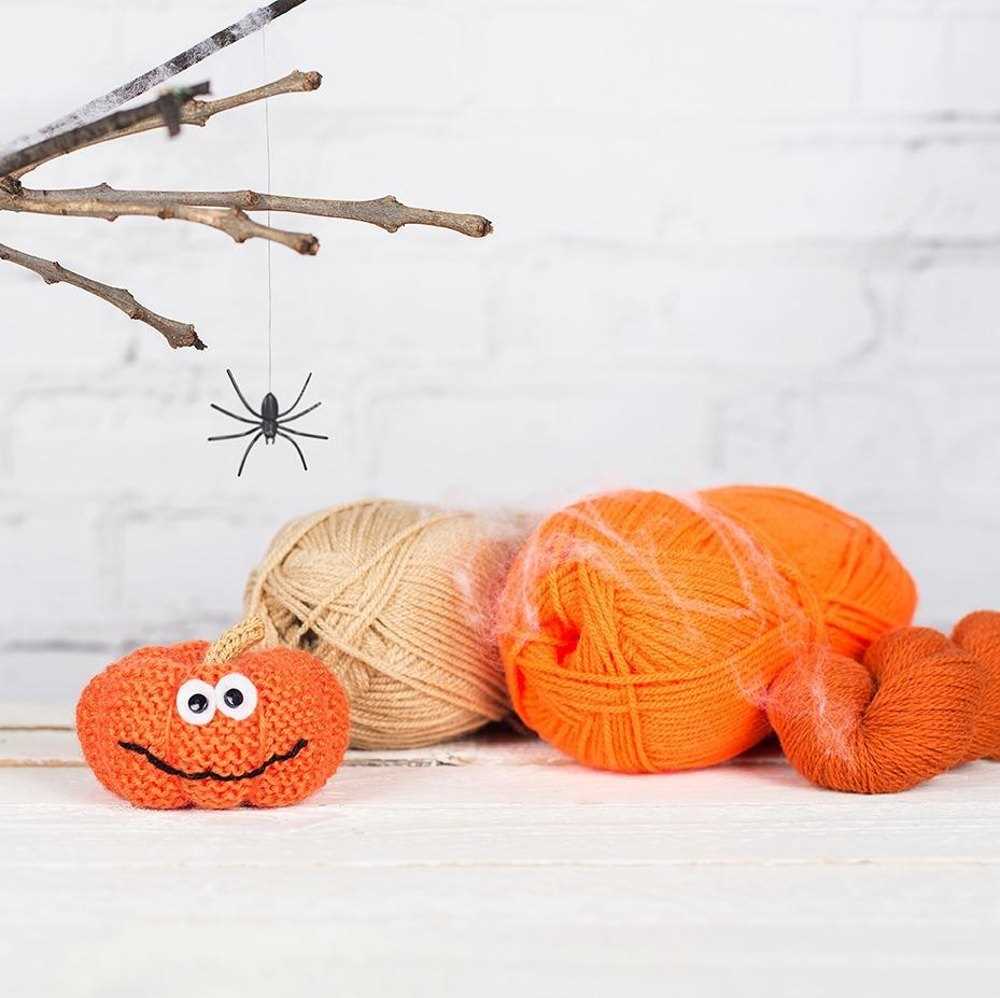
Knitted pumpkins can be customized to your liking with different colors and sizes. You can choose to use traditional orange yarn for a classic look, or experiment with other colors to match your home decor. Don’t forget to add a cute stem and some leaf embellishments to give your pumpkins that extra touch of realism. Whether you’re a seasoned knitter or just starting out, this pattern is a great way to get creative and celebrate the season.
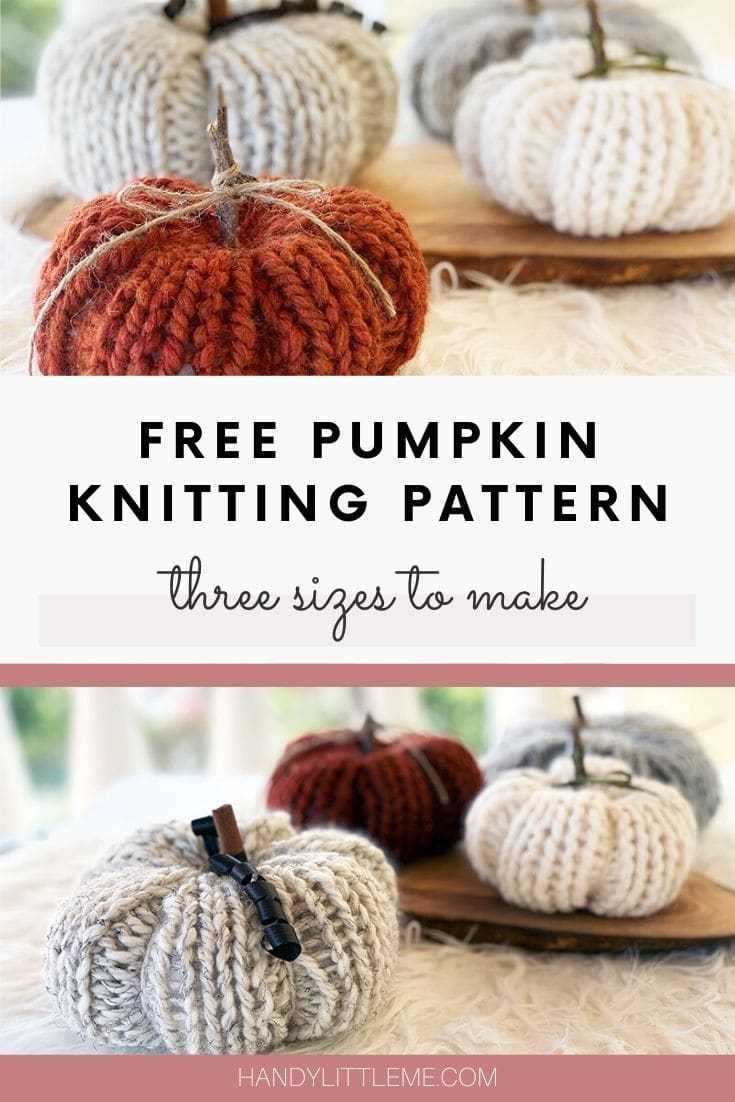
Free Knitted Pumpkin Pattern
Looking for a fun and festive knitting project? Look no further than this free knitted pumpkin pattern! Whether you’re a beginner knitter or an experienced pro, this pattern is perfect for creating adorable pumpkin decorations for your home.
The pattern is easy to follow and requires only basic knitting skills. To get started, you’ll need some orange yarn, a pair of knitting needles, and a small amount of green yarn for the stem. You can choose any size yarn and needles you prefer, just make sure the gauge matches the pattern instructions.
Materials:
- Orange yarn
- Green yarn
- Knitting needles
- Tapestry needle
- Stuffing
Instructions:
- Cast on 12 stitches.
- Knit in stockinette stitch for 10 rows.
- Next row: Knit 2 together, knit to the last 2 stitches, knit 2 together (10 stitches remaining).
- Knit in stockinette stitch for 5 more rows.
- Repeat steps 3 and 4 until you have 2 stitches remaining.
- Bind off the stitches.
- Using a tapestry needle, sew up the side seam of the pumpkin.
- Stuff the pumpkin with the stuffing.
- Using green yarn, create a small stem at the top of the pumpkin.
- Weave in any loose ends and trim excess yarn.
Once you’ve finished knitting your pumpkin, you can use it to decorate your home for the fall season. Place it on your mantel, use it as a centerpiece, or give it as a gift to a friend. The possibilities are endless!
So why wait? Grab your knitting needles and get started on this free knitted pumpkin pattern today. Happy knitting!
Why Knitting Pumpkins is a Fun Fall Activity
During the fall season, many people enjoy engaging in creative activities that capture the spirit of autumn. One popular activity is knitting, and what better way to celebrate the season than by knitting pumpkins? Crafting knitted pumpkins can be a fun and enjoyable pastime that allows individuals to express their creativity and create beautiful decorations for their homes.
Knitting pumpkins offers a variety of benefits that make it an ideal fall activity. Firstly, it provides an opportunity to relax and unwind. The repetitive motion of knitting can be soothing and help alleviate stress. Additionally, focusing on the task at hand can be a form of meditation, allowing knitters to find peace and tranquility amidst the busyness of everyday life.
Furthermore, knitting pumpkins allows individuals to embrace the cozy and warm aesthetic of fall. By using vibrant orange yarns, knitters can capture the essence of pumpkins and bring the spirit of the season into their homes. Adding these knitted pumpkins to a Fall-themed display or placing them on a mantel can instantly create a cozy and inviting atmosphere.
Why Choose a Free Knitted Pumpkin Pattern?
When looking for knitting patterns, it’s always a bonus to find free options. Free knitted pumpkin patterns not only offer a budget-friendly alternative, but they also allow knitters to try out new techniques and designs without any financial commitment. These patterns often come with detailed instructions and photos, making it easier for both beginners and experienced knitters to follow along and create their own beautiful pumpkins.
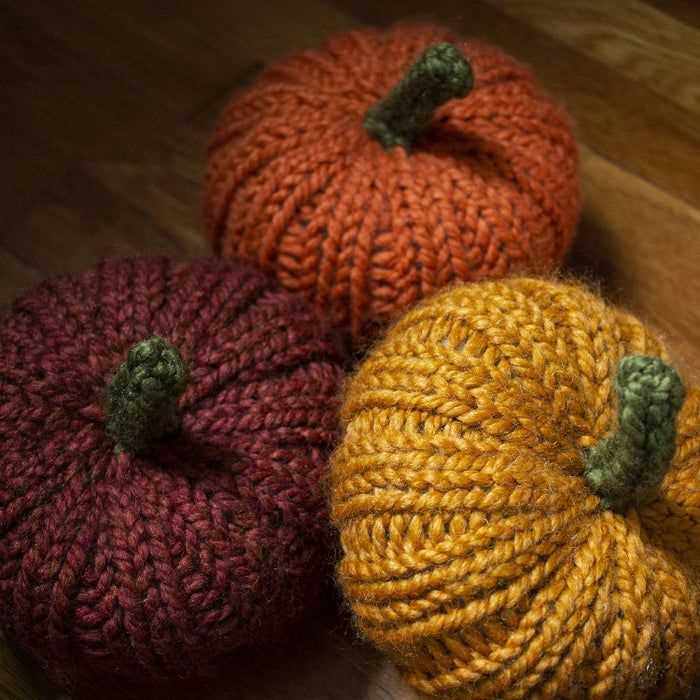
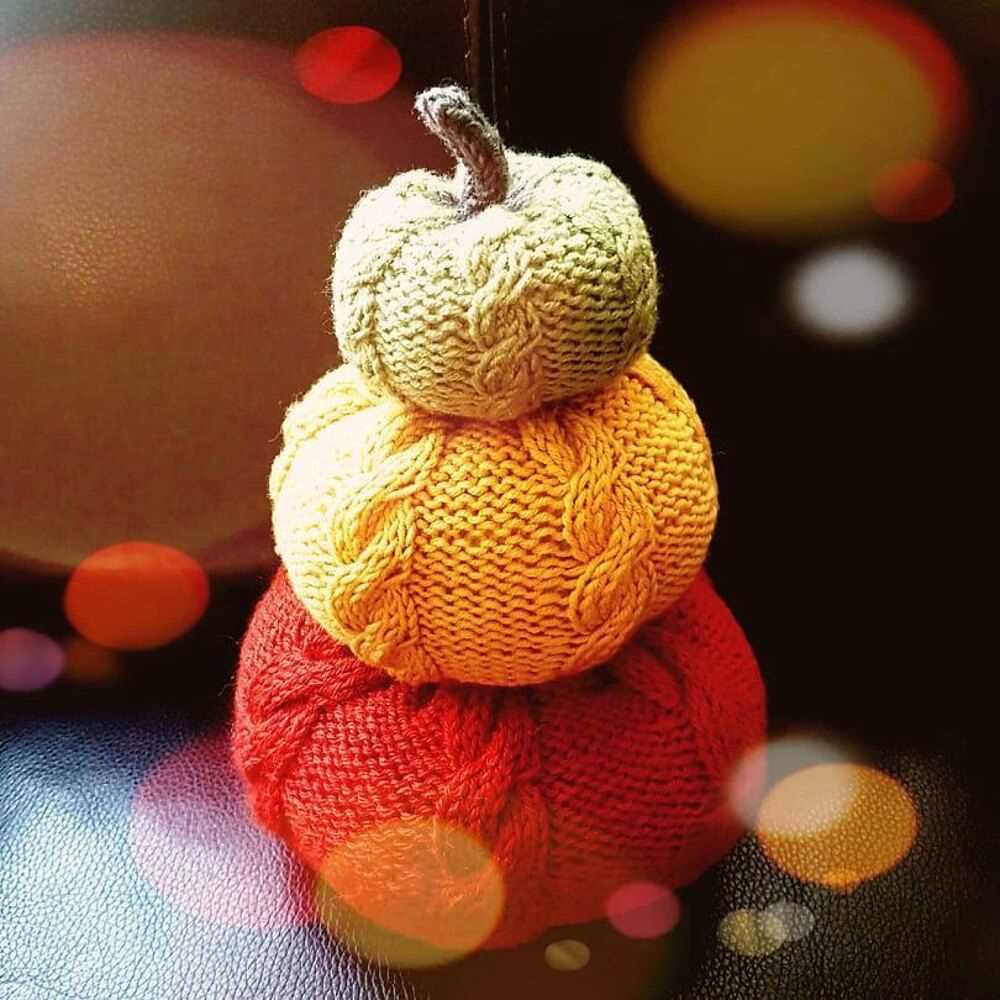
Using a free knitted pumpkin pattern also provides knitters with the opportunity to customize their creations. With various patterns available, individuals can choose different sizes, textures, and embellishments to make each knitted pumpkin unique. This allows for endless possibilities and encourages knitters to let their imagination run wild. By choosing a free pattern, knitters can experiment with different styles and create an assortment of pumpkins to display throughout their homes.
In conclusion, knitting pumpkins is a fun fall activity that combines creativity and relaxation. Whether you are new to knitting or an experienced knitter, creating knitted pumpkins can be an enjoyable way to celebrate the season and enhance the aesthetic of your home. With a free knitted pumpkin pattern, you have the freedom to customize your creations and truly make them your own.
Materials Needed for Knitting a Pumpkin
To knit a pumpkin, you will need a few materials to get started. These materials include:
- Yarn: Choose a chunky or bulky weight yarn in shades of orange or pumpkin colors. This will give your pumpkin a nice, round shape and make it easier to work with.
- Knitting Needles: Use a pair of size US 10 or 11 knitting needles. These larger needle sizes will help create a looser gauge, allowing for a more open and textured stitch pattern.
- Stitch Markers: It’s helpful to have stitch markers to keep track of your stitches while knitting. They can be placed to mark the beginning and end of each round, if you are knitting in the round.
- Tapestry Needle: A tapestry needle is essential for weaving in ends and sewing any seams together.
- Stuffing: You will need some stuffing to fill your knitted pumpkin and give it a nice, plump shape. You can use polyester fiberfill or any other stuffing material of your choice.
- Embroidery Thread: To add a stem and any decorative details to your pumpkin, you will need some embroidery thread in brown or green.
- Scissors: A pair of scissors is always handy to have for cutting yarn and thread.
With these materials on hand, you’ll be ready to start knitting your own adorable pumpkin. Whether you’re a beginner or an experienced knitter, this free pattern will allow you to create a fun and festive decoration for the fall season.
Choosing the Right Knitting Needles for Your Pumpkin
When it comes to knitting pumpkins, choosing the right knitting needles can make all the difference in the final result of your project. The size and material of the needles can affect the gauge, tension, and overall appearance of the finished pumpkin. Here are some key factors to consider when selecting your knitting needles.
1. Needle Size
Needle size is an important consideration for your knitted pumpkin. The size of the needles you choose will determine the size of the stitches and overall size of the pumpkin. For a larger, chunkier pumpkin, you may want to use larger needle sizes, while smaller needles will create a finer, more delicate pumpkin. Be sure to check the pattern or gauge recommendations to determine the appropriate needle size for your project.
2. Needle Material
The material of the needles can also impact the final appearance of your knitted pumpkin. Metal or wooden needles can create different textures and stitch definitions, so consider the overall aesthetic you are aiming for. Metal needles may provide a smoother knitting experience, while wooden needles can add warmth and a rustic look to your pumpkin. Choose the material that best suits your desired outcome.
3. Double-Pointed Needles vs. Circular Needles
When knitting a pumpkin, you have the option of using either double-pointed needles or circular needles. Double-pointed needles allow you to work in the round and create a seamless pumpkin, while circular needles can provide additional flexibility and ease. Consider your comfort level and knitting preference when deciding which type of needles to use for your pumpkin.
In conclusion, selecting the right knitting needles for your pumpkin project is crucial for achieving the desired outcome. Take into account the needle size, material, and type to ensure your finished pumpkin matches your vision.
How to Cast On Stitches for Your Knitted Pumpkin
If you’re eager to try your hand at knitting a pumpkin this fall, the first step is to cast on your stitches. Casting on is the process of creating the foundation row of stitches that will form the base of your pumpkin. Here’s a step-by-step guide on how to cast on stitches for your knitted pumpkin:
Gather Your Materials
Before you begin, make sure you have all the necessary materials. You’ll need a pair of knitting needles, preferably in a size appropriate for the yarn you’ll be using. You’ll also need a ball of yarn in your desired pumpkin color, a pair of scissors, and a tapestry needle or crochet hook for finishing.
Choose Your Cast On Method
There are several different cast on methods you can choose from, but for your knitted pumpkin, the long-tail cast on method works well. This method creates a sturdy and stretchy edge, which is perfect for the round shape of the pumpkin. If you’re not familiar with this method, there are many online tutorials and videos available to help you learn.
Calculate the Number of Stitches
Before casting on, you’ll need to determine how many stitches to cast on based on the size of pumpkin you want to create. You can use a knitting pattern or make your own calculations depending on your desired size and gauge. Keep in mind that you’ll need to cast on an even number of stitches to create a symmetrical pumpkin shape.
Begin Casting On
To start casting on, hold the knitting needle in your right hand and make a slipknot with the yarn, leaving a long tail. Insert the needle into the slipknot from left to right, catching the yarn tail with the needle. Use your thumb and index finger of your left hand to hold the slipknot in place.
Continue casting on by wrapping the yarn around the needle from behind, and then bringing the needle back towards you and through the loop on your thumb. Slide the new loop onto the needle, keeping the tension even but not too tight or loose. Repeat this process until you’ve cast on the desired number of stitches.
Once you’ve cast on all the stitches, you’re ready to start knitting your pumpkin! The cast on row will serve as the beginning of your pumpkin’s bottom. From here, you can follow a knitting pattern or create your own design to bring your knitted pumpkin to life.
Knitting the Ideal Pumpkin Shape

When it comes to knitting pumpkins, achieving the ideal shape is essential in capturing the essence of this beloved autumn symbol. With the right techniques and attention to detail, you can create a knitted pumpkin that is both realistic and whimsical.
Choosing the Right Pattern: The first step in knitting the ideal pumpkin shape is to find a pattern that suits your desired style. Look for patterns that include shaping and increase/decrease stitches to help create the roundness and curves that are characteristic of pumpkins. Consider using a pattern that incorporates both knit and purl stitches for added texture.
Controlling the Size: To achieve the ideal pumpkin shape, it is important to control the size of your knitting. When following a pattern, be mindful of the gauge and yarn weight suggested. Adjust your needle size if necessary to achieve the desired tension. Additionally, consider using a slightly smaller needle size for the stem and a slightly larger needle size for the body of the pumpkin to create a more realistic shape.
Shaping Techniques: To create the roundness of a pumpkin, shaping techniques such as increasing and decreasing stitches are crucial. Increase stitches gradually to create the rounded bottom of the pumpkin and decrease stitches gradually to create the tapered top. Experiment with different rates of increase and decrease to achieve the desired shape. Additionally, consider adding exaggerated shaping, such as additional decrease stitches near the top, to create a more pronounced pumpkin shape.
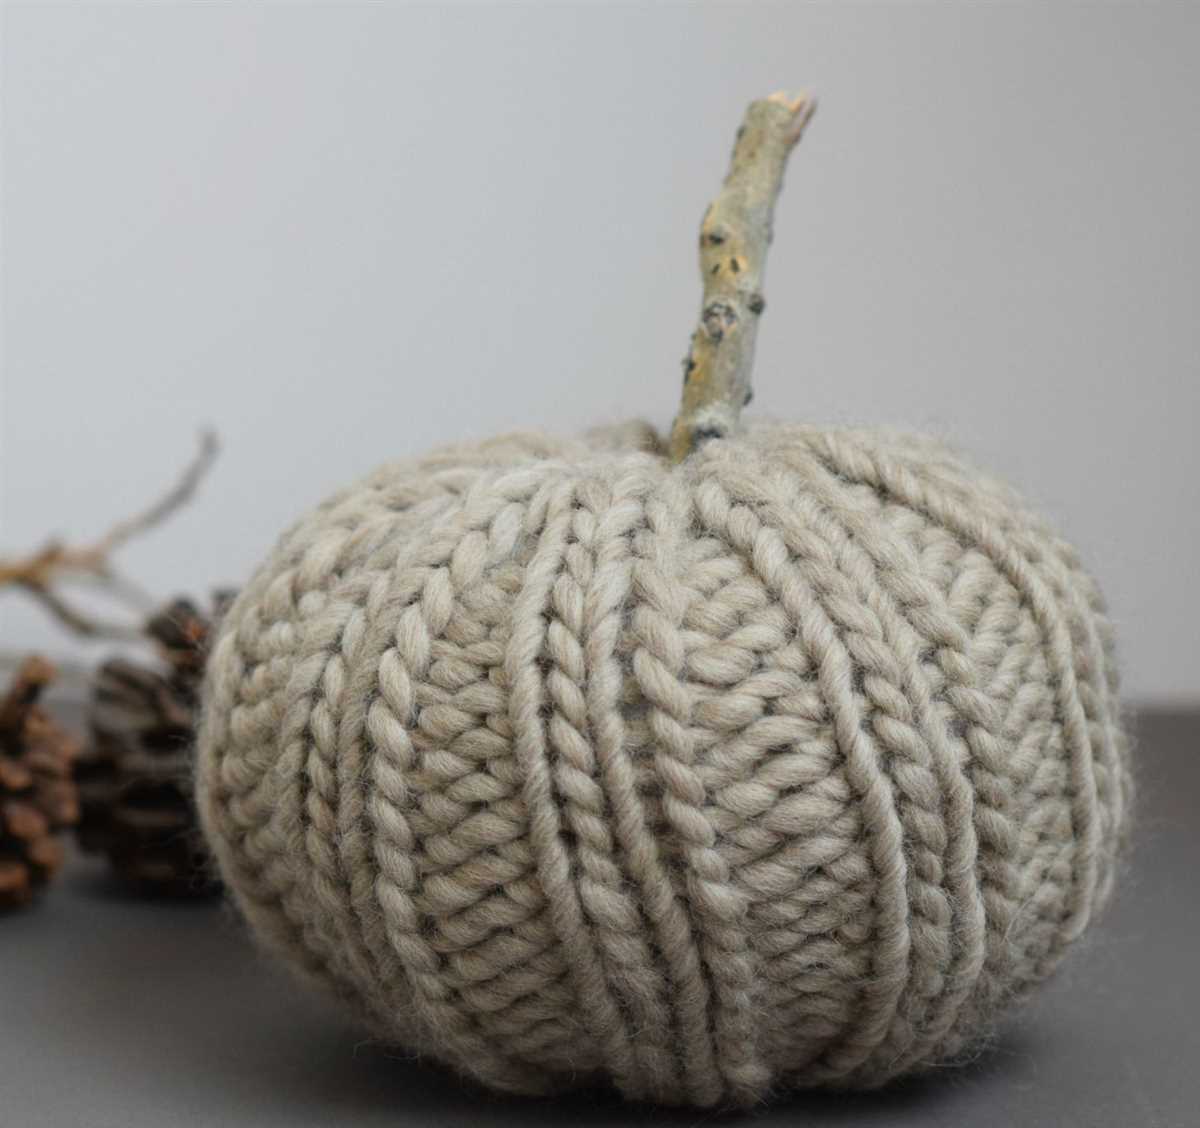
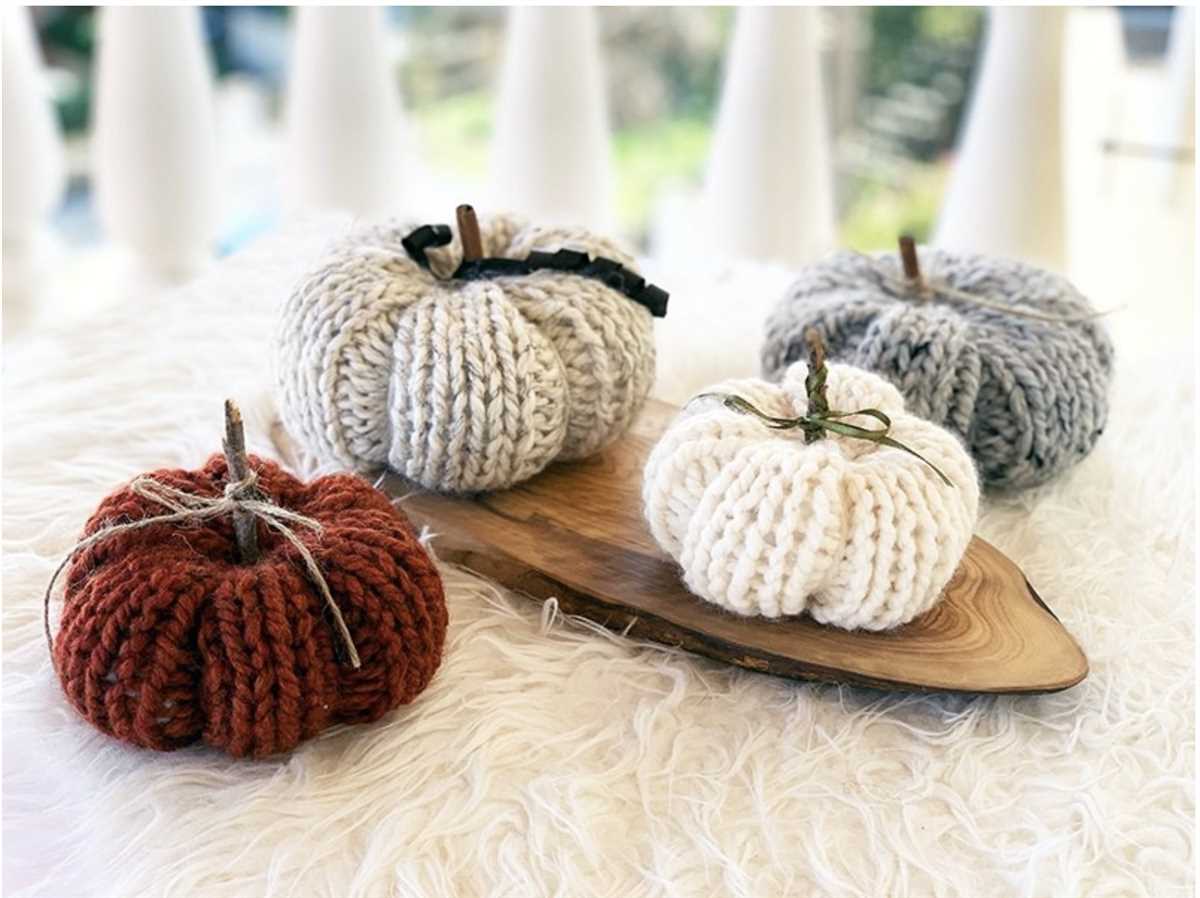
Finishing Touches: To enhance the realistic look of your knitted pumpkin, consider adding finishing touches such as embroidery or duplicate stitches to create the ridges and lines that are characteristic of pumpkins. You can also stuff your pumpkin lightly with fiberfill or yarn scraps to give it a more three-dimensional shape. Finally, add a knitted stem or use a real twig to complete the look.
By following these tips and techniques, you can create a knitted pumpkin that is the ideal shape and captures the spirit of the autumn season. Whether you’re knitting pumpkins for decoration, gift-giving, or simply for the joy of knitting, the attention to detail and care in shaping will ensure that your finished project is truly pumpkin-perfect.
Adding Details to Your Knitted Pumpkin
Once you have completed the basic shape of your knitted pumpkin, you can add details to make it look more realistic and unique. Here are some suggestions:
-
Stem: To create a stem for your pumpkin, you can use a different color of yarn and knit a small tube shape. Attach it to the top of the pumpkin using a yarn needle.
-
Ridges: To give your pumpkin more texture, you can add ridges. You can achieve this by using a contrasting color of yarn and embroidering vertical lines along the sides of the pumpkin. This will create the appearance of natural ridges.
-
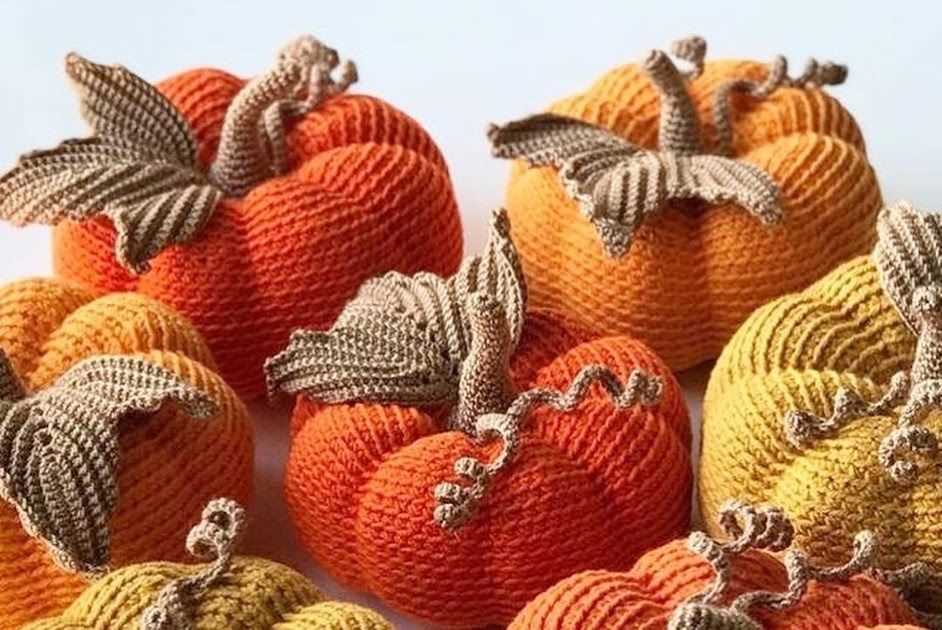
Leaves: Knit or crochet small leaves using green yarn and attach them to the top of the pumpkin near the stem. This will give your pumpkin a more realistic look and add a touch of autumn charm.
-
Face: If you want to give your pumpkin a spooky or cute face, you can use embroidery or small buttons to create eyes, a nose, and a mouth. This will give your pumpkin personality and make it stand out.
Remember to have fun with the details and make your knitted pumpkin unique to your own style. Whether you’re going for a traditional pumpkin or something more whimsical, adding these details will make your knitted creation truly special. Happy knitting!
Creating the Stem for Your Knitted Pumpkin
Once you have finished knitting your pumpkin body, it’s time to move on to creating the stem. The stem is an essential part of the pumpkin’s appearance and adds a realistic touch to your knitted creation. Here are some steps to help you create the perfect stem for your knitted pumpkin.
1. Choose your yarn: Select a yarn color that closely resembles the natural color of a pumpkin stem. Brown or green shades are commonly used for this purpose. Consider using a slightly textured or tweed yarn to give the stem more dimension and realistic look.
2. Knit the stem: To create the stem, you will be working in the round. Start by casting on a small number of stitches, around 6-8 stitches, on double-pointed needles or a circular needle using the magic loop method. Knit in the round until the stem reaches the desired length. You can adjust the length based on the size of your pumpkin.
3. Add texture: To give the stem a more natural look, consider adding some texture. You can achieve this by incorporating purl stitches or using a slip-stitch pattern to create a ribbed or bumpy surface. Experiment with different stitch patterns to find the one that best mimics a pumpkin stem.
4. Insert the stem: Once the stem is complete, thread a length of yarn through the top of the pumpkin and secure it tightly. Use a tapestry needle to stitch the stem to the top of the pumpkin, making sure it is centered and securely attached.
5. Finishing touches: To enhance the realism of your knitted pumpkin, you can add some details to the stem. For example, you can use a yarn needle to create small indentations or creases on the stem’s surface. This will give it a more organic and lifelike appearance.
With these steps, you can create a beautiful and realistic stem for your knitted pumpkin. Adding this final touch will complete the overall look of your project and make it stand out as a true seasonal decoration.
Finishing Touches: Blocking and Sewing Up Your Knitted Pumpkin

After completing all the knitting and stuffing, it’s time to give your knitted pumpkin those final finishing touches. Blocking and sewing up are the last steps in completing your project and ensuring that your pumpkin looks its best.
Blocking: Before sewing up your pumpkin, it’s recommended to block your knitted pieces. Blocking involves gently wetting your knitted fabric and then shaping it to the desired dimensions. This helps even out any uneven stitches and gives your project a more professional finish.
Start by filling a basin with lukewarm water and adding a few drops of mild soap. Place your knitted pieces in the water, making sure they are fully submerged. Let them soak for about 15 minutes. Then, gently squeeze out the excess water, taking care not to wring or twist the fabric.
Lay a clean towel on a flat surface and place your knitted pieces on top. Use your hands to gently shape the pieces into the desired dimensions, being careful not to stretch them too much. Smooth out any wrinkles or uneven stitches. Leave the pieces to dry completely before moving on to sewing up your pumpkin.
Sewing Up: Once your knitted pieces are dry and blocked, it’s time to sew them up and bring your pumpkin to life. Start by positioning the pieces in the desired arrangement, making sure the right sides are facing out.
Using a tapestry or yarn needle and matching yarn, sew the pieces together using a mattress stitch or a whipstitch. Make sure to sew with a consistent tension to create a neat and invisible seam. Start at the bottom of the pumpkin and work your way up, taking care to line up the stitches and secure the edges firmly.
Once you have sewn all the pieces together, stuff the pumpkin firmly with polyester fiberfill or your preferred stuffing material. Make sure to stuff it evenly and shape it as you go. Once you are satisfied with the shape and firmness, close the top of the pumpkin using the same stitching method.
Finally, weave in any loose yarn ends and trim them neatly. Your knitted pumpkin is now complete and ready to be displayed for the fall season. Whether it’s on your Thanksgiving table or as a festive decoration, your knitted pumpkin is sure to add a touch of cozy charm to your home.
Tips for Knitting Multiple Pumpkins at Once
If you’re planning to knit multiple pumpkins at once, there are a few tips and tricks that can help make the process more efficient and enjoyable. Whether you’re creating decorations for your home or preparing for a craft fair, these tips will help you stay organized and save time.
Gather all your materials
Before you start knitting, make sure you have all the necessary materials on hand. This includes your yarn, knitting needles, stitch markers, and any other tools or embellishments you plan to use. Having everything within reach will save you from constantly searching for what you need and help you maintain a smooth rhythm throughout the knitting process.
Create a production line
To streamline your knitting process, consider creating a production line. This involves working on multiple pumpkins simultaneously, moving from one step to the next for each pumpkin before moving on to the next step. For example, you could cast on for all the pumpkins, then knit the required number of rows for each, followed by shaping the tops. This method allows you to stay focused and work efficiently.
Use stitch markers
Using stitch markers can be extremely helpful when knitting multiple pumpkins at once. Place a stitch marker at the beginning of each pumpkin’s round to help you keep track of where you are. This can prevent mistakes and ensure that all your pumpkins have a consistent shape and size.
Consider using circular needles
If you find working with multiple knitting needles cumbersome, consider using circular needles. Circular needles allow you to knit seamlessly in the round, making it easier to work on multiple pumpkins at once. They also minimize the risk of dropping or losing stitches, which can be a common issue when juggling multiple projects simultaneously.
Remember, knitting multiple pumpkins at once requires careful organization and planning. By following these tips, you can create a cohesive set of pumpkins efficiently and enjoyably.
Alternative Yarns and Colors to Try for Your Pumpkin
If you’re tired of using the same yarns and colors for your knitting projects, why not try something different for your knitted pumpkin? There are so many alternative yarns and colors that can give your pumpkin a unique and eye-catching look. Here are a few ideas to inspire you:
1. Chenille Yarn:
Chenille yarn is soft and velvety, which can give your pumpkin a cozy and luxurious feel. Whether you choose a solid color or a variegated chenille yarn, it will surely add a touch of elegance to your knitted pumpkin.
2. Metallic Yarn:
If you want to create a pumpkin that truly stands out, consider using metallic yarn. This type of yarn has a shimmering effect that can make your pumpkin look festive and glamorous. Try using gold, silver, or bronze metallic yarn for a stunning result.
3. Gradient Yarn:
Gradient yarn, also known as ombre yarn, is a great choice if you want your pumpkin to have a smooth transition of colors. With gradient yarn, you can create a beautiful play of shades, from light to dark or vice versa, that will add depth and dimension to your knitted pumpkin.
4. Tweed Yarn:
Tweed yarn has small flecks of color scattered throughout, which can give your pumpkin a rustic and textured look. Choose a tweed yarn in autumnal shades like orange, brown, or green to create a pumpkin that perfectly captures the essence of the season.
5. Neon Yarn:
For a fun and playful twist on the traditional pumpkin, try using neon yarn. Neon colors like pink, green, or yellow can give your pumpkin a vibrant and modern look that will definitely make it stand out. This is a great option if you want to add a pop of color to your fall decor.
These are just a few ideas to get you started. Don’t be afraid to experiment with different yarns and colors to create a knitted pumpkin that reflects your personal style and creativity. Happy knitting!
Using Knitted Pumpkins for Fall Home Decor
When the leaves start to change color and there’s a crispness in the air, it’s time to bring out the fall decorations. One popular item that can add a cozy and festive touch to any home is knitted pumpkins. These adorable and versatile decorations can be used in a variety of ways to enhance your fall decor.
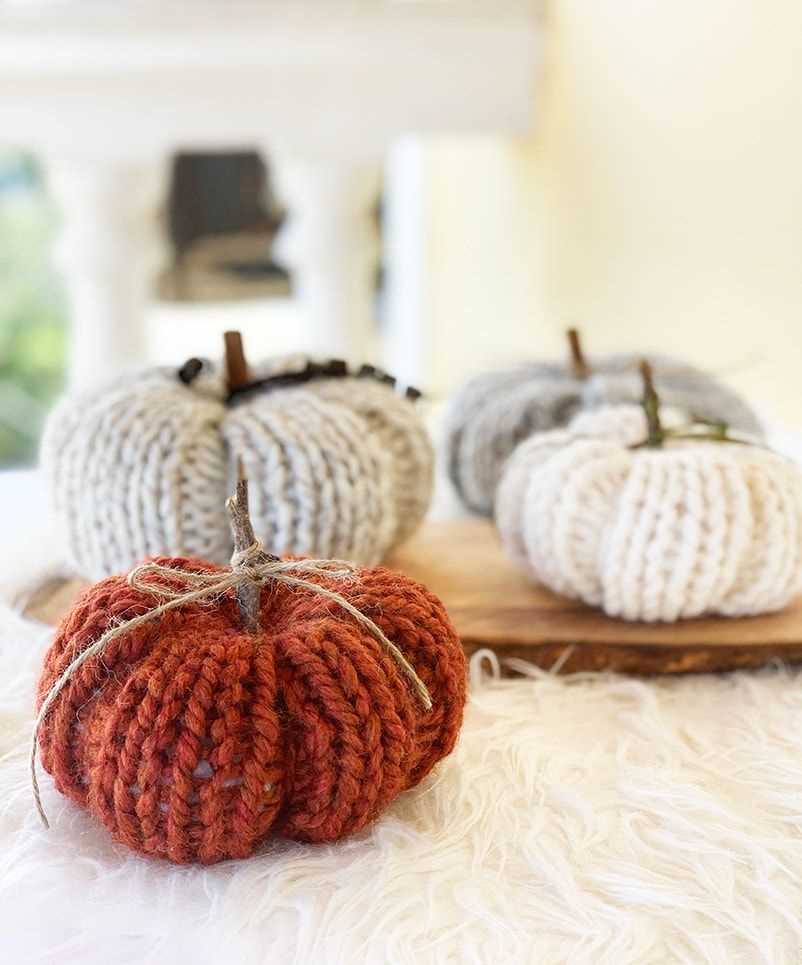
Table Centerpiece: One way to use knitted pumpkins is as a centerpiece for your dining table or coffee table. Arrange them in a cluster or line them up in a row for an eye-catching display. The soft texture and warm colors of the knitted pumpkins will bring an inviting and cozy feel to your space.
Mantel Decor: Another option is to place knitted pumpkins on your mantel. Mix them with other fall-themed items such as autumn leaves, branches, or candles to create a charming display. The pumpkins can be arranged in different sizes and colors to add interest and dimension to your mantel decor.
Outdoor Display: Knitted pumpkins are not just for indoor use. You can also incorporate them into your outdoor fall decor. Place them on your front porch or doorstep to welcome guests with a touch of autumn charm. The knitted pumpkins can withstand the elements and add a cozy and festive vibe to your outdoor space.
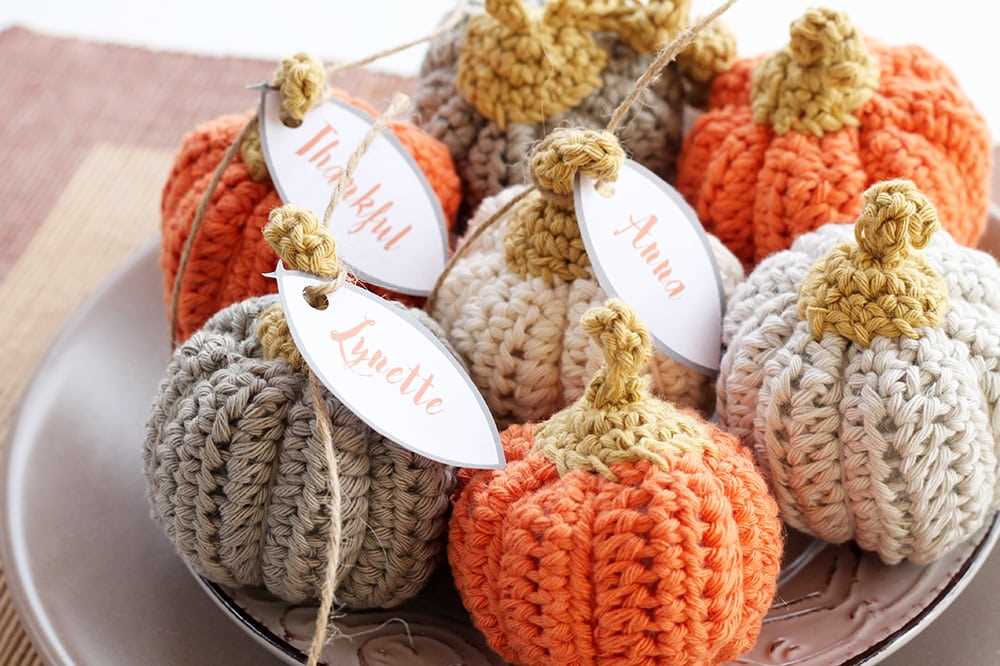
Gifts and Favors: Knitted pumpkins can also be used as thoughtful gifts or party favors. You can make a batch of mini knitted pumpkins and give them to friends and family as a token of appreciation. They can also be used as table decorations or place settings for fall-themed gatherings.
Knitted pumpkins are a fun and creative way to bring the spirit of fall into your home. Whether used as a centerpiece, mantel decor, outdoor display, or as gifts and favors, these knitted decorations will add warmth and charm to your fall home decor. Get your knitting needles ready and start creating these adorable pumpkins to celebrate the changing season.
Sharing Your Knitted Pumpkin Creations
Now that you have created beautiful knitted pumpkins using the free pattern, it’s time to share your creations with the world! Here are a few ideas on how you can showcase your knitted pumpkins:
Social Media
Share photos of your knitted pumpkins on social media platforms like Instagram, Facebook, and Pinterest. Use relevant hashtags such as #knittedpumpkin, #handmadehomedecor, or #fallknitting to reach a wider audience. You can also join knitting groups and communities to connect with other knitting enthusiasts and get inspiration for future projects.
Gifts
Consider gifting your knitted pumpkins to friends, family, or neighbors. They make excellent home decor and can bring a touch of autumn charm to any space. Attach a sweet note or tag to your gift, explaining that it was handmade with love.
Local Craft Fairs
Showcase your knitted pumpkins at local craft fairs or farmer’s markets. Rent a booth or table and display your pumpkins in an eye-catching arrangement. This allows you to connect with potential customers and fellow crafters, and maybe even make a few sales!
Create a Pattern Collection
If you enjoy designing and creating your own knitting patterns, consider adding your knitted pumpkin pattern to a collection of fall-themed designs. You can compile these patterns into an e-book or sell them individually on platforms like Etsy or Ravelry. This way, you can inspire other knitters and make a profit from your creativity.
Remember to always credit the original free knitted pumpkin pattern and provide a link to it when sharing your creations. Enjoy the process of sharing, connecting, and inspiring others with your knitted pumpkin creations!