
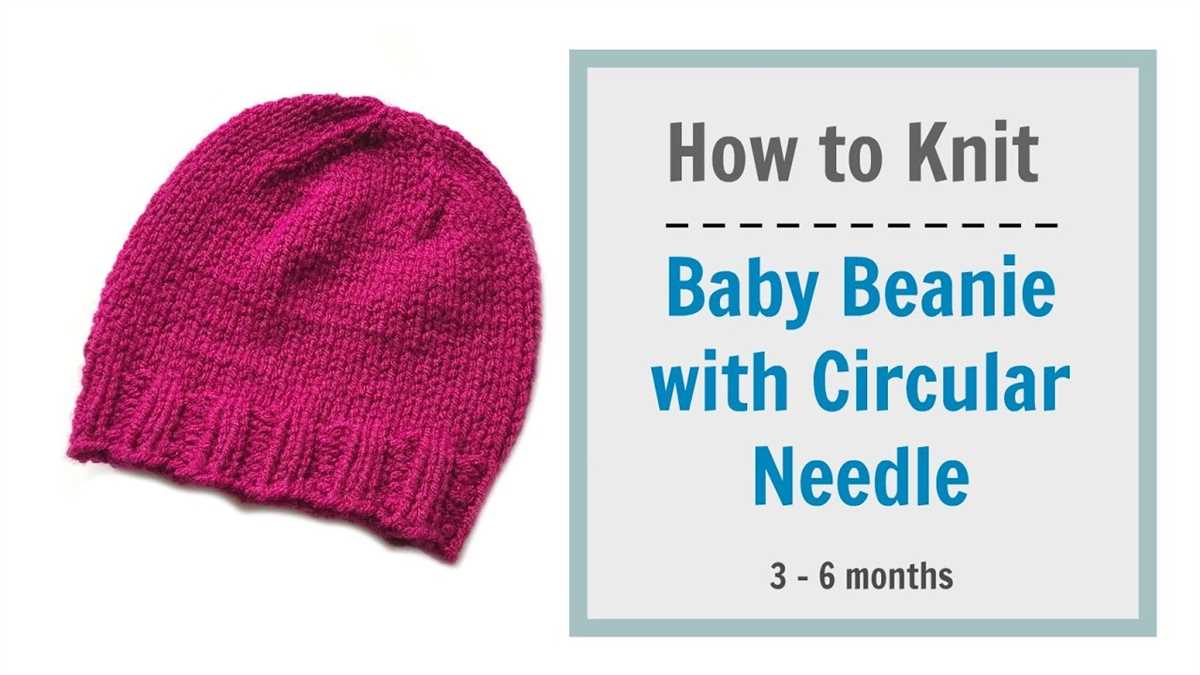
If you’re looking for a project to keep you warm and stylish this winter, look no further! Knitting your own hat is a fun and rewarding way to add a personal touch to your winter wardrobe. And the best part? We’ve got a free knit hat pattern just for you!
This pattern is designed to be worked in the round, meaning there are no seams to sew up at the end. It’s a great project for knitters of all skill levels, from beginners looking to expand their skills to more experienced knitters looking for a quick and satisfying project.
To knit this hat, you’ll need a few basic supplies, including circular knitting needles, double-pointed needles, and a skein of your favorite yarn. The pattern includes instructions for two sizes, so you can easily customize the fit to suit your preferences.
So grab your needles, pick out your yarn, and get ready to knit yourself a cozy new hat. With our free knit hat pattern, you’ll have a stylish and practical accessory that will keep you warm all winter long.
Free Knit Hat Pattern in the Round
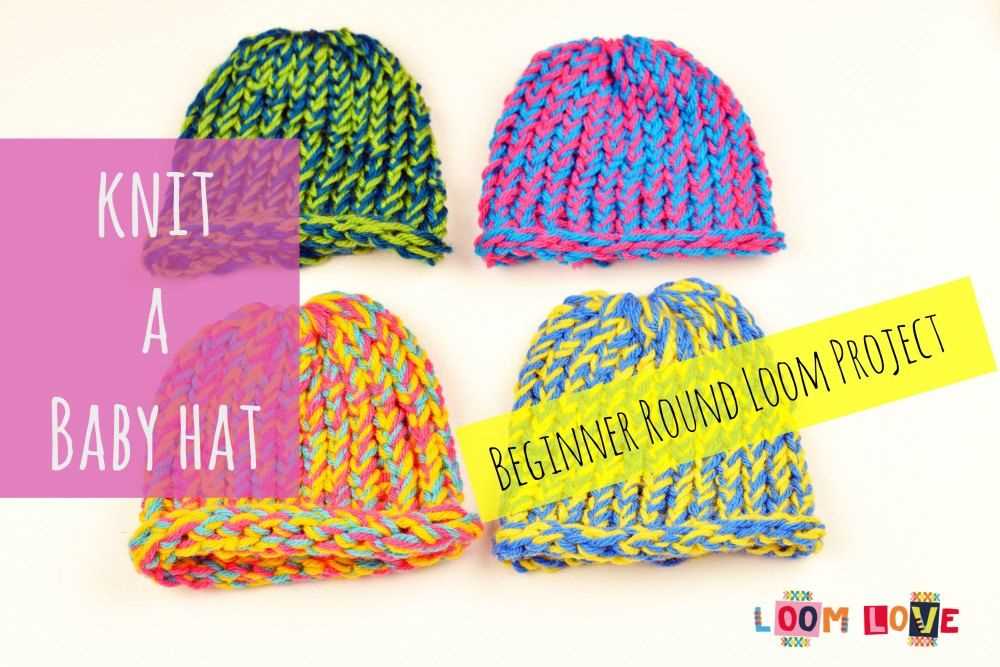
If you’re looking for a free knit hat pattern that is perfect for knitting in the round, you’re in luck! This pattern is great for beginners and experienced knitters alike. With just a few basic stitches, you’ll be able to create a cozy and stylish hat in no time.
To get started, you’ll need a set of double-pointed knitting needles and a ball of your favorite yarn. Choose a yarn that is soft and warm, such as merino wool or acrylic blend. You’ll also need a stitch marker to keep track of your rounds.
Materials:
- Double-pointed knitting needles
- 1 ball of yarn
- Stitch marker
Now, let’s get to the pattern. Follow these simple steps to create your own knit hat:
- Cast on 80 stitches using the long-tail cast on method.
- Place the stitch marker to mark the beginning of the round.
- Work in a knit 2, purl 2 ribbing pattern for 2 inches.
- Continue knitting in the round until the hat measures 8 inches from the cast on edge.
- Decrease rounds: *Knit 6, knit 2 together. Repeat from * to the end of the round.
- Knit 1 round.
- Decrease rounds: *Knit 5, knit 2 together. Repeat from * to the end of the round.
- Knit 1 round.
- Continue decreasing in this manner until you have 8 stitches remaining.
- Break the yarn, leaving a long tail. Thread the tail through the remaining stitches and pull tight to close the top of the hat.
- Weave in any loose ends.
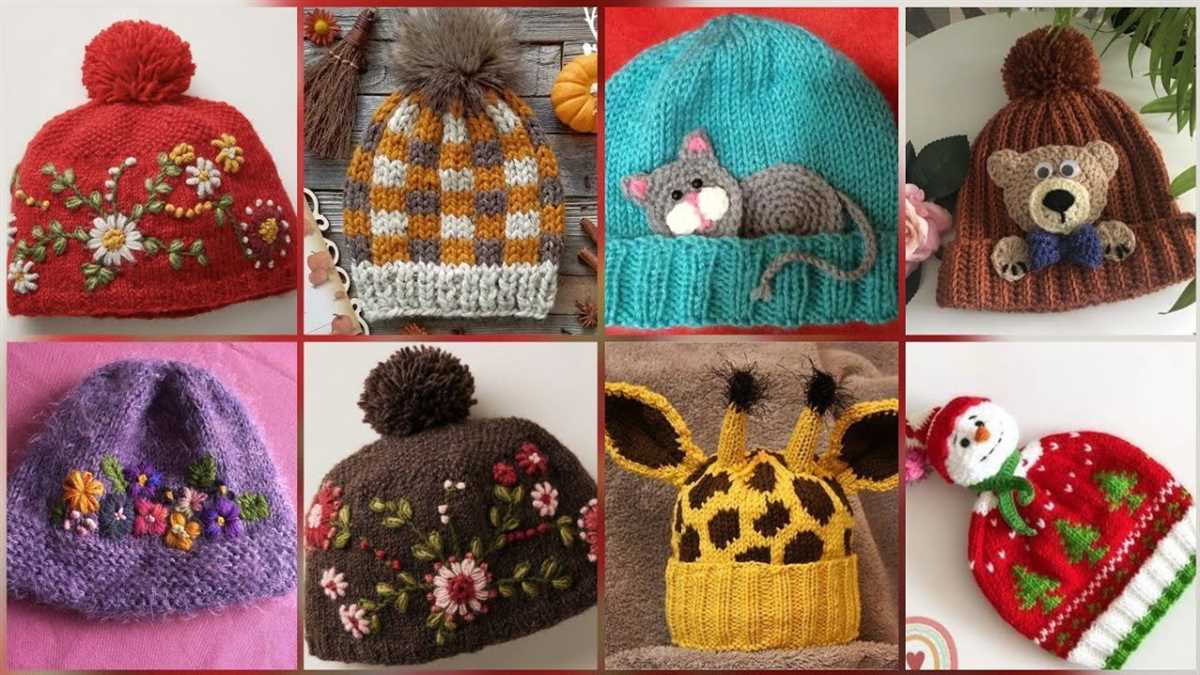
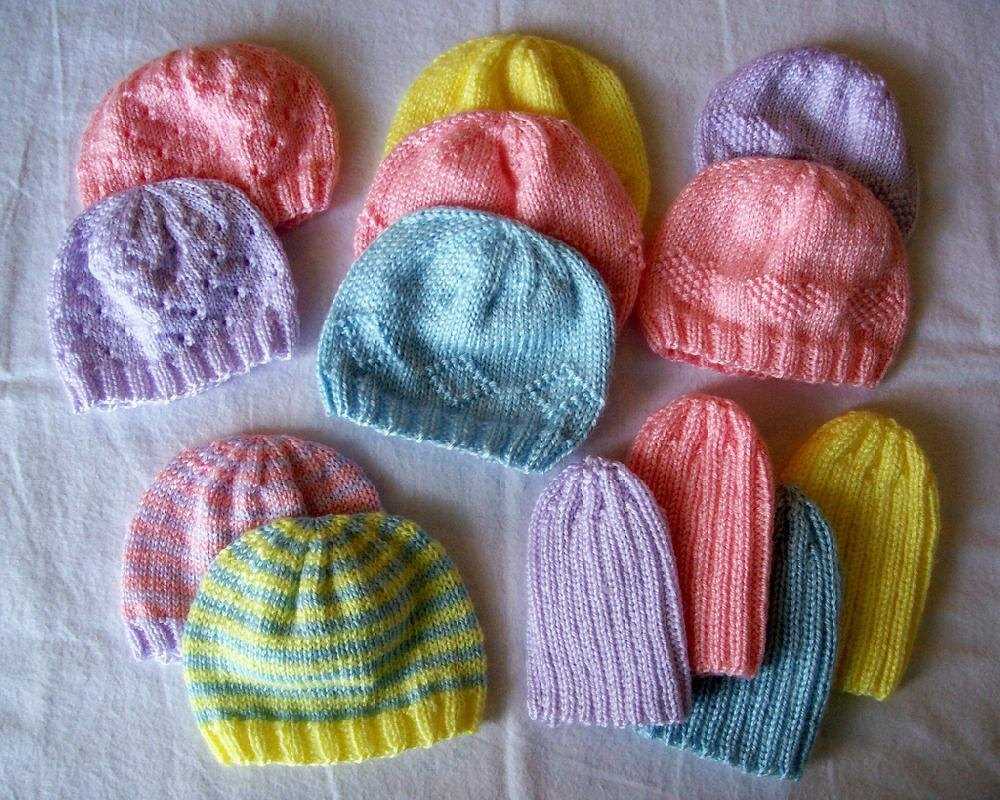
And there you have it – a beautiful knit hat created in the round! This pattern is versatile and can be customized with different colors, stitch patterns, and embellishments. Feel free to get creative and make it your own. Happy knitting!
Materials Needed
In order to make this free knit hat pattern in the round, you will need the following materials:
- Yarn: Choose a yarn that is suitable for knitting hats, such as worsted weight or bulky weight yarn. The amount of yarn needed will depend on the size of the hat and the length you want it to be.
- Knitting Needles: Use circular knitting needles in the appropriate size for your chosen yarn. The length of the needles should be long enough to accommodate the number of stitches you will be knitting.
- Stitch Markers: It is helpful to have stitch markers to indicate the beginning and end of each round, as well as any pattern repeats.
- Tapestry Needle: You will need a tapestry needle to weave in the ends of your yarn once you have finished knitting the hat.
- Scissors: Have a pair of scissors on hand to cut the yarn when needed.
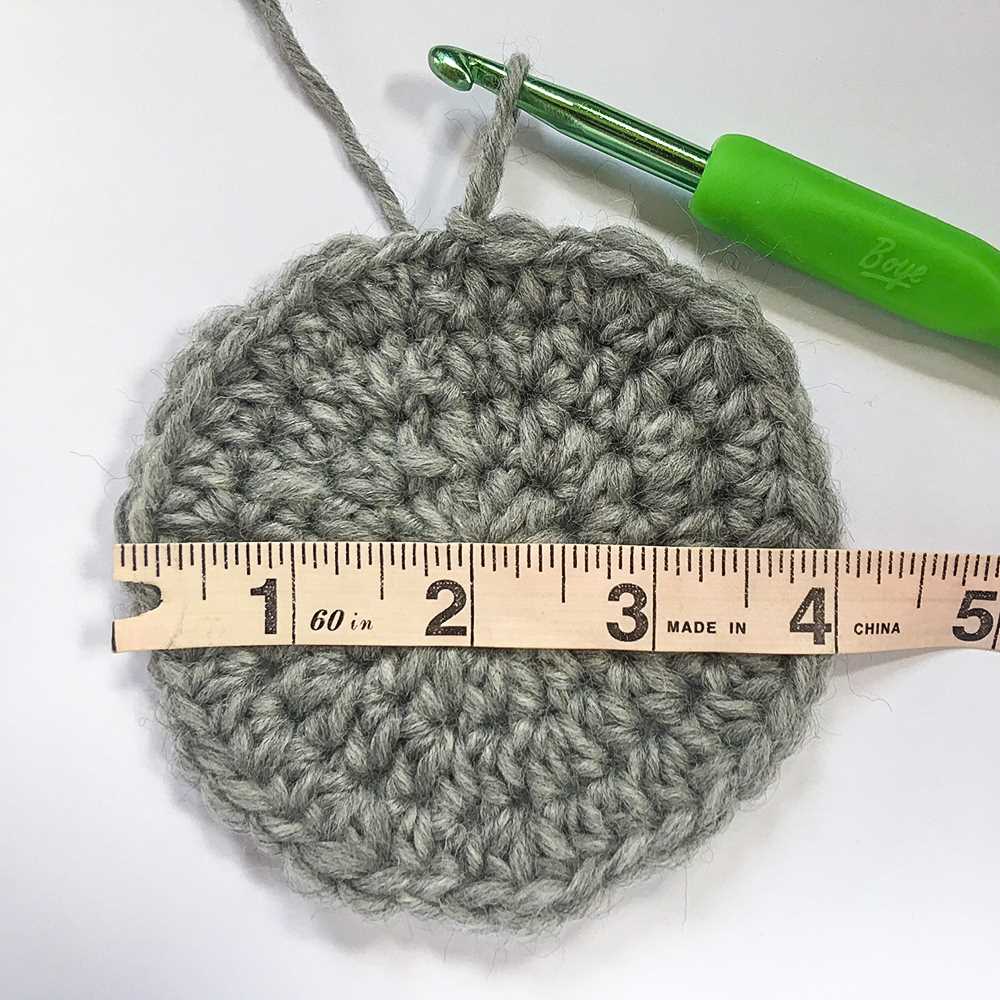
- Measuring Tape: Use a measuring tape to check your gauge and to measure the circumference of the hat at various points.
Casting On
The first step in knitting a hat in the round is casting on. There are several different methods to cast on, but for this pattern, we will use the long-tail cast on method. This method creates a neat and stretchy edge, which is perfect for hats.
To begin, you will need a pair of knitting needles and your chosen yarn. Make a slip knot at the end of the yarn and place it on one of the needles. Hold the needle with the slip knot in your right hand, and the empty needle in your left hand.
Step 1: Measure the tail
Hold the two needles together and measure a length of yarn that is approximately three times the width of the hat. This will be your “tail” yarn. Keep the tail yarn separated from the working yarn.
Step 2: Make a loop
- Hold the tail yarn and the working yarn together loosely in your left hand. The tail yarn should be closer to your body.
- Insert the right needle into the loop created by the slip knot from left to right.
- Bring the right needle over the working yarn and under the tail yarn.
- Using your right hand, bring the right needle under the working yarn and through the loop on the left needle.
Joining in the Round
When knitting in the round, joining your work is an important step to ensure that your hat will be seamless. To join in the round, you can use either double-pointed needles or a circular needle, depending on your preference.
If you are using double-pointed needles, cast on the required number of stitches onto three needles. Make sure that your stitches are evenly distributed across the needles. Then, join the work by knitting the first stitch of the first needle with the last stitch of the last needle. This will create a continuous circle.
If you are using a circular needle, cast on the required number of stitches onto the needle. Make sure that the stitches are not twisted and are facing the same direction. Then, join the work by knitting the first stitch of the cast on row with the last stitch. This will also create a continuous circle.
After joining in the round, it is a good idea to place a stitch marker at the beginning of the round to help you keep track of your progress. This will make it easier to know when you have completed a round and when to start a new one.
Once you have joined your work and placed a stitch marker, you can begin knitting in the round following the pattern instructions. Remember to always knit in the same direction and to use markers to indicate any increases or decreases if necessary.
Knitting the Body of the Hat
Once you have completed the ribbing, you will begin knitting the body of the hat. This is where the hat will start to take shape and you will begin to see the pattern emerge.
Round 1: Knit all stitches. This will establish the first row of the body and create a smooth transition from the ribbing.
Round 2: Purl all stitches. This round will create a textured pattern and add depth to the body of the hat.
Rounds 3-8: Continue alternating between knitting and purling all stitches for the next 6 rounds. This will create a simple yet visually interesting pattern.
Rounds 9-15: Knit all stitches. These rounds will help to establish the body of the hat and add length.
Rounds 16-18: Repeat rounds 2-3. This will maintain the textured pattern and add additional visual interest.
Rounds 19-20: Knit all stitches. These rounds will create a smooth transition to the crown shaping.
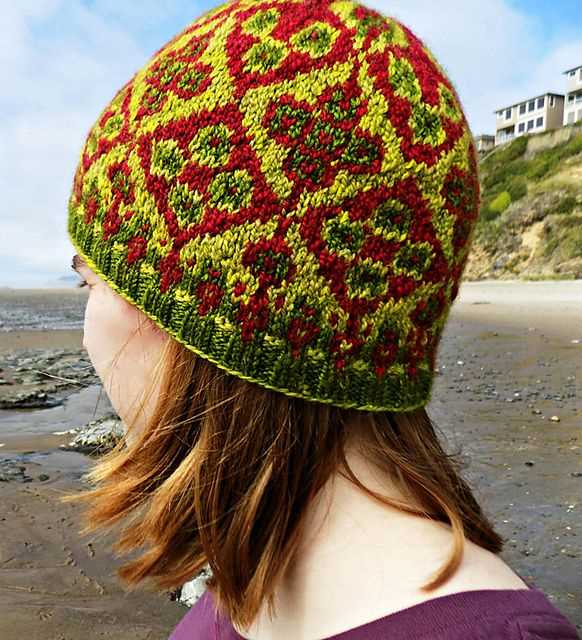
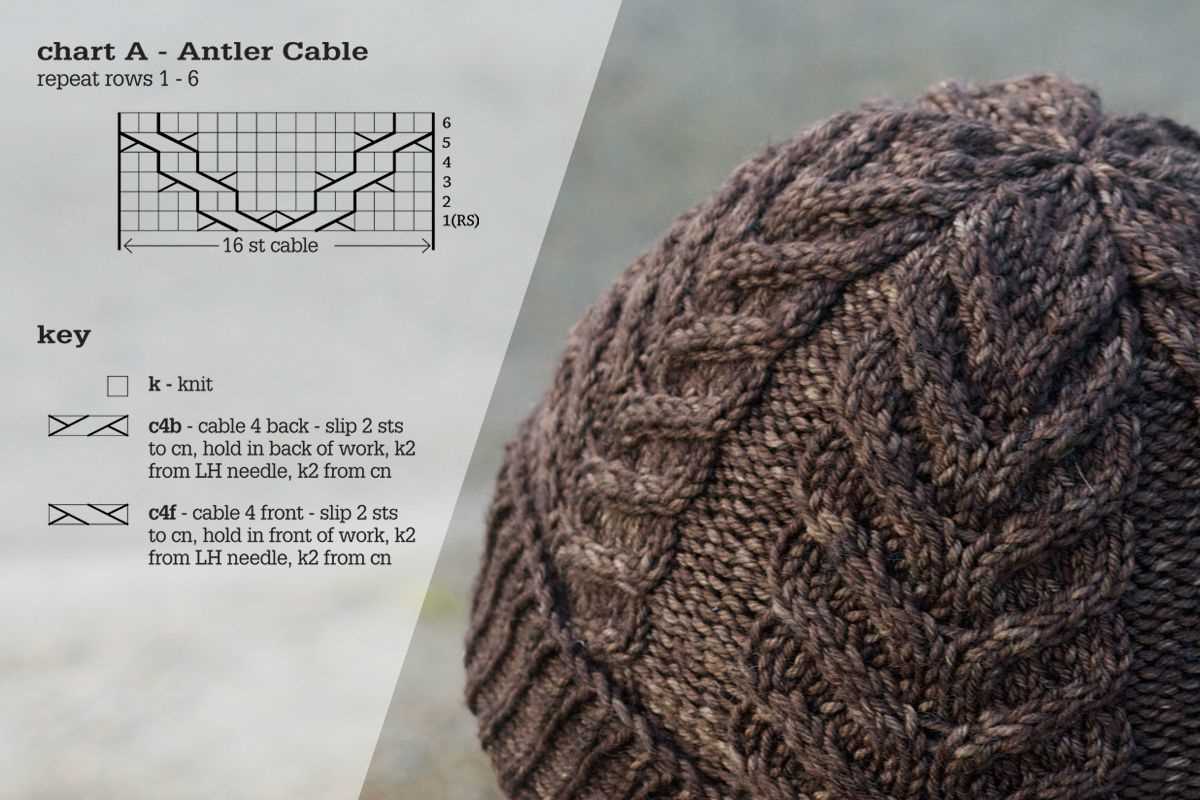
The body of the hat is where you have the opportunity to get creative and incorporate different stitch patterns or colorwork. If you want a basic hat, you can simply continue with the established pattern or choose your own knitting style.
Example:
If you want to add a touch of color to your hat, you can introduce a stripe pattern during the body of the hat. For example, on round 5, you could knit 2 stitches in one color, then switch to a different color and knit 2 stitches, repeating this pattern for the entire round. This will create a subtle stripe effect in your hat.
Remember to always keep track of your stitch count and pattern repeats to ensure that your hat turns out the way you want it to. Happy knitting!
Decreasing for the Crown
When you reach the crown of the hat, it’s time to start decreasing to shape the top. This will create a snug fit and give the hat a more tapered look.
To begin decreasing, you will need to divide your stitches evenly onto a set of double-pointed needles or use the magic loop method if you prefer. This will allow you to easily work in the round and decrease as necessary.
First, you will need to determine the number of stitches to decrease. This will depend on the size of your hat and the desired fit. A common method is to decrease by 8 stitches every round. To achieve this, you can work 2 stitches together at regular intervals.
Alternatively, you can use a different method such as slip slip knit (SSK) or knit 2 together (K2tog) for a different look. Experiment with different decreasing methods to see which one you prefer for your hat.
Continue decreasing until you have reached the desired number of stitches. This will vary depending on the pattern and the size of your hat. At this point, you can thread your tail through the remaining stitches, cinch them tight, and weave in the ends to finish your hat.
Remember to try on your hat as you go to ensure the fit is to your liking. If you need to make adjustments, you can always rip back and rework the crown decreases. Don’t be afraid to experiment and make the hat uniquely yours.
Switching to Double-Pointed Needles
When knitting in the round, there comes a point where you may need to switch to double-pointed needles (DPNs). DPNs are used when the circumference of your project becomes too small to comfortably fit on a circular needle, such as when knitting a hat or a small circular item.
To switch to DPNs, begin by dividing your stitches evenly onto three or four DPNs, depending on the pattern instructions. Place half of the stitches on one needle, and the other half on the remaining needles. This will create a triangular shape with the DPNs, allowing you to continue knitting in the round.
When working with DPNs, it’s important to pay attention to needle placement. Always begin knitting with the needle that has the working yarn attached. The other needles will then be used to hold the remaining stitches. As you knit, slide the stitches from the needle in your right hand onto the DPN in your left hand, working your way around the project.
When transitioning from one DPN to the next, be mindful of any gaps or ladders that may form between the needles. To prevent this, give the first stitch on the new needle a firm tug to tighten the tension. This will help keep your stitches even and avoid any loose or uneven areas in your knitting.
Continue knitting in the round with DPNs until the pattern instructs you to switch back to a different needle type, such as circular or straight needles. Remember to follow the pattern instructions carefully to ensure you’re using the correct needle size and length for your project.
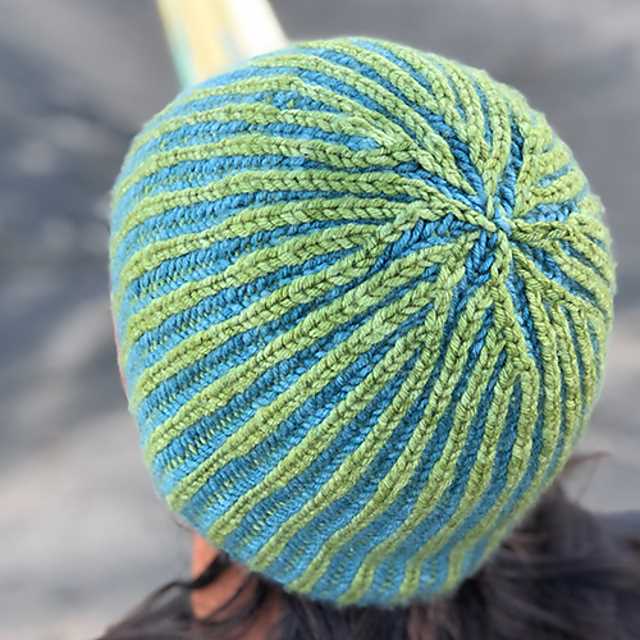
Finishing the Crown
After completing the desired length of the hat body, it is time to finish the crown. This is the top part of the hat that closes it off and gives it its final shape. There are several ways to finish the crown, depending on the style and design you are looking for.
One common method is to continue knitting the hat in the round, decreasing the number of stitches gradually to shape the crown. This is often done by knitting two stitches together at regular intervals, creating a decrease pattern. This method results in a smooth and seamless crown.
Another option is to switch to double-pointed needles or a circular needle with a smaller circumference to work the crown. This allows for more precise shaping and can create a more tailored look. The same decrease pattern can be used, or different stitch patterns can be incorporated for a unique design.
For a more decorative crown, you can also bind off the stitches and create a separate crown piece that is sewn onto the top of the hat. This can be done using a different stitch pattern or with added embellishments such as cables or lace.
Once the crown is finished, it is important to secure the yarn end and weave in any loose ends to ensure a clean and polished look. Blocking the hat can also help to improve the overall shape and appearance, especially if the crown has any intricate stitch patterns.
Finishing the crown is the final step in completing your knitted hat. Whether you choose to decrease the stitches, switch to smaller needles, create a separate crown piece, or incorporate different stitch patterns, make sure to take your time and follow the instructions carefully to achieve the desired result.
Adding a Pom-Pom (Optional)
If you want to add a fun and playful touch to your knit hat, consider adding a pom-pom! A pom-pom is a fluffy and decorative ball of yarn that can be attached to the top of the hat. It adds an extra element of style and personality to your finished project.
To create a pom-pom, you will need a pom-pom maker, which can be purchased at most craft stores or online. Alternatively, you can make a pom-pom using cardboard cutouts or your hands, but a pom-pom maker will give you a more symmetrical and professional-looking result.
Here are the steps to add a pom-pom to your knit hat:
- Choose a color of yarn that matches or complements your hat.
- Open up your pom-pom maker and wrap the yarn around one side of the maker. Repeat this on the other side, making sure to wrap it tightly and evenly.
- Once the pom-pom maker is completely wrapped, close it and cut the yarn along the edges. Be careful not to cut the yarn that is holding the pom-pom together.
- Secure the pom-pom by tying a piece of yarn tightly around the middle of the wrapped yarn in the pom-pom maker.
- Open up the pom-pom maker and carefully remove the pom-pom. Give it a gentle shake to fluff up the yarn.
- Using a yarn needle, thread the tails of the securing yarn through the top of your hat. Tie them securely and trim any excess yarn.
And there you have it! Your knit hat is now complete with a playful pom-pom on top. Enjoy wearing your stylish and cozy creation!
Blocking and Finishing
Once you have completed knitting your hat, it is important to block and finish it to achieve the desired shape and size. Blocking involves gently wetting your hat and shaping it to the correct measurements, allowing the stitches to settle into place and even out any uneven tension. This process can greatly improve the overall appearance of your hat and ensure that it fits properly.
Here are the steps you can follow to block and finish your knit hat:
- Fill a basin or sink with lukewarm water and add a small amount of wool wash or mild detergent. Gently agitate the water to create suds.
- Place your hat in the water and press it down to ensure it is fully submerged. Let it soak for about 10-15 minutes.
- Once the hat has soaked, carefully remove it from the water and gently squeeze out the excess water. Avoid wringing or twisting the hat, as this can distort the shape.
- Lay a clean towel flat on a surface, such as a table or countertop. Place the hat on the towel and reshape it to the desired size and shape. Smooth out any wrinkles or uneven stitches.
- Allow the hat to air dry on the towel, making sure it is not exposed to direct sunlight or heat sources that could cause it to shrink or warp.
- Once the hat is completely dry, you can add any finishing touches, such as attaching a pom-pom or weaving in any loose ends.
In conclusion, blocking and finishing your knit hat is a crucial step in ensuring its overall look and fit. Taking the time to properly shape and dry your hat will result in a more professional and polished finished product. So, don’t skip this important step and enjoy your beautifully finished knit hat!