
Knitting is a beloved hobby for many people around the world. It offers a way to be creative, relax, and produce beautiful handmade items. However, for beginners and even experienced knitters, following knitting patterns can sometimes be a daunting task. Whether it’s deciphering complex abbreviations or trying to keep track of multiple instructions, it’s easy to feel overwhelmed. But fear not, with a few helpful tips and tricks, following knitting patterns can become much easier!
One of the most important things to remember when following knitting patterns is to read the instructions carefully. Before you even pick up your needles and yarn, take the time to thoroughly read through the pattern. Look for any special instructions, such as stitch markers or color changes, and make sure you understand the overall structure of the pattern. This will help you avoid any surprises or mistakes along the way.
Another helpful tip is to highlight or mark your pattern as you go. This can be especially useful for complex patterns with multiple repeats or sections. Use a highlighter, colored pencil, or even sticky notes to mark off each section as you complete it. This will not only help you visually keep track of your progress, but it will also prevent you from accidentally repeating or skipping any steps.
Understanding knitting patterns
When it comes to knitting, understanding knitting patterns is essential. Knitting patterns provide detailed instructions on how to create a specific knitting project, such as a sweater, hat, or scarf. They contain important information like the type of yarn to use, needle size, stitch pattern, and the steps required to complete the project.
Yarn and needle requirements: One of the first things to look for in a knitting pattern is the recommended yarn and needle size. The pattern will specify the weight and type of yarn needed for the project, such as worsted weight or bulky yarn. It will also indicate the appropriate needle size to achieve the correct gauge. It’s important to match the yarn and needle requirements specified in the pattern to ensure the finished project turns out as intended.
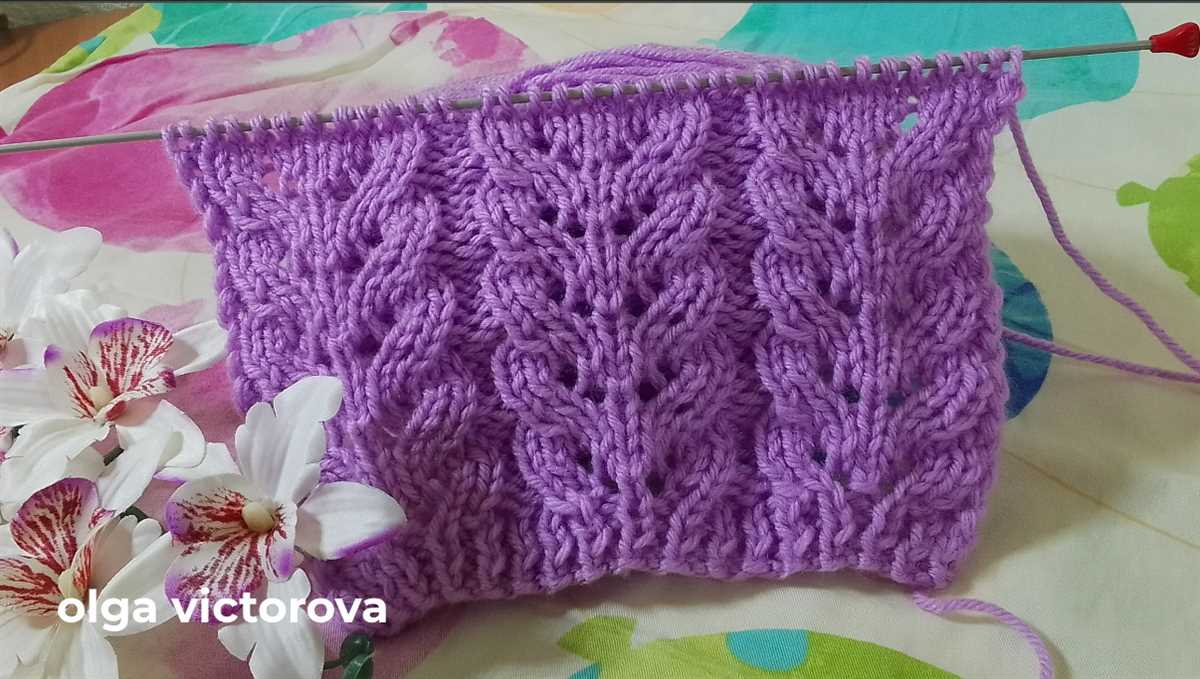
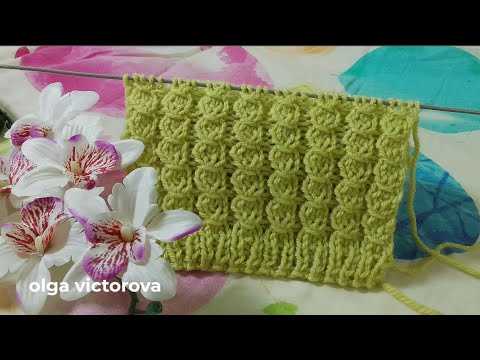
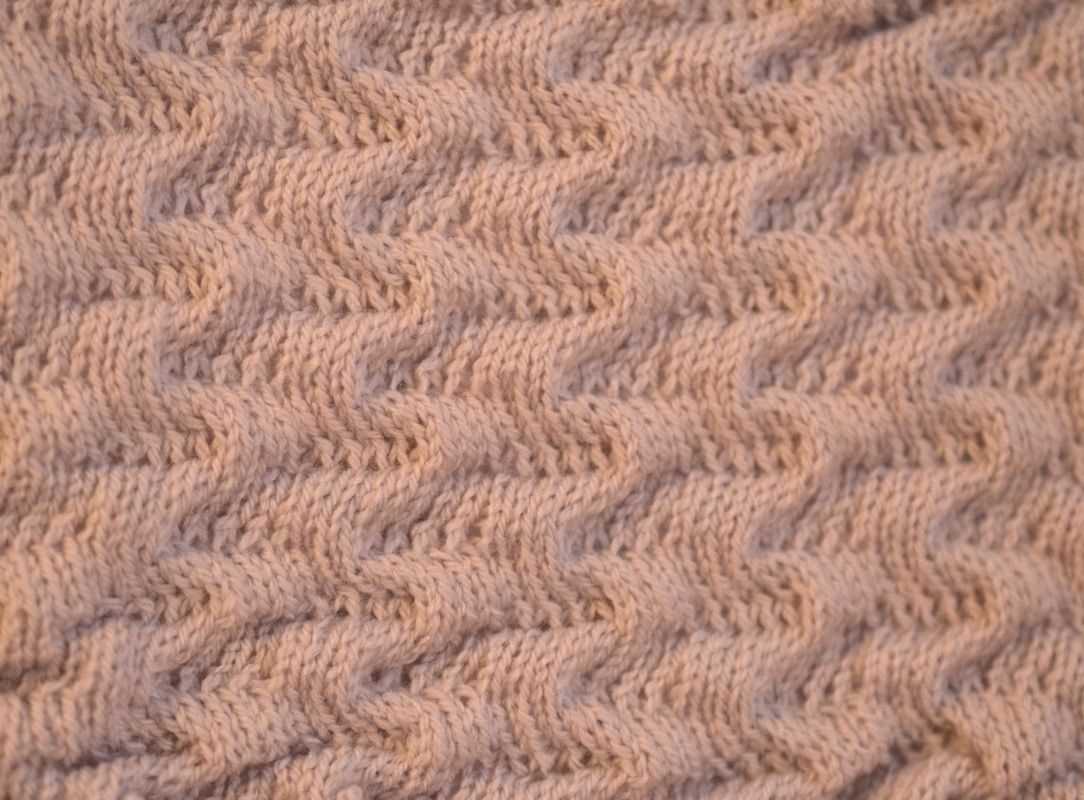
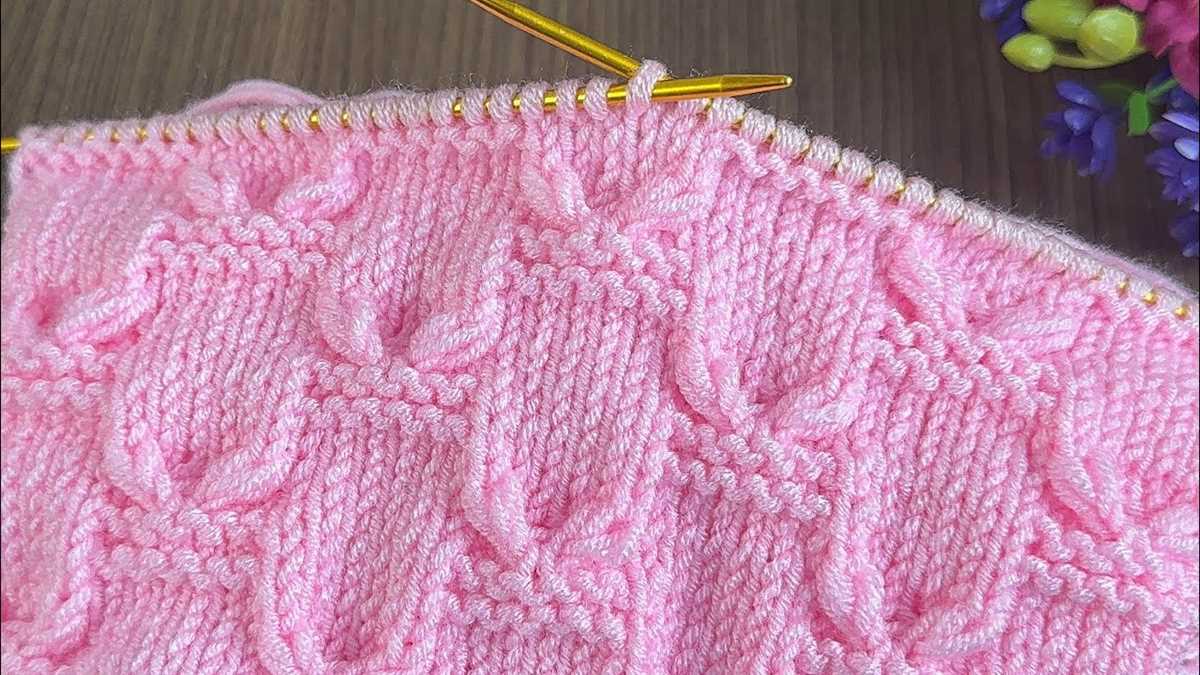
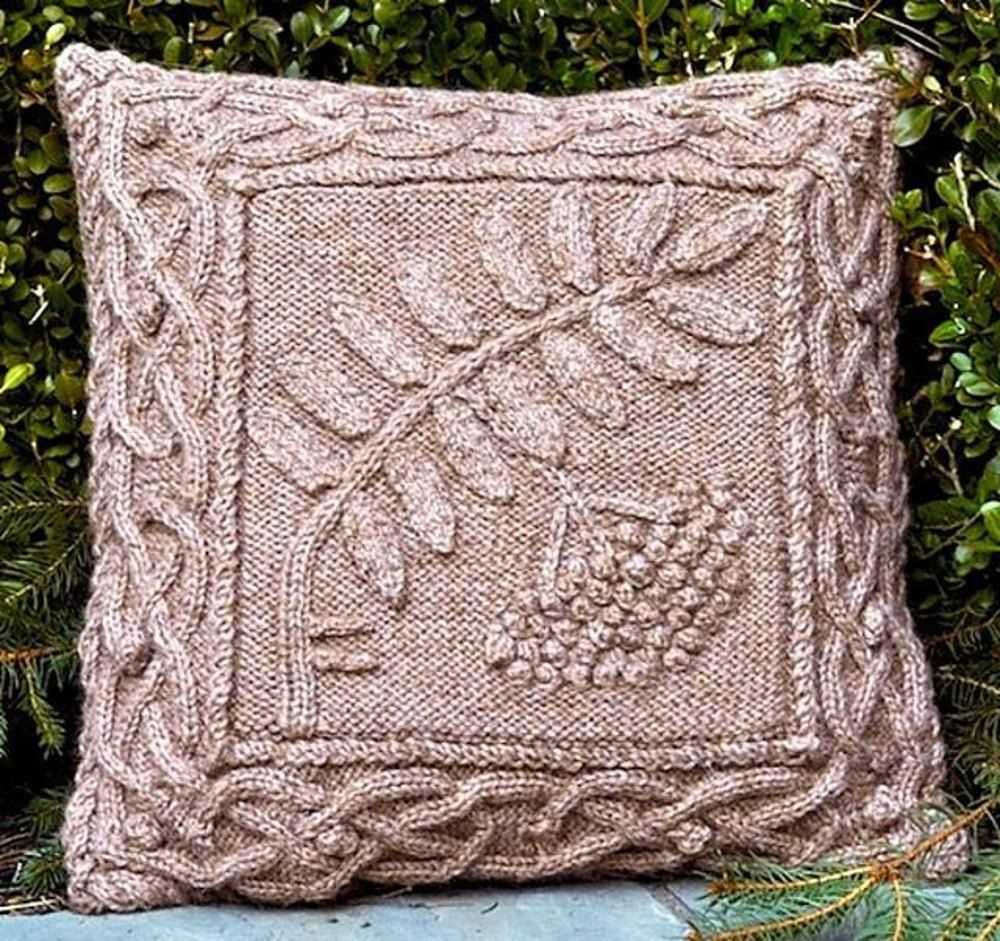
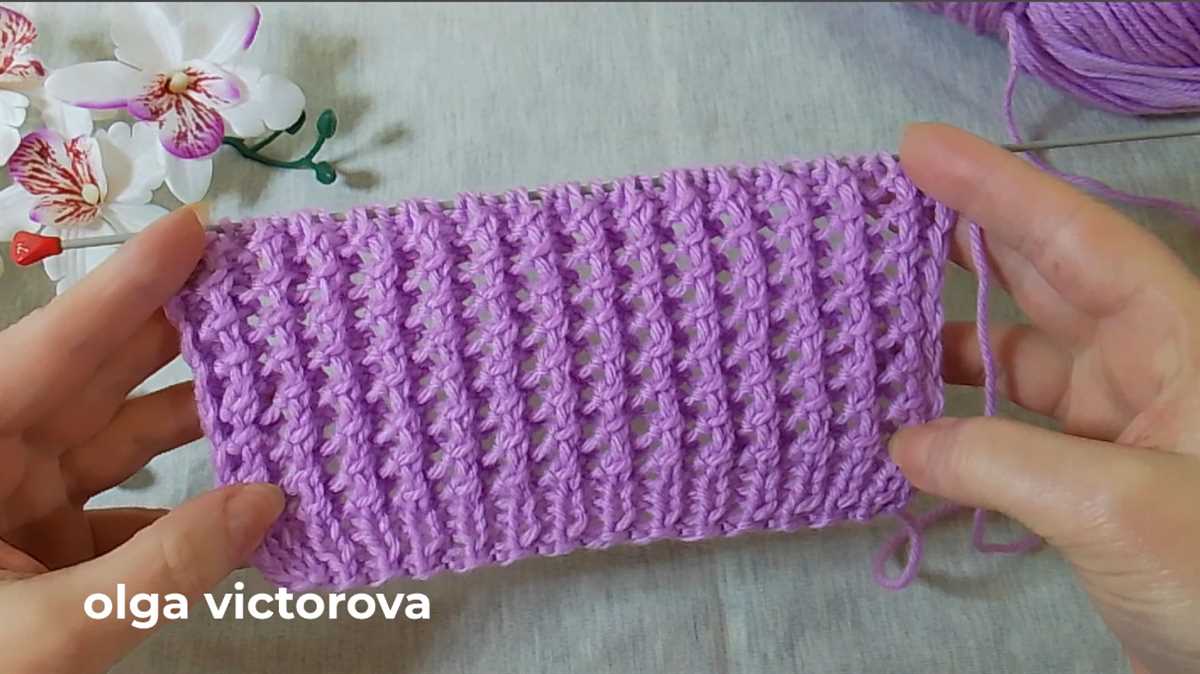
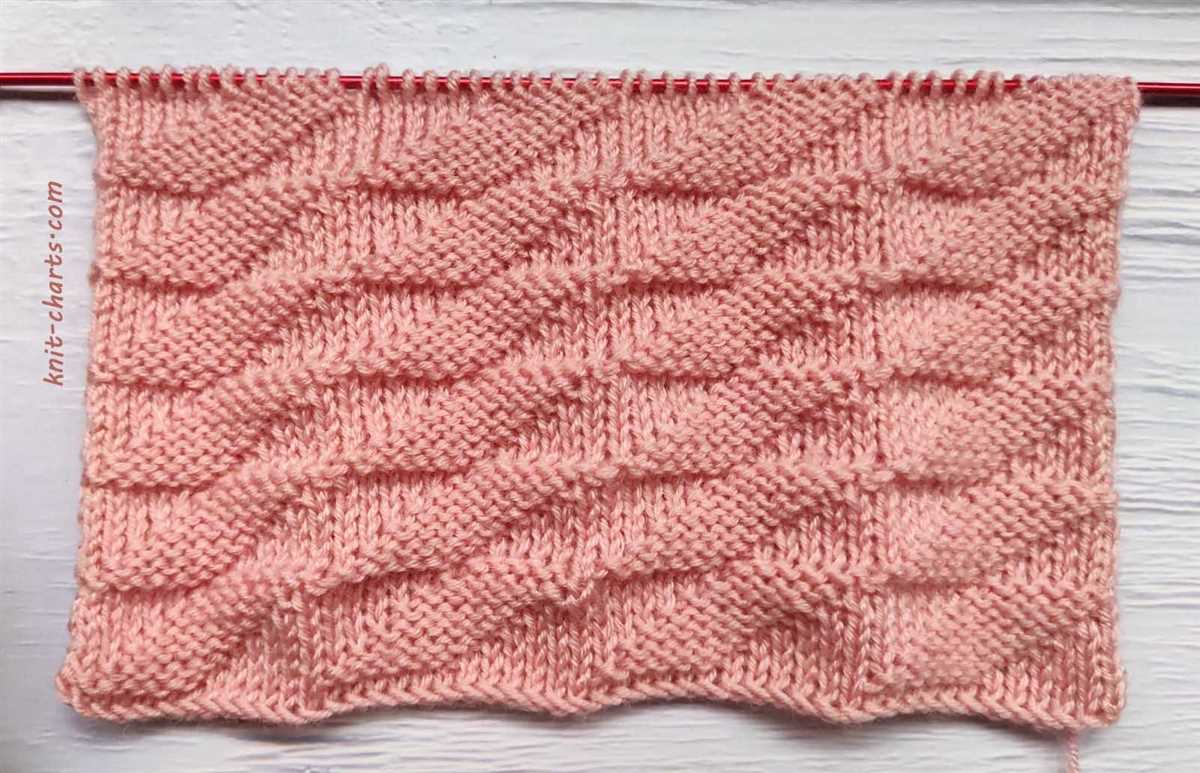
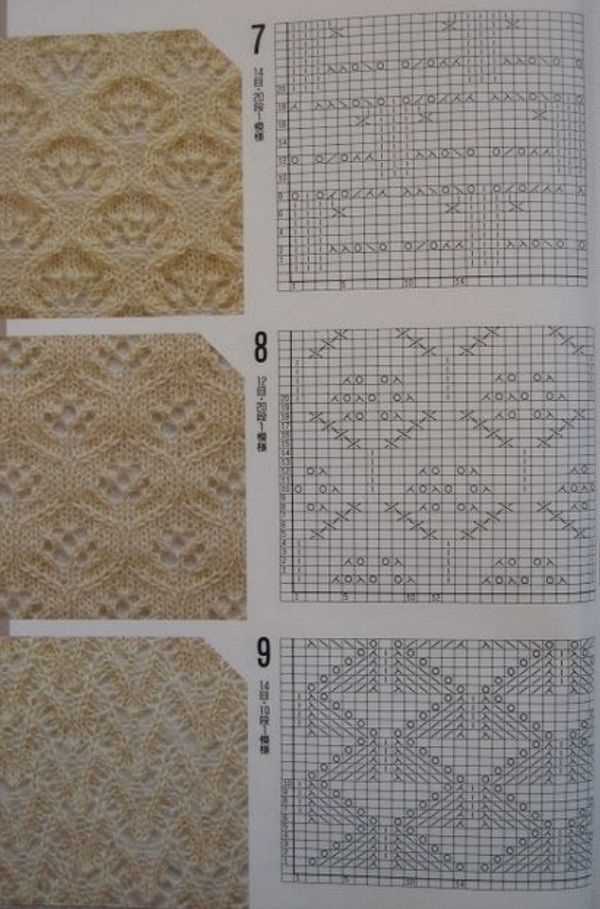
Stitch patterns and techniques: Knitting patterns often include various stitch patterns and techniques to create different textures and designs. These can include basic stitches like knit and purl, as well as more advanced techniques like cables, lace, or colorwork. The pattern will provide instructions on how to work these stitches and techniques, often accompanied by charts or written explanations. It’s important to thoroughly read and understand these instructions before starting the project.
Pattern abbreviations and symbols: Knitting patterns use a variety of abbreviations and symbols to save space and make instructions more concise. These can include abbreviations for stitches (such as k for knit or p for purl) and symbols for specific techniques or stitch patterns. It’s important to familiarize yourself with these abbreviations and symbols before starting the pattern to avoid any confusion during the knitting process.
Step-by-step instructions: Knitting patterns typically provide step-by-step instructions on how to complete the project. These instructions will outline the exact order of stitches and techniques to be used, as well as any shaping or finishing techniques required. It’s important to follow these instructions closely to ensure the project turns out as intended. Taking the time to carefully read and understand the pattern before starting can help avoid mistakes and make the knitting process smoother.
Keeping track of progress: As you work through a knitting pattern, it can be helpful to keep track of your progress by marking completed rows or sections. This can be done using a row counter, sticky notes, or by simply crossing off rows on the pattern. Keeping track of your progress can help you stay organized and ensure you don’t miss any important steps or instructions.
Understanding knitting patterns is an important skill for any knitter. By familiarizing yourself with yarn and needle requirements, stitch patterns, pattern abbreviations, and step-by-step instructions, you’ll be able to confidently tackle any knitting project and create beautiful handmade items.
Tips for reading knitting patterns
Knitting patterns can sometimes be intimidating, especially for beginners. However, with a little practice and understanding of the different symbols and terminology, reading knitting patterns can become easier. Here are a few tips to help you navigate through knitting patterns with confidence.
1. Familiarize yourself with the abbreviations:
Knitting patterns often use abbreviations to save space and make instructions more concise. Take the time to familiarize yourself with common knitting abbreviations such as k (knit), p (purl), yo (yarn over), and inc (increase). Keeping a knitting abbreviation guide handy can be useful when you come across unfamiliar terms.
2. Pay attention to stitch counts:
Knitting patterns usually include a stitch count at the end of each row or round. This count helps you keep track of the number of stitches you should have at various points in the pattern. It is essential to double-check your stitch count to ensure accuracy and avoid any mistakes that may affect the final project’s size and shape.
3. Read the entire pattern before starting:
Before picking up your needles, take the time to read through the entire knitting pattern from start to finish. This will give you an overall understanding of how the project is constructed and help you anticipate any challenging or unfamiliar techniques. By familiarizing yourself with the entire pattern, you can also make sure that you have all the necessary supplies and yarn before you begin.
4. Take note of special instructions:
Knitting patterns often include special instructions, such as stitch patterns, shaping techniques, or color changes. These instructions are crucial for achieving the desired look of the finished project. Take note of any special instructions and practice the techniques if necessary before starting the pattern. This will help you avoid confusion and ensure that your knitting turns out the way you intend.
5. Trust the pattern:
Lastly, trust the knitting pattern. The designer has carefully written and tested the instructions to ensure a successful project. If you follow the pattern as written, step by step, you are more likely to achieve the desired results. While it’s okay to make small modifications or adjustments, especially if you have more advanced knitting skills, veering too far from the pattern’s instructions may lead to unexpected outcomes.
With these tips in mind, reading knitting patterns will become less daunting, and you’ll be able to embark on exciting knitting projects with confidence and ease.
Choosing the right yarn for your knitting project
Choosing the right yarn for your knitting project is an important decision that can greatly impact the outcome of your finished piece. When selecting yarn, it’s important to consider not only the color and texture you desire, but also the type of yarn that will best suit your project.
One of the first things to consider is the weight of the yarn. Yarn weight refers to the thickness of the yarn, and different weights are better suited for different types of projects. For example, a bulky weight yarn would be ideal for a cozy winter sweater, while a fingering weight yarn would be better for lightweight socks or delicate lacework. Be sure to check the pattern you’re following for a recommended yarn weight, and choose a yarn that matches accordingly.
Another factor to consider is the fiber content of the yarn. Different fibers have different characteristics, and they can affect the drape, stitch definition, and durability of your finished piece. Some common yarn fibers include wool, cotton, acrylic, and silk. Wool, for example, is known for its warmth and elasticity, making it a good choice for sweaters and hats. Cotton, on the other hand, is breathable and soft, making it ideal for lightweight garments. Consider the qualities you desire in your finished piece and choose a yarn that suits your needs.
Here are some tips for choosing the right yarn:
- Consider the weight of the yarn and whether it matches the pattern’s recommendations.
- Think about the fiber content and its characteristics, such as warmth, breathability, and drapability.
- Take into account any special care instructions for the yarn, such as hand-washing or dry cleaning.
- Pay attention to the yardage of the yarn, as you’ll need enough to complete your project.
- If possible, feel the yarn in person before purchasing to get a sense of its texture and drape.
By considering these factors and making an informed decision, you’ll be able to choose the right yarn for your knitting project and create a beautiful, well-suited finished piece.
Interpreting abbreviations in knitting patterns
Knitting patterns are written using a variety of abbreviations to make the instructions more concise. Understanding these abbreviations is essential for successfully following a knitting pattern and creating the desired project. Here are some commonly used abbreviations and their meanings:
1. K – Knit
The letter “K” in a knitting pattern stands for the action of knitting a stitch. To knit a stitch, insert the right-hand needle into the front of the stitch on the left-hand needle, wrap the yarn around the needle from back to front, and pull the loop through the stitch.
2. P – Purl
The letter “P” in a knitting pattern represents the purl stitch. To purl a stitch, insert the right-hand needle into the front of the stitch on the left-hand needle, wrap the yarn around the needle from front to back, and pull the loop through the stitch.
3. St(s) – Stitch(es)
The abbreviation “st” or “sts” in a knitting pattern refers to a single stitch or multiple stitches, respectively. This can include knit stitches, purl stitches, and any other stitches specified in the pattern instructions.
In addition to these common abbreviations, knitting patterns may also include abbreviations for increases, decreases, specific stitch patterns, and more. It is important to carefully read the pattern’s instructions and key to ensure accurate interpretation of the abbreviations used.
Understanding and correctly interpreting abbreviations in knitting patterns is crucial for successfully completing a project. By familiarizing yourself with these abbreviations and regularly referring to a knitting abbreviation key, you can confidently tackle any knitting pattern and create beautiful, handmade items.
Following the gauge in knitting patterns
When starting a knitting project, it is important to pay attention to the recommended gauge provided in the knitting pattern. The gauge is a measurement of the stitches and rows per inch that the knitter should aim to achieve in order to create a finished product that matches the measurements and fit outlined in the pattern.
The gauge serves as a guide for achieving the correct size and fit of the knitted garment, and it is crucial in ensuring that the final product turns out as intended by the designer. While the gauge may seem like an optional step, taking the time to create a gauge swatch and accurately measure the stitches and rows can save a lot of frustration and disappointment later on.
Knitting tension can vary greatly from person to person, and even the slightest difference in tension can lead to significant variations in the finished size of a project. Therefore, following the recommended gauge is essential to ensure that the garment fits properly and looks as intended.
One way to accurately measure gauge is by creating a gauge swatch. This is a small piece of knitting, usually about 4×4 inches, that is knitted using the recommended yarn and needle size. By counting the number of stitches and rows in this swatch and comparing it to the measurements provided in the pattern, the knitter can determine if their tension matches the designer’s.
It is important to note that achieving the correct gauge may require adjusting the needle size or using a different yarn weight. This is why it is recommended to always create a gauge swatch before starting a project, especially if using a different yarn or needle size than what is recommended in the pattern. Taking the time to make this initial measurement can save a lot of time and effort, as it ensures that the finished project will turn out as expected.
Using stitch markers while following knitting patterns
When following knitting patterns, stitch markers serve as essential tools to help organize and keep track of your work. These small, circular markers can be easily placed on your knitting needles to indicate specific points in your pattern, such as stitch increases or decreases, stitch pattern repeats, or the beginning and end of a round. By using stitch markers, you can significantly reduce the chances of making mistakes and ensure that your knitting project turns out as intended.
1. Marking stitch pattern repeats:
One common use of stitch markers is to mark stitch pattern repeats. For patterns that have a repeating pattern, it can be helpful to place a marker after every repeat to help keep track and avoid losing your place. This is particularly useful when working on more complex lace or cable patterns, where it’s easy to lose track of where you are in the pattern. By placing a stitch marker at the beginning and/or end of each repeat, you can easily count the number of repeats completed and ensure accuracy.
2. Indicating stitch increases or decreases:
Stitch markers can also be used to indicate specific stitch increases or decreases in your pattern. For example, if your pattern instructs you to increase or decrease a certain number of stitches in a row, you can place a stitch marker before and after the stitches where the increase or decrease is supposed to occur. This helps to visually separate the sections and make it easier to identify the specific stitches that need to be worked differently.
3. Highlighting the beginning and end of a round:
In circular knitting projects, such as knitting in the round, stitch markers are essential for marking the beginning and end of each round. By placing a stitch marker at the start of each round, you can easily identify where you need to join and begin the next round. This is particularly important when working on larger projects, as it can be easy to lose track of where you started.
Overall, stitch markers are invaluable tools for any knitter following patterns. They can greatly simplify the knitting process, help you stay organized, and ensure that your finished project turns out just as you envisioned.
Keeping track of rows and repeats in knitting patterns
When working on a knitting pattern, it’s important to keep track of the rows and repeats to ensure accuracy and consistency in your project. Knitting patterns often include multiple repeats of a set of instructions, and it can be easy to lose track of where you are without a system in place.
One common method for keeping track of rows is to use a row counter. Row counters are small devices that can be attached to your knitting needles or kept nearby to manually track the number of rows completed. With each completed row, you simply click the counter to the next number, making it easy to see at a glance how many rows you have knitted.
Another method for keeping track of repeats is to use stitch markers. Stitch markers can be placed at specific points in your knitting to mark the beginning or end of a repeat. As you complete each repeat, you move the stitch marker to the next set of stitches, helping you visually keep track of your progress. This can be especially useful when working on complex patterns with multiple repeats.
For more complex patterns, a row-by-row checklist can be helpful. A row-by-row checklist is a written list of each row or repeat in the pattern, and you can check off each row as you complete it. This method is especially useful for patterns with intricate stitch patterns or cables, where it’s easy to lose your place.
If you prefer a digital solution, there are also knitting apps and websites available. These tools often include row counters, stitch markers, and row-by-row checklists that you can use on your phone or computer. They can be a convenient way to keep track of your progress and easily refer back to the pattern as needed.
In conclusion, keeping track of rows and repeats in knitting patterns is essential for maintaining accuracy and ensuring a successful finished project. Whether you prefer manual methods like row counters and stitch markers or digital tools like knitting apps, finding a system that works for you will make knitting patterns more enjoyable and less confusing.
Adapting knitting patterns to fit your measurements
Knitting patterns are a great way to create beautiful and intricate garments, but sometimes they don’t fit our individual measurements exactly. Luckily, there are ways to adapt knitting patterns to ensure a perfect fit.
1. Take accurate measurements: Before starting any knitting project, it’s important to take accurate measurements of your body. This includes measuring your bust, waist, hips, and arm length. These measurements will help you determine the right size to knit and make necessary adjustments.
2. Swatch and gauge: It’s crucial to swatch and determine your gauge before starting a project. Using the recommended yarn and needle size, knit a small swatch and measure it to determine how many stitches and rows you have per inch. This will help you calculate the number of stitches and rows needed to achieve the desired measurements.
3. Adjust the stitch count: If your measurements differ from the given pattern, you may need to adjust the stitch count. For example, if the pattern calls for a certain number of stitches for the bust, but your bust measurement is larger, you can add additional stitches evenly across the row. Similarly, if your measurement is smaller, you can decrease the stitch count.
4. Modify the shaping: Knitting patterns often include shaping techniques, such as increases and decreases, to create the desired silhouette. If your measurements require changes to the shaping, you can adjust the placement of these increases and decreases. For example, if you need more room in the hips, you can add additional increases in that area.
5. Consider the yarn: The type of yarn you choose can also affect the fit of your knitted garment. Thicker yarns can add bulk, while finer yarns can create a more fitted look. Keep this in mind when selecting yarn for your project and make adjustments accordingly.
By taking accurate measurements, swatching, adjusting stitch count, modifying shaping, and considering the yarn, you can successfully adapt knitting patterns to fit your measurements. With a little bit of planning and customization, you can create knitted garments that are not only beautiful but also perfectly tailored to your body.
Fixing mistakes in knitting patterns
When following knitting patterns, it is not uncommon to make mistakes along the way. However, with a few simple techniques, these mistakes can be easily fixed without having to unravel all of your hard work.
Identifying the mistake: The first step in fixing a mistake in a knitting pattern is to identify where the mistake occurred. Carefully examine your work and compare it to the pattern to find any discrepancies or errors. It is helpful to use stitch markers or different colored yarn to mark your progress and make it easier to spot mistakes.
Tink method
The Tink method: The Tink method, which is “knit” spelled backwards, involves undoing the stitches one by one in reverse order until you reach the mistake. Once you have found the mistake, you can re-knit the correct stitches.
This method is best suited for small errors or mistakes that are close to your current position in the pattern. It allows you to fix the mistake without having to unravel the entire row or section of knitting. However, it can be time-consuming and tedious, especially for larger mistakes or complex patterns.
Frogging method
The Frogging method: The Frogging method involves unraveling the knitting back to the mistake and then re-knitting from there. This method is more suitable for larger mistakes or errors that are further back in the pattern.
While unraveling the knitting can be disheartening, it is sometimes necessary to ensure that the mistake is completely corrected. When using the Frogging method, it is important to place a stitch marker in the row below the mistake. This will help you maintain your place in the pattern and ensure that you do not unravel more than you need to.
Preventing mistakes: While mistakes are inevitable in knitting, there are steps you can take to minimize the risk of making errors. Reading the pattern carefully before you begin, using stitch markers to keep track of your progress, and counting your stitches regularly can all help prevent mistakes from occurring in the first place.
Overall, fixing mistakes in knitting patterns requires patience, attention to detail, and a willingness to unravel and re-knit if necessary. By following these techniques and taking preventative measures, you can successfully navigate your way through any knitting pattern.
Adding your own personal touch to knitting patterns
Knitting patterns provide a great foundation for creating beautiful pieces, but sometimes adding your own personal touch can make them even more special. By incorporating unique elements, colors, or techniques, you can create a one-of-a-kind item that reflects your individual style and creativity.
1. Using different colors: One way to personalize a knitting pattern is by choosing your own color palette. Instead of following the suggested colors, experiment with different shades and combinations that resonate with your personal taste. This allows you to create a piece that matches your wardrobe or home decor, making it truly unique.
2. Customizing stitch patterns: Another way to add your personal touch is to modify the stitch patterns used in the pattern. By substituting or adding different stitch motifs, you can create a design that is distinctively your own. This requires some knowledge of knitting techniques, but it can result in a stunning and individualized piece.
3. Embellishments and details: Adding embellishments or intricate details can also enhance a knitting pattern. You can incorporate beads, buttons, ribbons, or embroidery to give your project an extra flair. These little touches can make a big difference and add a personal touch that sets your creation apart.
4. Making adjustments: Knitting patterns often provide standard sizing, but if you prefer a different fit, you can make adjustments to suit your body shape and preferences. Whether it’s resizing the pattern or altering the length of sleeves, making these modifications allows you to create a garment that fits you perfectly.
5. Combining multiple patterns: Finally, you can unleash your creativity by combining different knitting patterns. Mix and match elements from various patterns to create a completely new and original design. This requires some experimentation and planning, but the end result will be a unique and personalized piece that reflects your own style.
By adding your own personal touch to knitting patterns, you can transform them into something truly special. Whether it’s through the use of different colors, custom stitch patterns, embellishments, adjustments, or combining multiple patterns, your creativity can shine through, resulting in a knitted item that is as unique as you are.
Resources for finding knitting patterns
In conclusion, there are numerous resources available for finding knitting patterns to suit your skill level and interests.
Online knitting pattern databases provide a vast collection of patterns that can be searched and filtered according to your preferences. These databases often include user reviews and ratings, making it easier to find patterns that have been tried and tested by other knitters.
- Ravelry – Ravelry is a popular online community for knitters, crocheters, and other fiber artists. They have an extensive pattern database with a wide range of categories and filters to help you find the perfect pattern.
- Knitty – Knitty is an online knitting magazine that features free patterns, tutorials, and articles. They are known for their high-quality patterns and unique designs.
- LoveKnitting – LoveKnitting is an online marketplace for all things knitting. They have a large selection of patterns from various designers and brands, and you can easily filter and search for patterns based on your preferences.
Knitting books are another great resource for finding knitting patterns. There are countless knitting books available that cater to different skill levels and interests. Some popular knitting book publishers include:
- Vogue Knitting – Vogue Knitting publishes a range of knitting books that cover various techniques, styles, and projects. Their books are known for their detailed instructions and beautiful photography.
- Interweave – Interweave publishes a wide range of knitting books that cover everything from basic techniques to advanced projects. They often collaborate with well-known designers to create unique and inspiring patterns.
- Tin Can Knits – Tin Can Knits is a popular knitting design duo that focuses on creating patterns suitable for all skill levels. They have published several knitting books with a modern and playful aesthetic.
Finally, local yarn stores are a valuable resource for finding knitting patterns. Many yarn stores offer a selection of knitting books and magazines, as well as printed patterns from independent designers. Visiting a local yarn store can also provide an opportunity to seek advice from experienced knitters and discover new patterns and yarns.
With the plethora of resources available, you are sure to find a knitting pattern that sparks your creativity and keeps your needles busy!