
Knitting is a beloved craft that allows us to create warm and cozy items for ourselves and our loved ones. One of the most popular knitting projects is a hat, as it not only keeps us warm during the colder months, but also serves as a stylish accessory. If you’re looking for a quick and easy hat pattern to knit, look no further!
This fast knit hat pattern is perfect for both beginners and experienced knitters who want a simple and satisfying project. With just a few basic knitting techniques, you’ll be able to whip up a cozy hat in no time. Whether you’re knitting for yourself or for a friend, this pattern is sure to become a go-to favorite.
The beauty of this fast knit hat pattern is that it can be customized to suit your style and preference. You can choose from various yarn colors and textures to create a hat that is uniquely yours. Plus, the pattern is easily adjustable, allowing you to make it larger or smaller to fit any head size.
Fast Knit Hat Pattern

Are you in need of a quick and easy knitting project? Look no further than this fast knit hat pattern! Whether you’re a beginner or an experienced knitter, this pattern is perfect for anyone who wants to create a cozy and stylish hat in no time.
This pattern calls for bulky yarn and large knitting needles, which means you’ll be able to whip up this hat in just a few hours. The design is simple yet classic, making it a versatile accessory that can be worn with any outfit.
To get started, gather your materials: your choice of bulky yarn, size 10 knitting needles, and a set of double-pointed needles. Begin by casting on the required number of stitches and knitting in the round. The pattern includes instructions for ribbing, stockinette stitch, and decreases, so you’ll have a chance to practice a variety of techniques.
If you’re looking to add a personal touch to your hat, you can easily customize it by adding a pom-pom or a decorative button. The possibilities are endless! Once you’ve completed your hat, you can proudly wear it or gift it to a friend or family member.
This fast knit hat pattern is a great project for those looking to improve their knitting skills or for those who just want to create a warm and cozy hat in a short amount of time. So grab your knitting needles and get started on this fun and rewarding project today!
Supplies
Before you get started on knitting your fast hat, make sure you have all the necessary supplies. Here’s a list of what you’ll need:
- Yarn: Choose a bulky or super bulky weight yarn for a quick and cozy hat. Look for a yarn that is soft and warm, such as merino wool or a wool blend.
- Knitting needles: Depending on the size of hat you want to make, you’ll need either a set of double-pointed needles or a circular needle. Check the pattern for the recommended needle size.
- Tape measure: This will come in handy for measuring your gauge and checking the size of your hat as you go.
- Yarn needle: You’ll need a yarn needle with a large eye for weaving in ends and finishing your hat.
- Stitch markers: Using stitch markers can help you keep track of your stitches and ensure that you’re following the pattern correctly.
- Scissors: A good pair of scissors will be needed for cutting your yarn and trimming any excess.
Once you have all your supplies gathered, you’ll be ready to start knitting your fast hat. Take some time to familiarize yourself with the pattern and make sure you understand all the instructions before you begin. Happy knitting!
Gauge
Gauge is an important factor when knitting a hat. It determines the size and fit of the finished product. The gauge refers to the number of stitches and rows that are achieved within a 4-inch square using a specific yarn and needle size. It is crucial to match the gauge indicated in the pattern to ensure the hat turns out the right size.
The gauge is influenced by various factors, including the tension of the knitter, the thickness of the yarn, and the size of the needles. If the gauge is too tight, meaning too many stitches and rows are achieved in the 4-inch square, the hat will turn out smaller than intended. Conversely, if the gauge is too loose, the hat will be larger. Therefore, it is essential to swatch and check the gauge before starting the project.
To obtain an accurate gauge, it is recommended to use the same yarn and needle size indicated in the pattern. However, if the gauge is not achieved, adjustments can be made by changing the needle size. If the gauge is too tight, a larger needle can be used, while a smaller needle can be used if the gauge is too loose.
It is important to note that different stitch patterns can also affect the gauge. For example, if the pattern includes ribbing or cables, it may require a different gauge than the main stitch pattern. It is advisable to swatch using the specified stitch pattern to ensure the accurate gauge is achieved.
By carefully following the recommended gauge, knitters can create hats that fit well and look as intended. The gauge acts as a guide throughout the knitting process, ensuring the final result meets the desired measurements and proportions.
Cast On
When starting a new knitting project, the first step is casting on. This is the process of creating the foundation row of stitches that will form the base of your hat. There are many different methods for casting on, but one of the most common is the long tail cast on.
To begin the long tail cast on, you will need to measure out a length of yarn that is approximately three times the desired width of your finished hat. This will ensure that you have enough yarn to create the necessary stitches. Make a slipknot at the end of the yarn, leaving a short tail.
Step 1: Hold the slipknot in your right hand, and insert the needle into the slipknot from left to right.
Step 2: With your left hand, hold the yarn over your thumb and index finger, creating a “V” shape between your fingers. The tail of the yarn should be hanging down behind your hand.
Step 3: Move the needle under the yarn that is wrapped around your thumb, and then over the yarn that is wrapped around your index finger.
Step 4: Insert the needle into the slipknot, and then pull the loop of yarn through the slipknot.
Step 5: Continue this process of wrapping the yarn around your thumb and index finger, and then inserting the needle into the slipknot and pulling the loop of yarn through. Repeat until you have cast on the desired number of stitches for your hat.
Tips:
- Keep the tension of the yarn relatively loose, to ensure that your stitches are easy to work with when knitting the first row.
- Make sure to count your stitches as you go, to ensure that you have the correct number for your hat.
- If you need to increase or decrease the number of stitches, you can do so by adding or removing stitches at the beginning or end of the cast on row.
Ribbing
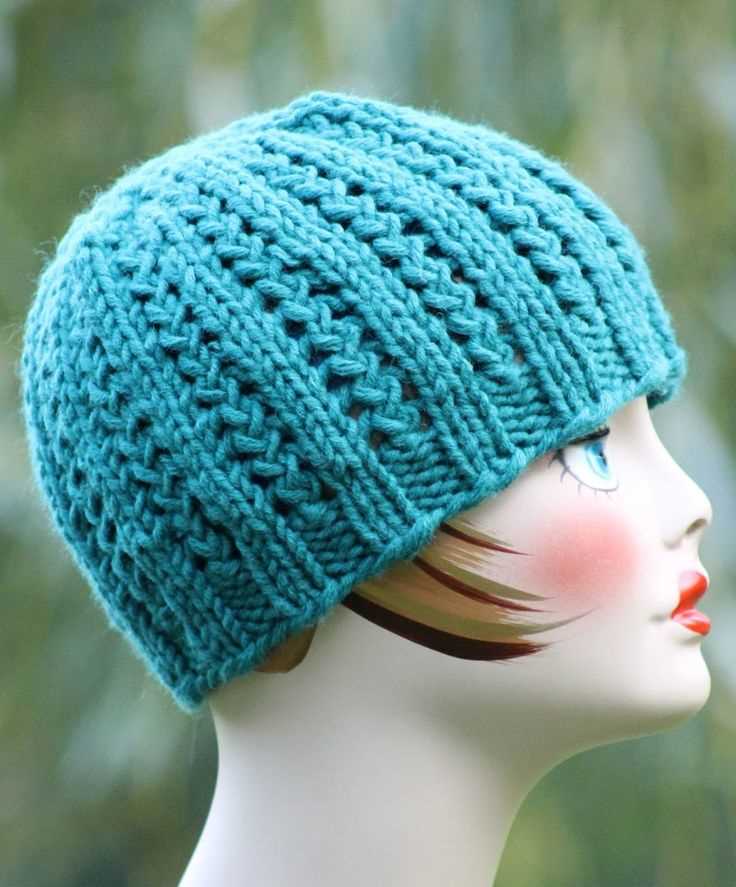
Ribbing is a common technique used in knitting patterns, especially for hats, scarves, and sweaters. It creates a stretchy fabric that is perfect for items that need to fit snugly and comfortably. Ribbing is made up of alternating columns of knit stitches and purl stitches, which creates raised rows of bumps or ribs on the fabric. This textured pattern adds both visual interest and flexibility to the knitted piece.
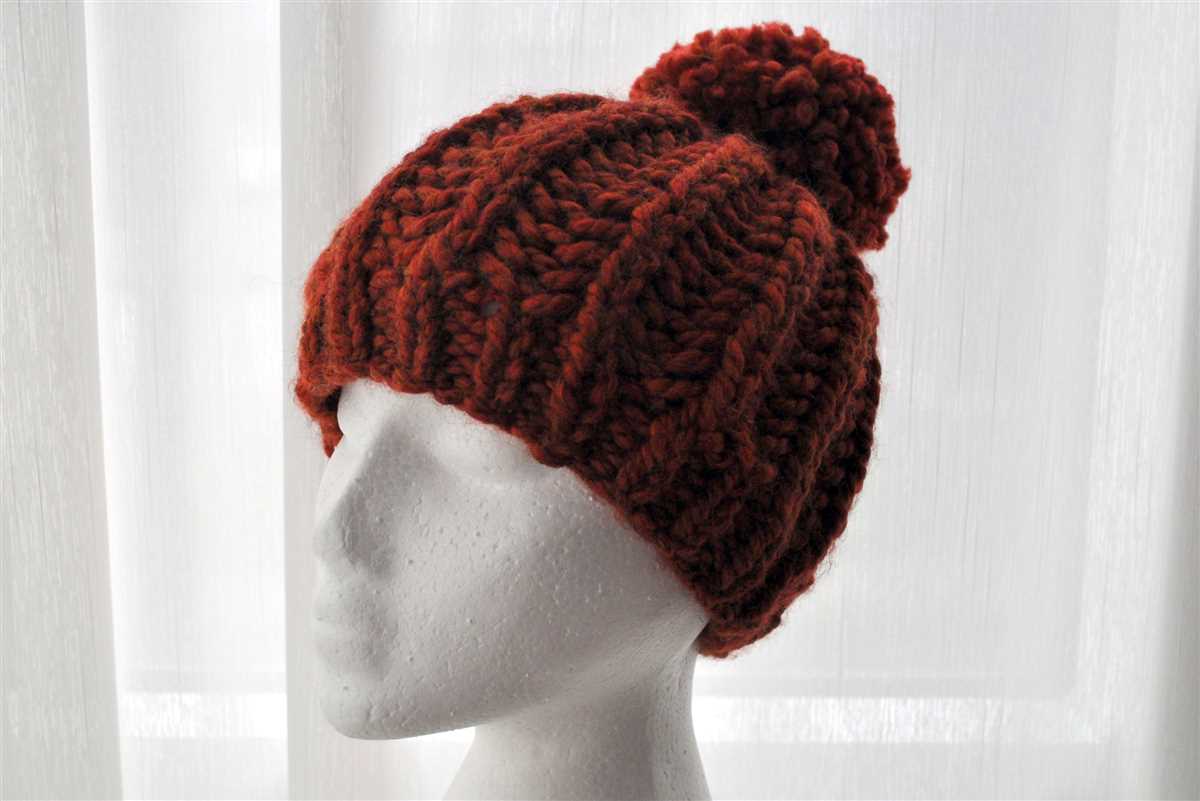
In a fast knit hat pattern, ribbing is often used to create a folded brim that adds extra warmth and style to the hat. The ribbing is typically worked in a smaller needle size than the main body of the hat, creating a tighter and denser fabric. This not only gives the hat a clean and polished look but also helps to keep the brim in place and prevent it from stretching out over time.
To create ribbing, the knitter needs to have a basic knowledge of knitting and purling. The most common ribbing patterns are 1×1 ribbing and 2×2 ribbing. In 1×1 ribbing, the knitter alternates between knitting one stitch and purling one stitch across the row. In 2×2 ribbing, the knitter alternates between knitting two stitches and purling two stitches across the row. These patterns can be easily customized to create different variations and textures.
When working ribbing, it is important to maintain a consistent tension and not pull the yarn too tightly. This will ensure that the ribbing retains its stretchiness and flexibility. It is also important to pay attention to the stitch pattern and keep track of the number of stitches and rows in order to maintain the desired ribbing effect.
Ribbing Tips:
- Choose a smaller needle size for the ribbing section to create a tighter fabric.
- Use a contrasting color yarn for the ribbing to add visual interest.
- Consider experimenting with different ribbing patterns, such as twisted ribbing or brioche ribbing, to create unique textures.
- Always swatch and check your gauge before starting a ribbing section to ensure the correct fit.
Main Body
The main body of the fast knit hat is where you will work the majority of the knitting. With this simple pattern, you will need to have knowledge of basic knitting techniques such as casting on, knit stitch, purl stitch, and binding off.
To start, you will cast on the desired number of stitches, typically around 80-100 stitches for an adult hat. You can adjust this number based on the size of the hat you want to make. Once you have cast on, you will work in a ribbing pattern for a few rows. This creates a stretchy and snug fit for the hat.
After the ribbing, you will switch to the main stitch pattern. This can be as simple as knitting every row for a smooth stockinette stitch, or you can add some texture with a combination of knit and purl stitches. The main body of the hat is where you can get creative and experiment with different stitch patterns or color changes if desired.
As you work the main body, you will continue knitting in the round until the hat reaches the desired length. This is typically around 6-8 inches for an adult hat, but again, you can adjust based on your preference. Once you have reached the desired length, you will bind off all the stitches to secure the top of the hat.
Overall, the main body of the fast knit hat is where you can showcase your knitting skills and make the hat uniquely yours. Whether you choose a simple stockinette stitch or an intricate cable pattern, the main body is where you will spend most of your time and effort to create a cozy and stylish hat.
Decreases
When knitting a hat, decreases are an essential technique to shape the crown. Decreases create a tapered effect, gradually reducing the number of stitches as you move towards the top of the hat. There are several different types of decrease stitches that can be used, each creating a slightly different look. It’s important to choose the decrease stitch that best complements the overall design and style of your hat.
One popular decrease stitch is the knit two together (k2tog) decrease. This decrease is made by knitting two stitches together as if they were one. This creates a single stitch where there were previously two. The k2tog decrease creates a neat, diagonal line of stitches that slant to the right. It is commonly used in patterns to create a smooth and seamless decrease.
Another commonly used decrease stitch is the slip, slip, knit (ssk) decrease. This decrease is made by slipping two stitches knitwise one at a time, then knitting them together through the back loops. The ssk decrease creates a left-leaning decrease and is often used in combination with the k2tog decrease to create symmetrical shaping on the crown of the hat.
It’s important to carefully follow the decrease instructions provided in your pattern to ensure that the shaping is done correctly. The placement and frequency of the decrease stitches will vary depending on the hat design. Paying attention to the pattern instructions and using the appropriate decrease stitches will result in a well-finished and professionally shaped hat.
As you decrease, it’s helpful to use stitch markers to keep track of your stitch count and to mark the beginning of each decrease round. This can prevent confusion and make it easier to see where the decreases are occurring. Be sure to also check your gauge regularly to ensure that your hat is the correct size and that the decreases are being worked at the appropriate intervals.
Finishing
Once you have completed knitting the hat, it’s time to finish it off and make it ready to wear. Here are the steps to finish your fast knit hat:
1. Bind Off
To bind off, knit two stitches and then use the left needle to lift the first stitch over the second stitch and off the needle. Continue this process until you have only one stitch left on the right needle. Cut the yarn, leaving a long tail, and pull it through the last stitch to secure it.
2. Weave in the Ends
Using a tapestry needle, thread the long tail of yarn through the stitches on the wrong side of the hat. Weave in the ends by going back and forth through the stitches, making sure the yarn is secure. Trim any excess yarn.
3. Block the Hat

Blocking the hat will help give it a more polished look. Fill a sink or basin with lukewarm water and a few drops of mild detergent. Gently submerge the hat in the water and let it soak for about 10 minutes. Remove the hat from the water and squeeze out the excess water without wringing or twisting. Place the hat on a clean towel and gently reshape it to the desired size and shape. Allow it to air dry completely.
4. Add any Embellishments
If desired, you can add embellishments to personalize your hat. This could include a pom pom, a decorative button, or a knitted flower. Sew or attach the embellishment securely to the hat using a tapestry needle and yarn. Be creative and have fun with this step!
With these finishing touches, your fast knit hat is now complete and ready to be worn or gifted to someone special. Enjoy the satisfaction of creating something beautiful and functional with your own hands!
Optional Embellishments
The fast knit hat pattern is a versatile and simple design that can be easily customized with optional embellishments. Whether you want to add a touch of flair or personalize the hat to match your style, there are several embellishment options to choose from.
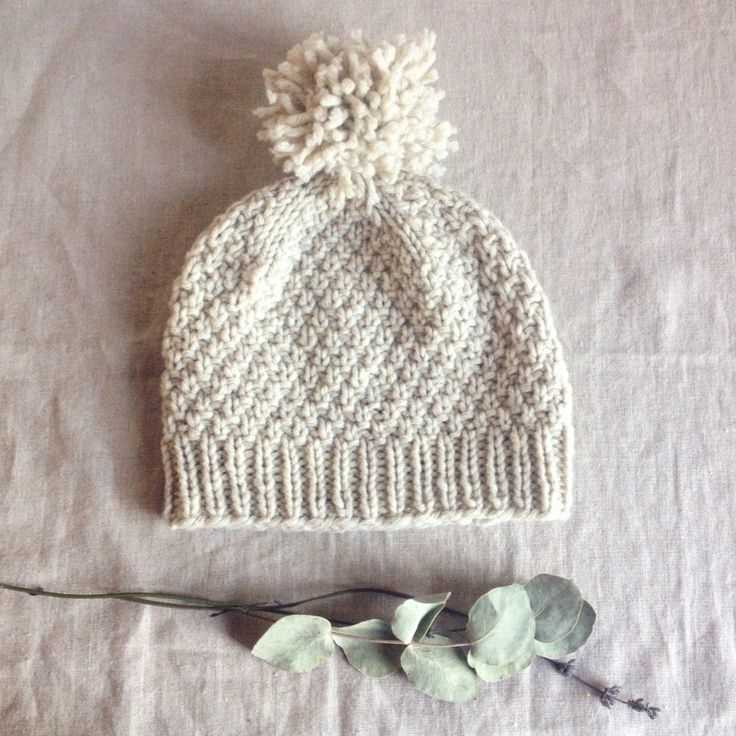
Pom pom: Adding a pom pom to the top of your hat can instantly make it more playful and fun. You can match the pom pom to the color of the hat or use a contrasting color for a pop of excitement. Making a pom pom is easy and you can find a variety of tutorials online to guide you through the process.
Buttons: Sewing buttons onto your hat can give it a unique and vintage-inspired look. You can choose buttons in different shapes, sizes, and colors to create a personalized design. Whether you prefer a minimalist button placement or want to cover the entire hat with buttons, this embellishment option allows you to get creative.
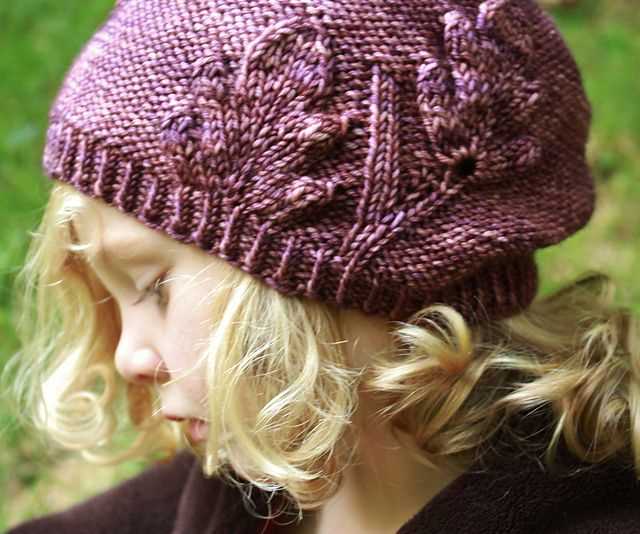
Embroidery: Adding embroidery to your knit hat is a beautiful way to add a personalized touch. You can embroider your name, initials, or a favorite design onto the hat. There are many embroidery stitches to choose from, such as the stem stitch or satin stitch, which can create intricate and detailed patterns.
Ribbons or bows: Attaching ribbons or bows to your hat is a feminine and charming option. You can tie a ribbon around the base of the hat or sew a bow onto the front or side. This embellishment is especially great for occasions like weddings or parties, where you want to add a touch of elegance to your outfit.
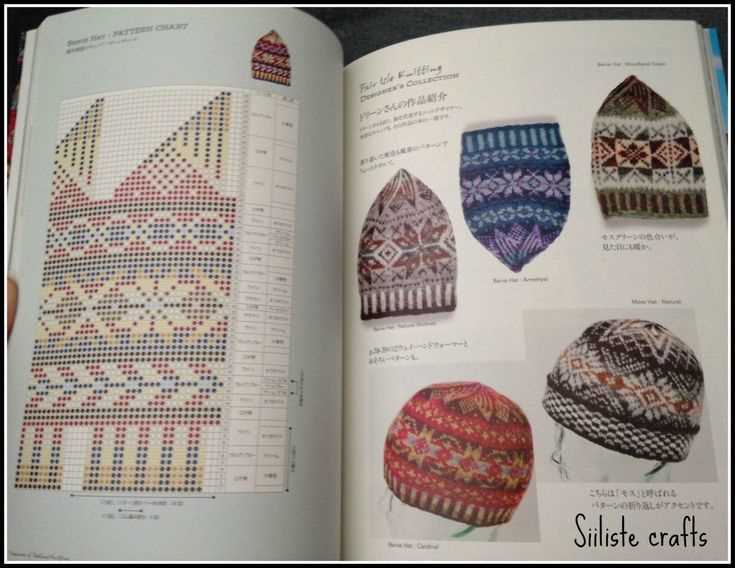
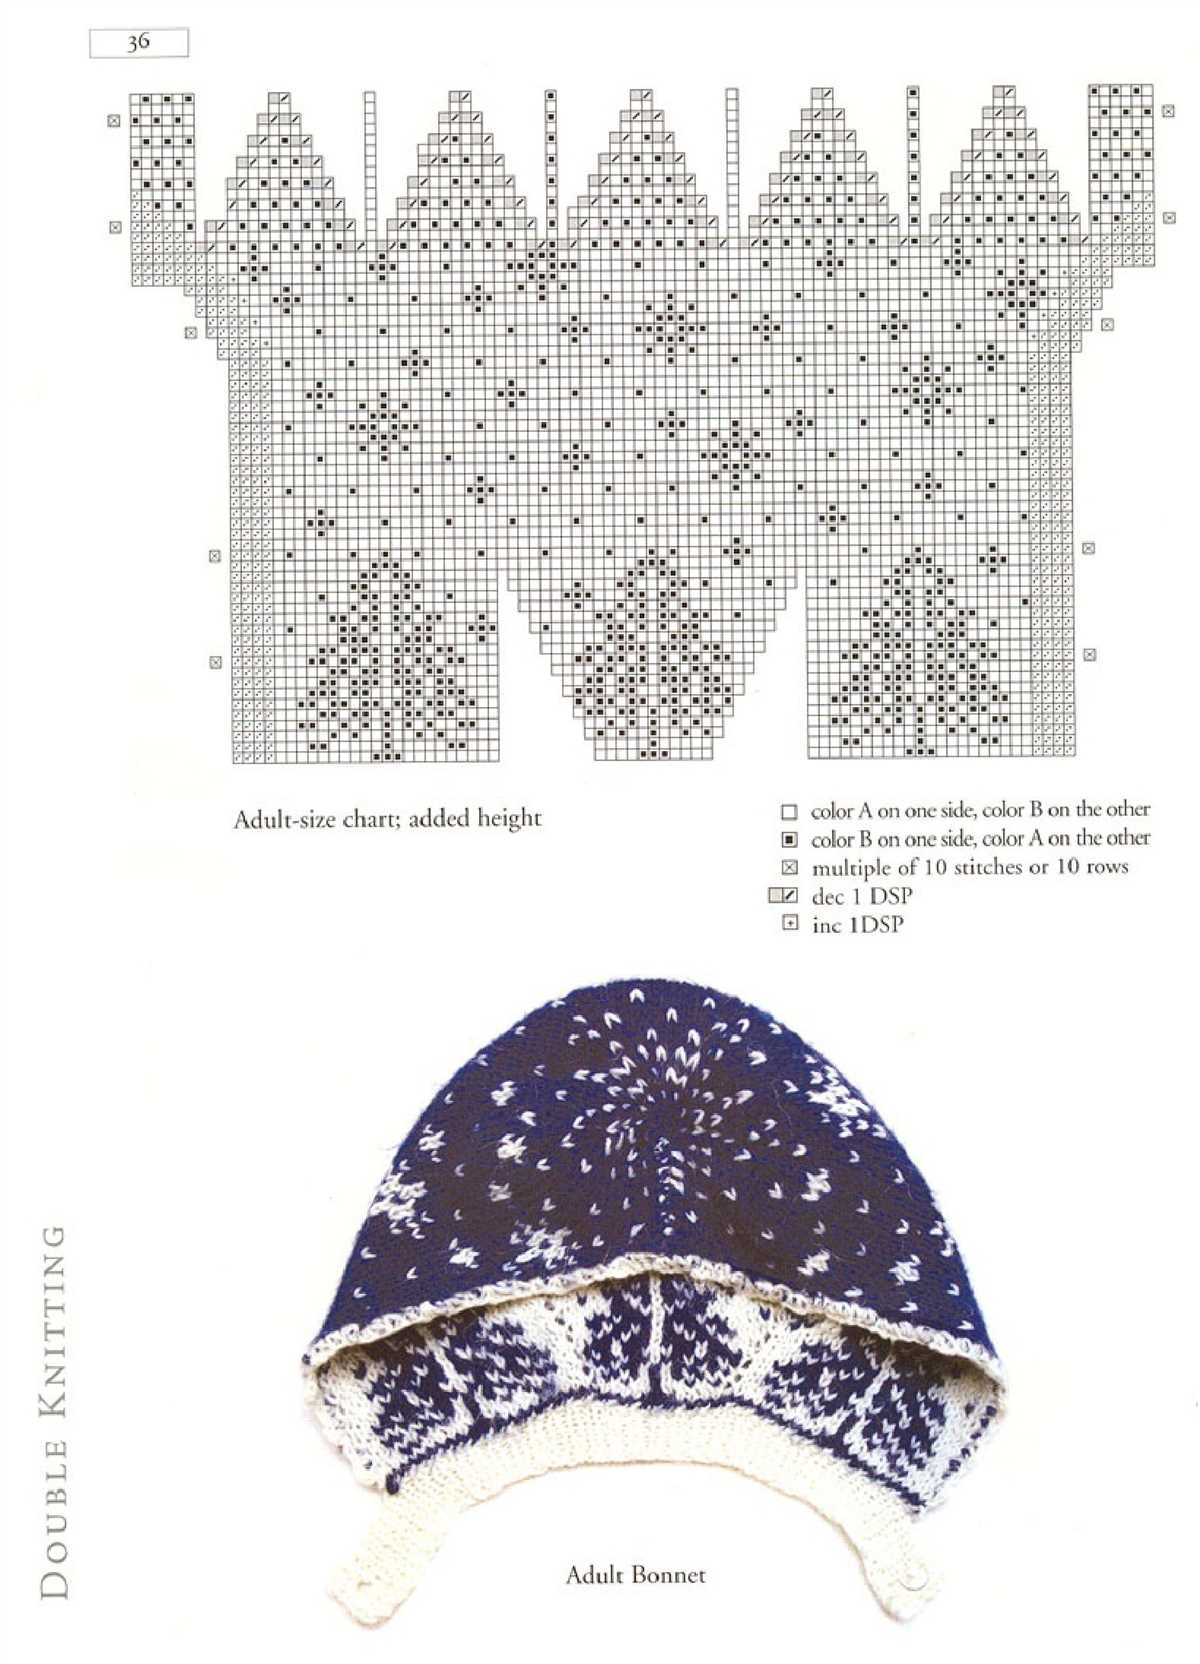
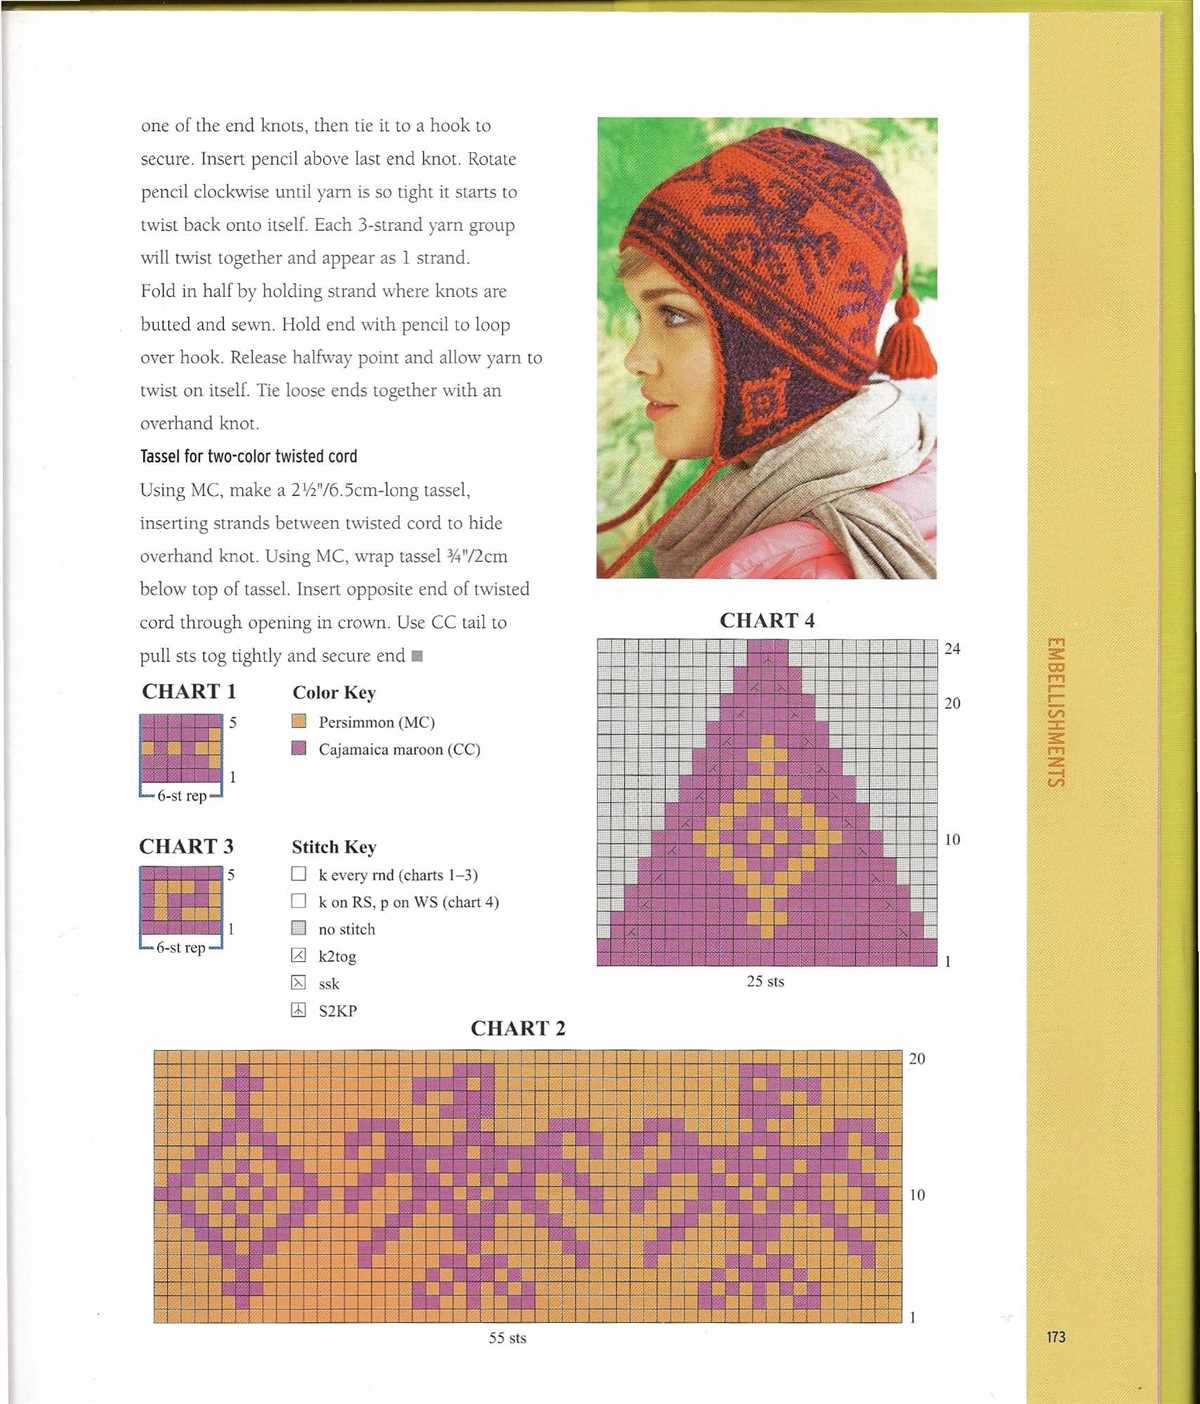
Colorwork: If you’re an experienced knitter, you can incorporate colorwork into your hat design. This involves using different colored yarns to create patterns or motifs on your hat. Fair Isle and stranded knitting are popular techniques for colorwork, and they can add depth and visual interest to your fast knit hat.
Buttons: If you’re looking to add some texture to your hat, consider attaching buttons in a decorative pattern. You can sew on buttons in a specific shape or create a random arrangement for a more eclectic look. Buttons can add dimension and interest to your fast knit hat without requiring advanced knitting skills.
- Consider your personal style and the occasion for which you’re knitting the hat when choosing embellishments.
- Experiment with different combinations of embellishments to create a unique and customized look.
- Don’t be afraid to get creative and think outside the box when it comes to embellishing your fast knit hat.
Care Instructions
When it comes to caring for your fast knit hat, a few simple steps can help ensure its longevity. Here are some care instructions to follow:
- Hand wash only: We recommend hand washing your hat to preserve its shape and avoid stretching or damaging the fibers. Use lukewarm water and a mild detergent specifically designed for wool or delicate fabrics.
- Gently squeeze, do not wring: After washing, gently squeeze out any excess water from the hat. Avoid twisting or wringing it, as this can lead to deformation.
- Do not bleach: It’s important to avoid using any bleach or harsh chemical agents when washing or treating your fast knit hat. These can damage the fibers and cause discoloration.
- Dry flat: To dry your hat, lay it flat on a clean towel or drying rack. Avoid hanging it or using a tumble dryer, as this can stretch the fabric and alter the shape of the hat.
- Avoid direct sunlight: When storing your hat, make sure to keep it away from direct sunlight or heat sources. Prolonged exposure to sunlight can cause fading and damage to the fibers.
- Store properly: To maintain its shape and prevent any potential damage, store your fast knit hat in a cool, dry place. Consider using a hat box or a breathable storage bag to protect it from dust and dirt.
By following these care instructions, you can keep your fast knit hat looking its best and ensure that it will last for seasons to come. Remember to handle it with care and avoid any harsh chemicals or excessive heat.
Variations
There are many ways to customize this fast knit hat pattern to make it unique to your own personal style. Here are some ideas to get you started:
- Change the color: Use a different colored yarn to create a hat that matches your favorite outfit or reflects your mood.
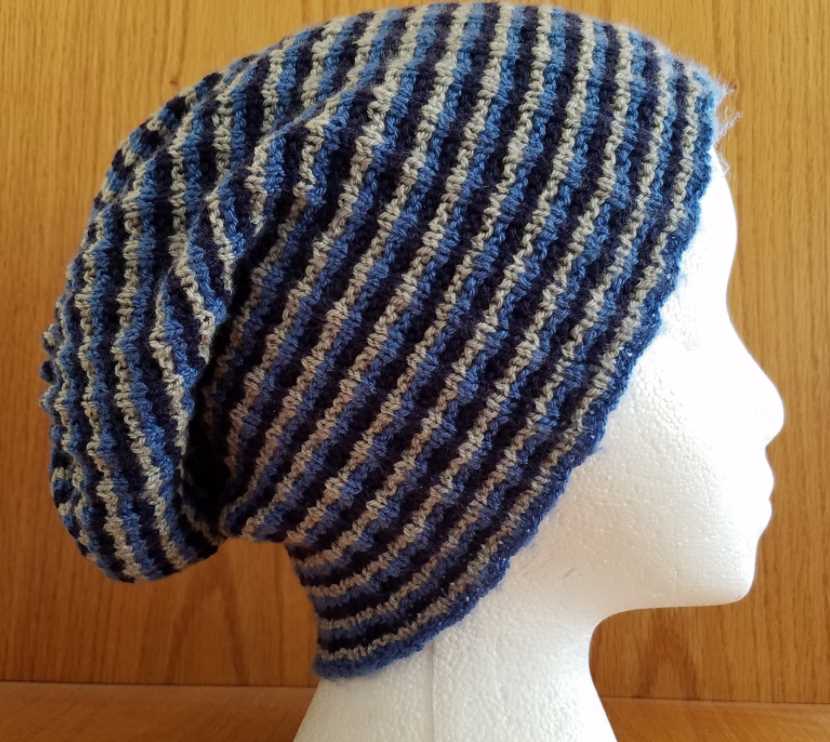
- Add stripes: Alternate between two or more colors to create stripes on your hat. This is a great way to incorporate leftover yarn from other projects.
- Try different stitches: Experiment with different stitch patterns, such as ribbing or cables, to add texture and interest to your hat.
- Add embellishments: Sew on a pom-pom, attach a decorative button, or embroider a design onto your hat to make it truly one-of-a-kind.
Remember, the possibilities are endless when it comes to customizing your fast knit hat. Get creative and have fun with it!
Now that you know how to make a fast knit hat and have plenty of ideas for making it your own, it’s time to get started. Grab your knitting needles and yarn, and enjoy creating a cozy and stylish hat that you can wear all winter long!