
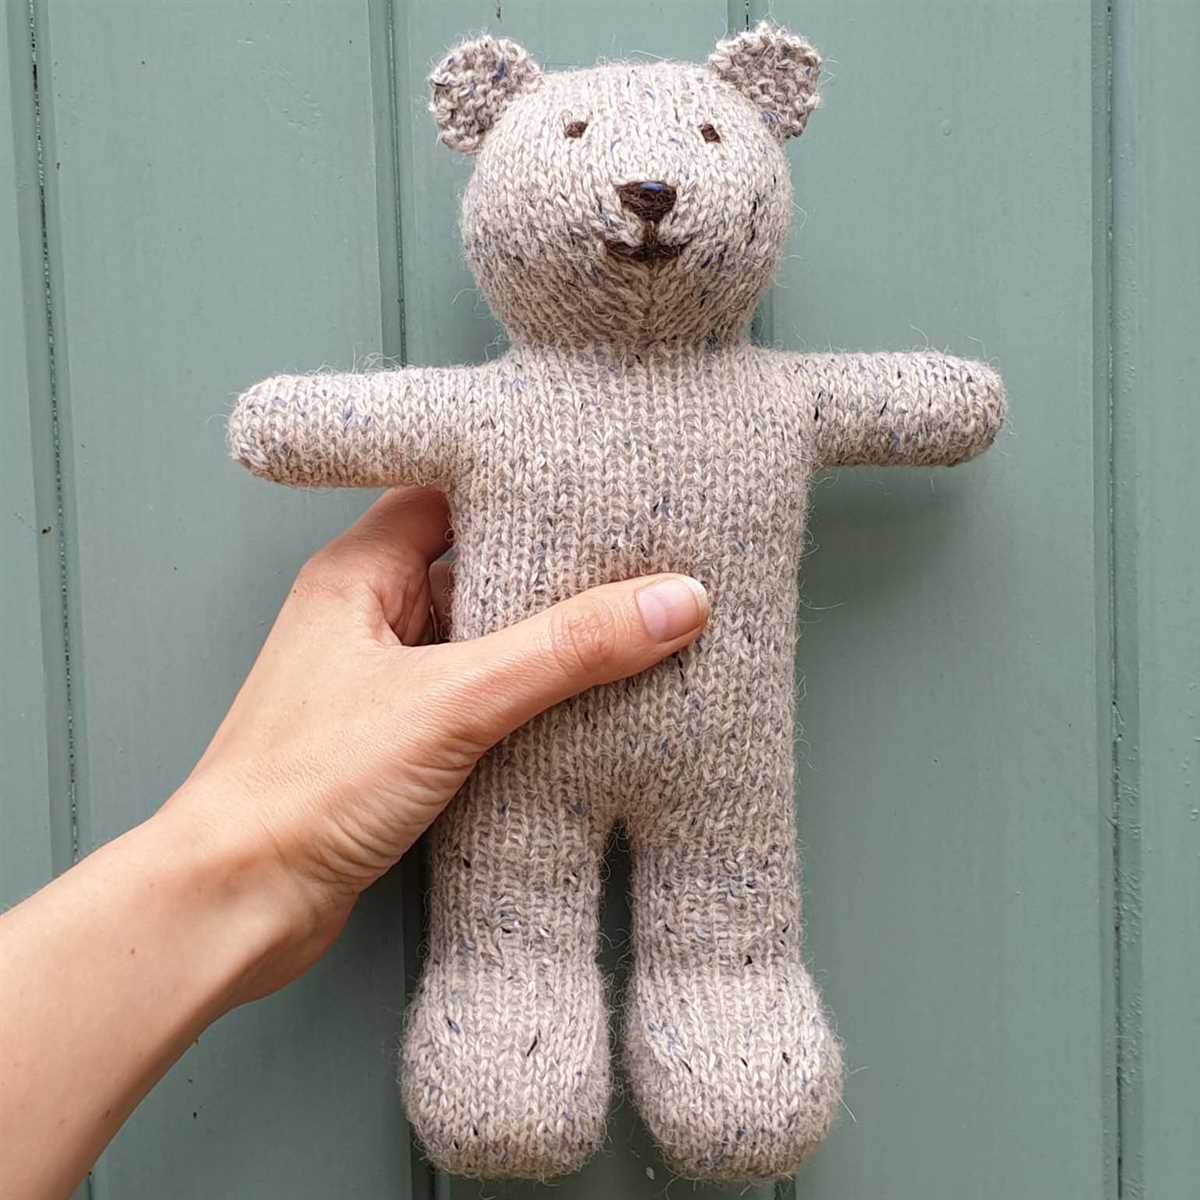
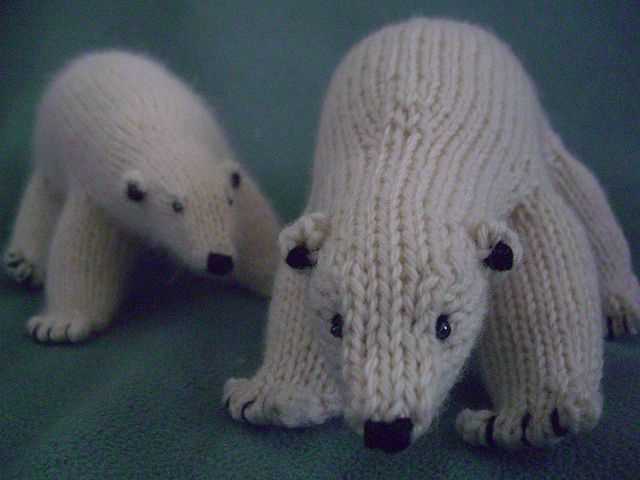
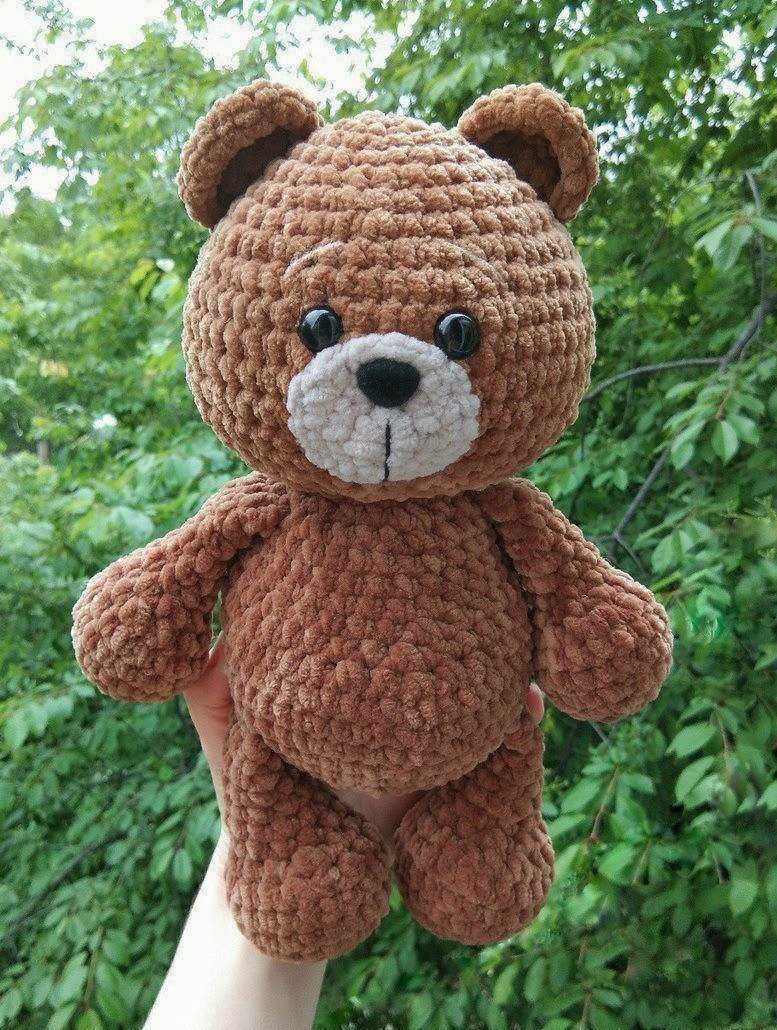
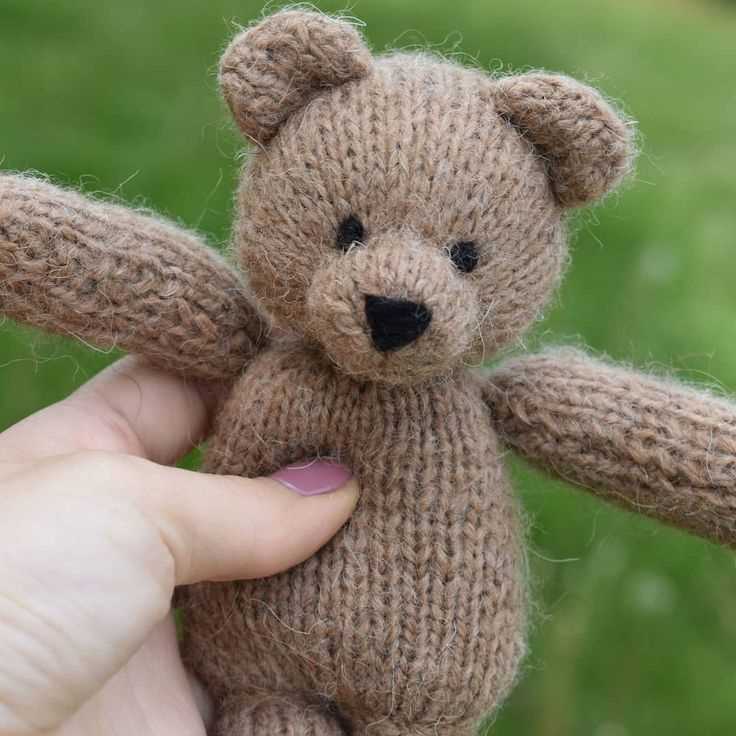
A knitting pattern for a cute and cuddly Fig Bear. If you’re a knitting enthusiast looking for a new project, this pattern is perfect for you. The Fig Bear is a delightful stuffed animal that will bring joy to both children and adults alike. With its soft and fuzzy texture, it’s hard not to fall in love with this adorable creature.
Whether you’re a beginner or an experienced knitter, this pattern is suitable for all skill levels. The detailed instructions and step-by-step photos will guide you through the process, making it easy to follow along. Even if you’ve never knitted before, you’ll be able to create your own Fig Bear in no time.
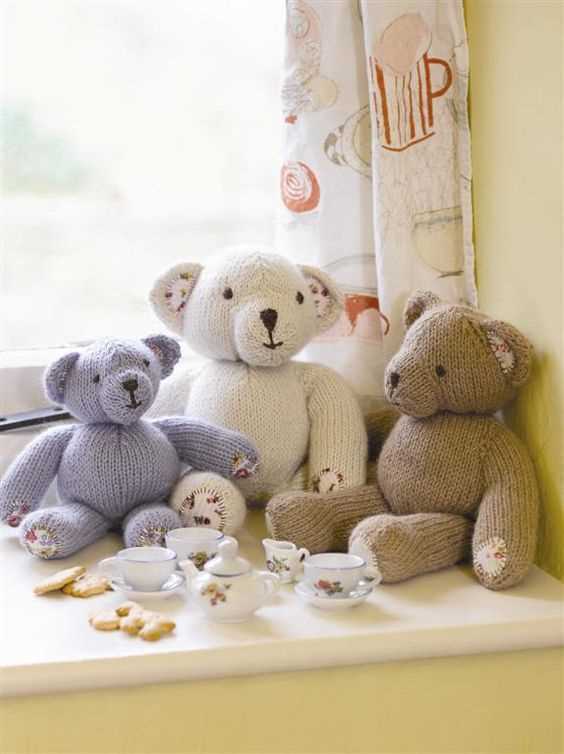
The Fig Bear knitting pattern allows for customization and creativity. You can choose the colors and types of yarn that you prefer, making each Fig Bear unique. Additionally, you can add accessories like a bow or a scarf to give your bear a personal touch. The possibilities are endless, and the result will be a cherished keepsake for years to come.
What is a Fig Bear Knitting Pattern?
A Fig Bear knitting pattern is a set of instructions that guide you in creating a knitted bear toy with a unique design resembling a fig fruit. The pattern provides all the necessary details, such as the types of yarn and needles to use, the stitches and techniques to employ, and the step-by-step instructions for creating the bear.
This knitting pattern is specifically designed for making a fig bear, which means the finished toy will have characteristics that resemble a fig fruit. The pattern usually includes details such as the size of the bear, the color of the yarn to use, and any additional features that can be added, such as embroidered eyes or a decorative stem. Some patterns may even include variations, allowing you to create bears in different sizes or with different color schemes.
The Fig Bear knitting pattern is popular among knitting enthusiasts who enjoy creating unique and whimsical toys. It offers a fun and creative way to express your craft skills and produce a charming and huggable toy. With the detailed instructions provided in the pattern, even beginner knitters can successfully create their own adorable Fig Bear. Whether you are knitting for yourself or as a gift, the Fig Bear knitting pattern provides an enjoyable and rewarding knitting project.
Choosing the Right Yarn for Your Fig Bear Knitting Pattern
When it comes to knitting the Fig Bear pattern, choosing the right yarn is essential for achieving the desired results. The type of yarn you use not only affects the look and feel of the finished bear, but also determines how easy or difficult it is to work with. Here are some factors to consider when selecting the perfect yarn for your project.
1. Fiber Content
The fiber content of the yarn plays a crucial role in determining the overall texture and appearance of the Fig Bear. While there are various yarn options available, natural fibers such as wool or alpaca are often preferred for their softness and warmth. These fibers add a cozy and cuddly feel to the bear, making it perfect for both children and adults.
Additionally, the fiber content also affects the durability and washability of the finished toy. If you’re making the Fig Bear for a child who might be prone to spills or accidents, choosing a yarn that is machine washable and durable will ensure that the bear lasts for many years to come.
2. Weight
The weight of the yarn determines the thickness and bulkiness of the finished bear. The Fig Bear pattern typically calls for worsted weight yarn, which is a medium-weight yarn that provides a good balance between stitch definition and speed of knitting. However, you can experiment with different weights, such as DK or bulky, to achieve different effects.
Keep in mind that using a thicker yarn will result in a larger and fluffier bear, while using a thinner yarn will create a more delicate and dainty toy. Consider the intended purpose of the bear and the recipient’s preferences when deciding on the weight of the yarn.
3. Color and Texture
The Fig Bear pattern offers the opportunity to incorporate creative color combinations and textures through your choice of yarn. Whether you opt for a solid color or a variegated yarn, make sure the colors coordinate well with each other and enhance the features of the bear.
Texture can also be added through the yarn choice, such as opting for a fuzzy or textured yarn for the bear’s fur or using a smooth yarn for the bear’s clothing. Play around with different yarn options to bring your Fig Bear to life and make it truly unique.
Essential Tools for Knitting a Fig Bear
When it comes to knitting a Fig Bear, having the right tools is essential to ensure that your project turns out just right. Here are some must-have tools that will make your knitting experience easier and more enjoyable.
1. Knitting Needles: The first tool you’ll need is a set of knitting needles. For knitting a Fig Bear, it’s best to use medium-sized needles, typically around 4.5mm to 5.5mm in diameter. These needles will allow you to create the right tension and stitch size for your bear.
2. Yarn: Choosing the right yarn is crucial for your Fig Bear project. Opt for a soft, durable yarn that is specifically designed for knitting toys. A cotton or acrylic yarn would work well, as they are both easy to work with and will result in a bear that is safe for children to play with.
3. Stitch Markers: Stitch markers are an invaluable tool when knitting a Fig Bear. They can help you keep track of your stitches and mark important sections of your project, such as the beginning of the round or the start of a new section. This will help prevent any mistakes and make it easier to follow the pattern.
- 4. Scissors: To easily cut yarn and thread when needed.
- 5. Tapestry Needle: To weave in loose ends and sew up any seams.
- 6. Stuffing: To fill the bear and give it its shape.
- 7. Safety Eyes: To add a finishing touch to your bear and give it a cute expression.
Remember, having the right tools can make all the difference in the outcome of your knitting project. So, make sure you have these essential tools on hand when you start knitting your Fig Bear!
Understanding the Basic Stitches for Fig Bear Knitting
When it comes to knitting the adorable Fig Bear, it’s important to be familiar with the basic stitches used in the pattern. These stitches form the foundation of the bear’s body, head, arms, and legs, and mastering them will ensure a successful and enjoyable knitting experience.
Garter Stitch: The garter stitch is the most basic stitch in knitting. It is created by knitting every stitch in every row. When knitting the Fig Bear, the garter stitch is often used for the bear’s body and head. This stitch creates a bumpy texture and provides a nice stretch to the fabric.
Stockinette Stitch: The stockinette stitch is another important stitch to know for knitting the Fig Bear. It is created by alternating rows of knitting and purling. When knitting the bear’s arms and legs, the stockinette stitch is commonly used to create a smooth and even fabric.
Other stitches that may be used in the Fig Bear pattern include the seed stitch, which creates a textured pattern with alternating knit and purl stitches, and the rib stitch, which is often used for the bear’s collar or cuffs. These stitches add visual interest and can elevate the overall look of the finished bear.
By understanding and practicing these basic stitches, you’ll be well-equipped to tackle the Fig Bear knitting pattern. Remember to take your time and enjoy the process, and soon enough you’ll have a cuddly and lovable bear to cherish or gift to someone special.
Tips and Tricks for Reading a Fig Bear Knitting Pattern
If you’re new to knitting or just starting to venture into more complex patterns, reading a Fig Bear knitting pattern can be intimidating at first. However, with a few helpful tips and tricks, you’ll soon be able to decipher and follow along with ease. Take a look at the following suggestions to make the process smoother and more enjoyable.
1. Familiarize Yourself with Common Knitting Abbreviations
Knitting patterns often use abbreviations to condense instructions and make them easier to read. Before starting the Fig Bear pattern, make sure you understand the most common knitting abbreviations. You can find a comprehensive list online or refer to the pattern’s abbreviations key, if provided.
2. Read the Entire Pattern Before Starting
Before picking up your knitting needles, take the time to read through the entire Fig Bear knitting pattern. This will give you an overview of the project and help you understand the sequence of steps involved. You’ll also be able to identify any sections that may require additional attention or clarification.
3. Highlight or Mark Important Sections
To help you stay organized and focused while knitting, consider highlighting or marking important sections in the Fig Bear pattern. This could include instructions for shaping, stitch counts, or reminders for specific techniques. By visually flagging these sections, you’ll be able to quickly reference them as needed.
4. Take Notes as You Go
While following the Fig Bear knitting pattern, it can be helpful to take notes as you progress through each step. This could include jotting down stitch counts, keeping track of row numbers, or making any modifications or adjustments you make along the way. These notes will serve as a valuable resource if you need to refer back to them later.
5. Use a Stitch Marker or Counter
When knitting intricate patterns like the Fig Bear, it can be easy to lose track of where you are in the instructions. To avoid confusion and ensure accuracy, consider using stitch markers or counters to mark key points in the pattern. This will help you keep track of stitch repeats or indicate when to make specific adjustments.
By following these tips and tricks, you’ll be well-equipped to read and tackle the Fig Bear knitting pattern. Don’t be discouraged if it takes some time to fully understand all the instructions – knitting is a skill that improves with practice. Embrace the challenge and enjoy the process of creating your very own adorable Fig Bear!
How to Start and Finish Your Fig Bear Knitting Project
Creating your own Fig Bear is a fun and rewarding knitting project that you can enjoy making from start to finish. This adorable knitted bear can be a special gift for a loved one or a charming addition to your own collection. To begin, gather all the necessary materials, including your chosen yarn, knitting needles, stitch markers, and a tapestry needle for sewing. It’s helpful to have a basic understanding of knitting techniques such as casting on, knitting, purling, increasing, and decreasing.
Starting the Project:
- Casting on: Begin by casting on the required number of stitches, as specified in the Fig Bear knitting pattern. You can use a long-tail cast on or any other method you prefer.
- Knitting the body: Follow the pattern instructions to knit the body of the bear. This may involve knitting in the round or working flat and seaming the sides later. Keep track of your rows with stitch markers and be mindful of any changes in the stitch pattern.
- Shaping the bear: As you progress, the pattern may instruct you to increase or decrease stitches to create the desired shape. Pay close attention to these instructions and use stitch markers to mark any important sections.
Finishing the Project:
- Completing the limbs: Once the body is finished, it’s time to knit the arms and legs separately, following the pattern instructions. Make sure to stuff the limbs lightly with fiberfill or another suitable stuffing material before sewing them onto the body.
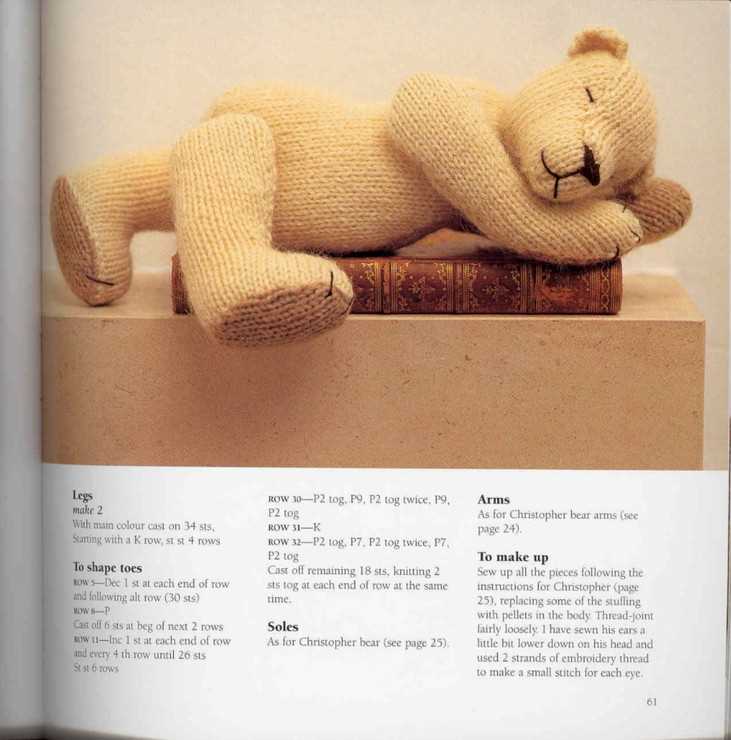
- Adding the face: Embroider or sew the bear’s facial features using yarn or embroidery thread. This can include eyes, nose, mouth, and any other desired details. Take your time to achieve the desired expression and be sure to secure the threads tightly.
- Finishing touches: Lastly, sew up any remaining seams, such as closing the top of the head or attaching any accessories. Weave in any loose ends, ensuring they are secure and hidden within the knitting.
Once you have completed your Fig Bear knitting project, take a step back and admire your handiwork. This charming knitted bear is ready to be cherished or gifted to someone special. Remember to always follow the pattern instructions carefully and enjoy the process of creating your own unique Fig Bear.
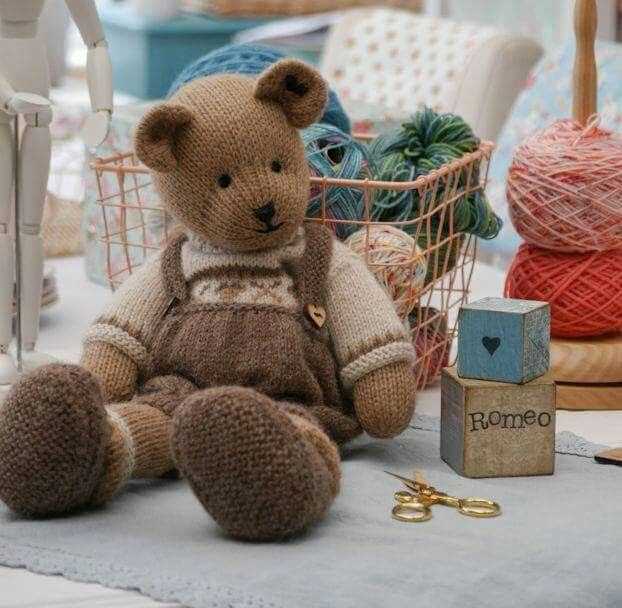
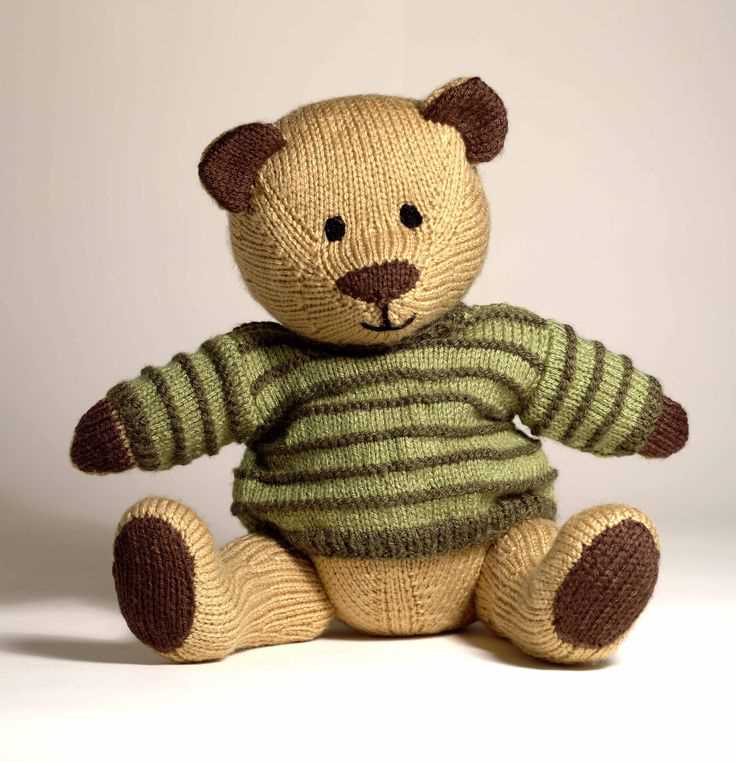
Adding Embellishments to Your Fig Bear
Once you have finished knitting your adorable Fig Bear, you may want to add some embellishments to give it a more personal touch. These little details can really make your bear stand out and add character to your finished project.
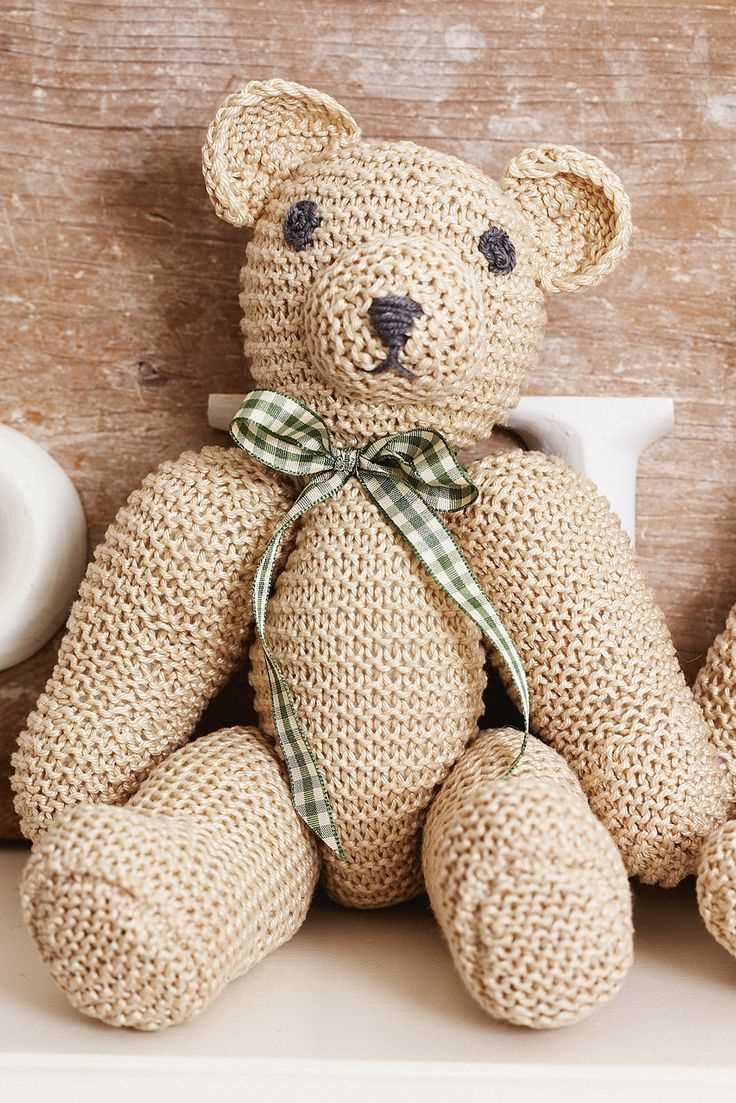
1. Embroidery: One of the easiest ways to add embellishments to your Fig Bear is through embroidery. You can use a contrasting color of yarn to stitch on facial features such as eyes, nose, and mouth. This will give your bear a cute and expressive face.
2. Buttons: Another option is to sew on buttons to create eyes for your Fig Bear. You can choose different colors and sizes to give your bear a unique look. Make sure to secure the buttons tightly so that they don’t come loose during playtime.
3. Ribbons and Bows: Adding ribbons or bows to your Fig Bear is a great way to give it a more girly or festive look. You can attach a ribbon around the bear’s neck like a collar or tie a bow on one of its ears. This will add a cute and playful touch to your finished project.
4. Accessories: If you want to take your Fig Bear embellishments to the next level, you can add small accessories such as a miniature hat, scarf, or even a tiny backpack. These details will make your bear look even more adorable and can be customized to match its personality or the occasion.
- Remember to always use child-safe materials and avoid small parts that can pose a choking hazard for young children.
- Get creative and experiment with different embellishments to make your Fig Bear truly one-of-a-kind.
- Lastly, don’t forget to share your finished project with the knitting community to inspire others and showcase your creativity.
Common Mistakes to Avoid When Knitting a Fig Bear
Knitting a Fig Bear can be a fun and rewarding project, but it is not without its challenges. To help ensure success, it is important to avoid common mistakes that can impact the final result. Here are some key mistakes to look out for when knitting a Fig Bear:
1. Incorrect Gauge
One of the biggest mistakes knitters make when starting a Fig Bear project is not checking their gauge. The gauge refers to the number of stitches and rows per inch in the pattern. If your gauge does not match the pattern specifications, your bear may end up larger or smaller than intended. Always take the time to knit a gauge swatch and adjust your needle size if necessary.
2. Skipped or Incorrectly Followed Instructions
Knitting patterns can be intricate and complex, especially when it comes to creating a stuffed animal like a Fig Bear. Skipping or incorrectly following instructions can lead to errors or misshapen pieces. It is important to carefully read and understand each step before proceeding. Taking notes or using stitch markers can help you keep track of where you are in the pattern.
3. Inconsistent Tension
Consistent tension is crucial for creating a neat and uniform finished product. If your tension changes throughout the project, it can result in uneven stitches and an overall messy appearance. Take care to maintain a steady tension as you knit, and regularly check your work to ensure it matches the pattern’s recommended gauge.
4. Lack of Finishing Techniques
Finishing techniques, such as sewing seams and attaching limbs, are often overlooked but can make a significant difference in the final appearance of your Fig Bear. Without proper finishing, your bear may look unfinished or have loose seams. Take the time to carefully sew and attach all pieces, and consider using techniques like invisible seaming for a seamless finish.
5. Ignoring Pattern Corrections or Updates
Patterns can sometimes contain mistakes or be updated for clarity. If you come across pattern corrections or updates, it is important to incorporate them into your project. Ignoring these changes can lead to inconsistencies or errors in your finished Fig Bear. Always double-check the pattern’s website or designer’s notes for any updates before starting your knitting project.
Avoiding these common mistakes can help you create a beautifully knitted Fig Bear that you can be proud of. By paying attention to gauge, following instructions carefully, maintaining consistent tension, using proper finishing techniques, and acknowledging pattern corrections, you can ensure a successful and enjoyable knitting experience.
Caring for Your Finished Fig Bear

Once you have completed knitting your Fig Bear, it is important to properly care for it to ensure its longevity and keep it looking its best. Here are some tips for caring for your finished bear:
1. Spot Cleaning
If your Fig Bear gets a small stain or dirt on it, you can spot clean it using a mild detergent and a soft cloth. Gently dab the affected area with the damp cloth, being careful not to rub or scrub too harshly as this can damage the fibers of the knitting.
2. Hand Washing
For a more thorough cleaning, you can hand wash your Fig Bear. Fill a basin or sink with lukewarm water and a gentle detergent specifically designed for delicate fabrics. Submerge the bear in the water and gently agitate it to loosen any dirt. Rinse the bear in clean water until all the soap is removed, then carefully squeeze out any excess water.
Note: Do not wring or twist the bear as this can misshape it. Instead, gently press the bear between towels to remove excess water, then reshape it and lay it flat to dry.
3. Avoid Excessive Sunlight
Sunlight can fade the colors of the bear over time, so it is best to avoid placing your Fig Bear in direct sunlight for extended periods. Instead, find a cool and shady spot to display or store your bear.
4. Keep Away from Pets
While Fig Bear may be adorable, it is not designed as a chew toy for pets. Keep your bear out of reach of pets to prevent any accidental damage or swallowing of small parts. If necessary, place the bear in a display cabinet or on a high shelf where pets cannot reach.
By following these care instructions, you can ensure that your Fig Bear remains in great condition for years to come. Happy knitting and enjoy your new cuddly friend!
Adapting the Fig Bear Pattern for Different Sizes
The Fig Bear knitting pattern is a popular and adorable toy that many knitters enjoy making. However, sometimes you may want to create a bear in a different size than the original pattern. Luckily, with a few modifications, you can easily adapt the pattern to create bears of various sizes.
1. Adjusting the yarn weight and needle size: One of the simplest ways to change the size of your knitted bear is by using a different yarn weight and needle size. If you want a smaller bear, you can opt for a finer weight yarn and smaller needles. Conversely, if you want a larger bear, choose a bulkier yarn and larger needles. Just be sure to check your gauge to ensure the proportions are maintained.
2. Modifying the number of stitches and rows: Another way to adjust the size is by changing the number of stitches and rows in the pattern. For a smaller bear, cast on fewer stitches and work fewer rows in each section. To make a larger bear, cast on more stitches and work additional rows. Keep in mind that these modifications may require adjustments to other parts of the pattern as well, such as the ears or limbs.
Note: If you are making significant changes to the pattern, it’s a good idea to create a swatch and calculate the new stitch and row count to ensure the final product will turn out as desired.
3. Scaling down or up the measurements: If you have a specific size in mind, you can also modify the pattern by scaling down or up the measurements. For example, if the pattern calls for a 4-inch body, and you want a 6-inch bear, you can increase all the measurements in the pattern proportionally.
Note: Keep in mind that changing the measurements may affect the proportions of the bear, so it’s essential to consider how the modifications will impact the overall look of the toy.
By making these simple adjustments to the Fig Bear knitting pattern, you can create bears of various sizes to suit your preferences or the intended recipient. Whether you want a small pocket-sized bear or a giant huggable companion, the possibilities are endless with a little creativity and knitting know-how.
Fig Bear Knitting Patterns for Advanced Knitters
If you are an experienced knitter looking for a challenge, Fig Bear knitting patterns are perfect for you. These patterns are designed with advanced techniques and intricate details to create adorable and lifelike bear toys that will impress both children and adults.
1. Unique Designs: Fig Bear knitting patterns offer a variety of unique designs, allowing you to create bears with different poses, expressions, and outfits. From sitting bears with cute accessories to standing bears with jointed limbs, these patterns will push your knitting skills to the next level.
2. Complex Stitching: These patterns incorporate complex stitches and techniques such as cables, bobbles, and colorwork. You will have the opportunity to enhance your knitting abilities and learn new skills while creating these intricate bear toys. The detailed instructions and charts provided in the patterns will guide you through each step.
3. Lifelike Features: Fig Bear knitting patterns focus on capturing the charm and realism of real bears. You will learn techniques to create lifelike facial features, such as embroidered eyes, noses, and mouths, as well as shaping techniques to give the bears a realistic body structure.
4. Customization Options: These patterns allow you to customize your bear by choosing different yarns, colors, and embellishments. You can personalize your creation to match your own style or the preferences of the recipient. This flexibility adds an extra level of creativity and satisfaction to the knitting process.
5. Satisfaction and Reward: Knitting advanced patterns like Fig Bear will provide you with a sense of accomplishment and pride. Seeing the finished bear come to life, created by your own hands, is an incredibly rewarding experience. Whether you keep it for yourself or gift it to a loved one, your Fig Bear creation will be cherished for years to come.
Overall, Fig Bear knitting patterns are ideal for advanced knitters who are seeking a challenging and rewarding project. These patterns offer unique designs, complex stitching techniques, lifelike features, customization options, and a great sense of accomplishment. Start your next knitting adventure with a Fig Bear pattern and enjoy the journey of creating a treasured bear toy.
Sharing Your Fig Bear Knitting Project with the Knitting Community
After completing your Fig Bear knitting project, you may be excited to share it with the knitting community. Whether you want to showcase your skills, inspire others, or simply connect with fellow knitting enthusiasts, there are several ways to get involved and share your project.
One of the easiest ways to share your Fig Bear knitting project is by posting about it on social media platforms such as Instagram, Facebook, or Twitter. You can take high-quality photos of your finished bear from different angles and in various settings to showcase its features. Use relevant hashtags like #FigBearKnittingPattern or #KnittingCommunity to reach a wider audience. Don’t forget to mention any modifications or unique techniques you used in your project as this can spark conversation and inspire others.
If you prefer a more interactive approach, joining knitting forums and online communities can be a great way to connect with like-minded individuals. You can share your Fig Bear project in these platforms, ask for feedback or advice, and engage in conversations with fellow knitters. Websites like Ravelry offer dedicated spaces for sharing your finished projects, where you can upload pictures, write detailed notes, and even rate the complexity of the pattern.
Other ways to share your Fig Bear knitting project with the knitting community include:
- Writing a blog post and sharing your experience, including any challenges or successes you encountered during the knitting process.
- Participating in knitting contests or challenges where you can submit photos of your Fig Bear project for a chance to win prizes or recognition.
- Collaborating with other knitters to create a Fig Bear knitting pattern collection or hosting knitalongs where everyone knits the pattern together.
Remember, sharing your Fig Bear knitting project not only allows you to celebrate your achievements but also inspires others and contributes to the vibrant knitting community. So don’t hesitate to showcase your creativity and connect with fellow knitters!
Q&A:
What is a fig bear knitting pattern?
A fig bear knitting pattern is a set of instructions that provides a guide for knitting a toy bear in the shape of a fig fruit. It typically includes the materials needed, stitch instructions, and finishing techniques to create the bear.
Where can I find a fig bear knitting pattern?
You can find a fig bear knitting pattern online on various knitting pattern websites, craft blogs, or through a simple internet search. There may be both free and paid patterns available.
What materials do I need for a fig bear knitting pattern?
The materials needed for a fig bear knitting pattern may include yarn in different colors, knitting needles, stitch markers, and stuffing for the toy bear. The specific materials required will vary depending on the pattern you choose.
Are fig bear knitting patterns suitable for beginners?
Fig bear knitting patterns vary in difficulty, so some may be more suitable for beginners than others. It’s always best to check the skill level indicated on the pattern to ensure it matches your knitting abilities. There are plenty of simple and beginner-friendly patterns available for those new to knitting.
Can I customize a fig bear knitting pattern?
Yes, you can customize a fig bear knitting pattern to your liking. You can experiment with different yarn colors, add embellishments, or change the size of the bear by adjusting the number of stitches. Be sure to follow the basic structure and instructions of the pattern while making any modifications.
What is a Fig bear knitting pattern?
A Fig bear knitting pattern is a knitting pattern that provides instructions on how to create a teddy bear figurine using yarn and knitting needles. The pattern typically includes detailed step-by-step instructions, as well as a list of materials needed and recommended knitting techniques.
Where can I find a Fig bear knitting pattern?
You can find Fig bear knitting patterns online on various websites that offer knitting patterns for free or for purchase. Additionally, you can also find Fig bear knitting patterns in knitting books or magazines. Some online platforms, such as Etsy, also have independent designers who sell Fig bear knitting patterns.