
If you are a knitting enthusiast looking for a new project, why not try your hand at knitting a felted hat? Felted hats are a popular choice among knitters because they are easy to make, versatile, and can be customizable to fit any style or size. Best of all, there are plenty of free knit patterns available online, so you don’t have to spend a fortune on a pattern.
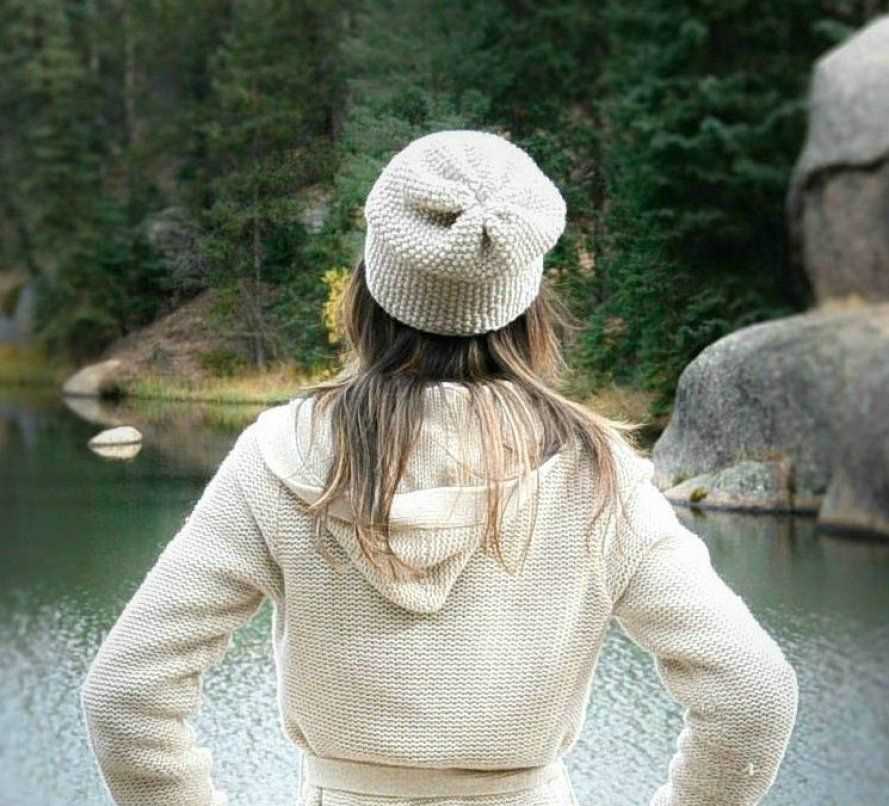
When it comes to felted hat patterns, the possibilities are endless. You can choose from a variety of styles, such as slouchy hats, beanies, cloches, or berets. Whether you prefer a simple design or something more intricate, there is a pattern out there that will suit your taste.
The process of felting a hat involves knitting the hat with 100% wool yarn, and then subjecting it to heat, water, and agitation to make the fibers shrink and interlock, creating a denser and warmer fabric. Felted hats are not only stylish but also practical, as the felted fabric is wind-resistant and insulating.
So why not give it a try? With free felted hat patterns available online, you can start knitting your own unique accessory today. Whether you are a beginner or an experienced knitter, you will find a pattern that will inspire you and keep you warm all winter long.
Felted Hat Patterns: Free Knit Designs
If you love knitting and want to try your hand at creating your own felted hat, there are many free knit designs available for you to choose from. Felted hats are a popular accessory and can provide warmth and style during the colder months.
One option for a felted hat pattern is the “Slouchy Beanie.” This design features a relaxed fit and a slouchy silhouette, perfect for those looking for a casual and trendy look. The pattern typically calls for bulky weight yarn and circular knitting needles to create a seamless and comfortable hat.
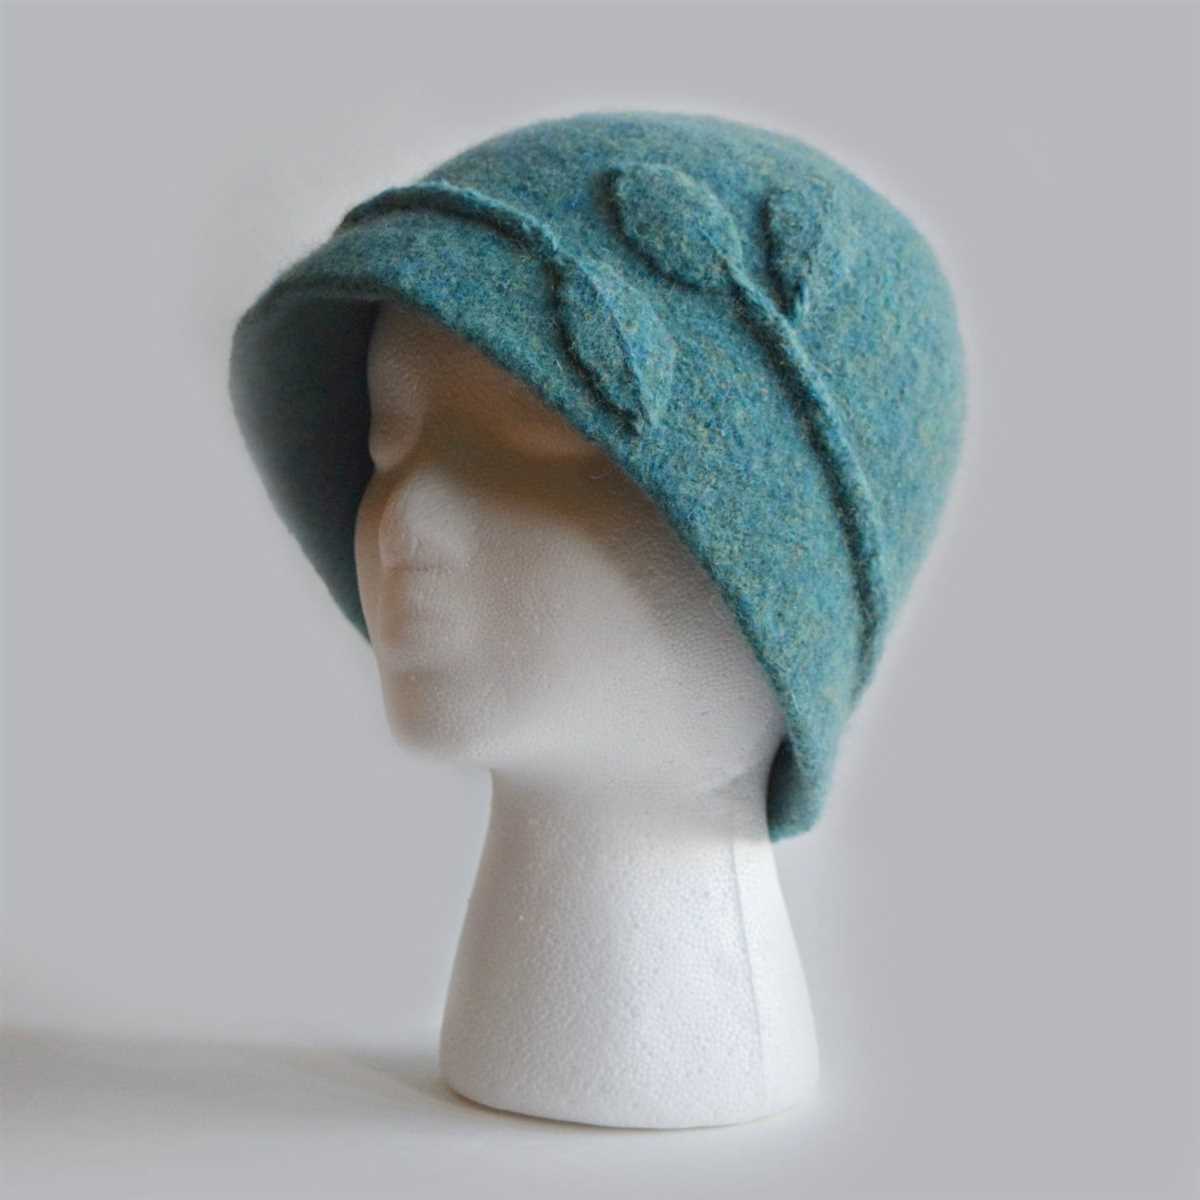
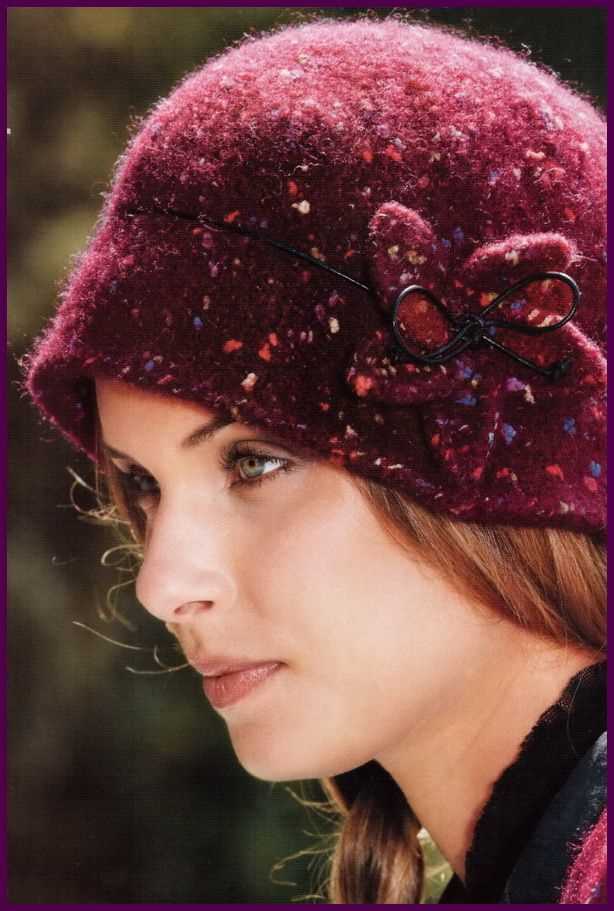
Another popular choice is the “Classic Cloche” hat pattern. This design is inspired by the 1920s and features a close-fitting bell shape that is both elegant and timeless. The pattern often includes instructions for adding a decorative flower or ribbon to enhance the hat’s charm.
- Other popular felted hat patterns include:
- “Ribbed Newsboy Cap”: This design combines classic ribbing with a modern twist, creating a stylish hat that can be worn by both men and women.
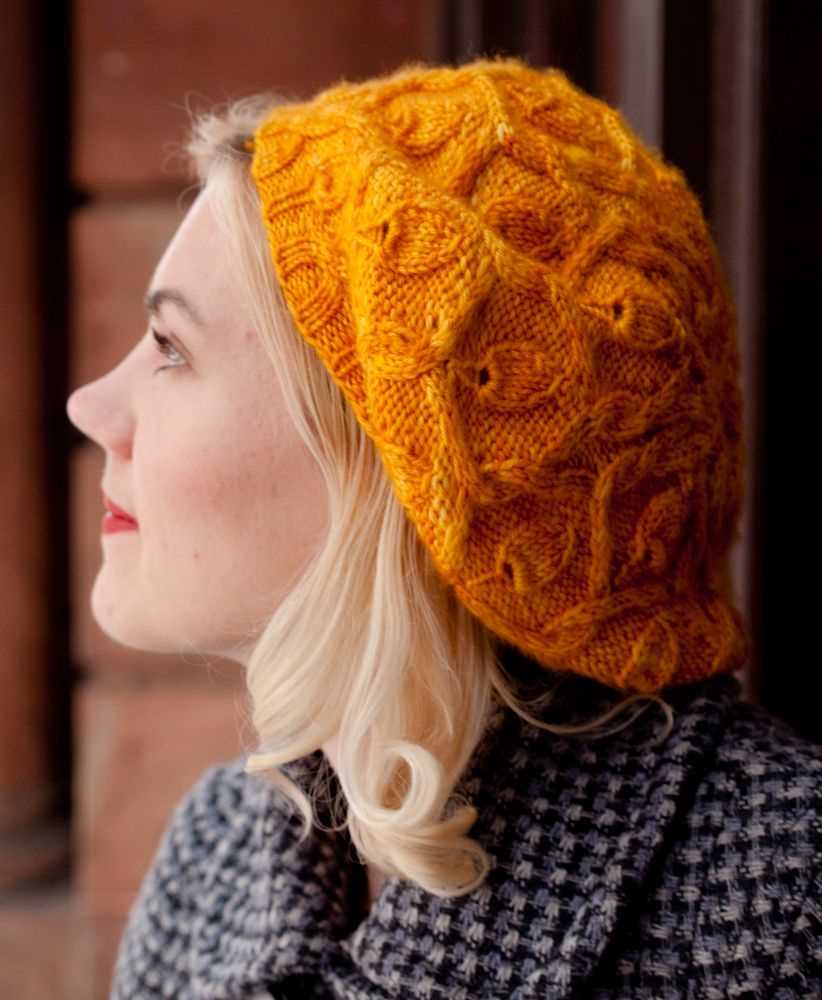
- “Cabled Slouch Hat”: For those who enjoy more intricate knitting patterns, this design incorporates cable stitches to create a unique hat with texture and depth.
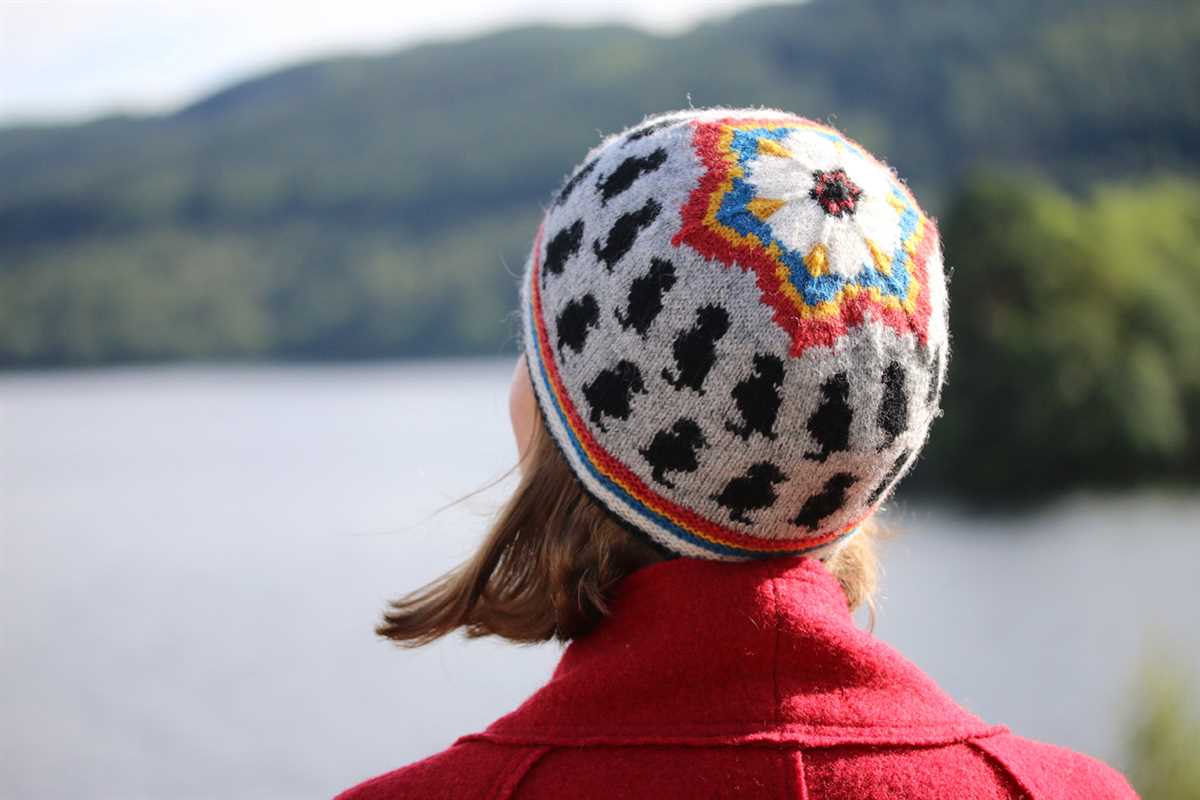
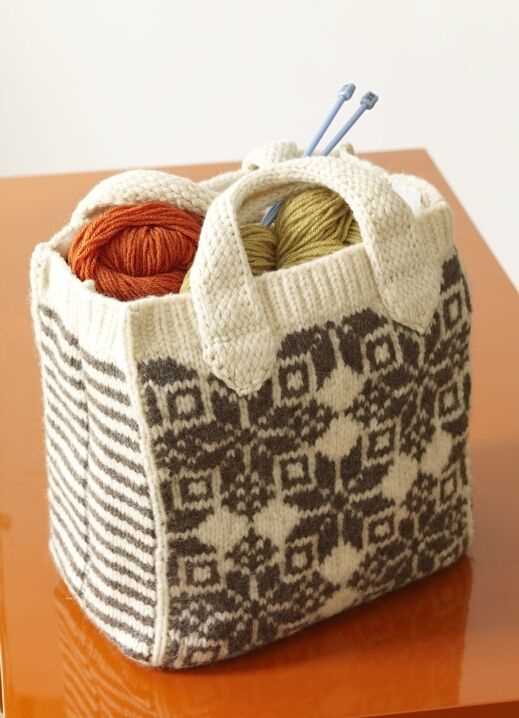
- “Fair Isle Beanie”: This pattern uses the Fair Isle knitting technique to create a colorful and intricate design. It’s a great option for those who enjoy working with multiple yarn colors.
When choosing a felted hat pattern, make sure to check the skill level required and gauge information to ensure your hat turns out as desired. Additionally, have fun experimenting with different yarns and colors to personalize your creation. Happy knitting!
Choosing the Right Yarn for Felted Hat Knitting
When it comes to knitting a felted hat, choosing the right yarn is crucial. Felted hats require specific types of yarn that will felt properly when subjected to heat and agitation. For successful felting, it is important to consider the fiber content, weight, and color of the yarn.
Fiber Content
The fiber content of the yarn plays a significant role in the felting process. Wool is the most commonly used fiber for felting due to its natural ability to felt well. Look for yarns that are labeled as 100% wool or have a high percentage of wool content. Avoid yarns with synthetic fibers such as acrylic or cotton, as they do not felt as easily.
Yarn Weight
The weight of the yarn also affects the felting process. Generally, yarns that are categorized as bulky or super bulky work best for felting hats. These thicker yarns create a denser fabric that felts more easily. Avoid using finer weights such as fingering or sport weight, as they may not felt properly or take longer to achieve the desired result.
Color Choice

The color of the yarn is another important consideration when knitting a felted hat. Darker colors tend to felt better than lighter ones, so it is recommended to choose yarns in dark hues. This is because darker colors absorb heat more efficiently, which aids in the felting process. However, it is also possible to use light-colored yarns, but keep in mind that the final felted hat may have a more muted or pastel appearance.
Overall, selecting the right yarn for felted hat knitting is essential for achieving the desired felting results. Choose a yarn with a high wool content, a bulky weight, and consider using darker colors for more efficient felting. With the right yarn, you’ll be able to create beautiful and cozy hats that will keep you warm in style.
Felted Hat Knitting Techniques for Beginners
Knitting a felted hat is a great project for beginners who want to learn new knitting techniques. Felted hats are not only stylish, but they are also warm and cozy, making them perfect for the colder months. Here are some techniques you can try when knitting a felted hat:
1. Casting on and knitting in the round
When knitting a felted hat, you will typically start by casting on stitches and joining them in the round. This technique allows you to create a seamless hat with no visible seams. You can use a circular needle or double-pointed needles, depending on your preference and the pattern you are working with.
2. Decreasing stitches
As you knit your hat, you will need to decrease stitches to shape the crown. This can be done using techniques like knit two together (K2tog) or slip slip knit (SSK). Decreasing stitches evenly will give your hat a nice tapered shape.
3. Felting the hat

After you have finished knitting your hat, you will need to felt it to create the desired texture and size. Felting involves agitating the knitted fabric in hot water and soap to create friction and shrink the fibers. Make sure to check the felting instructions and gauge in your pattern to ensure the correct felting process.
4. Blocking and shaping
Once your hat is felted and dry, you can block and shape it to give it the desired fit and style. This can be done by gently stretching and shaping the hat on a blocking form or your head. Blocking will help the hat retain its shape and give it a polished look.
With these basic techniques, you can start knitting your own felted hats and explore different patterns and designs. Remember to choose a soft and durable yarn suitable for felting and have fun experimenting with colors and stitches to create unique hats for yourself or as gifts.
When it comes to knitting felted hats, having the right tools is essential. These tools will not only make your knitting experience more enjoyable, but they will also help you create beautiful, well-fitting hats.
Knitting Needles:
Choosing the right knitting needles is crucial for knitting felted hats. While most patterns will specify the recommended needle size, it’s important to consider the material of the needles as well. For felting, it’s best to use wooden or bamboo needles, as they grip the yarn better and prevent stitches from sliding off.
Yarn:
Selecting the right yarn for your felted hat is essential for achieving the desired texture and durability. Natural fibers such as wool, alpaca, and mohair work best for felting, as they have the ability to shrink and bind together when agitated in hot water. It’s important to choose a yarn that is labeled as “feltable” or “suitable for felting” to ensure successful results.
Stitch Markers:
Stitch markers are essential for keeping track of stitch patterns and decreases while knitting a felted hat. They come in various styles and can be used to mark the beginning of a round, specific stitch counts, or any other important points in the pattern. They help to prevent mistakes and make it easier to follow the pattern accurately.
Row Counter:
A row counter is a handy tool that helps you keep track of the number of rows you have knitted. This is especially important for patterns that require specific stitch counts or shaping techniques. A row counter can be attached to your knitting needles or used separately, and it can save you from making mistakes or losing track of your progress.
Tapestry Needles:
Tapestry needles, also known as yarn needles or darning needles, are essential for seaming and weaving in loose ends. They have large eyes that make threading yarn easier and blunt tips that prevent them from piercing the knitted fabric. They come in different sizes, so it’s important to choose one suitable for the weight of your yarn.
Measuring Tape:
A measuring tape is an essential tool for ensuring the correct fit of your felted hat. It allows you to measure the circumference and height of the hat, as well as the head size of the intended recipient. This will help you determine the size to knit and make any necessary adjustments to the pattern for a perfect fit.
Blocking Tools:
Blocking tools, such as blocking mats and blocking pins, are useful for shaping and drying your felted hat. After felting, the hat may need to be reshaped and stretched to achieve the desired fit and appearance. Blocking mats provide a stable surface for pinning the hat in shape, while blocking pins hold the fabric in place until it dries.
With these essential knitting tools, you’ll be well-equipped to create beautiful felted hats. So gather your supplies, choose a pattern, and start knitting! Happy felting!
Knitting Pattern: Cozy Ribbed Felted Hat
Looking for a warm and cozy hat to knit? This pattern for a ribbed felted hat is just what you need. With its textured ribbed design, this hat is not only stylish but also incredibly warm. The felting process further enhances the hat’s insulation, making it perfect for colder weather.
To start, you’ll need the following materials:
- Worsted weight yarn
- Size 8 circular needles
- Double-pointed needles
- Tapestry needle
The pattern begins with the ribbed brim, which adds a touch of stretchiness and ensures a snug fit. Once the brim is complete, you’ll move on to knitting the body of the hat in a simple ribbed pattern. The ribbing continues until you reach the desired length, at which point you’ll decrease to shape the crown.
After completing the knitting, the hat is ready to be felted. Felting involves agitating the wool fibers in hot water to shrink and tighten them, resulting in a denser and warmer fabric. Be sure to follow the felting instructions carefully to achieve the desired size and texture.
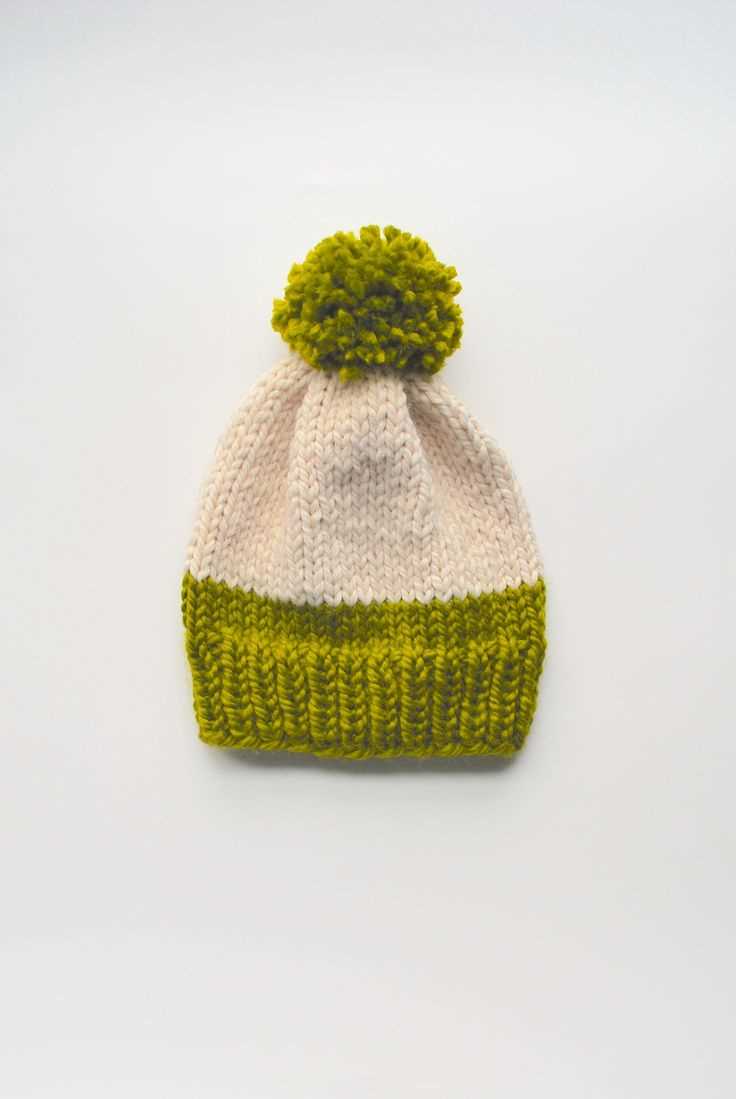
Once the hat is felted and dry, you can add any desired embellishments, such as a pom-pom or decorative buttons. This pattern allows for customization and creativity, so feel free to make it your own!
With its cozy ribbed design and felted insulation, this hat will be your go-to accessory for keeping warm and stylish during the colder months. Whether you’re knitting it for yourself or as a thoughtful gift, this cozy ribbed felted hat pattern is sure to please.
Knitting Pattern: Classic Cabled Felted Hat
If you’re looking for a timeless and sophisticated hat pattern, this Classic Cabled Felted Hat is the perfect choice. With its intricate cable design and cozy felted texture, it is sure to become a staple in your winter wardrobe.
Materials:
- Worsted weight yarn
- Size US 8 (5mm) circular needles
- Cable needle
- Tapestry needle
Instructions:
- Cast on 80 stitches with your circular needles.
- Join in the round, being careful not to twist the stitches.
- Work in a k2, p2 ribbing for 2 inches.
- Begin the cable pattern: knit 3 stitches, place the next 3 stitches onto the cable needle and hold in front, knit the next 3 stitches from the left needle, then knit the 3 stitches from the cable needle. Repeat this cable pattern until you reach the desired length.
- Continue knitting in stockinette stitch until the hat measures approximately 7 inches from the cast-on edge.
- Begin decreasing: *k2tog, knit 6* around.
- Knit one round.
- *K2tog, knit 5* around.
- Knit one round.
- Continue decreasing in this manner until you have 8 stitches remaining.
- Cut the yarn, leaving a long tail. Thread the tail through a tapestry needle and slide it through the remaining stitches. Pull tight to cinch the top of the hat closed.
- Weave in any loose ends and block the hat to shape. Felt the hat by submerging it in hot, soapy water and agitating it gently. Rinse with cool water and reshape if necessary. Allow the hat to air dry.
This Classic Cabled Felted Hat is not only stylish, but also warm and practical. Whether you’re wearing it for a casual stroll in the park or a night out on the town, it is sure to keep you cozy and chic all winter long.
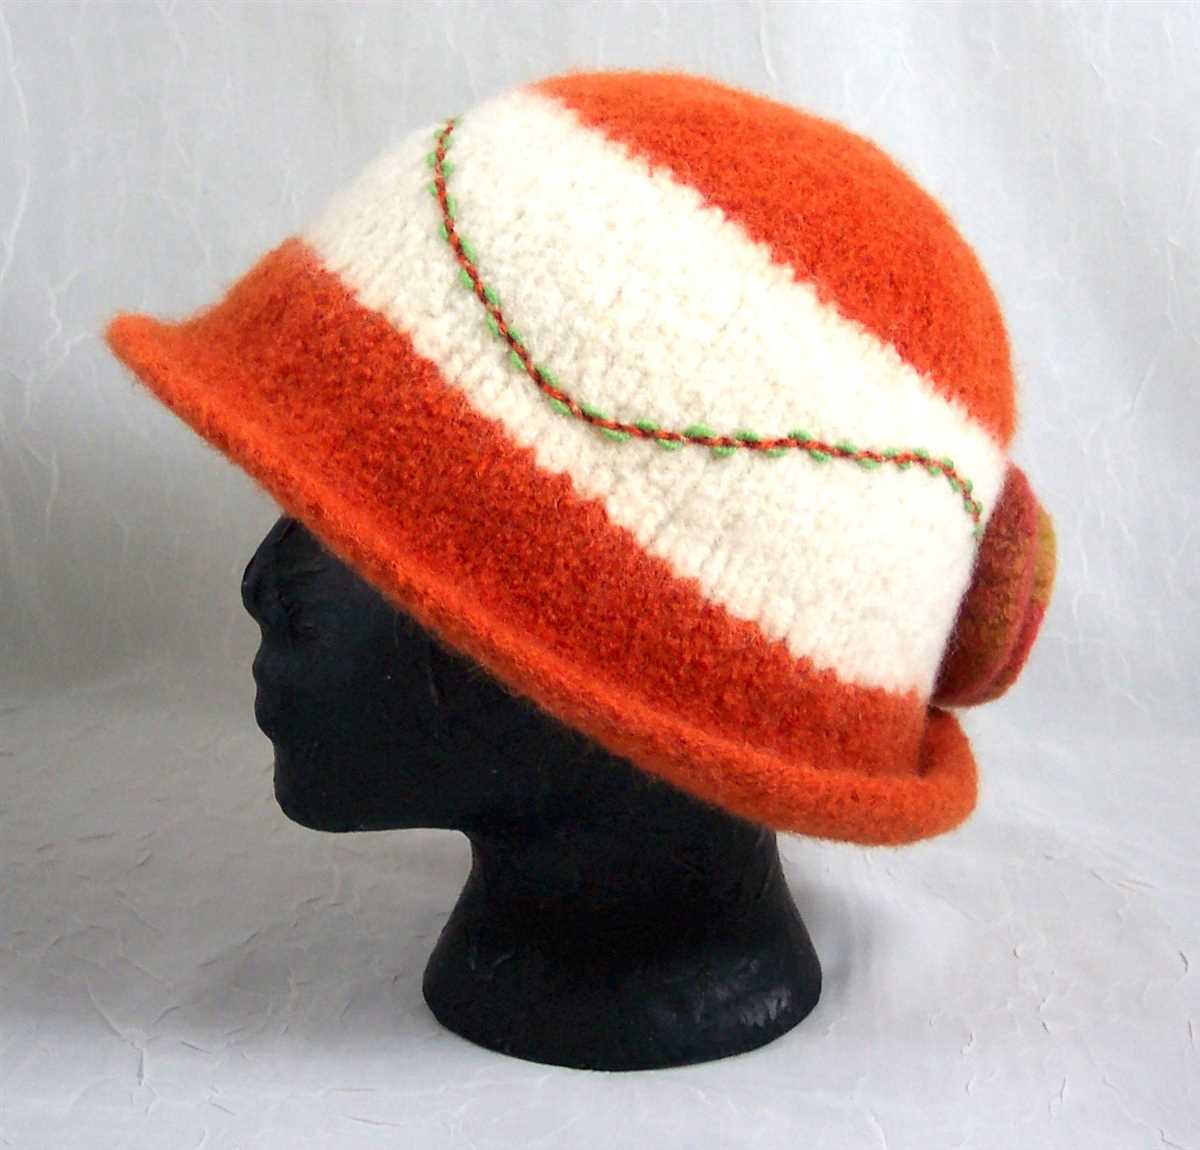
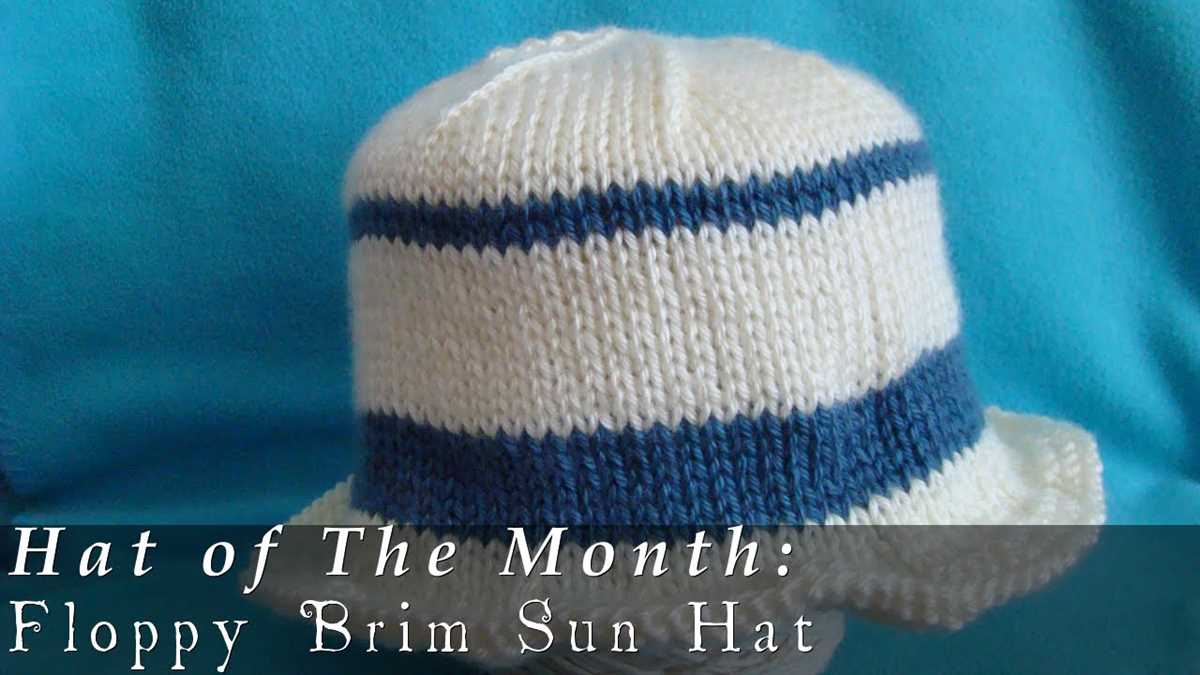
Knitting Pattern: Colorful Striped Felted Hat
If you’re looking for a fun and colorful knitting project, this free pattern for a striped felted hat is perfect for you. This pattern allows you to combine different colors and create a vibrant accessory to brighten up your winter wardrobe.
The pattern starts with a ribbed brim, which gives the hat a nice stretch and ensures a comfortable fit. Then, you’ll begin working on the body of the hat, alternating between different colors to create bold and eye-catching stripes. You can choose as many or as few colors as you like, depending on your personal style and preferences.
The hat is knit in the round, using circular needles, which makes it an easy and seamless project. The pattern includes instructions for different sizes, so you can make a hat for yourself or for someone else. Once you’ve finished knitting the hat, it’s time for the felting process.
Felting is a process that involves washing the knitted item in hot water to shrink and tighten the stitches, creating a dense and sturdy fabric. This not only helps the hat retain its shape but also makes it warmer and more durable. The pattern includes detailed instructions on how to felt the hat, so even if you’ve never done it before, you’ll be able to achieve great results.
So, if you’re ready to embark on a colorful and creative knitting adventure, download this free pattern for a striped felted hat and get started today. With its vibrant stripes and cozy felting, this hat is sure to become a stylish and functional addition to your winter wardrobe.
Tips for Successful Felting: How to Achieve the Perfect Fit
Felting is a popular technique used to transform wool into a dense and durable fabric. Whether you’re making a felted hat or any other project, achieving the perfect fit is essential for a successful end result. Here are some tips to help you achieve the desired fit when felting:
1. Use a felting pattern or template
Start by using a felting pattern or template that matches the size and shape of the hat you want to create. This will serve as a guide for shaping and felting the wool. It’s important to choose a pattern that accurately reflects your desired fit, as felting can shrink the fabric significantly.
2. Choose the right type of wool
Selecting the right type of wool is crucial for achieving the perfect fit. Opt for a wool that is suitable for felting, such as merino or alpaca wool. These types of wool have longer fibers that easily interlock when agitated, resulting in a more sturdy felted fabric. Avoid using wool that is too coarse or has shorter fibers, as it may not felt as well or produce the desired fit.
3. Pay attention to felting time and temperature

When felting, the time and temperature play a significant role in achieving the perfect fit. Follow the instructions provided with your felting pattern or template, as they will typically indicate the recommended time and temperature for felting. Keep in mind that felting times and temperatures can vary depending on the specific wool you’re using, so it’s essential to test a small sample before felting the entire project.
4. Agitate and monitor the felting process
During the felting process, it’s important to continually agitate the wool to help the fibers interlock and shrink. You can do this by gently massaging, rolling, or rubbing the wool. Additionally, make sure to periodically check on the felting progress to avoid over-felting. Try on the project periodically to check for the desired fit, and stop felting once you’ve achieved the perfect size and shape.
By following these tips, you can ensure that your felted hat fits perfectly. Remember to start with a suitable pattern, choose the right type of wool, pay attention to felting time and temperature, and carefully monitor the felting process. With practice and experimentation, you’ll be able to master the art of felting and create beautiful, well-fitting felted hats.
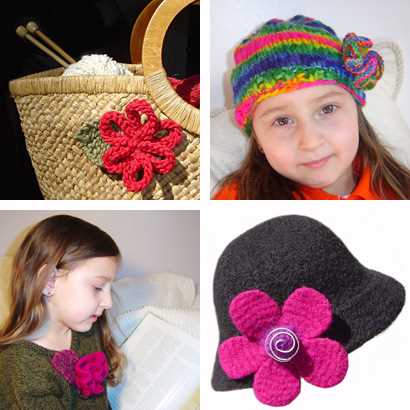
Customizing Felted Hats: Embellishments and Add-ons
When it comes to creating unique and personalized felted hats, the possibilities for embellishments and add-ons are endless. With a little creativity and the right materials, you can transform a plain and simple hat into a stunning accessory that truly reflects your style and personality.
1. Embroidery: One of the simplest ways to add a personal touch to your felted hat is through embroidery. Whether you want to stitch a simple pattern, your initials, or an intricate design, embroidery can instantly elevate the look of your hat. Choose contrasting or complementary thread colors to make your design stand out.
2. Appliques: Appliques are another great option for customizing felted hats. You can purchase pre-made appliques or create your own using fabric, beads, sequins, or even buttons. Simply attach the applique to your hat using a needle and thread or fabric glue, and watch your hat transform into a work of art.
3. Ribbons and Bows: Adding a ribbon or bow to your felted hat can instantly make it look more feminine and elegant. Choose a ribbon in a color that complements your hat and tie it around the crown or create a bow and attach it to the side or back. This simple addition can completely change the look and feel of your hat.
4. Feathers: For a touch of whimsy and drama, consider adding feathers to your felted hat. Whether you opt for a single feather or a cluster of them, they can instantly bring a sense of sophistication and uniqueness to your accessory. Attach them securely using glue or stitching and watch your hat transform into a statement piece.
5. Buttons: Buttons are a versatile and eye-catching addition to any felted hat. You can choose buttons in various sizes, shapes, and colors to add visual interest and texture to your hat. Consider sewing them onto the brim, crown, or even creating a button cluster as a focal point.
6. Pom-poms: Pom-poms are a fun and playful embellishment that can instantly liven up a felted hat. You can create pom-poms using yarn in coordinating or contrasting colors and attach them to the top of your hat using a needle and thread. Mix and match colors or create a multi-colored pom-pom for a vibrant and youthful look.
7. Felted Flower: Another beautiful way to customize a felted hat is by adding a felted flower. You can create these flowers using felted wool or even repurpose an old sweater. Simply cut out the flower shape, layer the petals, and attach it to your hat using a needle and thread or fabric glue. This elegant touch will instantly make your hat a one-of-a-kind piece.
Remember: Whether you choose to embroider, add appliques, ribbons, feathers, buttons, pom-poms, or felted flowers, the key is to have fun and let your creativity shine. Don’t be afraid to experiment and try different combinations to create a felted hat that is uniquely yours.
Caring for Your Felted Hat: Cleaning and Maintenance
A felted hat is a versatile and stylish accessory that can add a touch of sophistication to any outfit. To ensure that your hat maintains its shape and quality, it’s important to properly care for and clean it. Here are some tips on how to clean and maintain your felted hat:
1. Spot Cleaning:
If you notice a small stain or dirt on your felted hat, it’s best to spot clean it. Use a clean cloth or sponge and gently dab the stained area with lukewarm water and mild soap. Avoid rubbing or scrubbing to prevent damage to the felt. Rinse the area with clean water and pat dry with a towel. Allow the hat to air dry completely before wearing or storing.
2. Brushing:
To remove dust or lint from your felted hat, use a soft-bristled brush or a lint roller. Brush the hat gently in a counter-clockwise motion to lift away any particles. Be careful not to press too hard or use a brush with stiff bristles, as this can cause damage to the felt.
3. Protecting from Moisture:
Excessive exposure to moisture can cause a felted hat to lose its shape or even shrink. To protect your hat from rain or snow, consider applying a waterproofing spray specifically designed for wool or felt. This will help repel water and prevent damage. Additionally, avoid leaving your hat in a damp or humid environment for an extended period of time.
4. Storage:
When not in use, it’s important to store your felted hat properly to maintain its shape. Avoid hanging your hat by its brim, as this can cause it to stretch or distort. Instead, store it in a hat box or on a flat surface, such as a shelf or table. You can also stuff the crown of the hat with tissue paper or a clean cloth to help it retain its shape.
5. Professional Cleaning:
If your felted hat is heavily soiled or requires a deep clean, it’s best to consult a professional hat cleaner. They have the expertise and specialized equipment to safely clean and restore your hat without causing damage.
By following these care and maintenance tips, you can ensure that your felted hat remains in excellent condition for years to come. With proper care, your hat will continue to be a fashionable and timeless accessory for any occasion.
Q&A:
Can you recommend a website with free felted hat knitting patterns?
Yes, a great website for free felted hat knitting patterns is Ravelry.com. They have a wide selection of patterns to choose from.
How difficult are felted hat patterns for knitting?
The difficulty level of felted hat patterns can vary, but many patterns are suitable for intermediate to advanced knitters. It’s important to have some experience with knitting before attempting a felted hat pattern.
What materials do I need to knit a felted hat?
To knit a felted hat, you will need wool yarn suitable for felting, knitting needles in the appropriate size, a tapestry needle for finishing, and a washing machine or basin for felting. Some patterns may also require additional materials such as circular needles or stitch markers.
Can I adjust the size of a felted hat?
Yes, many felted hat patterns can be adjusted to fit different head sizes. However, it’s important to keep in mind that the felting process can shrink the hat, so it’s a good idea to make a gauge swatch and follow the pattern’s instructions for felting to ensure the correct size.
Are there any specific techniques or stitches used in felted hat knitting patterns?
While the specific techniques and stitches used in felted hat patterns can vary, common techniques include knitting in the round, decreasing stitches to shape the crown of the hat, and picking up stitches for the brim. Some patterns may also include colorwork or textured stitches for added interest.