
Knitting is a beloved craft that allows you to create beautiful and personal gifts for loved ones. From cozy sweaters to warm blankets, the possibilities are endless. One classic project that never goes out of style is knitting a teddy bear. A knitted teddy bear is not only a timeless symbol of comfort and companionship, but it is also a great way to challenge your knitting skills and create something truly special.
If you’re new to knitting or looking for a quick and easy project, this easy knitted teddy bear pattern is perfect for you. With basic knitting techniques and simple instructions, you’ll be able to create a cuddly friend in no time. Whether you’re knitting for a child or rekindling childhood memories for yourself, this teddy bear pattern is sure to bring joy to anyone who receives it.
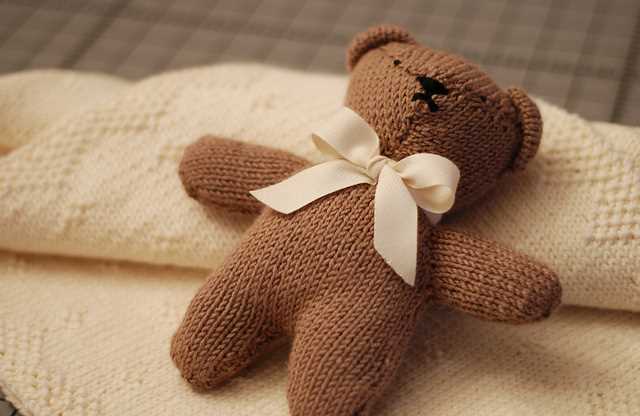
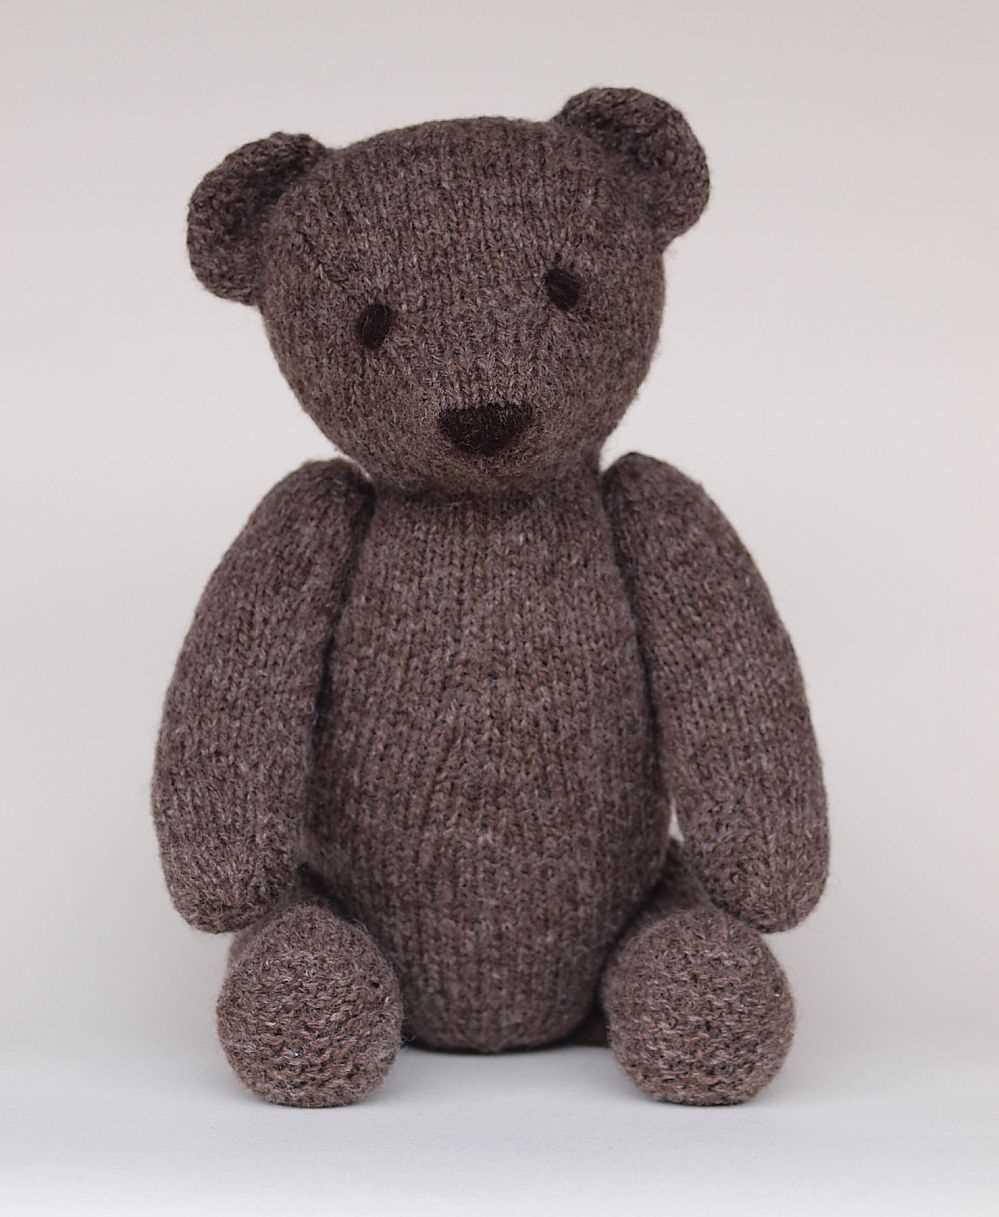
The best thing about this pattern is its simplicity. With just a few basic stitches and minimal shaping, you can create a charming teddy bear. All you need is some soft and cuddly yarn, knitting needles, and a little bit of patience. Whether you prefer a classic brown bear or want to get creative with different colors and patterns, this easy knitted teddy bear pattern allows for endless customization.
How to Knit a Teddy Bear: Easy Step-by-Step Pattern
Are you looking for a fun and rewarding knitting project? Why not try knitting a teddy bear? Not only will you end up with a cute and cuddly toy, but you’ll also have the satisfaction of completing a handmade project. Follow this easy step-by-step pattern to create your own knitted teddy bear.
Materials Needed:
- Yarn (in your chosen color)
- Knitting needles (size appropriate for your yarn)
- Stuffing (such as polyester fiberfill)
- Embroidery thread (for facial features)
- Darning needle
- Scissors
Step 1: Cast On
Start by casting on the desired number of stitches onto your knitting needles. This will depend on the size of the teddy bear you want to create. You can refer to a knitting pattern or experiment with different numbers until you get the desired size.
Step 2: Knit the Body
Continue knitting in the round or back and forth, depending on your knitting preference and the pattern you’re following. This will form the body of the teddy bear. You can use simple stitch patterns, such as stockinette stitch, or get creative with more elaborate designs.
Step 3: Shape the Head and Limbs
Once the body is complete, it’s time to shape the head and limbs of the teddy bear. You can achieve this by increasing or decreasing stitches at specific intervals, following the pattern or your own creativity. Don’t forget to stuff the head and limbs as you go!
Step 4: Sew the Parts Together
After completing all the individual parts of the teddy bear, it’s time to sew them together. Use a darning needle and matching yarn to stitch the head, limbs, and body together, leaving an opening for stuffing. Once you’re happy with the placement, fill the bear with stuffing to achieve the desired shape and firmness.
Step 5: Add Facial Features
Finally, it’s time to give your teddy bear some personality! Use embroidery thread to stitch on the eyes, nose, and mouth. You can follow a specific pattern or design your own unique features. Be creative and remember that the details will bring your teddy bear to life!
With these easy-to-follow steps, you can create your very own knitted teddy bear. Whether it’s for yourself or as a gift for someone special, this project is sure to bring joy and satisfaction. Get your knitting needles ready and start stitching!
Choosing the Right Yarn and Needles
When it comes to knitting a teddy bear, choosing the right yarn and needles is crucial to ensure that your bear turns out soft, cuddly, and just the way you envisioned it. The type of yarn and needles you use can greatly affect the final result, so it’s important to make informed choices.
Yarn: There are several factors to consider when selecting yarn for your knitted teddy bear. Firstly, opt for a yarn that is soft and has a good amount of stretch, as this will give your bear a pleasant texture and make it easier to work with. A yarn blend that includes natural fibers like cotton or wool can also enhance the bear’s overall quality and durability. Additionally, choose a yarn color that complements the design you have in mind, whether it’s a classic brown bear or a vibrant, multi-colored creation.
Needles: The right needles can make a world of difference in your knitting experience. For a teddy bear project, choose needles that are appropriate for the thickness of your yarn. Generally, a medium-sized needle, such as a size 4 or 5, will work well for most yarn weights. However, it’s always a good idea to check the recommended needle size on the yarn label or in the pattern instructions, as this can vary depending on the brand and type of yarn you’re using. Additionally, consider the needle material – bamboo needles can be a good choice as they provide a comfortable grip and prevent stitches from sliding off easily.
By carefully selecting the right yarn and needles, you can set yourself up for success in creating a beautiful knitted teddy bear that will be cherished for years to come.
Casting On: Getting Started with Your Teddy Bear
Before you begin knitting your teddy bear, you will need to cast on your stitches. Casting on is the first step in any knitting project and creates the foundation row for your work. For this easy teddy bear pattern, we will be using the long-tail cast-on method. This method is great for creating a neat and stretchy edge, perfect for the start of your teddy bear.
To start casting on, you will need your knitting needles and yarn. Make a slipknot at the end of your yarn, leaving a long tail of yarn. Hold the needle with the slipknot in your right hand and the other needle in your left hand.
Step 1: Insert the right needle into the slipknot from front to back, making a loop with the yarn.
Step 2: With your left hand, bring the yarn over the top of the left needle, creating a loop around it.
Step 3: Insert the right needle into the loop on the left needle, going from left to right, and bring the yarn through the loop.
Continue repeating steps 2 and 3 until you have cast on the desired number of stitches for your teddy bear. Remember to keep the tension of your yarn consistent throughout the casting on process to ensure an even edge.
Note: If you are new to knitting, it may take a few tries to get the hang of casting on. Don’t be discouraged! Practice and patience will help you master this essential knitting skill.
Knitting the Body: Creating the Perfect Shape
When it comes to knitting a teddy bear, one of the most important aspects is creating the perfect shape for the body. Achieving the right proportions and curves is what gives the teddy bear its adorable and huggable appearance.
Choosing the Right Yarn and Needle Size
To begin knitting the body, it’s essential to choose the right yarn and needle size. A medium-weight yarn, such as a worsted or aran weight, is typically used for teddy bears to ensure a soft and cuddly texture. Pairing it with the appropriate needle size will help you achieve the desired gauge and tension.
It’s important to keep in mind that different yarns and needle sizes may result in different sizes and shapes for the bear. So, if you’re looking to make a larger or smaller teddy bear, you may need to adjust your yarn and needle choice accordingly.
Using Basic Knitting Techniques
Knitting the body of a teddy bear usually involves using basic knitting techniques, such as knitting in the round or working flat and seaming the pieces together. These techniques allow you to create a seamless and smooth surface for the bear’s body, giving it a professional finish.
Whether you’re knitting in the round or working flat, it’s essential to maintain an even tension throughout your knitting. This will help ensure that all parts of the body have consistent stitches and prevent any lumpy or uneven sections.
Shaping with Increases and Decreases
To achieve the perfect shape for the teddy bear’s body, it’s necessary to incorporate increases and decreases strategically. These techniques allow you to add and remove stitches, creating curves and contours in all the right places.
For example, when knitting the body, you may start with a certain number of stitches and gradually increase the stitch count to create a rounded shape for the bear’s tummy. Alternatively, you can use decreases to shape the head and narrow the body towards the neck.
Experimenting with different increase and decrease techniques, such as yarn overs, knit or purl two stitches together, or slip-slip-knit, can help you achieve the desired shape and proportions for your knitted teddy bear.
By carefully selecting the right yarn and needle size, using basic knitting techniques, and incorporating increases and decreases strategically, you can create a teddy bear with the perfect shape. Remember to take your time and enjoy the process of bringing your adorable stuffed toy to life!
Knitting the Limbs: Making Arms and Legs
To begin knitting the arms, you will need to cast on the specified number of stitches onto double-pointed needles. This creates a seamless tube that will serve as the arm. Knit in the round, following the pattern instructions for the desired length. Once the desired length is reached, you can begin the shaping – decreasing stitches gradually to narrow the arm and create a tapered shape towards the wrist. Finish off the arm by binding off the remaining stitches and weaving in the loose ends.
When it comes to the legs, the process is similar to that of the arms. Start by casting on the required number of stitches onto double-pointed needles and knit in the round, following the pattern instructions for the specified length. To shape the legs, gradually decrease stitches to create a tapered shape towards the ankle. Finally, finish by binding off the remaining stitches and weaving in any loose ends.
Once the arms and legs are complete, you can attach them to the body of the teddy bear using a yarn needle and the long tail left from casting on. Position them where desired and securely stitch them in place. This completes the process of knitting the limbs for your teddy bear, giving it that perfect huggable form.
Shaping the Head: Adding Character to Your Bear
One of the most important parts of creating a knitted teddy bear is shaping the head. This is where your bear’s character really comes to life. By carefully following the pattern and paying attention to the details, you can create a head that is unique and full of personality.
Start by knitting the head in the round, using the specified stitch pattern. This will give your bear a smooth and seamless finish. As you knit, be sure to pay attention to the shaping instructions. These will guide you in creating the correct proportions and contours for your bear’s head.
When it comes to adding eyes and a nose to your bear’s head, there are a few different approaches you can take. Some patterns will call for safety eyes or embroidery for the eyes, while others may suggest using beads or buttons. Consider the style and intended use of your bear when making this decision.
Creating Facial Features
To add character to your bear’s head, you can create facial features such as eyebrows or a smile. This can be done using simple embroidery techniques with a contrasting yarn. By carefully stitching on these details, you can give your bear a unique expression that reflects its personality.
- For eyebrows, use a small amount of yarn in a color that contrasts with your bear’s fur. Stitch small, straight lines above the eyes to create a furrowed or quizzical expression.
- To create a smile, use a piece of yarn in a color that matches your bear’s fur. Starting at one corner of the mouth, stitch a curved line using a series of small, horizontal stitches. Continue the line to the other corner of the mouth to form a smile.
When adding these facial features, it’s important to take your time and work slowly. You want to ensure that the stitches are even and secure so that they will hold up over time. By adding these small details, you can truly bring your knitted teddy bear to life and give it a unique personality that will make it extra special for the recipient.
Assembling Your Teddy Bear: Sewing the Pieces Together
Once you have finished knitting all the pieces of your teddy bear, it’s time to assemble them and bring your bear to life! The process of sewing the pieces together requires some patience and precision, but the end result will be a beautifully crafted teddy bear that you can cherish.
Start by laying out all the pieces of your bear in front of you. Take a moment to familiarize yourself with each piece and its corresponding placement on your bear. This will help ensure that you sew the pieces together correctly.
Step 1: Begin by sewing the head to the body. Match the top of the head to the top of the body, making sure that the front of the head is facing the front of the body. Use a whip stitch or mattress stitch to sew the pieces together, making sure to secure them tightly.
Step 2: Next, sew the arms and legs to the body. Align each arm and leg with the corresponding arm or leg hole on the body. Again, make sure the front of the limbs are facing the front of the body. Use the same stitching technique as before to attach the limbs securely.
Step 3: Once the head, arms, and legs are attached to the body, it’s time to sew the ears and tail in place. Position the ears on either side of the head, making sure they are symmetrical. Use the same stitching technique to sew the ears securely. For the tail, position it at the back of the bear and sew it in place using the same method.
Step 4: Finally, embroider the bear’s facial features. Use a contrasting color of yarn or embroidery thread to sew the eyes, nose, and mouth onto the face. Take your time to make sure the features are aligned and symmetrical.
Once you have finished sewing all the pieces together and embroidering the facial features, your knitted teddy bear is complete! Give the bear a gentle stuffing if desired, and it’s ready to be loved and cuddled. Enjoy the satisfaction of creating your very own handmade teddy bear.
Adding Details: Embroidering the Face and Features
Now that you have completed knitting your teddy bear, it’s time to add the finishing touches by embroidering the face and features. Embroidering the face is what brings your bear to life and gives it a personality. Here’s a step-by-step guide on how to embroider the face and features:
1. Eyes
Start by embroidering the eyes. Using black yarn, make two small stitches for the eyes. You can make them round or oval-shaped, depending on the look you prefer. Place them in the upper center of the bear’s head, leaving a small space in between for the nose.
2. Nose
For the nose, use black yarn again and create a small triangular or oval shape between the eyes. Embroider the stitches closely together to give a solid appearance. You can experiment with different shapes and sizes to customize the nose.
3. Mouth
To create the mouth, switch to red or pink yarn. Start by making a small stitch in the center just below the nose. Then, embroider a curve that extends on either side of the stitch to represent the mouth. You can make the mouth smiley, neutral, or even frowning, depending on the expression you want for your teddy bear.
4. Other Details
Once you have completed embroidering the eyes, nose, and mouth, you can add other details if you’d like. For example, you can embroider eyebrows or eyelashes above or below the eyes. You can also add a rosy blush on the cheeks by using a small amount of pink yarn. These additional details can enhance the overall look of your teddy bear.
Remember to take your time and have fun while embroidering the face and features of your knitted teddy bear. It’s your chance to bring your bear to life and make it uniquely yours!
Finishing Touches: Stuffing and Closing Your Teddy Bear
Once you have completed knitting your teddy bear, the next step is to stuff it and close it up. This is an important part of the process as it gives the teddy bear its shape and makes it huggable. Here are some tips on how to stuff and close your teddy bear.
1. Stuffing: Start by gathering your stuffing material. You can use polyester fiberfill, cotton stuffing or any other soft material that you prefer. Begin by inserting the stuffing into the limbs of the teddy bear, starting with the arms and legs. Make sure to firmly pack the stuffing to give the teddy bear a firm, yet soft feel. Continue filling the body of the teddy bear, being careful to distribute the stuffing evenly. Pay extra attention to the head, making sure it is well-stuffed and shaped.
2. Closing: Once you have finished stuffing your teddy bear, it’s time to close it up. You can use a needle and thread to sew up any openings in the knitting. Start by securing the end of your thread inside the body of the teddy bear. Then, using small, even stitches, sew up any gaps or openings, making sure to reinforce the seams for durability. If you prefer, you can also use a crochet hook to slip stitch the openings closed. Once you have closed up all the openings, secure the thread and trim off any excess.
By following these steps, you will be able to give your knitted teddy bear its final finishing touches. Remember to take your time and pay attention to detail, as these small steps can make a big difference in the final look and feel of your teddy bear. With the stuffing and closing complete, your teddy bear is now ready for cuddles and play!
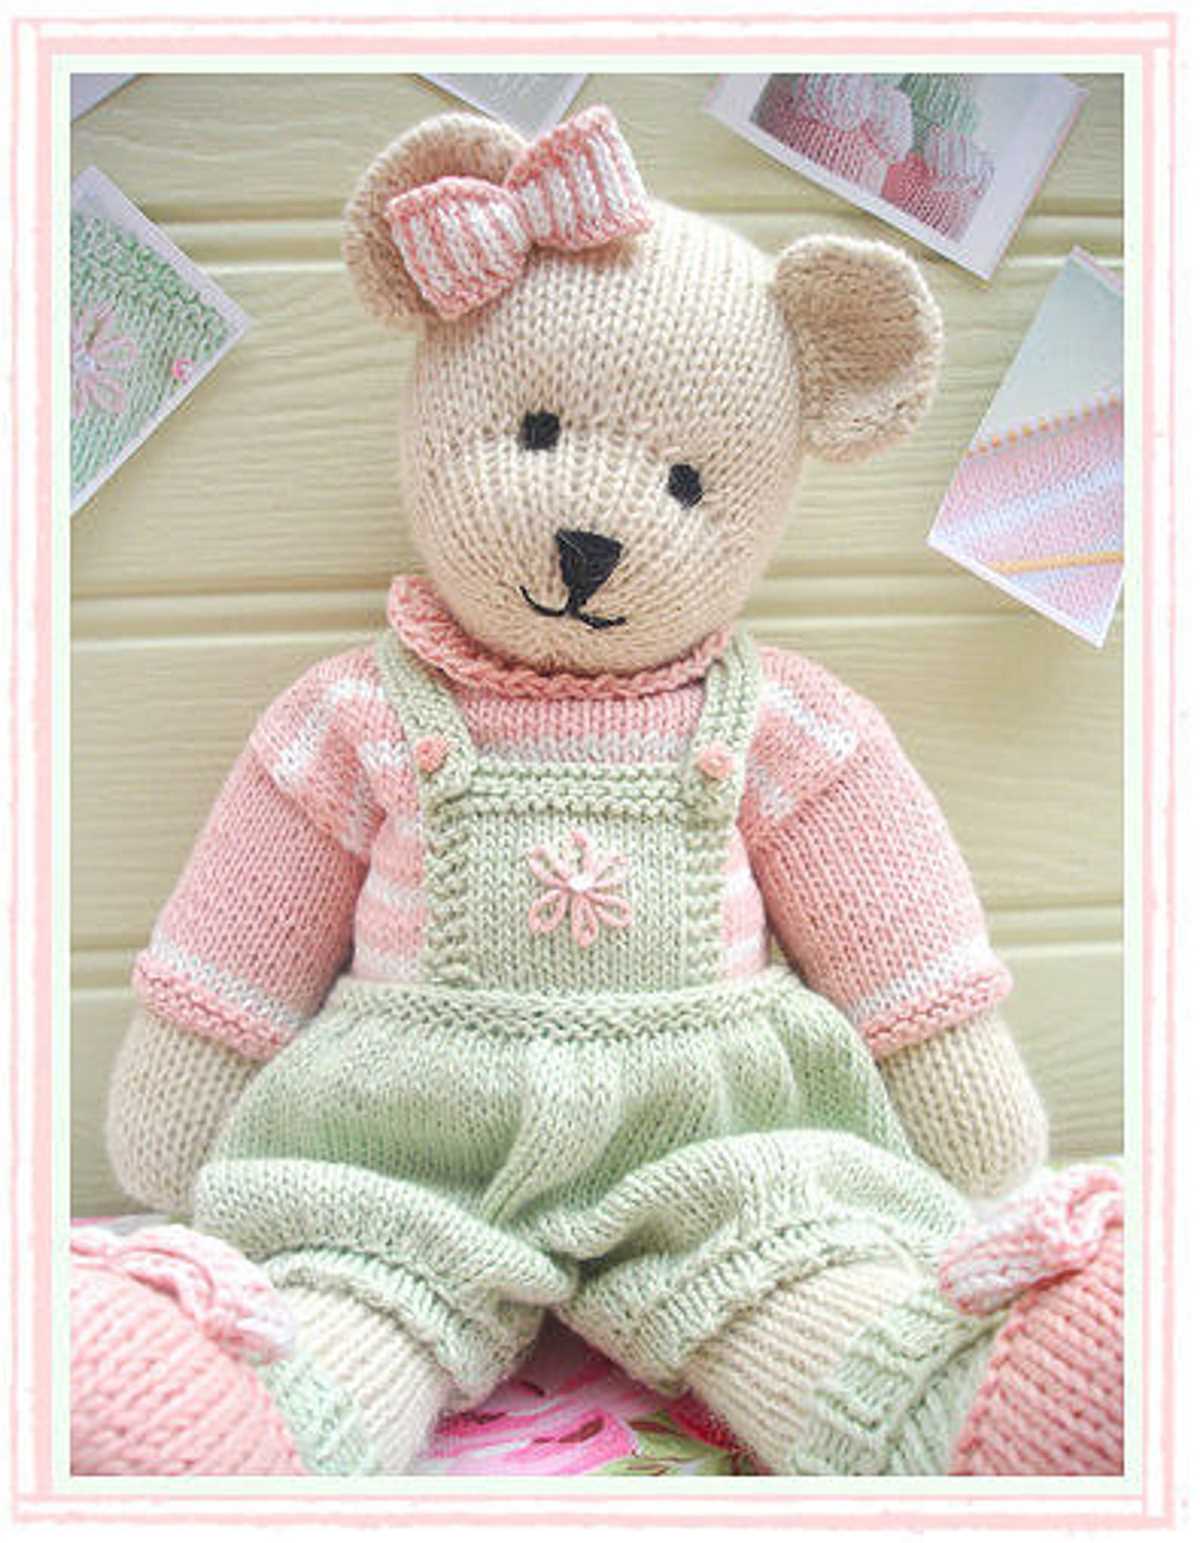
Personalizing Your Teddy Bear: Clothing and Accessories
Creating a unique and personalized look for your knitted teddy bear is a fun and creative way to make it truly special. One of the easiest ways to do this is by dressing your bear up in adorable clothing and fun accessories. Whether you’re knitting the clothes yourself or purchasing them, there are countless options to choose from.
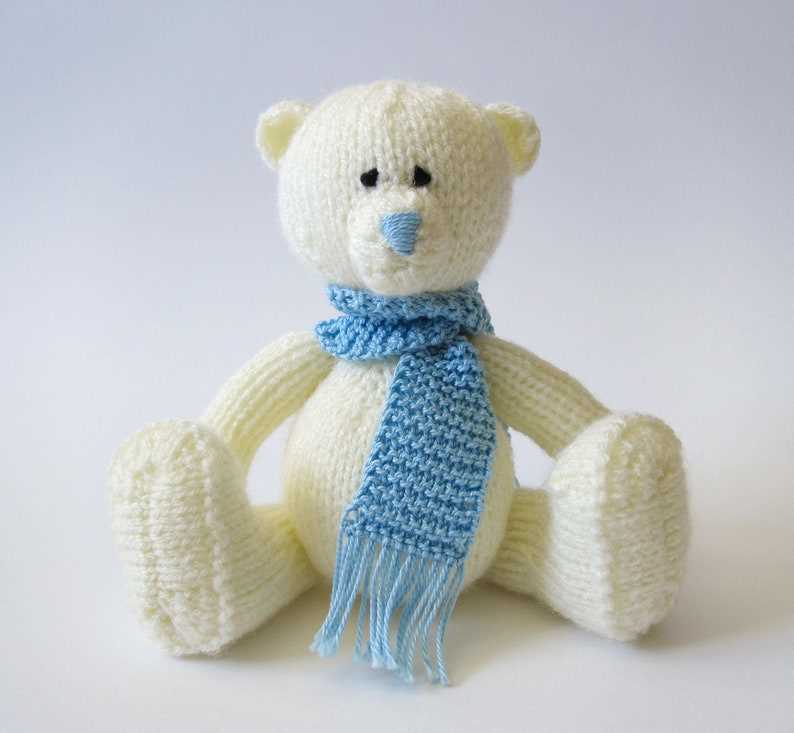
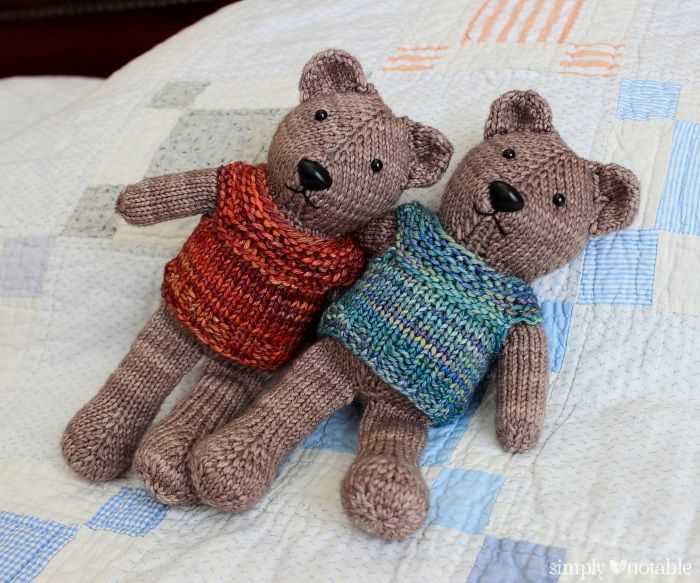
Clothing: Knitting small garments for your teddy bear can be a rewarding project that allows you to showcase your knitting skills. You can start with simple patterns like a tiny sweater or a cute little dress. From there, you can experiment with different stitches, colors, and patterns to create a wardrobe that reflects your style or the personality of the recipient. Consider knitting a cozy cardigan, a trendy scarf, or a floppy hat to give your teddy bear different looks for different occasions.
Accessories: Accessories can add a touch of whimsy and personality to your teddy bear. You can use small accessories like bows, ribbons, or hair clips to enhance its appearance. You can also knit or sew accessories like bags, backpacks, or even tiny glasses to give your teddy bear a unique style. Additionally, you can consider adding a personalized touch by embroidering its name or initials onto a patch and attaching it to its clothing or accessories.
By adding clothing and accessories to your knitted teddy bear, you can transform it from a simple toy into a cherished keepsake. Whether you choose to dress it up in adorable outfits or give it fun accessories, personalizing your teddy bear allows you to create something truly one-of-a-kind.
Displaying and Caring for Your Handmade Teddy Bear
Once you have completed knitting your teddy bear, it’s time to display and care for your beautiful creation. Follow these tips to ensure your teddy bear remains in top condition:
1. Choosing the Perfect Display Spot
Find a special place to showcase your handmade teddy bear. It could be a shelf, a display cabinet, or even a cozy spot on your bed. Avoid placing the bear in direct sunlight or high humidity areas, as these conditions can damage the bear’s materials over time.
2. Cleaning and Maintenance
To keep your teddy bear looking its best, regular cleaning and maintenance are essential. Here are some tips:
- Spot cleaning: Use a damp cloth and mild soap to gently clean any stains or dirt on the bear’s surface. Make sure to test the cleaning solution on a small, inconspicuous area first to avoid any damage.
- Avoid washing machines or dryers: Hand-knit teddy bears are delicate and may not withstand the agitation of a washing machine or the heat of a dryer. It’s best to avoid these methods for cleaning.
- Brushing: Use a soft brush, like a toothbrush, to gently brush the bear’s fur and restore its fluffiness. Be careful not to pull or tug on the fibers.
3. Storage
If you need to store your teddy bear for an extended period, follow these guidelines:
- Clean the bear: Make sure the bear is clean and dry before storing to prevent any stains or musty odors from developing.
- Use acid-free tissue or cotton: Wrap the bear in acid-free tissue paper or cotton fabric to protect it from dust, dirt, and pests. Avoid using plastic bags, as they can trap moisture and cause mold or mildew.
- Choose a cool, dry location: Store the bear in a cool, dry place away from direct sunlight and excessive humidity. Attics and basements are usually not suitable storage areas due to temperature and moisture fluctuations.
By following these tips, your handmade teddy bear will continue to bring joy and comfort for years to come. Remember, a well-cared-for teddy bear is not only a cherished possession but also a cherished memory.