
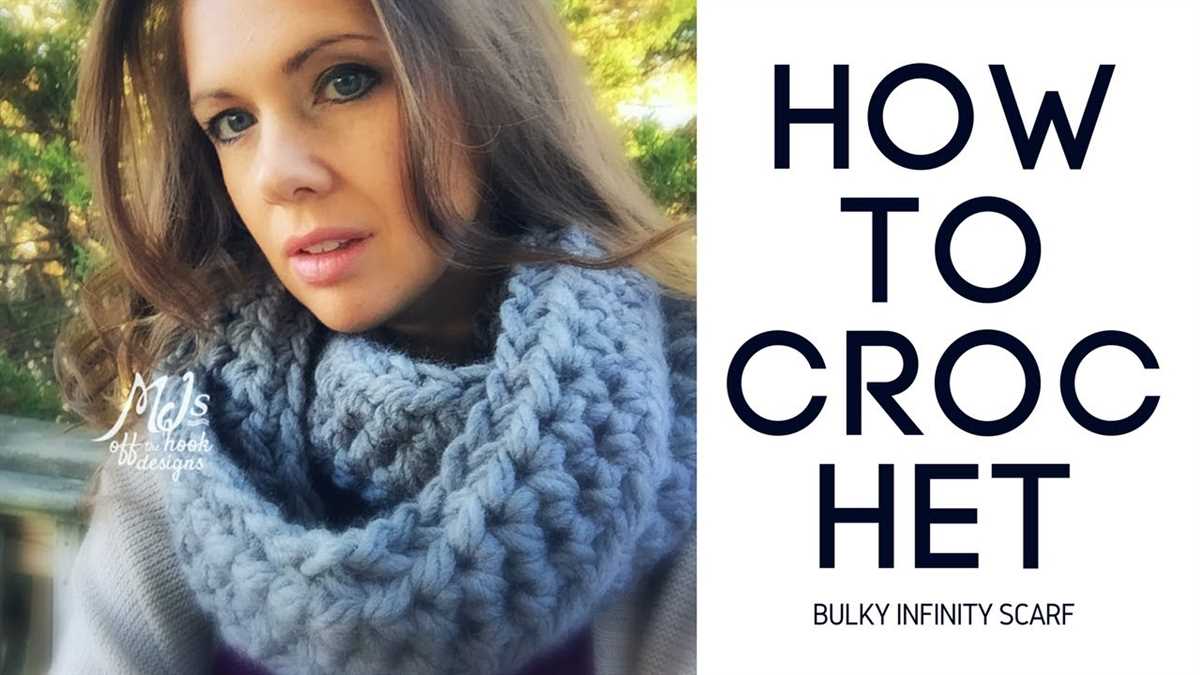
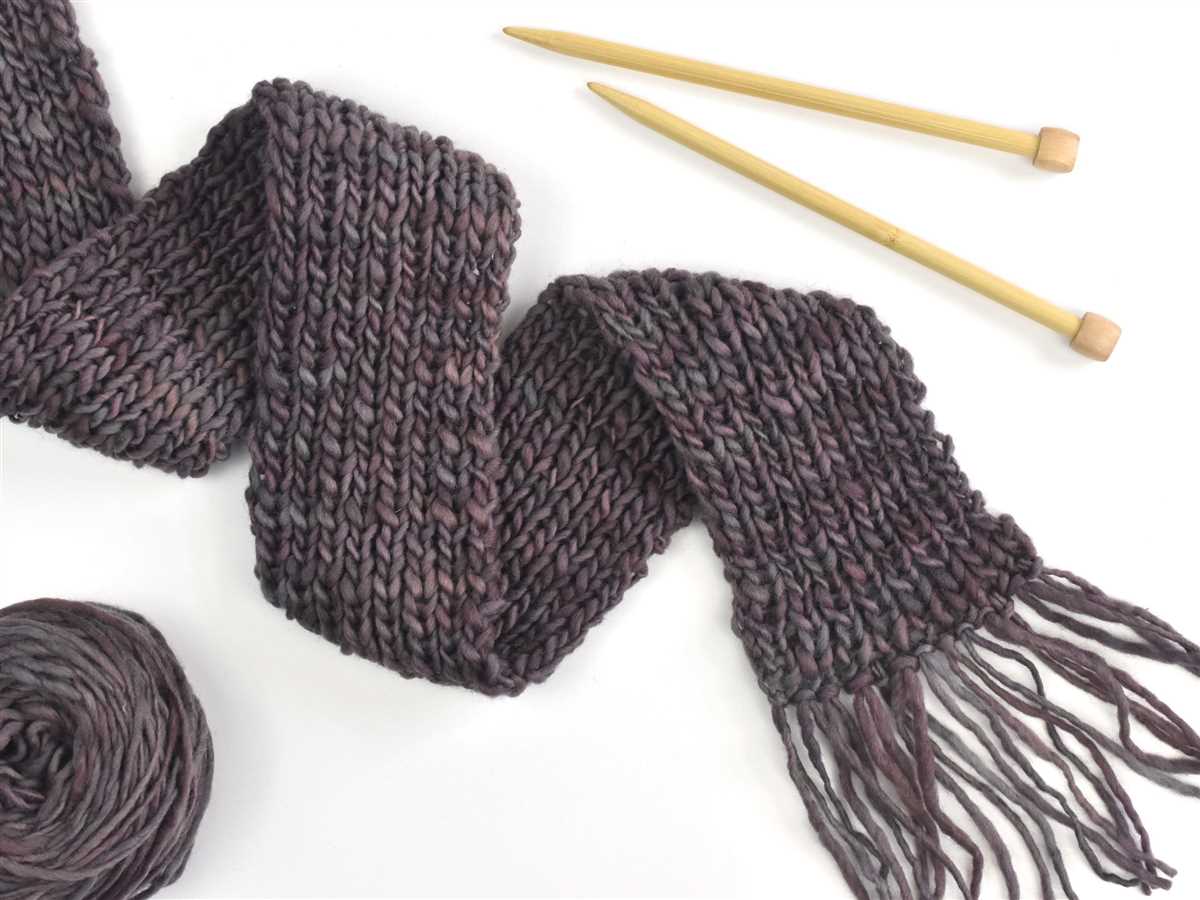
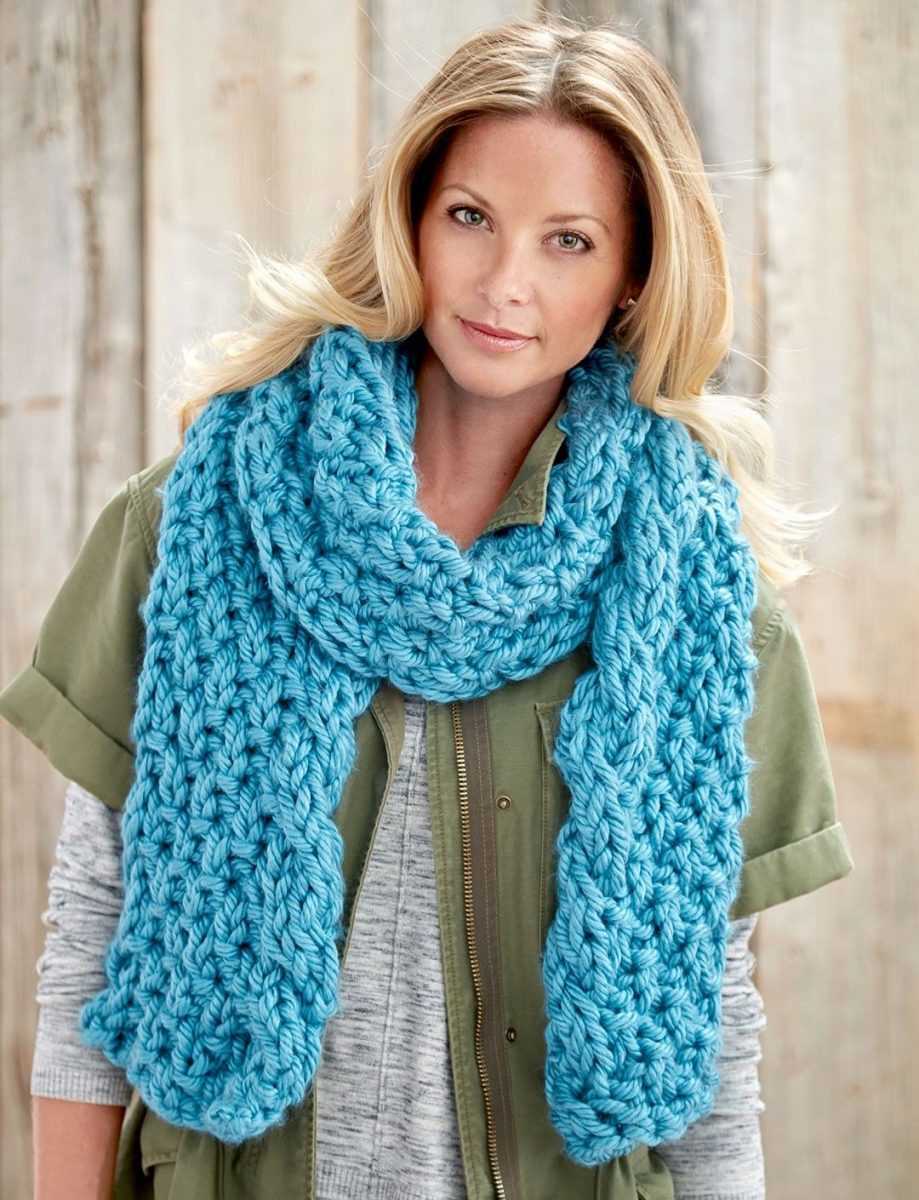
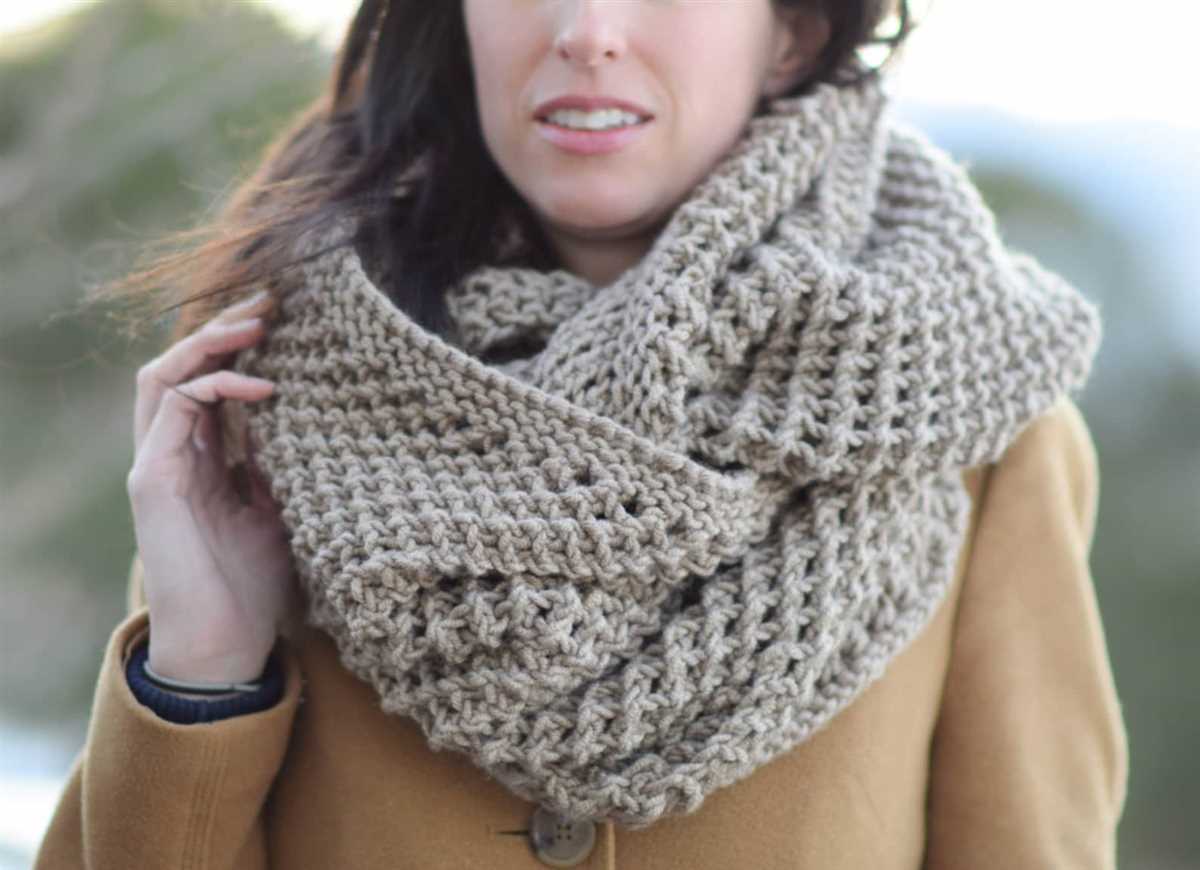
If you’re looking for a simple and quick knitting project, a knit scarf pattern with bulky yarn is the perfect choice. Bulky yarn is thicker than traditional yarn, which means your project will work up faster and provide extra warmth. With this easy knit scarf pattern, you’ll have a cozy and stylish accessory in no time.
One of the great things about this pattern is that it’s beginner-friendly. Even if you’re new to knitting, you’ll be able to create a beautiful scarf with minimal effort. The basic stitches used in this pattern are knit and purl, making it a great project for practicing your knitting skills.
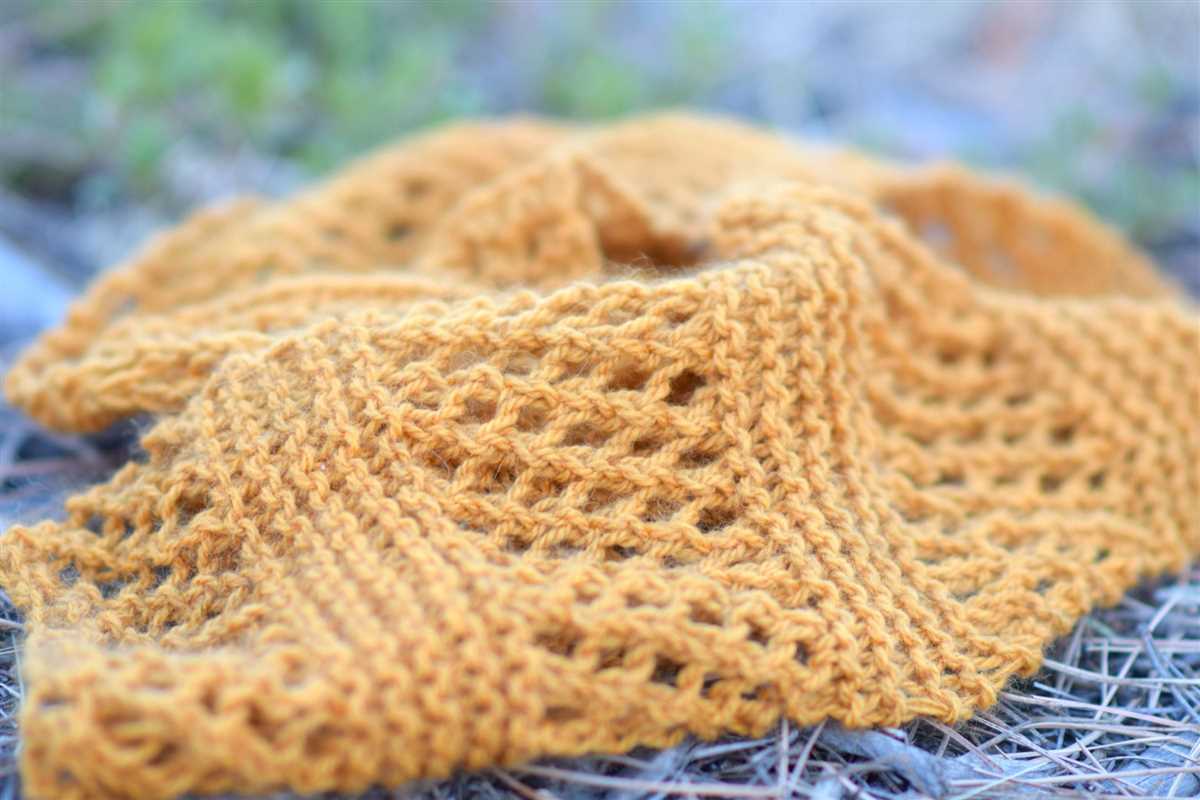
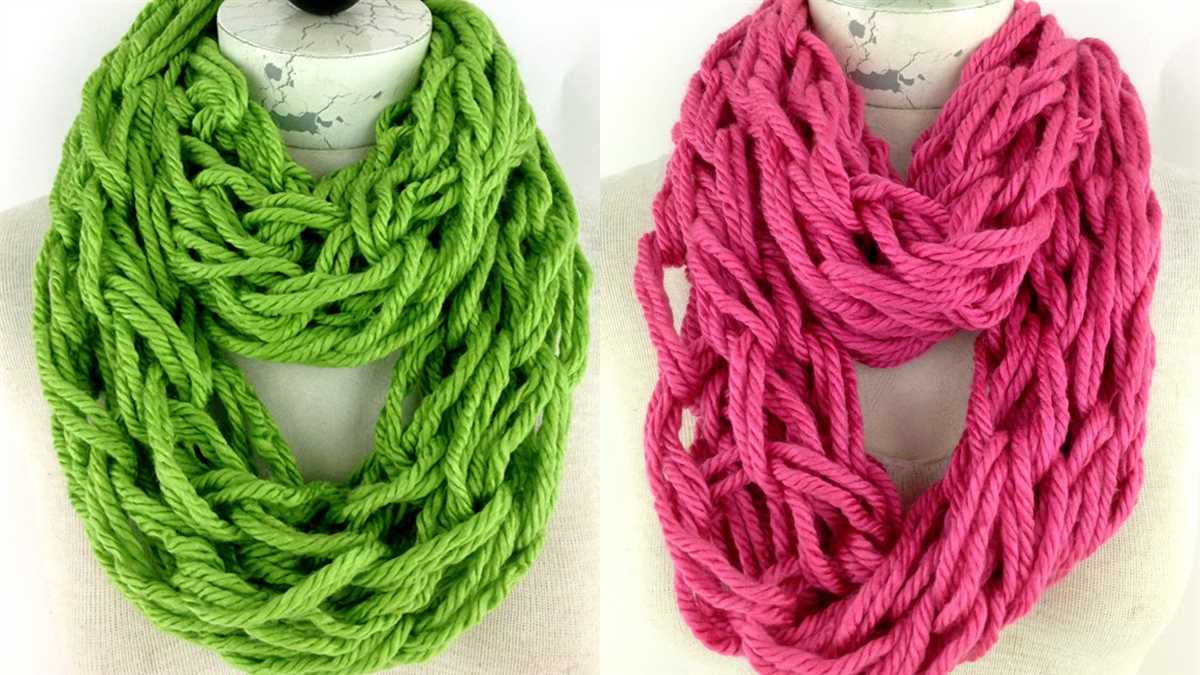
With bulky yarn, you can experiment with different textures and colors to create a unique and eye-catching scarf. Whether you prefer a neutral color to match your winter coat or a bold and vibrant shade to make a statement, there are endless possibilities when it comes to choosing the perfect bulky yarn for your scarf.
So grab your knitting needles and some bulky yarn, and get ready to create a cozy and stylish scarf that will keep you warm all winter long. With this easy knit scarf pattern, you’ll be able to stay fashionable and warm while showing off your knitting skills.
How to Knit an Easy Scarf with Bulky Yarn
Knitting a scarf with bulky yarn is a great way to create a cozy and warm accessory in no time. With the right needle size and basic knitting techniques, you can make a stylish and comfortable scarf that is perfect for colder weather.
To begin, choose a bulky yarn that you like in a color that complements your wardrobe. Bulky yarn is thicker than regular yarn, which means it knits up quickly and creates a chunky texture. This makes it ideal for creating scarves that are both fashionable and functional.
Once you have your yarn, select a pair of needles that are appropriate for the yarn weight. Bulky yarn typically requires larger needles, such as size 10 or 11. Make sure to check the yarn label for recommended needle sizes.
Start by casting on the desired number of stitches, which will depend on the width of the scarf you want. You can use a long tail cast on or any other method you prefer. It’s a good idea to cast on an even number of stitches for a symmetrical scarf.
When it comes to the knitting itself, simply knit each row until you reach the desired length of your scarf. Remember to keep your tension consistent to ensure an even and attractive fabric. If you want to add some variation, you can experiment with different stitch patterns, such as ribbing or basketweave.
After knitting the desired length, you can bind off the stitches and weave in any loose ends. To add some extra flair to your scarf, consider adding fringe or tassels to the ends. This can be done by cutting lengths of yarn and attaching them to the edges of the scarf.
Overall, knitting an easy scarf with bulky yarn is a fun and rewarding project. With some basic knitting skills and the right materials, you can create a stylish and warm accessory that will keep you cozy throughout the colder months.
Choose the Right Bulky Yarn for Your Scarf
When it comes to knitting a scarf with bulky yarn, choosing the right type of yarn can make all the difference in the finished product. Bulky yarns are known for their thickness and warmth, but not all bulky yarns are created equal. Here are a few factors to consider when selecting the perfect bulky yarn for your easy knit scarf pattern.
Weight and Texture
One important consideration when choosing bulky yarn for your scarf is the weight and texture of the yarn. Bulky yarns can vary in weight, ranging from slightly chunky to super bulky. Consider the level of warmth and thickness you desire for your scarf and choose a yarn weight accordingly. Additionally, consider the texture of the yarn. Some bulky yarns have a smooth, even finish, while others have a more textured appearance. The texture can add visual interest to your scarf and give it a unique look.
Fiber Content
The fiber content of the bulky yarn is another key factor to consider. Different fibers have different properties and characteristics. For example, wool is known for its warmth and insulating properties, while acrylic is often softer and hypoallergenic. Consider the desired qualities of your scarf, such as warmth, softness, or durability, and choose a bulky yarn with the appropriate fiber content. Wool blends, alpaca, and cotton are popular choices for bulky yarn scarves.
Color and Pattern
Finally, don’t forget to consider the color and pattern options available in the bulky yarn you choose. Bulky yarns come in a wide range of colors, from vibrant solids to multi-colored variegated options. The color of the yarn can greatly impact the overall look and style of your scarf. Additionally, some bulky yarns have pre-determined patterns or textures built into the yarn itself, which can add additional visual interest to your scarf without requiring complex knitting techniques. Consider these factors to create a visually appealing and unique scarf with your chosen bulky yarn.
By considering the weight and texture, fiber content, as well as the color and pattern options, you can choose the perfect bulky yarn for your easy knit scarf pattern. Whether you prefer a chunky, textured scarf or a soft, warm one, there is a bulky yarn out there that will meet your needs and help you create a beautiful scarf to keep you cozy during the colder months.
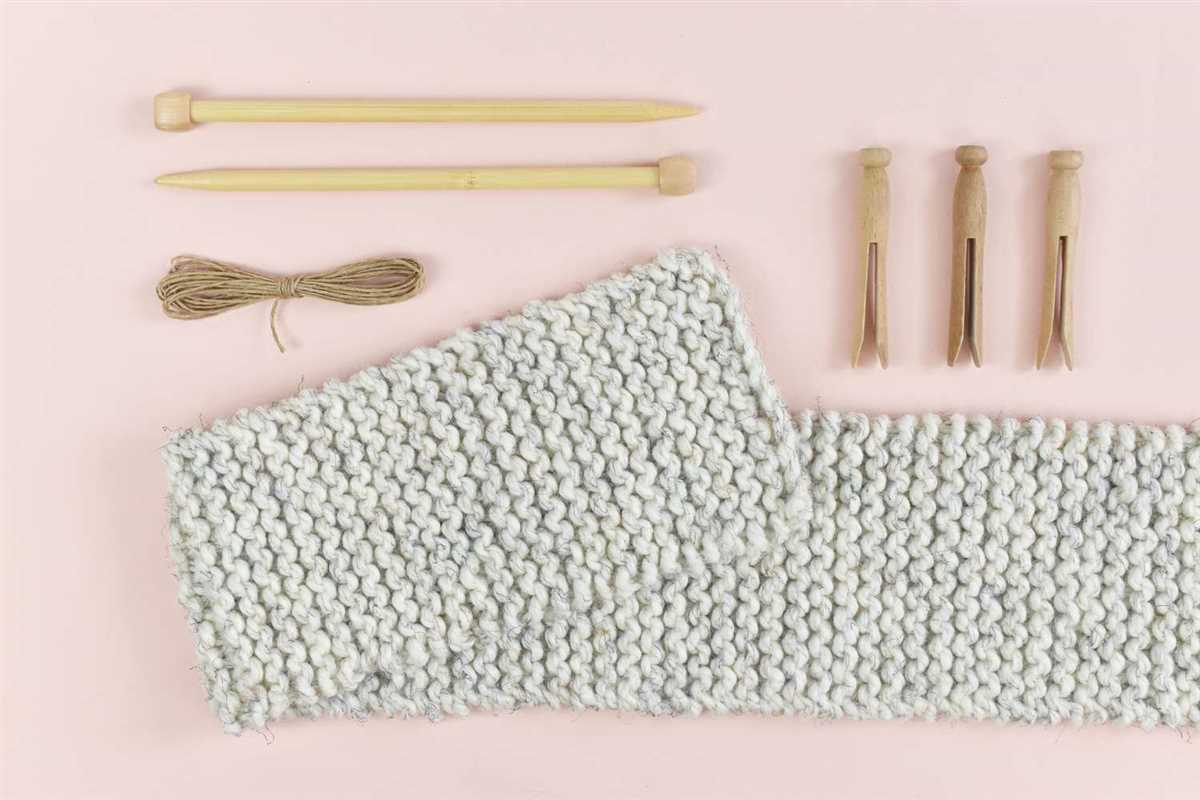
Gather the Necessary Knitting Supplies
Before starting any knitting project, it’s important to gather all the necessary supplies. For an easy knit scarf pattern using bulky yarn, here are the essential items you’ll need:
Yarn:
Choose a bulky weight yarn in your desired color. Bulky yarn will make the scarf knit up quickly and create a cozy texture.
Knitting Needles:
You’ll need a pair of knitting needles that are appropriate for your chosen yarn. Look for needles in a size that works well with bulky yarn, such as US size 10 or 11.
Tape Measure:
A tape measure will come in handy for measuring the length of your scarf as you knit it. This will help ensure that the finished scarf is the desired length.
Tapestry Needle:
A tapestry needle is essential for weaving in the loose ends of yarn when you’re finished knitting the scarf. This will give your scarf a neat and finished look.
Scissors:
A pair of scissors is necessary for cutting the yarn when you’re ready to start a new skein or finish your project. Choose a pair of sharp scissors that are suitable for cutting yarn.
With these knitting supplies on hand, you’ll be ready to start knitting your easy scarf pattern using bulky yarn. Happy knitting!
Cast On Stitches for Your Scarf

Making a scarf is a great way to practice your knitting skills and create a cozy accessory. When starting a scarf project, the first step is to cast on your stitches. This is the process of creating the foundation row of stitches that will be used to knit the scarf. There are different methods you can use to cast on stitches, but for an easy knit scarf pattern with bulky yarn, the long-tail cast on method is recommended.
To cast on stitches using the long-tail method, you will need a pair of knitting needles and your bulky yarn. Start by leaving a long tail of yarn, about three times the width of your finished scarf. Then, make a slipknot near the end of the tail and place it on your knitting needle. Hold the needle with the slipknot in your right hand.
Next, wrap the tail of the yarn around your left thumb, creating a loop. Insert the needle into the loop from front to back, going under your thumb. Now, use your right hand to grab the working yarn, which is the yarn attached to the ball, and bring it up and over the needle.
Continue this process of wrapping the working yarn around the needle and pulling it through the loop on your thumb until you have the desired number of cast-on stitches for your scarf. Remember to keep the tension even and not too tight to ensure that your stitches are not too snug.
Once you have cast on all your stitches, you can begin knitting your scarf following the pattern instructions. The long-tail cast on method provides a neat edge and is sturdy enough to hold the weight of a bulky yarn. With a few practice rounds, you’ll have the hang of casting on stitches and be ready to create a cozy and stylish scarf!
Learn a Basic Knitting Stitch for Your Scarf
When it comes to knitting a scarf, it’s important to have a simple, yet versatile stitch that will create a beautiful and cozy fabric. One popular and easy-to-learn knitting stitch for scarves is the garter stitch. The garter stitch is a basic stitch pattern that creates a fabric with a bumpy texture, which adds warmth and elasticity to the scarf.
To knit the garter stitch, all you need is a pair of knitting needles and your chosen yarn. Begin by casting on an even number of stitches. Hold the knitting needles in your preferred way and make sure the yarn is behind the needles. Insert one needle into the first stitch from left to right, then hold the other needle in your right hand and bring it over and behind the left needle.
Continue this process, also known as knitting, for each stitch on the needle. As you knit, the first stitch will be pushed off the left needle and onto the right needle, while the second stitch will move to the left needle. Repeat these steps until you’ve knitted all the stitches on the needle.
When you reach the end of the row, switch the needles in your hands and begin knitting again. By knitting every row, you’ll create a fabric with a uniform texture on both sides, making the garter stitch reversible. This stitch is especially great for bulky yarns, as it helps showcase the yarn’s texture and thickness.
Once you’ve mastered the garter stitch, you can experiment with other knitting stitches to add variety and interest to your scarf. However, the garter stitch is a versatile and timeless choice that will always create a classic and cozy scarf.
Continue Knitting Rows to Lengthen Your Scarf
Once you have cast on the desired number of stitches and completed the initial few rows of your easy knit scarf, it’s time to continue knitting rows to lengthen your scarf. This is where the fun part begins as you watch your scarf grow with every row you complete.
To continue knitting, simply bring the yarn behind the needle and insert the right-hand needle into the first stitch on the left-hand needle. Wrap the yarn around the right-hand needle from back to front, and pull it through the stitch, slipping the original stitch off the left-hand needle. This creates a new stitch on the right-hand needle.
Repeat this process for every stitch until you reach the end of the row. Then, turn your work and start another row by knitting each stitch in the same manner as before. This back-and-forth motion creates the classic knitted fabric that forms your scarf.
Continue knitting rows in this manner until your scarf reaches the desired length. To measure the length, lay your scarf flat and use a tape measure or ruler to determine its current size. Keep in mind that the scarf will stretch slightly when worn, so it’s a good idea to add a few extra inches to account for this.
If you are using a bulky yarn, you will find that your scarf grows quite quickly, making it an ideal project for beginners or for those who want to create a cozy accessory in a short amount of time. As you continue knitting rows, you can experiment with different stitch patterns or add embellishments to make your scarf unique.
Remember to keep track of your rows by either counting or using stitch markers, especially if you are following a specific pattern. This will ensure that your scarf is symmetrical and evenly finished. And most importantly, enjoy the process of knitting and creating something beautiful with your own hands!
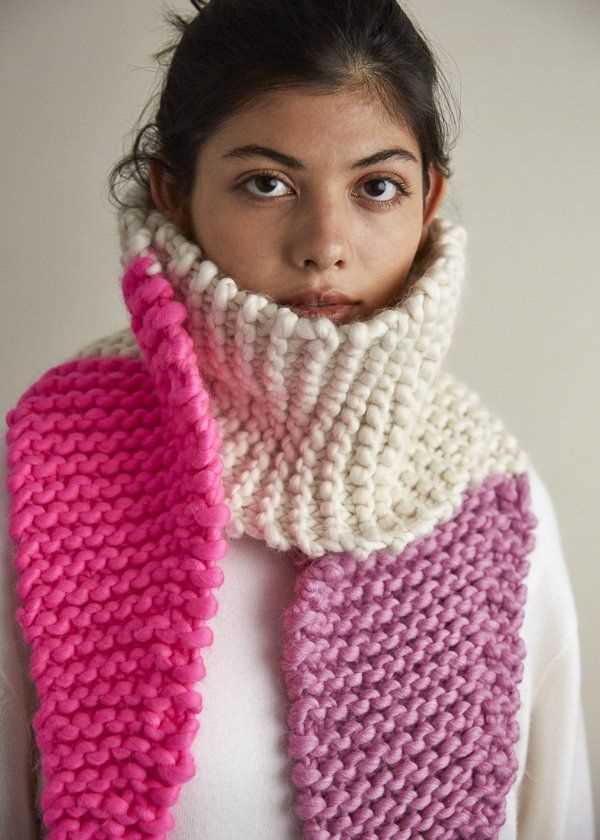
Switch Colors or Add a Pattern to Your Scarf
One way to add some variety to your easy knit scarf pattern is to switch colors. By using different colors of bulky yarn, you can create a fun and unique look for your scarf. For example, you could start with a few rows of one color and then switch to another color for a striped effect. This can be a great way to use up leftover yarn from other projects and add some visual interest to your scarf.
Another option to spice up your easy knit scarf pattern is to add a pattern or texture. You could incorporate a simple stitch pattern, such as a seed stitch or ribbing, to create a different look and feel. You could also experiment with different knitting techniques, such as cables or lace, to add some complexity to your scarf. Adding a pattern or texture can take your scarf from basic to stylish and make it stand out from the crowd.
If you’re feeling adventurous, you could even combine both color switching and pattern adding to create a truly unique scarf. For example, you could alternate between two colors and incorporate a simple lace pattern for a delicate and eye-catching design. The possibilities are endless, and it’s all about experimenting and having fun with your knitting.
When switching colors or adding a pattern to your scarf, it’s important to consider the yarn weight and gauge. Make sure the colors you choose work well together and complement each other. Also, keep in mind that certain patterns may require more advanced knitting skills or techniques, so be sure to choose a pattern that matches your skill level. With a little creativity and skill, you can create a beautiful and personalized scarf that you’ll love to wear or give as a gift.
Finish Off Your Scarf with a Bind-Off Stitch
Once you have completed knitting your scarf, it’s time to finish off the edges with a bind-off stitch. This final step will give your scarf a clean and polished look. The bind-off stitch is also known as the cast-off stitch, and it’s a technique used to secure the stitches and prevent them from unraveling.
To begin the bind-off stitch, knit the first two stitches as you normally would. Then, using your left needle, lift the first stitch over the second stitch and off the right needle. This will create one bind-off stitch. Repeat this process for the remaining stitches until you have only one stitch left on the right needle. Cut the yarn, leaving a tail that is long enough to weave in later, and pull it through the last stitch to secure it.
The bind-off stitch can be performed in different ways, depending on the desired effect. For a basic bind-off, simply lift each stitch over the next one. If you want a stretchier edge, you can use a stretchy bind-off stitch like the Jeny’s Surprisingly Stretchy Bind-Off. This technique involves inserting the needle into the first stitch as if to knit, then knitting the next stitch. Then, insert the left needle into the first stitch again and lift it over the second stitch and off the right needle.
Once you have finished binding off all the stitches, you can weave in the ends of the yarn using a yarn needle. Simply thread the yarn through the needle and sew it into the back of the bind-off stitches to secure it. Trim any excess yarn, and your knit scarf is now complete and ready to wear!
Weave in Loose Ends and Block Your Scarf
Once you have finished knitting your easy scarf using bulky yarn, there are a few important steps to take to ensure that your finished project looks polished and professional. One of these steps is weaving in any loose ends that may be hanging from your scarf. This is an essential step because it secures the ends of your yarn, preventing them from unraveling and creating unsightly knots or bumps in your finished project.
To weave in loose ends, simply thread a tapestry needle with the loose yarn end and weave it back and forth through the stitches on the wrong side of your scarf. Be sure to go in different directions to secure the end firmly. Once you have woven in the loose end, trim any excess yarn close to the fabric, being careful not to cut any of the knitted stitches. By weaving in loose ends, you will achieve a professional-looking finish and prevent any unraveling or fraying of your scarf.
After weaving in loose ends, the final step to complete your easy knit scarf is blocking. Blocking is the process of reshaping and stretching the fabric after it has been knitted to give it a more even appearance and to refine the stitch definition. To block your scarf, you will need a surface that can be pinned into, such as a blocking mat or thick towel, and a set of rust-proof pins.
To block your scarf, start by soaking it in cold water for about 15 minutes. Gently squeeze out any excess water, being careful not to wring or twist the fabric. Lay your scarf flat on the blocking surface, carefully shaping it into the desired dimensions and smoothing out any wrinkles or unevenness. Use the rust-proof pins to secure the edges and corners of the scarf, making sure to distribute them evenly to avoid creating any tension points. Leave the scarf to dry completely before unpinning it.
By weaving in loose ends and blocking your easy knit scarf, you can ensure a polished and professional finish to your project. These final steps will help to secure any loose ends and give your scarf a more even appearance, making it ready to wear or gift with pride.
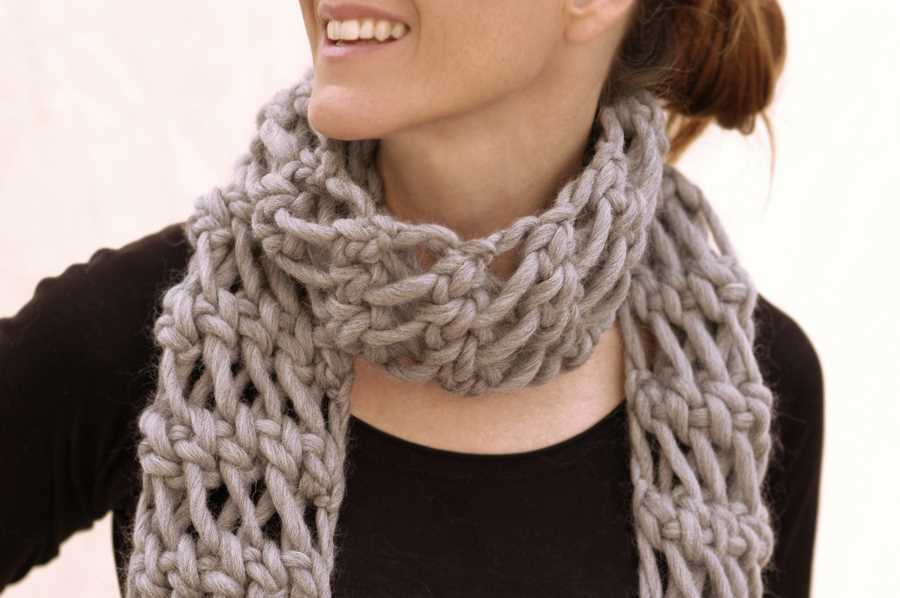
Add Fringe or Other Embellishments to Your Scarf (Optional)
Once you have finished knitting your easy scarf pattern with bulky yarn, you may want to add some fringe or other embellishments to give it a more personalized touch. There are several ways you can do this, depending on your preferred style and the look you want to achieve.
If you want to add fringe to your scarf, you can use the same yarn you used to knit the scarf or a contrasting color for a pop of color. Cut several pieces of yarn, each measuring twice the desired length of your fringe. Take one piece of yarn and fold it in half. Insert the folded end of the yarn through a stitch at one end of your scarf, creating a loop. Slip the loose ends of the yarn through this loop and pull tight. Repeat this process across the edge of your scarf, spacing the fringe strands evenly.
Another option to embellish your scarf is to add tassels. To make tassels, cut several pieces of yarn, each measuring three times the desired length of your tassel. Take one piece of yarn and fold it in half. Insert the folded end of the yarn through a stitch at one end of your scarf, creating a loop. Slip the loose ends of the yarn through this loop and pull tight. Trim the ends of the yarn to create a neat tassel. Repeat this process across the edge of your scarf, spacing the tassels evenly.
If you prefer a more subtle embellishment, you can add small decorative buttons or beads to your scarf. Use a needle and thread to securely attach the buttons or beads to the scarf. You can experiment with different patterns or arrangements to create a unique look.
Remember, adding fringe or other embellishments to your scarf is optional. It’s a great way to personalize your creation and make it truly unique. Have fun exploring different options and adding your own creative touch to your easy knit scarf with bulky yarn!
Enjoy Wearing Your Handmade Bulky Yarn Scarf
Now that you have completed your easy knit scarf using bulky yarn, it’s time to enjoy wearing your cozy and stylish creation. Whether you made it for yourself or as a heartfelt gift for someone special, this scarf is sure to keep you warm and make a statement.
Wrap yourself in the softness of the bulky yarn and feel the warmth against your skin. The thick and chunky texture of the scarf adds an extra layer of insulation, making it perfect for colder weather or chilly evenings. You can easily pair it with any outfit, from casual jeans and a sweater to a more formal coat or dress.
To make your scarf truly unique, you can customize it further by adding fringe, buttons, or other embellishments. This allows you to showcase your personal style and make your scarf stand out even more. Get creative and have fun experimenting with different ways to make your bulky yarn scarf your own.
Not only will you enjoy the warmth and comfort of your handmade scarf, but you will also take pride in the fact that you created it yourself. The time and effort you put into knitting this accessory will be evident every time you wear it. And every compliment you receive will serve as a reminder of your crafting skills and attention to detail.
So go ahead, put on your easy knit scarf made from bulky yarn, and step out into the world with confidence. Embrace the coziness and style it brings, and proudly show off your handmade creation. Enjoy the comfort it provides, the compliments you receive, and the joy of wearing something uniquely yours.