
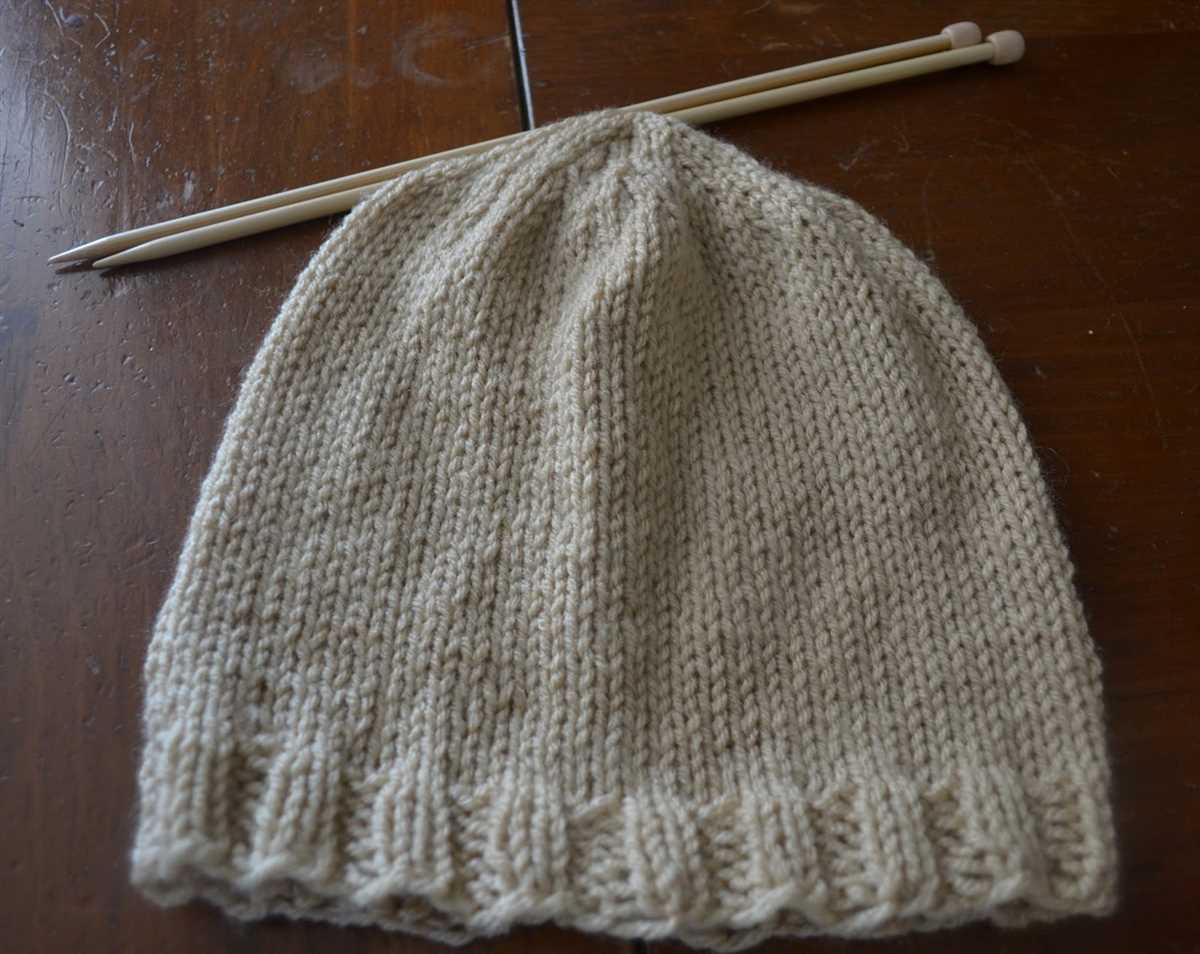
Knitting your own hat is a great way to express your personal style while staying warm and cozy during the chilly winter months. Luckily, with the right pattern and tools, knitting a hat can be a fun and easy project for knitters of all skill levels. In this article, we will explore an easy knit hat pattern using circular needles, which offer a seamless and efficient way to knit in the round.
Using circular needles for hat knitting has several advantages. First, they eliminate the need for double-pointed needles, making the process less fiddly and more manageable. Circular needles also allow you to knit the entire hat in one piece, meaning there are no visible seams or joins. Additionally, circular needles provide the flexibility to easily adjust the length of the needles, making it possible to knit hats of various sizes.
The easy knit hat pattern we will be discussing is perfect for beginners or knitters who are looking for a simple and quick project. The pattern uses basic knitting techniques, such as knit and purl stitches, and requires minimal shaping. With a little practice, you’ll be able to whip up cozy and stylish hats for yourself and your loved ones in no time!
So, if you’re ready to dive into the world of hat knitting, grab your circular needles and let’s get started with this easy knit hat pattern. Whether you’re a seasoned knitter or just starting out, this pattern is sure to provide you with a rewarding and enjoyable knitting experience.
Why choose a knit hat pattern for circular needles?
When it comes to knitting hats, using circular needles can offer several advantages. Circular needles eliminate the need for seams in the finished hat, creating a continuous and seamless look. This makes them a popular choice for those who prefer a polished and professional result.
Another reason to choose a knit hat pattern for circular needles is the flexibility they provide. With circular needles, you can easily adjust the circumference of the hat as you knit, allowing you to create a custom fit. This is particularly useful if you’re knitting a hat for someone with a larger or smaller head size than average.
Additionally, knitting with circular needles allows you to work on the hat in the round, meaning you won’t need to turn your work at the end of each row. This can make the knitting process faster and more efficient, as you won’t need to constantly switch sides. Plus, it’s easier to keep track of your stitches, resulting in fewer mistakes.
Whether you’re a beginner or an experienced knitter, using a knit hat pattern for circular needles can be a great option. It offers a seamless finish, allows for customization, and makes the knitting process smoother. So why not give it a try and create a beautiful hat using circular needles?
Materials and Tools Needed for Your Knit Hat Project
When starting a knit hat project using circular needles, it’s important to have all the necessary materials and tools at hand. Here’s a list of what you’ll need to get started:
1. Circular Needles:
Make sure you have a pair of circular needles in the appropriate size for your project. Circular needles are preferred for knitting hats as they provide convenience and allow for seamless knitting. Choose a length that is suitable for the circumference of the hat you plan to knit.
2. Yarn:
Select a soft and warm yarn suitable for knitting hats. The weight of the yarn will depend on the desired thickness of your hat. Worsted weight yarn is a popular choice for hats as it provides both warmth and durability. Choose a color that complements your style or matches the recipient’s preferences.
3. Stitch Markers:
Stitch markers are useful for marking specific stitches or sections in your pattern, making it easier to keep track of your progress. They come in various sizes and styles, so choose the ones that work best for you. You can find stitch markers at your local craft store or online.
4. Tapestry Needle:

A tapestry needle is essential for weaving in loose ends and finishing your project. Choose a needle with a large eye and a blunt tip, making it easier to thread through your yarn and weave in any loose ends without damaging the stitches.
5. Scissors:
Having a pair of sharp scissors handy is crucial for trimming excess yarn and cutting any threads. Make sure they are small and easy to handle, allowing you to make precise cuts without damaging your project.
6. Measuring Tape or Ruler:
Accuracy is important in knitting, so having a measuring tape or ruler on hand is essential. Use it to measure your gauge and ensure that your hat’s dimensions are correct. This will help ensure a proper fit for the recipient.
By gathering all these materials and tools before starting your knit hat project, you’ll be well-prepared and ready to create a cozy and stylish accessory for yourself or your loved ones. Happy knitting!
How to Choose the Right Yarn for Your Knit Hat
Choosing the right yarn for your knit hat is essential to creating a project that is both beautiful and functional. The type of yarn you select will determine the warmth, texture, and overall look of your hat. Here are some factors to consider when choosing yarn for your project:
- Weight: The weight of the yarn will determine how thick or thin your hat will be. If you want a warm and cozy hat, opt for a bulky or chunky yarn. For a lighter and more delicate hat, choose a fingering or lace weight yarn.
- Fiber: The fiber composition of the yarn will greatly affect the feel and performance of your hat. Wool is a popular choice for hats as it is warm, insulating, and moisture-wicking. Acrylic yarns are an affordable option that is soft and easy to care for. Other natural fibers like alpaca, cashmere, or cotton can also be used depending on your preference.
- Texture: Consider the texture of the yarn and how it will affect the look of your hat. Smooth yarns will give a clean and polished appearance, while yarns with a halo or fuzziness will create a softer and more textured look. You can also choose yarns with different stitch patterns or variegated colors to add interest to your hat.
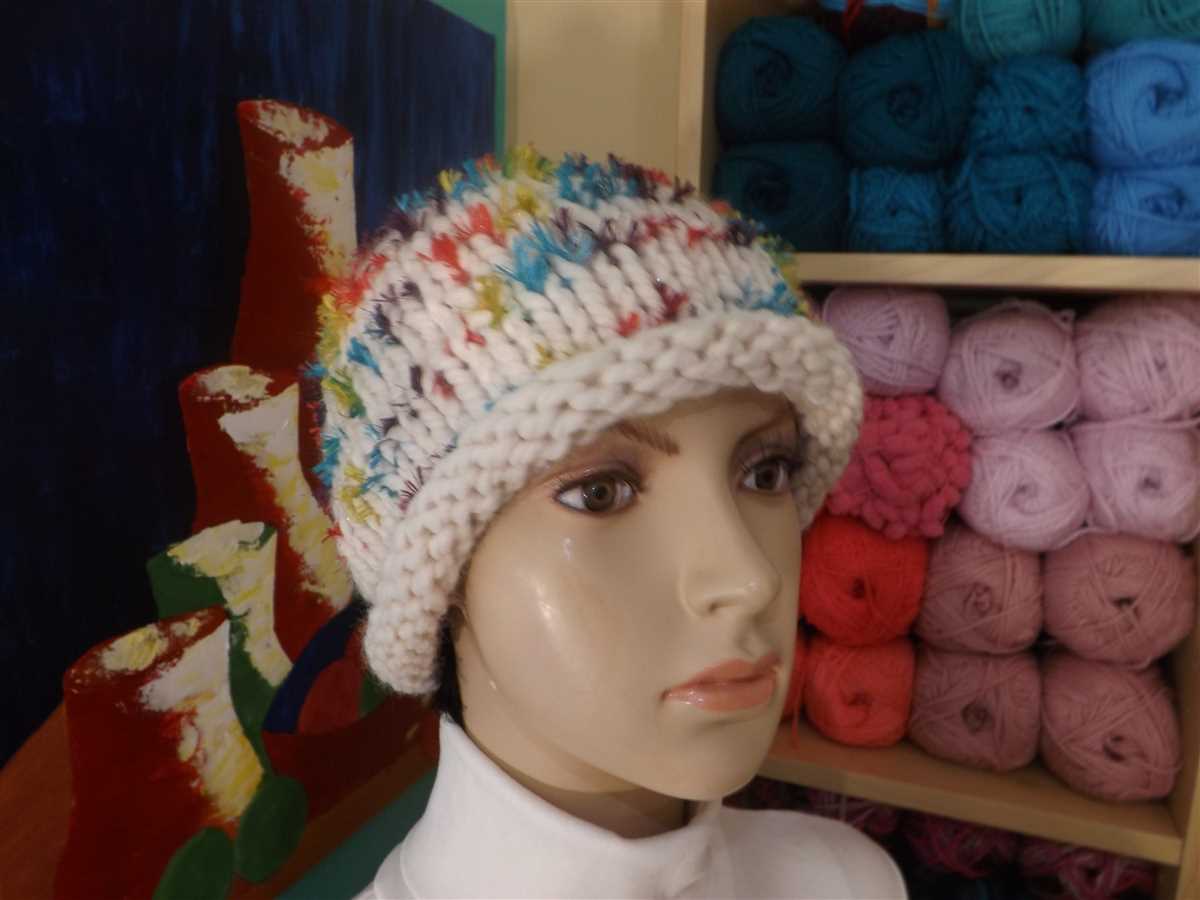
- Color: The color of the yarn is a personal preference, but it can greatly impact the overall aesthetic of your hat. Neutral colors like black, gray, or cream are versatile and timeless, while bold or vibrant colors can make a statement. Consider the wearer’s style and wardrobe when choosing the color of your yarn.
Once you have considered these factors, it is important to swatch your chosen yarn and needles to ensure that you achieve the desired gauge and size for your hat. By taking the time to select the right yarn, you can create a knit hat that is not only stylish but also comfortable and enjoyable to wear.
Understanding circular knitting needles for hat making
Knitting hats is a popular and enjoyable craft, and using circular knitting needles can make the process even easier. Circular needles consist of two pointed needles connected by a flexible cable, allowing you to work in the round without the need for seams. This makes them particularly well-suited for hat making, as they eliminate the need to sew the ends together.
When choosing circular knitting needles for hat making, there are a few important factors to consider. The first is the size of the needles, which determines the gauge or tension of the finished hat. Most hat patterns will specify the recommended needle size, but it’s always a good idea to check your gauge before starting to ensure the fit is correct.
Additionally, the length of the circular needles is an important consideration. For most hats, a 16-inch (40 cm) circular needle will work well, as it allows you to comfortably work the circumference of the hat. However, if you prefer a looser tension or are making a larger-sized hat, you may need a longer needle, such as a 24-inch (60 cm) or 32-inch (80 cm) one.
Once you have chosen the appropriate circular knitting needles, the process of making a hat is relatively straightforward. Begin by casting on the required number of stitches onto the needle, being careful not to twist the stitches. Join the round by pulling the cable through the first stitch to close the circle.
From there, you can follow the hat pattern you are using, working the stitches in the round until the desired length is reached. To decrease for the crown of the hat, you can use double-pointed needles or switch to a smaller circular needle if necessary.
Overall, understanding how to use circular knitting needles for hat making opens up a world of possibilities for creating beautiful and seamless hats. With the right tools and techniques, you can make hats that are both stylish and comfortable, all while enjoying the process of knitting.
Step-by-step guide to casting on for your knit hat
If you’re ready to start knitting your own hat using circular needles, the first step is to cast on. Casting on is the process of creating the foundation row of stitches on your needles. Here’s a step-by-step guide to help you get started.
Materials:
- Circular knitting needles
- Yarn of your choice
- Tapestry needle or crochet hook
Step 1: Measure your yarn
Before you begin casting on, determine how much yarn you’ll need for your hat. It’s always better to have more yarn than you think you’ll need, especially if you’re unsure about the specific yardage required for your chosen pattern.
Step 2: Make a slipknot
To start casting on, make a slipknot at the end of your yarn. This slipknot will serve as the first stitch on your needle.
Step 3: Hold the needles
Now, hold your circular needles in your hands, with the slipknot on your right-hand needle. The left-hand needle should be empty.
Step 4: Make a loop
Insert the right-hand needle into the slipknot, from front to back. Then, wrap the yarn around your left-hand thumb and bring it over the top of the right-hand needle, creating a loop.
Step 5: Pull the loop through
Using your right hand, pull the loop through the slipknot on the right-hand needle. This will create a new stitch on the left-hand needle. Tighten the stitch by pulling gently on the yarn.
Step 6: Repeat
Continue to repeat steps 4 and 5 until you have cast on the required number of stitches for your hat. Make sure to count your stitches as you go to ensure accuracy.
Step 7: Join the round
Once you have cast on all the necessary stitches, you can join the round by slipping the last cast-on stitch onto the left-hand needle. Be careful not to twist your stitches as you join.
Congratulations! You have now successfully cast on for your knit hat using circular needles. You’re ready to move on to the next steps of your pattern, such as knitting in the round or creating ribbing.
The Importance of Gauge Swatches in Knit Hat Patterns
When knitting a hat pattern, one of the most important steps is creating a gauge swatch. A gauge swatch is a small sample of knitting that allows you to check your tension and ensure that your finished project will be the correct size. It is an essential tool for any knitter, especially when using circular needles.
A gauge swatch can help you determine if you need to adjust your needle size or the number of stitches you cast on. Using circular needles can sometimes result in different tension compared to flat knitting with straight needles. By knitting a gauge swatch on circular needles, you can accurately measure and adjust your tension to ensure your hat fits properly.
When making a gauge swatch for a knit hat pattern, it is important to follow the specific instructions provided by the pattern designer. This may include using a specific yarn and needle size, as well as knitting a certain number of stitches and rows.
Once you have completed your gauge swatch, you can measure it using a ruler or knitting gauge tool. Compare the number of stitches and rows per inch to the gauge information provided in the pattern. If your gauge matches, you can confidently begin knitting your hat knowing that it will turn out the correct size.
If your gauge does not match the pattern’s gauge, you may need to adjust your needle size or the number of stitches you cast on. Knitting a new gauge swatch with the adjusted needles or stitch count can help you achieve the correct tension and ensure your hat turns out the desired size. It may take a few tries to get the correct gauge, but it is worth the effort to ensure a well-fitting and comfortable finished hat.
In conclusion, gauge swatches are an important part of knitting hat patterns, especially when using circular needles. They allow you to check and adjust your tension, ensuring your finished hat will be the correct size. By taking the time to create and measure a gauge swatch, you can increase the likelihood of a successful knitting project.
Knitting the body of your hat: Stitch patterns and shaping
When knitting the body of your hat using circular needles, it’s important to consider stitch patterns and shaping techniques to create a comfortable and stylish finished product.
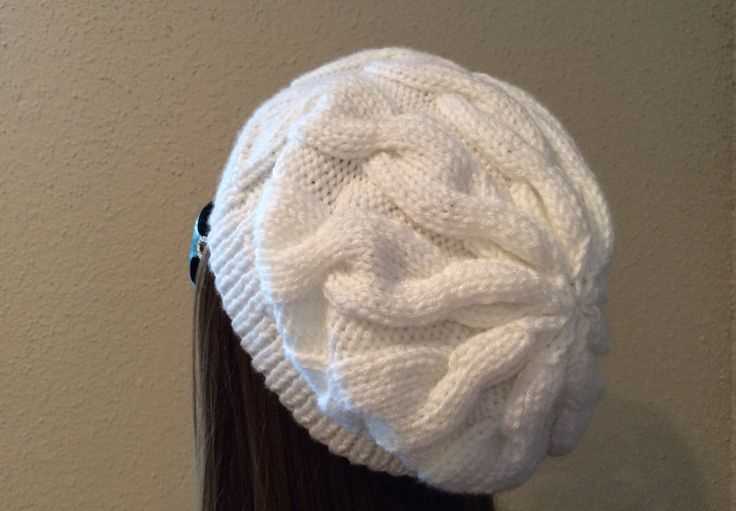
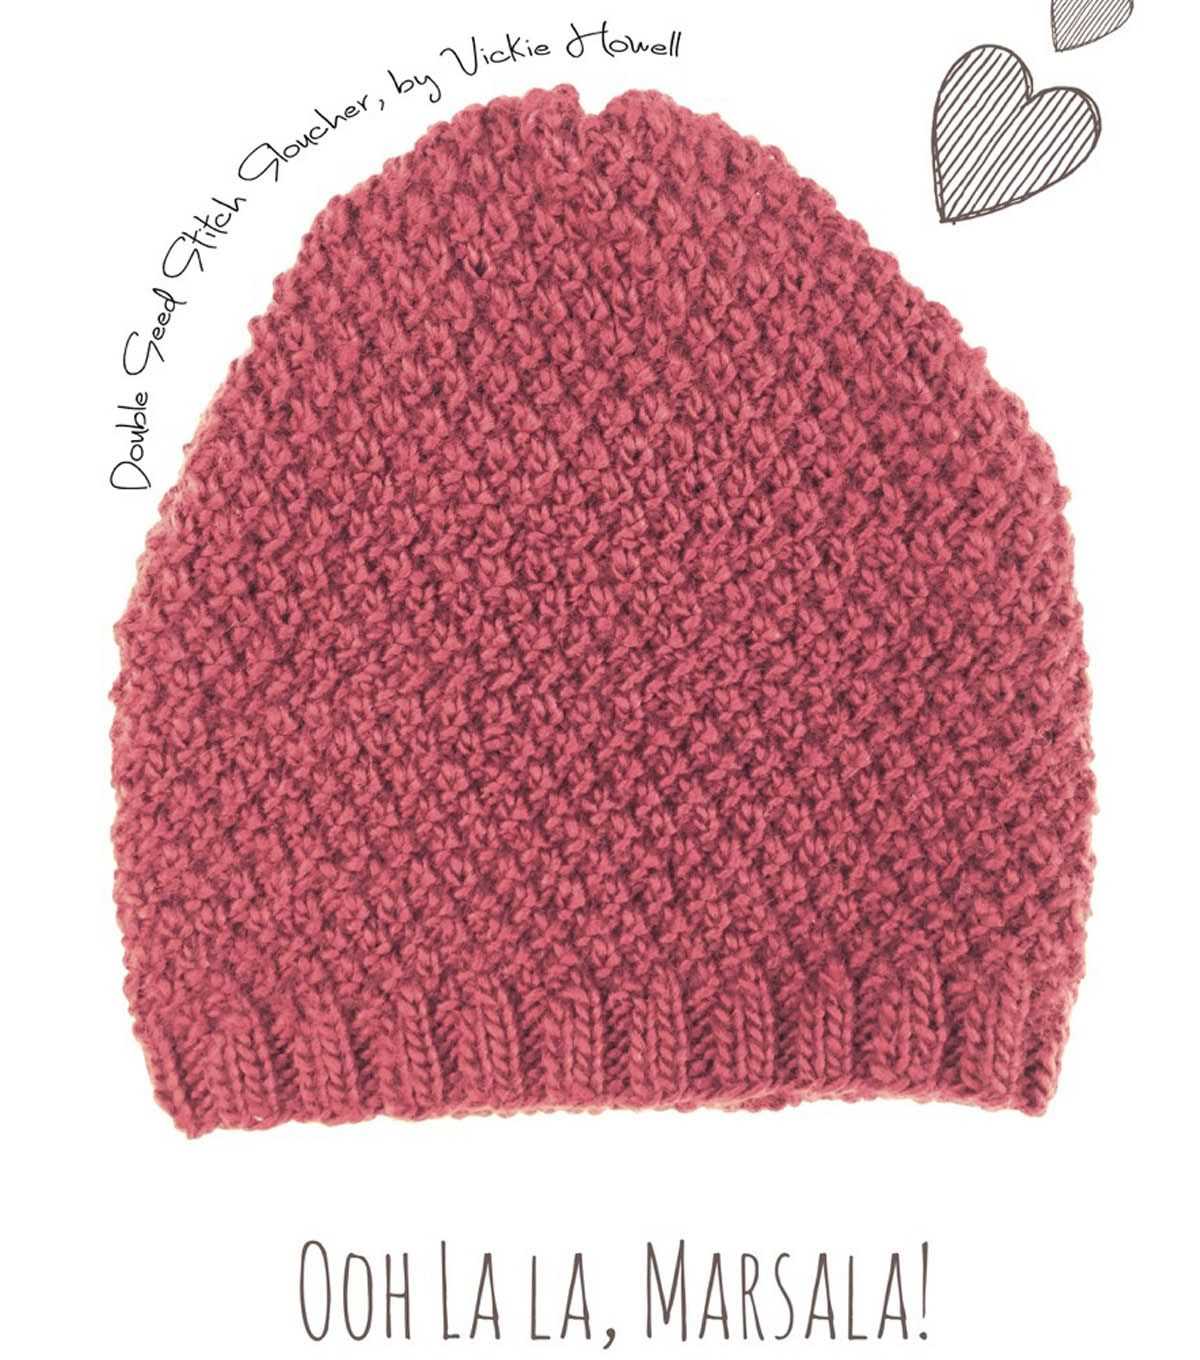
Stitch patterns: There are various stitch patterns you can use to add texture and visual interest to your hat. One popular option is the basic rib stitch, which alternates knit and purl stitches to create a stretchy and flattering pattern. Another option is the seed stitch, which creates a bumpy texture by alternating knit and purl stitches within the same row.
Shaping: Shaping the body of your hat involves decreasing stitches to create a tapered effect towards the crown. One common technique is the knit 2 together (k2tog) decrease, which involves knitting two stitches together as one. This decreases the total number of stitches and creates a smoothly curved shape. Alternatively, the slip, slip, knit (ssk) decrease can be used to create a left-leaning decrease. Additionally, you can incorporate decreases into your stitch pattern to create unique shaping effects.
By experimenting with different stitch patterns and shaping techniques, you can create a hat that is customized to your personal style and preferences. Whether you prefer a simple ribbed design or a more intricate textured pattern, the options are endless when it comes to knitting the body of your hat.
Shifting to double-pointed needles for decreasing and shaping the crown
Once you have completed the main body of the hat using circular needles, you will need to shift to double-pointed needles for the decreasing and shaping of the crown. This transition is necessary to accommodate the decreasing pattern and create the desired shape of the hat.
Using double-pointed needles can seem intimidating at first, but with a little practice, you will find them to be an essential tool for knitting smaller, more intricate pieces. The main advantage of using double-pointed needles for shaping the crown is that they allow you to work with a smaller circumference, which is necessary as you decrease the number of stitches.
Start by transferring your stitches from the circular needles onto the double-pointed needles. Divide the stitches evenly among the needles, making sure to distribute them in a way that allows for convenient knitting. Typically, you will have three or four double-pointed needles in use, with some stitches on each needle.
As you begin to decrease the number of stitches, you will need to keep track of your pattern and decrease accordingly. This is where the double-pointed needles come in handy, as they allow you to work on a smaller scale and easily manipulate the stitches. Make sure to follow the pattern instructions carefully to achieve the desired shape of the crown.
Adding a pom-pom or other embellishments to your knit hat
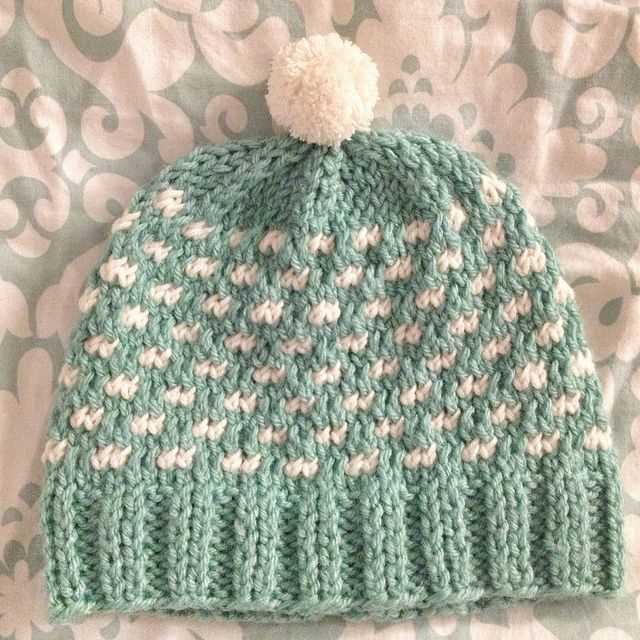
Adding a pom-pom or other embellishments to your knit hat can give it a fun and personalized touch. Whether you’re making a hat for yourself or as a gift, adding a pom-pom can be a great way to add some extra flair. You can choose to make the pom-pom in a matching or contrasting color, depending on your preference.
If you’re using circular needles to knit your hat, you can easily attach a pom-pom by using a yarn needle to sew it onto the top of the hat. Simply thread the needle with some matching yarn and sew the base of the pom-pom onto the top of the hat. Make sure to secure the pom-pom tightly so that it doesn’t come loose over time.
If you want to add other embellishments to your knit hat, like buttons or patches, you can sew them on in a similar way. Use a yarn needle and thread it with some matching yarn or invisible thread. Position the embellishments where you want them on the hat and carefully sew them on, making sure to secure them tightly.
Another option for adding embellishments to your knit hat is to use a glue gun or fabric glue. This can be a quicker and easier method, especially if you’re working with smaller and lighter embellishments. Simply apply a small amount of glue to the back of the embellishment and press it onto the hat. Allow the glue to dry completely before wearing or gifting the hat.
Remember to consider the care instructions for your hat when choosing and attaching embellishments. Some embellishments may not withstand machine washing or drying, so it’s important to take proper care to ensure they stay in place. Whether you choose to sew or glue on your embellishments, they can add a personal and playful touch to your knit hat.
Tips and Tricks for Finishing Your Knit Hat Project
Completing a knit hat project can be both exhilarating and daunting. After spending hours working on your project, the finishing touches can make all the difference in the final product. Here are some tips and tricks to help you complete your knit hat project with finesse and style.
Select the Right Finishing Technique
When it comes to finishing your knit hat, there are several techniques you can choose from. The most common options include binding off, grafting, or using a three-needle bind-off. Each technique has its own unique look and skill level required, so be sure to choose the one that best suits your project and your preferences.
Blocking for a Professional Finish
Once you’ve completed your hat, blocking is an essential step to give it a polished and professional finish. Blocking helps to even out the stitches, relax the yarn, and shape the hat to the desired dimensions. Whether you choose to steam block, wet block, or use a blocking mat, taking the time to block your hat will make a significant difference in the final appearance.
Add Embellishments to Elevate Your Design

Embellishments can take your knit hat project to the next level and add a personalized touch. Consider adding a pom-pom, a decorative button, or embroidered details to make your hat stand out. Be creative and experiment with different embellishments to find the perfect design element that complements your style.
Seam Concealing Techniques
If your hat has a visible seam, there are tricks to help you conceal it for a seamless finish. One way is to use the mattress stitch, which involves sewing the seam together in an invisible manner. Another option is to pick up stitches along the edge and use a three-needle bind-off to create a seamless join. Whichever technique you choose, taking the time to conceal the seam will give your hat a polished appearance.
Finishing Touches with Blocking and Washing
Before considering your knit hat project complete, it’s important to give it a final round of blocking and washing. This step will help to ensure that your hat maintains its shape, softness, and durability for years to come. Use mild detergent and lukewarm water to gently cleanse your hat, then reshape it and allow it to dry flat or on a hat form.
Final Thoughts
Finishing a knit hat project is a gratifying accomplishment, and paying attention to the details will result in a professional-looking final product. Whether it’s selecting the right finishing technique, adding embellishments, or concealing seams, taking the time to finesse your hat will make all the difference. So, don’t rush the finishing process and enjoy the satisfaction of completing your beautiful knit hat.
Additional resources and inspiration for your next hat knitting project
Knitting hats can be a fun and rewarding project, and there are plenty of resources available to help you find patterns and inspiration for your next project. Whether you’re a beginner knitter looking for a simple pattern or an experienced knitter looking for a challenge, these resources will guide you on your knitting journey.
Online Knitting Communities:
Joining an online knitting community can provide you with a wealth of knowledge and support. You can ask questions, get advice, and find inspiration from fellow knitters. Some popular knitting communities include:
- Ravelry: Ravelry is a free online community for knitters and crocheters. It offers a vast collection of patterns, forums, and groups where you can connect with other knitters.
- Knitting Help: Knitting Help is a website that provides free video tutorials and a forum where you can ask questions and get help with your knitting projects.
- Knit Picks Community: Knit Picks is an online knitting supply store that also has a community forum for knitters to connect and share their projects.
Knitting Books and Magazines:
If you prefer a more traditional approach, there are many knitting books and magazines that offer a wide range of hat patterns and inspiration. Some popular knitting publications include:
- Vogue Knitting: Vogue Knitting is a well-known knitting magazine that features a variety of patterns for all skill levels.
- Interweave Knits: Interweave Knits offers patterns, articles, and tips for knitters of all levels.
- Knitting Without Tears: Written by Elizabeth Zimmermann, this classic knitting book provides helpful tips and techniques for knitting hats and other projects.
Remember, when choosing a pattern, make sure it matches your skill level and that you have the necessary materials and tools. Don’t be afraid to take on a challenge, but also don’t hesitate to start with a simpler project if you’re a beginner. Happy knitting!