
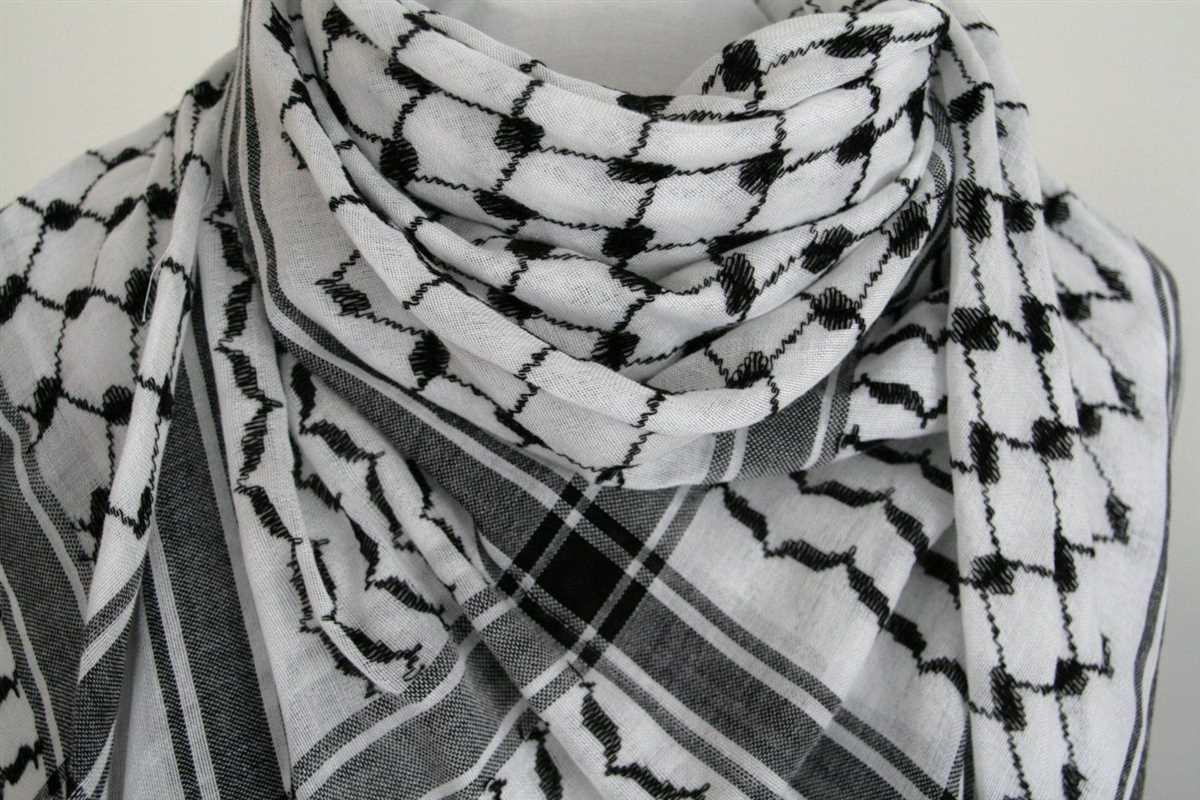
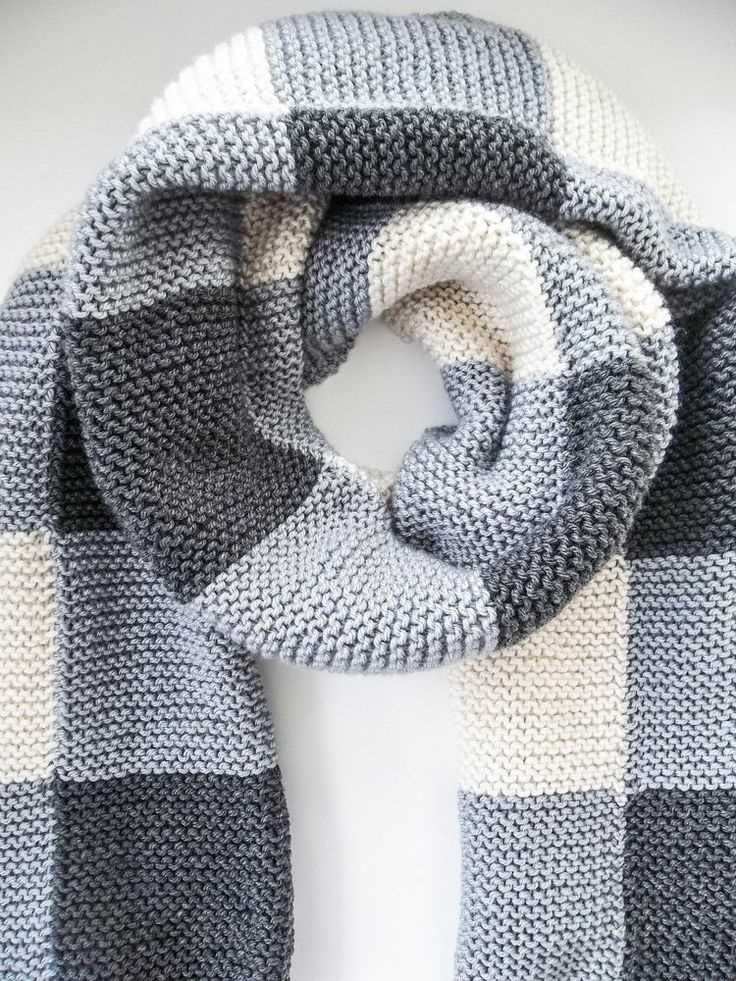
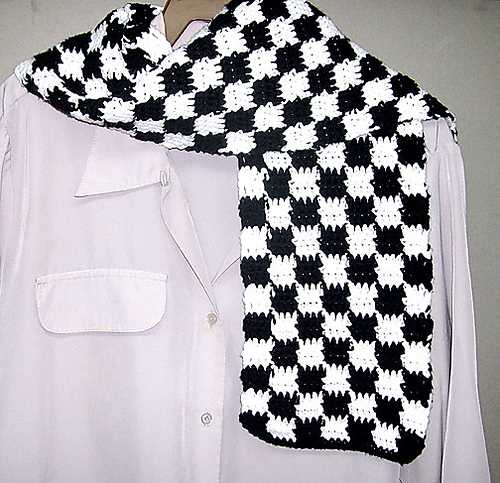
Knitting a scarf is a great way to keep warm and add a touch of style to your winter wardrobe. If you’re tired of plain, monotone scarves, then a checkered scarf might be just what you need. This classic pattern features a timeless design that can be adapted to suit your own personal style and color choices.
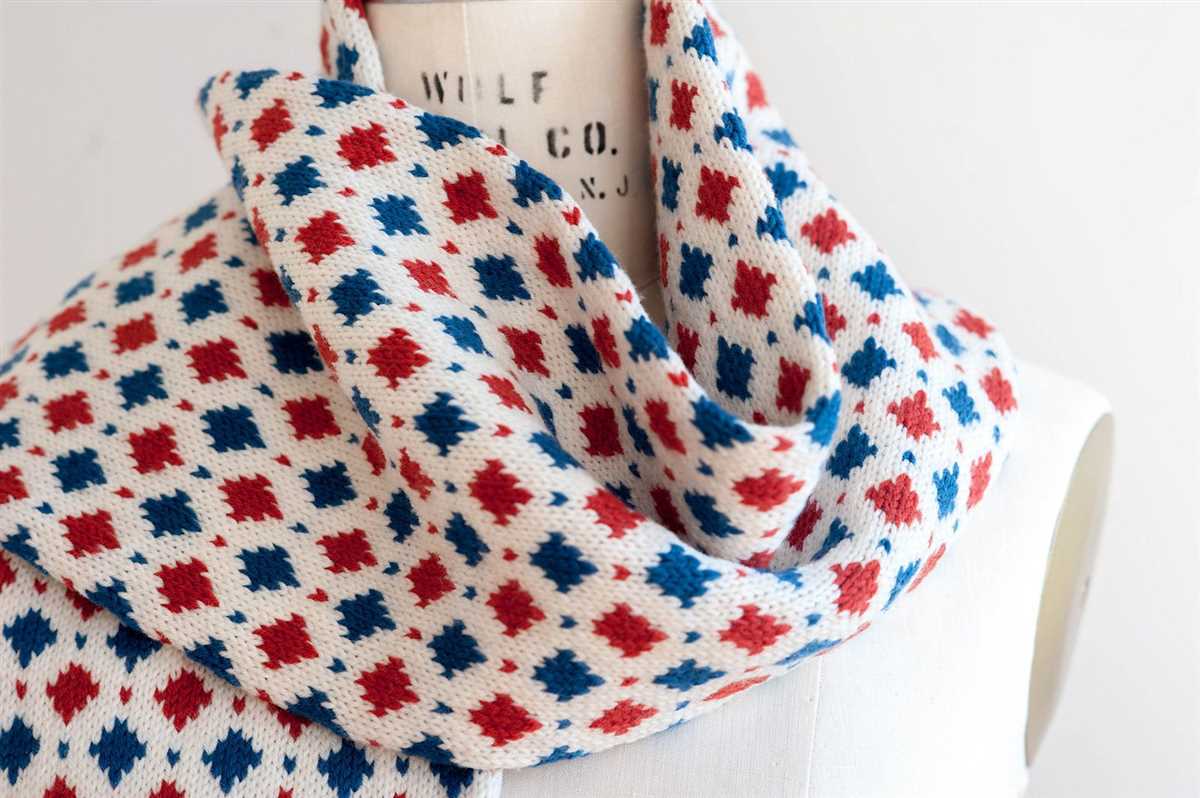
The checkered pattern is created by alternating two colors of yarn, typically in a block design. This creates a visually appealing pattern that is both stylish and eye-catching. Knitting a checkered scarf is a fun and satisfying project that can be completed by knitters of all skill levels.
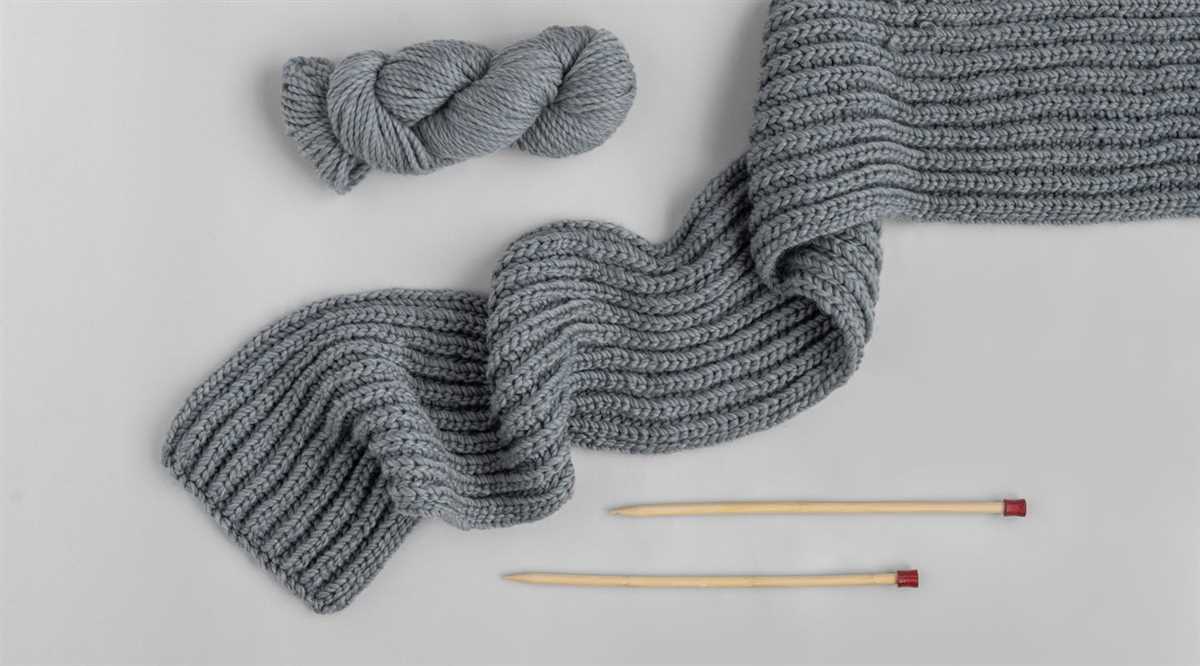
To create your own checkered scarf, you will need a pair of knitting needles and two different colors of yarn. The size of the needles and the weight of the yarn will depend on your personal preference and the desired finished look of the scarf. Once you have gathered your materials, you can begin casting on and following the simple checkered pattern.
Checkered Scarf Knitting Pattern
If you’re looking for a stylish and versatile knitting project, a checkered scarf is a perfect choice. This classic pattern features alternating blocks of color to create a timeless design that can be worn by anyone. Whether you’re a beginner or an experienced knitter, this pattern is relatively easy to follow and can be customized to suit your own preferences.
To start your checkered scarf, you’ll need to gather your materials. This includes two different colors of yarn, knitting needles in the appropriate size for your yarn, and a pair of scissors. The choice of yarn and needle size will determine the thickness and drape of your finished scarf, so it’s important to consider the desired outcome before beginning.
Once you have your materials ready, you can begin casting on stitches to create the foundation of your scarf. The number of stitches will depend on your desired width, but a typical range is between 30-40 stitches. After casting on, you can then start knitting the first row in your chosen main color.
To create the checkered pattern, you’ll need to introduce the contrasting color in the following rows. This can be done by simply knitting a block in the contrasting color and then switching back to the main color for the next block. The size and number of blocks can vary depending on your preference, but a common choice is to have four rows of the main color followed by four rows of the contrasting color.
Continue knitting in this pattern, alternating between the main and contrasting colors, until you’ve reached your desired length. Make sure to periodically check the width and length of your scarf to ensure it’s turning out as desired. Once you’re satisfied with the length, you can then finish off the scarf by binding off the stitches and weaving in any loose ends.
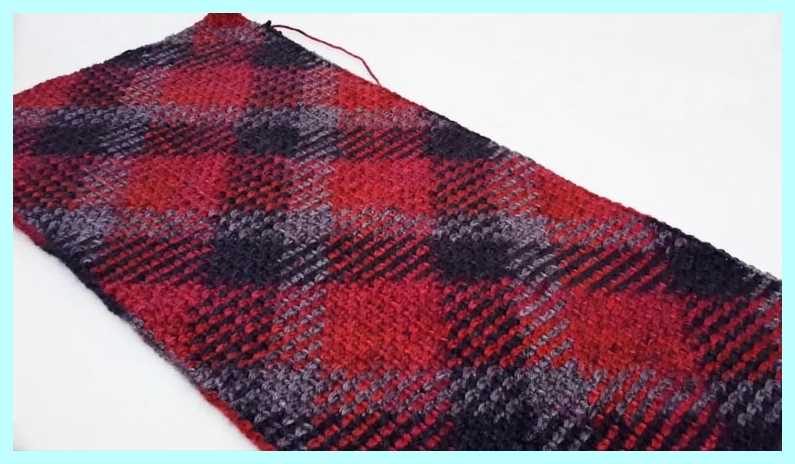
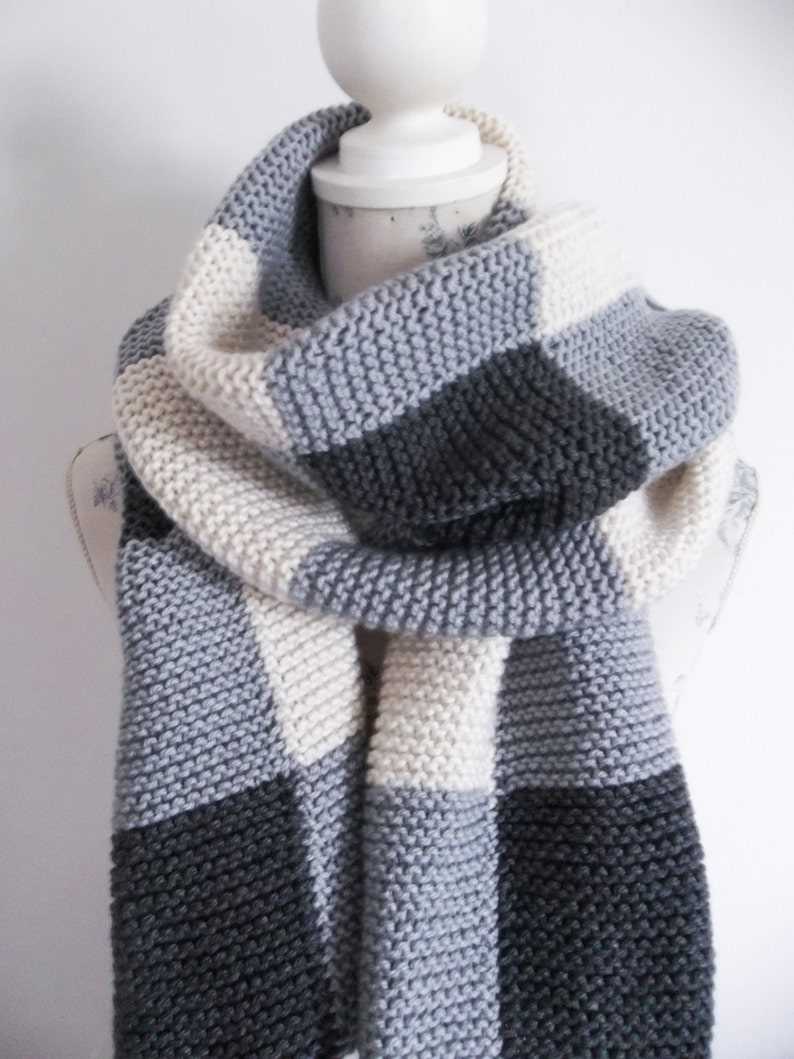
A checkered scarf is not only a stylish accessory but also a practical one. The alternating blocks of color add visual interest to any outfit, while the warmth and coziness of the knitted fabric make it perfect for chilly days. Whether you choose bold and contrasting colors or subtle and muted tones, a checkered scarf is a classic accessory that can be enjoyed for years to come.
In conclusion, knitting a checkered scarf is a rewarding project that allows you to showcase your creativity and skills. With its timeless design and customizable options, this pattern is sure to become a staple in your winter wardrobe. So grab your needles and yarn, and start knitting your own checkered scarf today!
The Benefits of Knitting your Own Checkered Scarf
Knitting your own checkered scarf can be a rewarding and fulfilling experience, offering a multitude of benefits beyond just having a fashionable accessory to wear. Whether you are a seasoned knitter or just starting out, this DIY project can be a great way to relax, express your creativity, and ultimately create a unique and personalized accessory.
1. Customization: One of the greatest advantages of knitting your own checkered scarf is the ability to customize it according to your own preferences. You can choose the colors, patterns, and yarn materials that resonate with your personal style and create a scarf that truly reflects your individuality.
2. Therapeutic: Knitting has been known to have therapeutic effects, promoting relaxation and reducing stress levels. The repetitive and rhythmic motions of knitting can have a calming effect on the mind and body, helping you to unwind and find peace in the present moment.
3. Skill Development: Knitting a checkered scarf allows you to improve your knitting skills and learn new techniques. As you progress with your project, you may find yourself building confidence and proficiency in your knitting abilities, which can translate to more challenging knitting projects in the future.
4. Unique Gift: A hand-knitted checkered scarf makes for a thoughtful and unique gift for friends and family. By dedicating your time and effort into creating something special, you are able to give a gift that is truly one-of-a-kind and demonstrates your care and thoughtfulness.
5. Cost-effective: Knitting your own checkered scarf can also be a cost-effective option. By purchasing yarn and knitting needles, you can create multiple scarves at a fraction of the cost of buying them from a store. This is particularly beneficial if you enjoy knitting as a hobby and want to make more scarves for yourself or as gifts.
In conclusion, knitting your own checkered scarf can bring a sense of joy and accomplishment. From the ability to customize your scarf to the therapeutic nature of the knitting process, there are many benefits to embarking on this knitting project. So, grab your knitting needles and get started on creating your own unique and stylish checkered scarf!
Choosing the Right Yarn for your Checkered Scarf
When it comes to knitting a checkered scarf, one of the most important decisions you’ll make is choosing the right yarn. The yarn you choose will not only determine the final look and feel of your scarf, but also how easy or difficult it will be to knit. Here are some factors to consider when selecting the perfect yarn for your project.
Fiber Content
The first thing to consider is the fiber content of the yarn. Different fibers have different properties, which will affect the drape, warmth, and durability of the finished scarf. For a cozy and warm scarf, you might want to choose a yarn made of natural fibers such as wool or alpaca. If you prefer a lighter and more breathable option, cotton or bamboo yarn could be a great choice. Consider your own preferences and the intended use of the scarf when selecting the fiber content.
Weight
The weight of the yarn will also play a role in the final outcome of your checkered scarf. This refers to the thickness and heaviness of the yarn. A lightweight yarn, such as fingering or sport weight, will create a delicate and airy scarf, perfect for layering. On the other hand, a bulky or chunky yarn will result in a thicker and warmer scarf, suitable for colder weather. Consider the season and climate in which you will be wearing the scarf when deciding on the weight of the yarn.
Color and Pattern
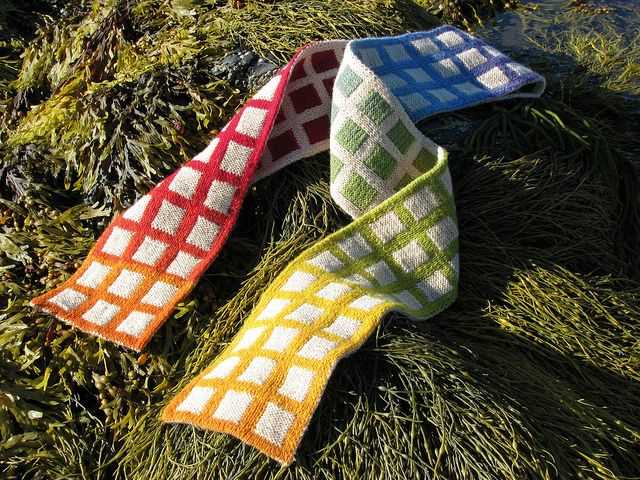
The checkered pattern of your scarf will be enhanced or muted depending on the color choices of your yarn. If you want each checkered section to stand out, choose contrasting colors that will create a bold and eye-catching effect. On the other hand, if you prefer a more subtle look, select yarns in similar or complementary shades. Keep in mind that variegated or self-striping yarns can also create interesting effects in a checkered pattern, adding visual interest to your scarf.
Yarn Care Instructions
Finally, consider the care instructions for the yarn you choose. Some yarns require special care, such as handwashing or dry cleaning, while others can be machine washed and dried. If you want a scarf that is easy to care for, look for yarns that can withstand regular machine washing. It’s also important to think about how the yarn will hold up over time – will it pill or change shape with wear? Make sure to read the yarn label for care instructions and consider these factors when making your decision.
By taking these factors into consideration, you can choose the right yarn for your checkered scarf that will not only look beautiful but also meet your comfort and care needs. Happy knitting!
Picking the Perfect Needles for your Checkered Scarf
When it comes to knitting a checkered scarf, selecting the right needles is essential. The type and size of needles you choose can greatly impact the outcome and ease of your knitting project. Here are a few factors to consider when picking the perfect needles for your checkered scarf:
Type of Needles
There are various types of knitting needles available, including straight, circular, and double-pointed needles. Each type has its own advantages and is suitable for different projects. For a checkered scarf, straight needles are commonly used as they are ideal for knitting flat pieces. However, if you prefer knitting in the round or want to try a different technique, circular needles can also be a great option.
Size of Needles
The size of the needles you choose can determine the tightness or looseness of your stitches. Generally, thicker needles create larger stitches, while smaller needles create smaller stitches. For a checkered scarf, you’ll want to consider the desired thickness and drape of the finished product. If you want a scarf with more drape and larger stitches, opt for larger needles. If you prefer a denser fabric with smaller stitches, choose smaller needles.
Material of Needles
Knitting needles are available in various materials, including metal, bamboo, and plastic. Each material has its own characteristics that can affect your knitting experience. Metal needles are often smooth and durable, making them great for fast knitting. Bamboo needles, on the other hand, provide a natural warmth and are less slippery, which can be helpful for beginners. Plastic needles are lightweight and affordable, making them a practical choice for many knitters. Consider your personal preference and knitting style when selecting the material of your needles.
- Choose straight needles for knitting a checkered scarf.
- Consider the desired thickness and drape of the finished scarf when selecting the size of your needles.
- Take into account your personal preference and knitting style when selecting the material of your needles.
Understanding the Checkered Pattern
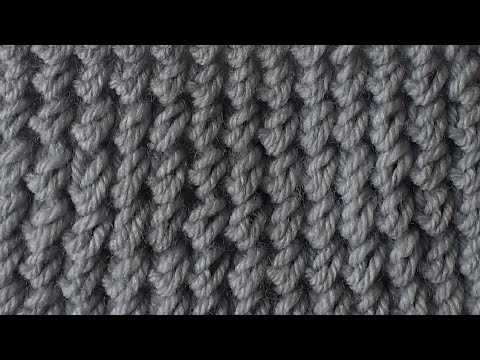
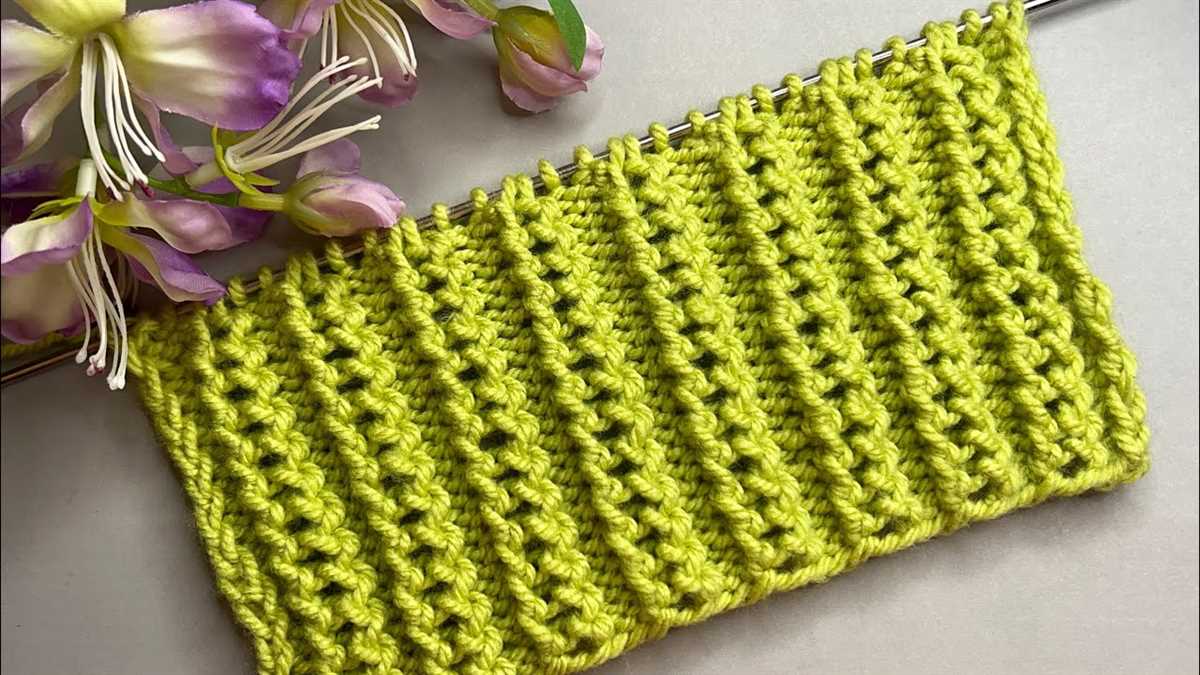
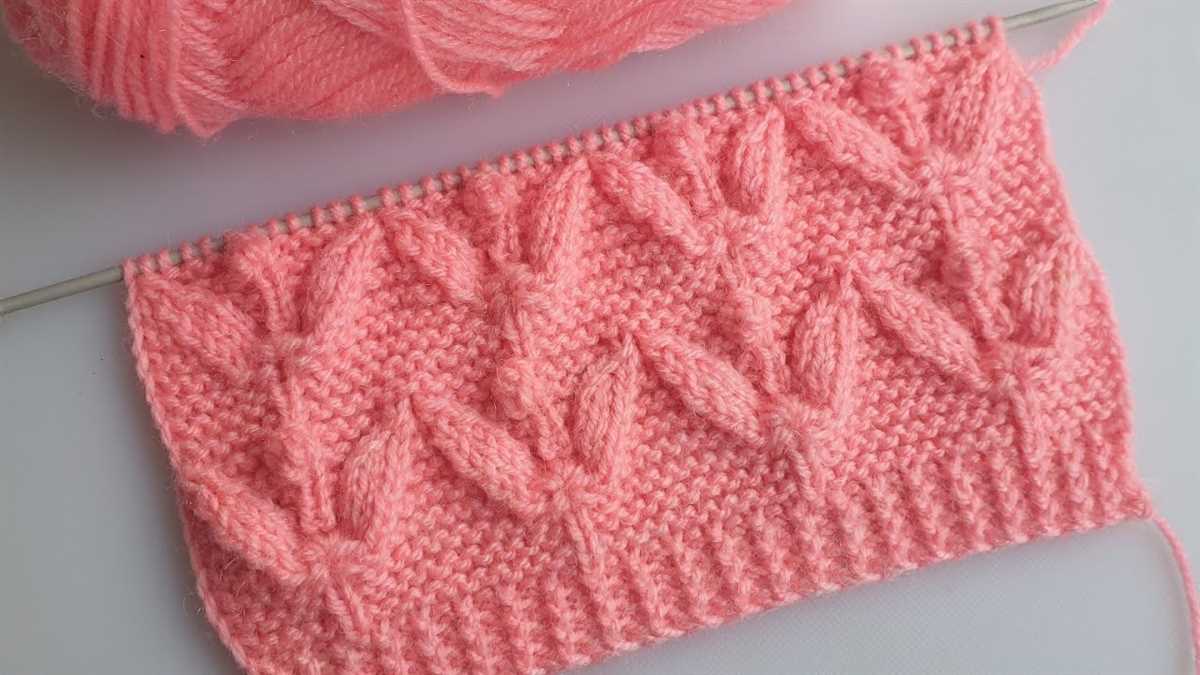
A checkered pattern is a classic and versatile design that can add texture and visual interest to any knitted project, including scarves. The pattern is created by using a combination of knit and purl stitches to form a grid-like pattern of alternating squares.
To begin knitting a checkered scarf, you will need to choose your yarn and needle size. A medium-weight yarn and corresponding needle size is a good option for creating a scarf that is both warm and lightweight. It is also important to select two contrasting colors of yarn to create the checkered effect.
Once you have your materials, you can start knitting the checkered pattern. The pattern typically consists of repeating blocks of knit stitches and purl stitches. For example, you may start with a block of 10 knit stitches, followed by a block of 10 purl stitches. This pattern is then repeated across the row.
As you knit the checkered pattern, it is important to pay attention to your tension and gauge. The tension refers to how tightly or loosely you knit, while the gauge refers to the number of stitches and rows per inch. Keeping a consistent tension and gauge will ensure that the checkered pattern appears uniform throughout the scarf.
Once you have completed the checkered pattern for your desired scarf length, you can finish it off by binding off your stitches. You can then weave in any loose ends and block the scarf to give it a polished look.
A checkered scarf is a timeless accessory that can be worn in various ways. Whether you choose to wrap it around your neck for extra warmth or drape it over your shoulders as a stylish accessory, the checkered pattern will add a touch of sophistication to your outfit.
Tips and Tricks for Knitting the Checkered Scarf
Knitting the checkered scarf can be a fun and rewarding project, but it may also come with its own challenges. Here are some tips and tricks to help you achieve a beautiful and well-crafted scarf:
1. Choose the right yarn:
When knitting a checkered scarf, it’s important to choose the right yarn that will highlight the pattern. Opt for a yarn that is soft, warm, and has good stitch definition. Worsted weight yarn or lighter is usually a good choice for scarves, as it will result in a comfortable and wearable accessory.
2. Use stitch markers:
Keep track of your rows and stitches by using stitch markers. Place a marker at the beginning and end of each pattern repeat, especially if the checkered pattern is a bit complex. This will help you stay organized and ensure that you’re not making any mistakes in the pattern.
3. Check your tension:
Checkered patterns often require precise tension to ensure an even and consistent result. Take the time to knit a gauge swatch before starting the scarf to make sure you’re achieving the correct tension. Adjust your knitting needle size if necessary to match the gauge specified in the pattern.
4. Block your scarf:
Blocking is an important step in achieving a professional finish for your checkered scarf. Once you’ve completed the knitting, wet block the scarf by soaking it in lukewarm water and gently pressing out the excess moisture. Lay it flat on a towel, shape it according to the desired dimensions, and let it air dry. This will help to even out the stitches and give your scarf a polished look.
5. Take breaks and relax:

Knitting can sometimes be a repetitive and time-consuming task. Remember to take breaks, stretch your hands and fingers, and relax. This will help to prevent strain or discomfort and ensure that you’re enjoying the process of knitting your checkered scarf.
By following these tips and tricks, you’ll be on your way to successfully knitting a checkered scarf that is not only visually appealing but also comfortable to wear. Happy knitting!
Starting your Checkered Scarf
Get ready to create a stylish and cozy accessory with this checkered scarf knitting pattern. This pattern is perfect for beginners who are looking to practice their knitting skills and create a versatile scarf that can be worn throughout the year.
Materials:
- Size 8 knitting needles
- Worsted weight yarn in two contrasting colors
- Tapestry needle
- Scissors
Step 1: Cast On
Begin by casting on an even number of stitches using your first color of yarn. You can choose any number of stitches depending on the width you want your scarf to be.
Step 2: Knit the First Row
Once you have cast on, knit across the first row using your first color of yarn. This will create the base for your checkered pattern.
Step 3: Switch Yarn Colors
After knitting the first row, switch to your second color of yarn. You can either cut the first color of yarn, leaving a tail to weave in later, or continue knitting with both colors, carrying the unused color up the side of your work.
Step 4: Knit the Second Row
Using your second color of yarn, knit across the second row. Make sure to maintain an even tension and avoid pulling the yarn too tightly.
Step 5: Repeat
Continue alternating between your two colors of yarn, knitting one row with each color, until your scarf reaches the desired length. Make sure to leave enough yarn to bind off and weave in the ends.
Step 6: Bind Off
When your scarf is the desired length, it’s time to bind off. Knit two stitches, then pass the first stitch over the second stitch and off the needle. Continue this process until you have one stitch remaining, then cut the yarn and pull it through the final stitch to secure.
Step 7: Weave in Ends
Use a tapestry needle to weave in any loose ends, making sure to secure them tightly so they don’t unravel. Trim any excess yarn.
And that’s it! Your checkered scarf is now ready to be worn or given as a gift. Enjoy the warmth and style of your handmade creation!
Knitting the Checkered Pattern
Knitting a checkered pattern is a great way to add texture and visual interest to your knitted projects. Whether you’re making a scarf, a hat, or even a blanket, the checkered pattern is timeless and versatile.
To knit the checkered pattern, you’ll need to have a basic understanding of knitting, including how to cast on, knit, purl, and bind off. Once you have these skills, you can easily create the checkered pattern using a combination of knitting and purling stitches.
To start, cast on an even number of stitches on your knitting needles. This will ensure that the checkered pattern is symmetrical. For example, you could cast on 20 stitches.
Next, you’ll work the checkered pattern row by row. For the first row, knit the first stitch, purl the next stitch, and continue this pattern of knitting and purling across the row. On the next row, you’ll purl the first stitch, knit the next stitch, and continue this pattern of purling and knitting across the row.
Continue alternating between knitting and purling each row to create the checkered pattern. You can choose to change colors after a certain number of rows to create a more defined checkered look, or you can use the same color for the entire project for a more subtle effect.
Once you’ve completed the desired length of your project, you can bind off the stitches to finish. Be sure to weave in any loose ends to give your checkered project a polished look.
Overall, knitting the checkered pattern is a fun and rewarding way to add a touch of style to your knitted projects. Whether you’re a beginner or an experienced knitter, this pattern is accessible and versatile, allowing you to create beautiful and unique pieces.
Adding Finishing Touches to your Checkered Scarf
Once you have completed knitting your checkered scarf, it’s time to add some finishing touches to make it stand out. There are several options to consider, depending on your personal style and preference.
1. Blocking: Blocking is an essential step in the knitting process that helps to shape and even out your finished scarf. To block your checkered scarf, dampen it with water and lay it flat on a towel. Gently stretch the scarf to its desired shape and size, then let it dry completely. This will give your scarf a polished and professional look.
2. Fringe: Adding fringe to your checkered scarf can add a playful and trendy touch to your finished piece. To create fringe, cut multiple strands of yarn to your desired length. Fold each strand in half and insert the folded end through the edge of your scarf. Pull the loose ends through the folded end and tighten to secure the fringe. Repeat this process along both ends of your scarf until you achieve your desired fringe density.
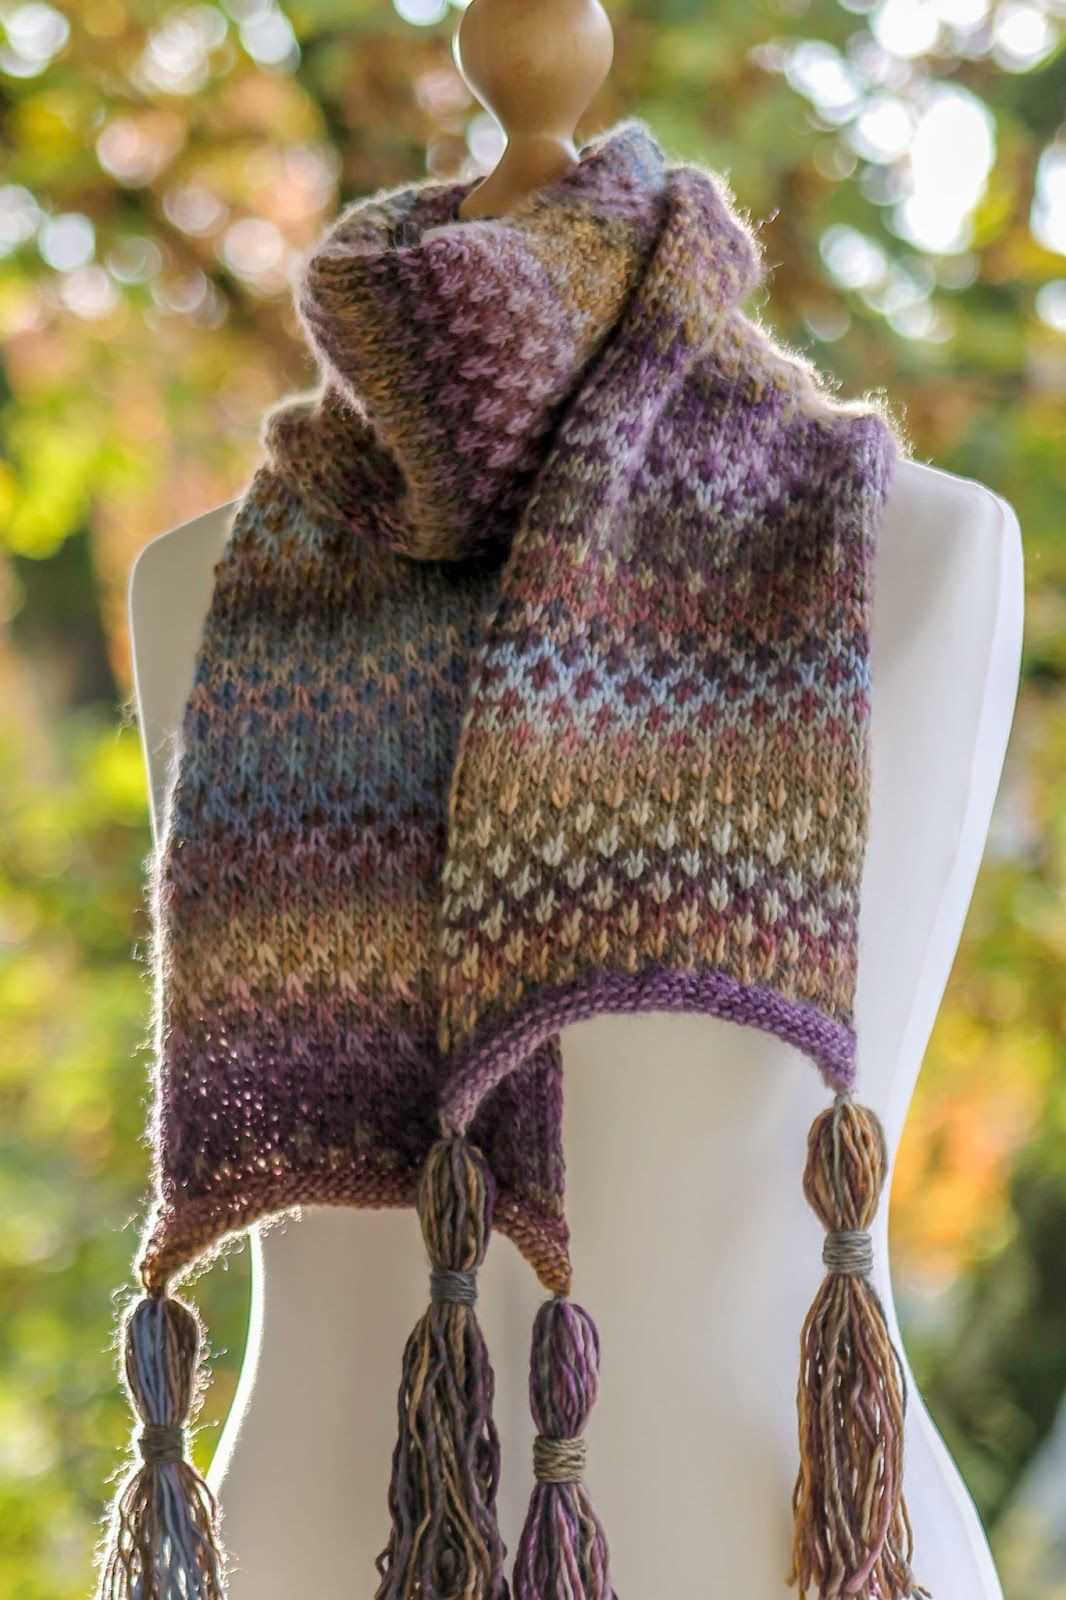
- 3. Tassels: Tassels are another decorative option to enhance your checkered scarf. To create tassels, cut a long piece of yarn and set it aside. Wrap the same yarn around a piece of cardboard or your fingers several times, depending on how thick you want your tassels to be. Carefully slide the looped yarn off the cardboard or your fingers, then tie the long piece of yarn around the top of the looped yarn. Cut through the opposite end of the looped yarn to create the tassel strands. Attach the tassels to the corners or edges of your scarf using the long piece of yarn you set aside earlier.
- 4. Embroidery: If you want to add a personal touch to your checkered scarf, consider embroidering a design or pattern onto it. You can use a contrasting colored yarn to create intricate designs, such as flowers, initials, or geometric shapes. Plan out your embroidery design before you start stitching and use a embroidery hoop to ensure even tension. Choose stitches that complement your checkered pattern, such as backstitch or chain stitch.
With these finishing touches, your checkered scarf will become a unique and stylish accessory that you can proudly wear or give as a thoughtful gift.
Caring for your Checkered Scarf
When it comes to caring for your checkered scarf, it’s important to follow a few simple steps to ensure it stays in great condition for years to come. One of the first things you should do is check the care instructions that came with your scarf. This will provide specific guidelines on how to properly clean and care for your scarf.
Washing: Hand washing is often the best way to clean a checkered scarf, as it is a delicate item. Fill a basin with lukewarm water and a mild detergent suitable for delicate fabrics. Gently submerge the scarf in the water and swish it around to remove any dirt or debris. Avoid rubbing or stretching the fabric, as this can damage the delicate fibers. Rinse the scarf thoroughly with cool water and gently squeeze out any excess moisture. Be careful not to wring or twist the scarf, as this can cause it to lose its shape.
Drying: After washing, lay the scarf flat on a clean towel and gently roll it up to remove excess water. Then, lay the scarf flat on a drying rack or another clean towel, making sure to reshape it if necessary. Avoid hanging the scarf, as this can cause it to stretch out of shape. Allow the scarf to dry naturally, away from direct sunlight or heat sources, which can fade or damage the fabric.
Storage: When not in use, it’s important to store your checkered scarf properly to prevent it from getting damaged. Fold it neatly and place it in a clean, dry drawer or container. Avoid hanging it, as this can cause the scarf to stretch or develop creases. If you want to hang the scarf, use a padded hanger to prevent any damage. Additionally, keep the scarf away from any sharp objects or rough surfaces that could snag or tear the fabric.
Additional Tips: To keep your checkered scarf looking its best, avoid wearing it with sharp jewelry or accessories that could catch on the fabric. If your scarf gets wrinkled, it can be lightly steamed with a garment steamer or ironed on a low heat-setting with a cloth placed between the scarf and the iron. Lastly, it’s always a good idea to periodically check your scarf for any signs of wear or damage, such as loose threads or holes, and repair them as needed to prevent further damage.
Ways to Wear and Style your Checkered Scarf
Checkered scarves are versatile accessories that can add style and warmth to any outfit. With their classic pattern, they are a timeless addition to your wardrobe. Here are a few ways you can wear and style your checkered scarf:
1. Classic Drape
How to Wear: Simply drape the scarf evenly around your neck, letting the ends hang loose in front or at your sides. This is the most basic and effortless way to wear a scarf, and it looks great with any outfit.
2. Loop Knot
How to Wear: Fold the scarf in half lengthwise and place it around your neck. Take the loose ends and pull them through the loop created by the fold. Adjust the loop and ends to your desired length. This style adds a touch of elegance and works well with both casual and dressy outfits.
3. Belted Wrap
How to Wear: Wrap the scarf around your neck, letting the ends hang in front. Take a belt and cinch it around your waist, securing the scarf in place. This style not only keeps you warm but also adds a pop of color and texture to your overall look.
4. Head Wrap
How to Wear: Fold the scarf diagonally to create a triangle. Place the scarf over your head with the long edge along your hairline. Tie the corners at the back of your head, leaving the ends hanging loose or tucking them in for a neater look. This style is perfect for keeping your head warm during colder months or adding a boho touch to your summer outfits.
With these styling options, you can make the most of your checkered scarf and elevate your fashion game. Experiment with different ways of wearing and enjoy the versatility this accessory brings to your wardrobe.